Thermaltake Frio Advanced Review
Manufacturer: ThermaltakeUK Price (as reviewed): £49.99 (inc VAT)
US Price (as reviewed): N/A
We feel like proud parents when it comes to the Thermaltake Frio. We were there when it first burst onto the scene, all new and fresh-faced with its pair of powerful fans, clean styling and excellent cooling ability. We’ve also seen it develop and pass through its difficult teenage years, via its slightly gothy Frio OCK guise.
Now, though, the Frio has developed again, and has come out the other end as the Frio Advanced; a cooler that Thermaltake claims is designed to deal with overclocked CPUs. The Frio Advanced is a more restrained beast than the Frio OCK, as it harks back to the red and black colour scheme of the original Frio. This is a good move, as the translucent blue plastic of the Frio OCK looked and felt tacky.
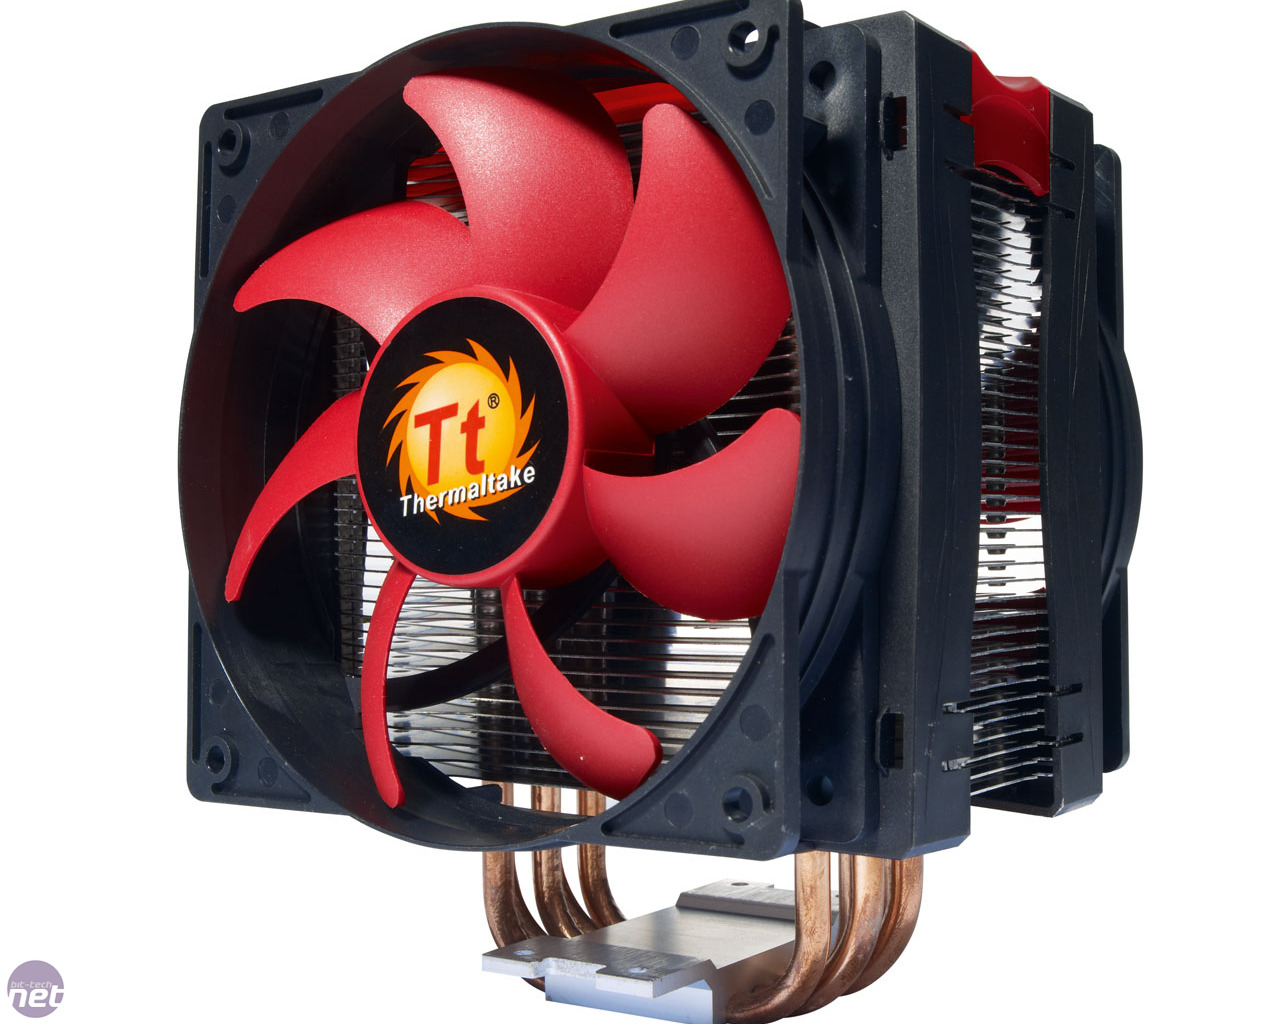
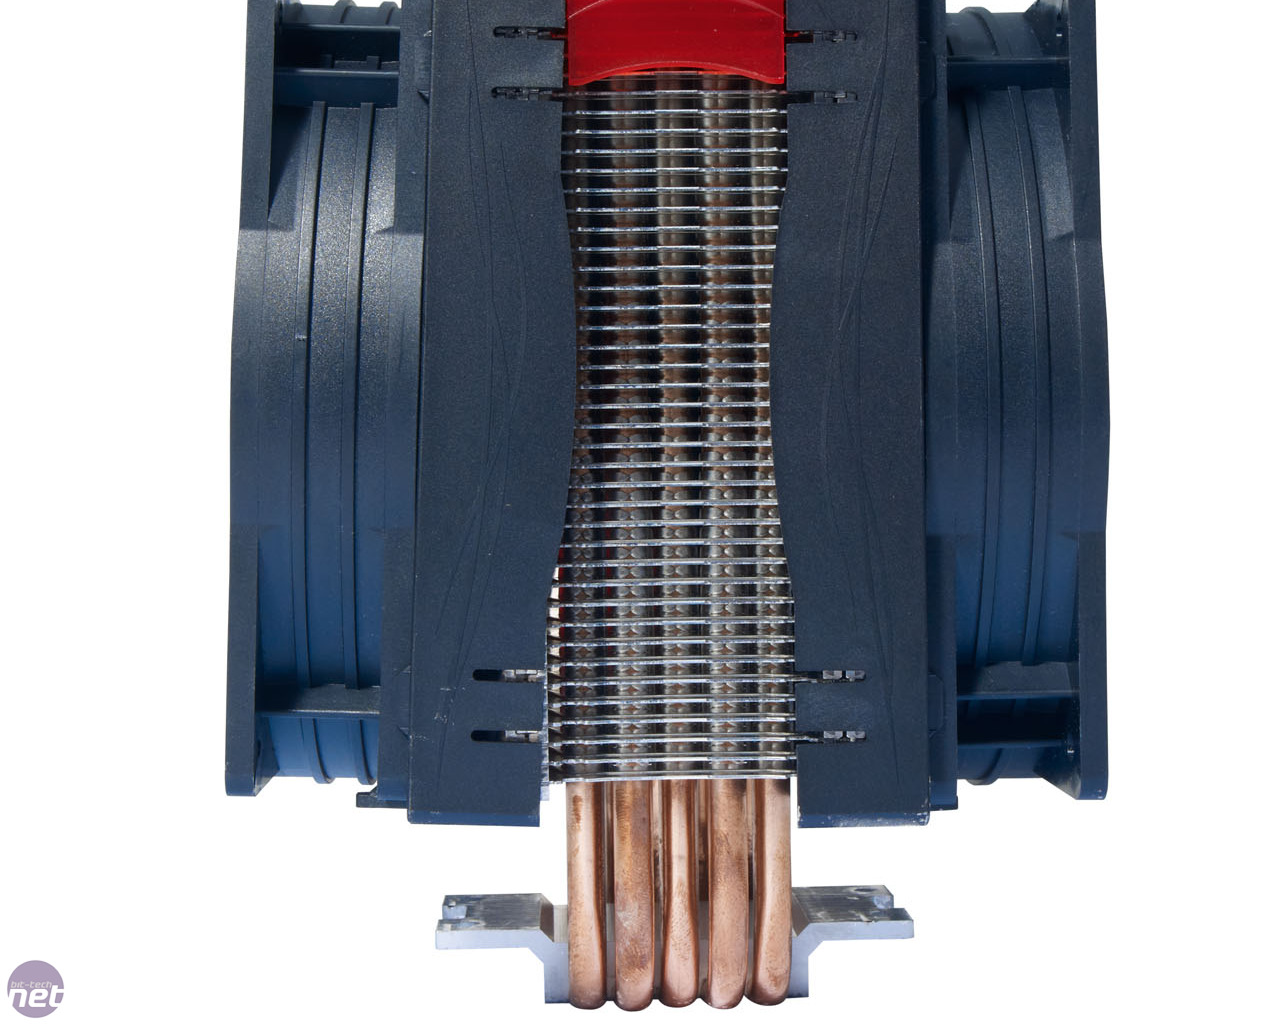
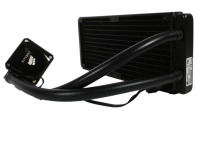
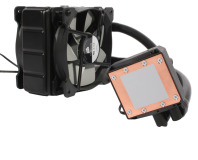
The Frio Advanced also mimics the original Frio when it comes to its cooling fins, which are arranged in a single continuous stack rather than the dual-stack design of the Frio OCK. These fins are densely packed and extremely sturdy too, giving the cooler a feeling of solidity. This robustness is a result of the fact that the fins are clipped together on each of the four corners of the stack, rather than just down the two short sides of the stack, as is typical.
Click to enlarge
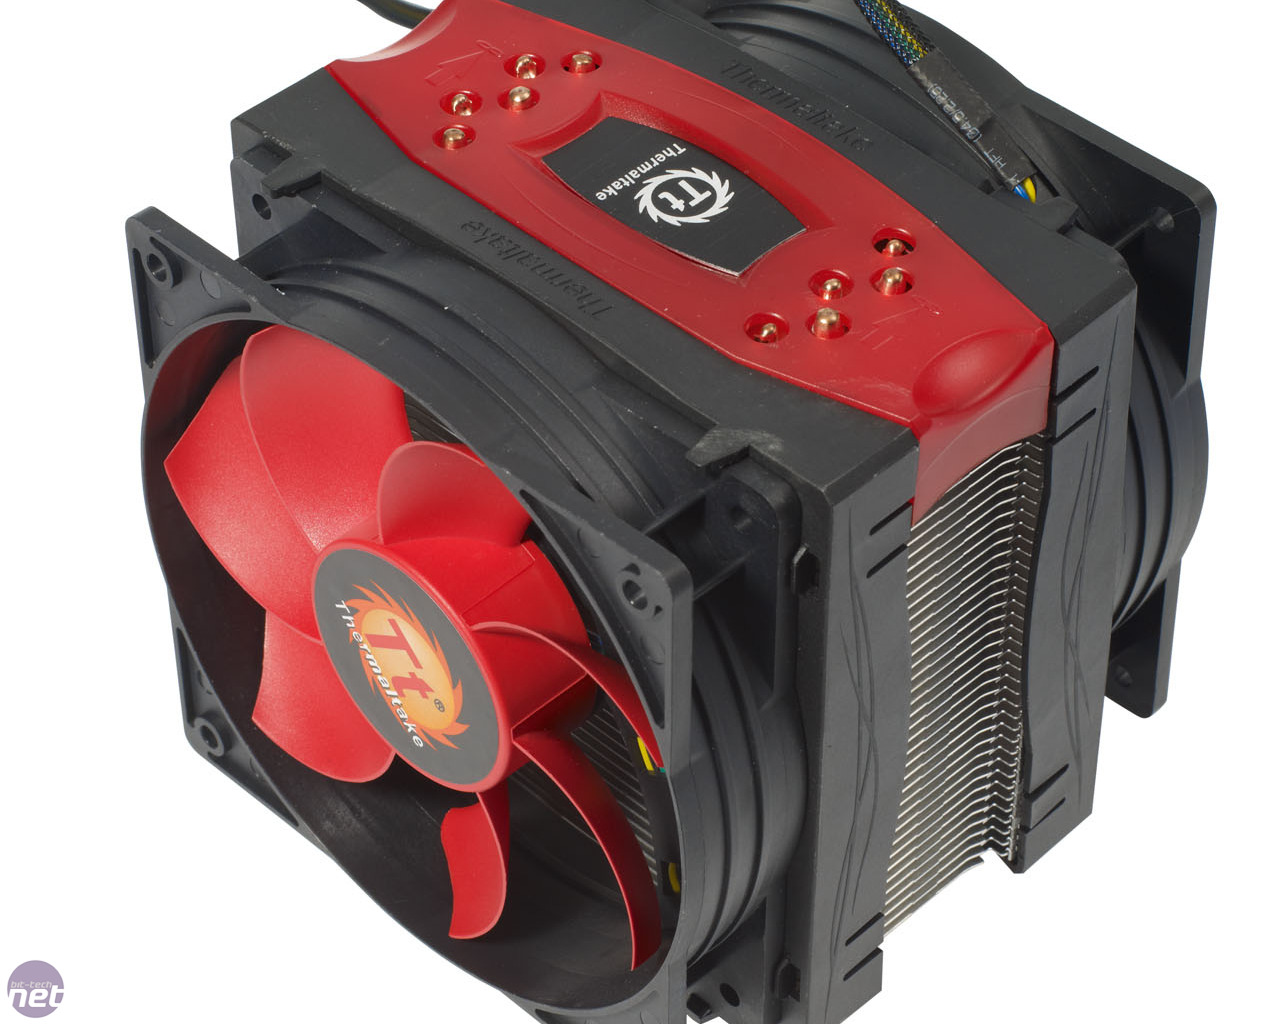
Screwed to the top of the fin stack is a plastic end plate that does its best to hide the ugly crimped end of the cooler’s heatpipes. It isn’t as tidy as the brushed aluminium end plates that you’ll find on the Dark Rock coolers from Be Quiet!, but it’s better than just leaving the top of the cooler plain. It’s LGA2011-compatible out of the box too.
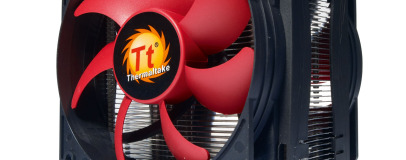
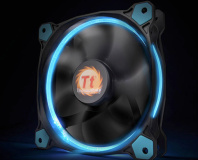
One of the most obvious changes to the Frio Advanced is its fans, which are special oversized versions – they’re noticeably deeper than regular 120mm fans. The frame of the fan has been extended too - despite using 120mm mounts, it’s actually a 130mm fan. When coupled with the extra depth of the fan, this should mean there will be a serious amount of air rushing through the fins of the Frio Advanced. Sadly, there’s no manual fan speed control, as there was with the original Frio – the Advanced is equipped with 4-pin PWM fan headers instead.
One frustration with the fans, however, is that their direction of flow isn’t labelled. This is annoying, as one fan has a reversed bearing, and it’s always best to remove the fans when attaching the cooler. We’d advise making a note of which way they attach to make sure your cooler is blowing air in the right direction when you boot up your PC.

Click to enlarge
The Frio Advanced is arguably a little underwhelming on the heatpipe front, however, especially when compared with its predecessors. It has five 6mm copper heatpipes transferring heat from the contact plate to the fin stack above it, which is one fewer than the Frio OCK. Granted, it’s the same amount as the original Frio, but that cooler used chunkier 8mm versions that had a higher heat transfer capacity.
To offset this reduced heatpipe capacity, Thermaltake has routed the heatpipes to the bottom of the CPU contact plate so that they make direct contact with the processor heatspreader. At this point, we’d usually moan that this results in large gaps in the contact plate, but Thermaltake has managed to machine the plate so that it’s completely flat – the joins between the heatpipes and the aluminium of the contact plate are completely flush. This not only looks great but should also ensure optimal heat transfer to the heatpipes.
Mounting the Frio Advanced to Socket AM3+ and LGA1155 motherboards isn’t the simplest of tasks, as there are a lot of components involved in the process. You begin by attaching a backplate to the rear of the motherboard before attaching two horizontal crossbars to it. You’re then asked to attach two sprung mounting screws to the CPU cooler contact plate. These screw into two crossbars that you create earlier in the process, securing the cooler to the CPU. Thankfully, the instructions bundled with the cooler are clear, so any bit-tech reader worth their salt should be able to manage the process relatively painlessly. LGA2011 installation is far easier, as the motherboards are equipped with elaborate backplates.
Specifications
- Compatibility Intel: LGA775, LGA1155, LGA1156, LGA1366, LGA2011. AMD: Socket AM2, AM2+, AM3, AM3+
- Weight 954g
- Size (mm) 130 x 122 x 159 (W x D x H)
- Fan 2 x 120mm
- Stated Noise 16-46dBA


MSI MPG Velox 100R Chassis Review
October 14 2021 | 15:04

Want to comment? Please log in.