
Under The Skin
Taking the side panels off the X-Telstar Jr., it’s a little bit easier to have a look at the case from a technical point of view without getting distracted by the rather disgusting silver plastics and hollow plastic construction.Unfortunately, it still doesn’t mean that the case is all that good from that technical standpoint.
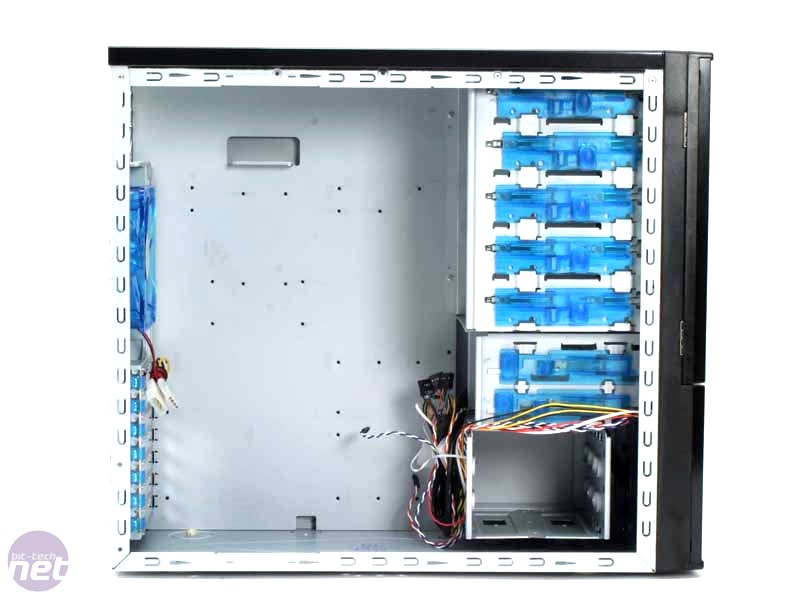
The inside of the X-Telstar is bare and basic at best. There’s no removable motherboard tray, precious little room for cable routing, no noise dampening and none of those swanky advanced cooling doo-hickeys that Cooler Master Cosmos owners have gotten used to.
Instead, the X-Telstar is like a vast, blank canvas dotted with luminous blue blobs – in this case made up of the neon coloured fans and lurid rail system. I don’t know why anybody thought that black, garishly pale blue and the cold tones of uncoloured steel would go well together if surrounded with a myriad of wires and circuit boards.
The X-Telstar has got a fairly standard if somewhat basic setup when you strip all the decoration away, which we’d advise you to do, and while it would be easy to pick on the Apevia for this too, the reality is that it’s tough to get much better in this price range. The Cooler Master 690 is probably the closest you’ll come.
Click to enlarge
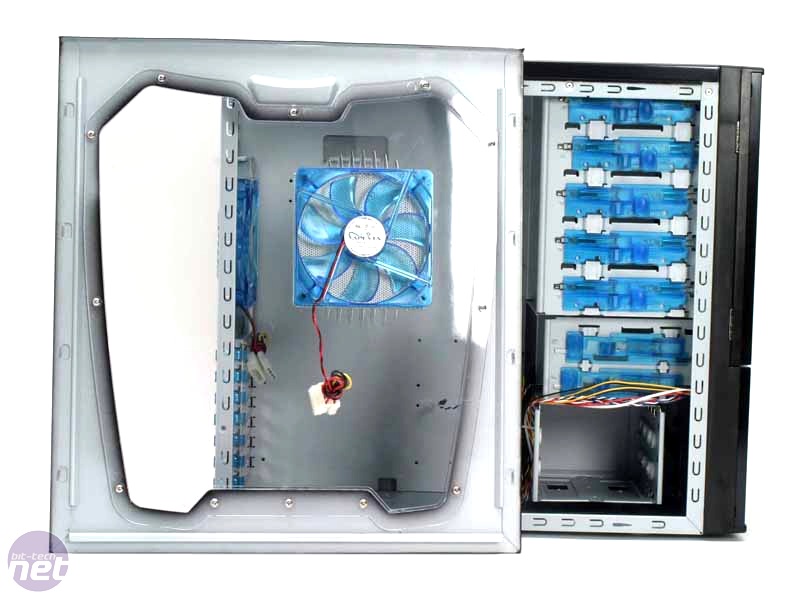
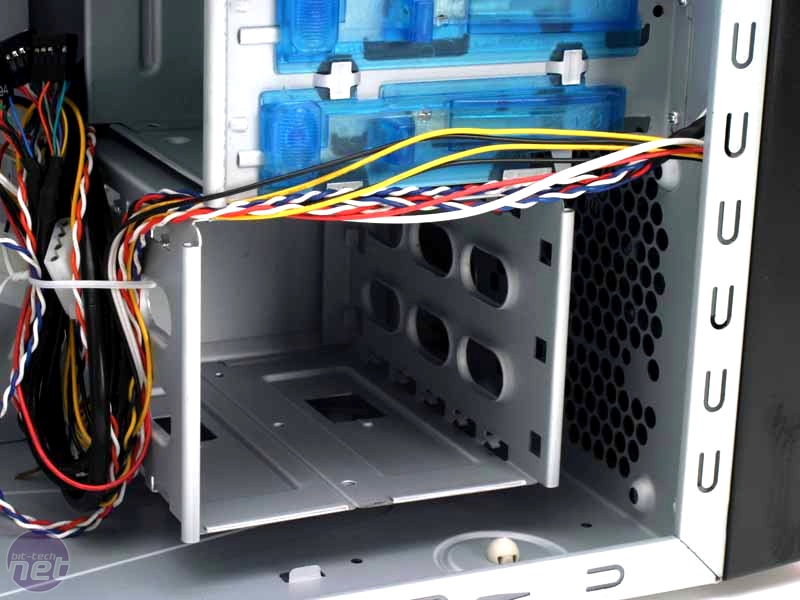
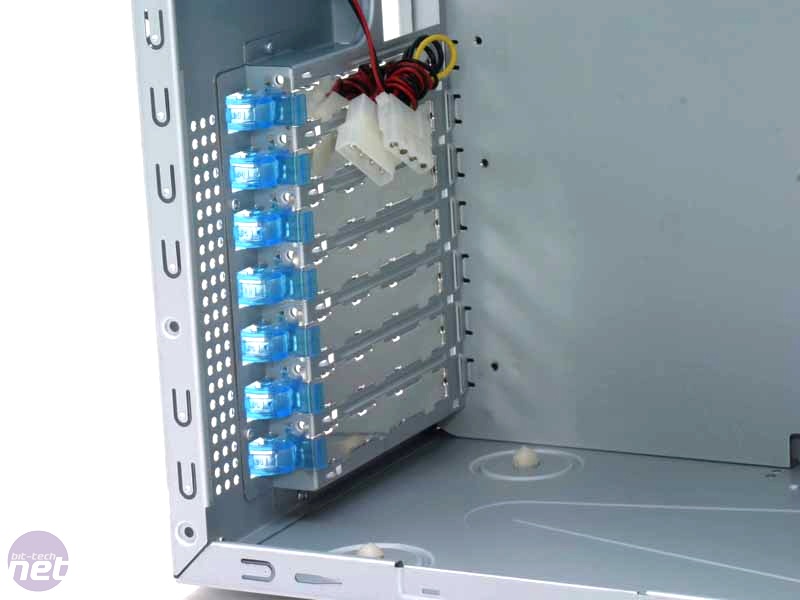
The X-Telstar Junior has room for five 5.25” drives up top, two 3.5” drives beneath and three hard drives beneath that. There’s no fan in front of the HDD cage included and apparently no way to remove the cage and add one in, which is a massive disappointment. Instead, the case limits you to the two included 120mm fans.
Trailing out from behind the drive cages are the various connecters needed for the front of the case, including the temperature probe which is important for monitoring all those TMPES, but we’ll get to that later.
On the plus side, the Apevia is completely tool free in design and, aside from screwing the motherboard onto the stand-offs, you won’t even need a screwdriver. The HDD rails are the type which just clip straight into the drives and then slot into the HDD cage, while the drive bays on the rear of the case use clips to hold cards in place.
Click to enlarge
My personal experience of these drive clips has been that, although they are OK to hold most cards in place, they just aren’t as reliable as a good screw. Before you get carried away on the innuendo of that sentence though, let me explain what I mean – if one of your cards is a little bent on the drive cover, as some of ours are, then the clips are largely useless.
Whereas a screw system would let you force it in at least semi-securely, the clips will simply break if you try to force them. It’s not a massive problem, but worth bearing in mind if the brackets on your add in cards isn’t perfectly aligned.
Other than that, there really isn’t a lot to say about the inside of the Apevia X-Telstar. It’s completely unremarkable, which is probably why the manual and packaging try to make a big deal out of it being 8800 GTX compatible.
RELATED ARTICLES


MSI MPG Velox 100R Chassis Review
October 14 2021 | 15:04

Want to comment? Please log in.