Bitspower AIZ97M7IITX Maximus VII Impact Waterblock Review
January 14, 2015 | 10:44
Companies: #bitspower
Bitspower AIZ97M7IITX Maximus VII Impact Waterblock Review
Manufacturer: BitspowerUK price (as reviewed): £104.99 (inc VAT)
US price (as reviewed): $132.99 (ex Tax)
As an enthusiast form factor, mini-ITX has come a long way in recent years. 2015 looks set to offer some fantastic new cases and many of these will be great for water-cooling too. However, it's the motherboard manufacturers that we have to thank for where we are today and while it was relatively late to the enthusiast mini-ITX scene, with its Maximus VII Impact, Asus above all others has indirectly helped to galvanise support for water-cooling and mini-ITX too.
Just over a year ago we looked at Bitspower's AIZ77ITXD waterblock - the first full-cover waterblock for a mini-ITX motherboard, specifically Asus's popular P8Z77-i Deluxe. This sexy bit of kit marked the point that mini-ITX was truly seen as a water-cooling-worthy form factor - before, it was only larger motherboards that the likes of Bitspower and EK catered for when it came to chipset and full-cover waterblocks but a little over a year later and there are now full cover waterblocks available for a range of different mini-ITX motherboards.

Click to enlarge
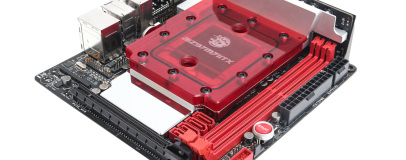
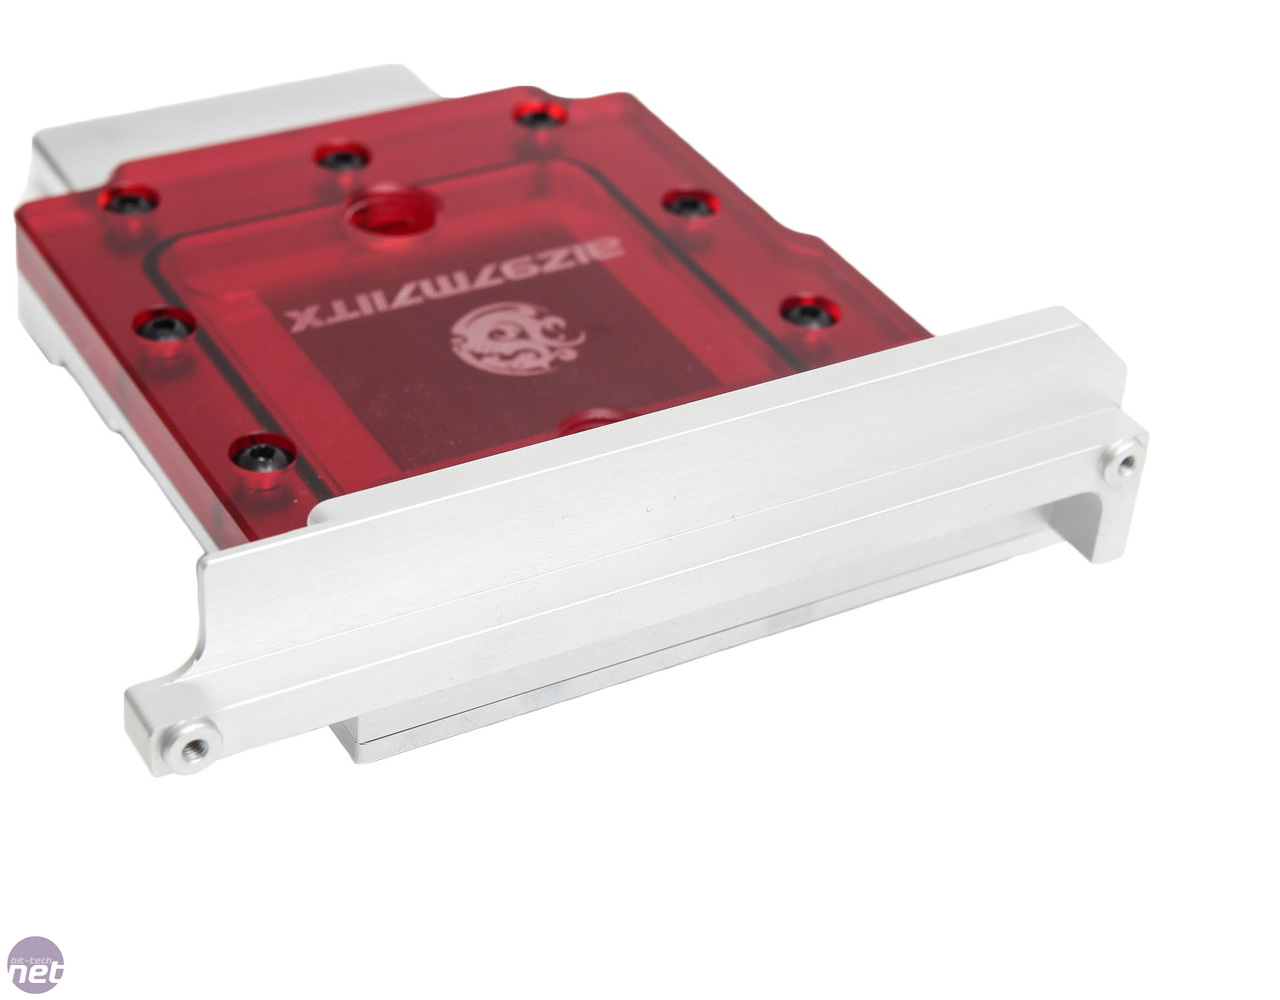
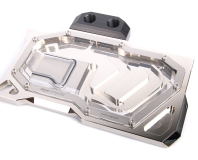
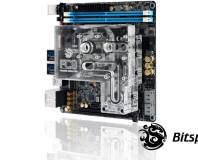
Today, we're looking at Bitspower's AIZ97M7IITX - a full-cover waterblock for Asus's Maximus VII Impact. We've got the nickel-plated red version but there are clear and smoked black versions too. There was of course a separate block made for the previous Impact board by both Bitspower and EK and these featured a more advanced cooling fin arrangement that was finer and more dense than the slightly clunky effort on the original block for the P8Z77-i Deluxe.
Click to enlarge
The latter as a result was 11°C warmer under load when dealing with an overclocked CPU than a CPU-only waterblock - not a terrible result considering nearly all the hotspots on the PCB, including the large vertical VRM daughterboard, were water-cooled too. However, it will be interesting to see how the new block and fin arrangement deal with the latest Impact board.

Click to enlarge
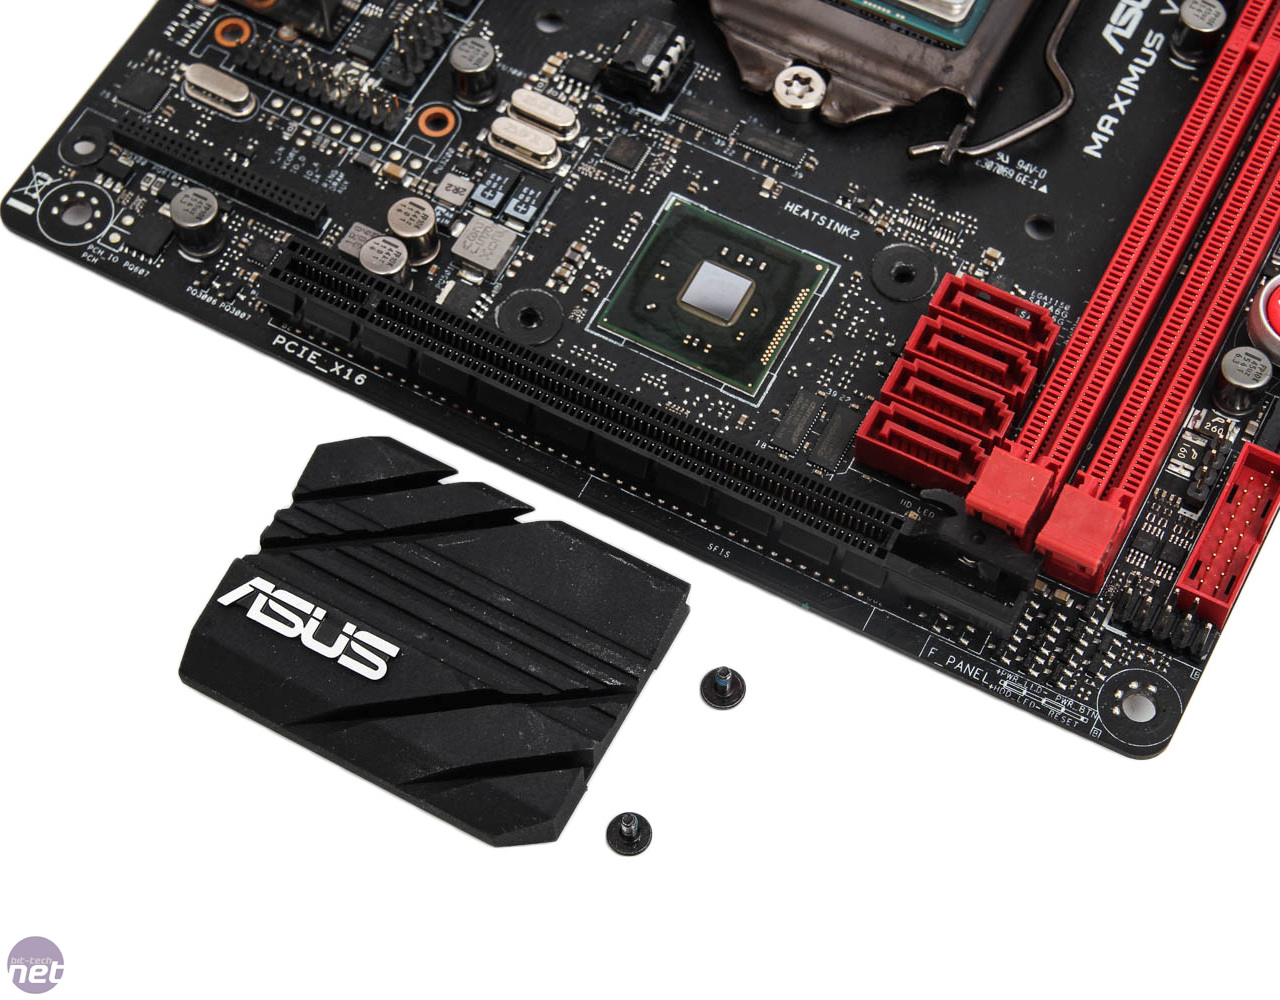
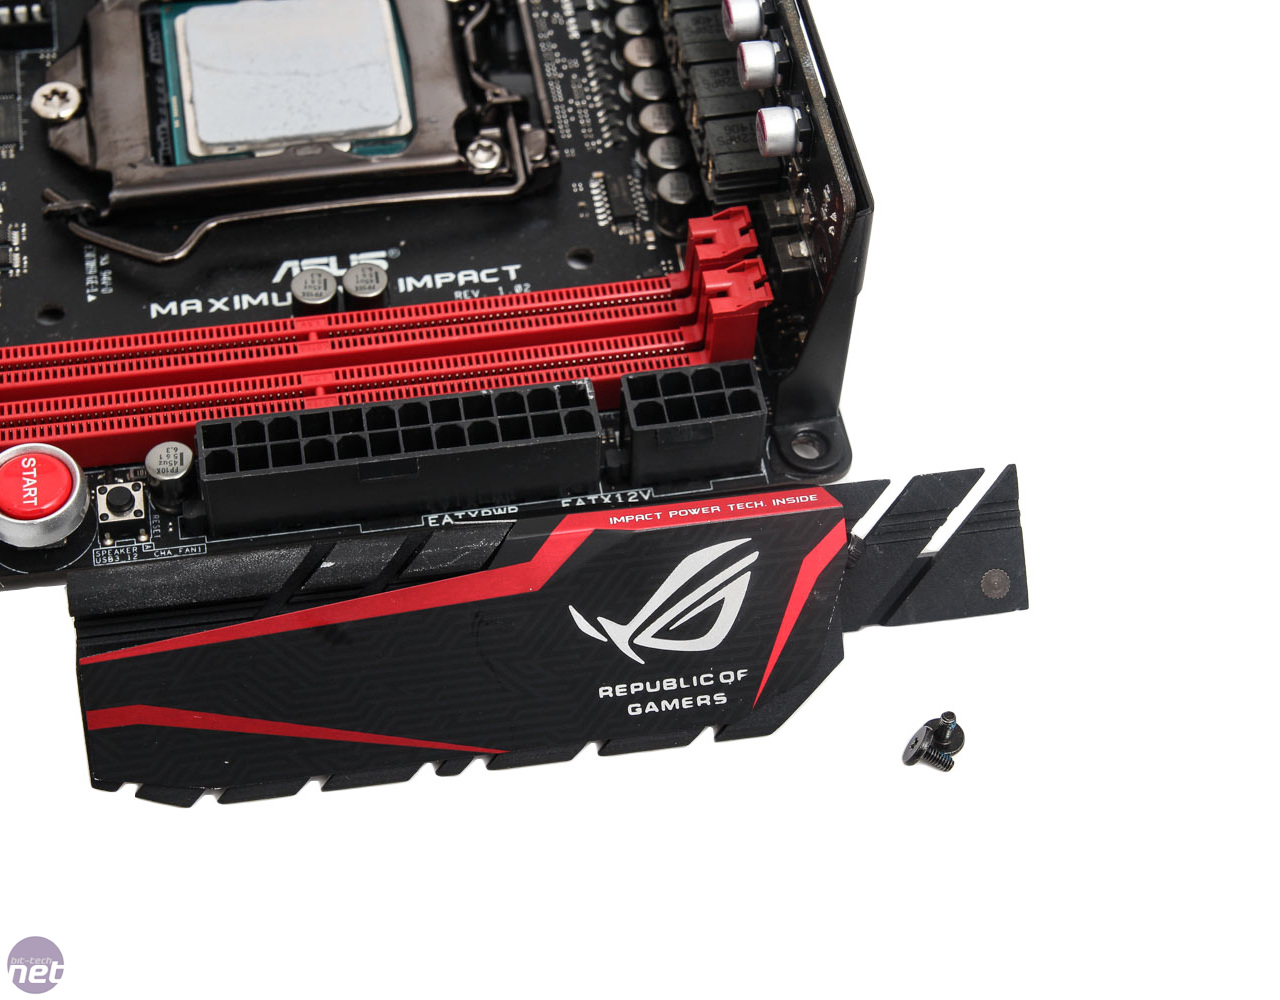
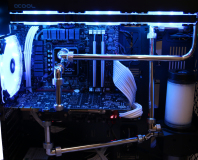
To install the AIZ97M7IITX you need to remove the heatsinks on the PCB and VRM daughterboard. This is easily done with just four screws to contend with. Unlike the older block, the rear VRM cover actually stays on here once you fit the new block, although the front heatsink with the ROG logo needs to come off.
Click to enlarge
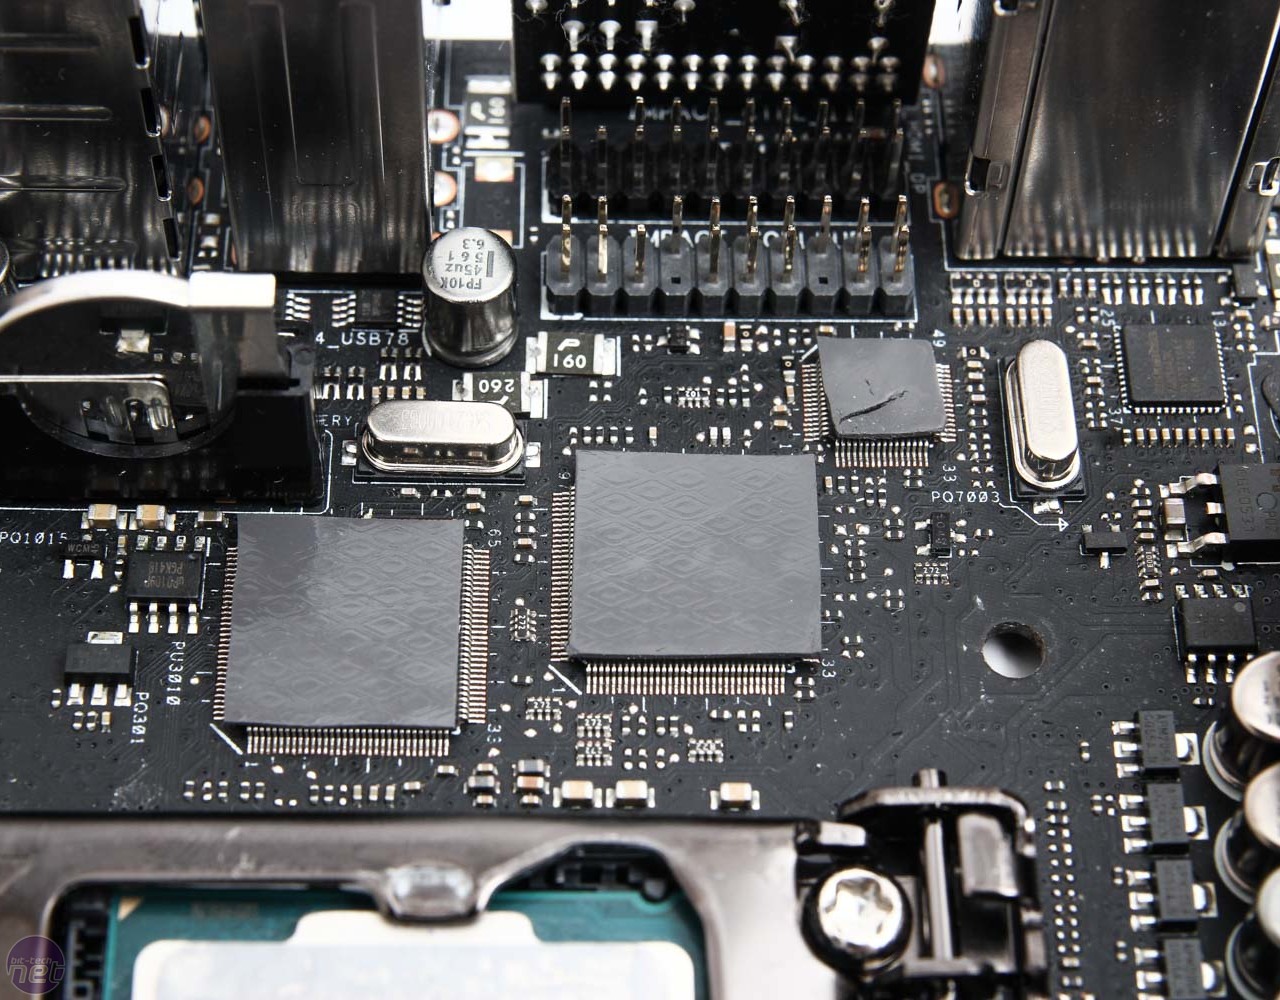
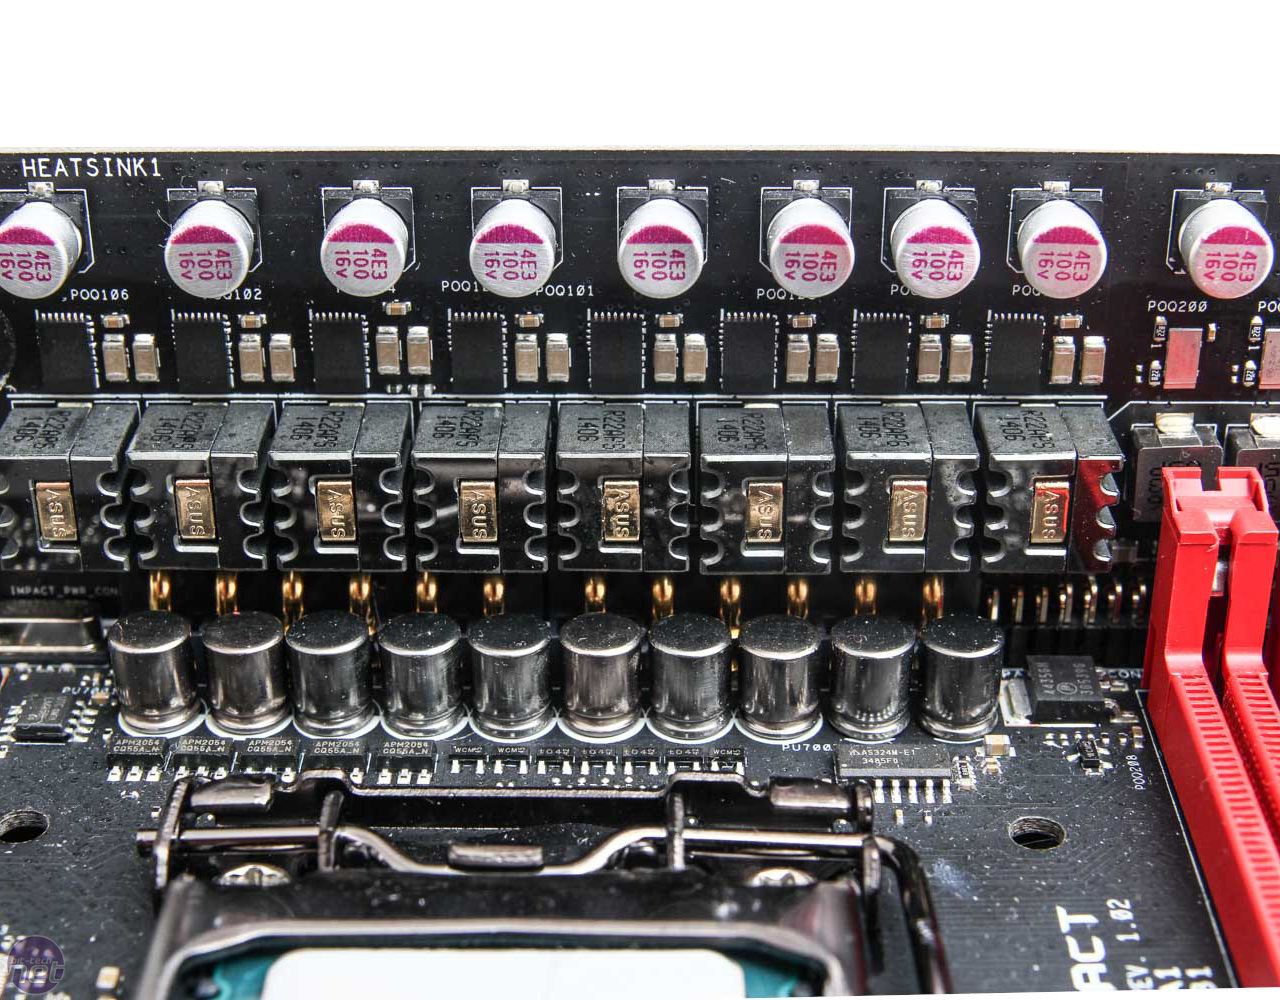
There's a fair few hot spots that need their share of thermal pads, including the row of chokes on the daughterboard that sit below the MOSFETS - interesting as the former aren't directly cooled by the stock heatsink. There are a few additional contacts made on the two iROG chips and Nuvoton Super I/O Controller and the PCH at the base of the PCB, with the latter as well as the CPU core needing a little thermal paste that you'll need to provide.
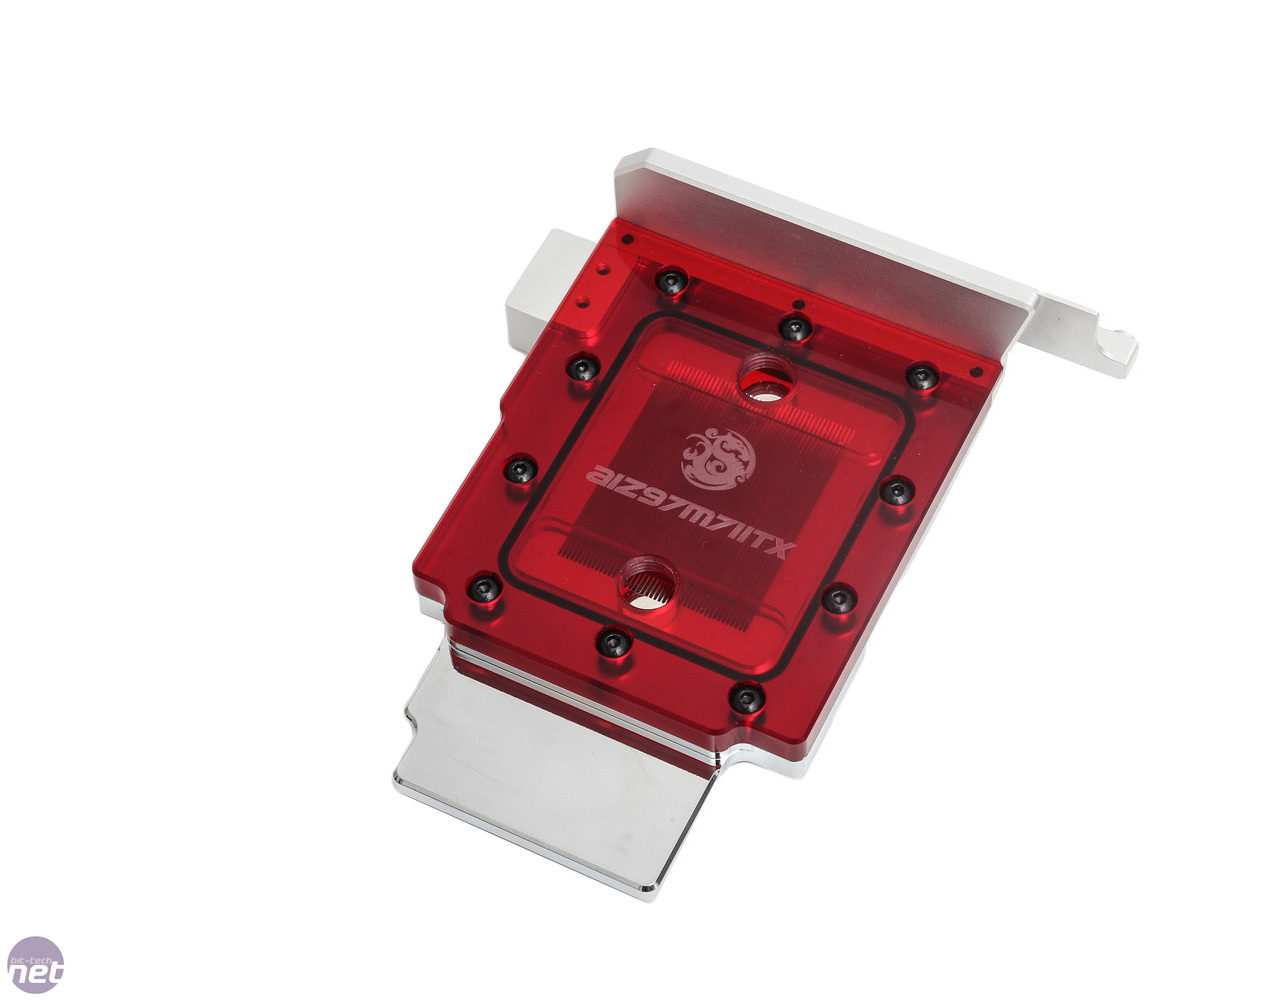
Click to enlarge
The waterblock is best-fitted by sliding it into the daughterboard and securing the two screws there first. It's a larger arrangement than EK's effort and you'll need to remove the Impact's sound daughterboard too as well as the RAM. There are then four screws around the CPU socket and a smattering of others but all in all it's dead easy to install. Included in the box is everything you need, apart from the thermal paste, and Bitspower also includes a backup o-ring set, should you want to clean the block out at some point.
RELATED ARTICLES


MSI MPG Velox 100R Chassis Review
October 14 2021 | 15:04

Want to comment? Please log in.