
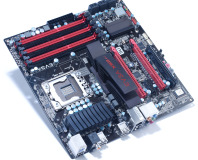
Asus P6T Deluxe - Installation
Cracking the board out the box we’re presented with a familiar Asus colour and styled PCB. There are a few new things with the P6T Deluxe we’ve alreadly covered in our early look, and we’ll test them in depth at a later date. However, for those unfamiliar with how to do the basics – here’s a guide to correctly installing a Core i7 CPU, and adding heatsinks and memory to both boards.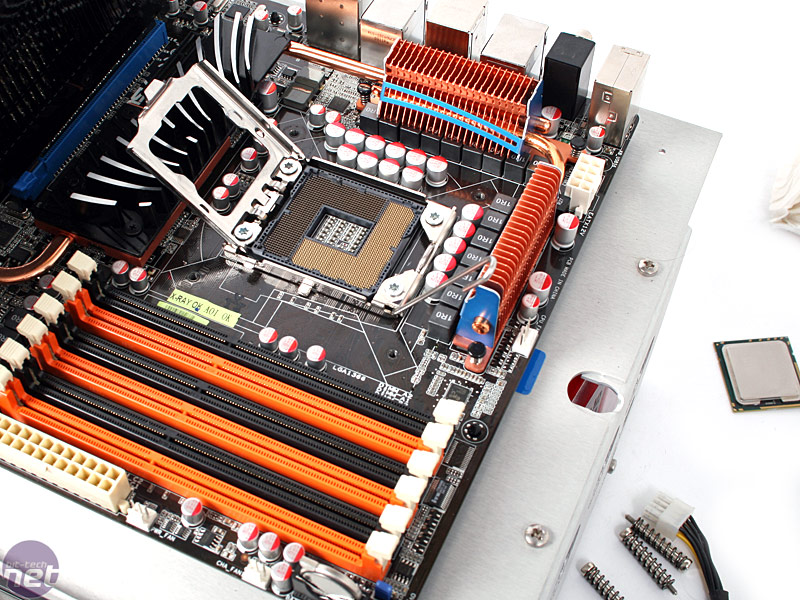

Click to enlarge
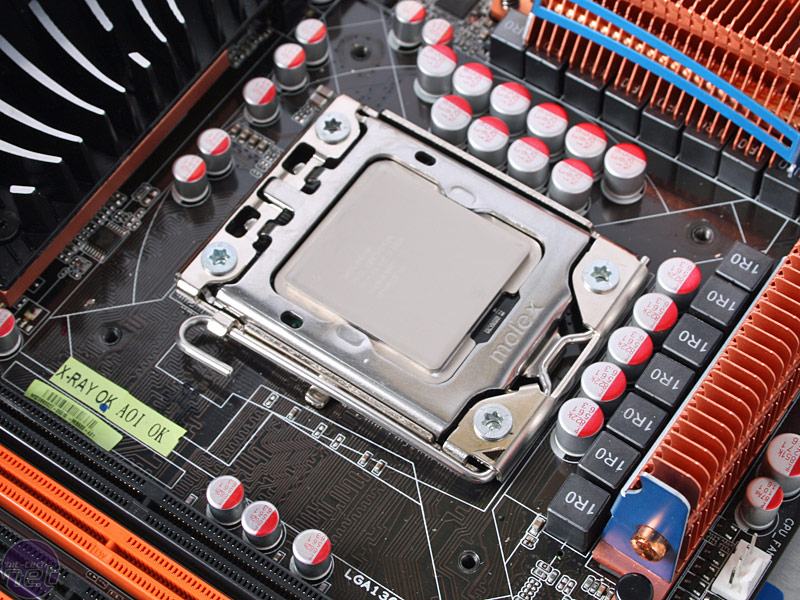
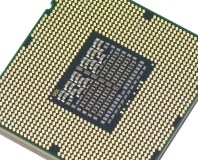
The LGA1366 socket is quite a bit different from LGA775, however the seating and mounting mechanism is exactly the same - drop it in (it can only go one way) careful not to displace the tiny pins, then pop the cap over and use the arm to secure it in place. Next, apply some thermal paste over in a thin even spread over the central heatspreader to improve the thermal contact between CPU and heatsink.

Click to enlarge
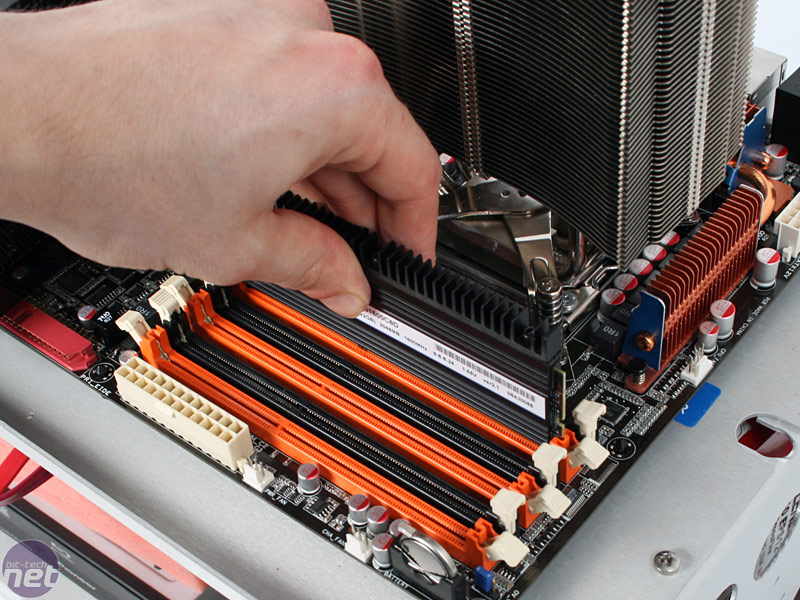
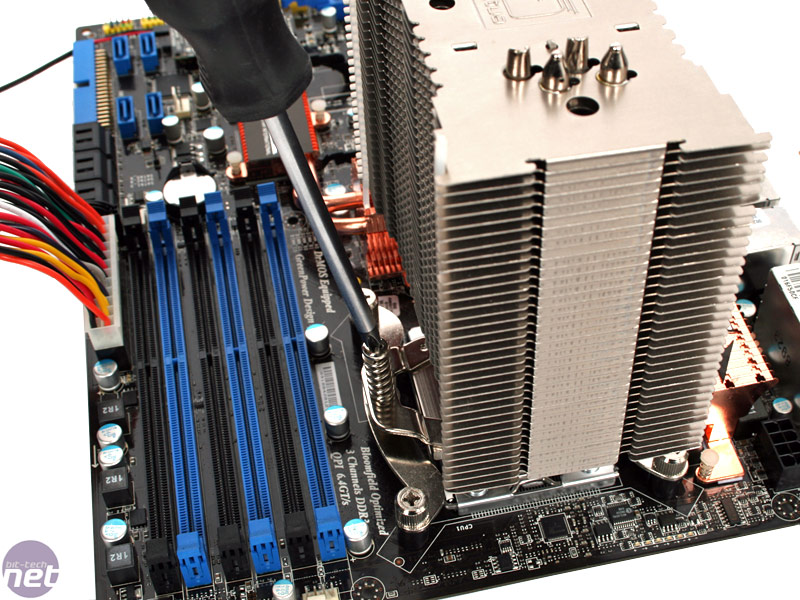
Screwing down the new Thermalright Ultra-120 eXtreme-1366 RT is a little tough, but the large springs help create a firmer compression. As the CPU socket itself now has a metal backplate to prevent PCB bending, these high pressure springs should not cause the problem of warping PCBs.
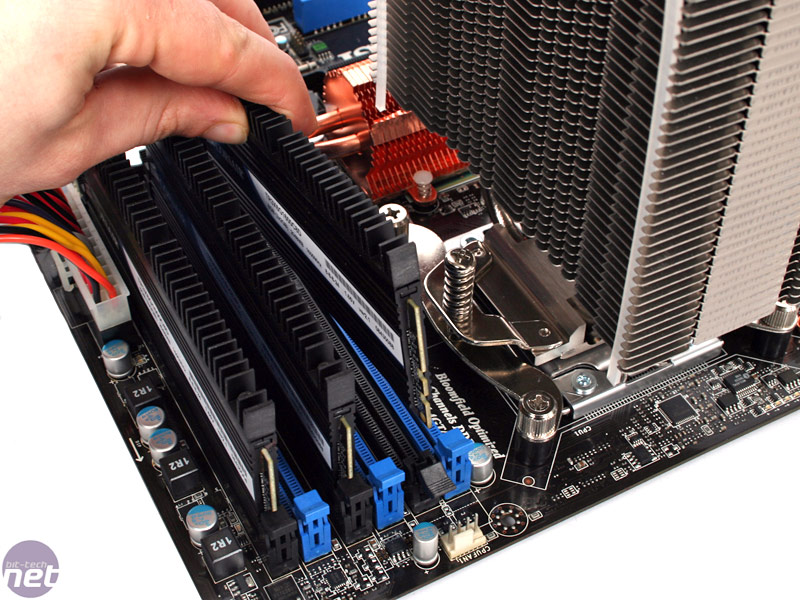
The memory must go in the orange slots first – not the black ones. This is a change to the norm as usually the memory goes into the closest set of memory slots first, but in this case and on the MSI below it’s the set further away.
MSI X58 Eclipse - Installation
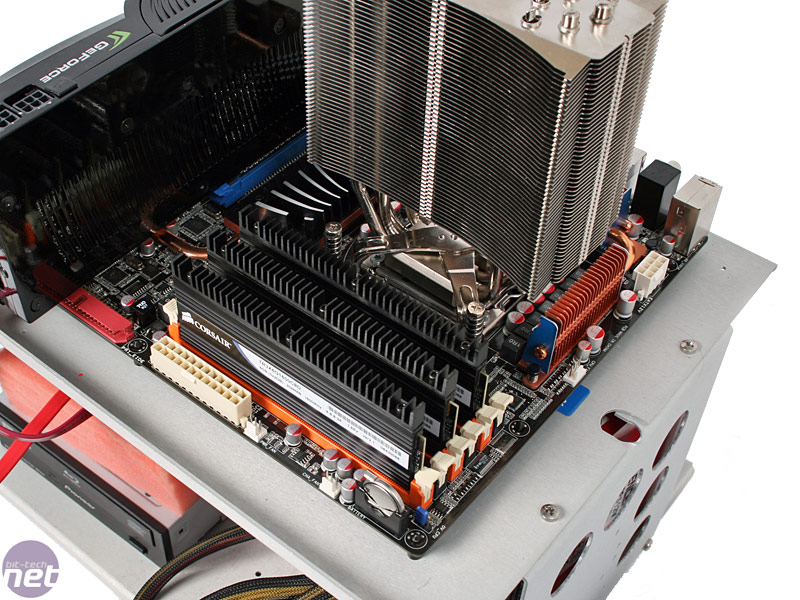
To try something different, we've used the Noctua NH-U12P to cool the Core i7 920 on the MSI X58 Eclipse. The CPU is installed in the exact same way as the Asus board, and while the Noctua takes a little extra time to fit the bracket its two sprung screws are far easier to secure than the high pressure ones used on the Thermalright.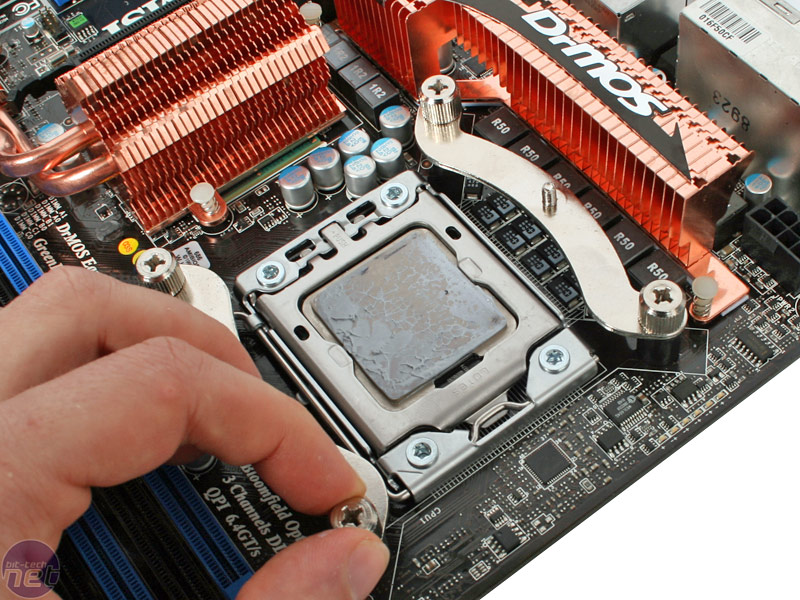
Click to enlarge
Unfortunately this is as far as we got on our early revision 1.1 board. We had set it up, got to know the BIOS a little and overclocked it to 4GHz - matching the Asus - then tried to burn it in a bit with some Prime95. And burn it we did - the board lasted about 30 seconds before one of the memory MOSFETs burnt out in a puff of blue smoke.
We're currently working with MSI to understand why this happened and will update this article in due course. Unfortunately, it's not unusual for early boards off the production line from any manufacturer to either arrive DoA or pop after a short while. We hate to say it but a new batch of a brand new board fresh off the production line occasionally hasn’t got all the manufacturing bugs ironed out. At worst case, MSI has a duff batch of Power-PAK MOSFETs.
We know this having occasionally followed MSI during the board’s design that it’s been tested further than we’ve lightly pushed it here and since we weren’t doing anything untoward it we expect this was simply just a duff part.
RELATED ARTICLES


MSI MPG Velox 100R Chassis Review
October 14 2021 | 15:04

Want to comment? Please log in.