
Installation
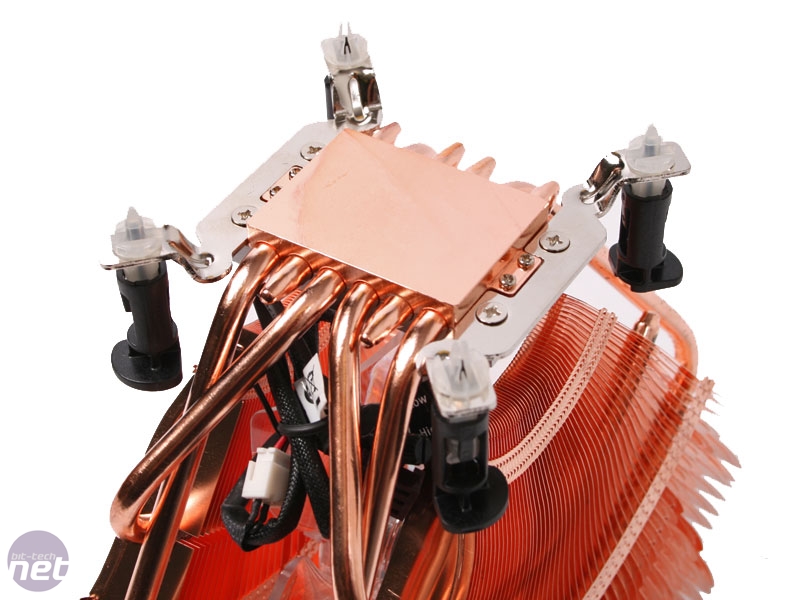
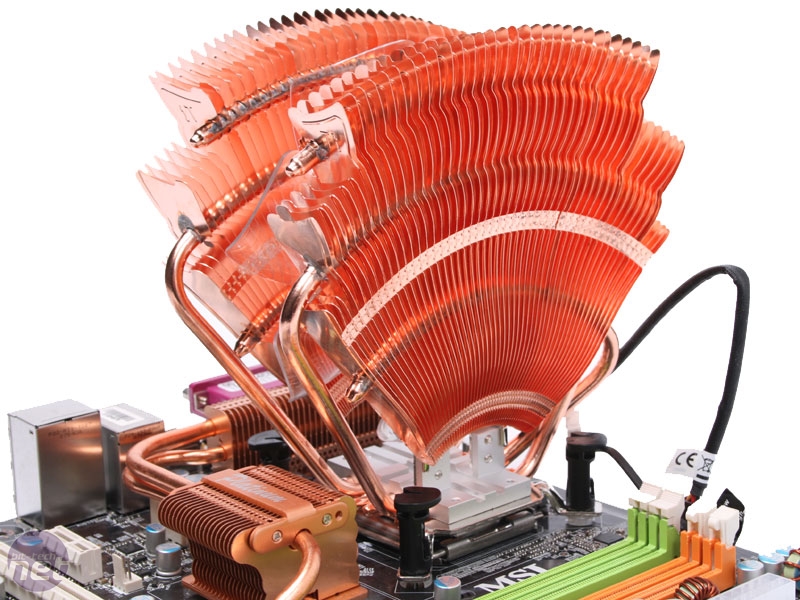
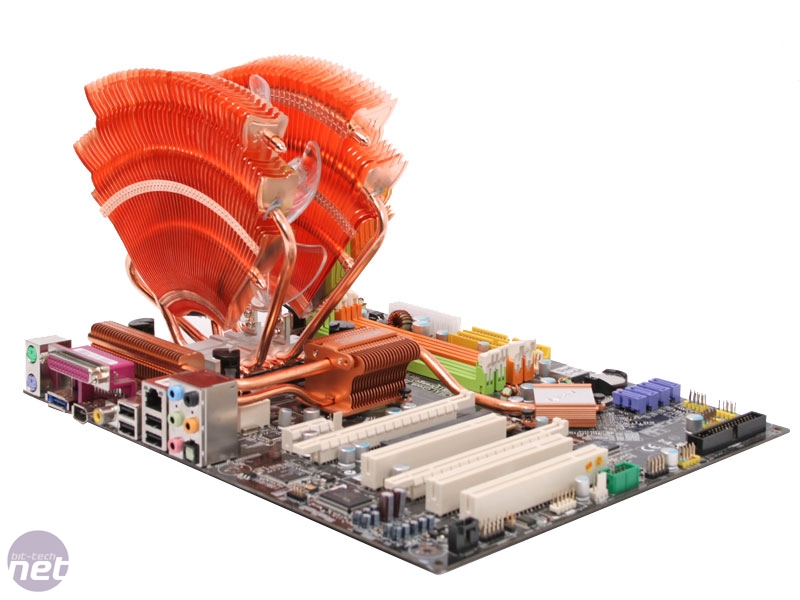
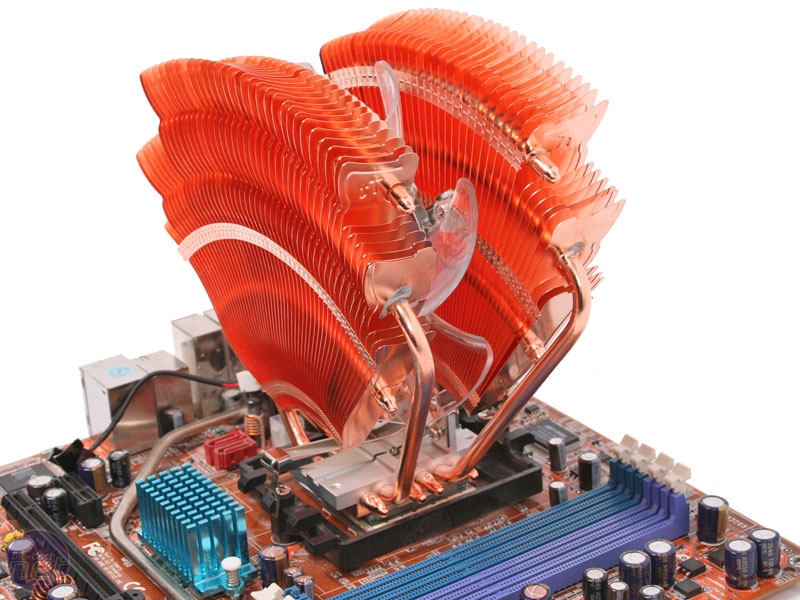
Even after first opening the box, we were dreading fitting the v14 Pro into our test system, if only because of its extremely large size – it measures a whopping 171mm wide! Our hopes weren’t lifted when we saw that the v14 Pro uses just the standard LGA775 pushpin mounting system despite weighing in at 840g.As we’ve said before, any cooler weighing over significantly more than 500g really should be using a back plate mounting system, as the high tension required to firmly hold 840g to your motherboard just using pushpins can put unreasonable strain on your board, resulting in seriously unwelcome “board-bend.”
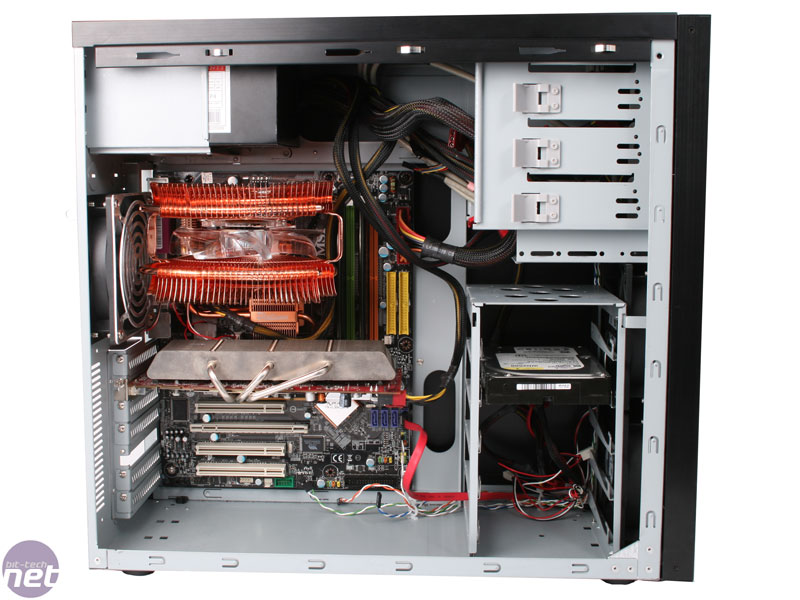
Sadly when it came to fitting the v14 Pro into our test case, we found the cooler was just too wide to fit into the case correctly orientated, with the cooling fan pointing exhausting toward the rear exhaust in the case. The cooler is so wide that the heatpipes interfered with the power supply mounting to such a degree that we couldn’t get more than two of the push pins firmly secured without dangerously bending the v14 Pro’s longest heatpipes.
Click to enlarge
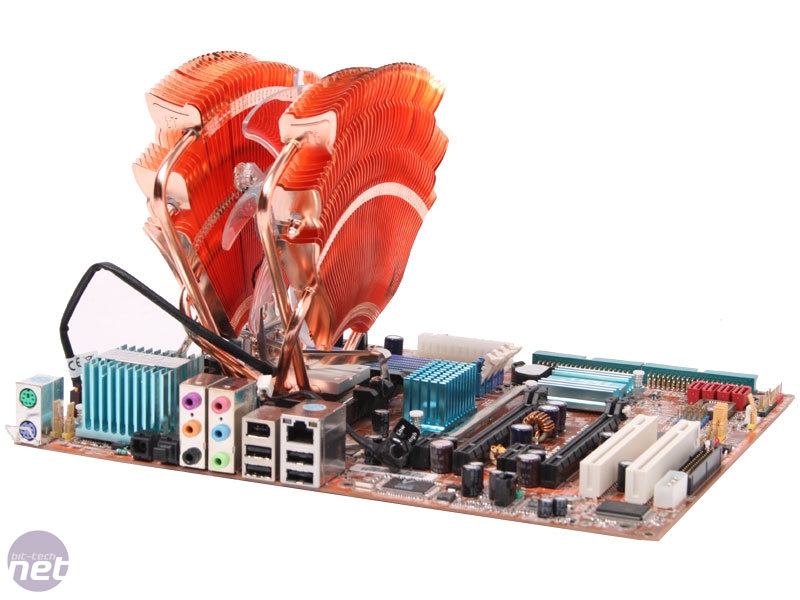
Mounting the cooler after rotating it 90 degrees, with the fan exhausting towards the PSU almost didn’t fit either, and when in place the cooler’s heatpipes were rested against the rear 120mm exhaust fan’s fan guard. Our Lancool K7 testing case is by no means small, so we were extremely surprised at how much of a struggle it was to just fit the v14 Pro onto the CPU, let alone secure it properly!
We also tried fitting the v14 Pro into a few of the other cases in the office, and even cavernous cases like the Antec P190 aren’t large enough to accommodate this cooler in the correct orientation – the only case we found which could was the Gigabyte 3D Aurora, thanks to the large gap between the top of the motherboard and the power supply.
Click to enlarge
Thankfully fitting the pushpin mounts wasn’t as difficult as we’d feared, as they’re all fairly easily accessible around the edges of the cooler, all that is bar the top left pushpin, which was sandwiched between the fan array and the PSU casing. While the quick use of a screw driver solved this problem, it’s another example of the v14 Pro being just too big to fit in most cases.
Removing the cooler was, unfortunately, excruciatingly difficult, as high tension pushpin mounted coolers frequently are. You’ll really need to pry the first two push pins clear, and reaching the top left push pin was unsurprisingly a real pain too.
Click to enlarge
It’s so frustrating to see companies continuing to use the frustratingly rubbish push pin based mounting system even for such massive coolers, when we’ve seen very simple back plate based mounts make the process of mounting bigger coolers a hundred times easier.
Unusually, fitting the cooler to an AM2 motherboard was even more difficult than LGA775. Because the tension bar has to run through the fan mounting in the centre of the cooler, and the plastic lugs which the tension bar hooks around are so tricky to reach with the mass of the cooler in the case, it’s just easier to completely remove the motherboard from your case and then fit the heatsink.
RELATED ARTICLES


MSI MPG Velox 100R Chassis Review
October 14 2021 | 15:04

Want to comment? Please log in.