
Introduction
For our next episode in the bit-tech Linux series, I was asked to write a short article on what many Linux converts find to be one of the scariest things of all - the command line interface, or CLI. Most users know that it's there, but few grasp the tremendous power it holds.When you familiarise yourself with the interface with a little help from our article, you'll see that daily tasks like copying or deleting files are executed much faster in CLI than when done graphically and when you dig even deeper into the command line, it'll show you it's true power with scripts and the like.
But before we can begin with some command line action, we first need a command line.
Getting started
Before you can start practicing with the command line interface, you first need to have the interface available. If you have access to a Linux system, like when you followed the Linux fileserver guide, you are already set. Just SSH into the box and you'll be greeted with the command line interface.If you don't have access to a Linux system, you have two options. You can play around using a LiveCD, or install a new OS. The LiveCD option is the easiest, because you just need to boot from a CD without copying any files perminantly. Most distributions offer a LiveCD, including Ubuntu, Slax, and Debian Live but for a more detailed list you can look at the LiveCD list.
For this exercise you don't need all the eye candy though, just a terminal. This implies that a CLI based install CD, like the Gentoo minimal install cd, will suit your needs too and won't require a hefty download.
The other option is to install a Linux system yourself. This can be done in a Virtual Machine or on a real system. Modern CPUs are becoming ever more capable of seamless virtualisation with improvements made in every major revision, so this will likely be a useful feature for those wanting to split time between Windows and Linux.
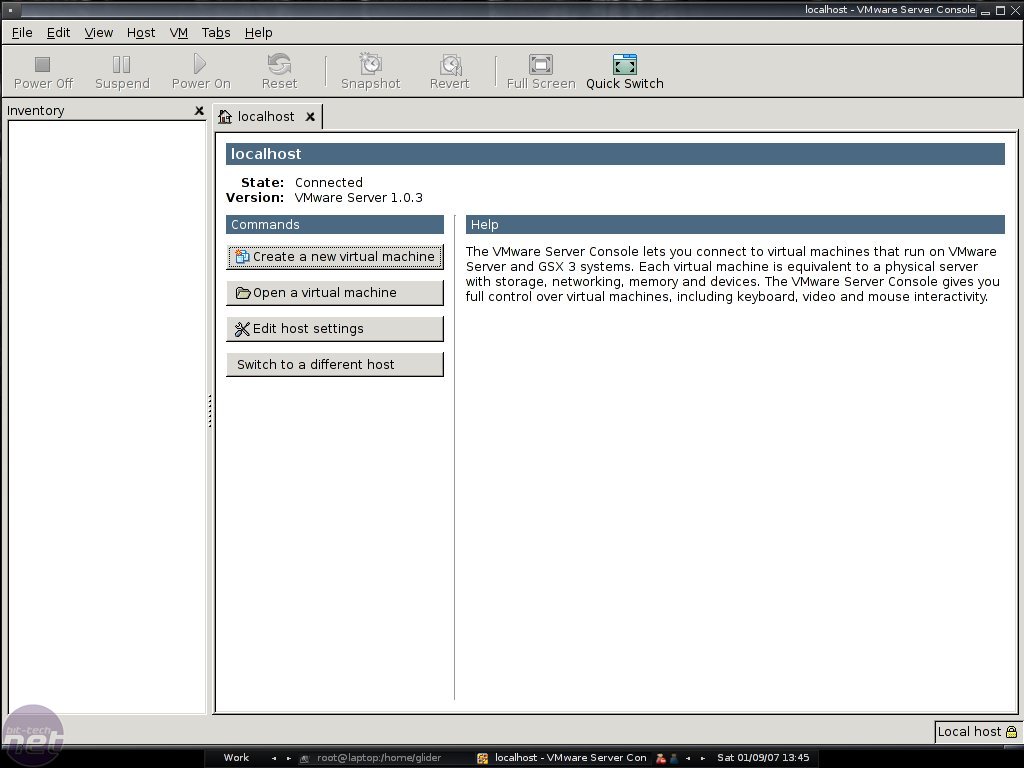
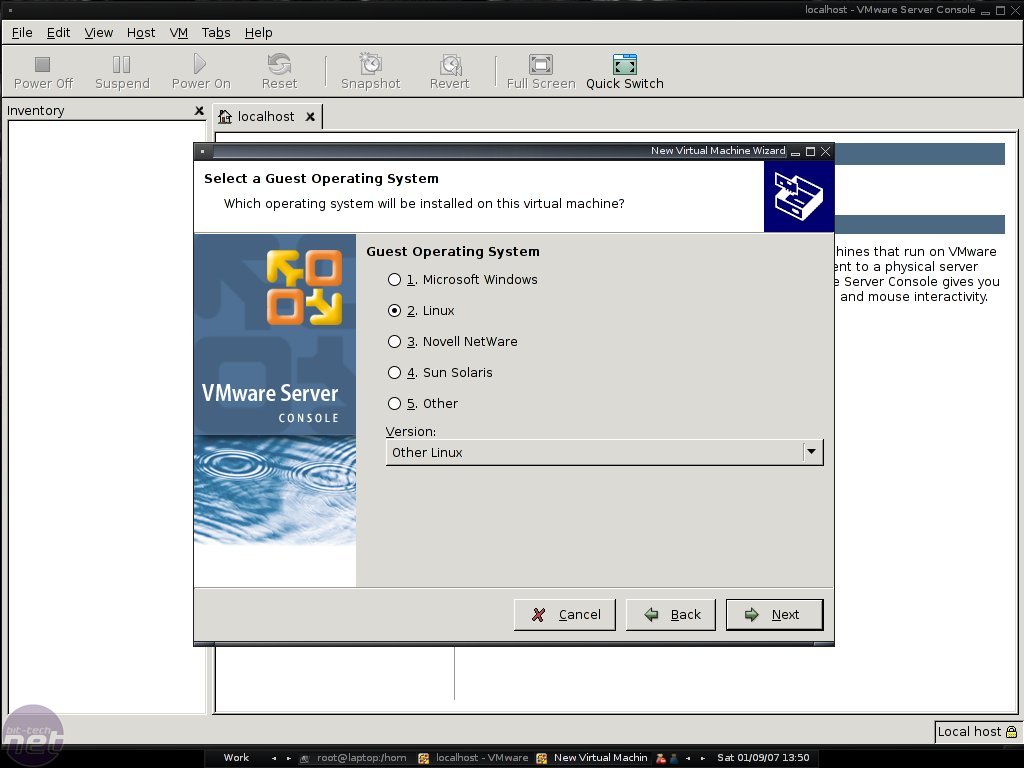
For this guide I installed the free (you need to provide some credentials for free keys) VMWare Server. I then added the latest flavor of Debian, named Etch. If you're confused already then don't worry, creating a VM is a breeze when you use the wizard. Just select a Typical VM, for a Linux based system, which I named Debian. What kind of networking isn't really crucial for this guide, but I usually select bridged, because then the VM is reachable from everywhere on the LAN.
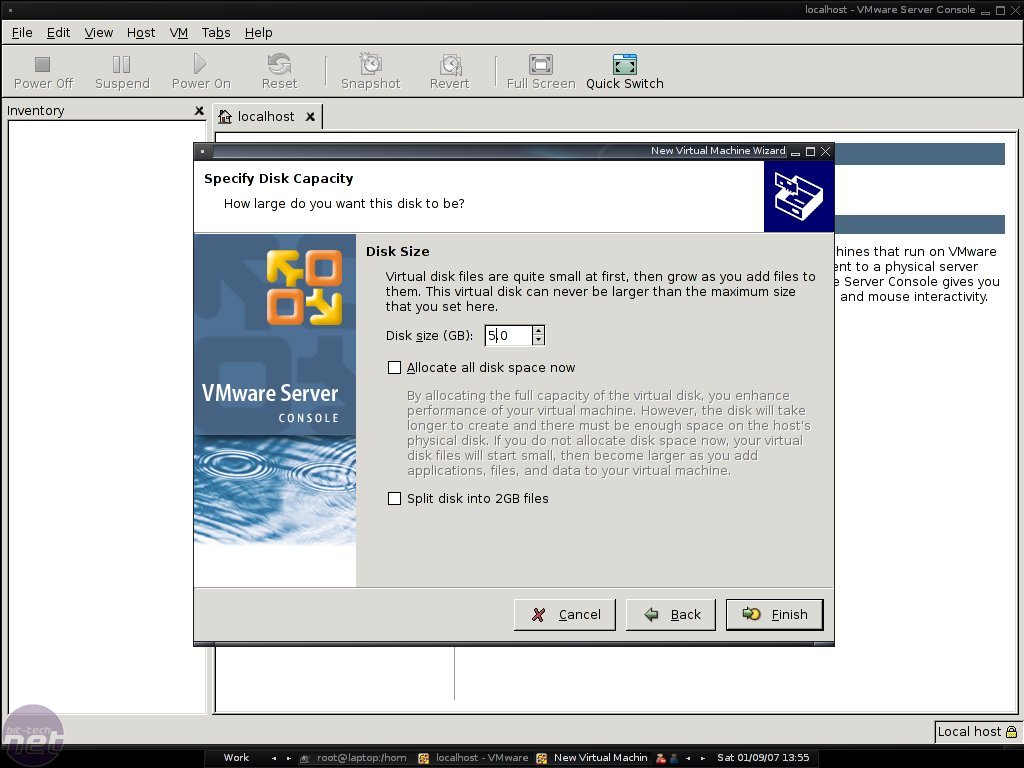
I went overboard on the disk size and made it a whopping 5GB, without allocating the image size (it will grow as needed). Since my ext3 filesystem can handle files larger than 2GB, I don't need to split it up. People who place the VM on an old 16-bit FAT partition will have to keep that option checked.
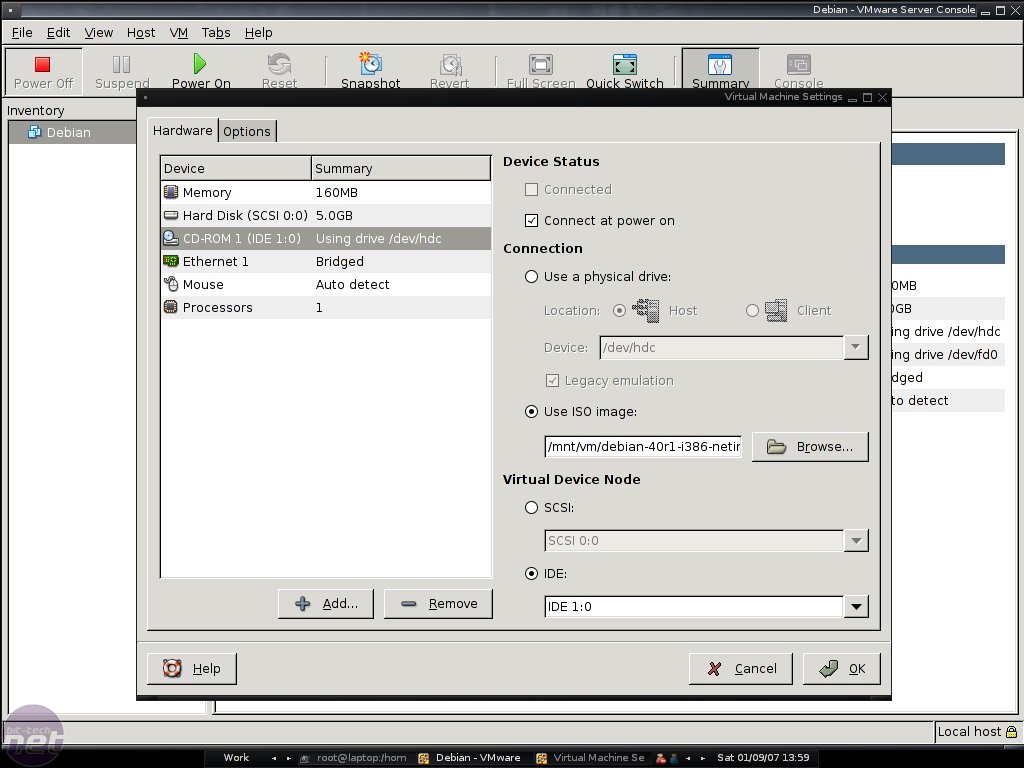
Then click Edit virtual machine settings and remove the floppy. Also, in the CD-Rom tab, insert the Debian netinstall ISO (which can be downloaded here).
The actual install is based on so-called dialogs: these are easy to use menus. Just answer the questions and you should be fine. For those who would like a reference, HowToForge offers a great guide, just follow it until chapter 7.
RELATED ARTICLES


MSI MPG Velox 100R Chassis Review
October 14 2021 | 15:04

Want to comment? Please log in.