
Installation
Zalman must have gone to great lengths to organise all of the parts of this case. Components needed for every stage of installation are clearly separated and labelled, and the installation procedure (which is far from simple) is made pleasant by clear and concise instructions. The process is quite time consuming but as long as the parts you're trying to install are compatible with the case (there's a list here) then you shouldn't have any real difficulties.
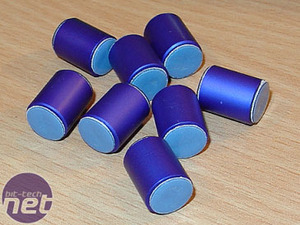
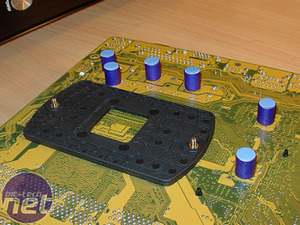
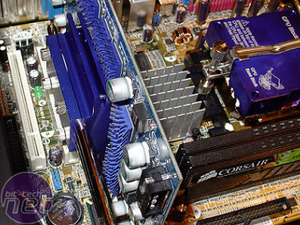
As with most cases, the first thing to be installed is your motherboard. You'll need to fit a proprietary CPU clip and back-plate, a very common procedure when installing a non-standard heatsink, and some funny little blue aluminium cylinders.
These cylinders are supplied with a sticky thermal compound on either end. They're supposed to be placed under components on your motherboard around the CPU area which generate heat and would, in any other case, be cooled by air flow around the socket. As there are no fans to generate airflow in Zalman's TNN 300, the cylinders are supplied to make a direct thermal link between these hot components and the right hand side panel of the case (which acts as a radiator to cool them).
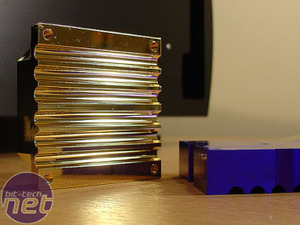
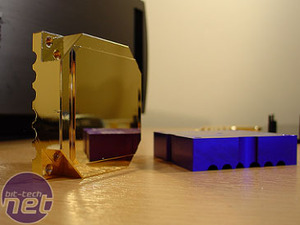
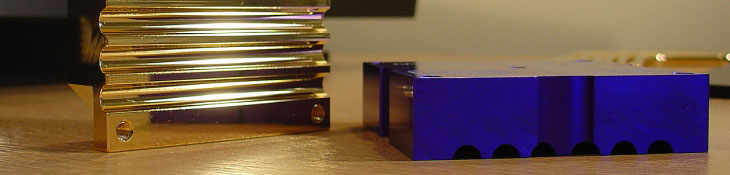
The CPU block itself is a thing of beauty. It's comprised of two sections which fit together to sandwich the six heatpipes introduced earlier. Zalman supplies large tube of thermal paste to ensure good contact between the CPU and the block and also between the heatpipes and the block.
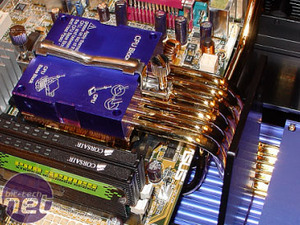
The clip which actually holds the block in place is easy to fit; Zalman have a lot of experience in this field with their long history of making top quality CPU coolers.
The process involved in installing the GPU block on your graphics card of choice is somewhat similar to that used to install the CPU block. You start by removing the cooler which came with your card, which depending on the manufacturer can be anything from a breeze to a great ordeal - care and patience should see you through though. The GPU block only cools the graphic processor, Zalman supply some small stick-on heatsinks for the memory chips on your graphics card. The lower side of the block bolts onto your card then the upper side sandwiches the three heatpipes in place.
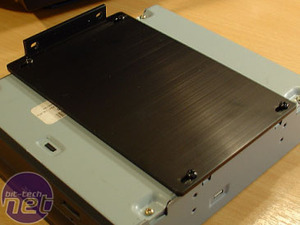
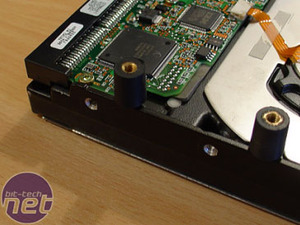
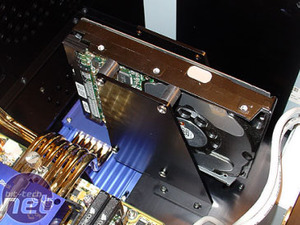
Some small rubber 'feet' are supplied for hard drive installation, which help to absorb some of the vibrations.
RELATED ARTICLES


MSI MPG Velox 100R Chassis Review
October 14 2021 | 15:04

Want to comment? Please log in.