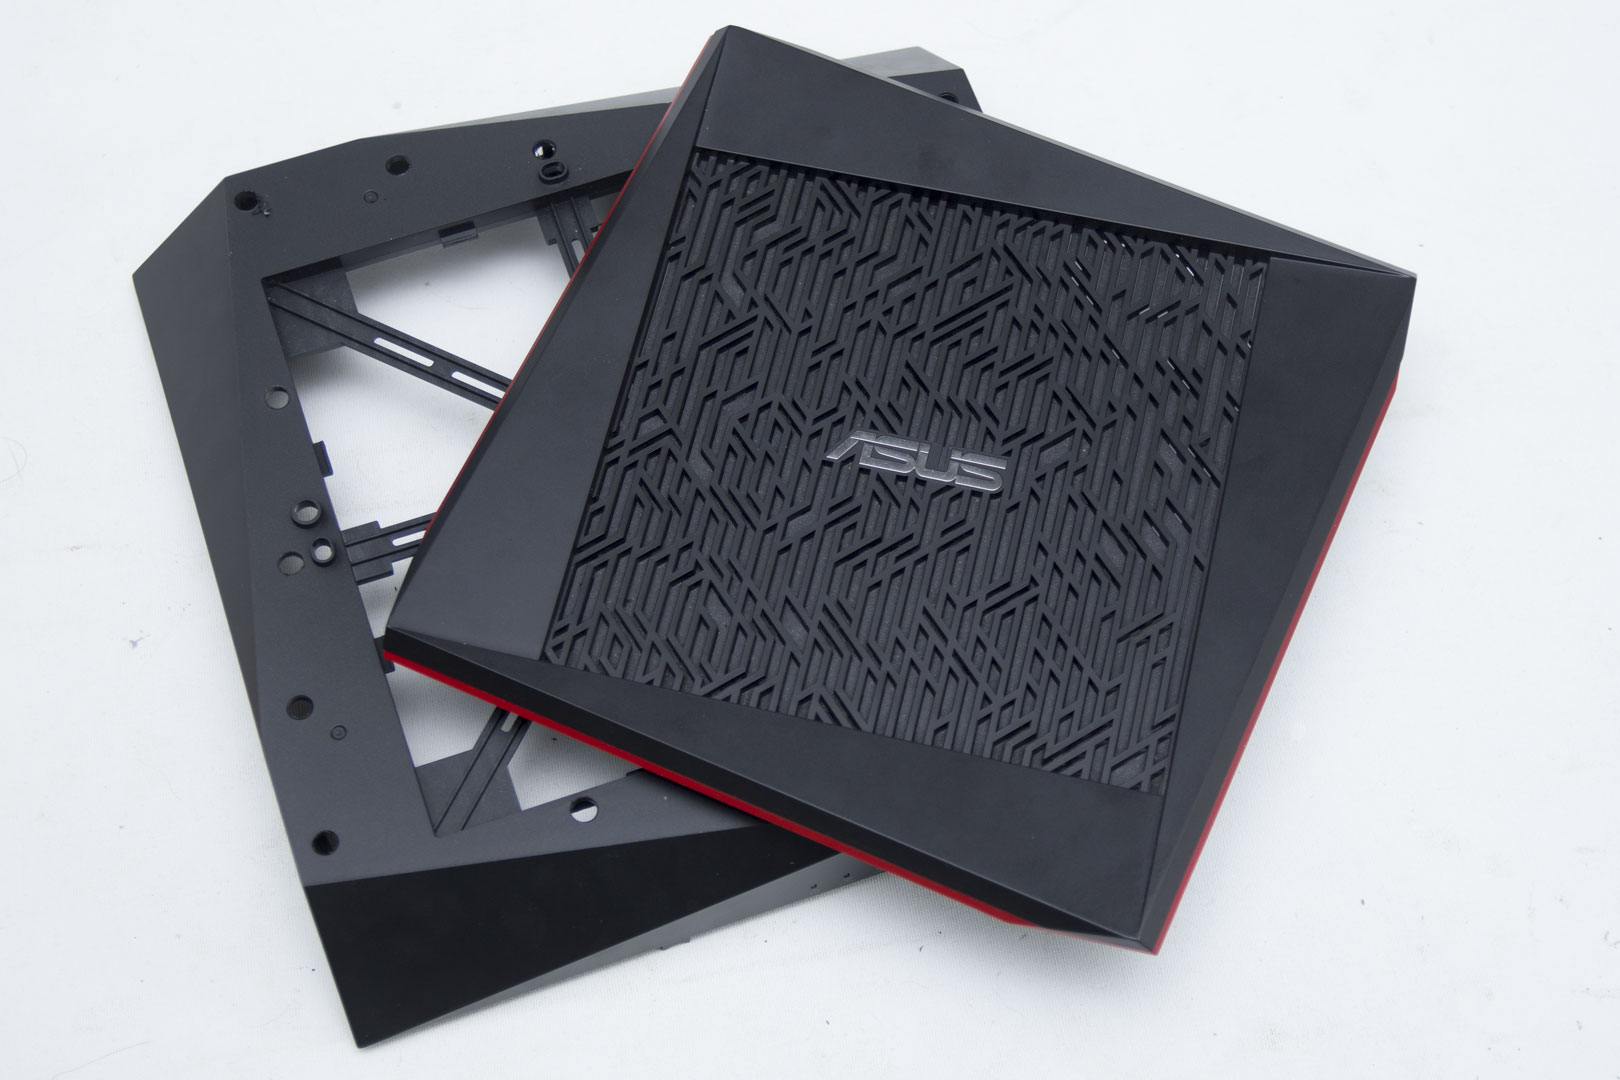
The bit-tech mod cave needed a bit of a router upgrade. The wireless was a little flaky, and when working outside signal was non-existent. I mentioned this in passing to Asus, and it offered us a rather tasty RT-AC5300. I was surprised to receive an Asus product without RGB lighting, so I set about adding it myself. RGB lighting isn't for everyone, and admittedly I usually pick a single colour and stick to it, but I thought it would be a nice little project. This is a low-cost mod, but we did run into a few little problems. Enough preamble, though - let's get it started!

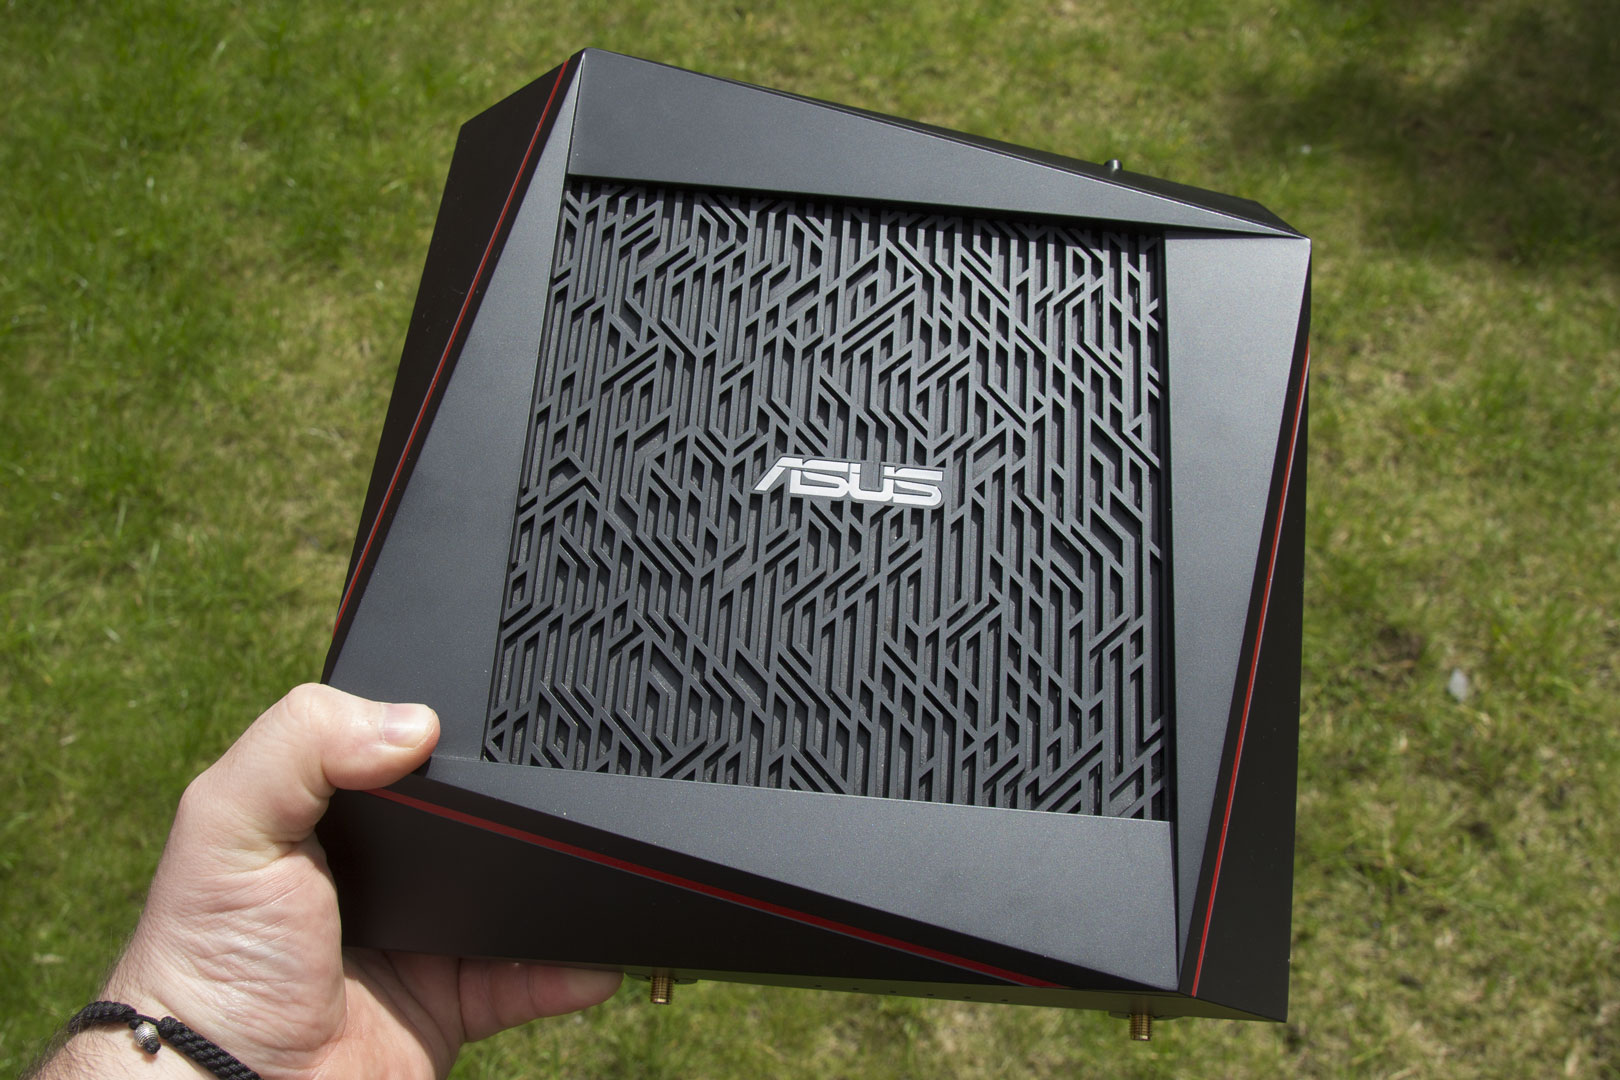
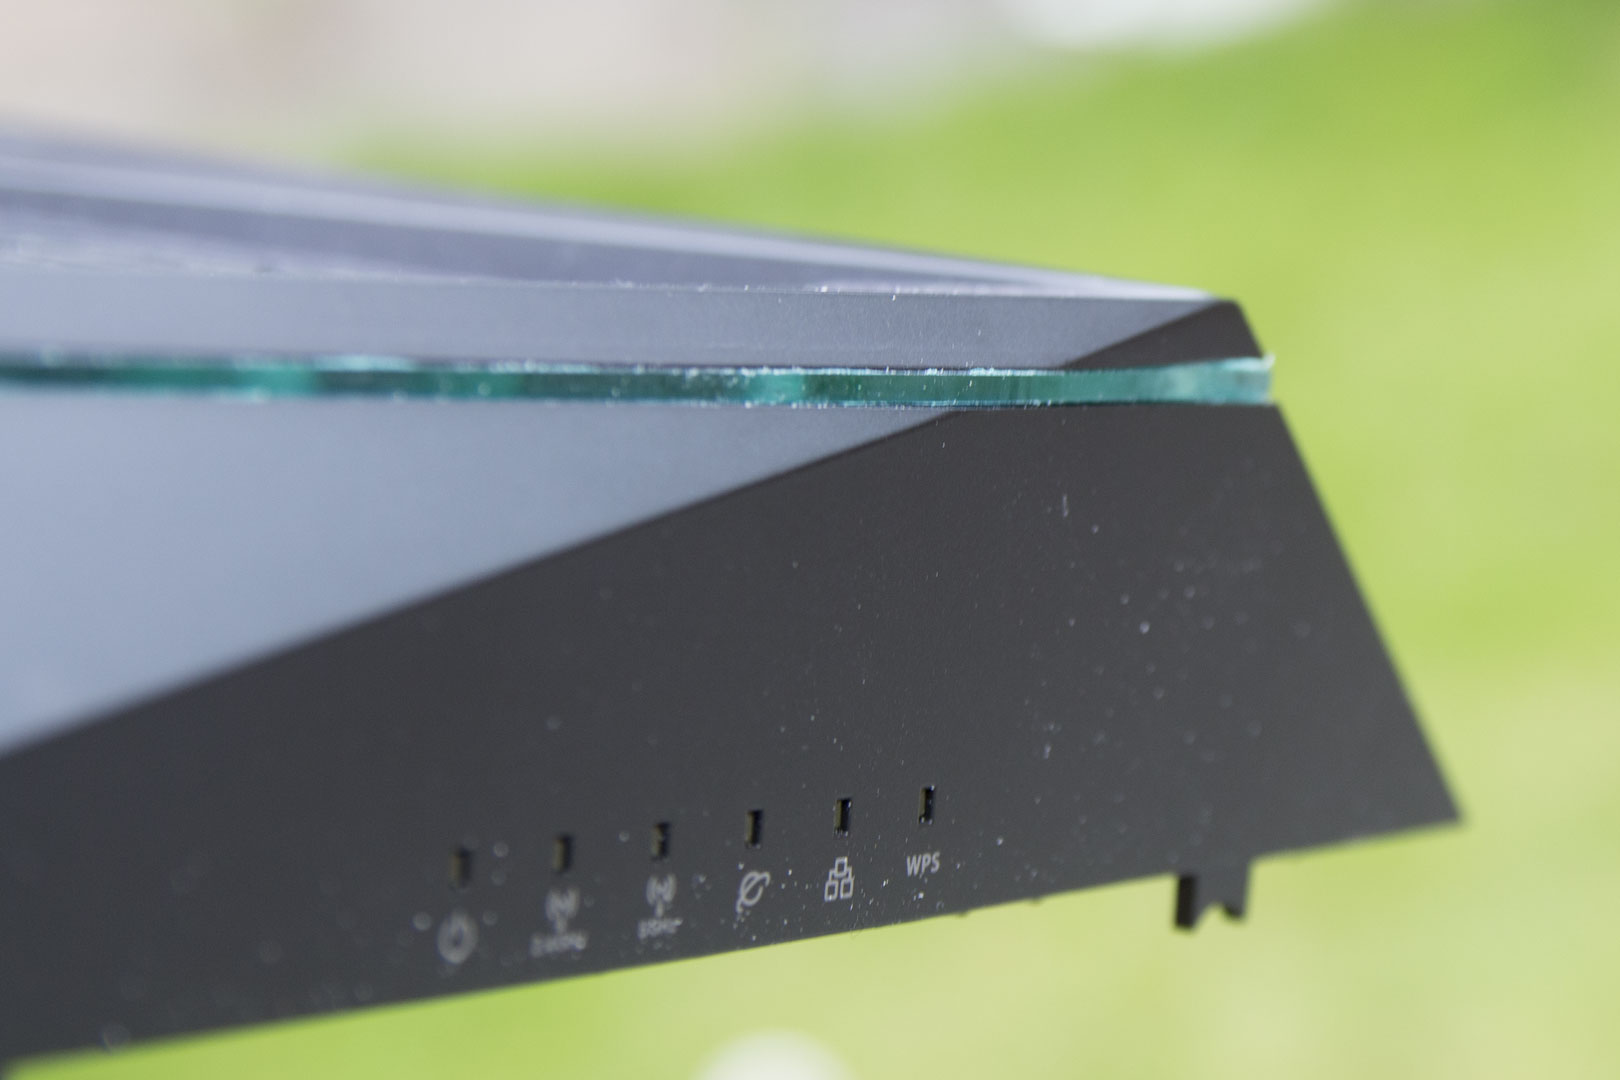
The idea I had is to change the red trim that currently goes around the edge to an RGB-backlit trim. Of course, in the process, you could paint the plastic or make other changes, but I really wanted to try to keep the rest the same.
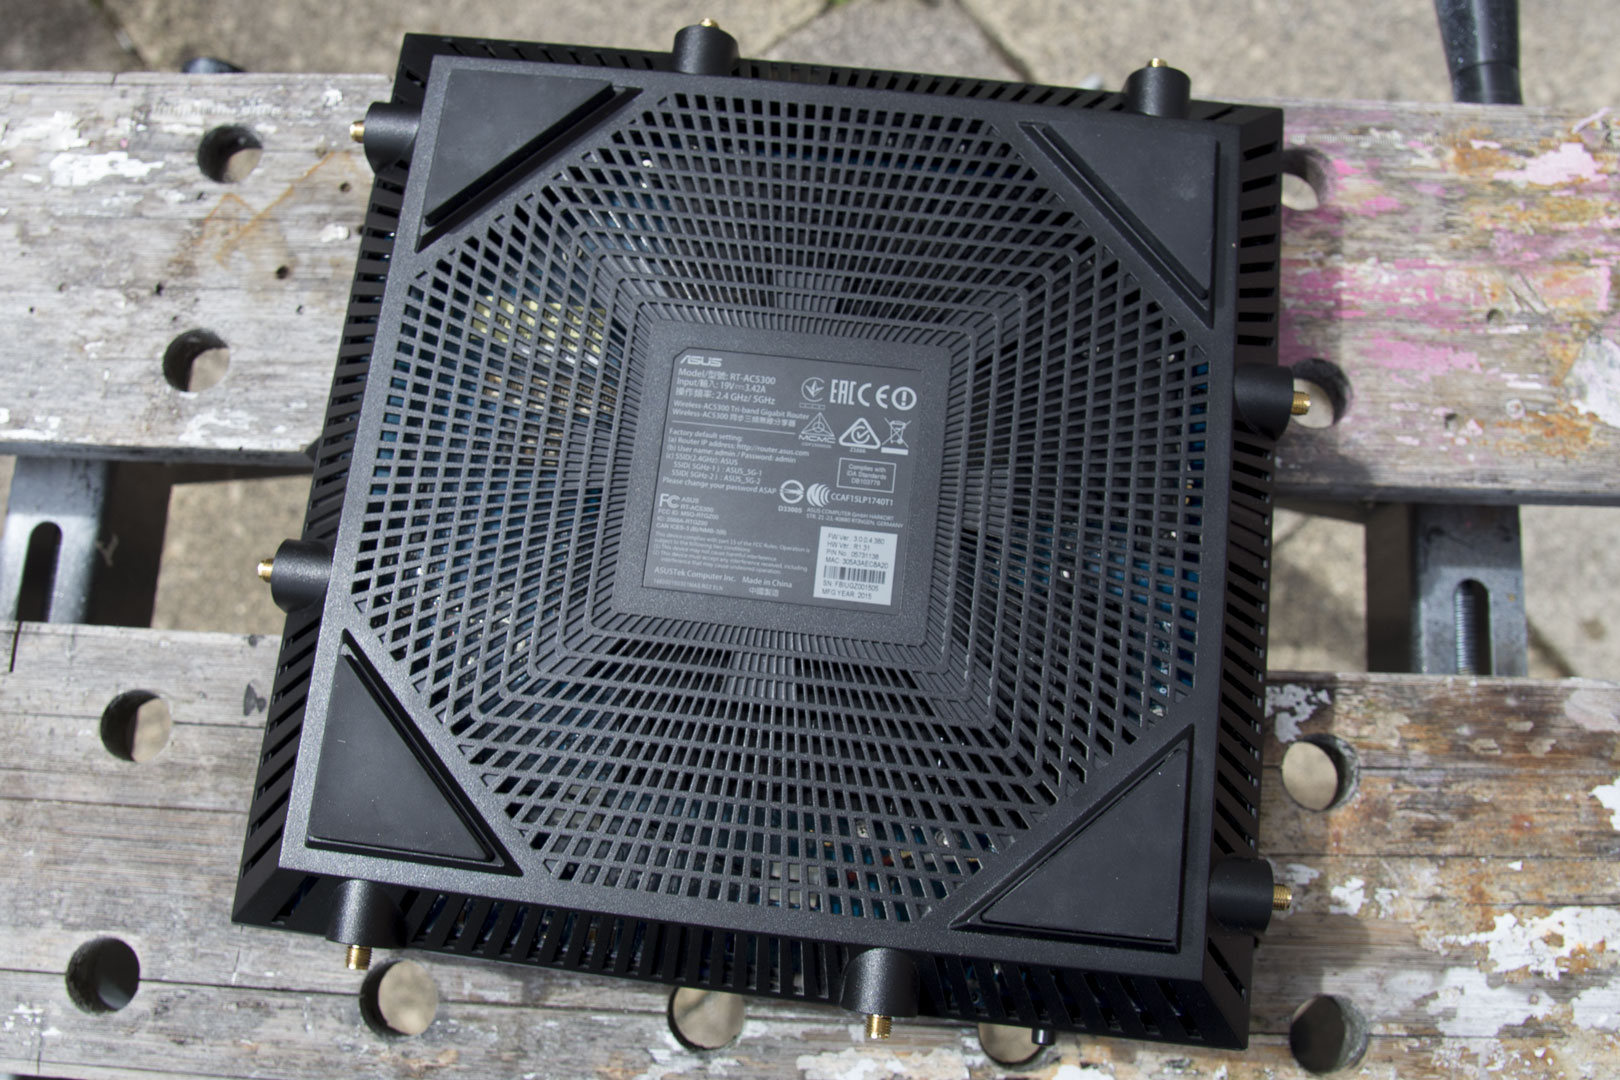
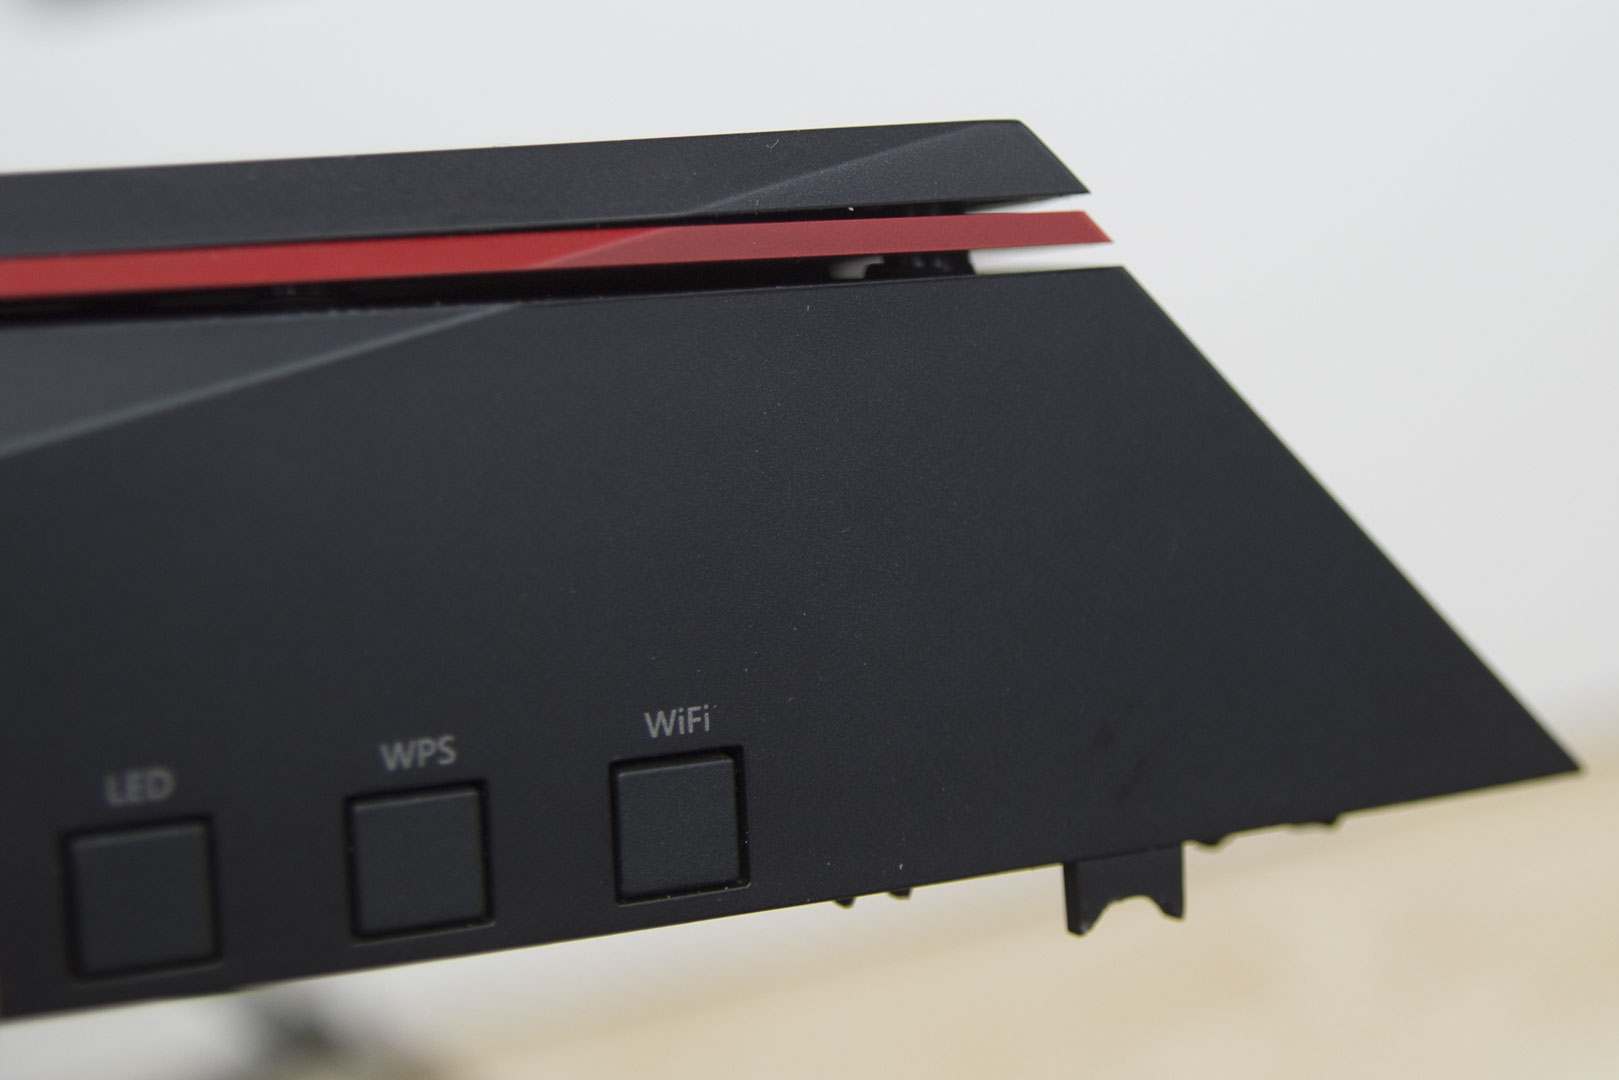
The first job was to try to figure out how to get into the router. There are no visible screws, so they must be hidden.


Bingo! Under the feet there are four screws, and one has a warranty sticker on it, so if you were thinking about popping one of these routers open, then you would have no warranty left. Who really cares about warranties around here, though? There are a further two screws to take out in order to remove the PCB completely.
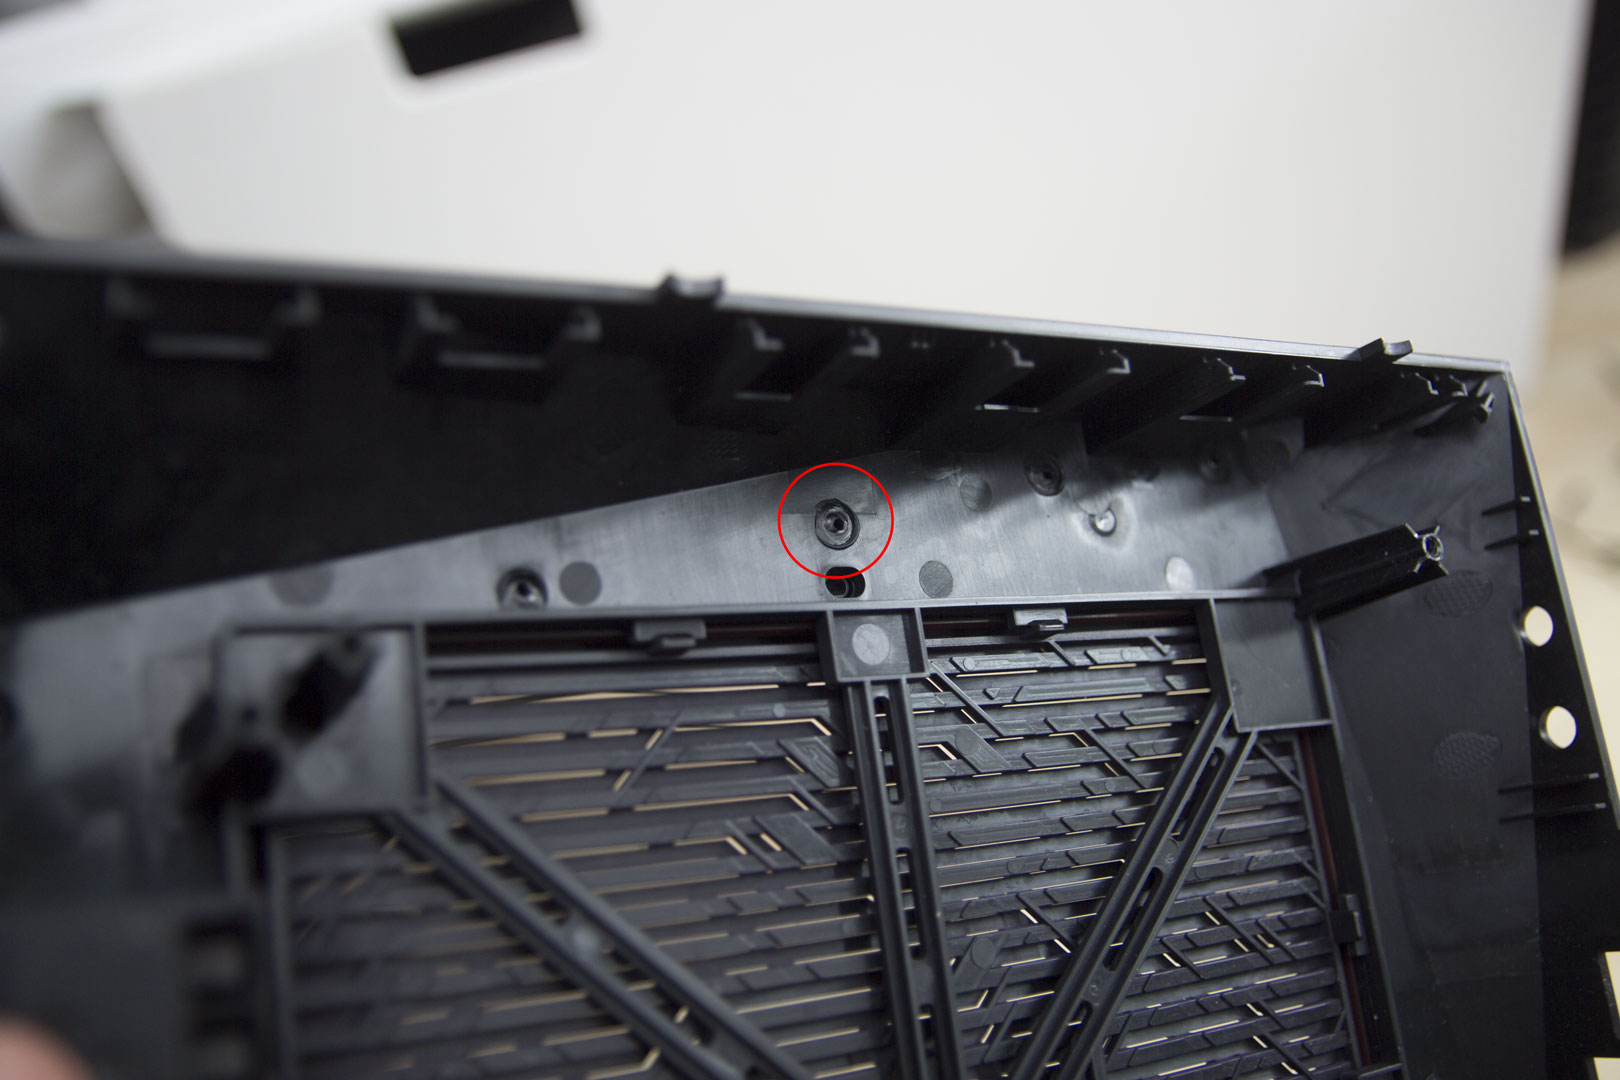
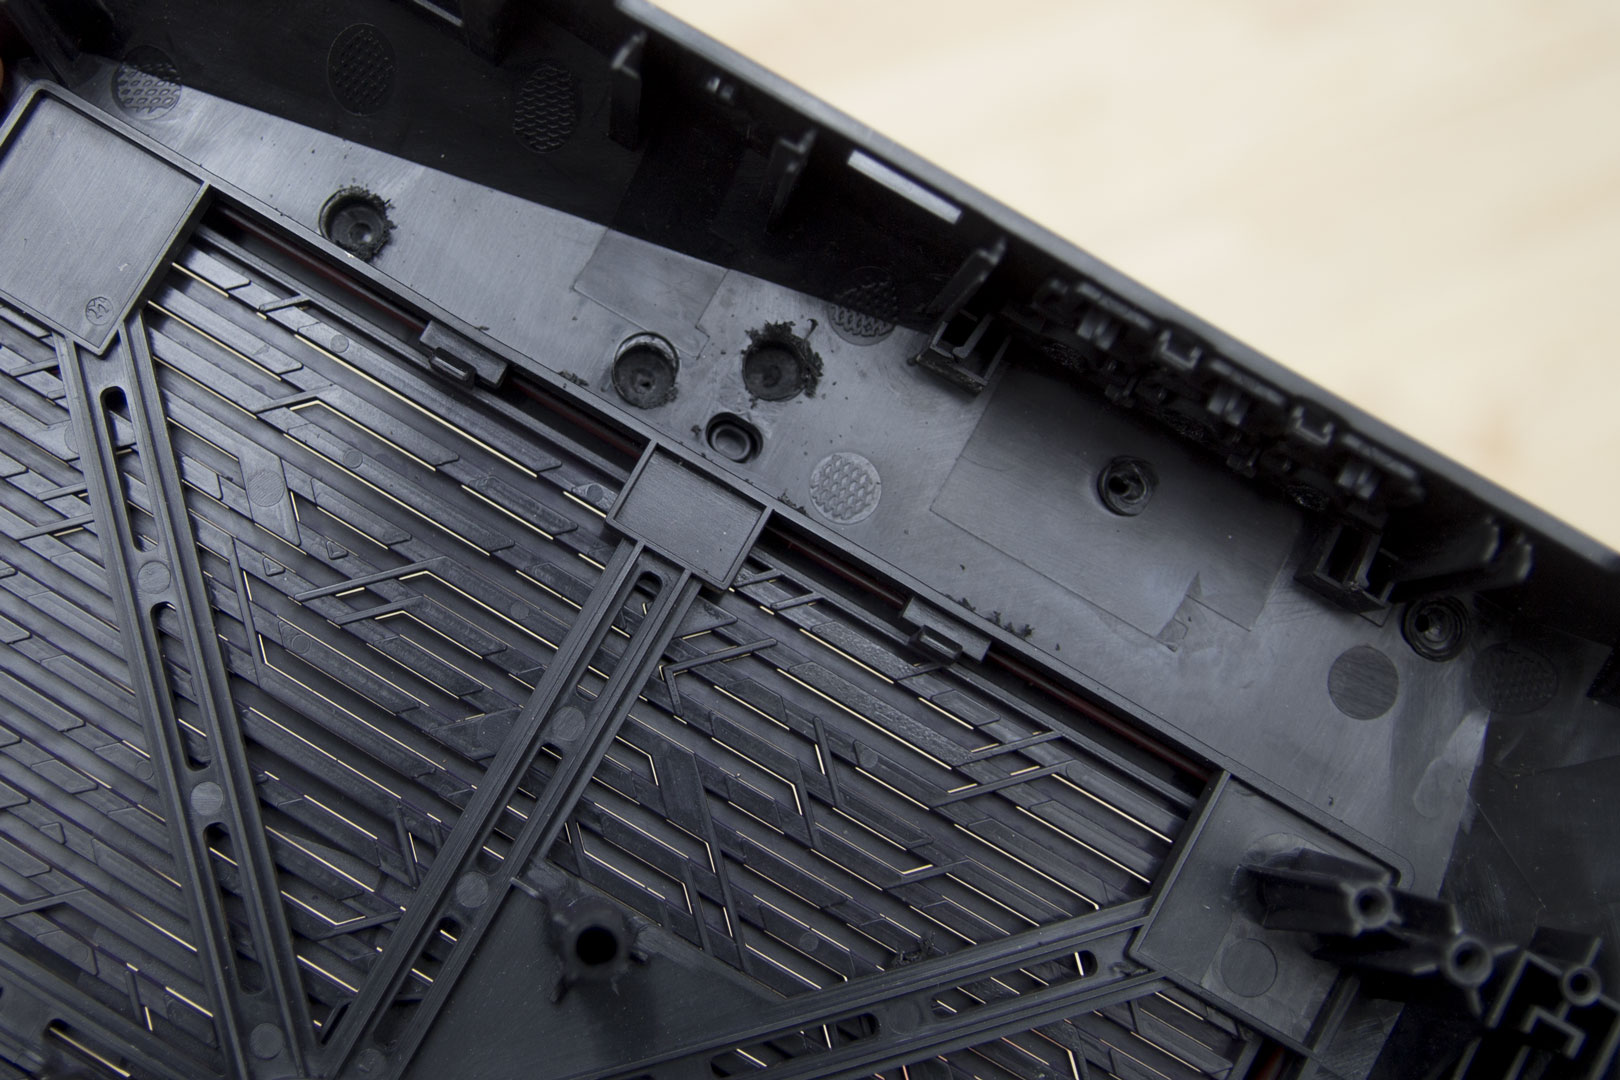
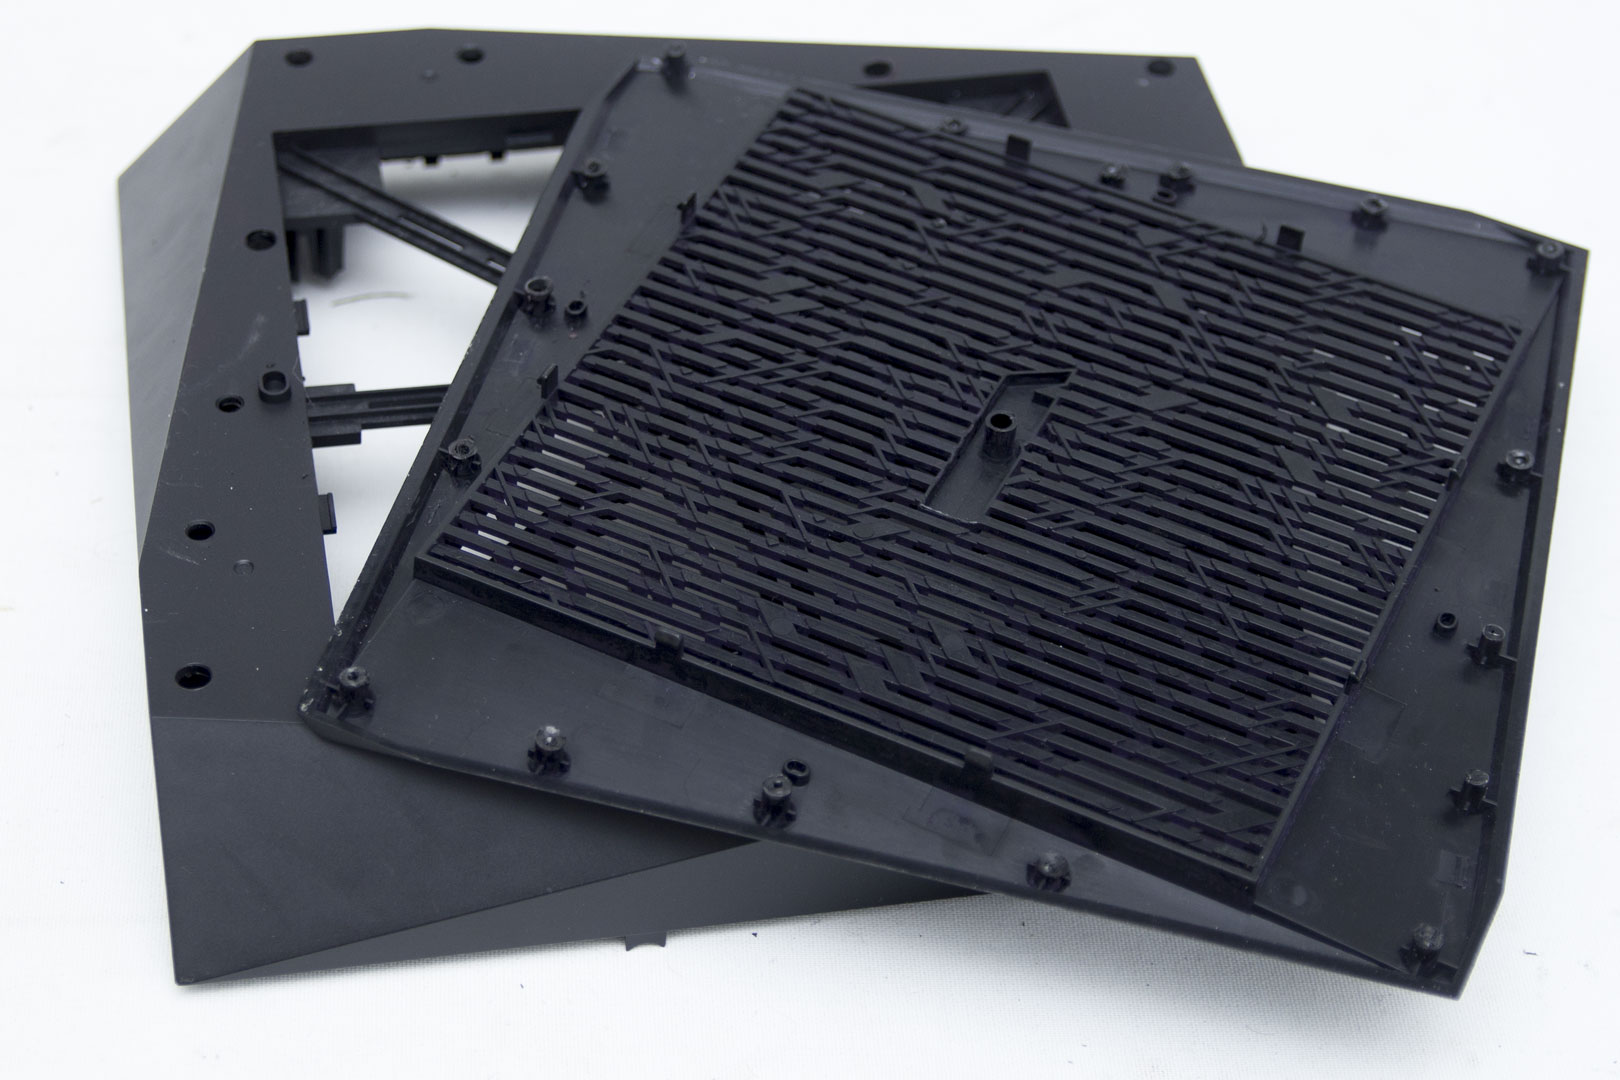
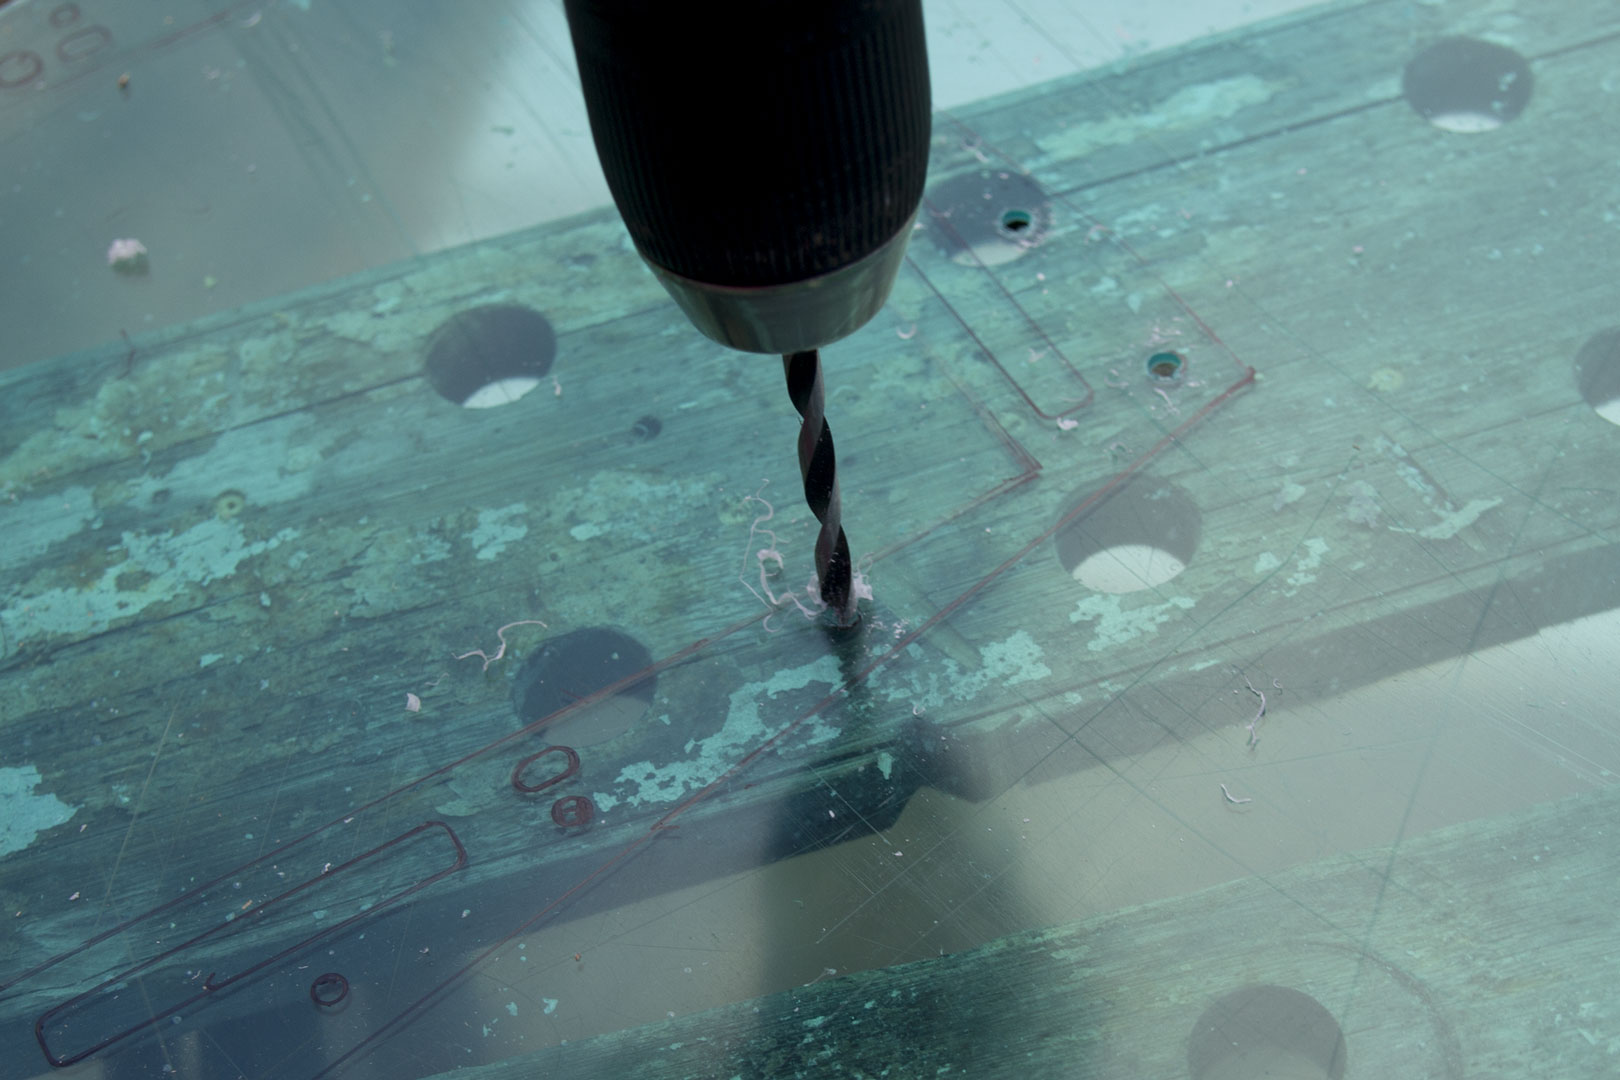
Once I opened up the router, I realised things weren't going to be as easy as I expected. I thought that the trim was going to be a thin trim around the edge; in fact, it is far more substantial than that. The top of the router has three layers all held together by melted plastic connectors - I have circled one in the picture above. To take these apart, I drilled them down a little, although another option would have been to melt them with a soldering iron or similar.
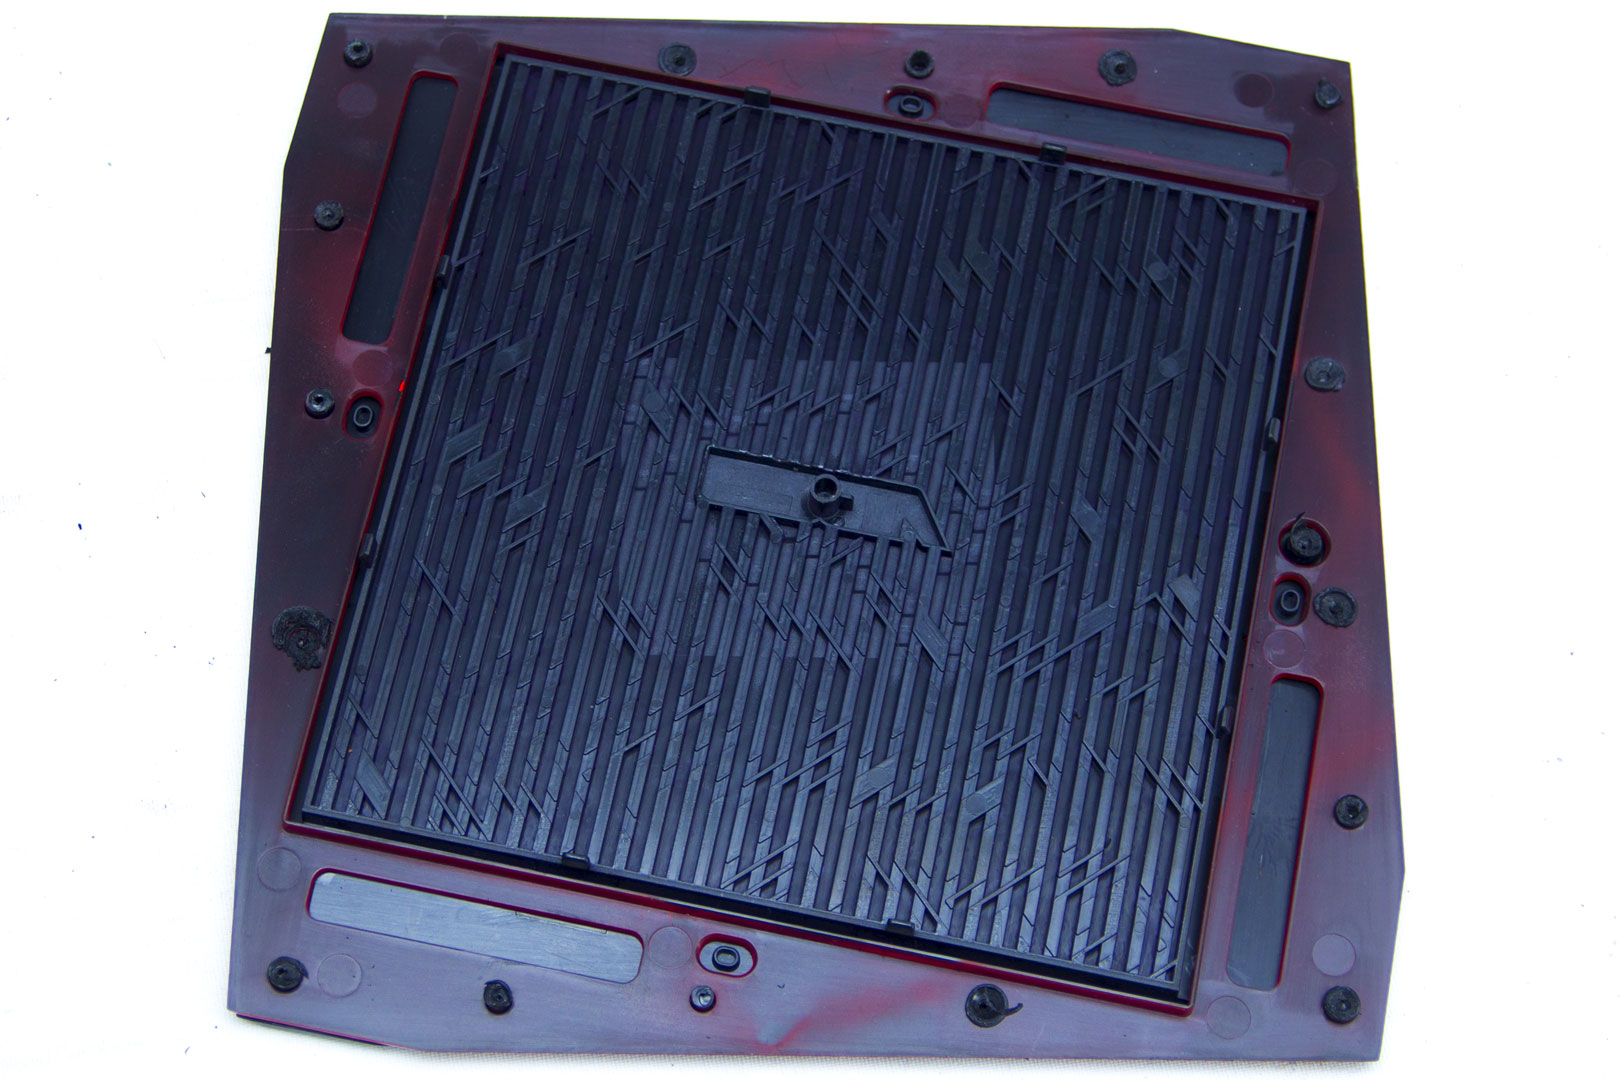
Once all of the plastic tabs were melted down, I managed to split apart the layers. It did take a while, as I wanted to make sure I didn't snap anything.
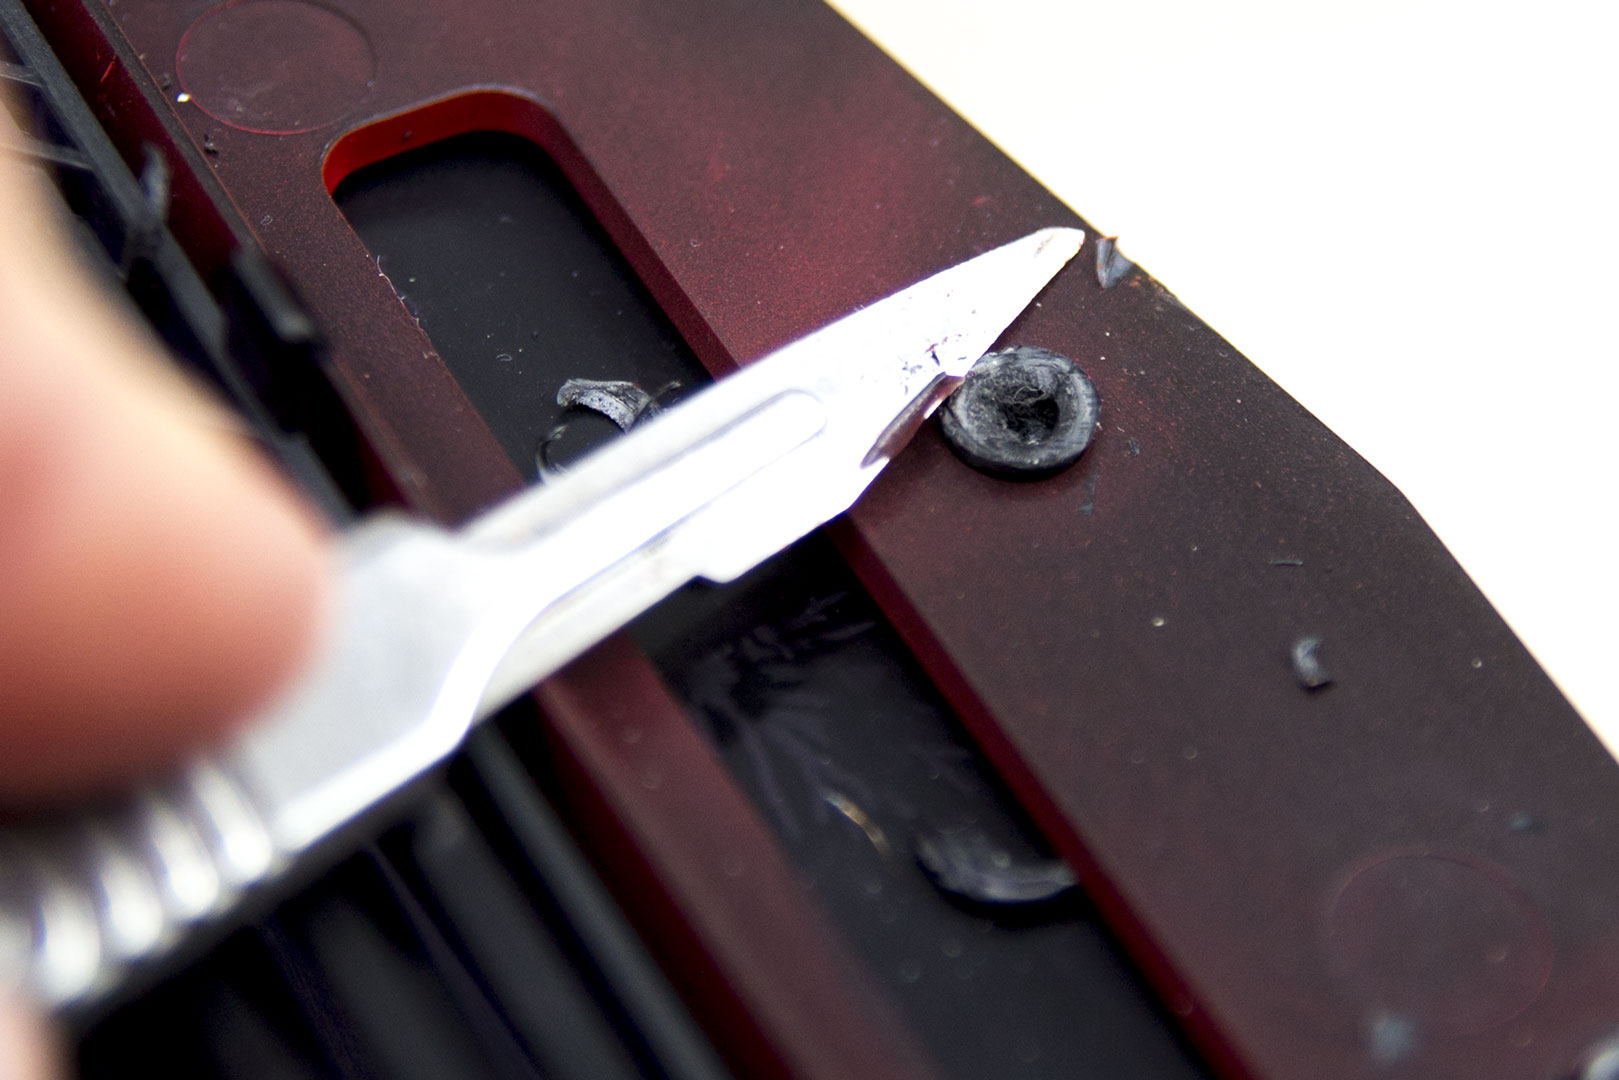

I used a scalpel to remove any excess plastic to enable me to remove the red layer from the black layers. It worked surprisingly well!
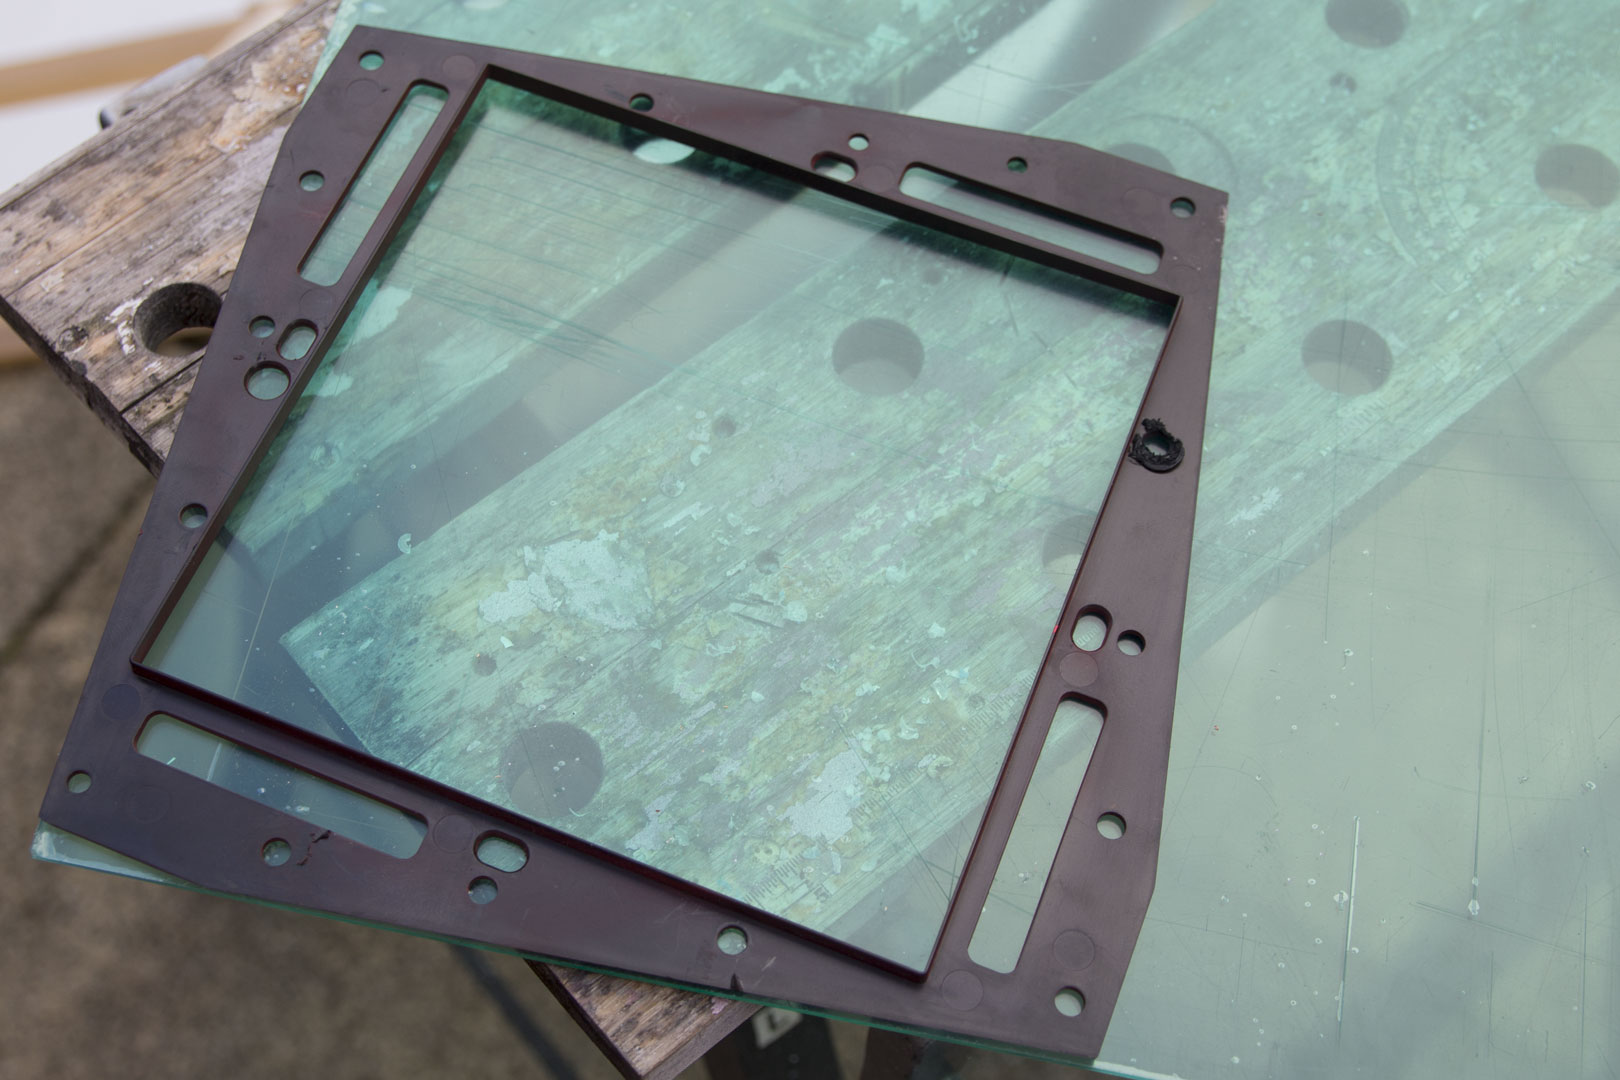
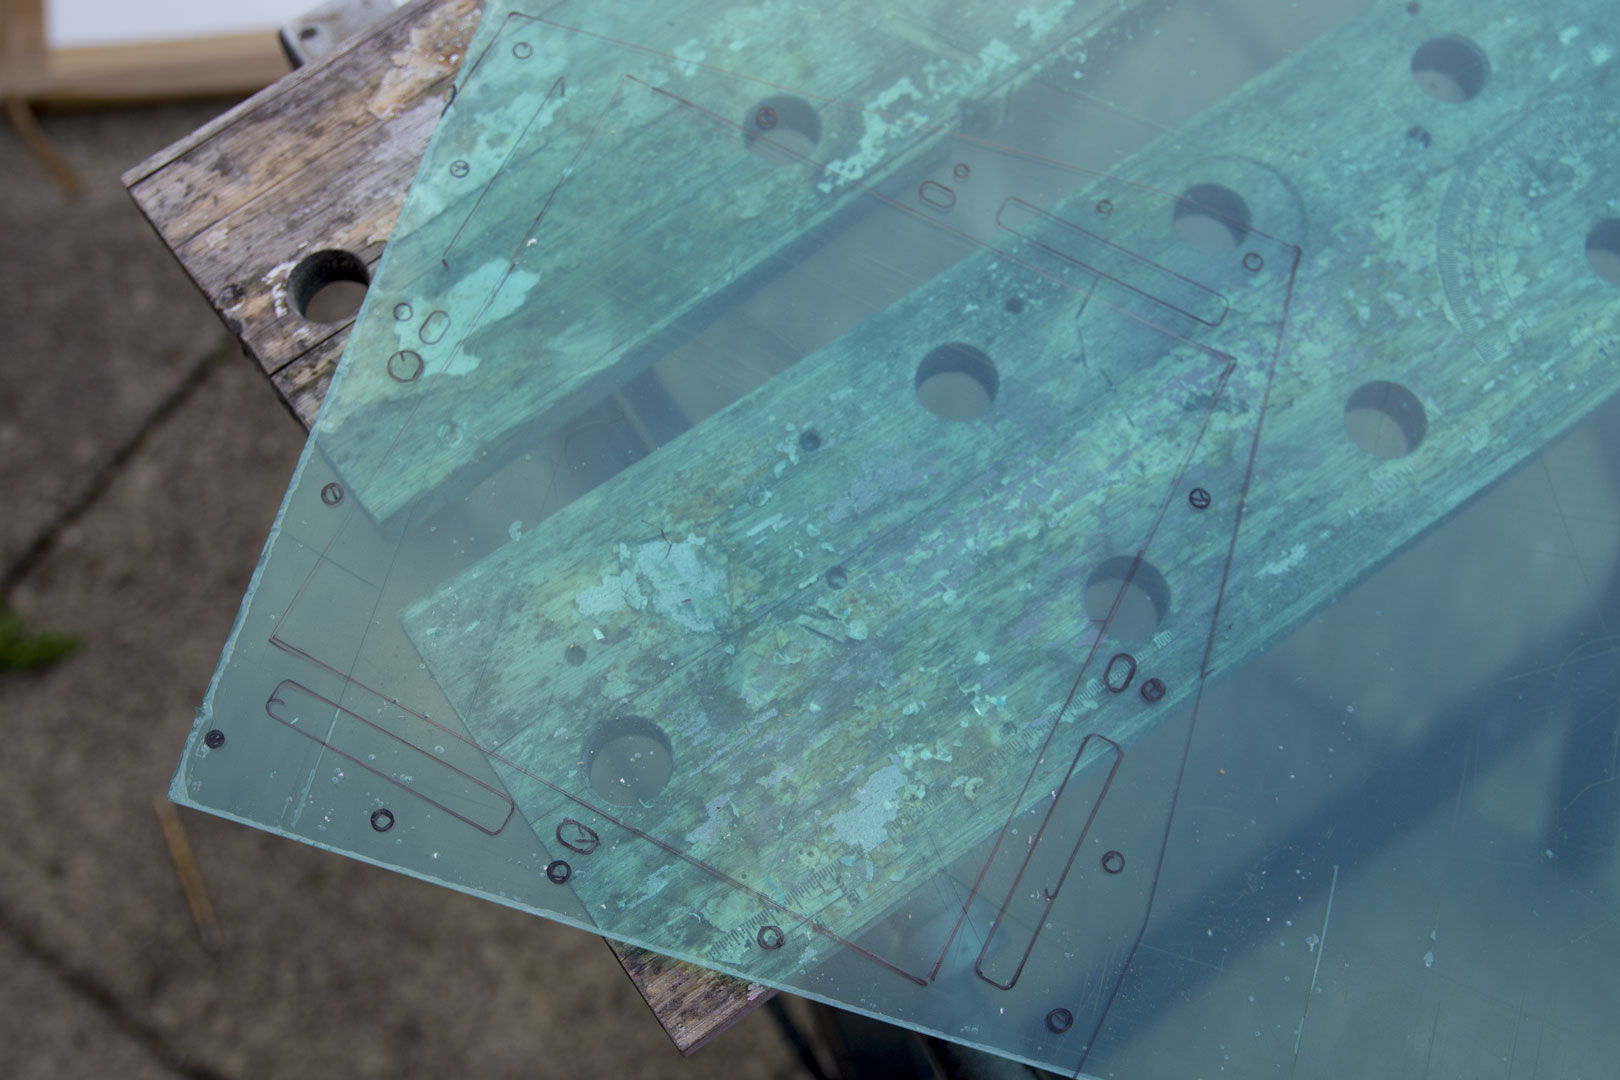
I needed to remake the red layer out of clear acrylic so the lights could shine through. The first idea was to use 2mm acrylic, the same thickness as the original layer. I used the original one as a template and drew all around it. I then drilled all the holes, then used a jigsaw to cut the larger parts out.

Once it got to this stage, I thought I would test it out to see what it would look like. Unfortunately, I didn't really like the thin layer, especially once I got LEDs behind it. The LEDs just didn't defuse enough, and it just looked wrong. So, back to the drawing board.


I found a scrap of 5mm acrylic, and it was just big enough to be used, so I thought I would give it a go. I repeated all the steps and ended up with the above.
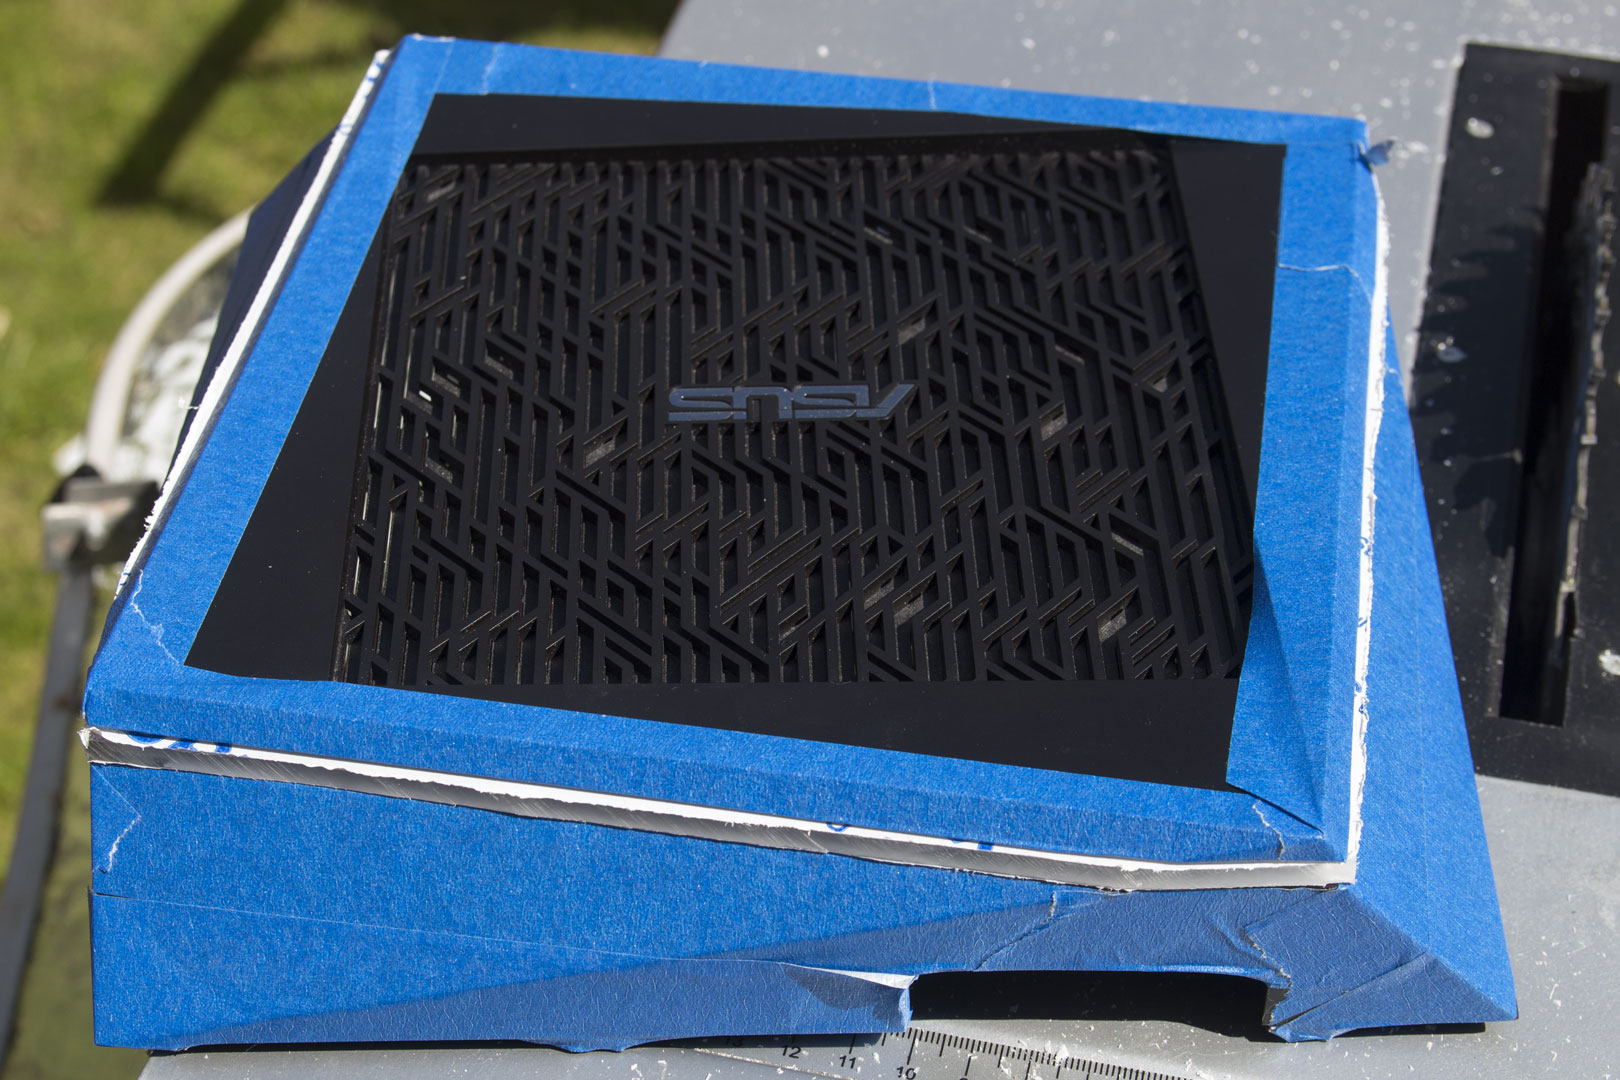

As I needed to constantly take the router apart and connect everything back together again, I didn't want to scratch anything so covered the whole thing in some blue paper tape. It is always worth being safe rather than sorry. As you can see in the picture above, the edges needed a good filing down, and once that was done, I used progressively finer sandpaper to polish the acrylic edges.
RELATED ARTICLES


MSI MPG Velox 100R Chassis Review
October 14 2021 | 15:04


Want to comment? Please log in.