
Open another gate
More and more ISPs block certain ports or ranges for their clients, mainly to prevent them from setting up servers.There are two common ways to get around this blocking: either run the service on an other port, or remap the port somewhere. For the SSH daemon we'll make it listen on a port that isn't blocked - 2222, instead of 22.
I chose this because it's fast and convenient, though port remapping will definitely get you there as well (with some added benefit). However, remapping ports isn't exactly beginner-friendly, which would defeat the purpose of this guide. So for some guidance about port remapping, you'll need a bit more patience.
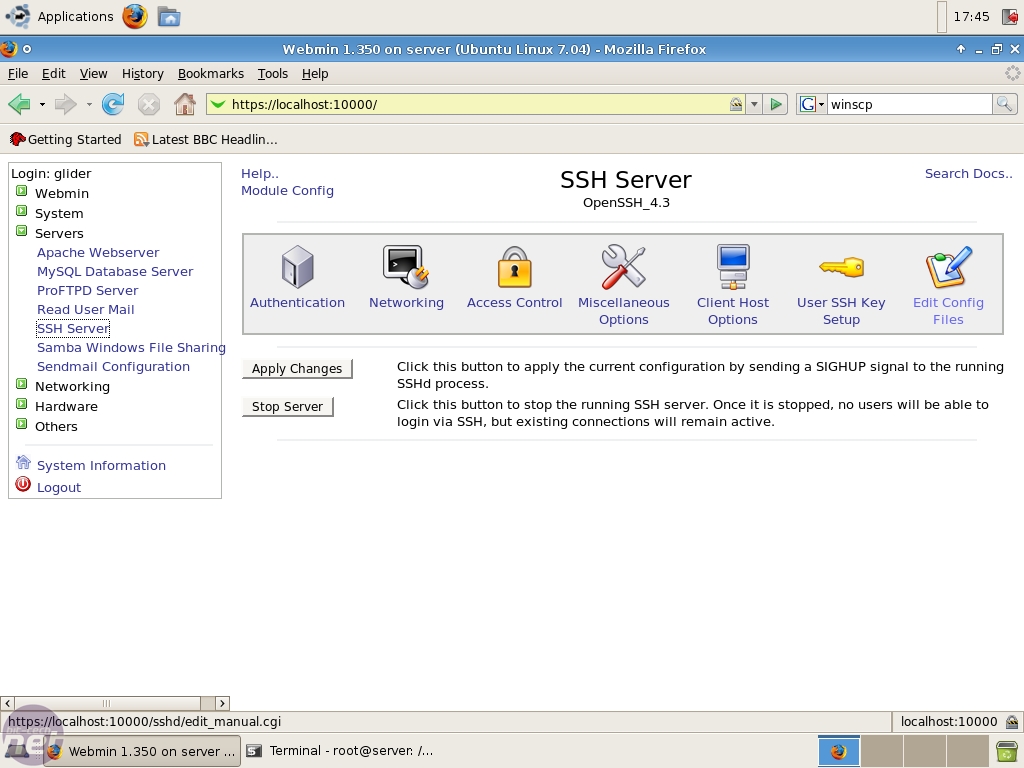
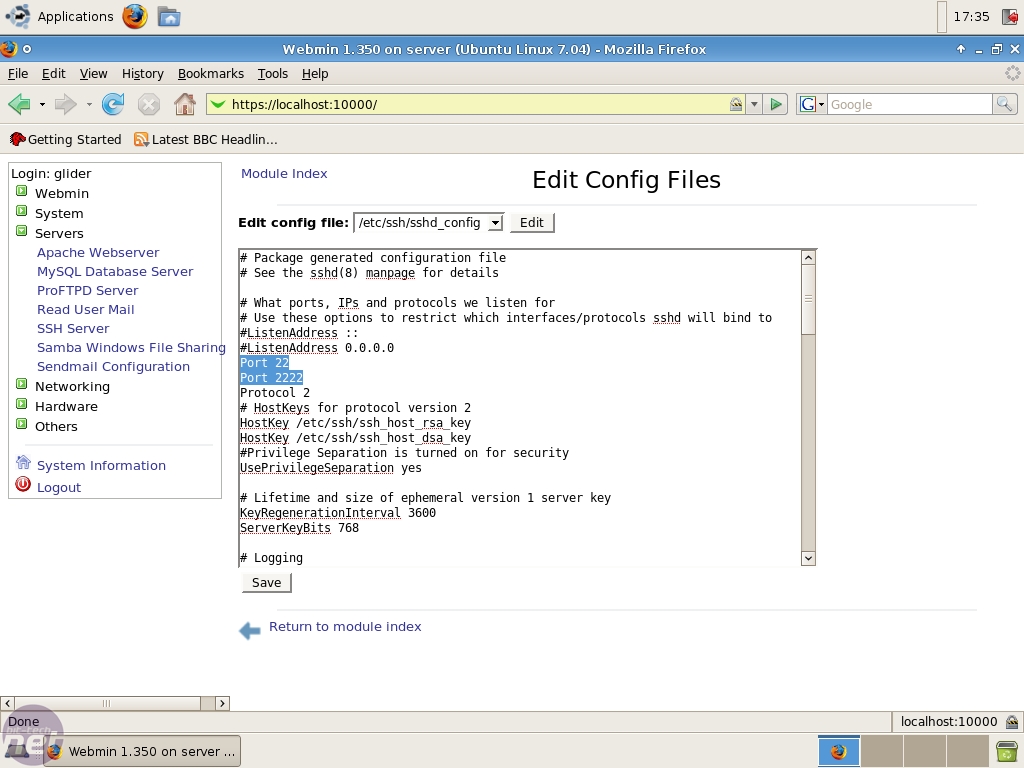
Since Webmin is installed, we'll use that to alter the configuration files. But the same can be established by editing “/etc/ssh/sshd_config”. Now, in Webmin, under “Servers” you'll find an “SSH Server” link. We'll just edit the config file, so click on the “Edit Config Files” icon. Add in
Port 22
Port 2222
in the config and click “Save”. Also, don't forget to “Apply Changes” to make them active.
sFTP/SCP
A lot of people wondered why there was an FTP server included in the original article and not an sFTP server for security. Well, FTP is more commonly used, and that's why it was included. However, hidden inside was also an sFTP server. sFTP is part of the SSH server, which was set up. An SSH server also provides SCP (or Secure CoPy) functionalities.On the previous page we disabled, or removed, the FTP server. Now, we need another way of uploading large files, besides Samba.

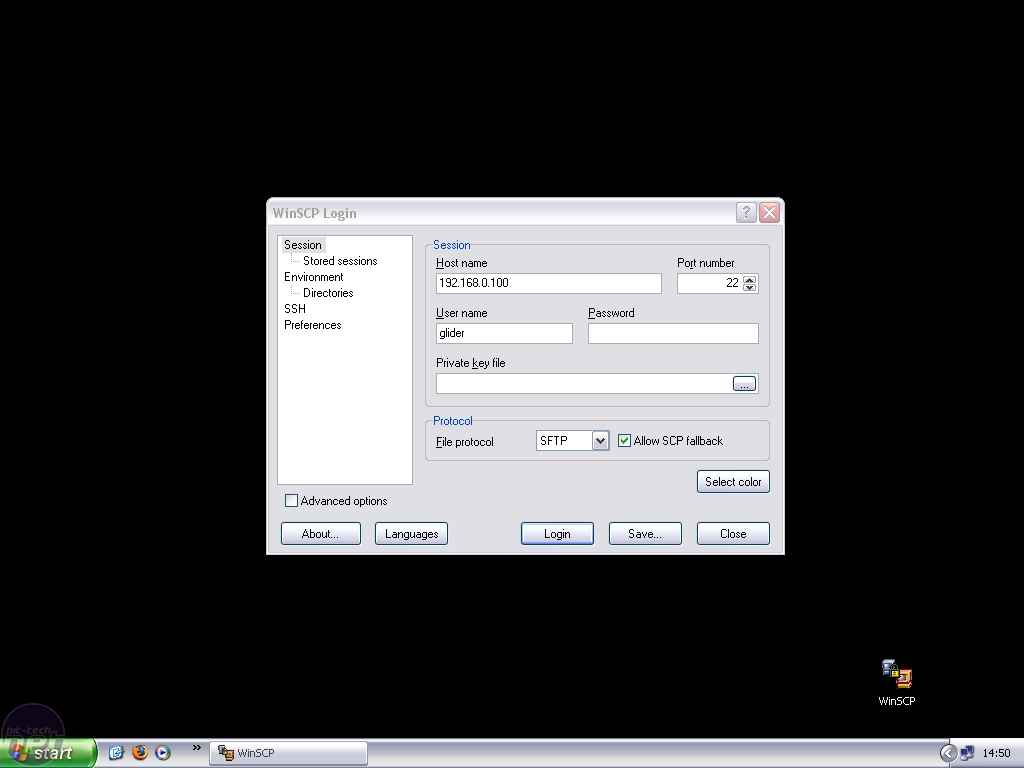
So, the server is already up and running, but since sFTP isn't as standard as FTP we need a Windows client. WinSCP is such a client and it's free too. So head over to the homepage and download your client. After you've installed the application, fire it up and make a connection to the server with the correct credentials.
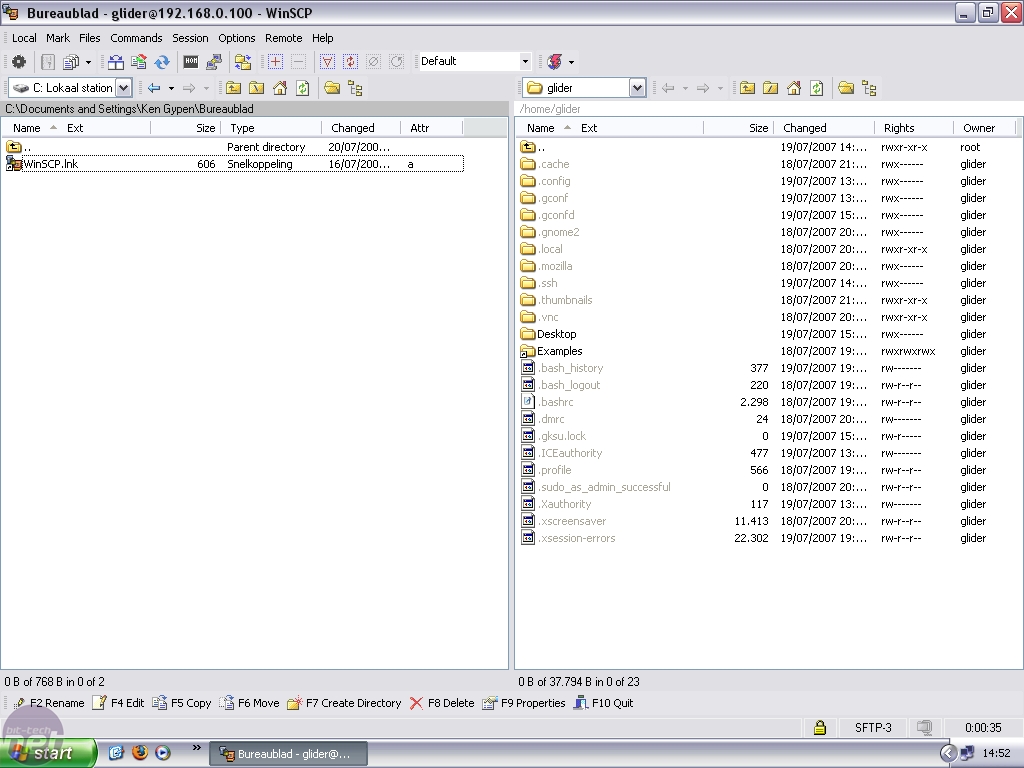
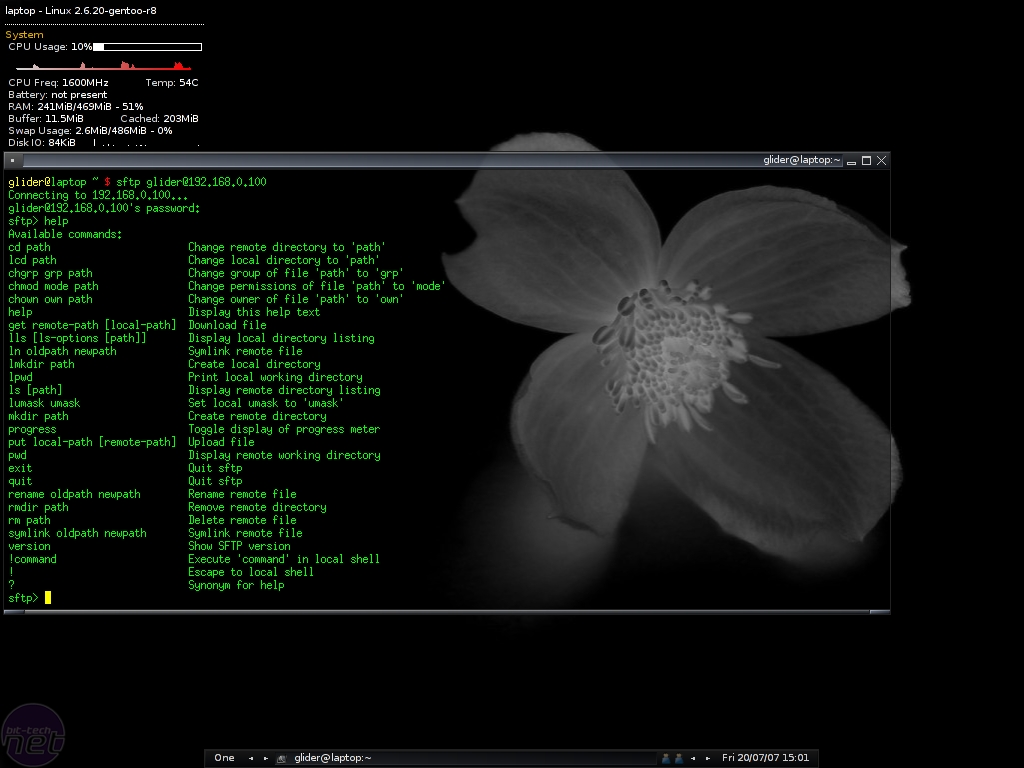
The client will log in and offer you an easy interface to up or download files to the server. Of course the Linux users aren't left out. There are graphical clients or you can take the geeky road and do it from the command line interface.
RELATED ARTICLES


MSI MPG Velox 100R Chassis Review
October 14 2021 | 15:04

Want to comment? Please log in.