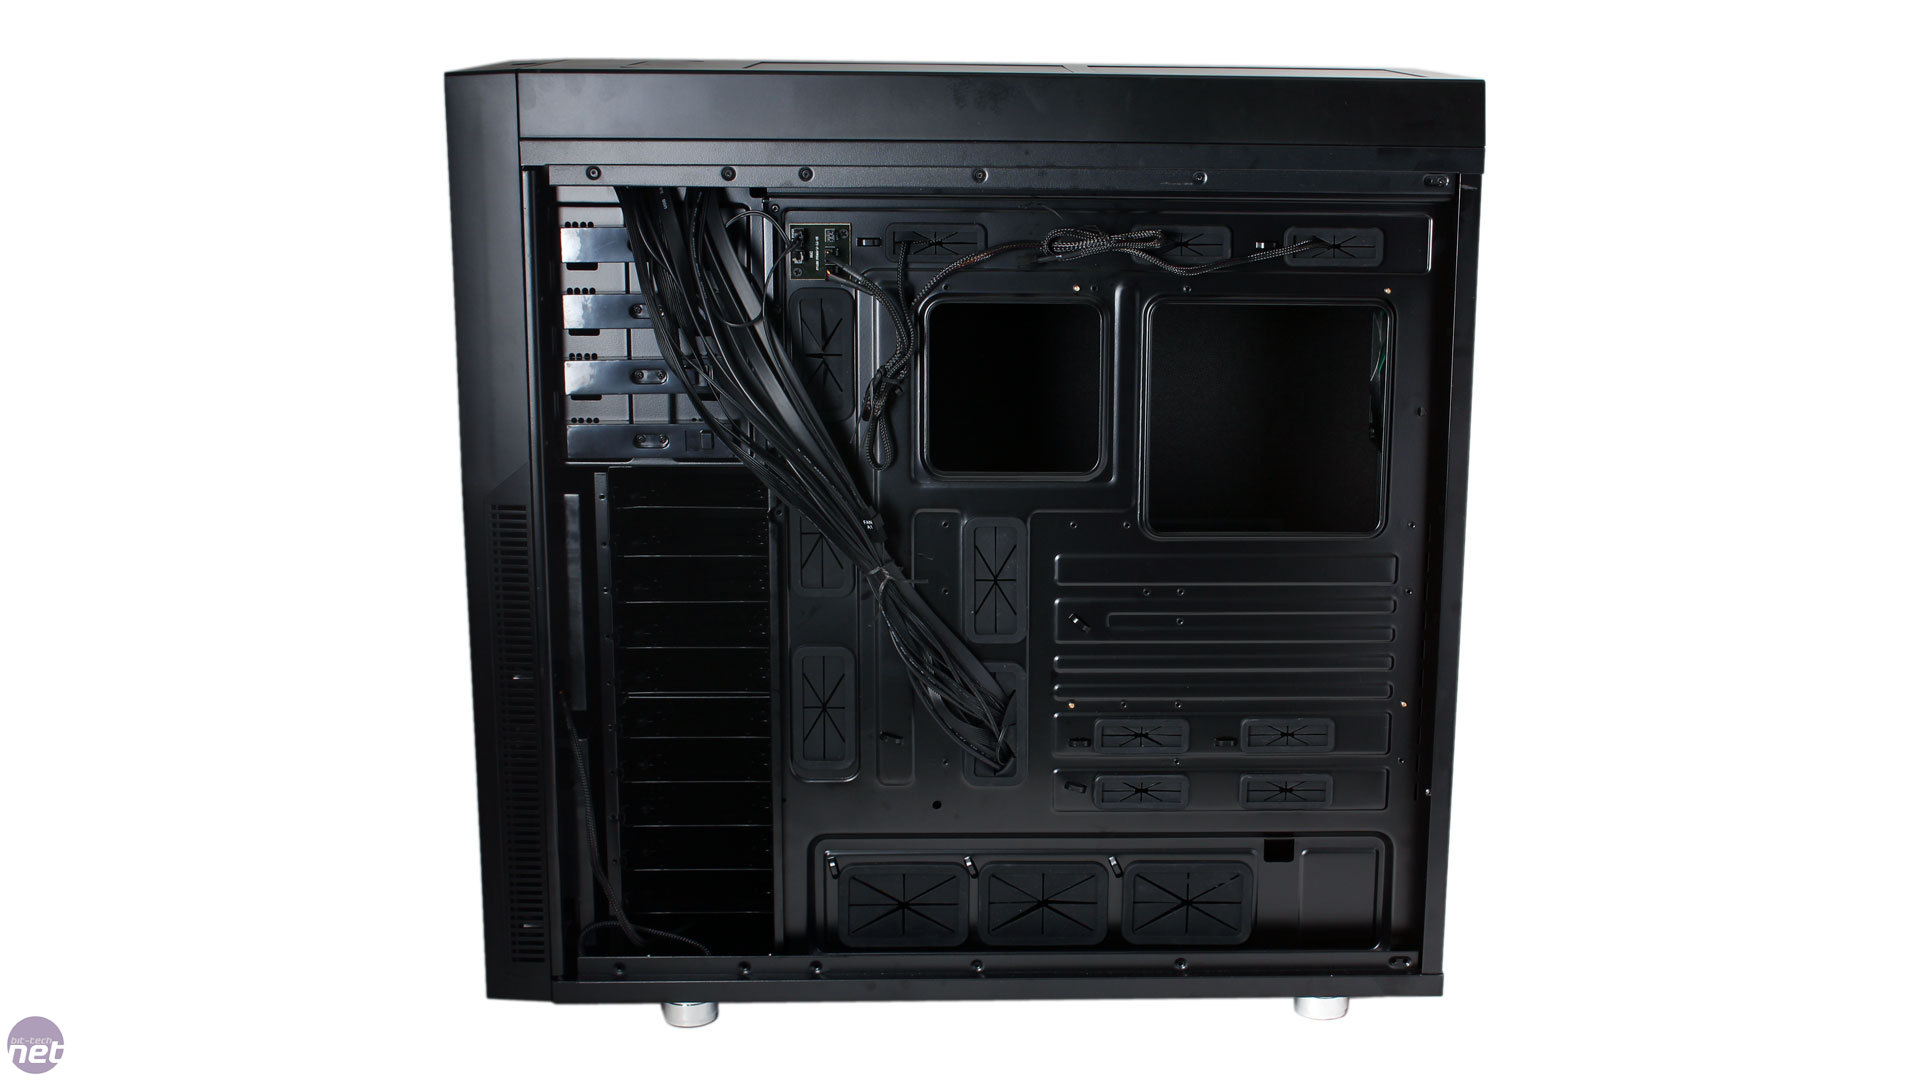
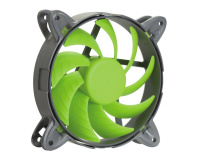
Interior
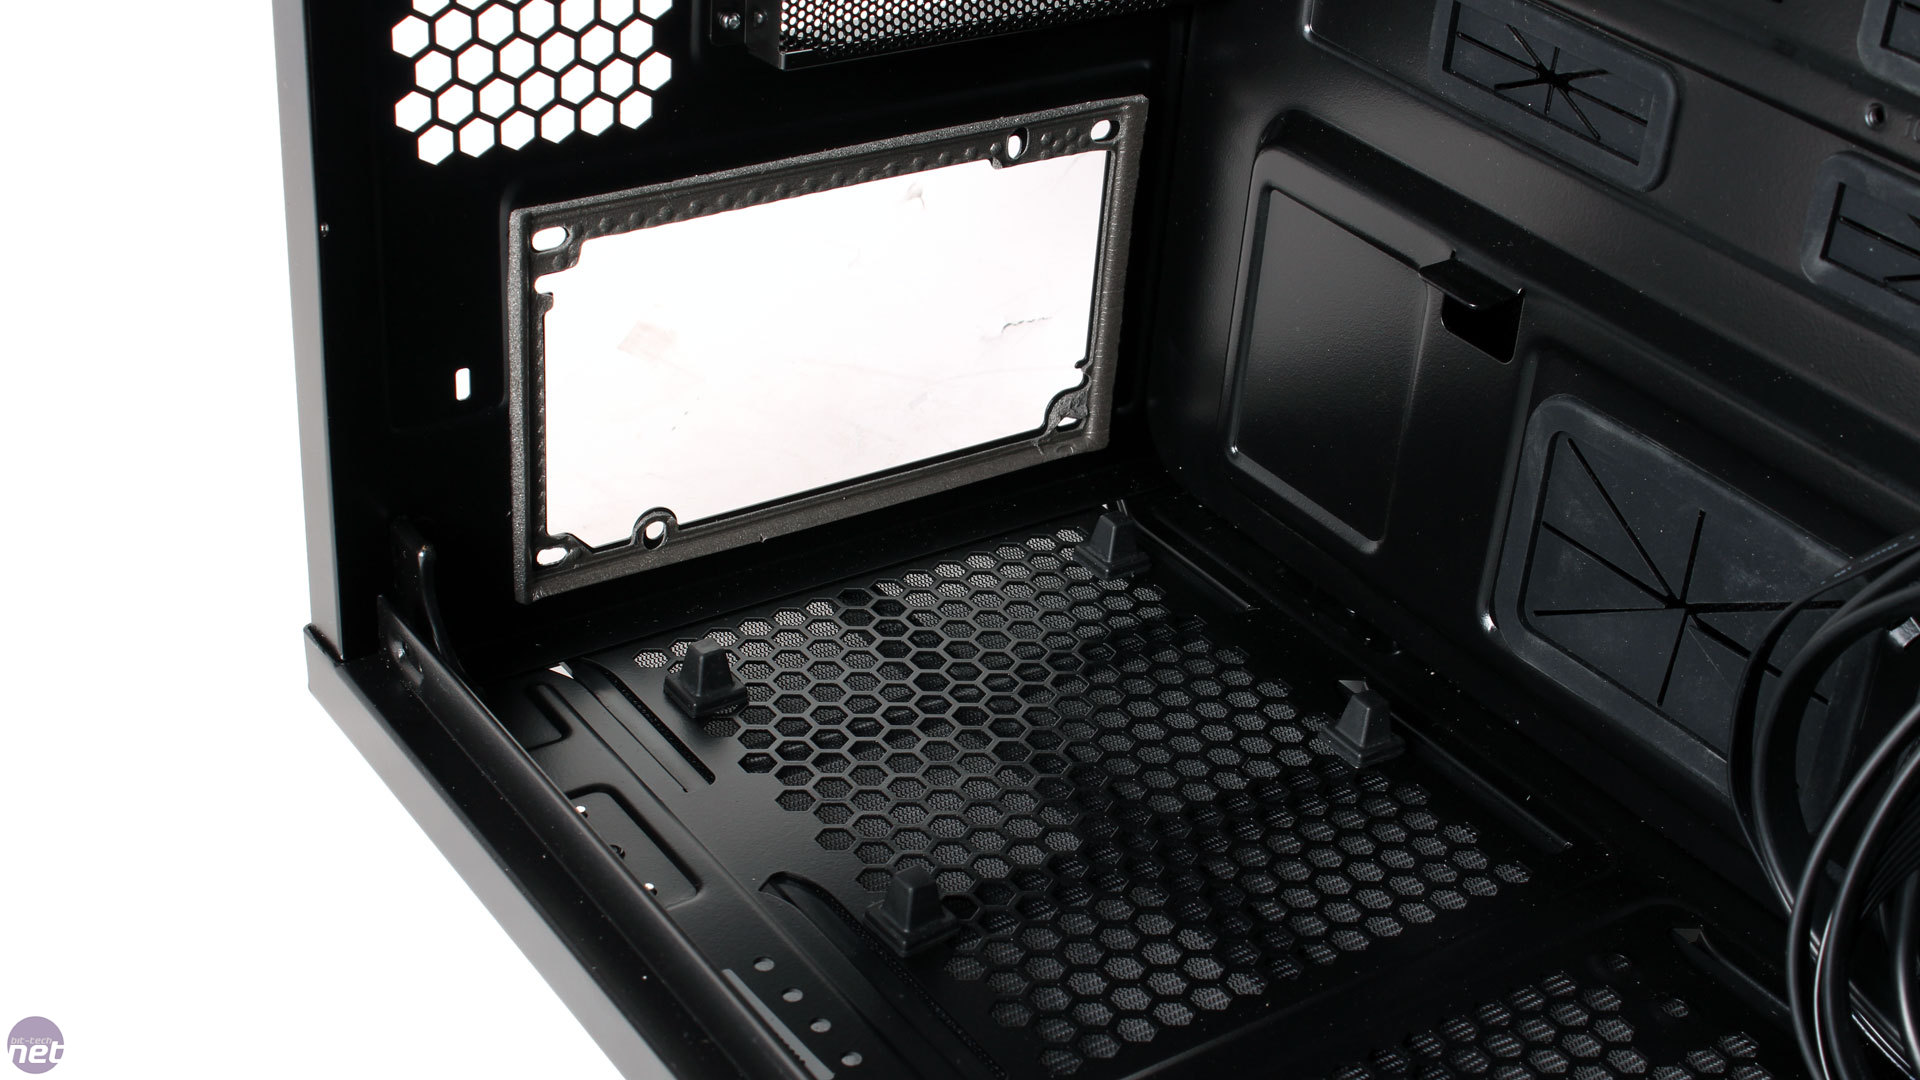
We found the thumbscrews on the side panels difficult to loosen and the panels themselves a little stiff, though they do use a front-hinged design rather than notches and rails, which are always a lot more cumbersome. The side panels have amazing build quality, perhaps the best we've ever seen – each one weighs at least 4kg alone! Both are also fully backed by high quality noise dampening material that comprises a bitumen fabric layer to counter vibrations and a foam compound to absorb internal sounds. The roof and front panels pop off fairly easily with a firm tug, though they don't come clean away thanks to the various wires attached to them. This won't matter with the front panel as there's little reason to remove it, but it might be annoying if you're trying to access the fan or radiator mounts beneath the roof.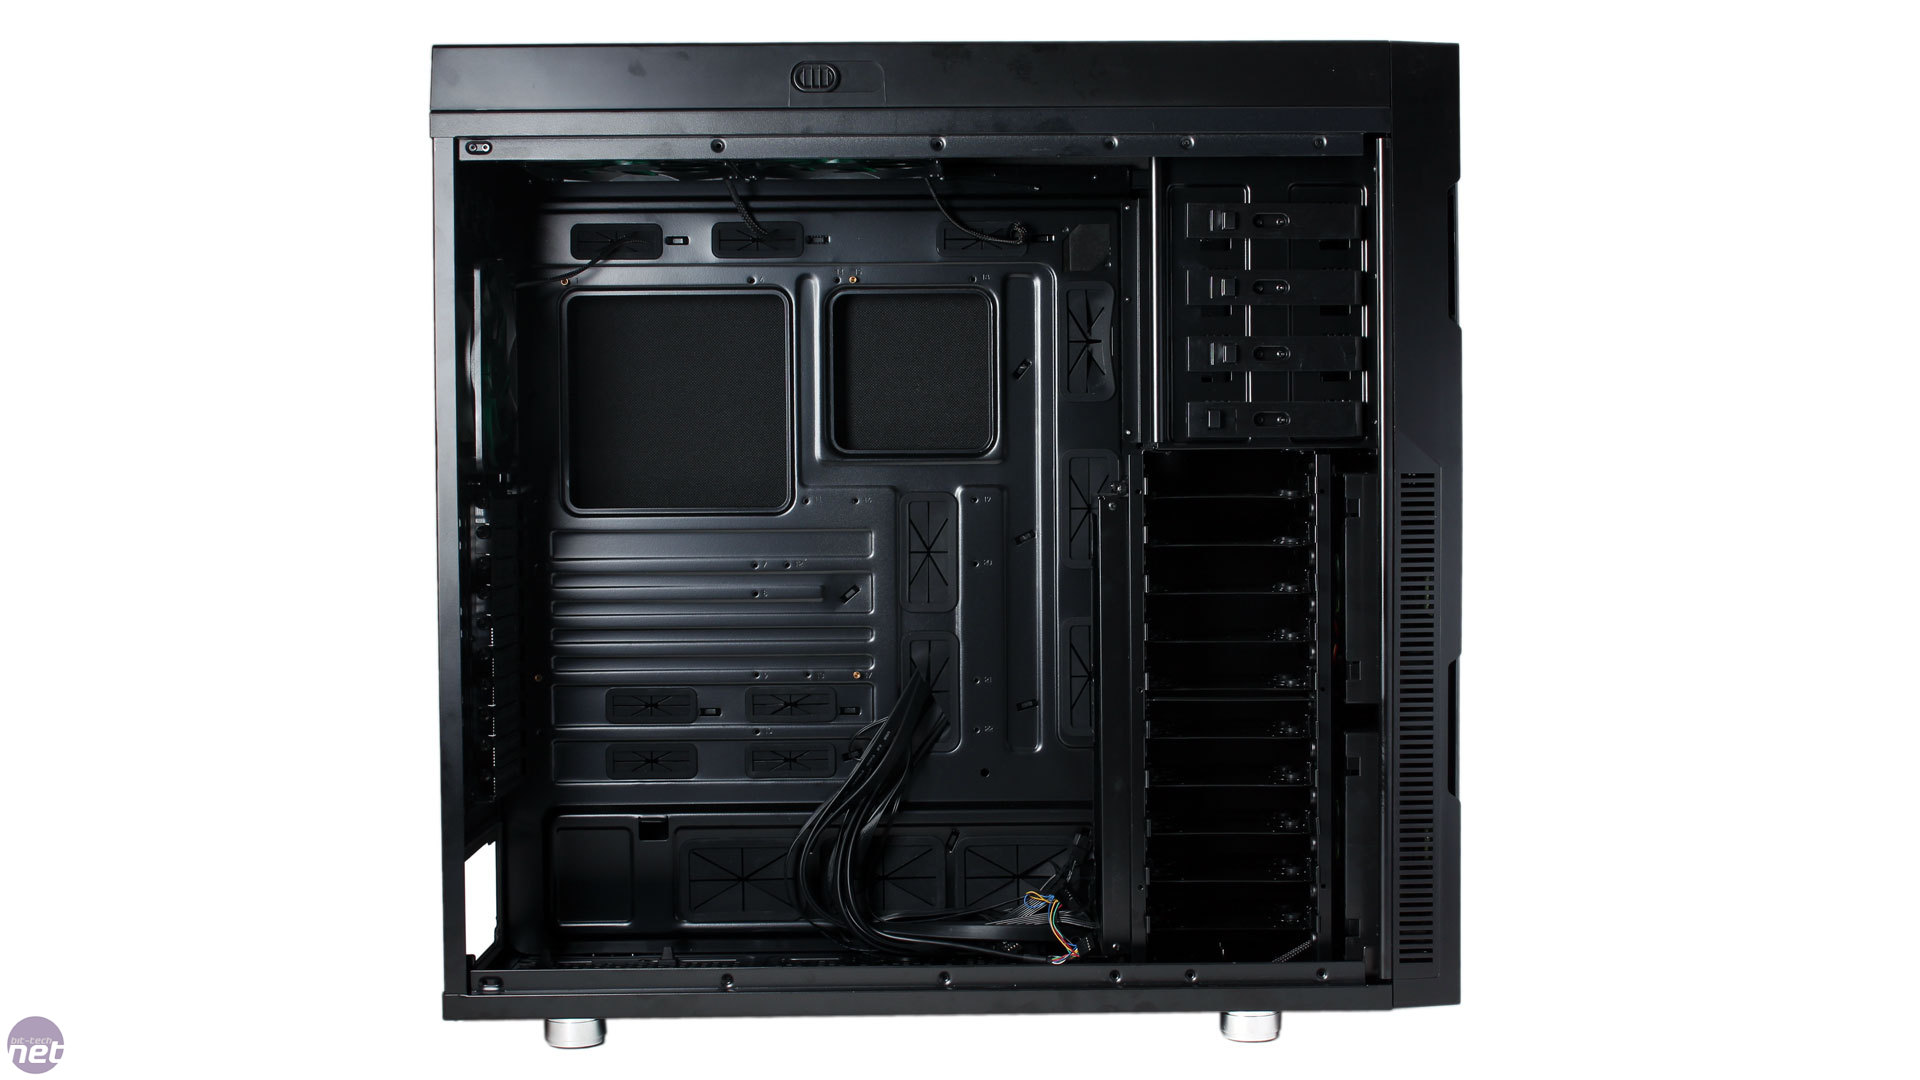
Click to enlarge - The massive interior and weighty side panels, one of which has dust filters securing the fan mount cover
As you'd expect given the dimensions, the Deep Silence 6 has an interior that is vast and cavernous. The motherboard tray has a helpfully large CPU cooler cutout (two in fact, since it supports dual-CPU motherboards), and the optical drive bays all use double-sided tool-free clips. Coupled with the familiar layout, all of this means that rig assembly is very simple at all stages. Meanwhile, the PSU stands on rubber spikes and is shielded from the case wall by rubber foam, again showing Nanoxia's attention to detail when it comes to noise reduction.
Continuing the theme of attention to detail, the internal cables are all nicely sleeved in black, though this is more relevant to buyers of the windowed version. We also like that Nanoxia has opted for flat USB 3 cables, especially as there are two headers to contend with thanks to the four front ports. All the fans have nicely braided 3-pin cables too, and Nanoxia also supplies extension cables for both the EPS 8-pin and ATX 24-pin power cables, both of which are again braided in black with quality.
Click to enlarge - The DS6 has tool free ODD mounts and isolates the PSU from vibrations
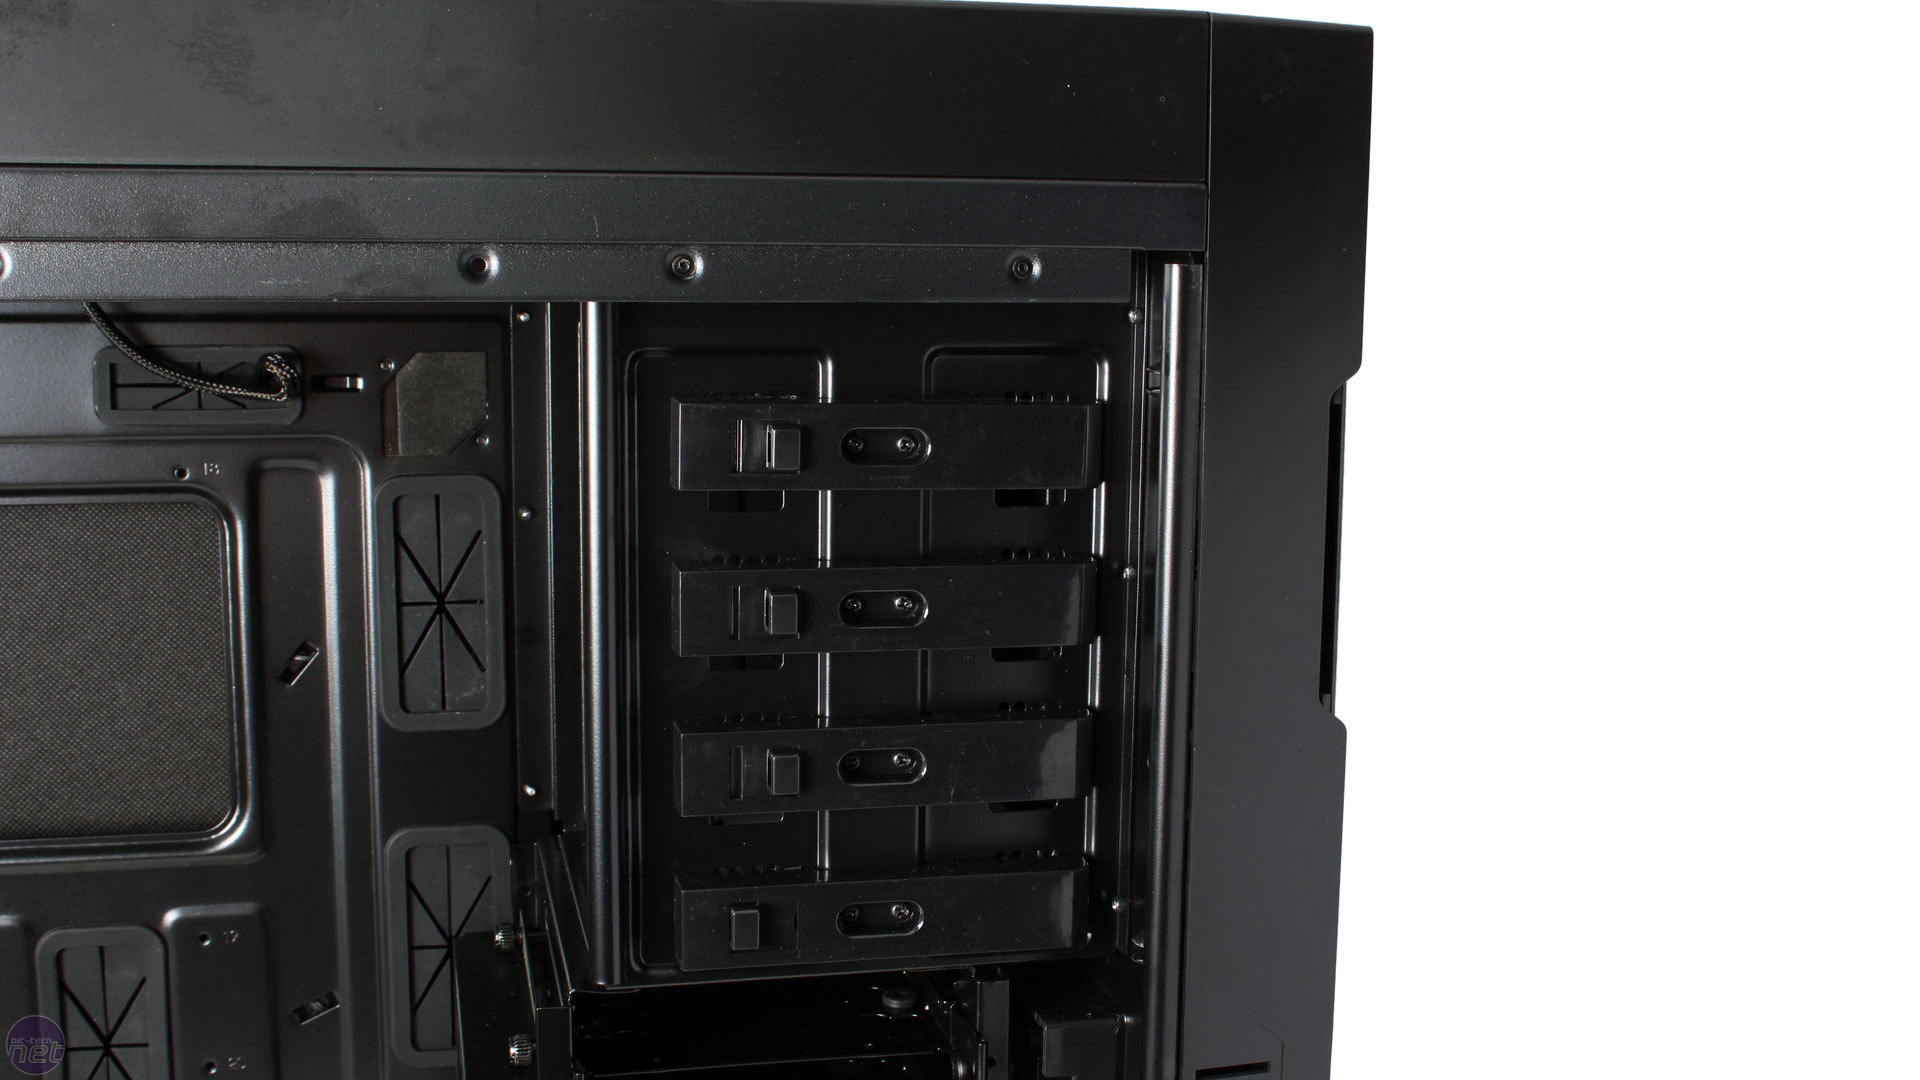
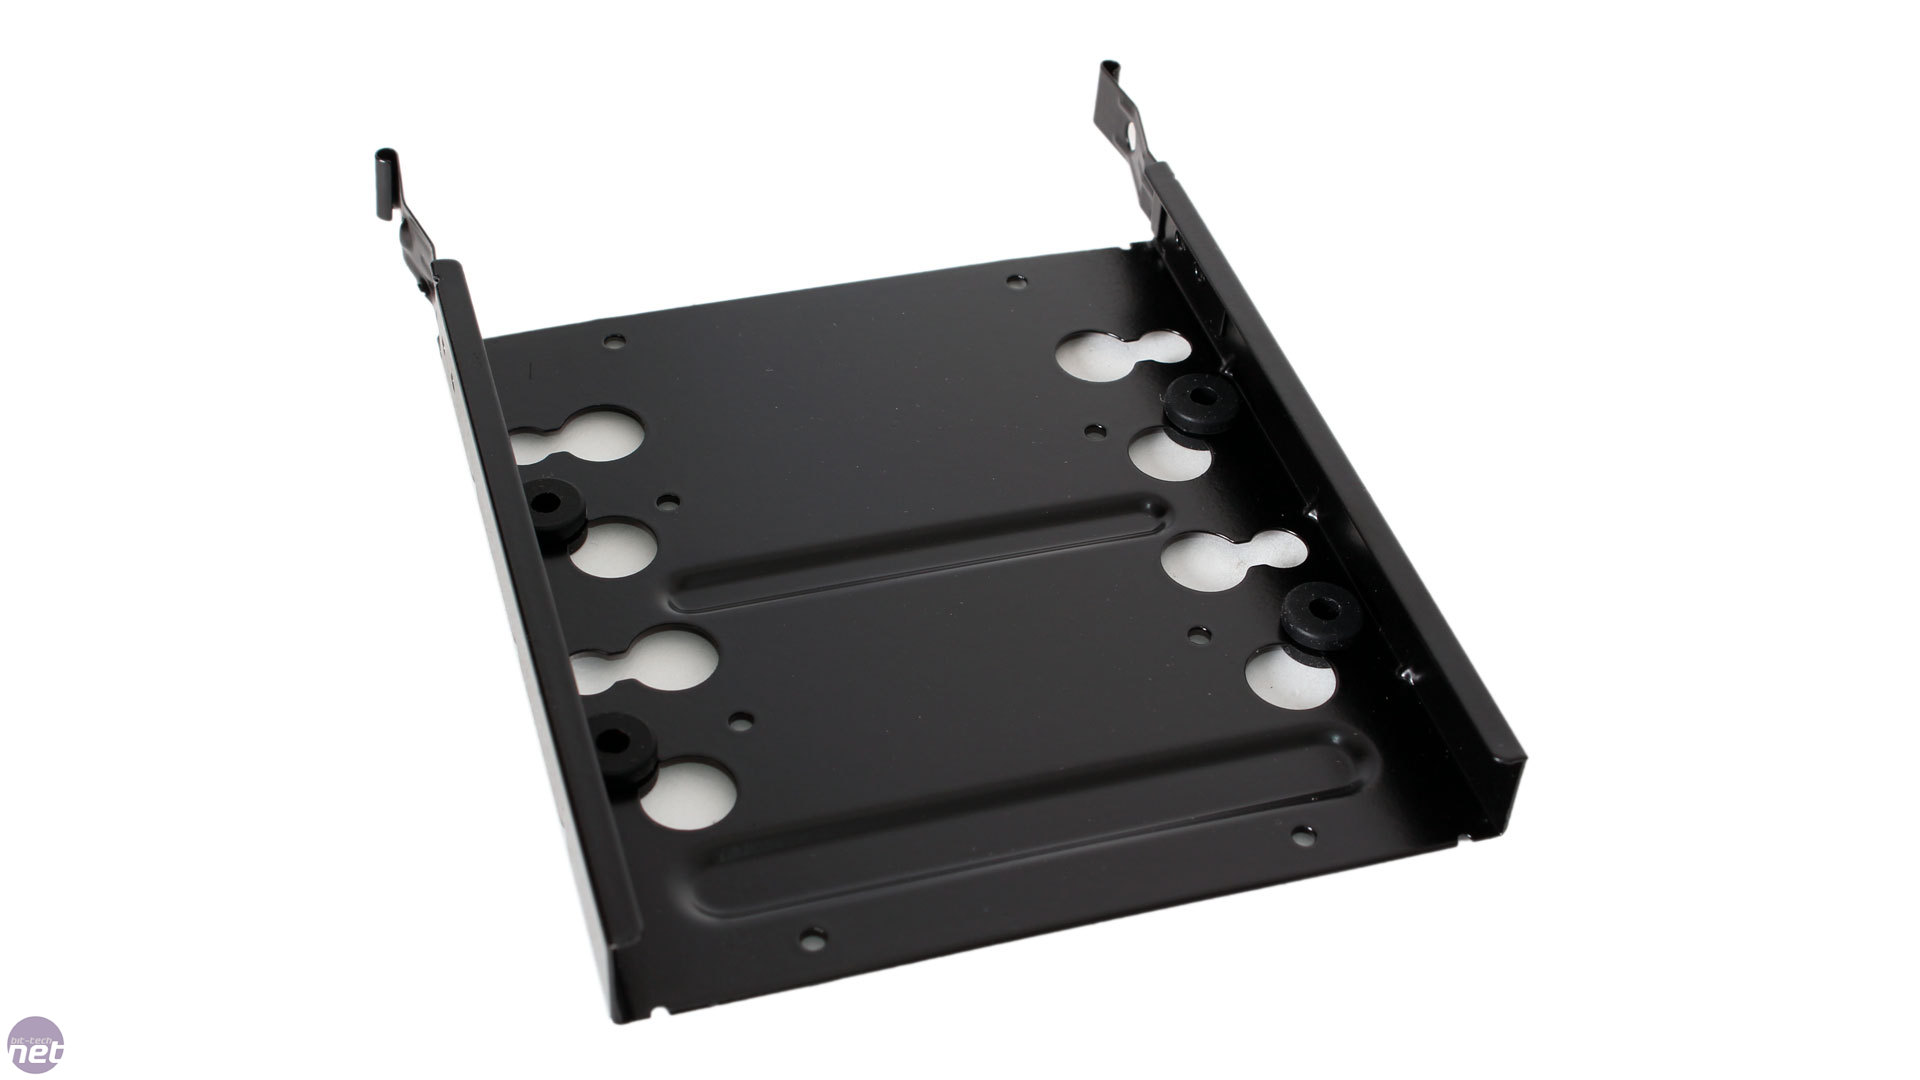
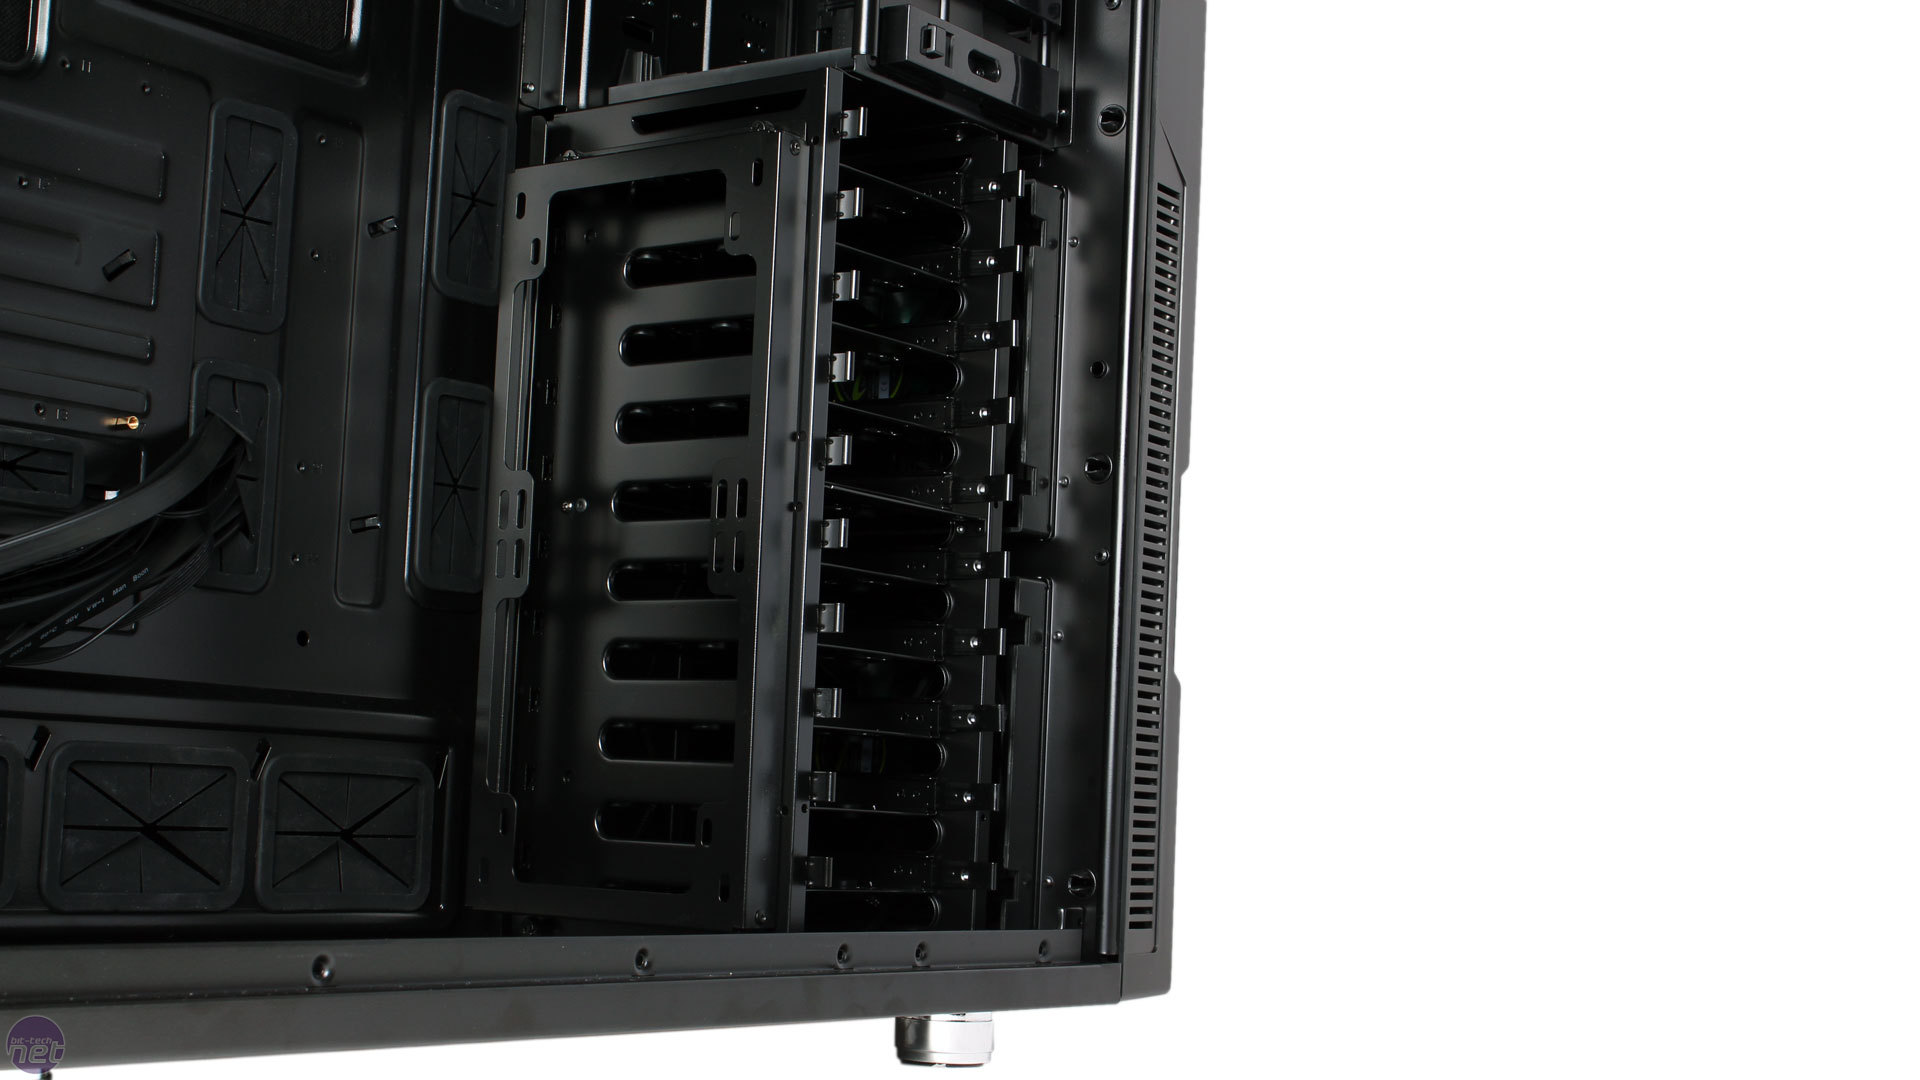
There are a whopping 13 3.5-inch/2.5-inch internal drive mounts divided between a fixed, 10-bay cage at the front and a removable 3-bay one further inside. There are no SSD mounts behind the motherboard tray, despite there being ample room for at least two, but really we can't see many people running out of space to store drives in the Deep Silence 6. All internal drives are installed on metal slide-out trays, which lock firmly into the cages. The 3.5-inch mounting holes have anti-vibration rubber mounts, while the 2.5-inch ones do not. The removable cage can be installed in one of six positions along the floor of the case, allowing you to either make room for long PSUs or radiators and/or fans fixed to the rear of the main drive cage, as Nanoxia includes a removable mounting bracket here with yet another pair of 140mm/120mm fan mounts.
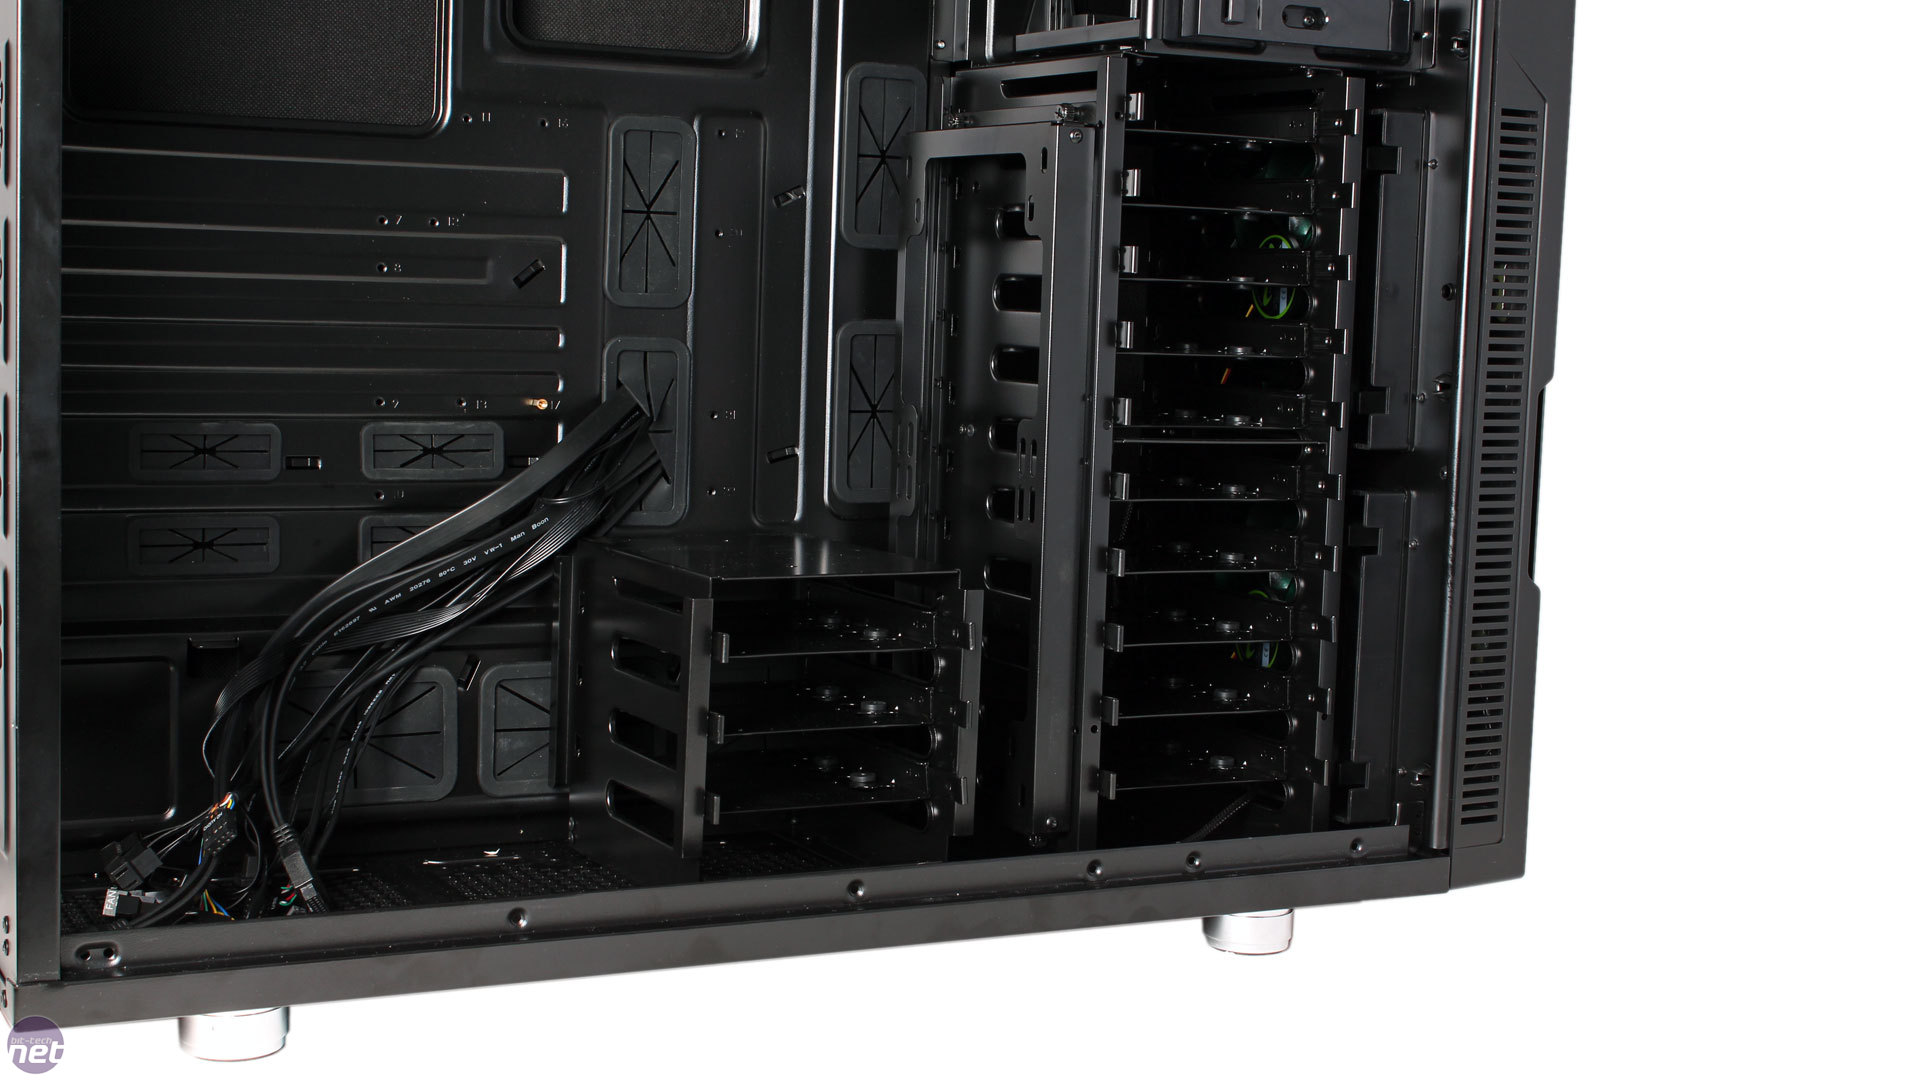
Click to enlarge - There are 13 metal drive sleds, each capable of housing 3.5in and 2.5in drives
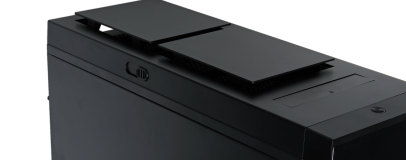
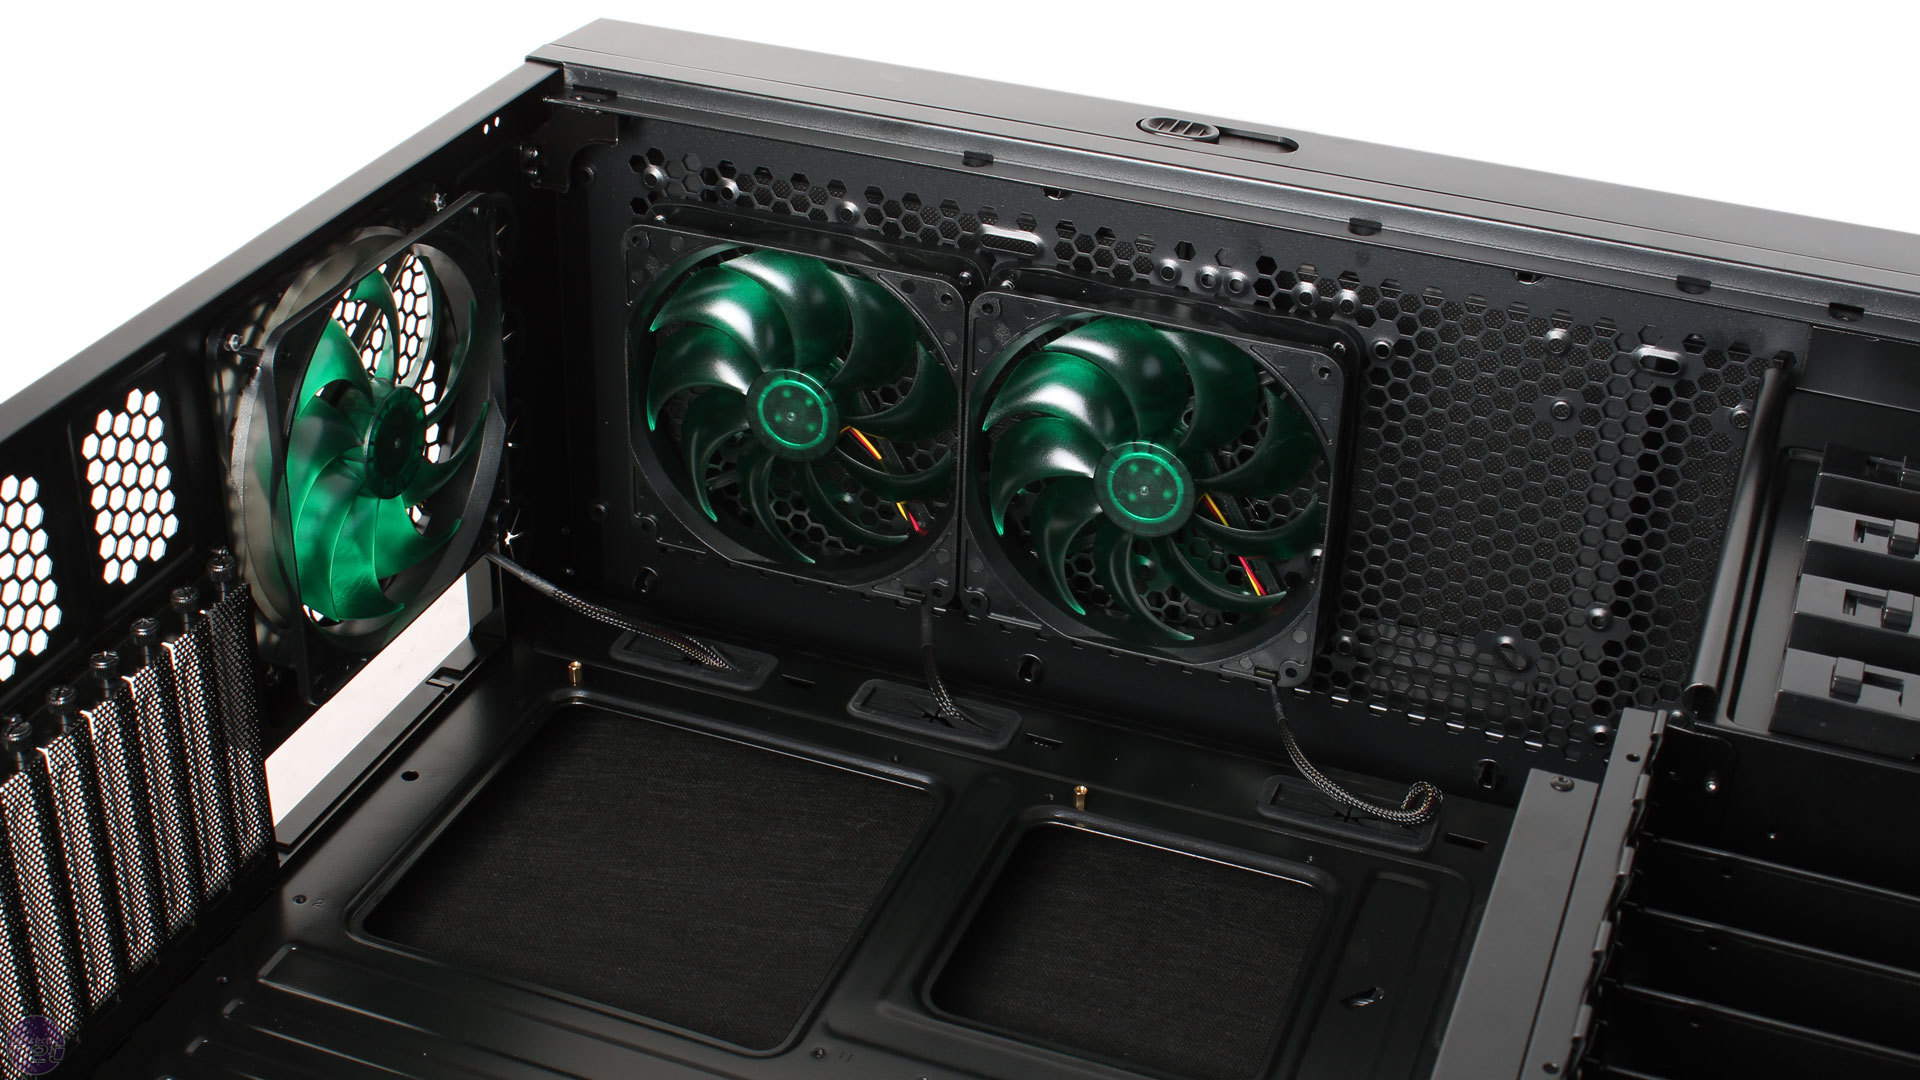
Both of the variable speed fan controllers can control up to four fans each, with a maximum of 18W per channel. Helpfully, the three-pin connectors for these are labelled A1-A4 and B1-B4, and only one molex connection is required for all eight fan connections to function. By default, fan A1 is connected to a small PCB that's nestled in the top corner of the motherboard tray. This is used to power the two roof fans, and there's room on the PCB for to power a third. It is this PCB that is responsible for the Active Air Chimney function, as it's wired to a sensor that will cut power to the attached fans if the chimney is closed, and restart them if it is opened. Thanks to this PCB, we actually managed to control all five default case fans with a single fan channel. It may even be possible to control six if you added a third roof fan, but we can't guarantee this, and it's likely to depend on the power requirements of your fans.
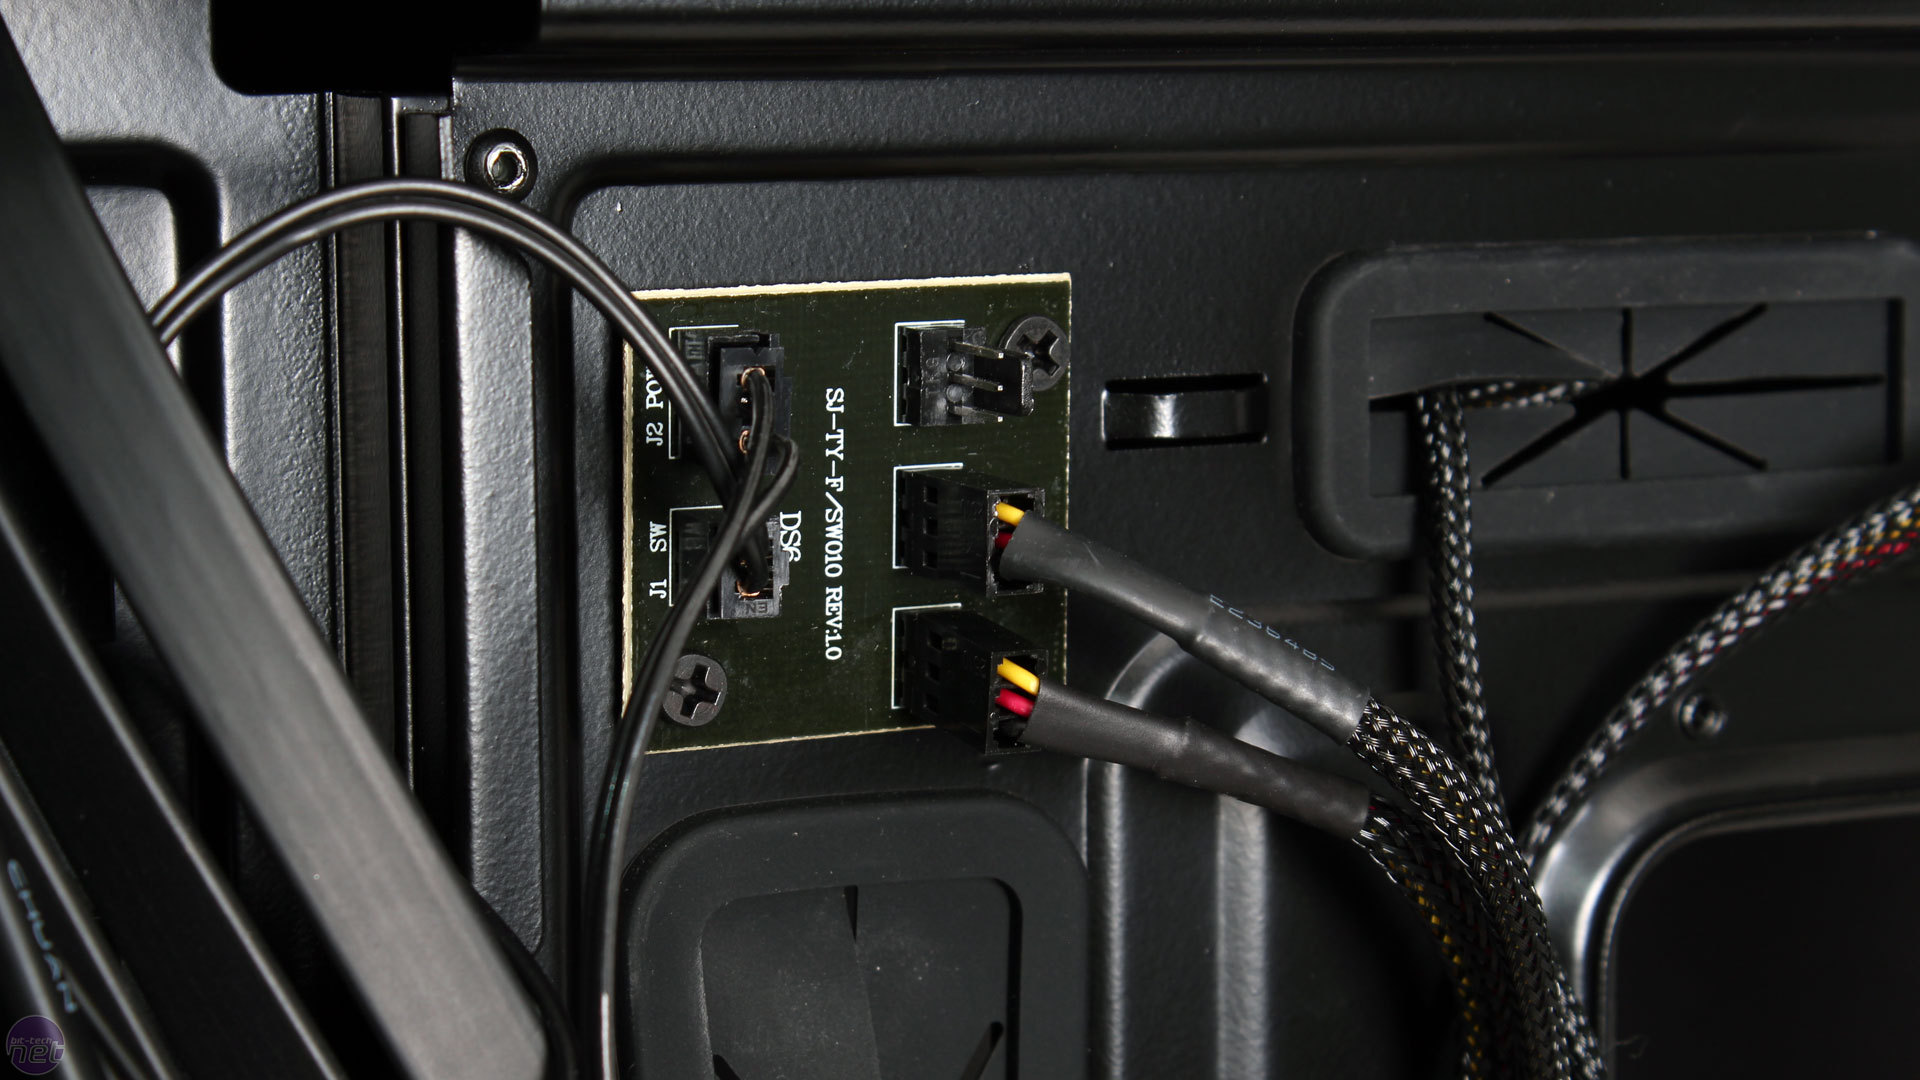
Click to enlarge - The PCB controls the Active Air Chimney function
There's a wealth of cable routing holes in useful positions – ones that are suitable for smaller form factors, large ones at the bottom for thick PSU cables and smaller ones up top for fan and power cables. The grommets on them are excellent, allowing masses of cables through without ever dislodging. Space behind the motherboard is a little cramped, but with the bridges and supplied cables ties it's still very easy to tame cables.
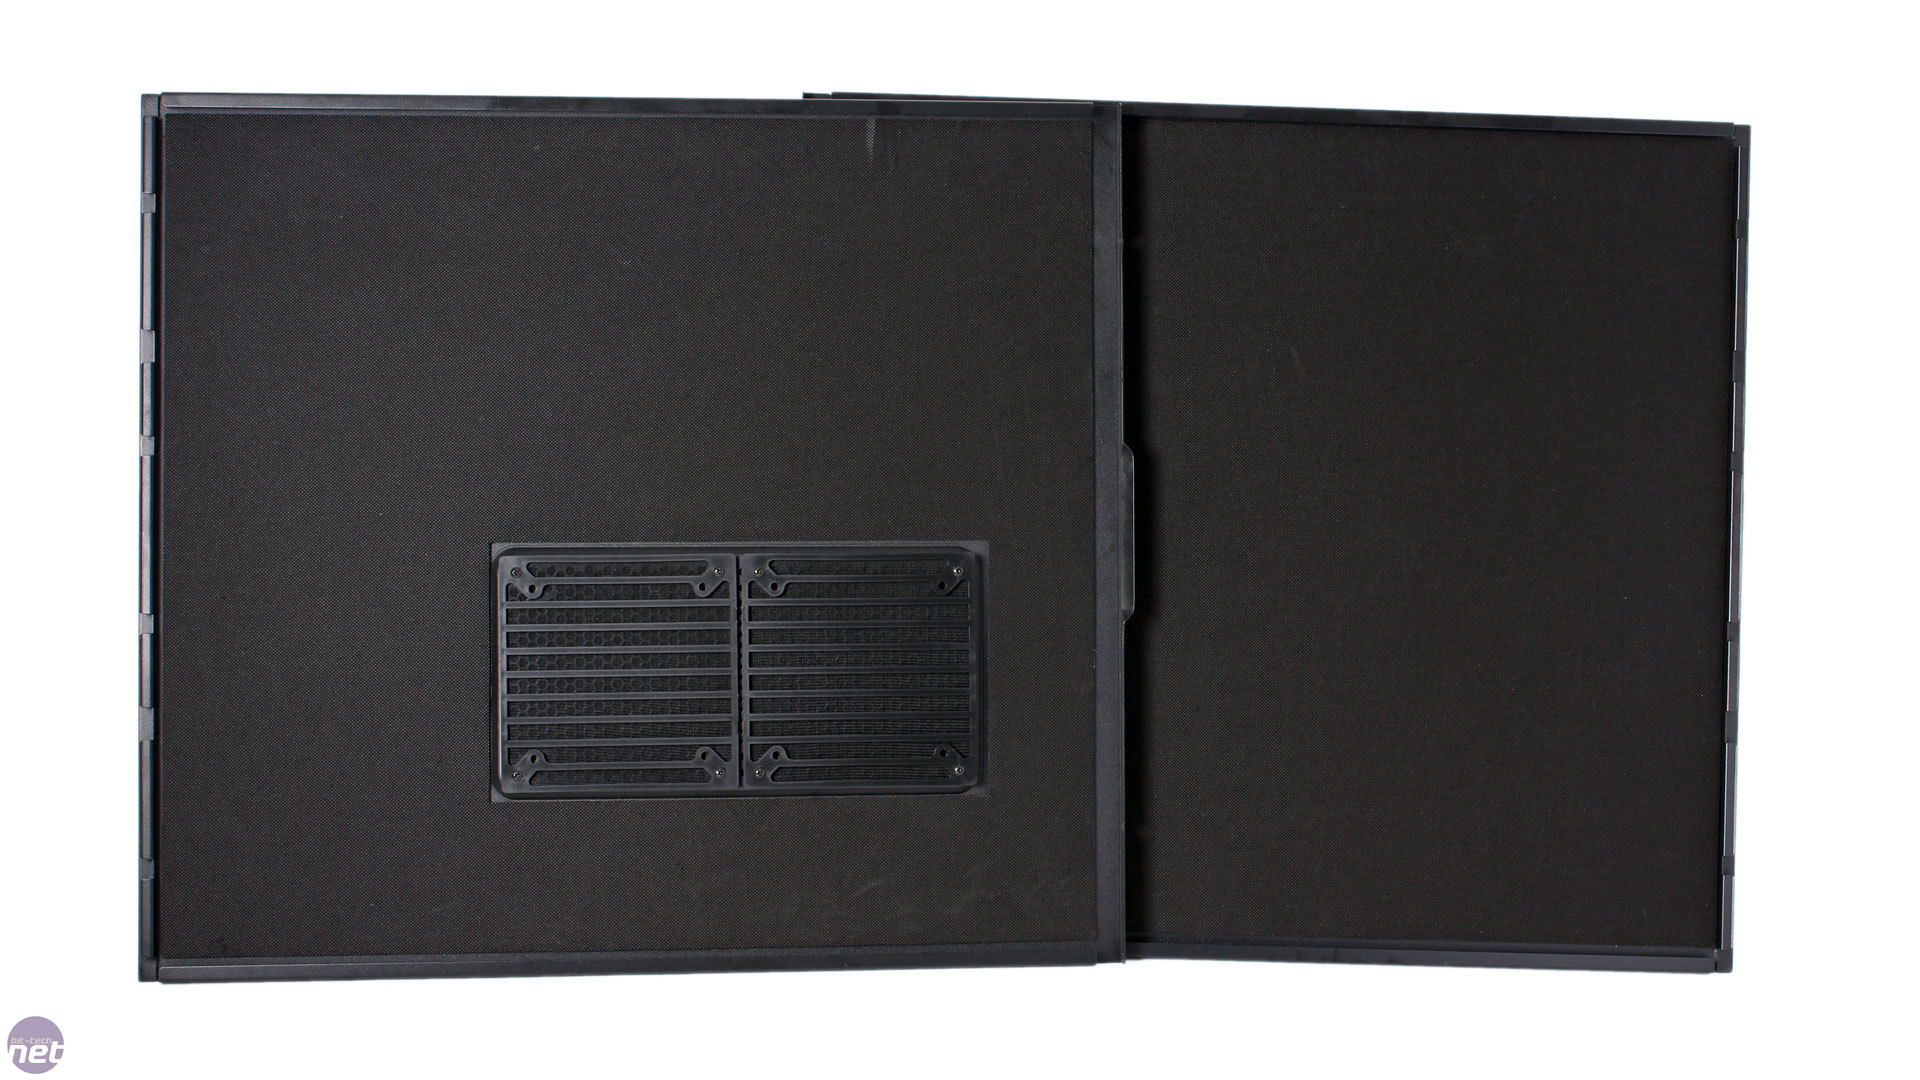
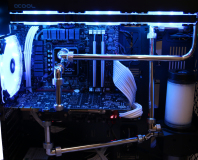
For water-coolers, there are only two official places where radiators can be installed – the roof and the rear of the main internal drive cage. The bottom and side fan mounts aren't really viable options, as you're likely to run into hardware conflicts. This makes the Deep Silence 6 a lot less flexible than other large cases in this area, but there's still enough room to install a system capable of taming an overclocked CPU and multiple overclocked GPUs.
Click to enlarge - Radiators can be mounted in the roof or on the main drive cage
Radiators up to 360mm or 280mm can be installed in the offset 140mm/120mm mounting holes in the roof. There's room for a full-height radiator with a single set of fans or a slimline one with two sets of fans, and the offset holes, particularly on for the 120mm mounts, mean that unless your motherboard has particularly prevalent heatsinks you might be able to get away with even thicker arrangements. One thing to note is that using the roof for water-cooling basically necessitates that you keep the air chimney open. A small vent at the back of the roof panel means you could in theory keep it closed, but you'd be severely hindering airflow. The drive cage mounts, meanwhile, can house both 240mm and 280mm radiators, and there's not really any thickness limitation here other than your graphics card(s) or PSU provided you remove the secondary drive cage.


MSI MPG Velox 100R Chassis Review
October 14 2021 | 15:04

Want to comment? Please log in.