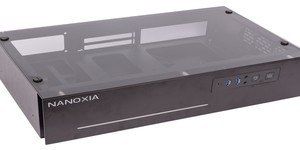
Nanoxia Project S Water-Cooling Build: Part Three
November 22, 2016 | 09:51
Companies: #aquatuning #bit-tech #corsair #nanoxia
Nanoxia Project S Water-Cooling Build: Part Three
In part two of our Nanoxia Project S water-cooled PC build we looked at installing the hardware and building the water-cooling system. The PC was nearly complete, but the hardest part of the project lay ahead - the metal rigid tubing.We say the hardest - it's actually more tedious and time-consuming than difficult, but we'll share our top tips and tricks for kitting out your system with either acrylic, PETG or metal-based tubing - we've opted for the latter. We'll also be installing our custom CableMod cables and filling and leak testing the cooling system too.
Cables and Tubing
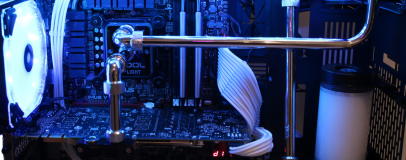
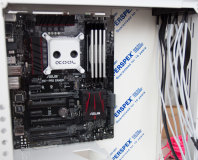
With the hardware, minus the tubing, installed, it's best to get the system as complete as possible so you can route the tubing as required. This includes installing power cables as it may not be immediately obvious where tubing and cables might foul each other. Connect all the power and data cables and route them as normal. We used a mixture of cable ties and the case's own Velcro ties.
Click to enlarge
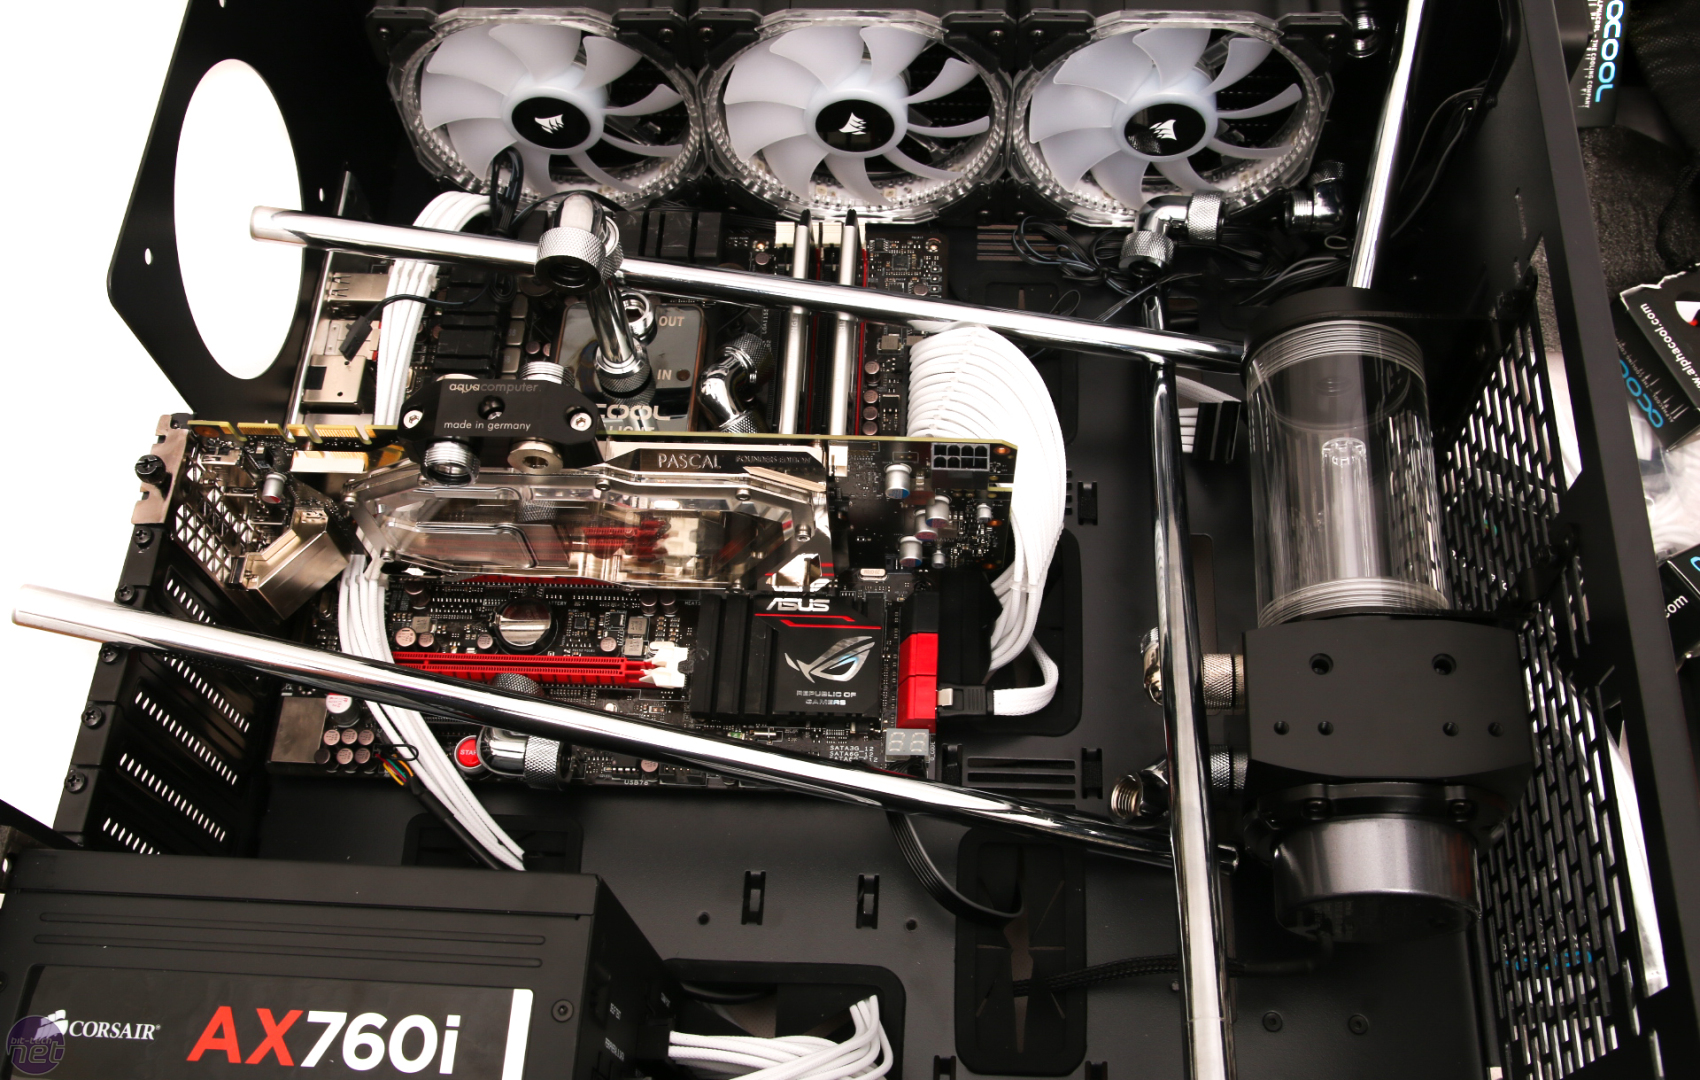
With the PC completed apart from the tubing, the next thing is perhaps the hardest part of the build. You need to work out the best route for the tubing and the lengths required. This isn't as easy as it sounds - you'll need to work out the optimal route that uses as few bends and fittings as possible as well as making the tubing look neat and running in straight lines. You can draw a rough diagram - this is particularly useful when choosing your components, but also to run through the possible scenarios.
Click to enlarge
Once you have a good idea of where the tubing is to be routed, lay out some sections into the case to see how it looks. Thankfully, the chrome-plated Alphacool brass tubing we're using comes in short lengths which makes this easy. Don't be afraid to stray outside of right angles and to have the tubing follow the shortest routes - it's best to have fewer joins than to have a mass of fittings and right angles. When viewed from the side, they'll all appear straight anyway.
Click to enlarge
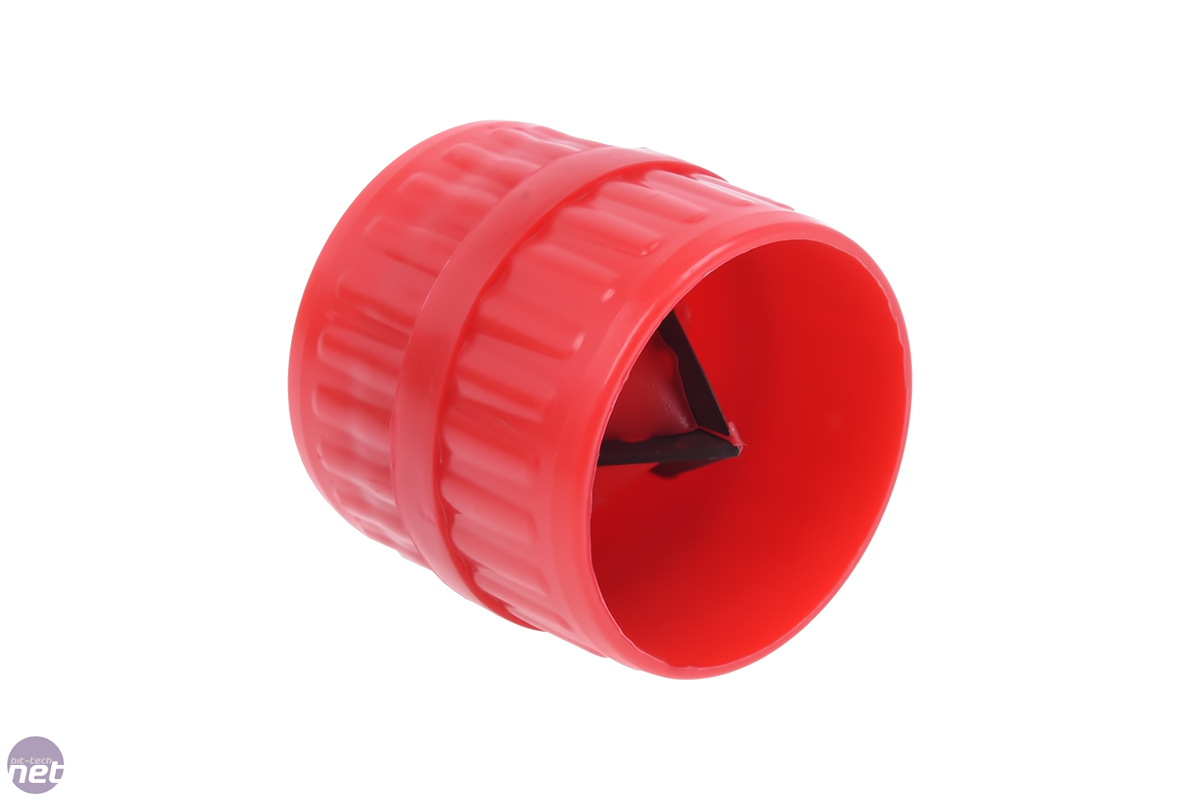
Once you have your route planned out it's time to start cutting the tubing. This can be done using a variety of tools depending on which tubing you use. Plastic-based tube is easy to deal with - a hacksaw or Dremel can make short work of them. You'll then need to use an inside-outside reamer, which will score down the inner and outer edges to bevel them, making it easier to slot them in through the o-rings in the fittings.

Click to enlarge
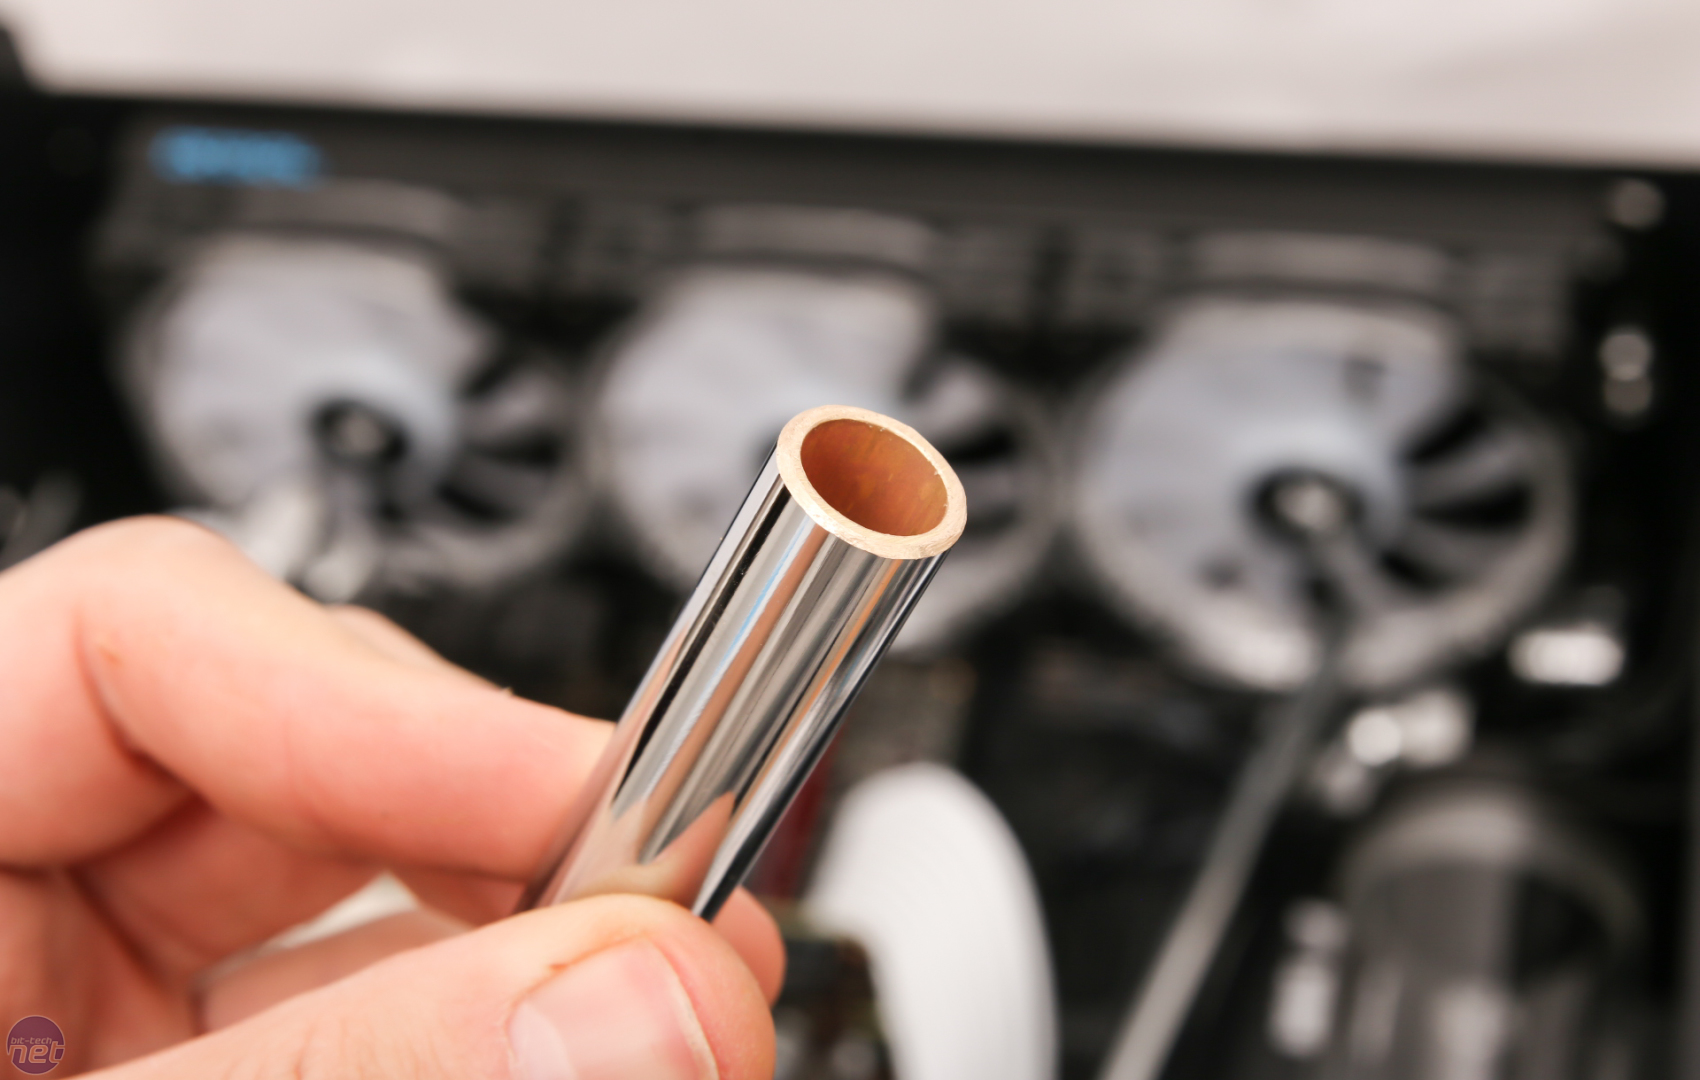
For metal tubing it's a similar process, but with some heftier tools. A hacksaw will work, but it will take a while and, after having cut a dozen or so tubes, your hands will be hurting as well. A Dremel with a large reinforced cutting disc is a better option and so too is a table saw or scroll saw with a fine metal-cutting blade. We've opted for the quickest way though, which is a circular saw, which will cut through these tubes in a matter of seconds.
Click to enlarge
After cutting, you'll likely need to file the ends down straight to level off the edge and also to remove any metal shards. Then you'll need to add a bevelled edge to the outside of the tubing - again to make it easier to insert it into the fittings. You can do this with a metal file.
RELATED ARTICLES


MSI MPG Velox 100R Chassis Review
October 14 2021 | 15:04

Want to comment? Please log in.