Yuugou by Greensabbath

Written by Nick Falzone

April 23, 2007 | 13:37

Tags: #case #falzone #green #greensabbath #nick #sangaku #wood #yuugou

Companies: #mod

Koa

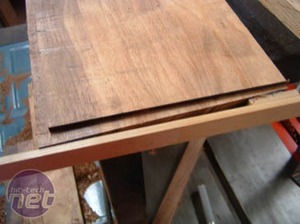
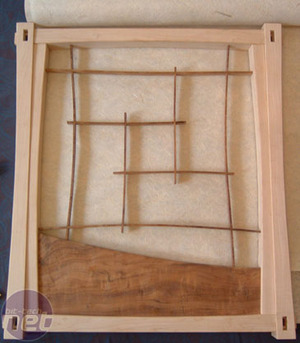
Hawaiian curly koa would become one of the main features of Yuugou, and rightly so, given that its one of the most beautiful woods in the world. Even without finish, you can see how beautiful the wood really is -- but the depth of the wood really comes out later once I put the finish on.

The router table would become useful again here as I had to make the maple and koa seamlessly fit together. In order to do this, I had to first route a diagonal rabbet joint out of the koa to get around the bend in the maple piece. It’s a little hard to visualize, but the pictures help.

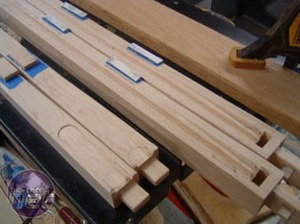
For the koa itself, a simple jigsaw was used for the rough curve and then a plywood template along the router table to smooth everything out and ensure uniformity amongst both sides. Once these pieces were done, I decided to start sanding the frame to really give it the soft feeling I was going for.


Yuugou by Greensabbath Koa-la? Yuugou by Greensabbath Koa-la?

Koa Bending

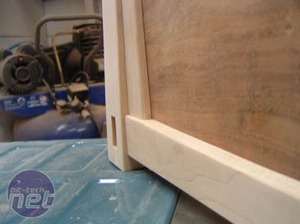
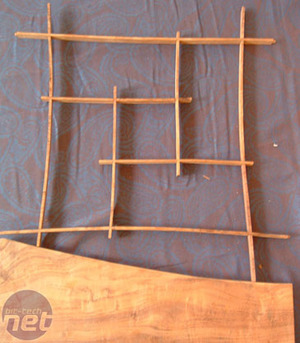
Making the curved koa pieces was a fairly difficult process, mostly because koa does not like to be bent and I ended up redoing half of the pieces because they broke.

Yuugou by Greensabbath Koa-la? Yuugou by Greensabbath Koa-la?
To bend them, they key ingredients are moisture and heat. Where is the best place to find those elements? The microwave and a wet paper towel. I microwaved each piece and then put it in the mold I set up and let everything dry.


Yuugou by Greensabbath Koa-la? Yuugou by Greensabbath Koa-la?
Next came the joinery. The joints for the koa to koa connection were all half lapped joints while the koa to maple and koa to (main) koa were mortise and tenon. After a little while, the four main curved pieces are done.

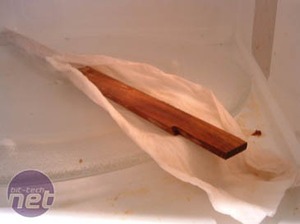
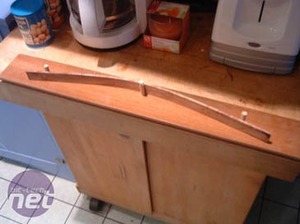
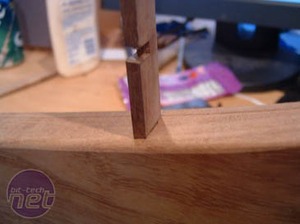
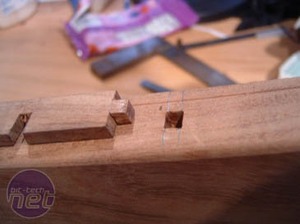
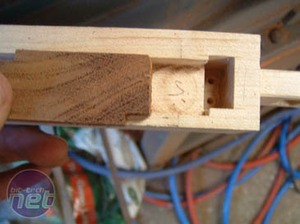
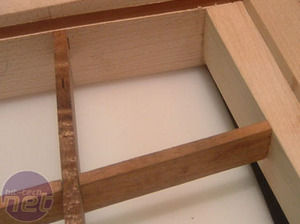
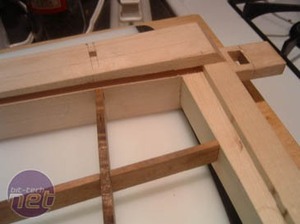
The next step is the curved koa pieces on the top of the case. First I laid everything out, then made the half lapped joints in the koa, then marked and cut the mortise and tenons to mate the koa and maple.


Yuugou by Greensabbath Koa-la? Yuugou by Greensabbath Koa-la?
Then came the time for the secondary koa pieces on the side panels. First I made up the four inner pieces, then I mated those with the outer pieces using the same half lapped joinery. I also tested with the paper behind it to get a sense of what it will look like. I’d like to note that none of these koa pieces are glued together at all and I could completely disassemble them if I needed to.


Yuugou by Greensabbath Koa-la? Yuugou by Greensabbath Koa-la?
The last main step with the wood frame construction was to cut the grooves in the side panels that would accept the acrylic panels. One panel would be covered with paper, the other would be clear to show the insides. I used the same method with the router table to do these. I then glued inserts that would screw the acrylic to the wood frame.
Discuss this in the forums
YouTube logo
MSI MPG Velox 100R Chassis Review

October 14 2021 | 15:04

TOP STORIES

SUGGESTED FOR YOU