The next step is to give the monster 120mm fans a home. They will go in the two side openings in the wood case but to make as much real estate inside the case as possible, I want to set them in flush with the inside wall of the case. Believe it or not, space is at a premium in this case.
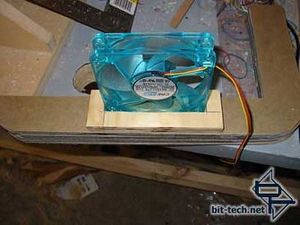
I created a little wooden jig for cutting the acrylic layers. The acrylic layers are not all uniform on the inside edge. The outside edges are because of the sanding and shaping so I need to use the outside edge as my base of operations. I took a scrap piece of wood and cut out the dimensions of the "notch" that the fan needs to live in and I can repeat the same process over and over again producing the same result.... theoretically.
I'm going to be cutting 14 of these so I needed a good/safe place to cut these, I have no more scrap acrylic to make any more of the acrylic layers so if I break one now, it's another order to the acrylic store. I took a scrap piece of wood from my pile and made a little platform to work. I just freehand cut a "U" out of it big enough to give the jigsaw blade room to move while cutting out my fan cove.
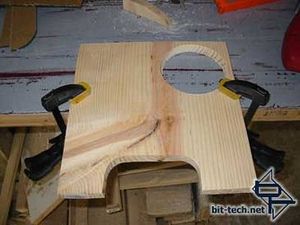
I clamped down my little cutting bench... the hole in the upper right hand corner serves no purpose, that's from doing something else I can't remember what now...lol.
Now I can place piece after piece of acrylic that has been marked with my jig safely and consistently.
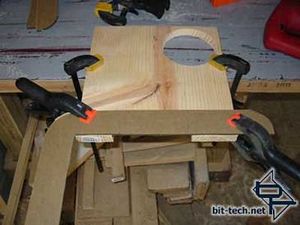
Clampy-clampy...
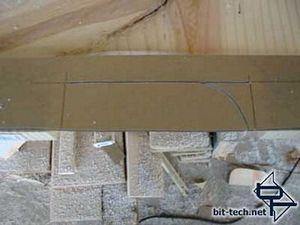
Cutty-cutty...
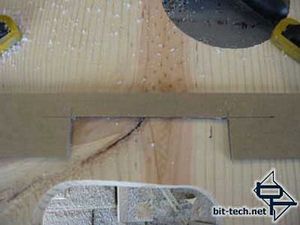
Notchy-notchy...
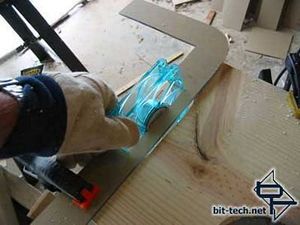
Just a test fit to make sure everything's cool, looks good. I used this first piece as a template for the rest of the layers to make sure they all line up properly.
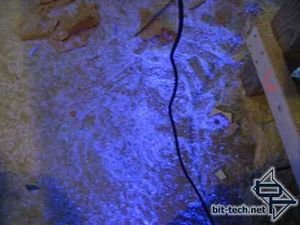
Just a humorous side note, with all this UV acrylic butchery... makes for a radioactive shop floor... lol

I created a little wooden jig for cutting the acrylic layers. The acrylic layers are not all uniform on the inside edge. The outside edges are because of the sanding and shaping so I need to use the outside edge as my base of operations. I took a scrap piece of wood and cut out the dimensions of the "notch" that the fan needs to live in and I can repeat the same process over and over again producing the same result.... theoretically.
I'm going to be cutting 14 of these so I needed a good/safe place to cut these, I have no more scrap acrylic to make any more of the acrylic layers so if I break one now, it's another order to the acrylic store. I took a scrap piece of wood from my pile and made a little platform to work. I just freehand cut a "U" out of it big enough to give the jigsaw blade room to move while cutting out my fan cove.

I clamped down my little cutting bench... the hole in the upper right hand corner serves no purpose, that's from doing something else I can't remember what now...lol.
Now I can place piece after piece of acrylic that has been marked with my jig safely and consistently.

Clampy-clampy...

Cutty-cutty...

Notchy-notchy...

Just a test fit to make sure everything's cool, looks good. I used this first piece as a template for the rest of the layers to make sure they all line up properly.

Just a humorous side note, with all this UV acrylic butchery... makes for a radioactive shop floor... lol

MSI MPG Velox 100R Chassis Review
October 14 2021 | 15:04


Want to comment? Please log in.