How to Program the Arduino
To test our circuit out - and before we start writing a program of our own - we'll load the Blink example. Simply load the Arduino IDE and go to File -> Examples -> Digital -> Blink to see what a very basic Arduino 'Sketch' looks like.Anyone familiar with C will immediately notice that they're faced with an incomplete program: with no 'main' section, it wouldn't compile as standard. That's because the hard work of making the Arduino understand what you want it to do is already done for you - all you have to do is write your part of the program. The two sections to worry about are 'setup' and 'loop.'
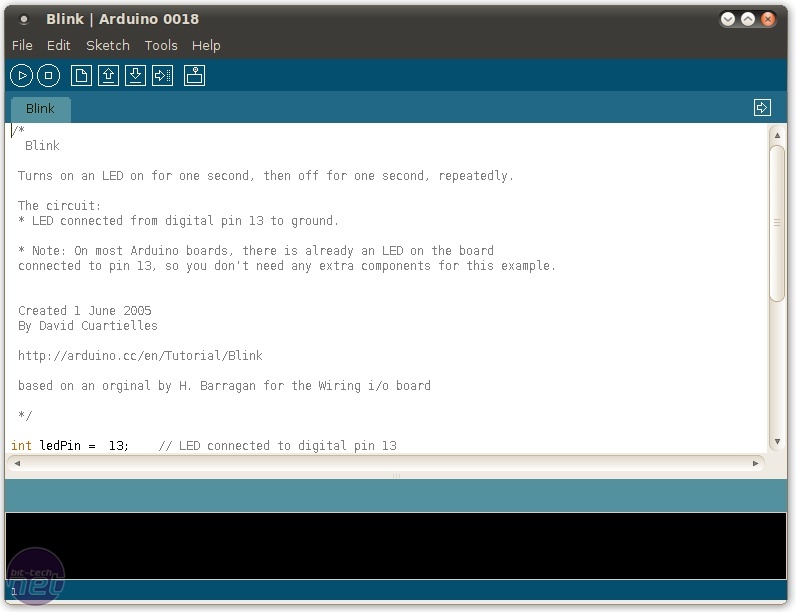
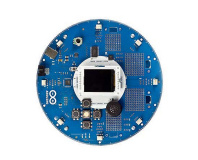
The example sketch 'Blink' lets us test our circuit
'Setup' contains the sections of code which will run once, when the Arduino is first turned on or has been reset. This is the section where you tell the Arduino whether you're using its pins as inputs or outputs.
'Loop' is the main meat of the program. Anything placed in here will continuously run for as long as the Arduino has power - so for the Blink example, it repeatedly turns the LED on and off. The delay sections are in there because, despite its comparative lack of power compared to your average Core 2 or Phenom, the Arduino is so fast the LED would appear constantly lit if it didn't wait for your pathetic human eyes to catch up.
The Meat: Our First Sketch
The examples provided with the IDE are a good place to start learning how to program for the Arduino, but - as with the Blink example - they can be a little underwhelming. So, let's take the example and make it a bit more exciting - by turning it into a Morse code flasher.You can download the Arduino sketch file for the Morse Code Flasher here, or just copy it from below.
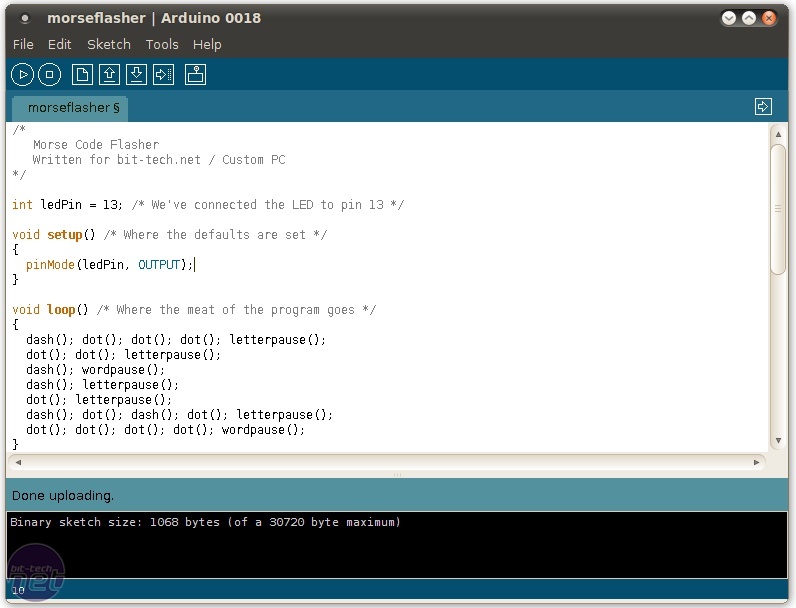
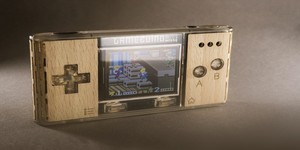
Our custom Morse-code flasher sketch
As well as the 'setup' and 'loop' sections, we can make our own sub-sections in the sketch which we can call at any time. If you scroll through our example sketch, you'll see that it uses that feature to define what we mean by a 'dot,' a 'dash,' and two differing 'pause' states - the main constituents of Morse code.
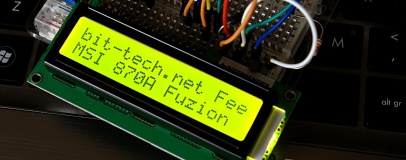
By encoding our message as a series of dots and dashes, we can have our LED flash it out to anyone watching - in the case of our example, it's sending "BIT TECH" out into the aether.
If you've decided that LEDs are passée, you could replace it with a piezoelectric buzzer to make your message audible - but be aware that a constantly repeating beeping noise isn't likely to make you popular with neighbours, colleagues, and significant others. Trust us.
Uploading
Now we've got our prototype Morse flasher built, and a program to run on it, we need to upload the sketch into the ATmega chip at the heart of the Arduino - and this is where the flexibility of the system makes itself known.Traditionally, if you wanted a custom program running on a microcontroller, you would need a surprisingly expensive piece of equipment specifically designed to upload your program. It was time consuming, and often circuit designs meant that each time you wanted to upload the program you'd have to physically remove the chip from the board.
The Arduino, you'll be pleased to hear, is a lot easier: just hook up your USB cable, select the right serial port from the Tools menu, and hit 'Upload'. Windows and Mac users will need to install the FTDI drivers provided as part of the IDE, while Linux users can get started straight away.
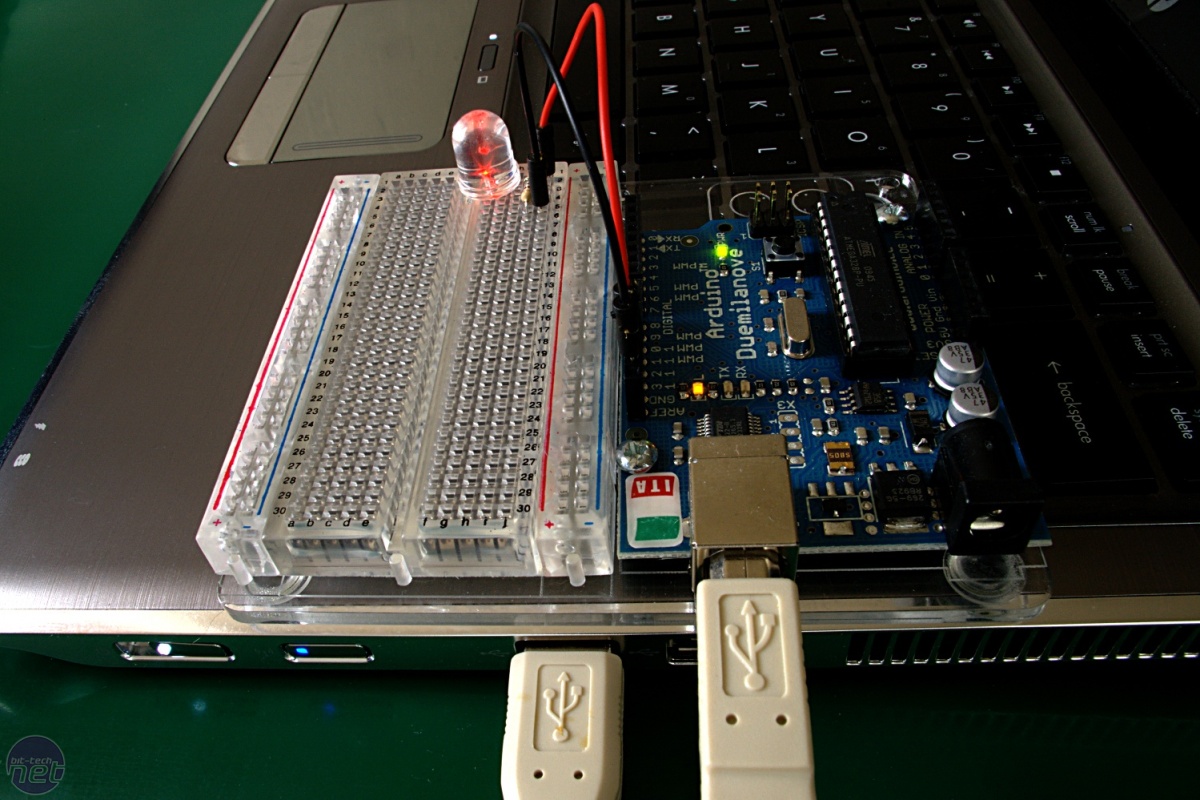
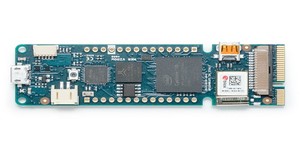
Just one USB cable and you're ready to roll
If the upload is working, you should see the RX and TX lights on the Arduino flash - and then your program will start to run. Congratulations - you've just developed a stand-alone electronic gadget.
There are various ways to improve on this basic program - such as making it capable of taking text given to it over the serial port and turning it into Morse on the fly - but once you've figured out how to make an LED flash, you can start looking at some more advanced projects.


MSI MPG Velox 100R Chassis Review
October 14 2021 | 15:04

Want to comment? Please log in.