The Build
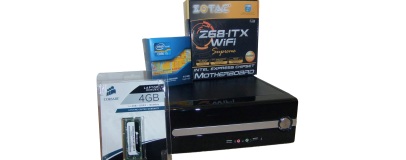
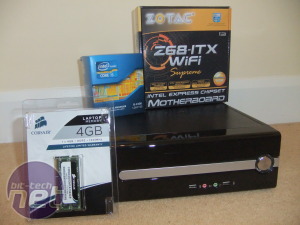 The first, and most important, part of any system build is of course to take the obligatory box shot. With that out of the way, I set to inspecting the case.
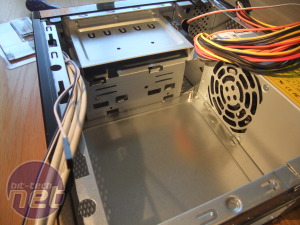
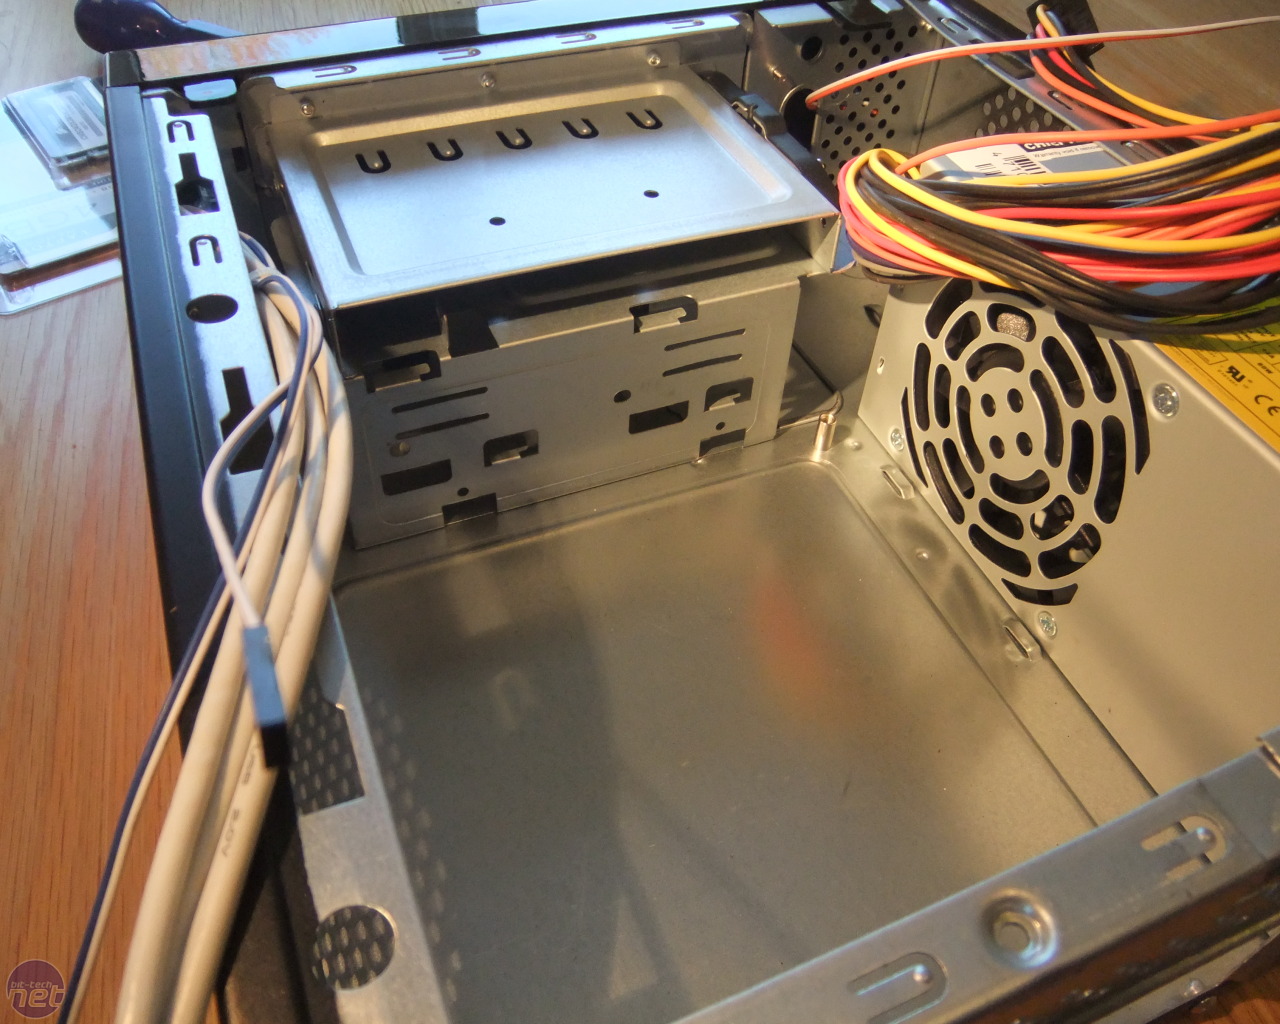
It’s impressively compact, with the PSU wedged on the side, and the drive mounting enclosure at the front of the case (the slimline bay faces out of the front, while the 3.5” bay is sideways).
There’s a major problem with this case that should be apparent immediately from that picture below: airflow. There are no intake or exhaust fans built into the case and there’s no way to mount your own, so you are dependant upon the PSU’s fan to draw in air from the outside and blow it over the motherboard.
There are three vents in the case that hot air can depart by: one opposite the PSU (you can see its shadow in the picture); one in the top plate, directly over the motherboard; and one in the dead space in the corner between the drive bays and the PSU.
I was careful not to obstruct what airflow there is with wiring (where “careful” means “route them all via somewhere there’s no airflow anyway and ziptie everything into submission”) and just had to hope that the stock coolers were up to the task of keeping temperatures down.
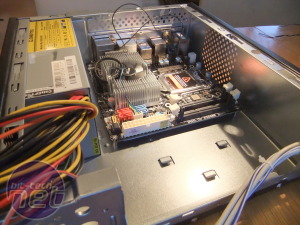
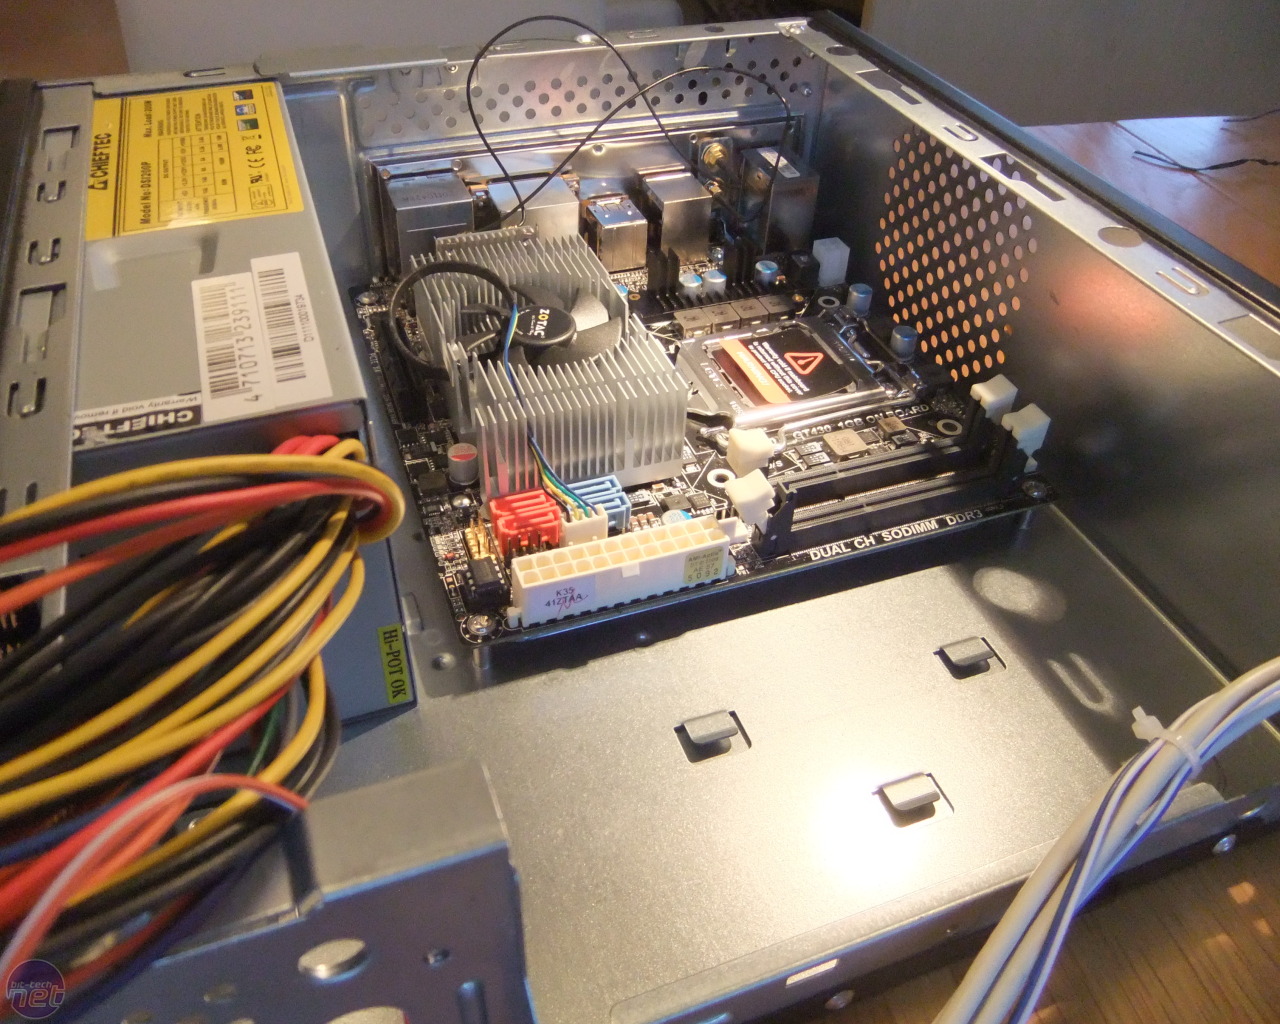
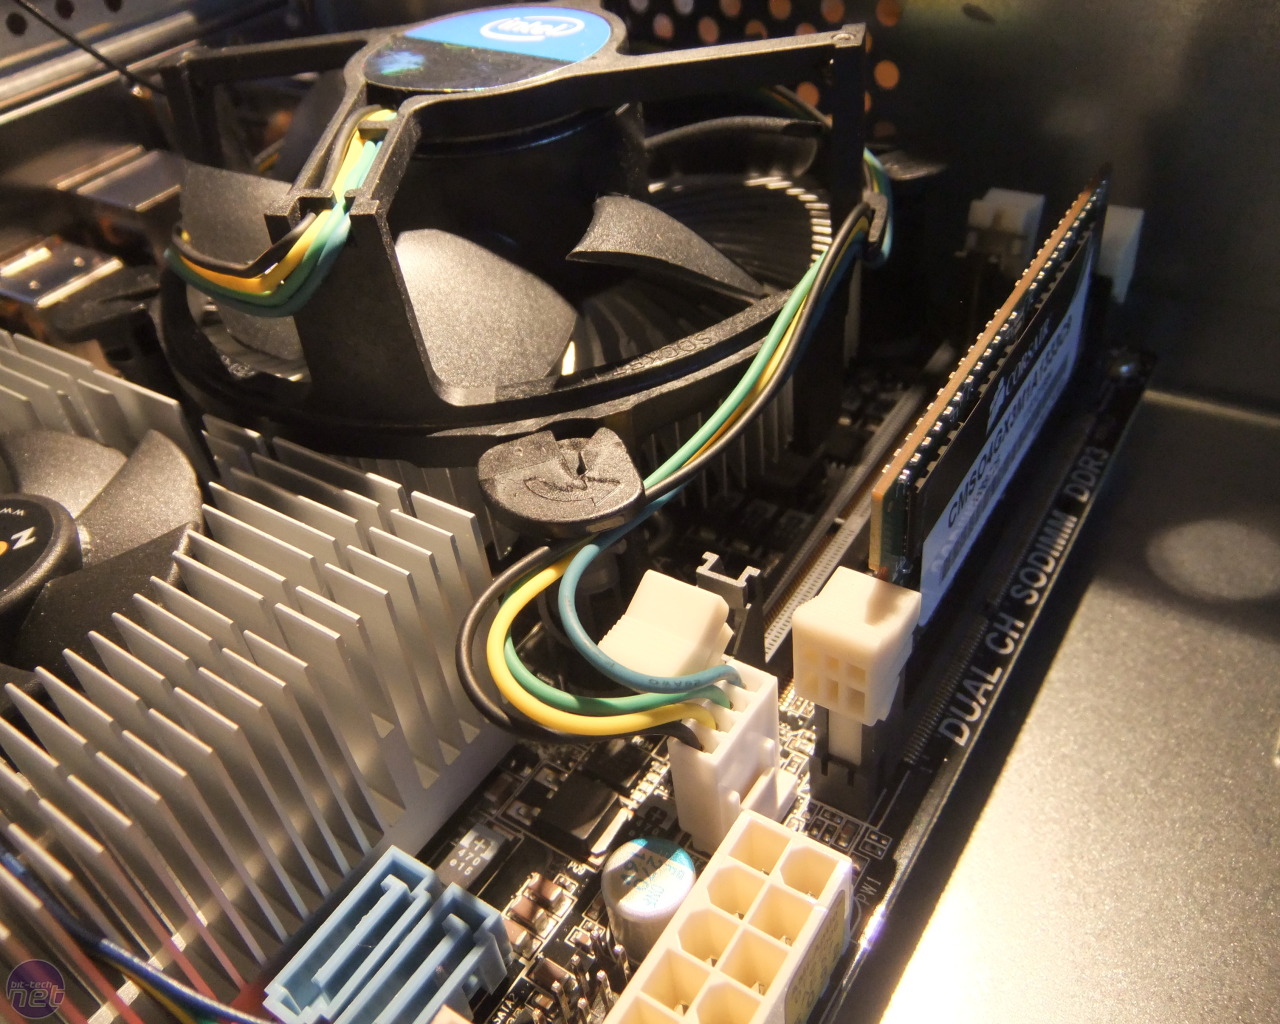
That photo also makes the case look very cramped to work with, but fortunately the entire faceplate detaches and the drive mounting slides out, which makes installing everything much easier. Here’s a picture, from the opposite angle, just after I’ve screwed in the motherboard:
This shot also shows how crowded the components on that board are: most of the Mini-ITX's standard 289cm2 area is occupied by the CPU socket and the Z68 chipset and GT430 GPU under that huge heatsink. That leaves the ATX power connector, SATA ports and the front panel LED and switch pins all jammed in the front corner by the PSU. It also means that the SO-DIMM slots and the CPU cooler are so close that they’re practically touching.
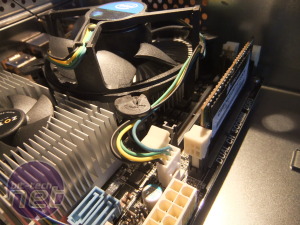
As you can see, I’ve mounted the one 4GB RAM stick in the outer SO-DIMM slot, in the slightly forlorn hope that the extra centimetre of space between them will allow a little more air to circulate.
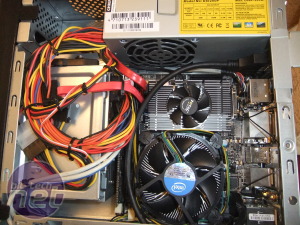
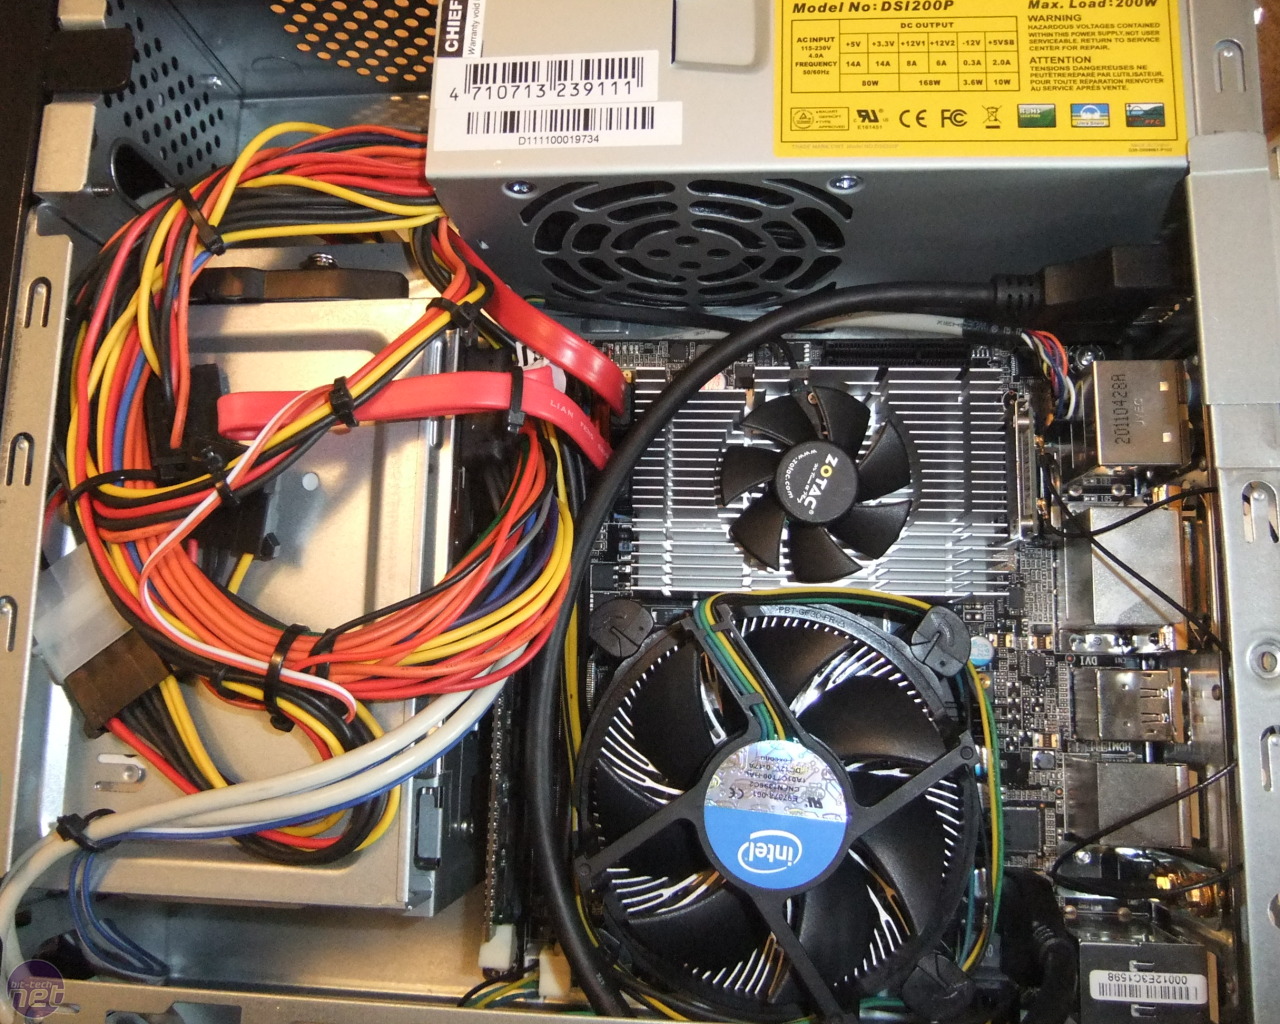
After that, it was time for the boring, fiddly stuff: wiring up the front panel connectors, plugging in the power, mounting the drives, connecting them up, seating the drive bays back in the case and clipping the front panel back on. Then it was time to get aggressive with some zip ties.
I reasoned that running most of the cables over the drive bays would keep them out of the way of what little airflow there was in the case. In truth, I didn’t have many options here: with nearly all the cables plunging onto that crowded corner of the motherboard, it’s tough to keep things tidy. The big sin here is that fat black cable looping from the sole PCI expansion slot in the case to the USB3 pins on the motherboard; the cable’s girth makes it very difficult to route in such a small space. The good news is that it’s totally unnecessary: the board has two USB3 ports and two USB2 ports on the rear already, as well as the two USB2 ports on the front panel.
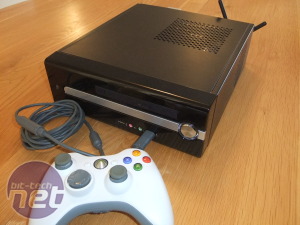
Here’s what the final exterior looks like, with the 802.11n antennae screwed on and a token wired Xbox 360 controller plugged in for scale:

Right. Now to get Windows 7 installed (other operating systems are available) and finally, we get to play some games!

click to enlarge
It’s impressively compact, with the PSU wedged on the side, and the drive mounting enclosure at the front of the case (the slimline bay faces out of the front, while the 3.5” bay is sideways).
There’s a major problem with this case that should be apparent immediately from that picture below: airflow. There are no intake or exhaust fans built into the case and there’s no way to mount your own, so you are dependant upon the PSU’s fan to draw in air from the outside and blow it over the motherboard.
There are three vents in the case that hot air can depart by: one opposite the PSU (you can see its shadow in the picture); one in the top plate, directly over the motherboard; and one in the dead space in the corner between the drive bays and the PSU.
I was careful not to obstruct what airflow there is with wiring (where “careful” means “route them all via somewhere there’s no airflow anyway and ziptie everything into submission”) and just had to hope that the stock coolers were up to the task of keeping temperatures down.
Click to enlarge
That photo also makes the case look very cramped to work with, but fortunately the entire faceplate detaches and the drive mounting slides out, which makes installing everything much easier. Here’s a picture, from the opposite angle, just after I’ve screwed in the motherboard:
This shot also shows how crowded the components on that board are: most of the Mini-ITX's standard 289cm2 area is occupied by the CPU socket and the Z68 chipset and GT430 GPU under that huge heatsink. That leaves the ATX power connector, SATA ports and the front panel LED and switch pins all jammed in the front corner by the PSU. It also means that the SO-DIMM slots and the CPU cooler are so close that they’re practically touching.
Click to enlarge
As you can see, I’ve mounted the one 4GB RAM stick in the outer SO-DIMM slot, in the slightly forlorn hope that the extra centimetre of space between them will allow a little more air to circulate.
After that, it was time for the boring, fiddly stuff: wiring up the front panel connectors, plugging in the power, mounting the drives, connecting them up, seating the drive bays back in the case and clipping the front panel back on. Then it was time to get aggressive with some zip ties.
I reasoned that running most of the cables over the drive bays would keep them out of the way of what little airflow there was in the case. In truth, I didn’t have many options here: with nearly all the cables plunging onto that crowded corner of the motherboard, it’s tough to keep things tidy. The big sin here is that fat black cable looping from the sole PCI expansion slot in the case to the USB3 pins on the motherboard; the cable’s girth makes it very difficult to route in such a small space. The good news is that it’s totally unnecessary: the board has two USB3 ports and two USB2 ports on the rear already, as well as the two USB2 ports on the front panel.
Here’s what the final exterior looks like, with the 802.11n antennae screwed on and a token wired Xbox 360 controller plugged in for scale:


Click to enlarge
Right. Now to get Windows 7 installed (other operating systems are available) and finally, we get to play some games!


MSI MPG Velox 100R Chassis Review
October 14 2021 | 15:04

Want to comment? Please log in.