
Step 2:
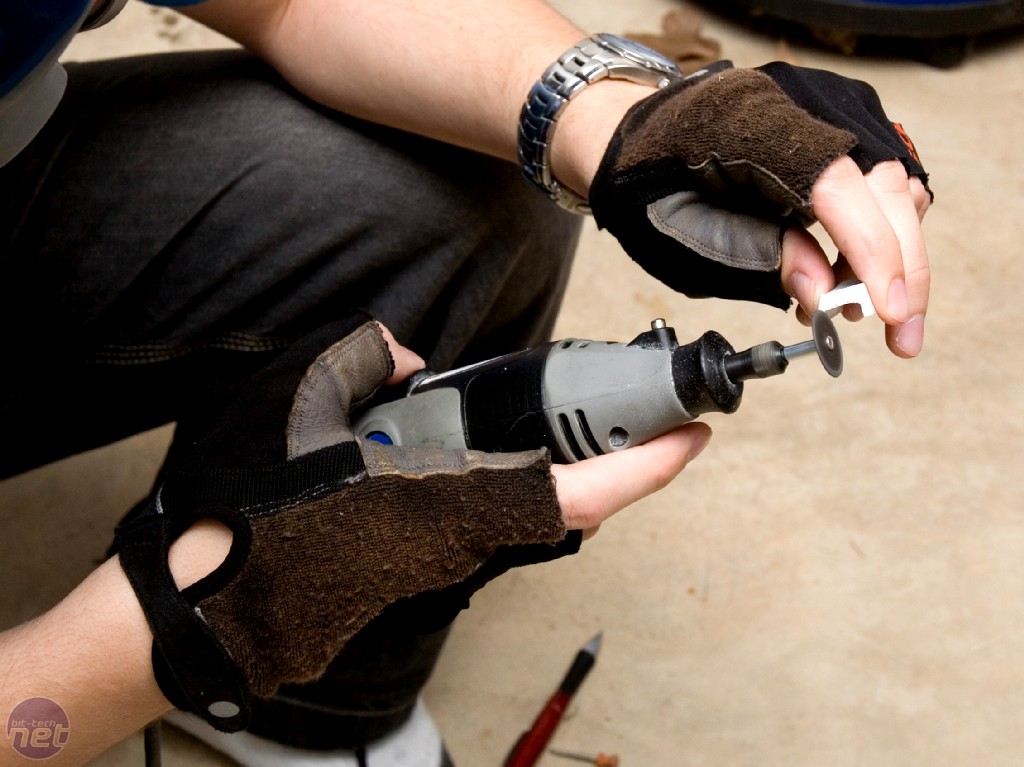
Before cutting a notch into the side of the Enter key, I grabbed a pencil and the USB drive to mark approximately how far I needed to cut.Once again I used the notch-then-grind method with the cutting wheel and grinding stone for the side of the Enter key.
Step 3:
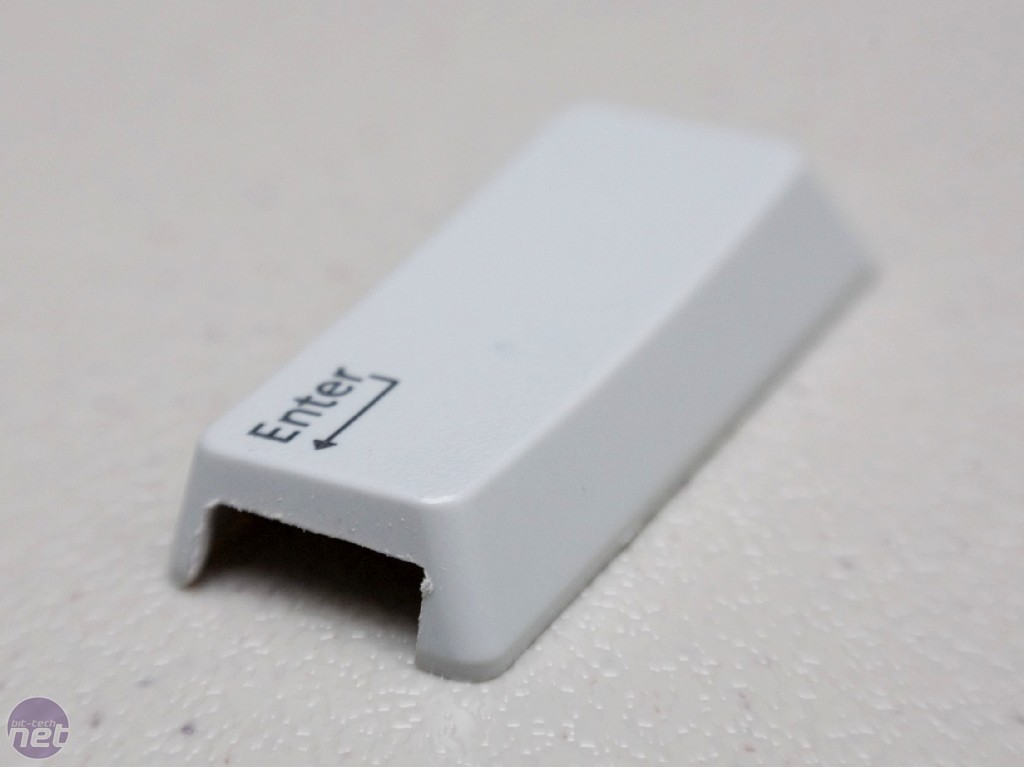
I was able to clean it up pretty well with the Dremel, and then put on the finishing touches with some fine grit sandpaper. Care had to be taken with the sandpaper to not round any corners or edges, though.Step 4:
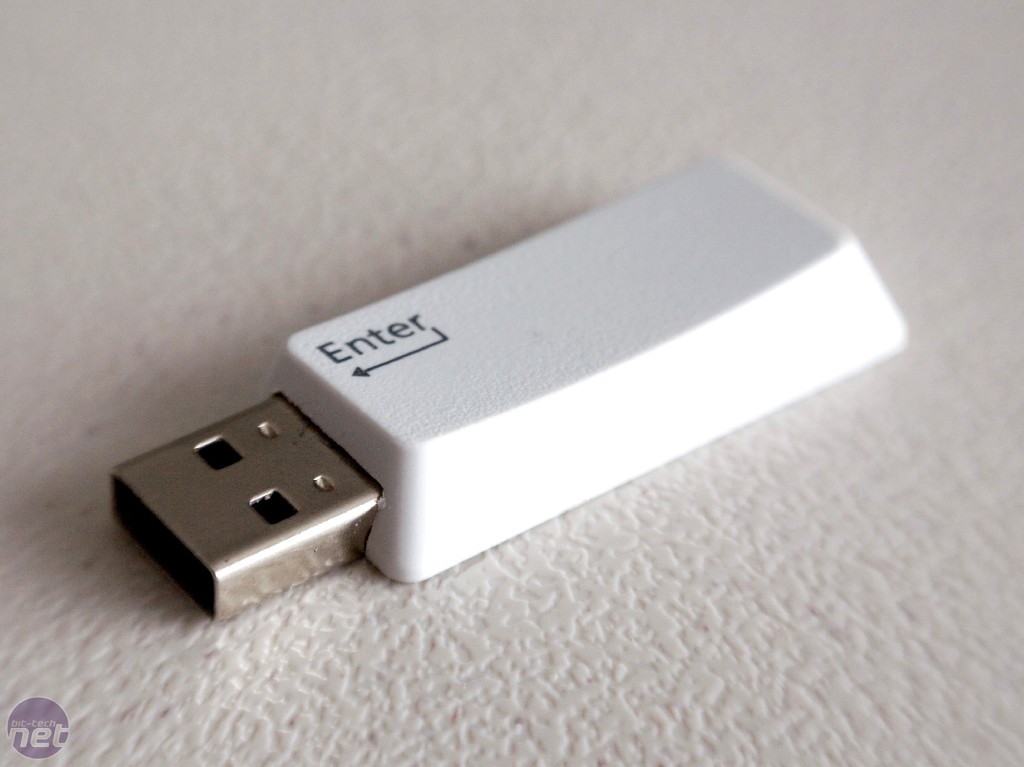
With all the necessary cuts having been made, it was time to place the USB drive inside the Enter key. The fit was perfect, with a little bit of wiggle room.Step 5:
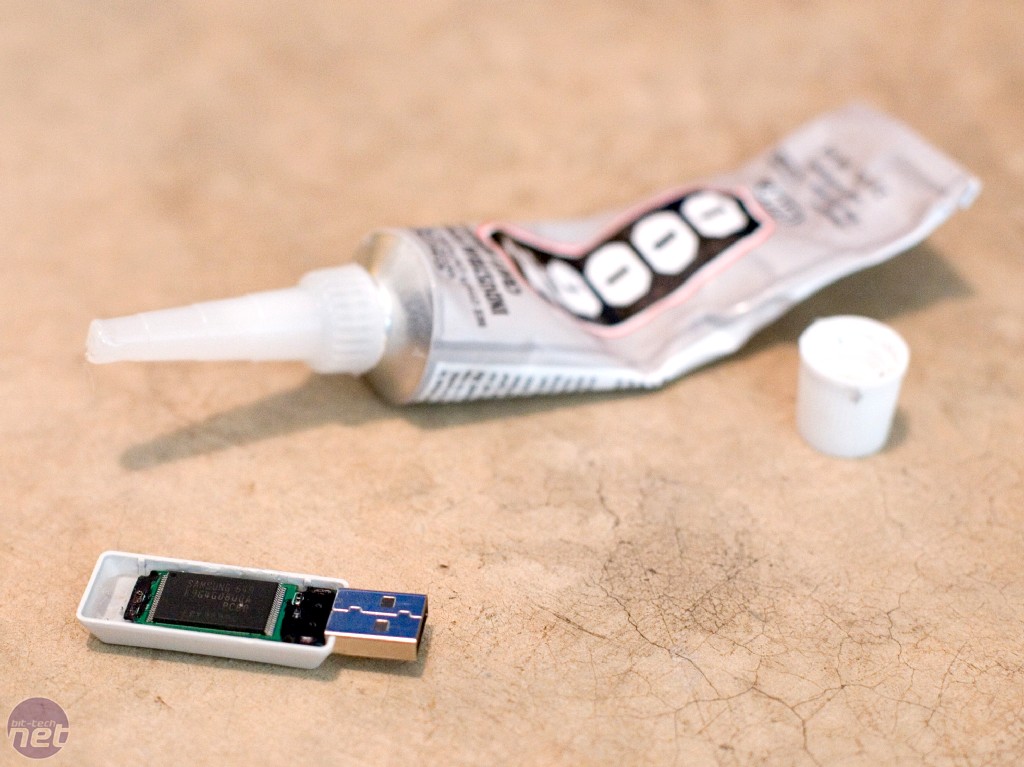
Now for the fun: pouring in the epoxy. The tricky thing was that this part had to be done a bit at a time, rather than all at once, to keep the epoxy from flowing out of the notch we just cut.

A plan comes together. Click to enlarge
So I started by filling the key up to the notch and then setting the USB drive back in place on top of it. I let it set for 24 hours, then added a bit more, and so on, until silicone was up to the top. Once I was completely finished, I let it set for another few days before messing with it, since I used a good bit more epoxy than your typical application.
RELATED ARTICLES


MSI MPG Velox 100R Chassis Review
October 14 2021 | 15:04

Want to comment? Please log in.