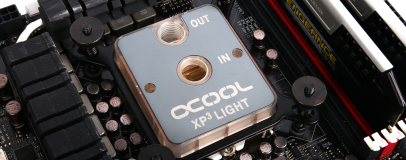
Custom Cables
The final thing to sort out before we start connecting up our water-cooling components next time is the cables, specifically those for the PSU. You can, of course, create your own or re-braid your existing PSU's cables and if you're spending hundreds of pounds on a water-cooling system, then not splashing out on some custom PSU cables would seem a bit silly.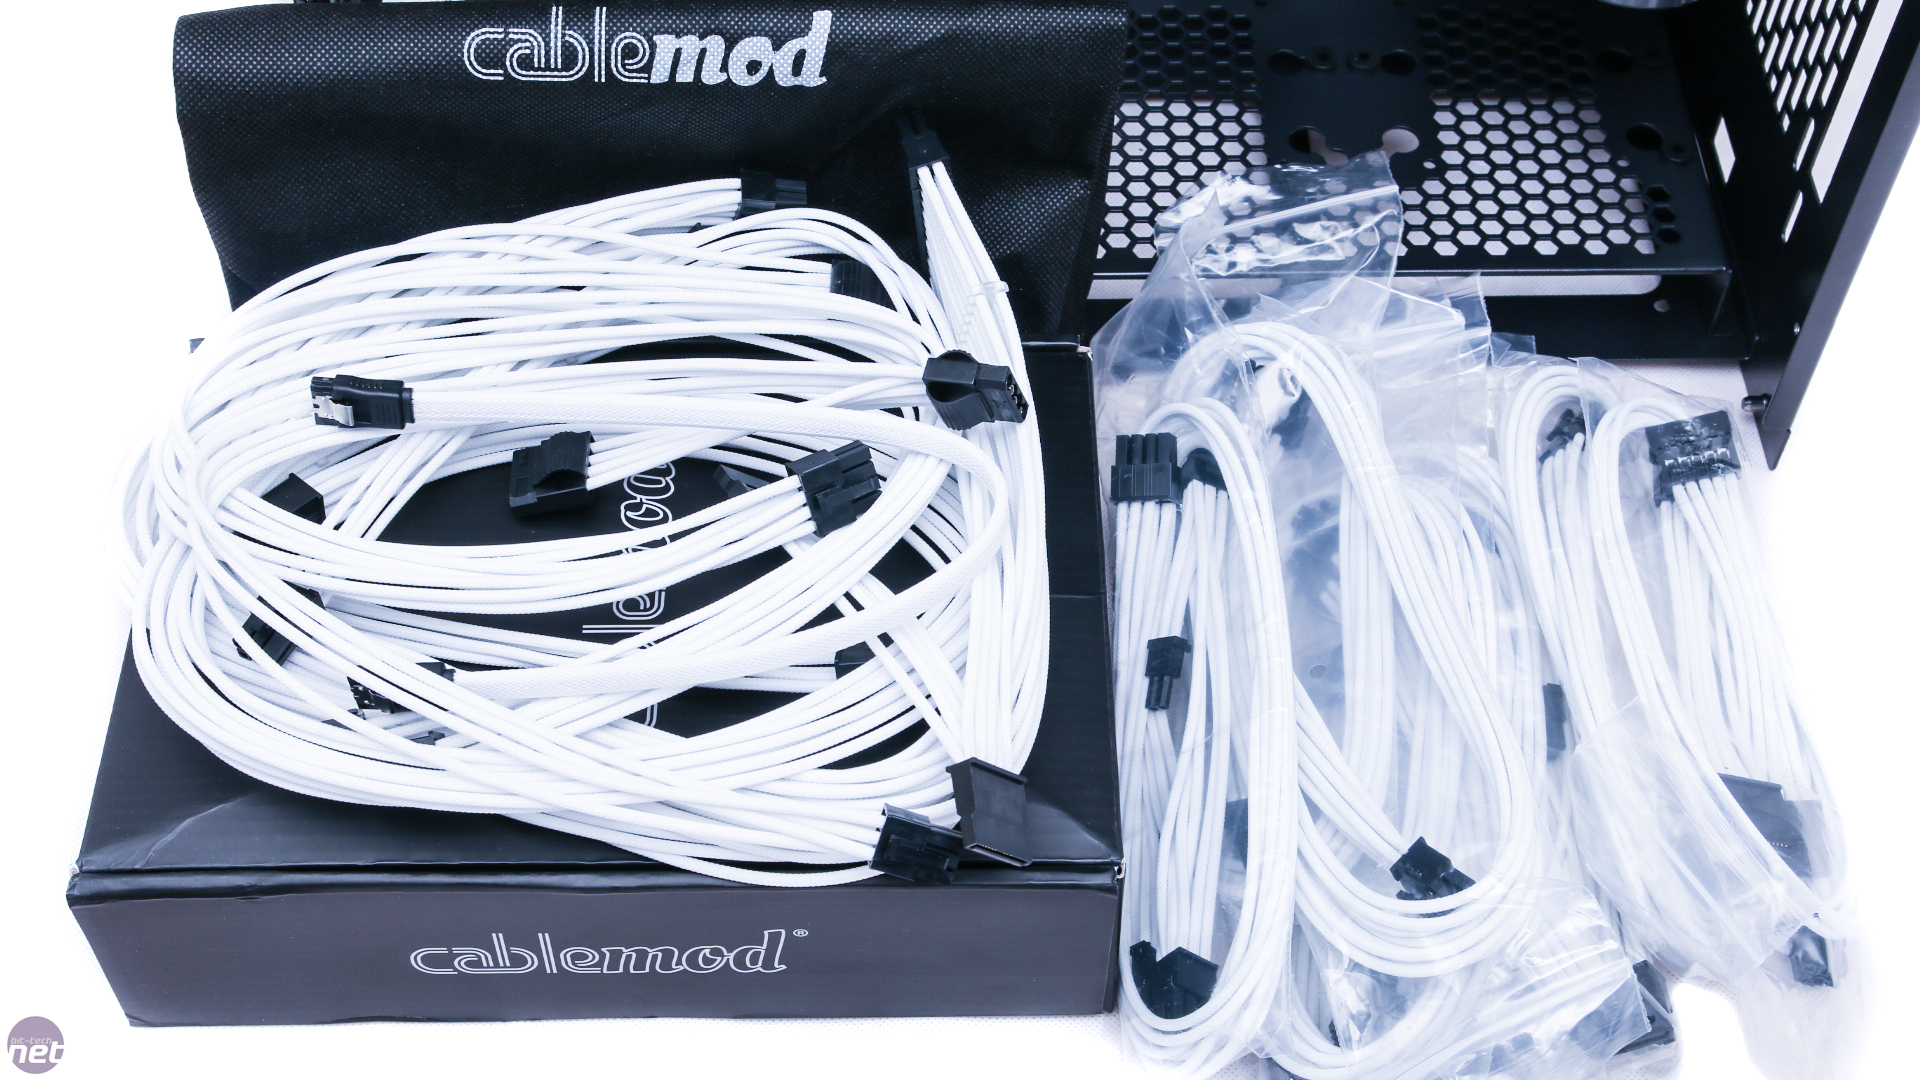
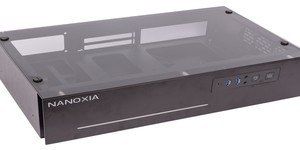
Click to enlarge
However, braiding your own cables is not only expensive in materials but can take a huge amount of time. For this reason, if you only have a day or two to get up and running, then pre-braided cable kits are definitely the way to go.
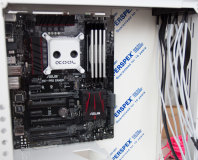
Click to enlarge
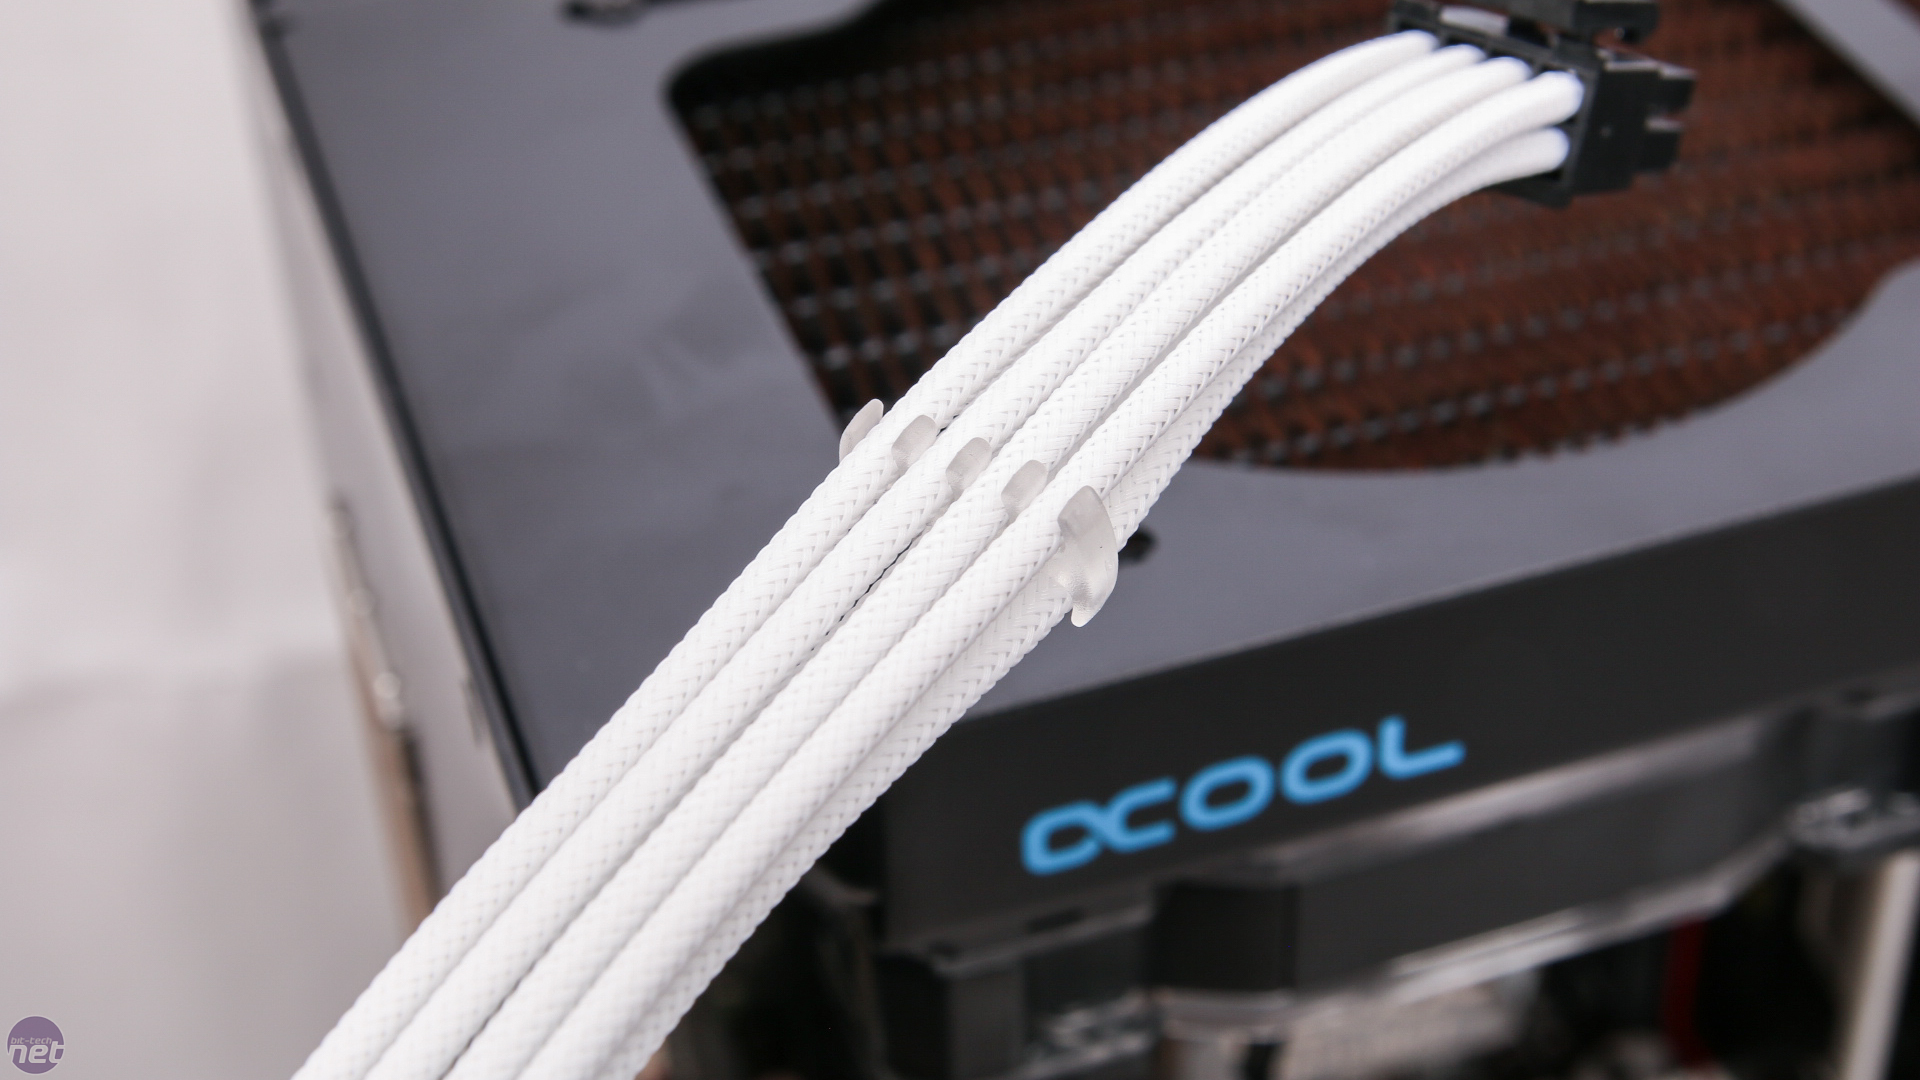
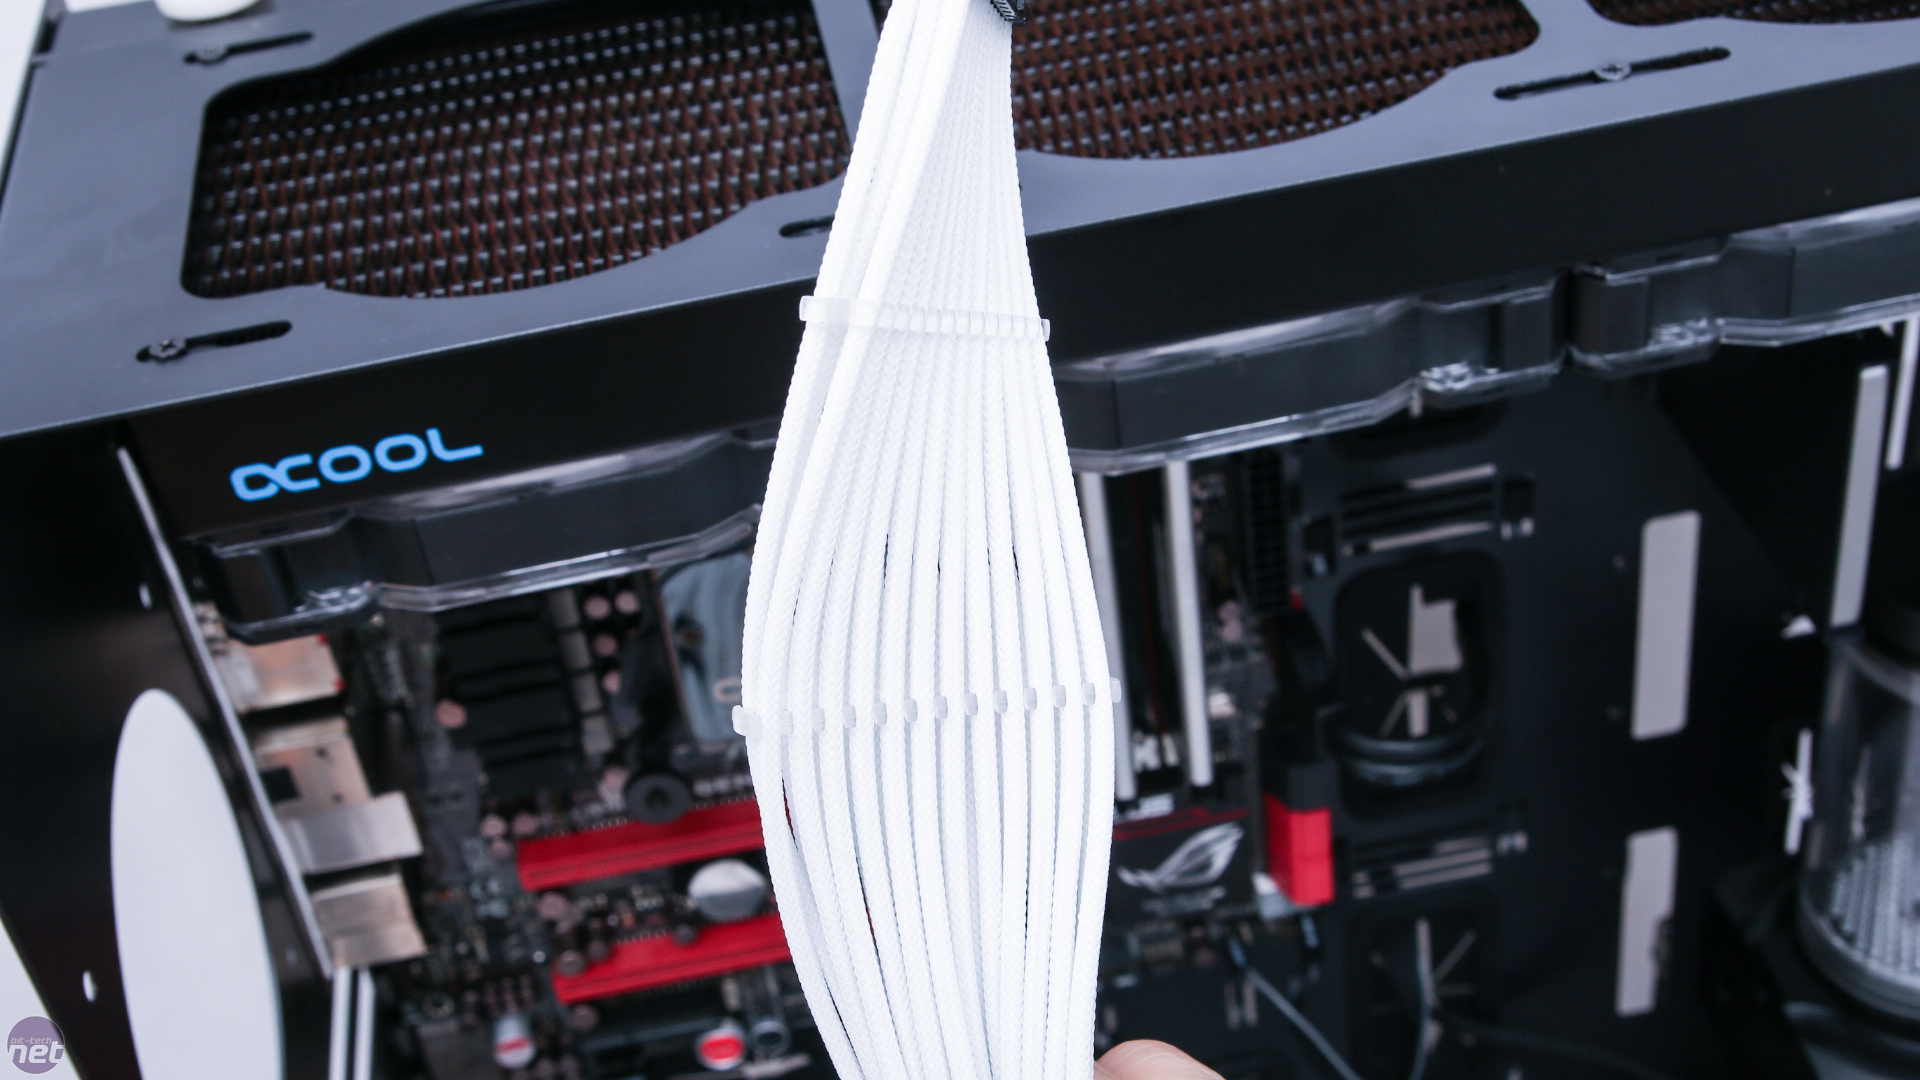
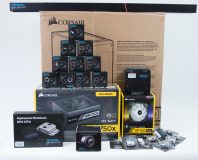
We've opted for CableMod's custom cable kit for our particular Corsair PSU. They're available in a range of colours, in both ModMesh (PET-based rigid braid) and ModFlex (paracord) and as the latter is slightly thinner than average, you can get custom cable combs too. We've opted for white ModMesh along with CableMod SATA cables and combs and we'll be interviewing CableMod soon for an in-depth look at its online configurator.
Click to enlarge
That's it for part two; we'll be back soon for the final part, which deals with our chrome tubing, coolant, filling and leak testing.
RELATED ARTICLES


MSI MPG Velox 100R Chassis Review
October 14 2021 | 15:04


Want to comment? Please log in.