Nanoxia Project S Water-Cooling Build: Part Three
November 22, 2016 | 09:51
Companies: #aquatuning #bit-tech #corsair #nanoxia
Once you're familiar with cutting the tubing and achieving a smooth end, test-fit the tubing in a fitting. With the Alphacool fittings, you need to remove the plastic ring and o-ring and thread these and the locking ring over the tubing, then press the tubing into the rest of the fitting. You can then move the locking ring down, compressing the plastic ring and o-ring and clamping the tubing in place.
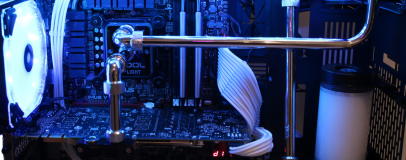
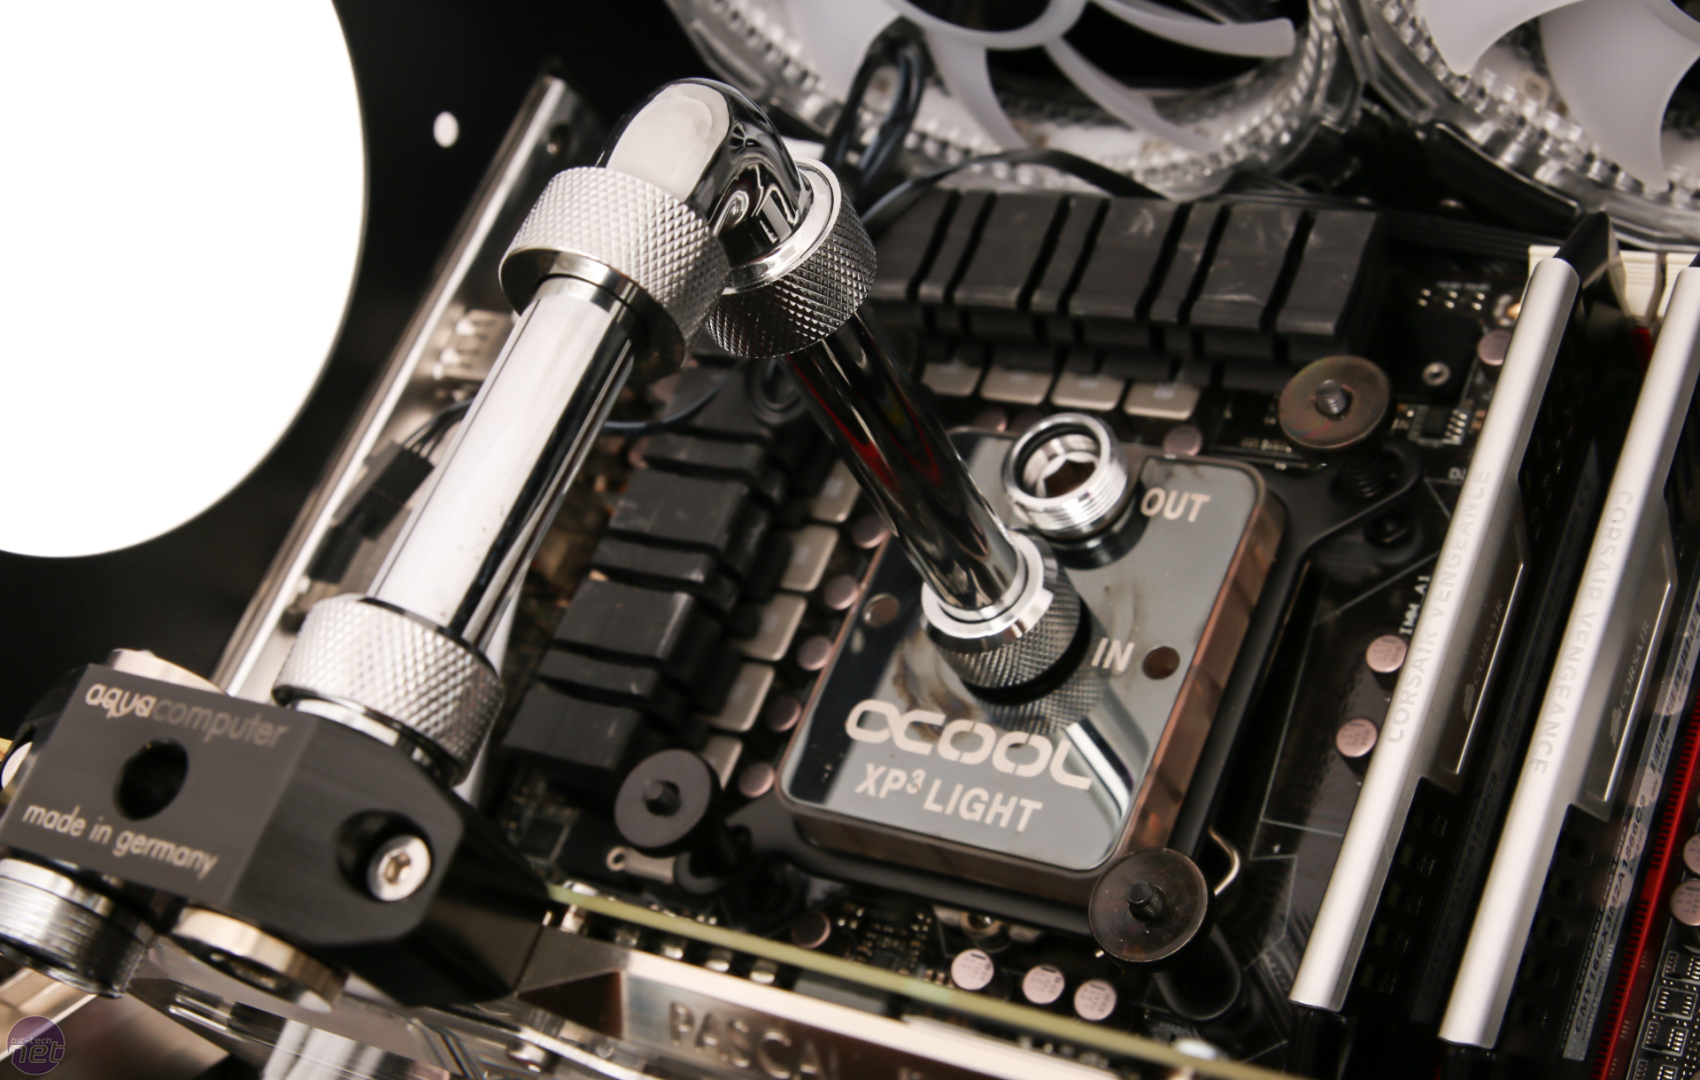
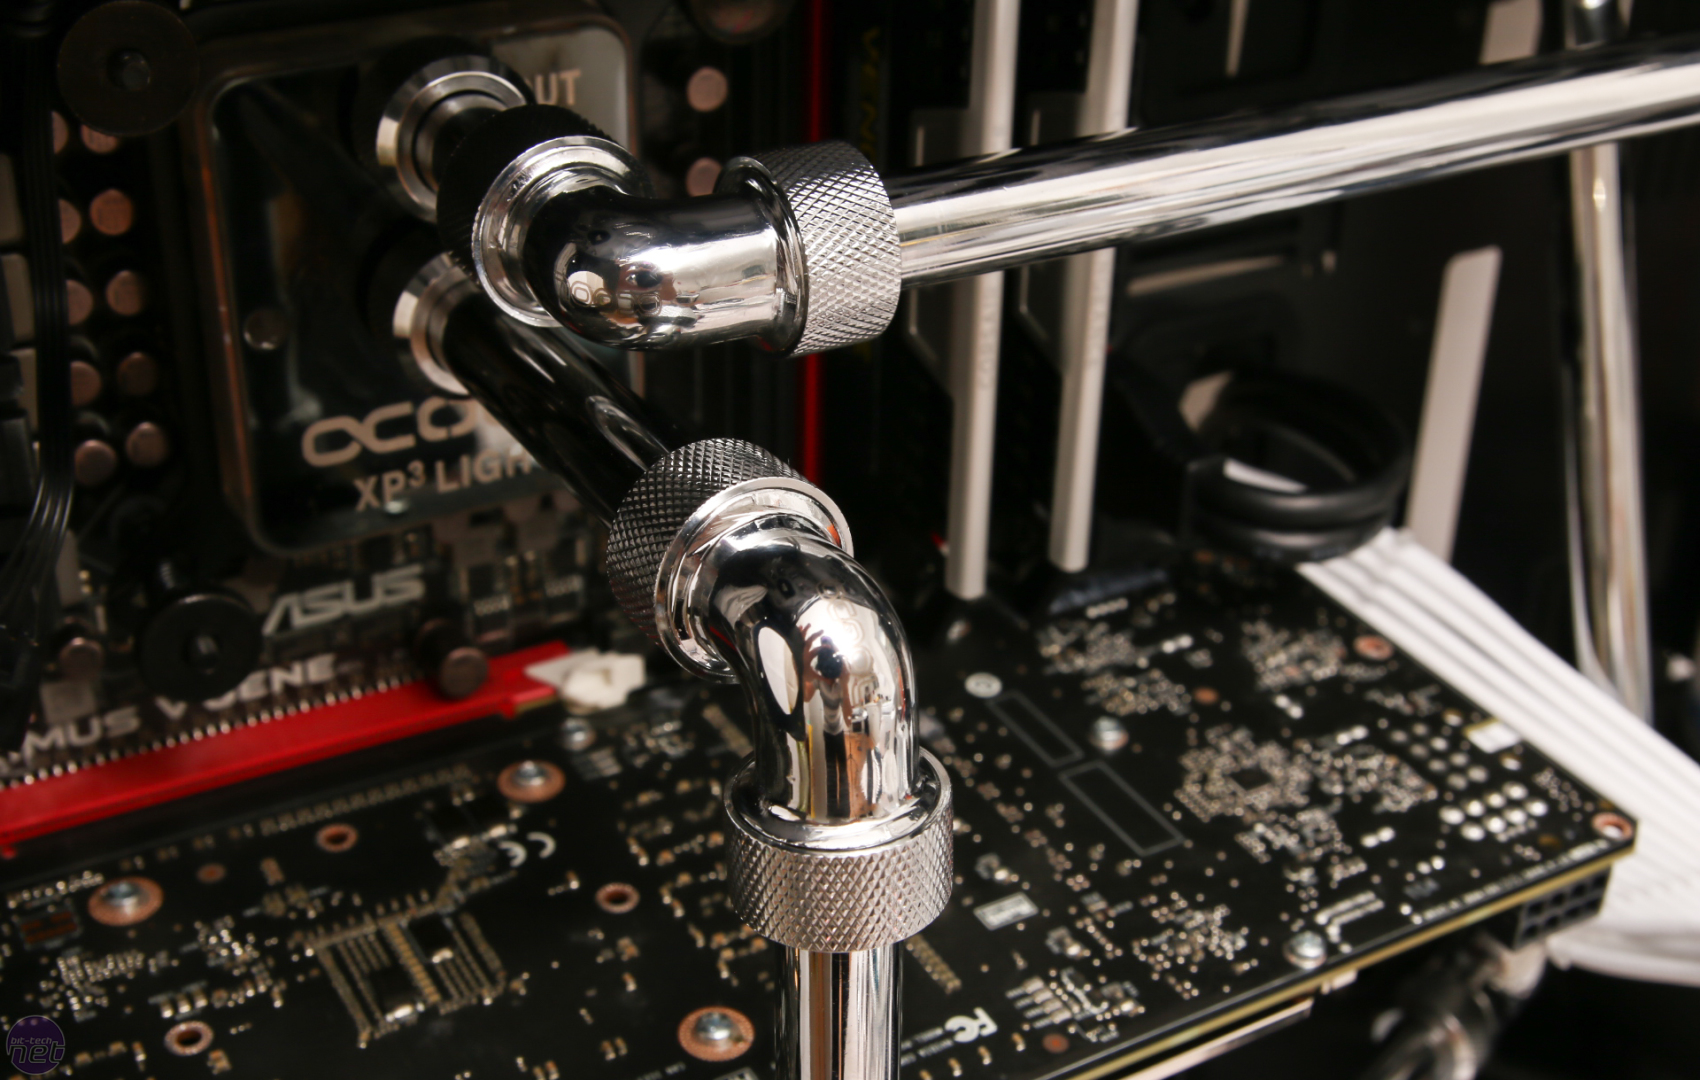
We've been impressed with the leak-tight seal this creates, but due to the glossy nature of the tubing, it is possible to yank it out with medium force. As such, if your PC will be moved around a lot, it's worth applying a little metal weld epoxy to the end of the tube to secure it in place. We've linked the CPU water block directly to the graphics card - it's a simple 90-degree bend so you need two lengths of tubing, fittings for the ports on each block, plus an Alphacool 90-degree adaptor, which is now available with fixed barbs on either end as this one has here.
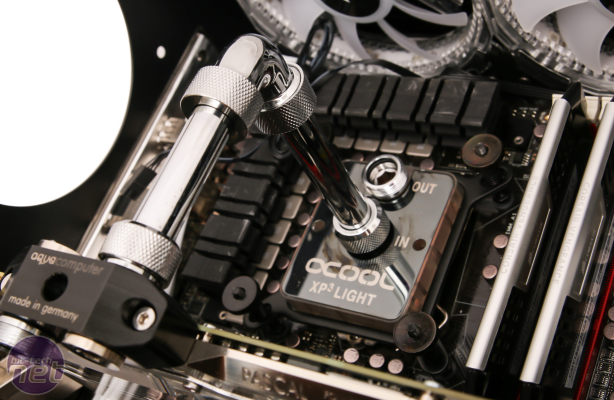
Use a ruler to measure the lengths of the tubing required and use your cutting tool to trim them to length. This is a very precise exercise - you need a perfect fit length-ways or you may end up with wonky tubes or putting joints under stress if the tube is too long. It's quite common to trim an extra 5mm or so off the tube a few times before getting it just right. As such, dealing with metal tubes can take a long time as it takes longer to cut and prepare them on each occasion.

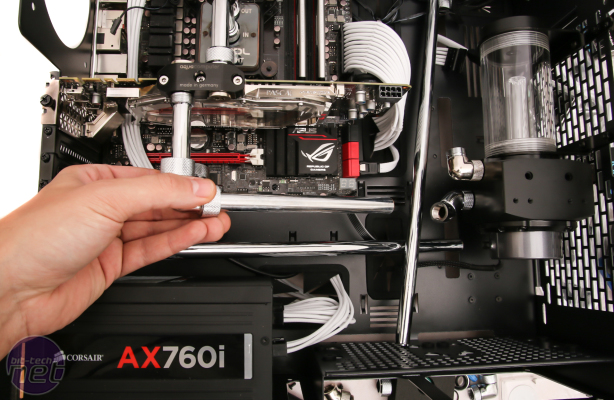
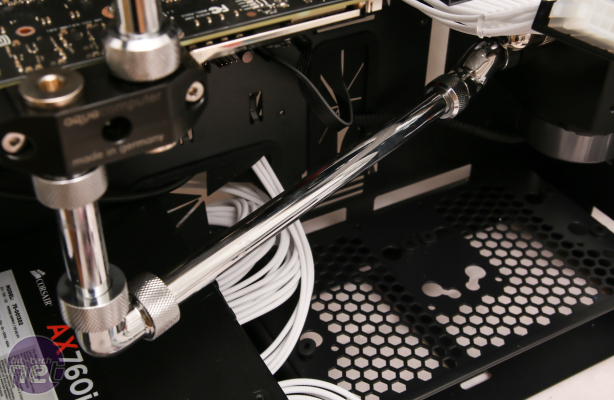
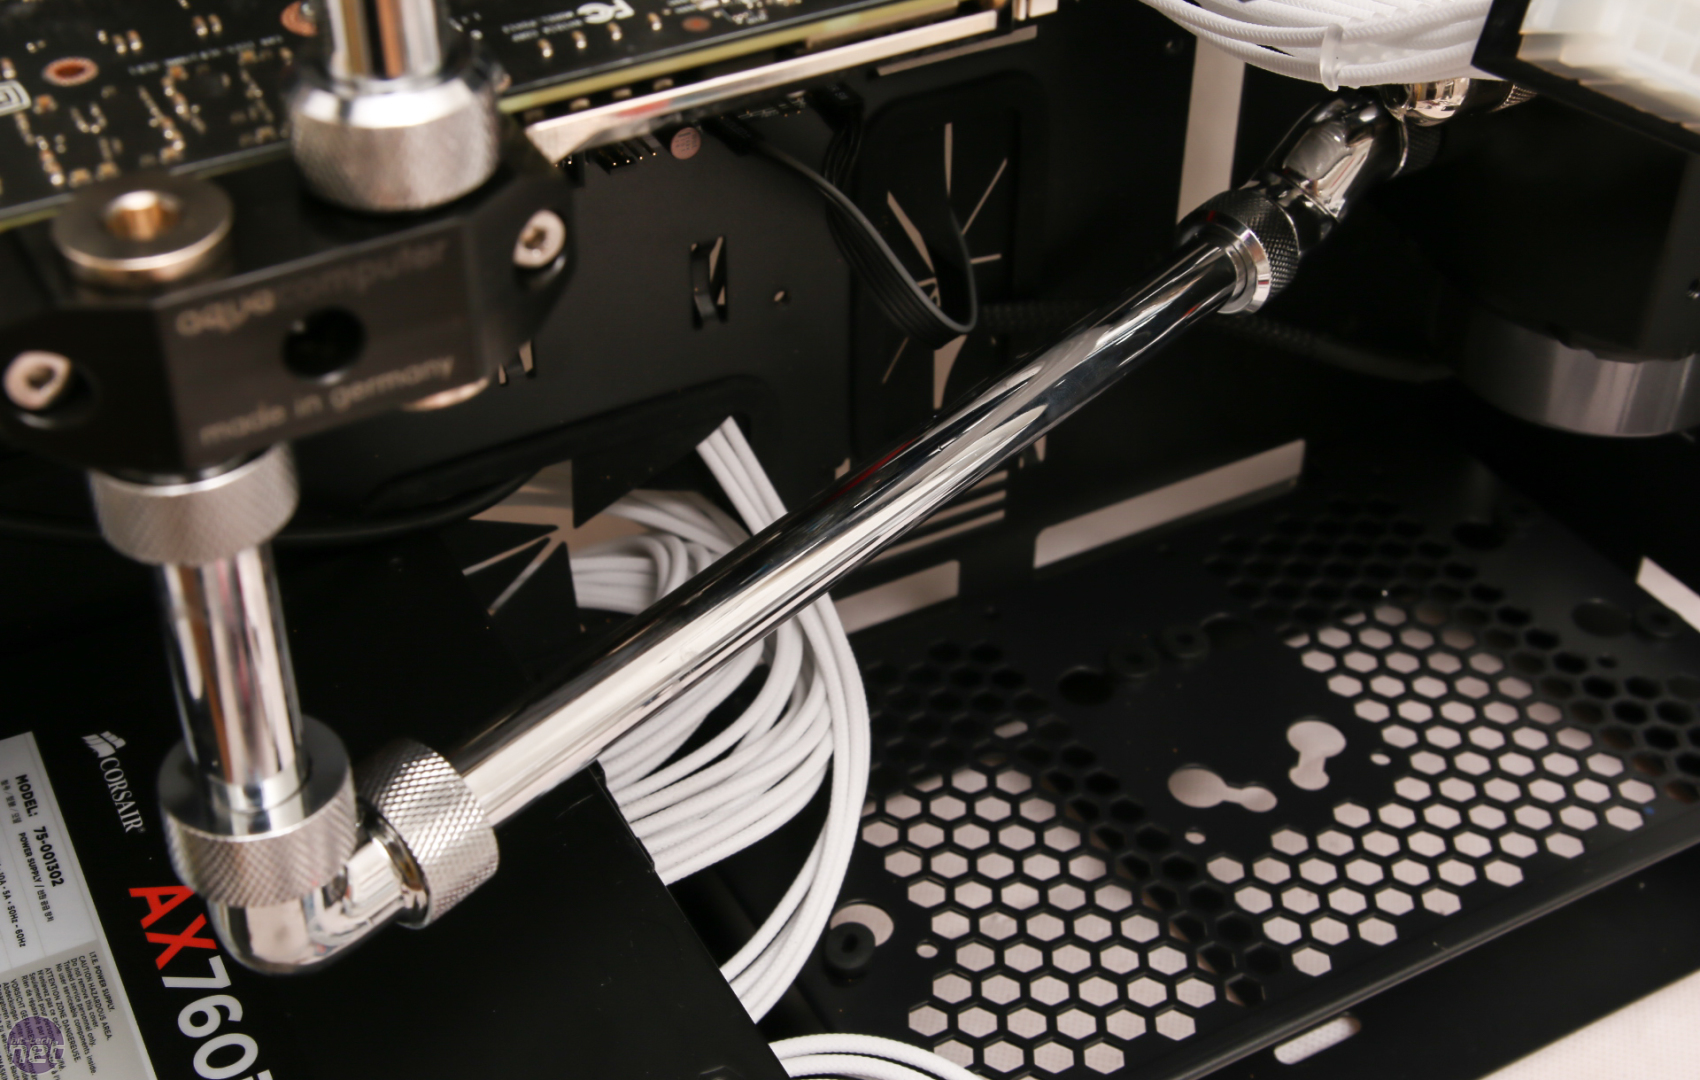
For single-GPU systems like this one, it's usually best to run down from the water block on the graphics card having already come from the CPU water block, and then to a radiator or pump. In this case, the pump is the logical choice given that the radiator is in the roof. However, neither port on the pump lined up perfectly for a straight link - they rarely will. We thus opted for a slightly angled tube running to the pump, first from the graphics card, then via a 90-degree bend and finally angled to the pump.
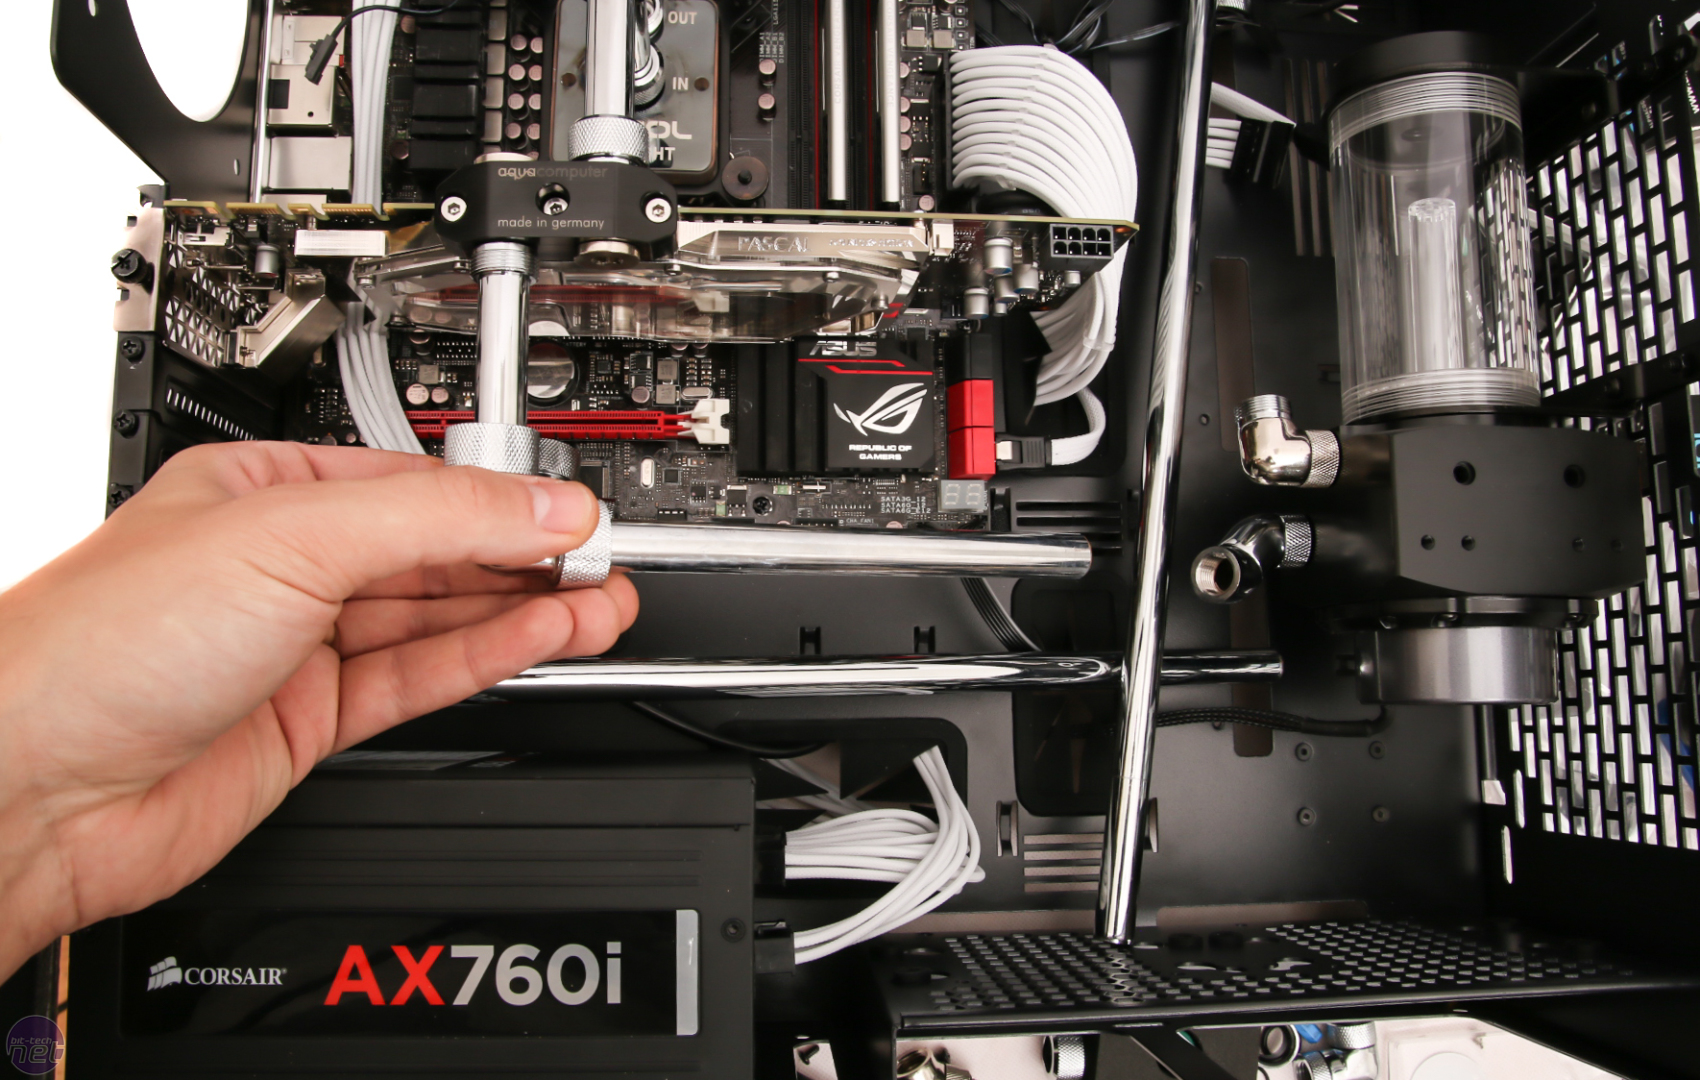
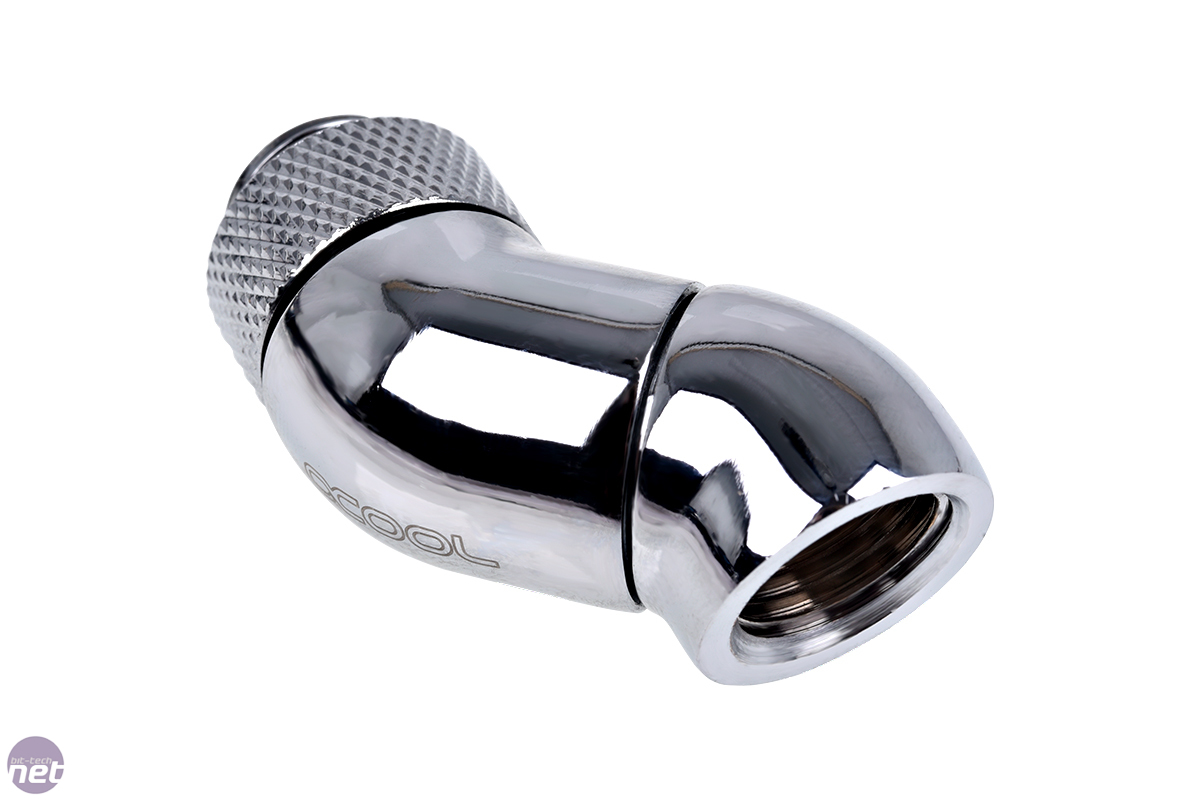
By far and away your most useful tool for dealing with slightly misaligned ports is Alphacool's Eiszapfen angled adaptor. It has two rotating joints so it can help to find the right angle to meet your tubing - all you have to do is cut the tubing to the right length. They're pricey, but ultimately they can save you twice their cost in extra fittings and save time by reducing the number of joints you need to make. There's quite an angle here, but it doesn't look unattractive and from the side, the tube looks straight anyway.
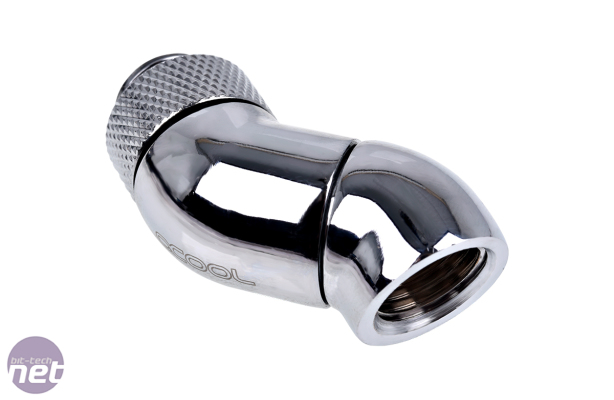
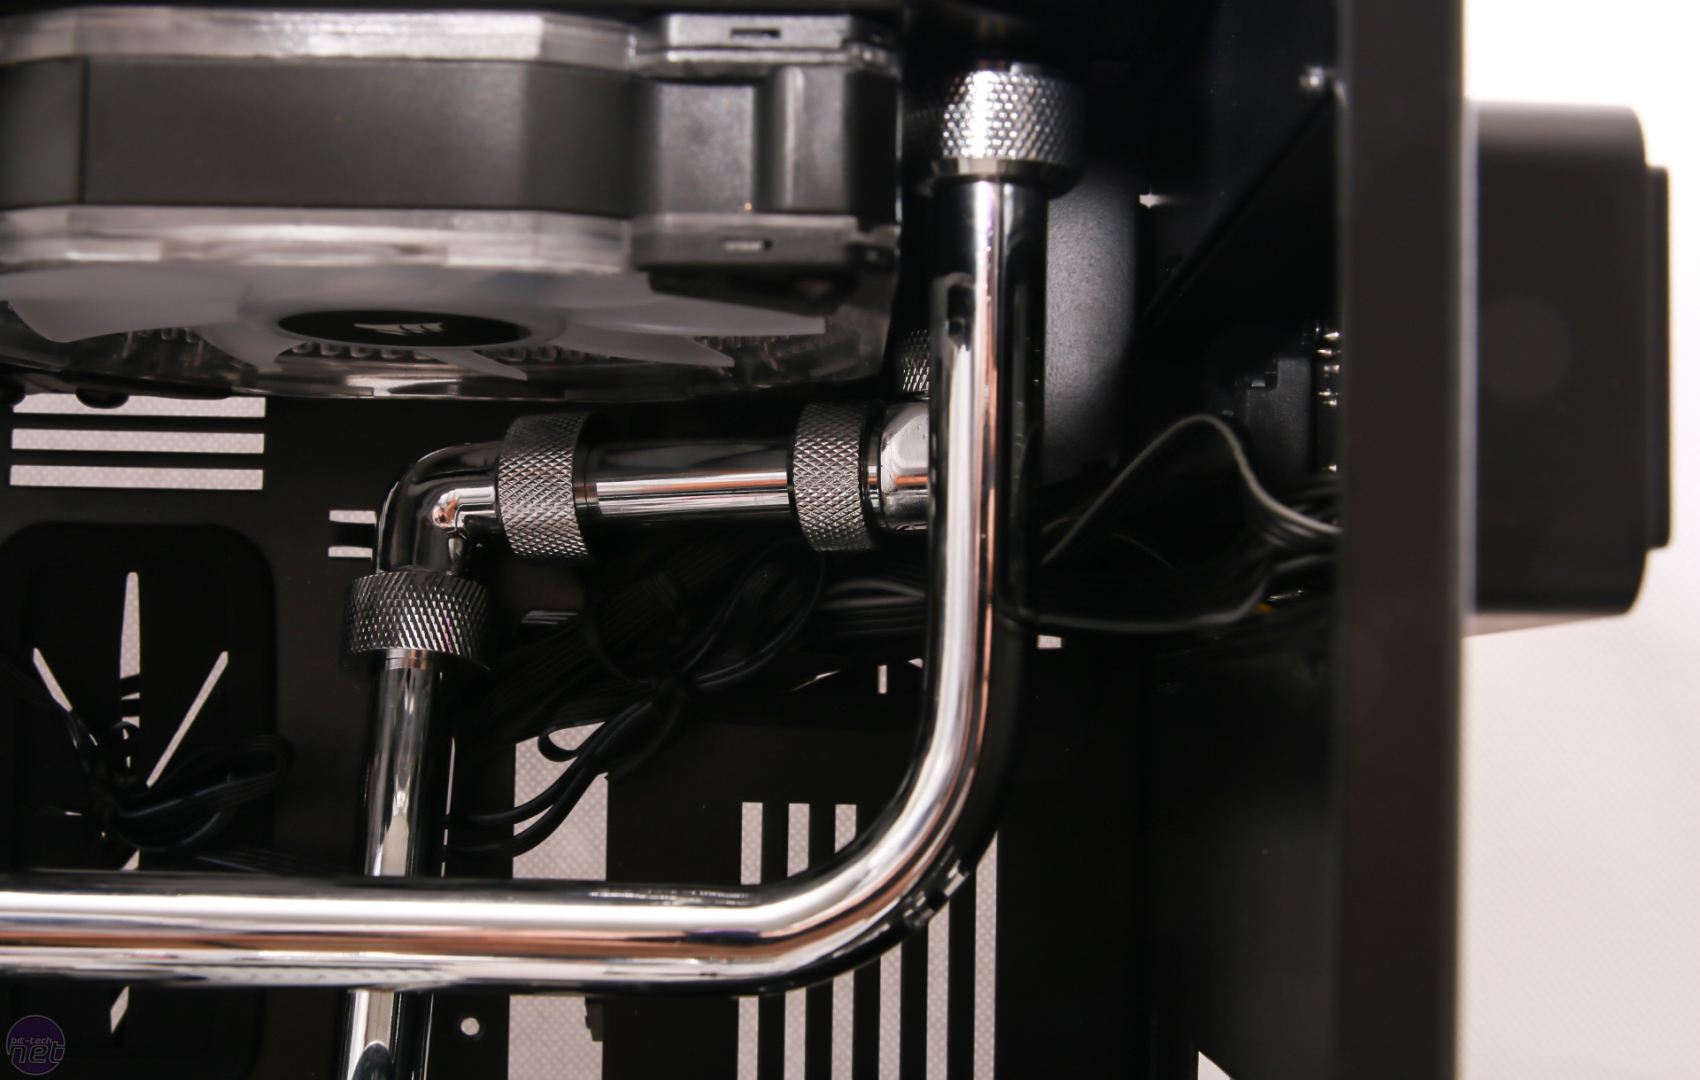
We've used straight line tube combinations to thread our way through the case. Plastic-based tube obviously has the benefit of being bendable when heated, which means you don't need as many joints. You can't bend metal tubing that's been coated, like ours has, but as you can see below, Alphacool does offer pre-bent sections of tube. It's perfectly possibly to deal with all your bends with these, although the tube itself is more expensive too.

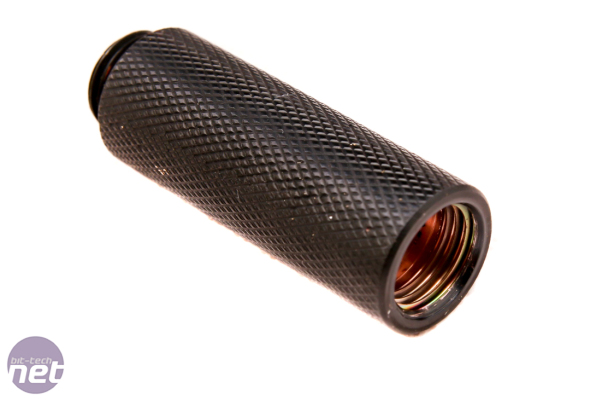
If you're just needing an extra bit of height to pass a row of fans on a radiator or to link up with the next bit of tubing, extensions can be invaluable tools and help to reduce the number of bends you need to make. Thankfully they're much cheaper than the rotating adaptors too.
Click to enlarge
We've been impressed with the leak-tight seal this creates, but due to the glossy nature of the tubing, it is possible to yank it out with medium force. As such, if your PC will be moved around a lot, it's worth applying a little metal weld epoxy to the end of the tube to secure it in place. We've linked the CPU water block directly to the graphics card - it's a simple 90-degree bend so you need two lengths of tubing, fittings for the ports on each block, plus an Alphacool 90-degree adaptor, which is now available with fixed barbs on either end as this one has here.
Click to enlarge
Use a ruler to measure the lengths of the tubing required and use your cutting tool to trim them to length. This is a very precise exercise - you need a perfect fit length-ways or you may end up with wonky tubes or putting joints under stress if the tube is too long. It's quite common to trim an extra 5mm or so off the tube a few times before getting it just right. As such, dealing with metal tubes can take a long time as it takes longer to cut and prepare them on each occasion.
Click to enlarge
For single-GPU systems like this one, it's usually best to run down from the water block on the graphics card having already come from the CPU water block, and then to a radiator or pump. In this case, the pump is the logical choice given that the radiator is in the roof. However, neither port on the pump lined up perfectly for a straight link - they rarely will. We thus opted for a slightly angled tube running to the pump, first from the graphics card, then via a 90-degree bend and finally angled to the pump.
Click to enlarge
By far and away your most useful tool for dealing with slightly misaligned ports is Alphacool's Eiszapfen angled adaptor. It has two rotating joints so it can help to find the right angle to meet your tubing - all you have to do is cut the tubing to the right length. They're pricey, but ultimately they can save you twice their cost in extra fittings and save time by reducing the number of joints you need to make. There's quite an angle here, but it doesn't look unattractive and from the side, the tube looks straight anyway.
Click to enlarge
We've used straight line tube combinations to thread our way through the case. Plastic-based tube obviously has the benefit of being bendable when heated, which means you don't need as many joints. You can't bend metal tubing that's been coated, like ours has, but as you can see below, Alphacool does offer pre-bent sections of tube. It's perfectly possibly to deal with all your bends with these, although the tube itself is more expensive too.
Click to enlarge

Click to enlarge
If you're just needing an extra bit of height to pass a row of fans on a radiator or to link up with the next bit of tubing, extensions can be invaluable tools and help to reduce the number of bends you need to make. Thankfully they're much cheaper than the rotating adaptors too.
RELATED ARTICLES


MSI MPG Velox 100R Chassis Review
October 14 2021 | 15:04

Want to comment? Please log in.