
Acrylic
The acrylic in this case serves dual purposes. On one hand its aesthetically pleasing, adding simplicity to the case which focuses the eye on the wood instead of the acrylic.On the other hand, it allows my inner/outer frame concept to work as the front and back acrylic plates are the only elements that have contact with the wood.
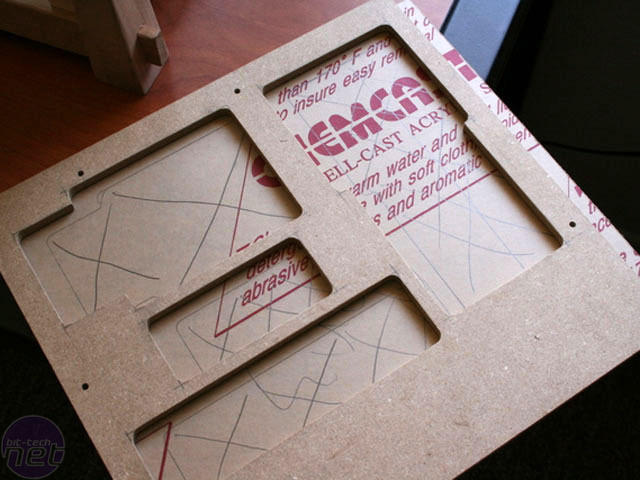
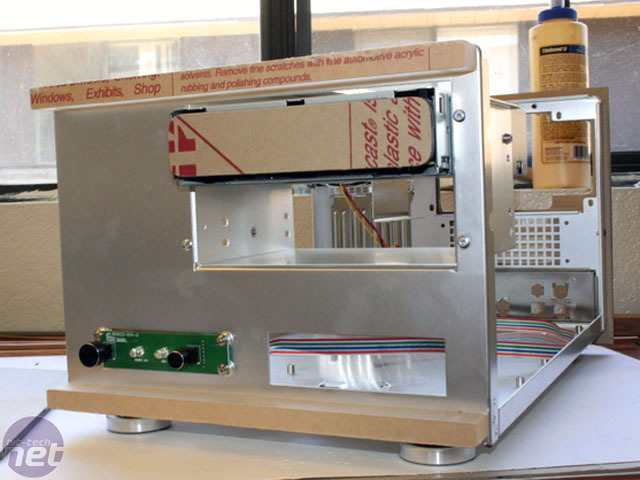
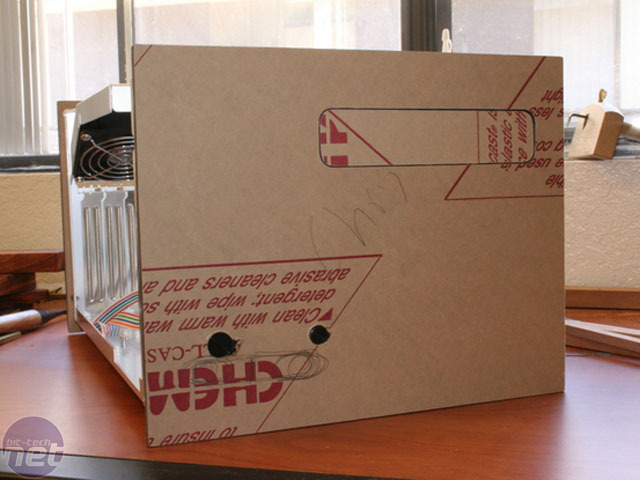
To construct the back panel, I first made templates out of cardboard and foam-core board until I got the correct spacing around the elements.
Once this was done, I used the end-mill to mill out a template out of MDF. This way, I could make multiples quickly using a router table with a flush trim bit. I attached the back plate to the back using the same 4 screw holes that the stock side panels used.
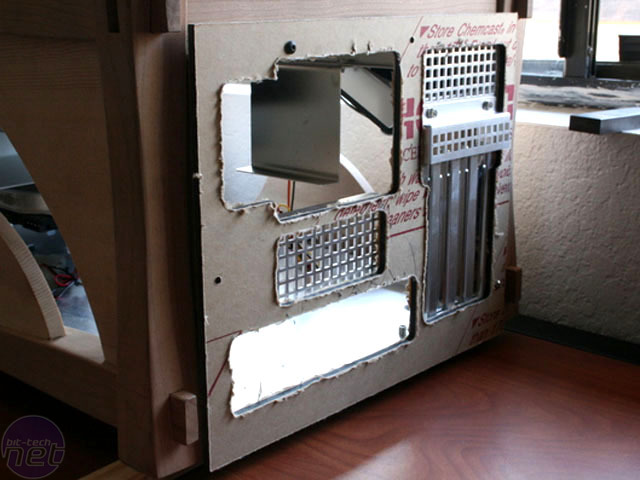
Engineering the front design was a challenge due to the original plate that was used. It required 3/4 inch spacers to bring the front over the DVD drive and it turned out great, making the front flush with the buttons. To make these I just used 3/4 inch acrylic and tapped it to work with the already existing screw holes.
I tried to think of some more fancy for the front design but it turned out that the best design was to make it as simple as possible so that is what I did. I just milled some holes for the stock buttons which worked perfectly with the design and stealthed the DVD drive behind some more black plexi.
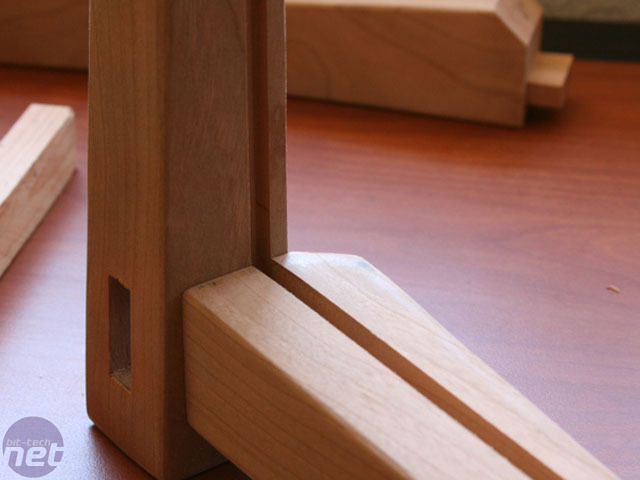
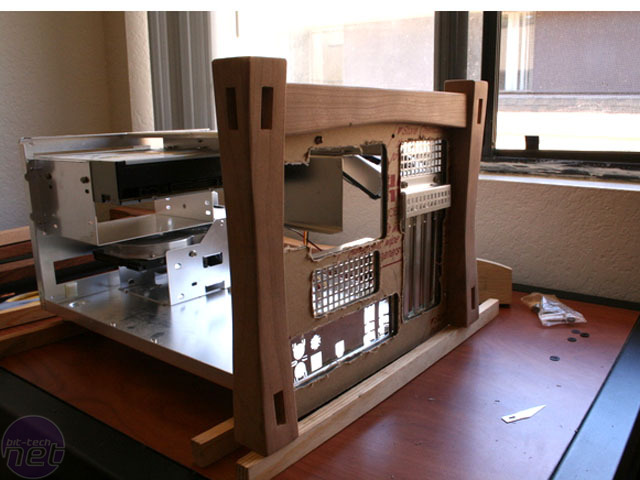
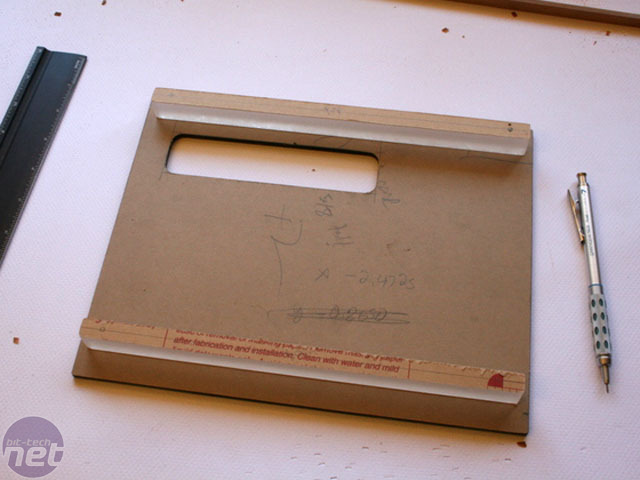
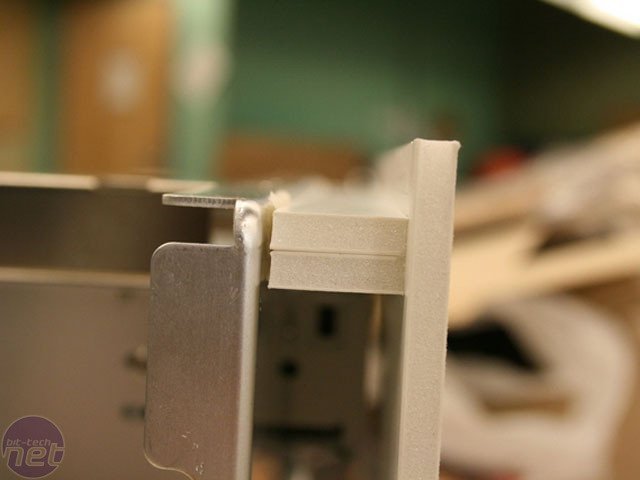
Very similarly to Yuugou, the wood slides over the acrylic at the front and back plates and to do this, I needed to route grooves before gluing the case up. Yet again, I did this with the router table.
Paper/Finish
To keep the focus on the wood, I decided to use a neutral colour and texture rice paper that I picked up from Miki’s paper in Berkeley. To add durability to the paper, I backed it with acrylic that fits snugly into the wood making a very stable panel that you can’t simply stick your finger through.For the finish I chose to use my special Sam Maloof finish which is in two parts and basically consists of: four coats of an oil, polyurethane mix and one coat of an oil and wax mix which gives a very nice lustre to the piece. Unfortunately, my laptop is dead at the moment (which had the pictures of this on it) and therefore, we are going straight to the finals.
RELATED ARTICLES


MSI MPG Velox 100R Chassis Review
October 14 2021 | 15:04


Want to comment? Please log in.