
Frame

I decided to make the frame out of Cherry, one of my favourite North American hardwoods prized for its ability to take a great finish, its colour, and its really nice grain. The panels are made out of Sitka Spruce but more on those later. The whole frame is built over the SilverStone SG01 Evolution chassis.

To start the frame, I milled the pieces to the correct dimensions using my surface planer and then cut the pieces to the correct length using a mitre saw. Once this was done, it was time for the joinery which I again did all by hand. Of course, it had been a long time since I did the woodwork for Yuugou and I was very rusty but eventually I became comfortable with the tools and wood and everything turned out great.
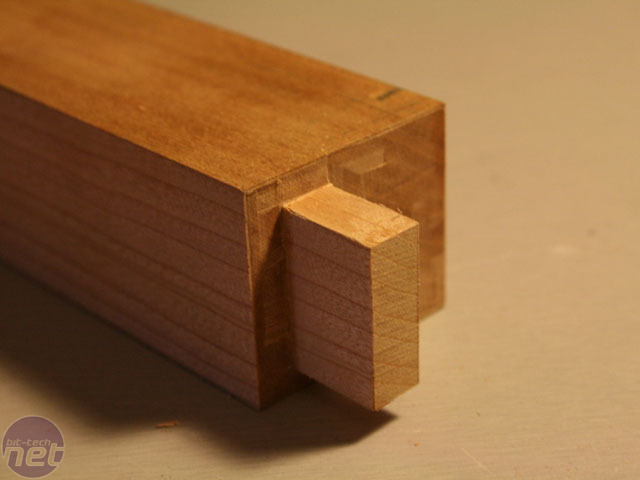
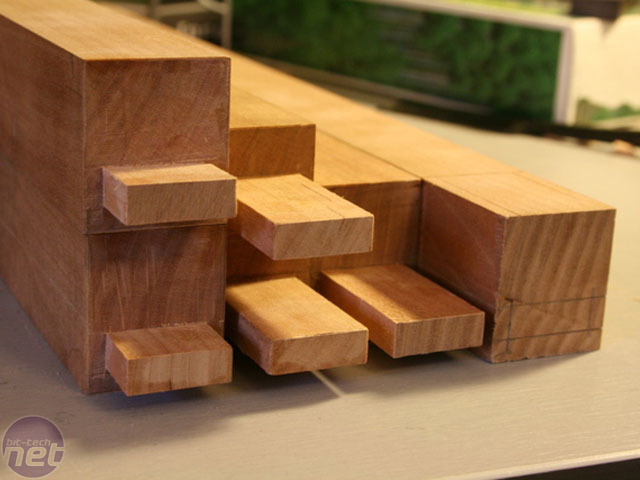
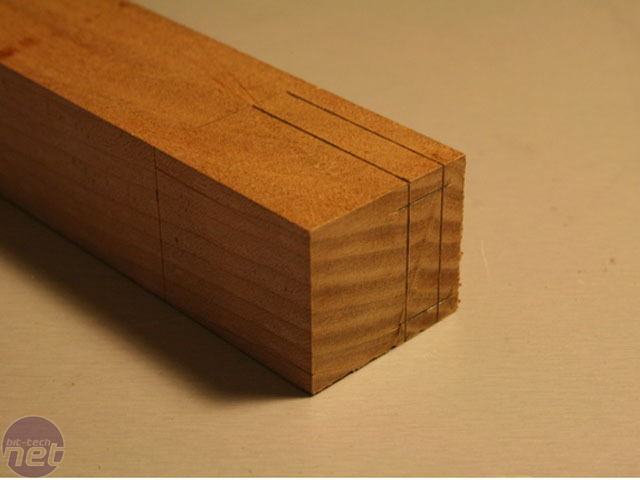
The first step in the joinery is to cut the tenon. I always cut the tenons before the mortises simply because its easier to make a while match a pin and you can always shave some material off if the tenon is too big.
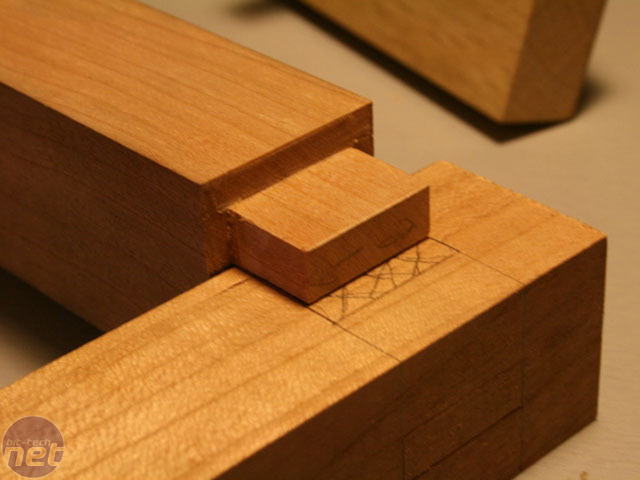
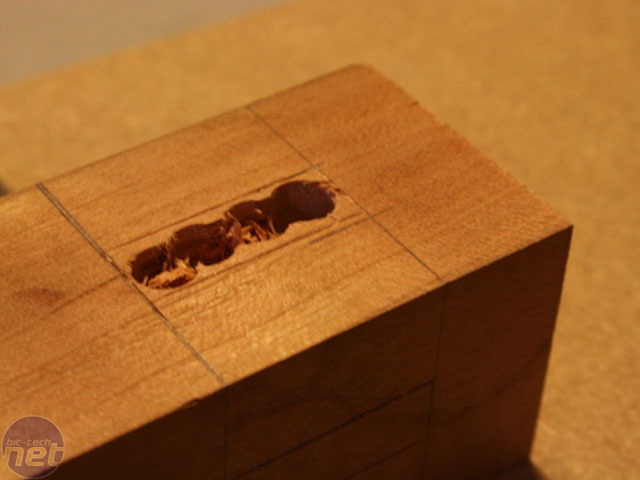
Once the tenons were done, I laid out the mortises using my marking gauge and engineer’s square, and rough drilled the holes using a drill press (cheating I know but I don’t have a manual drill).
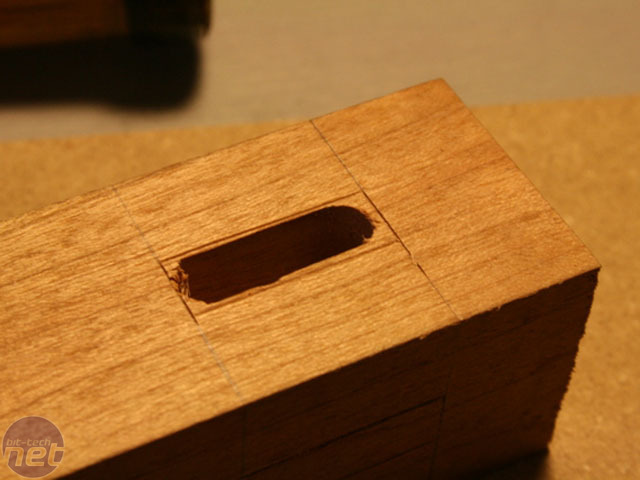
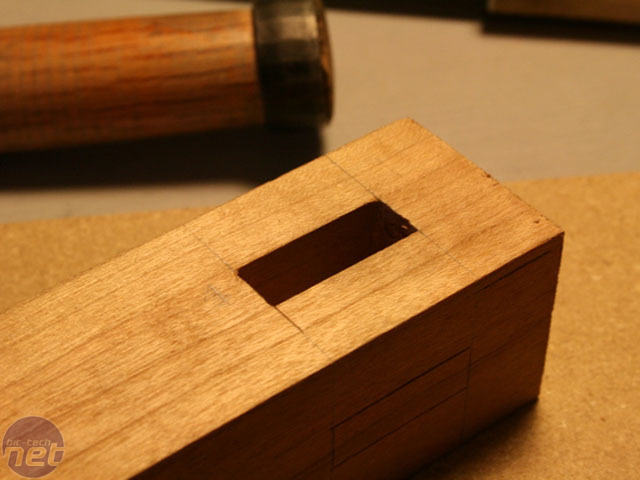
Then I finished everything off with a combination of bench chisels and paring chisels.
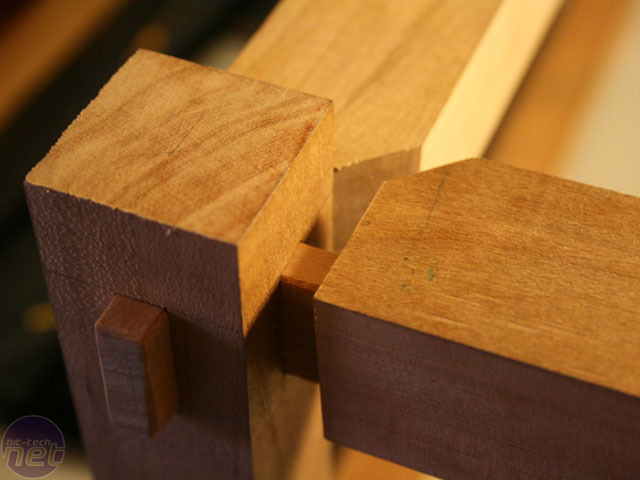

Once I knew the joints fit snugly, I was able to make the 45 degree cut on the top pieces. I designed it this way for this case (and Yuugou too) so I can make a curve in the top piece without it taking too much material away from the sides. It also looks better proportionally.
With the joints complete, I marked out the curves using the drawings I’d made previously and used a band saw to cut as close to the line as possible. A little sanding would clean up the roughness left by the saw. I did not get pictures of this process but you’ll see the result soon.
RELATED ARTICLES


MSI MPG Velox 100R Chassis Review
October 14 2021 | 15:04

Want to comment? Please log in.