Right, Let's Make This Thing
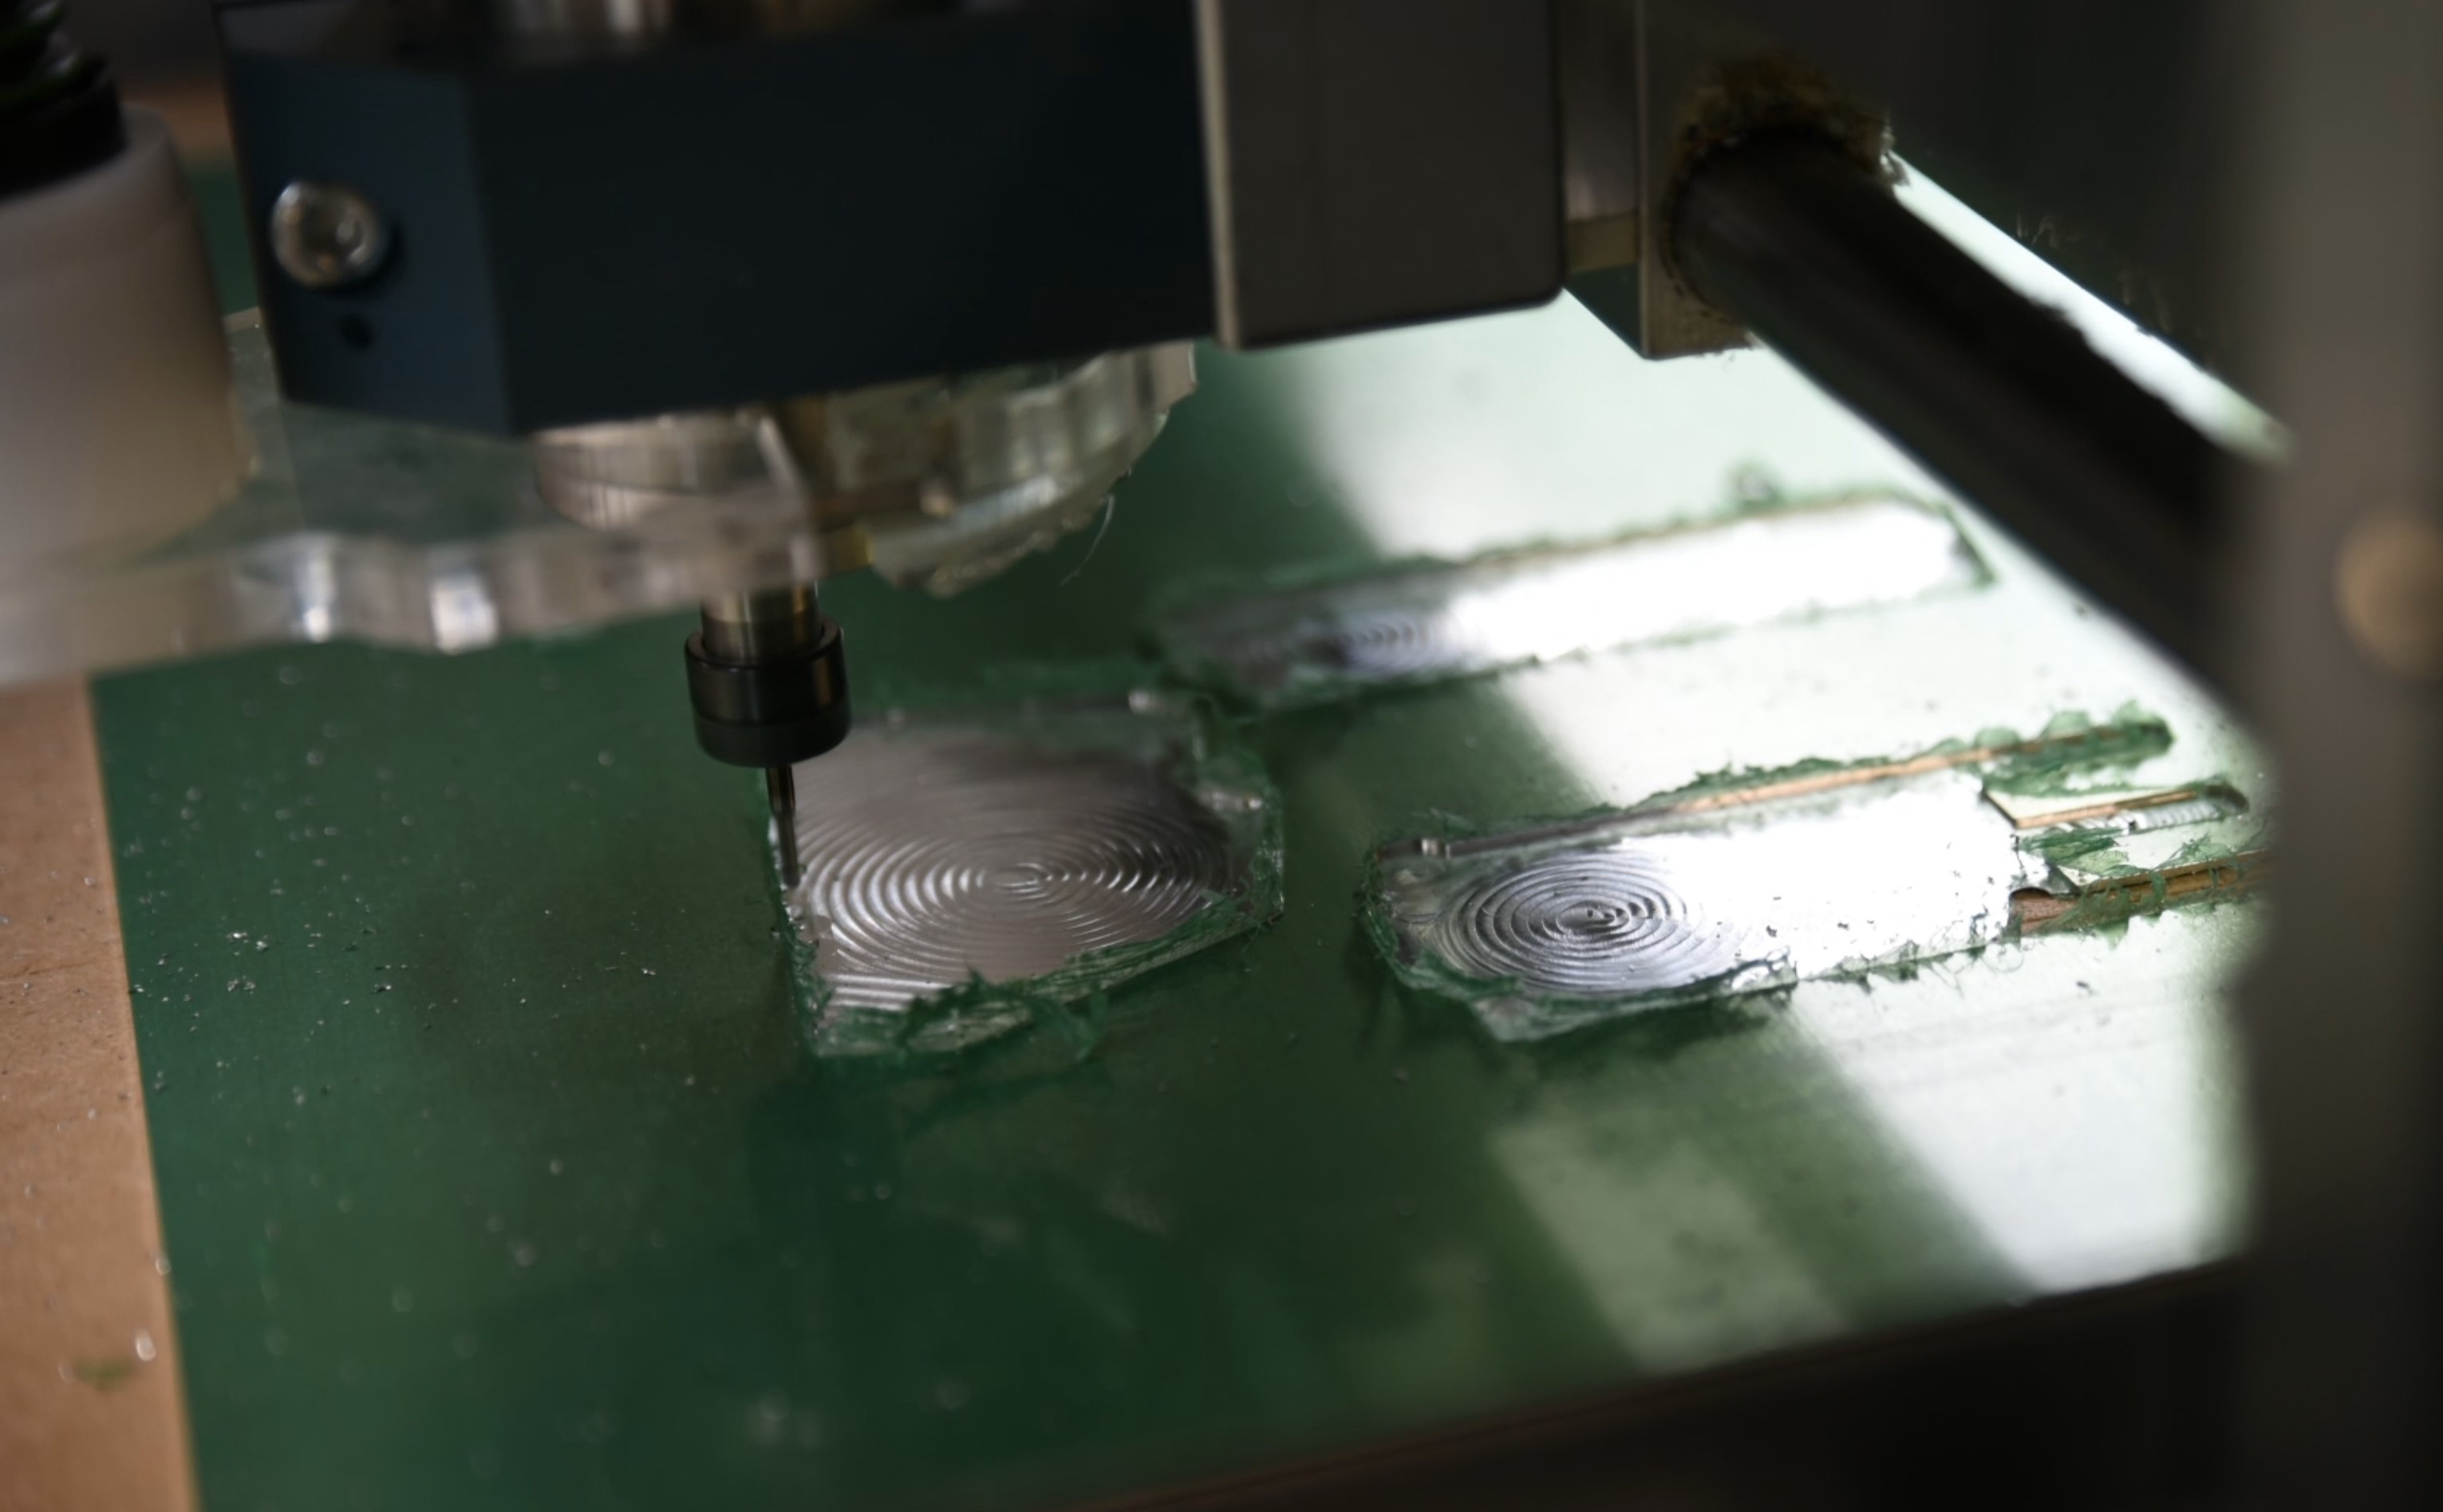
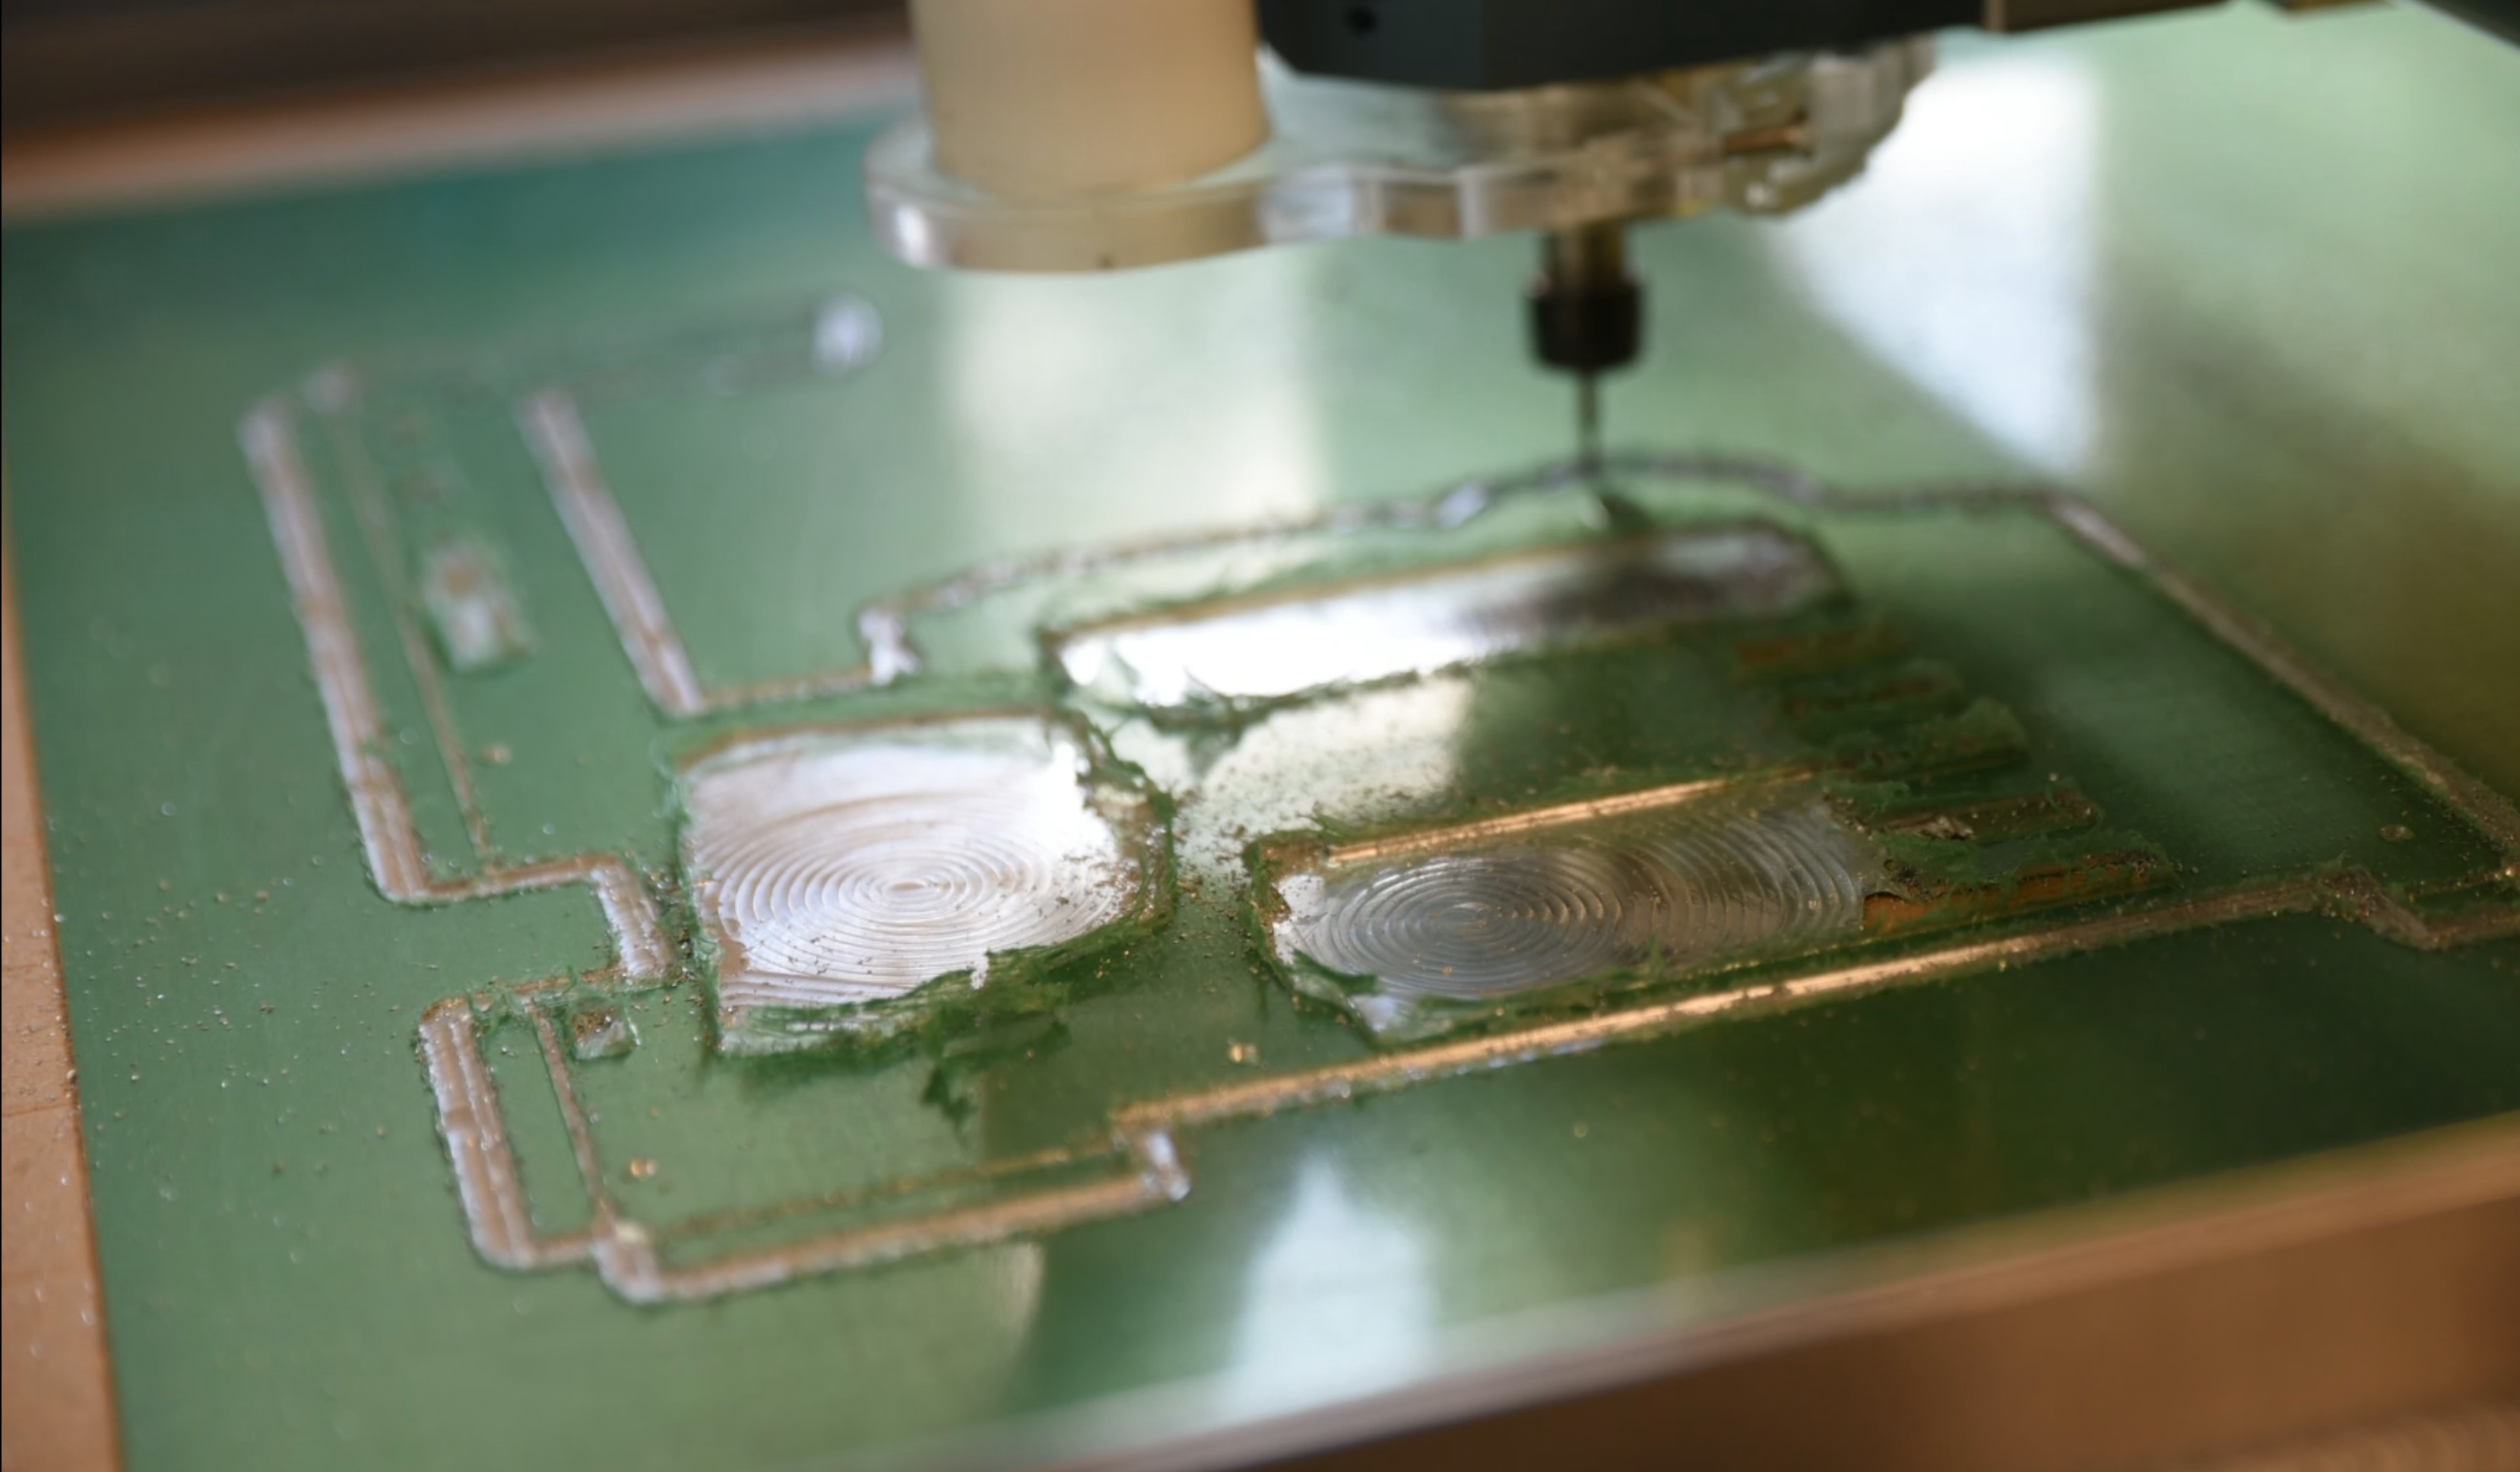
With the G-Code exported and loaded into the control software, I loaded the sheet into the bed of the router and secured firmly in place. The forces on a thin workpiece like this are pretty minimal, but it's worth keeping an eye out for any distortion, as you can guarantee a thin sheet like that won't be flat! This is a really simple piece to cut on the machine, so we just let it do its thing and prepped the later parts.
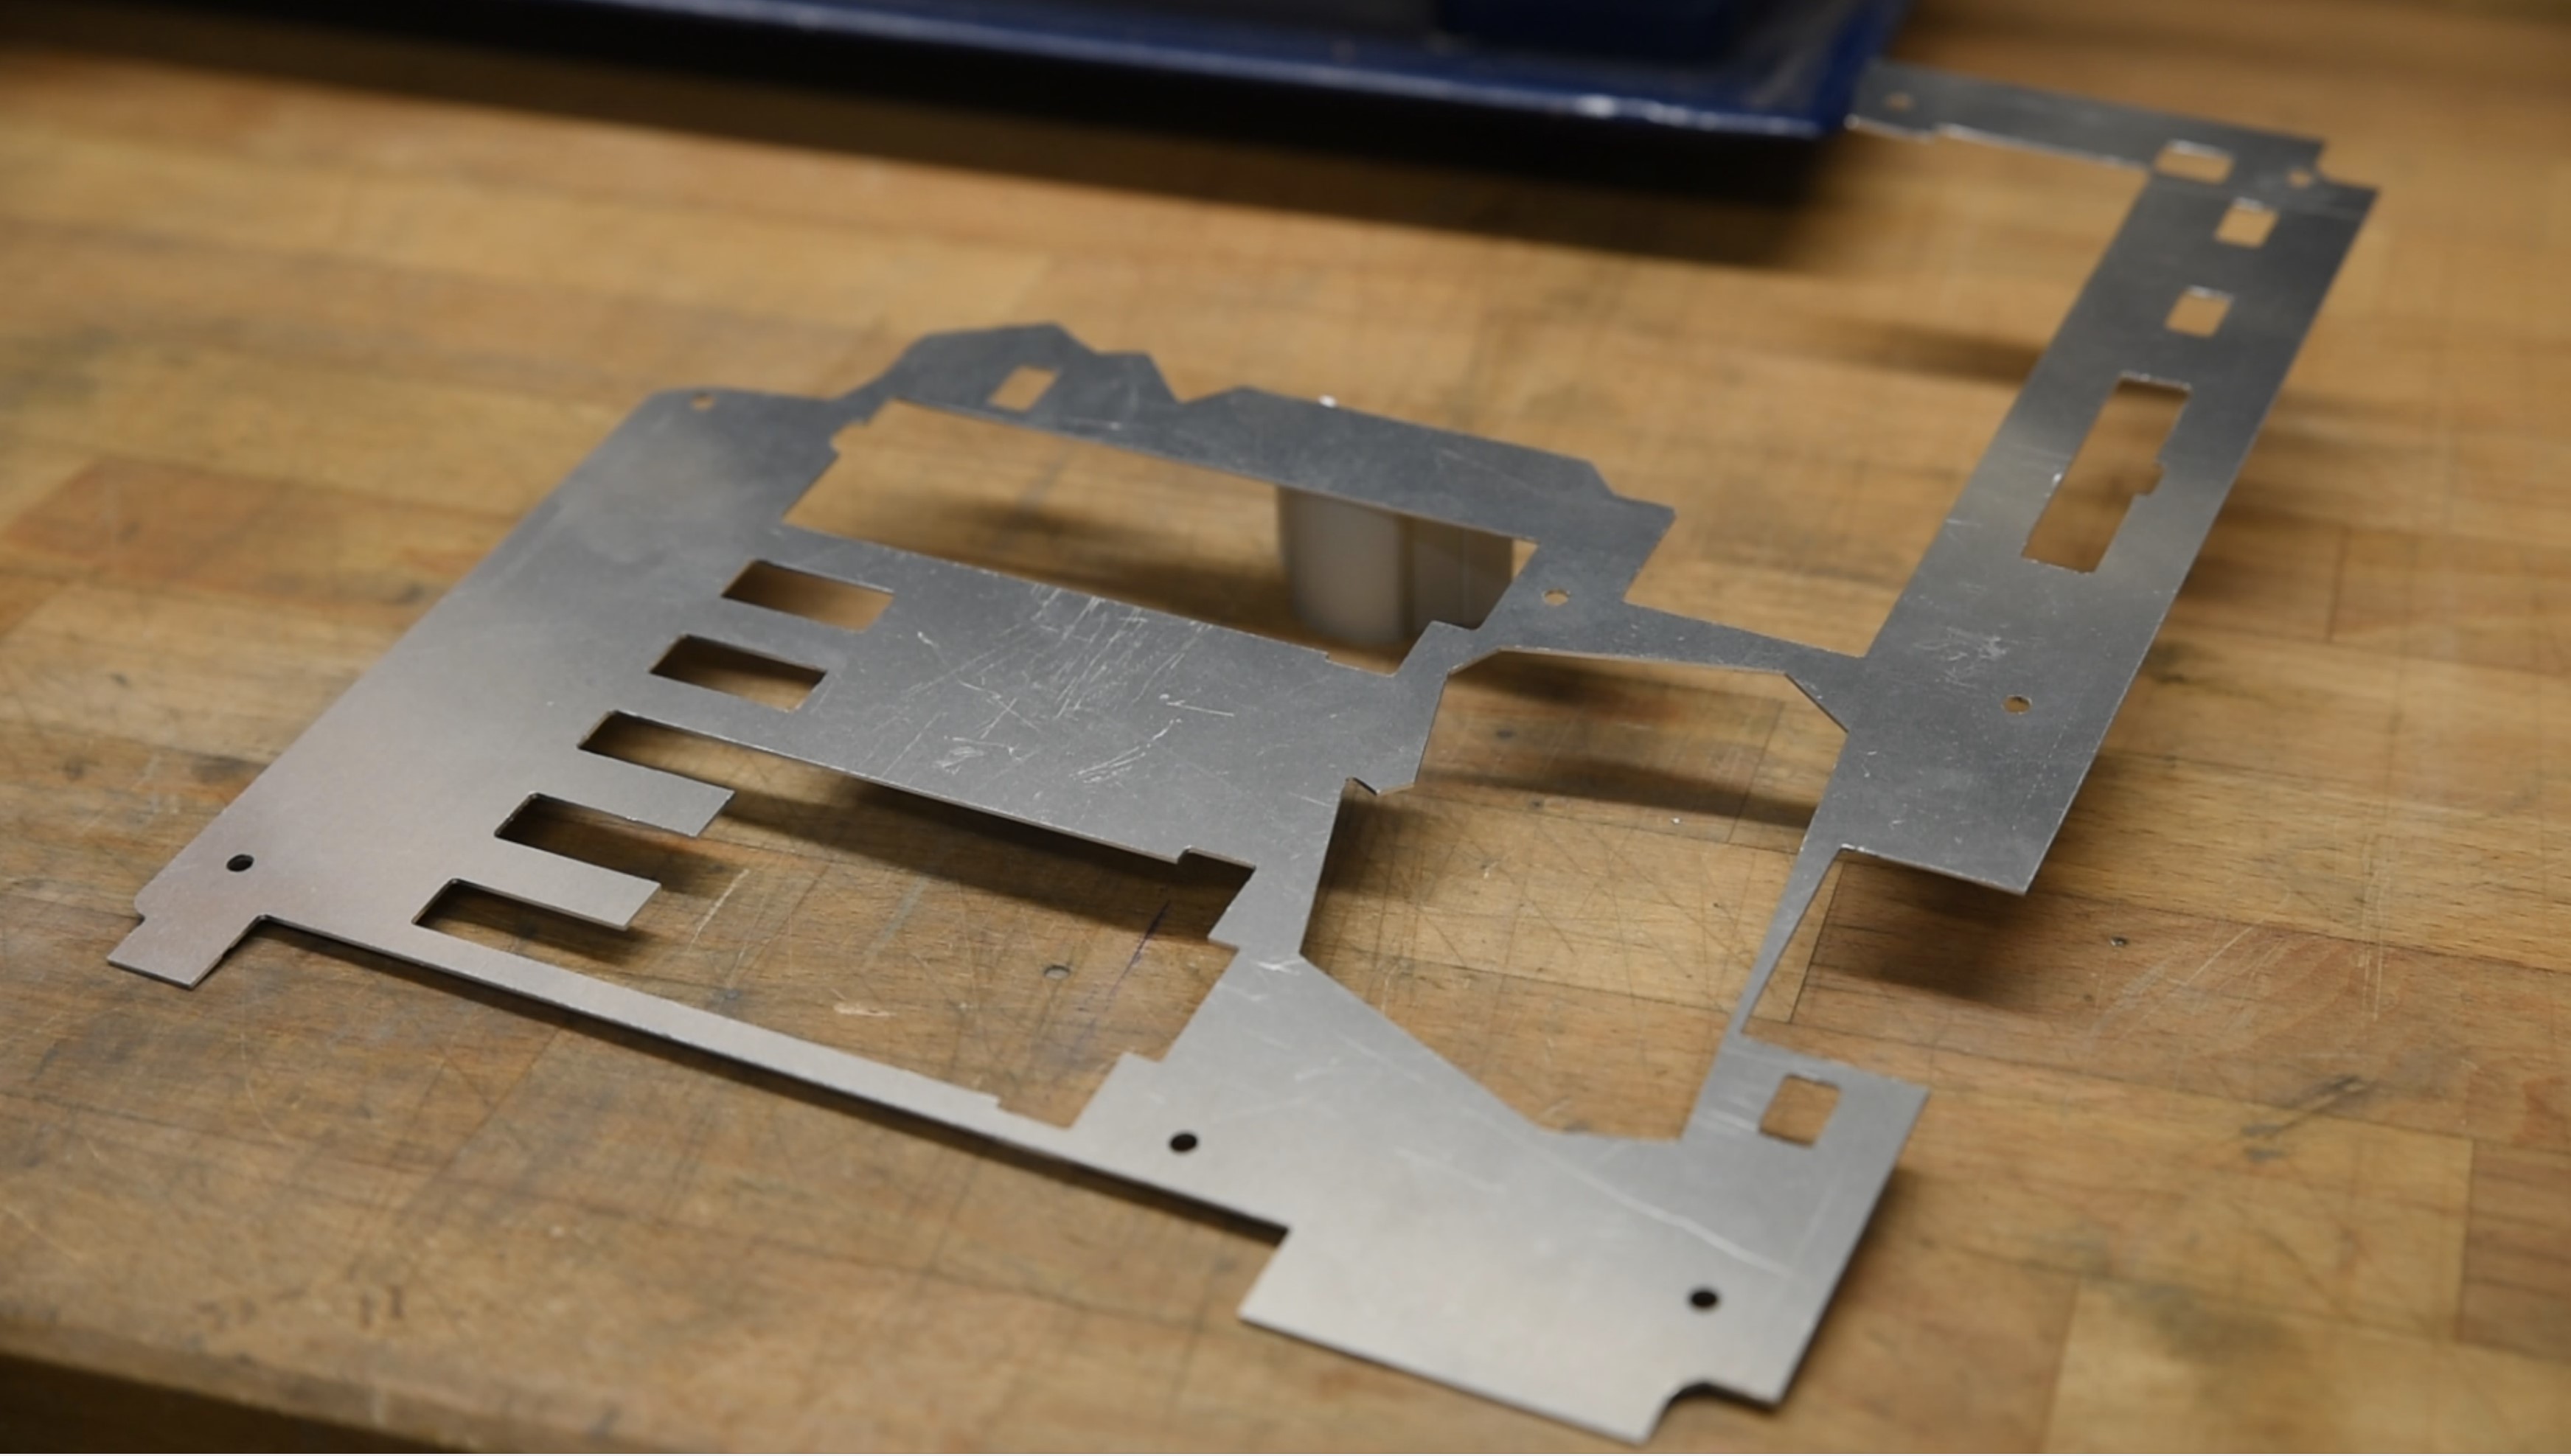
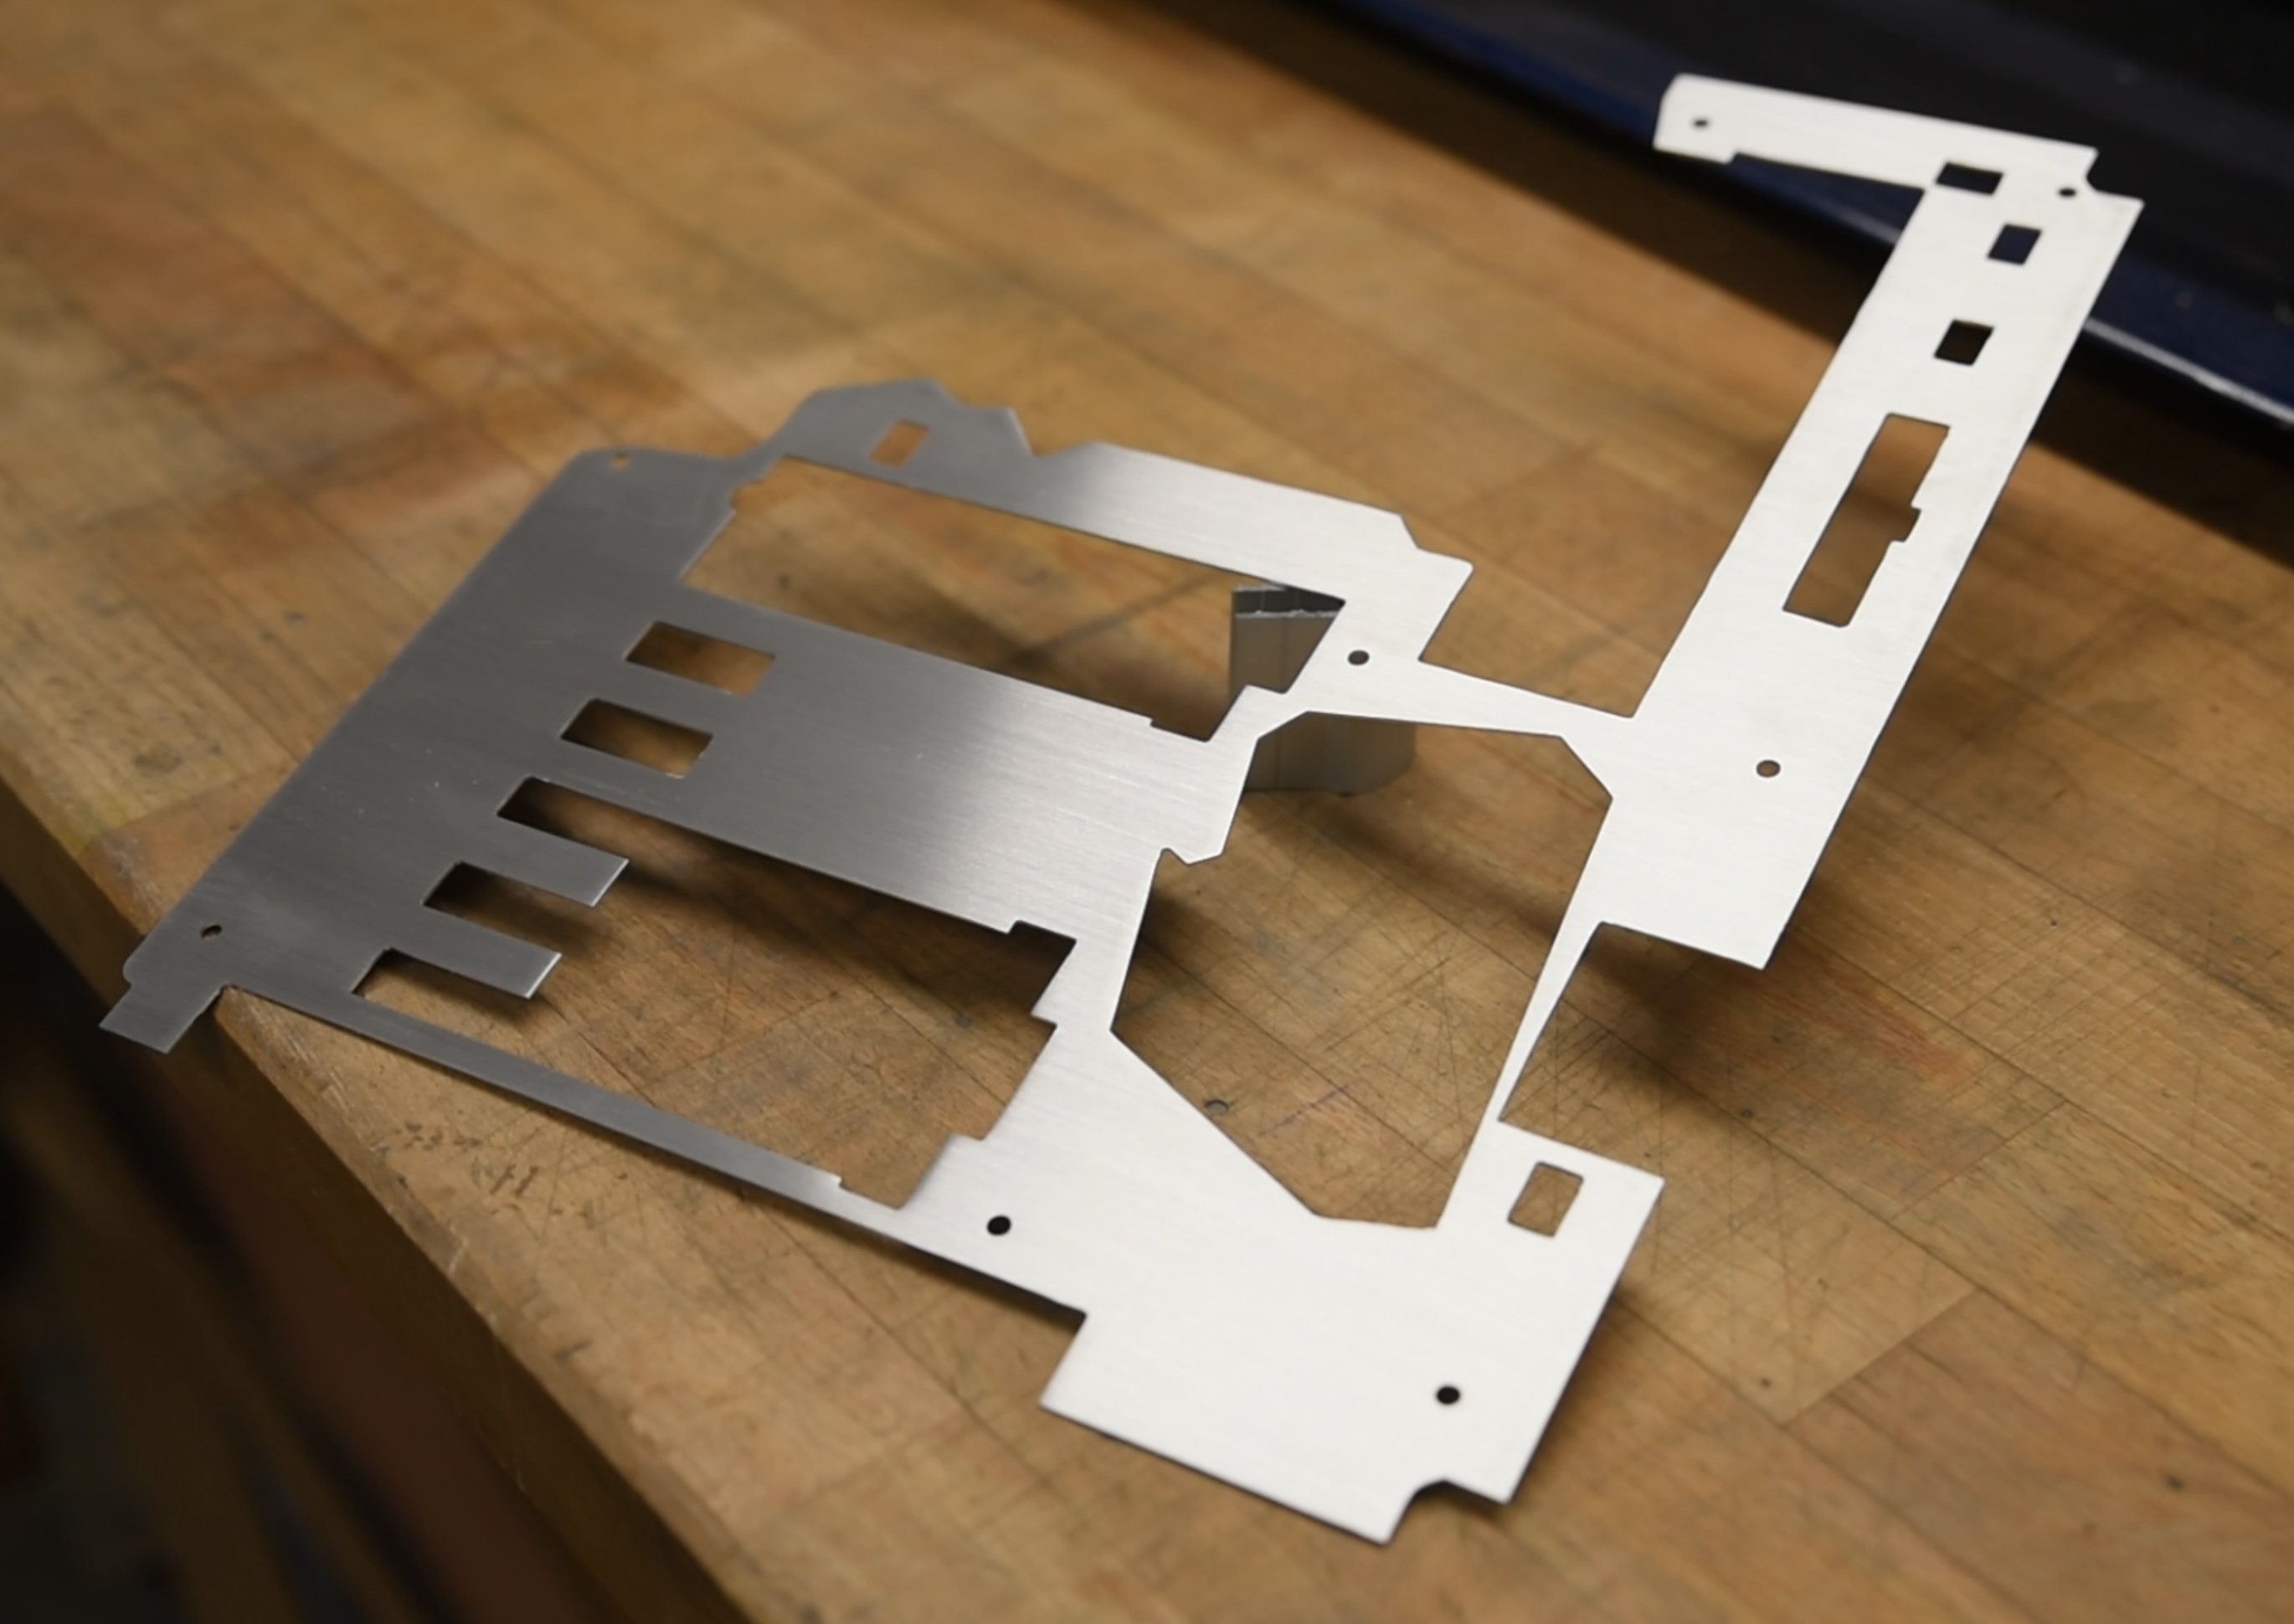
Straight off the machine, the shroud really does look rather good. There are very few surface marks, as you can keep the protective plastic on for a piece like this. That said, the edges need a good deburring, so out with the tool for that to clean it all up and make it safe to handle, lest the blood sacrifice be performed.
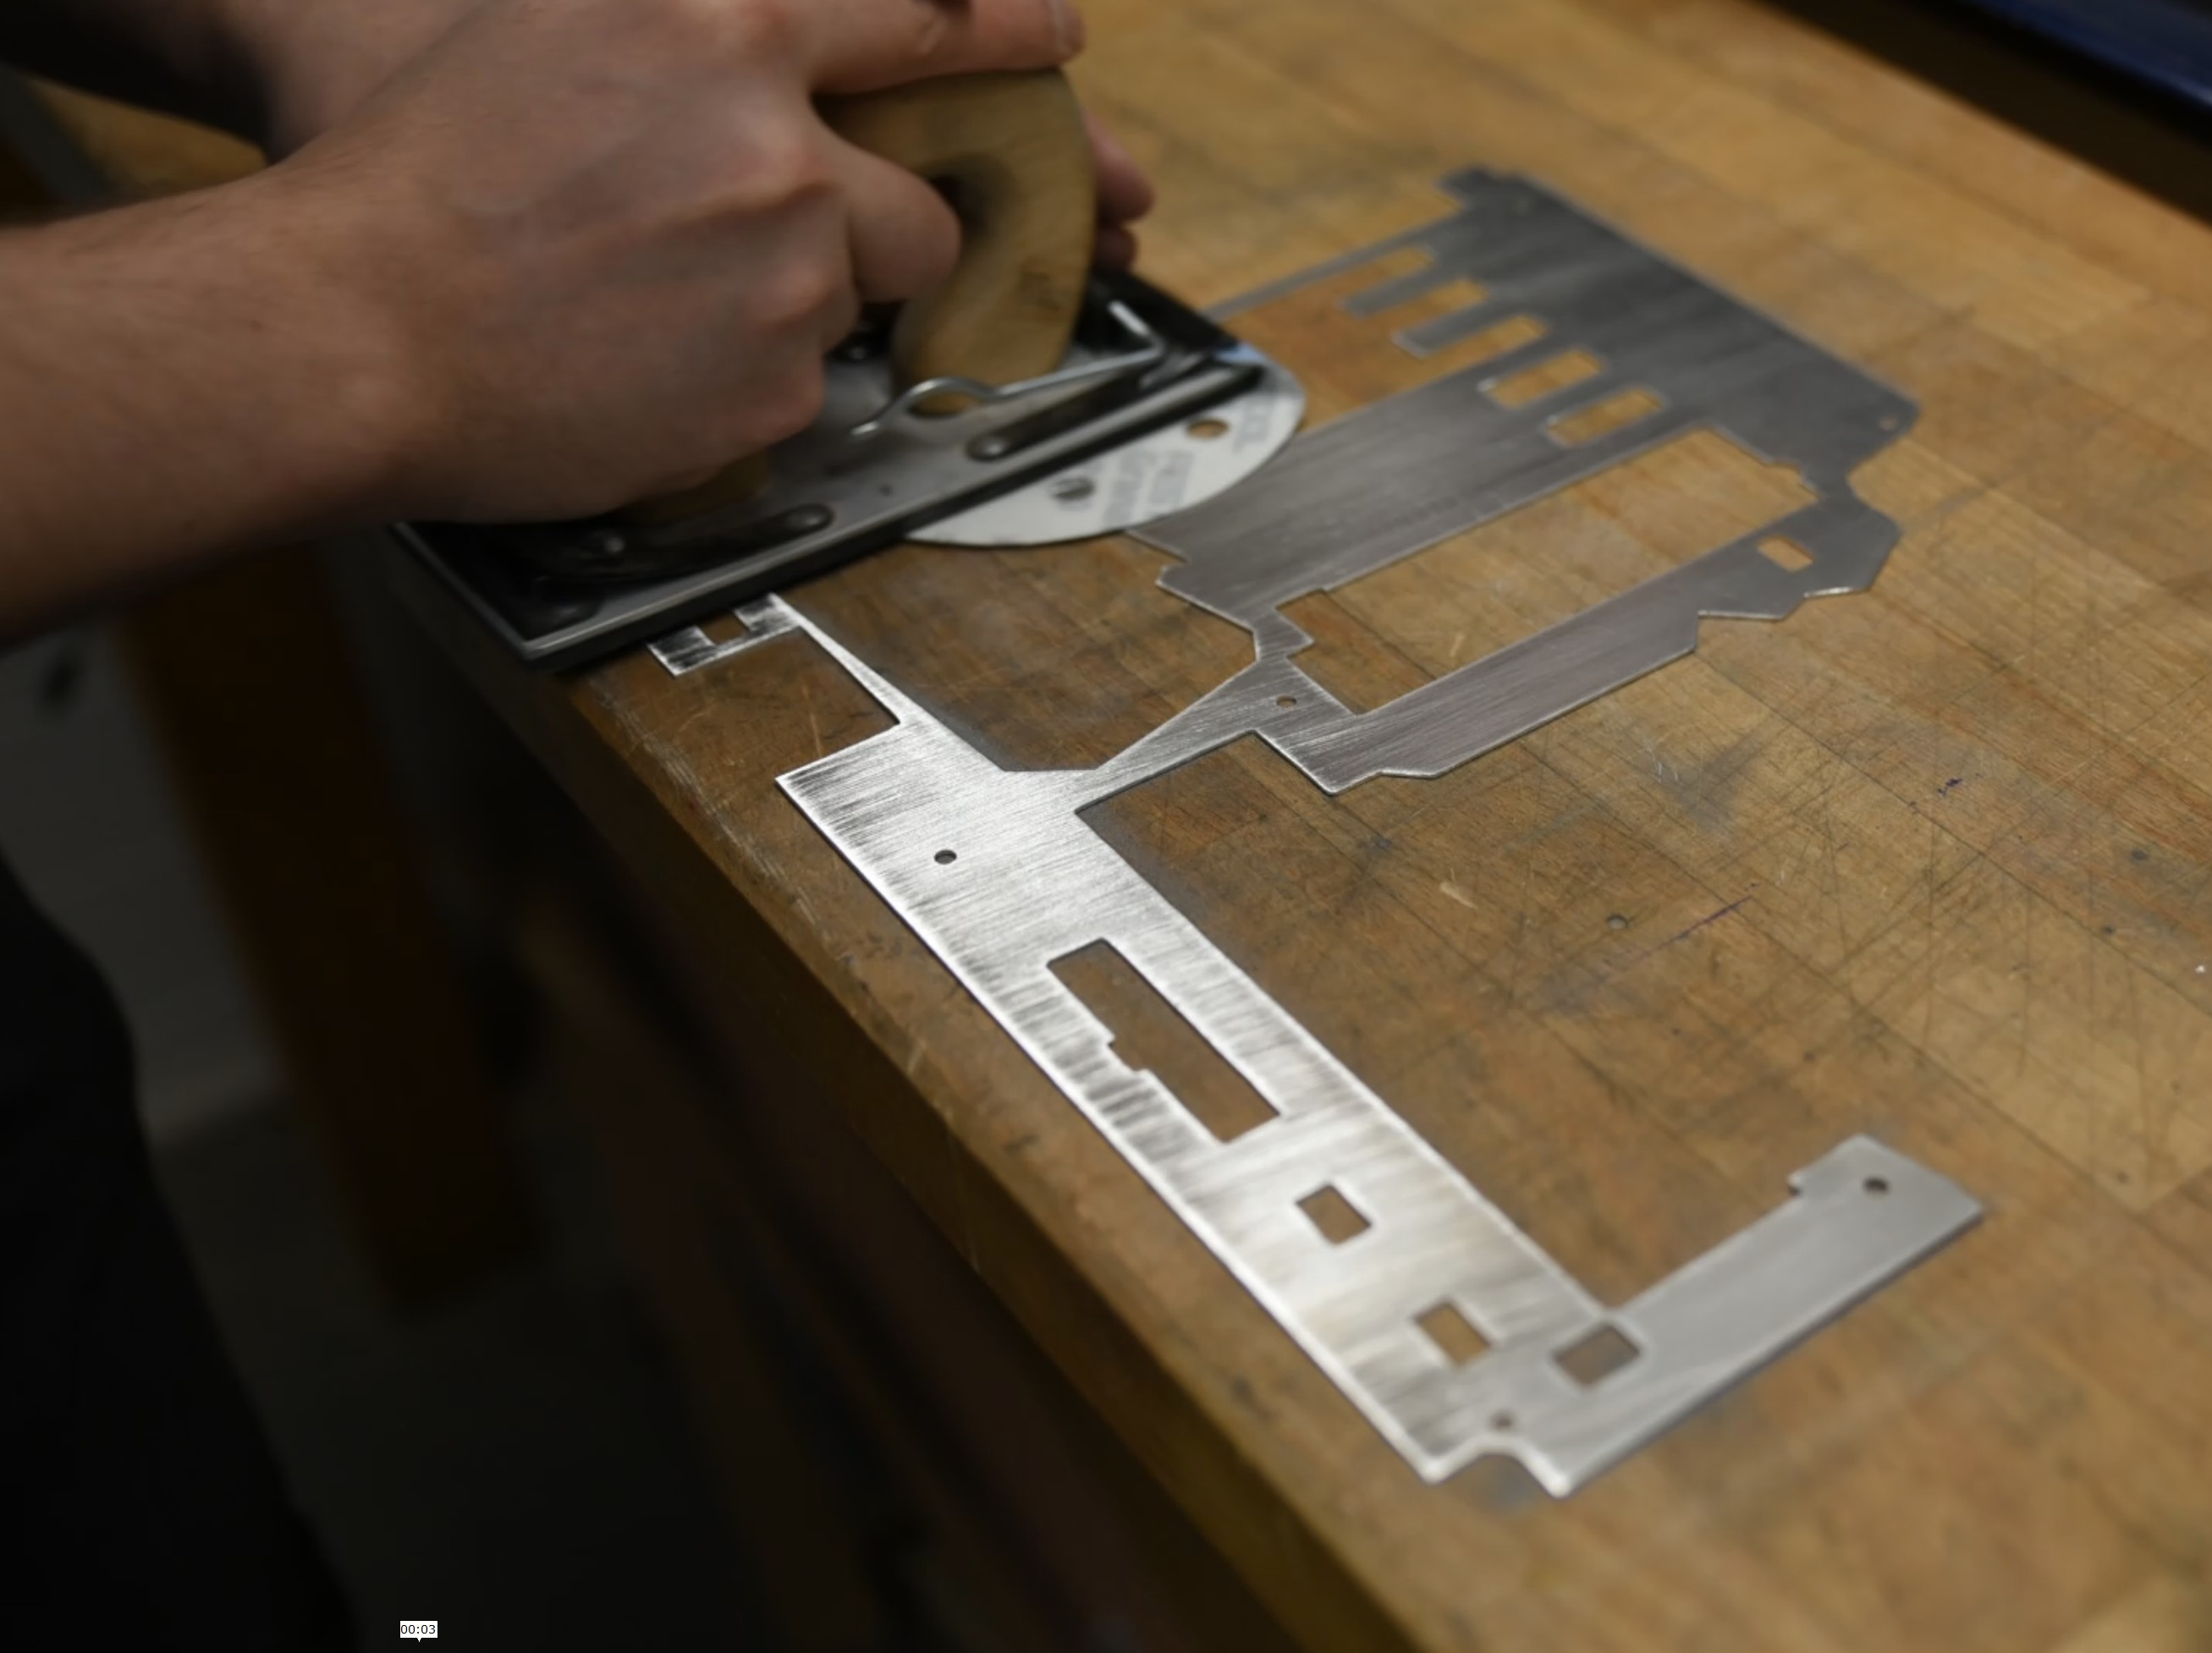
That said, of course we're nowhere near done yet. As with hand work, the cutting is only beginning: We need to finish this up to get it up to par. To do that, it was taped to the bench, and then using a hand sander I went at it with 320- and 500-grit papers following one direction to give that brushed look. I went at it with a bit of 6k polish too just to bring out the sheen a little more.
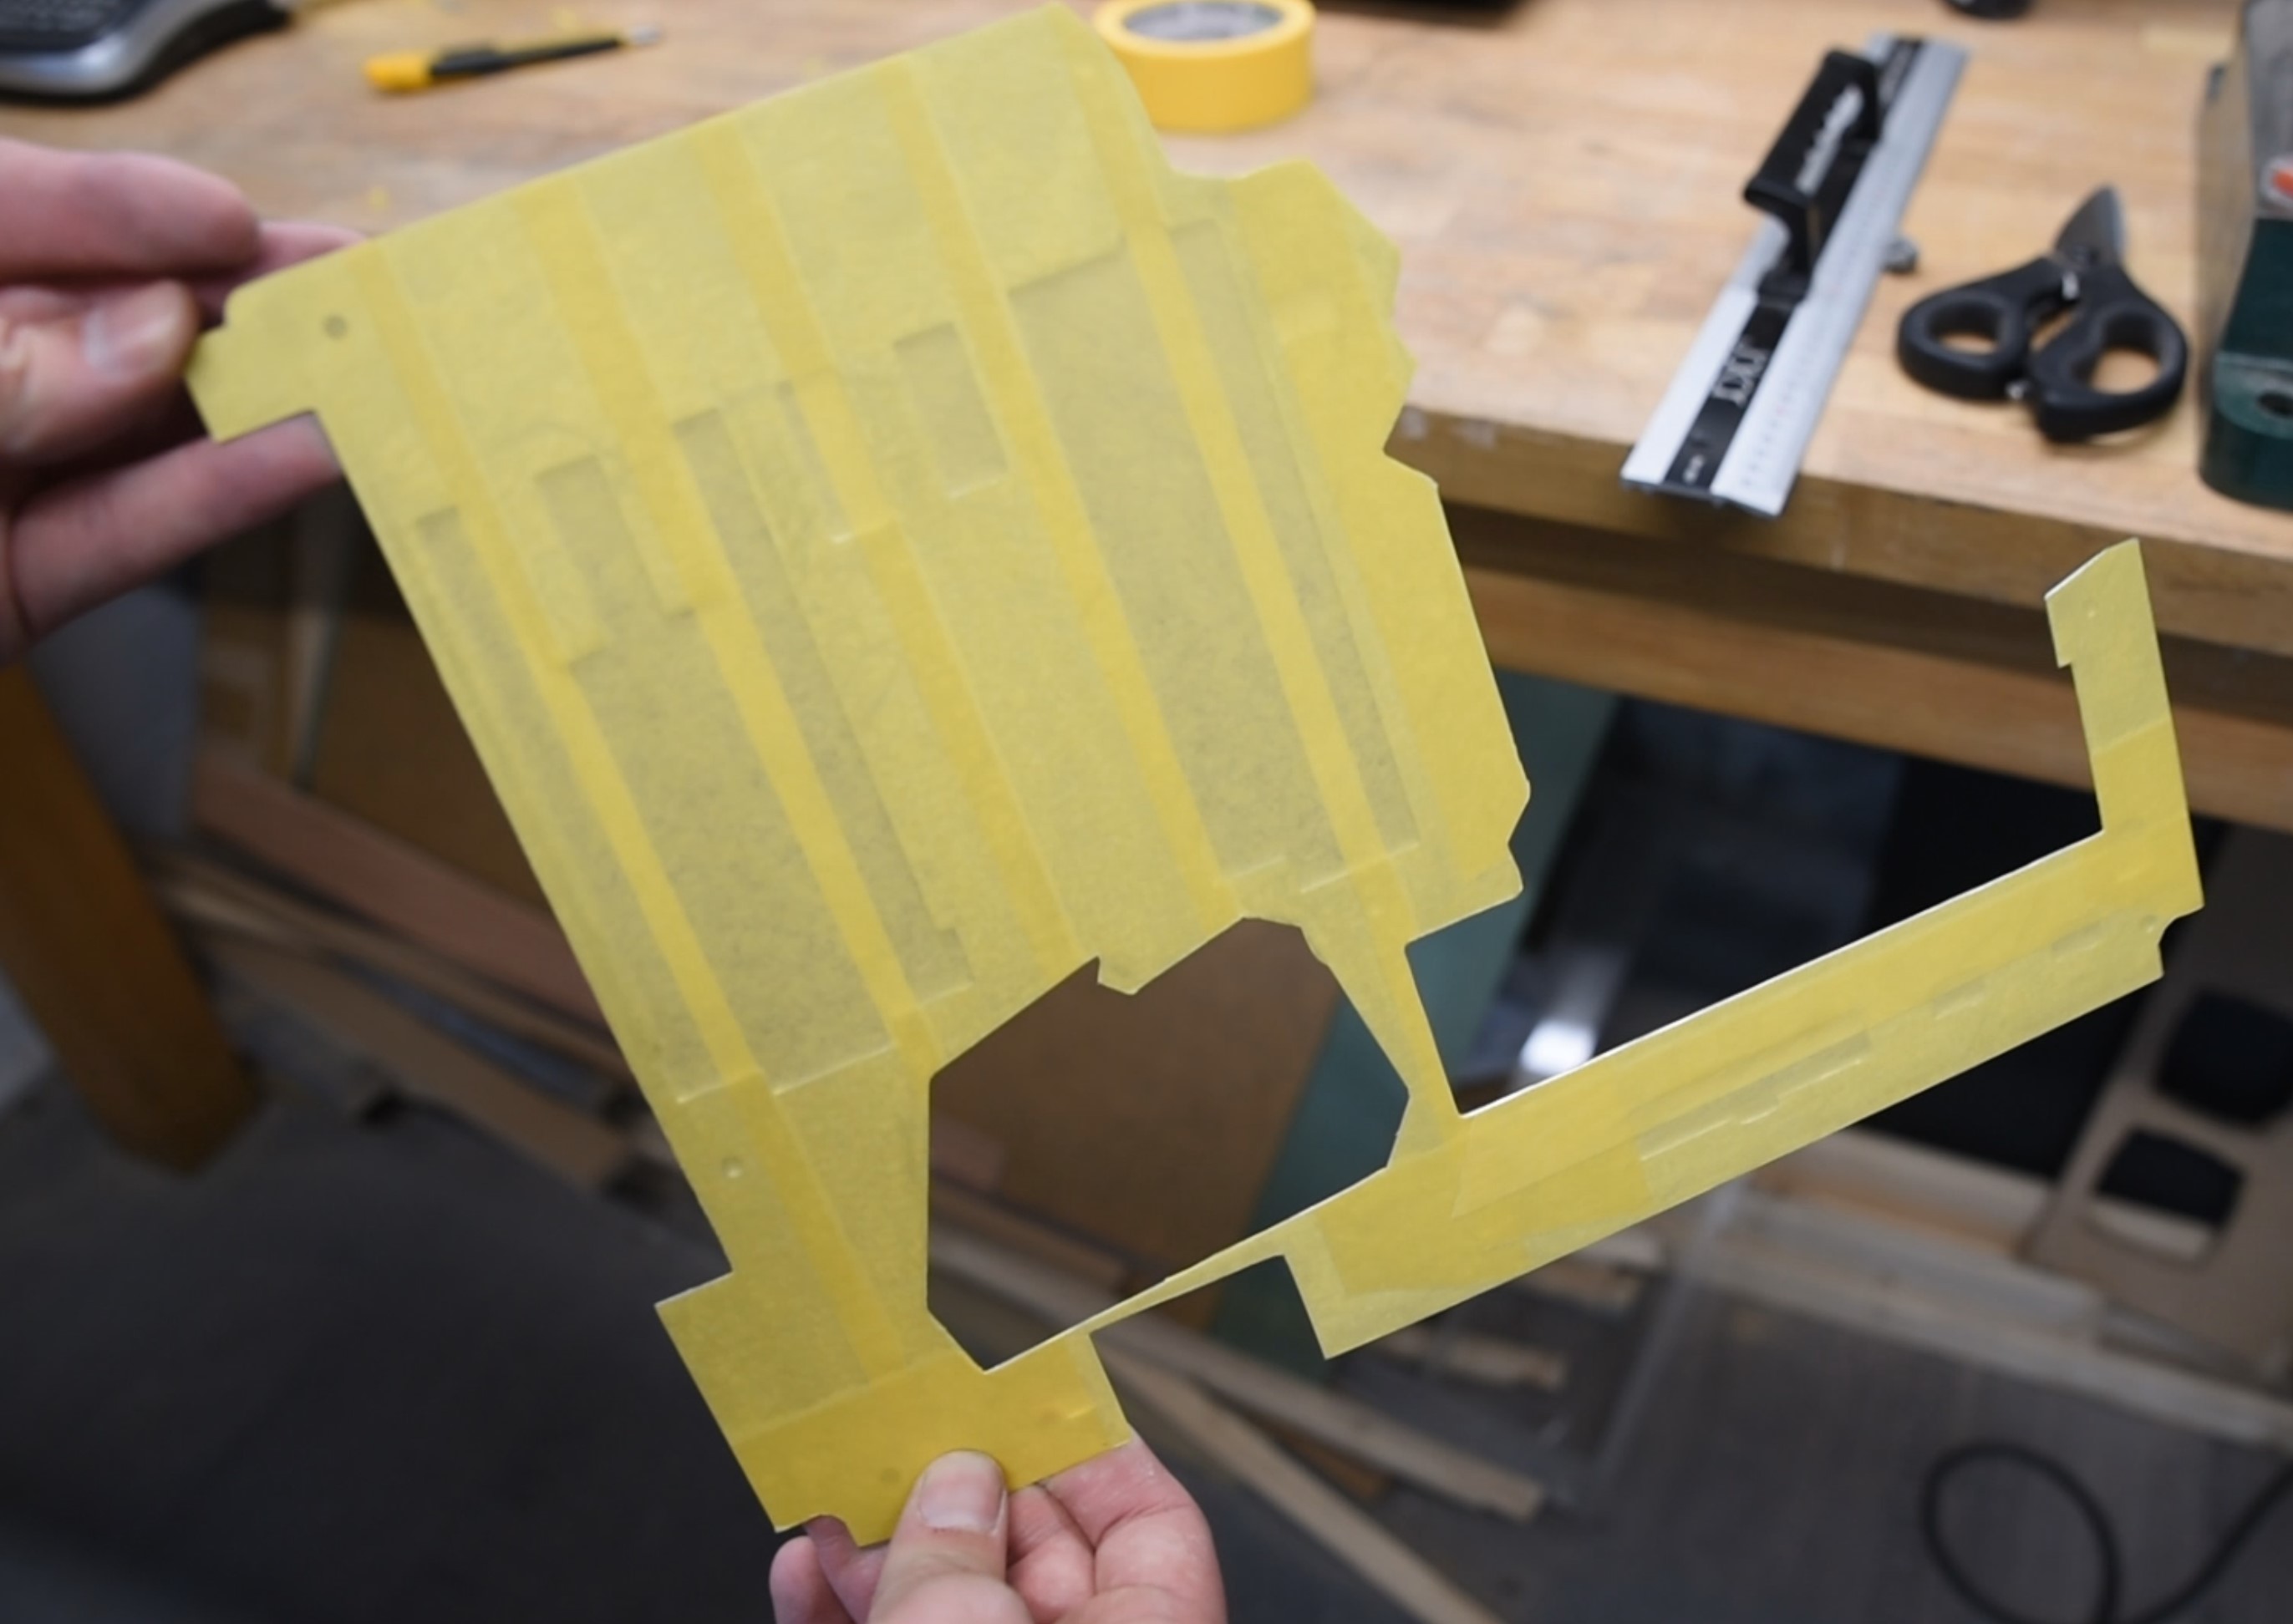
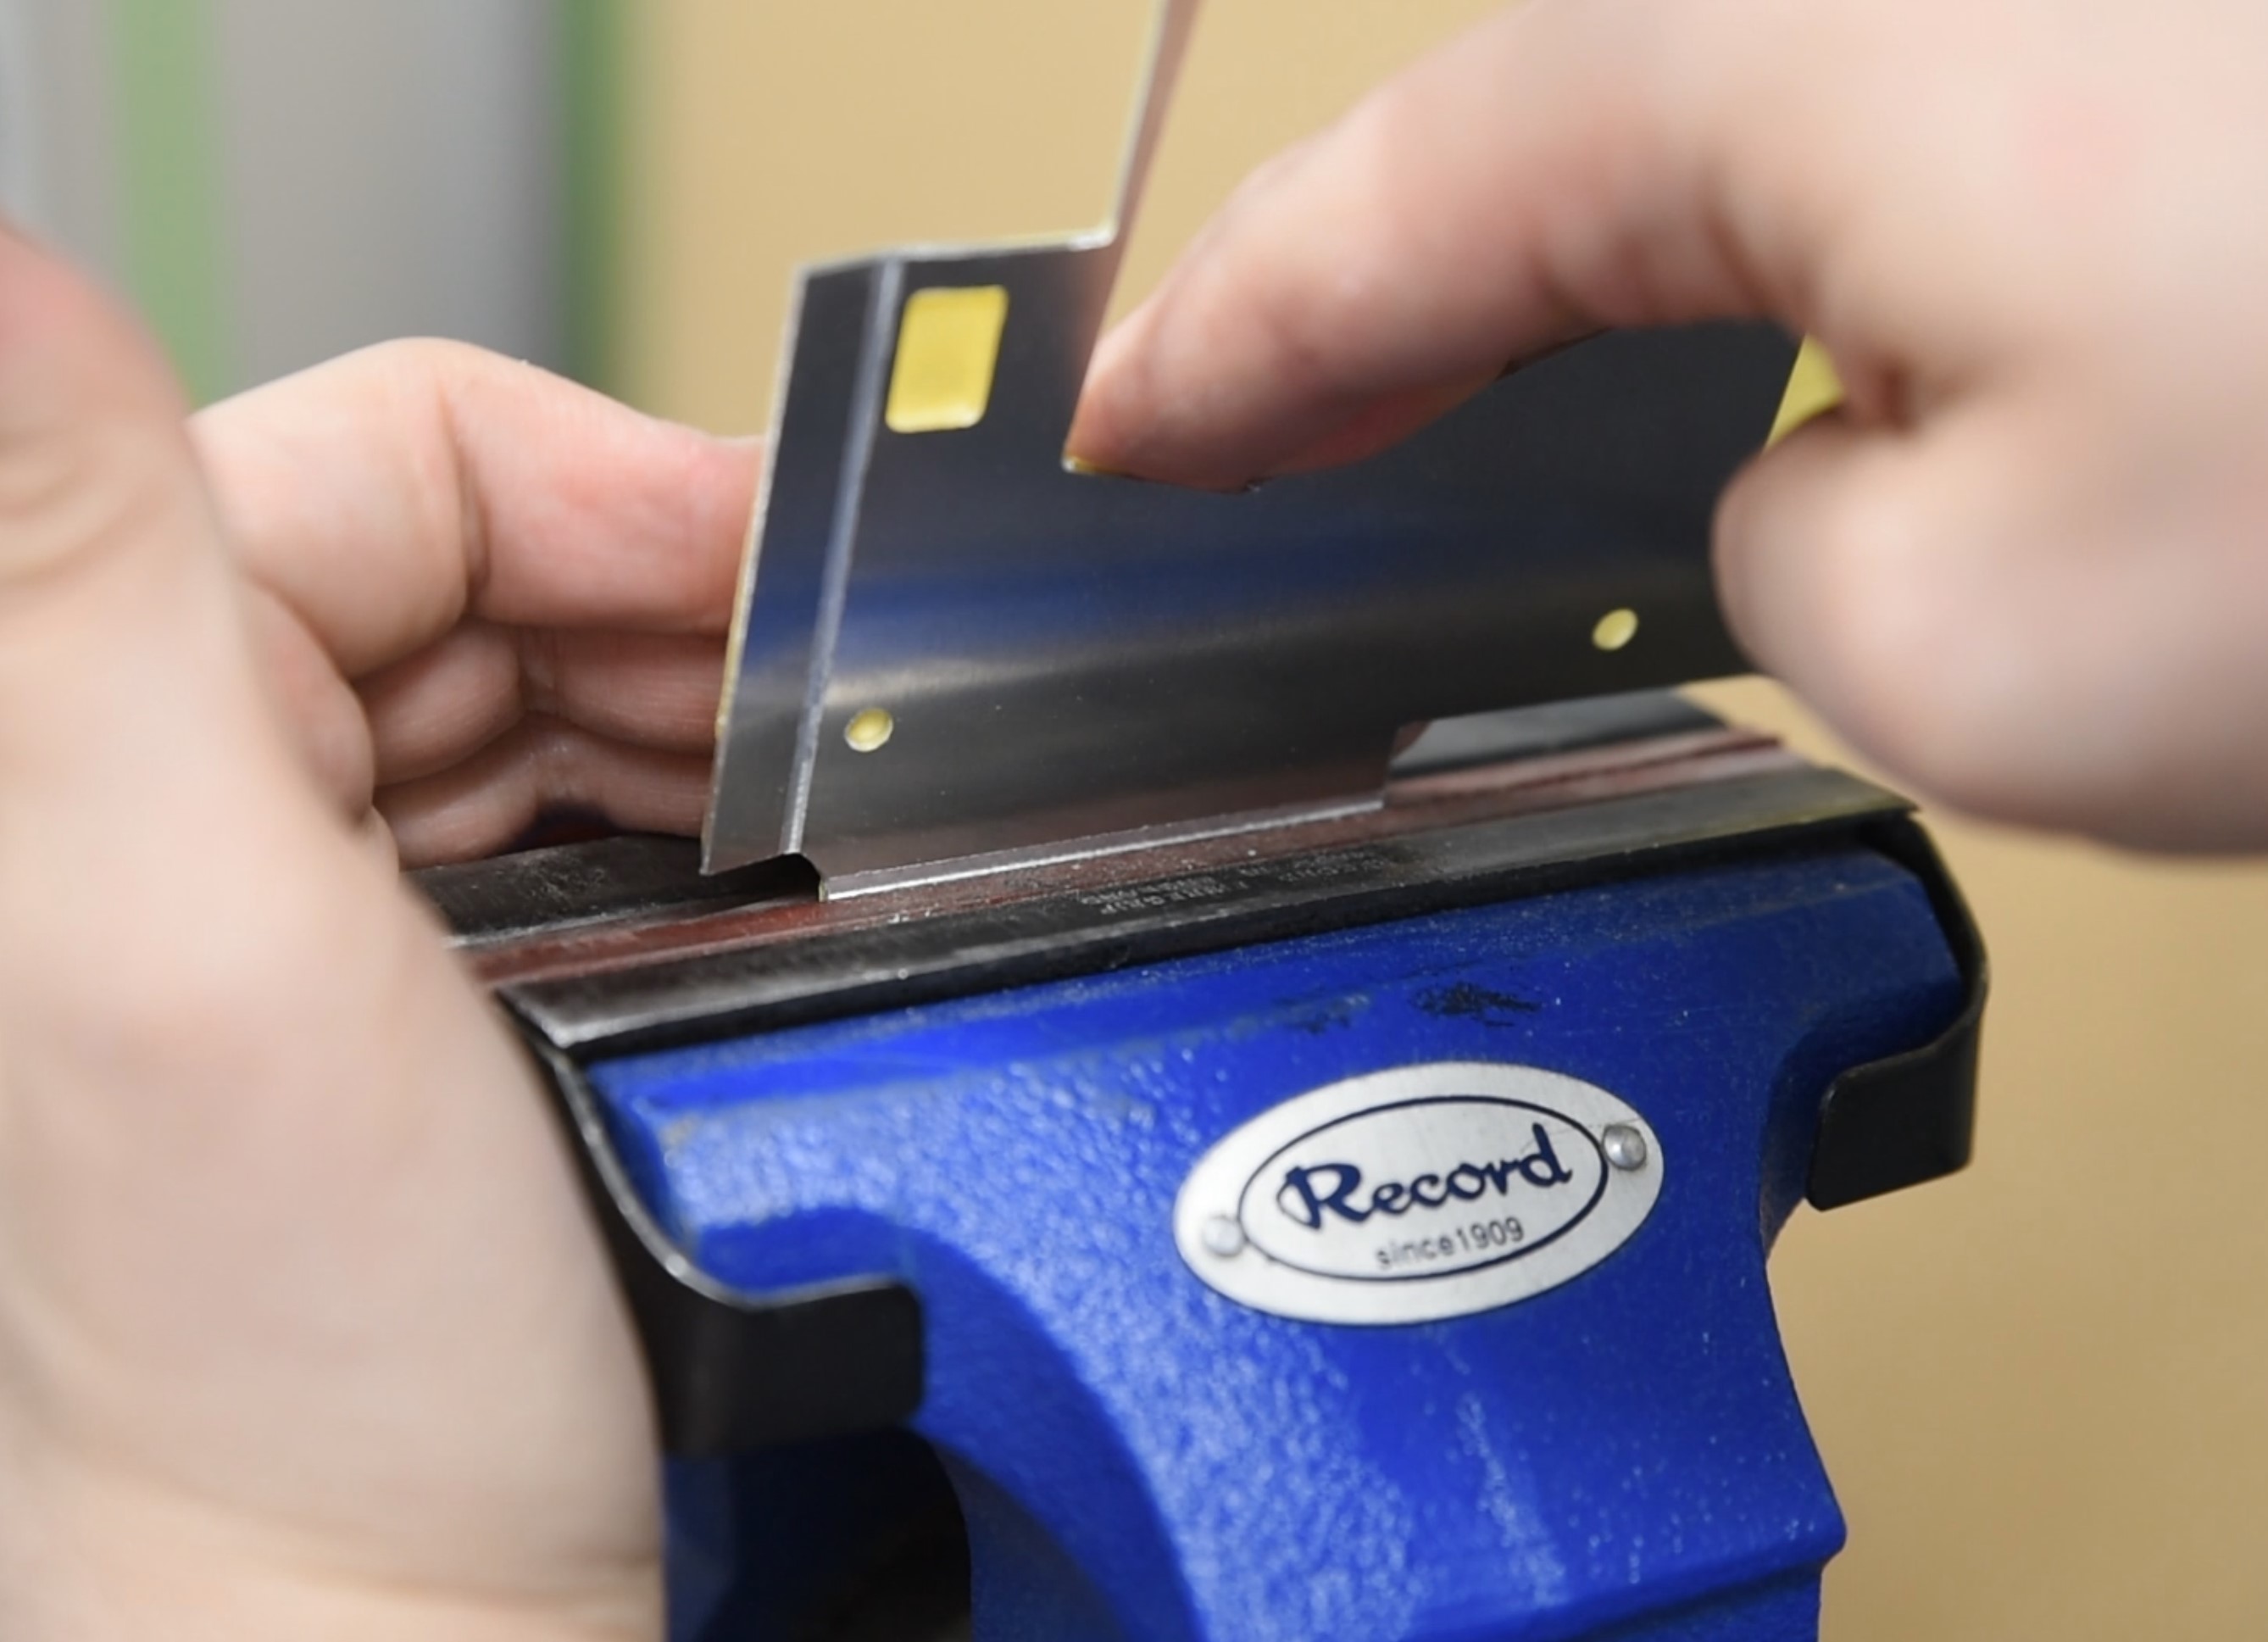
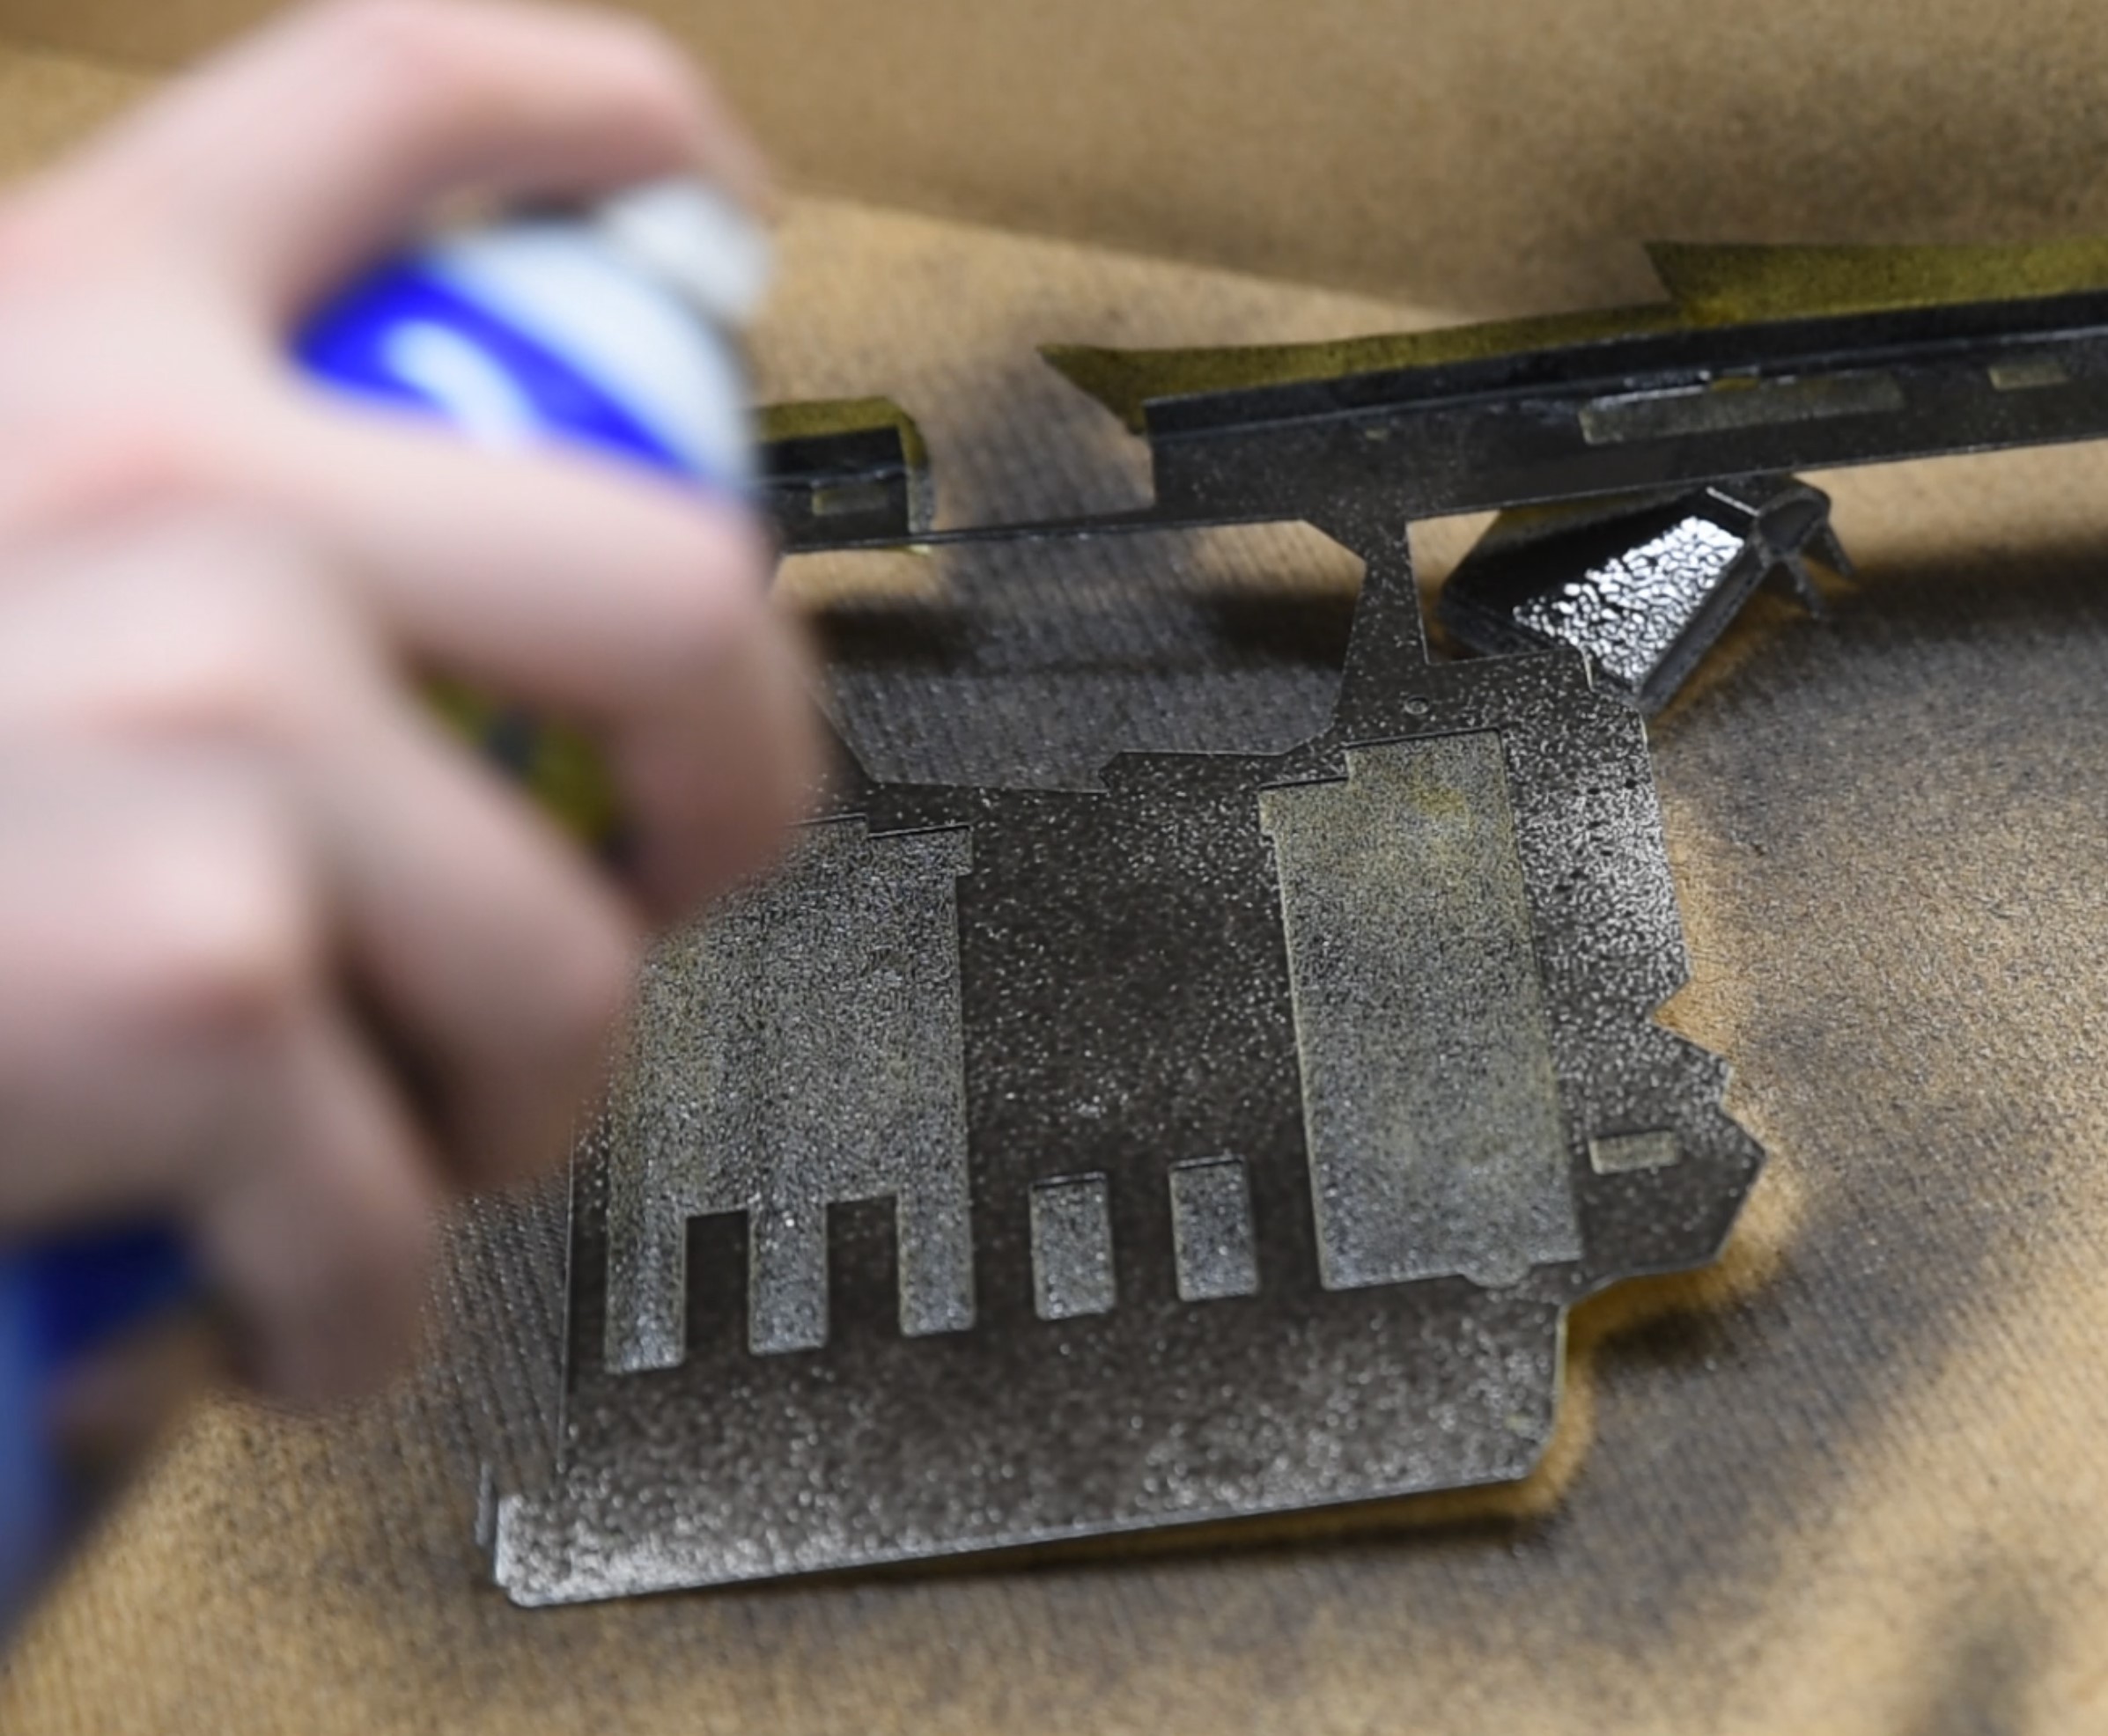
With the top face brushed, it's time to bend the flanges and also plastidip the underside. Whilst there should be sufficient clearance, it's still a metal part, so it's wise to protect against potential shorts. Cover the brushed side with low-tack painter's tape, then place the flanges into a vice or use a similar clamping method. If you were able to score the surface for the bends, this will go much smoother.
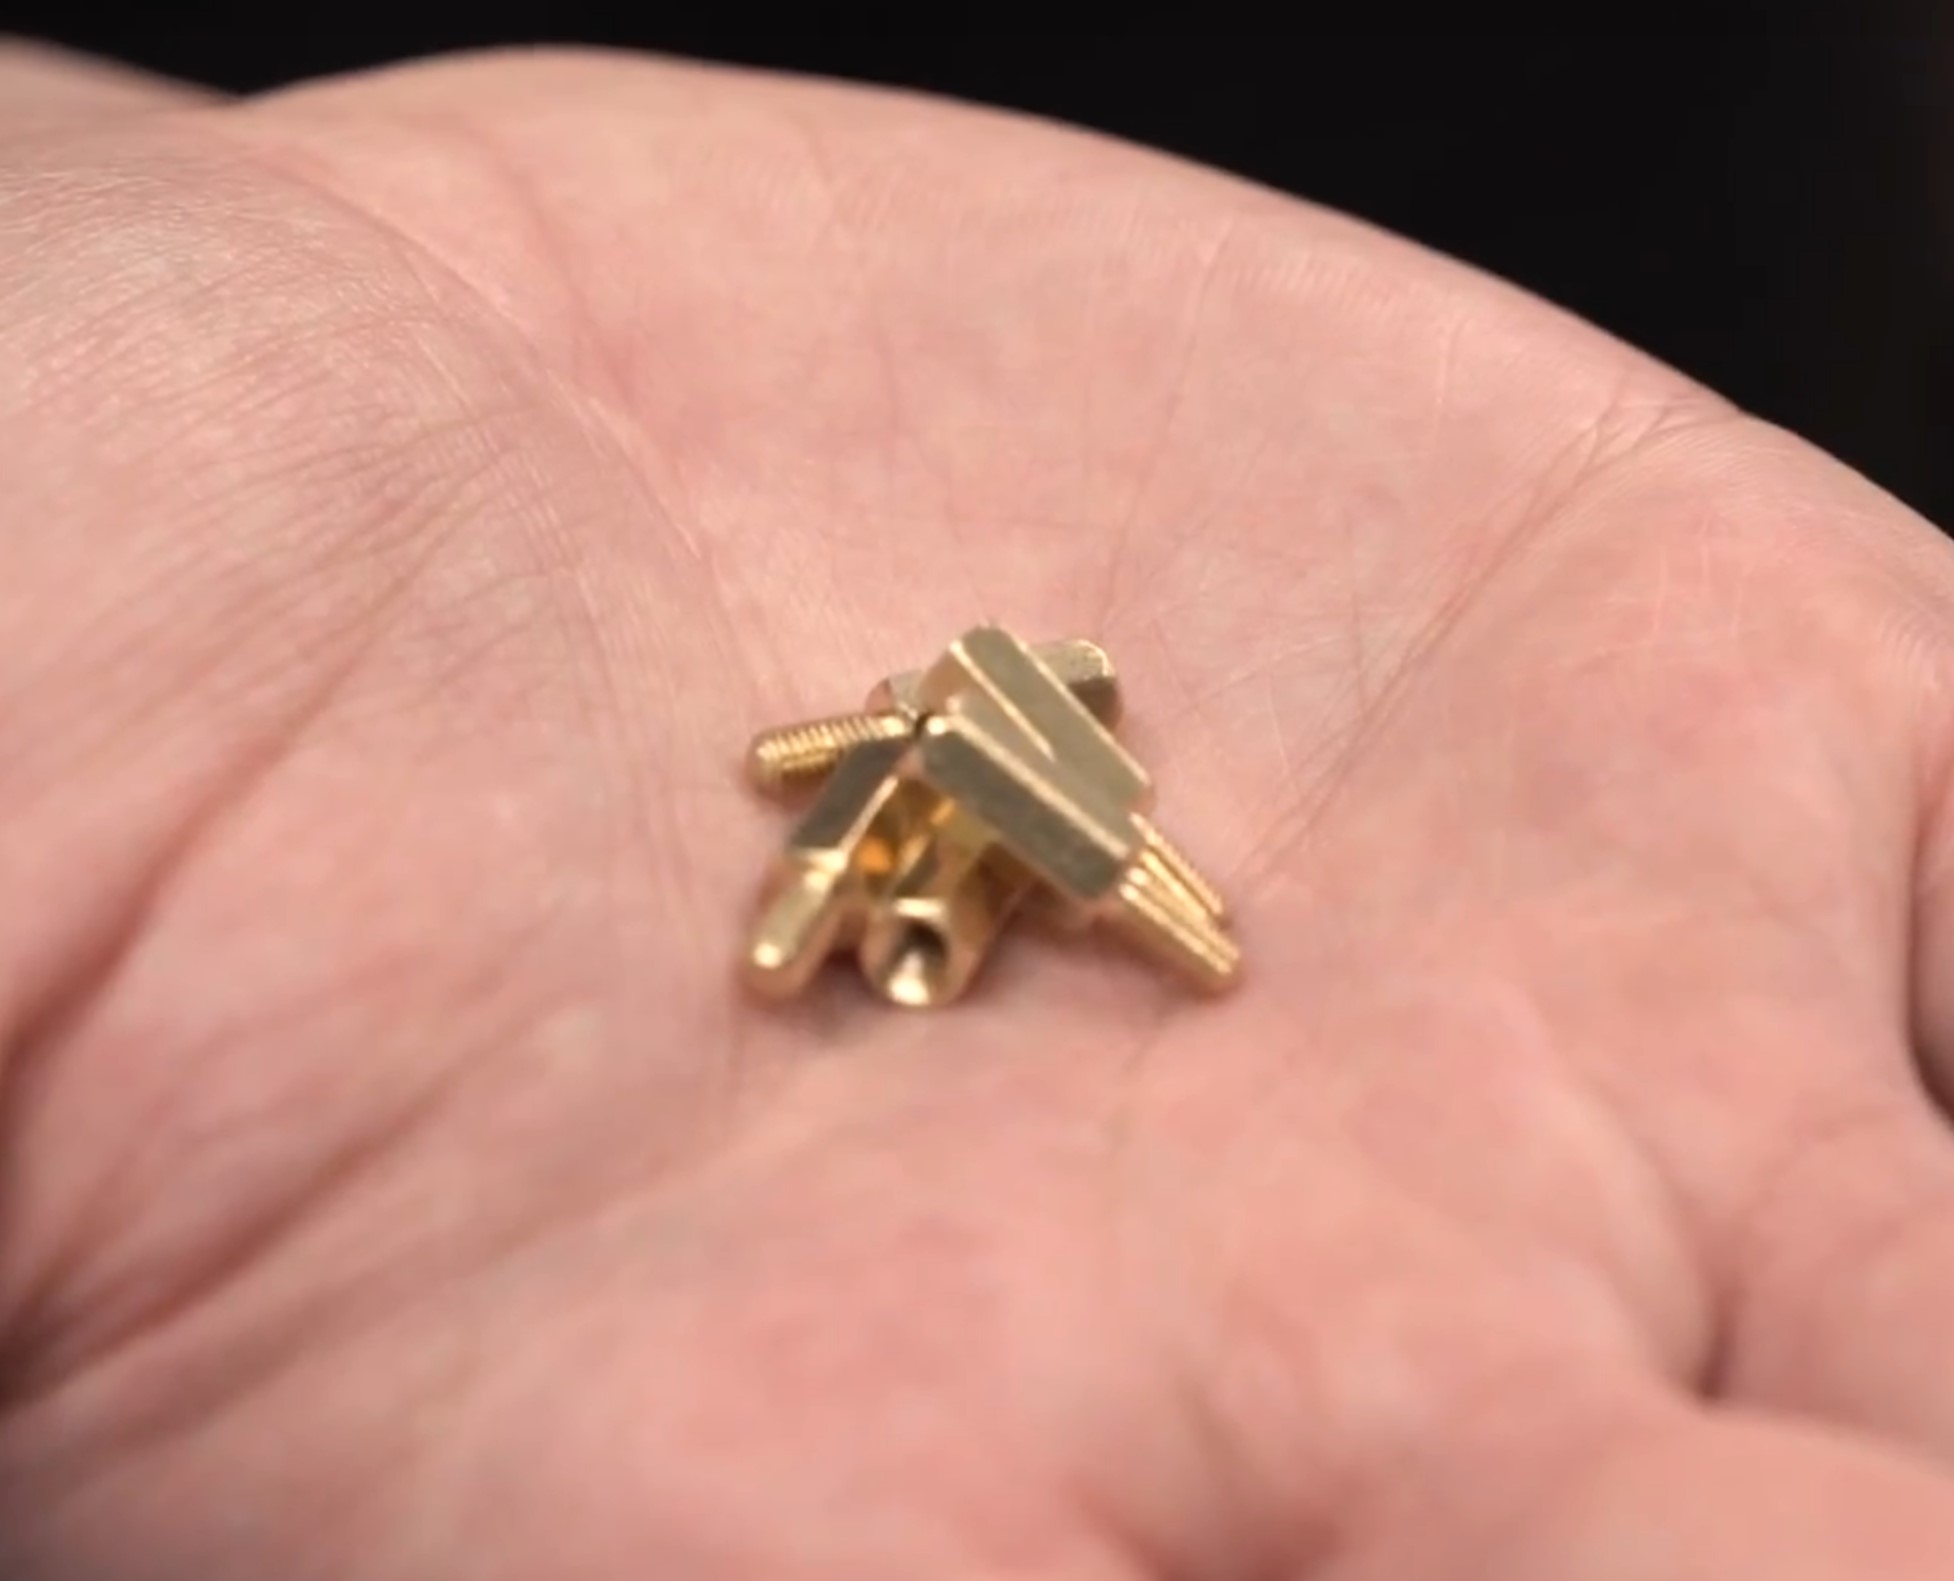
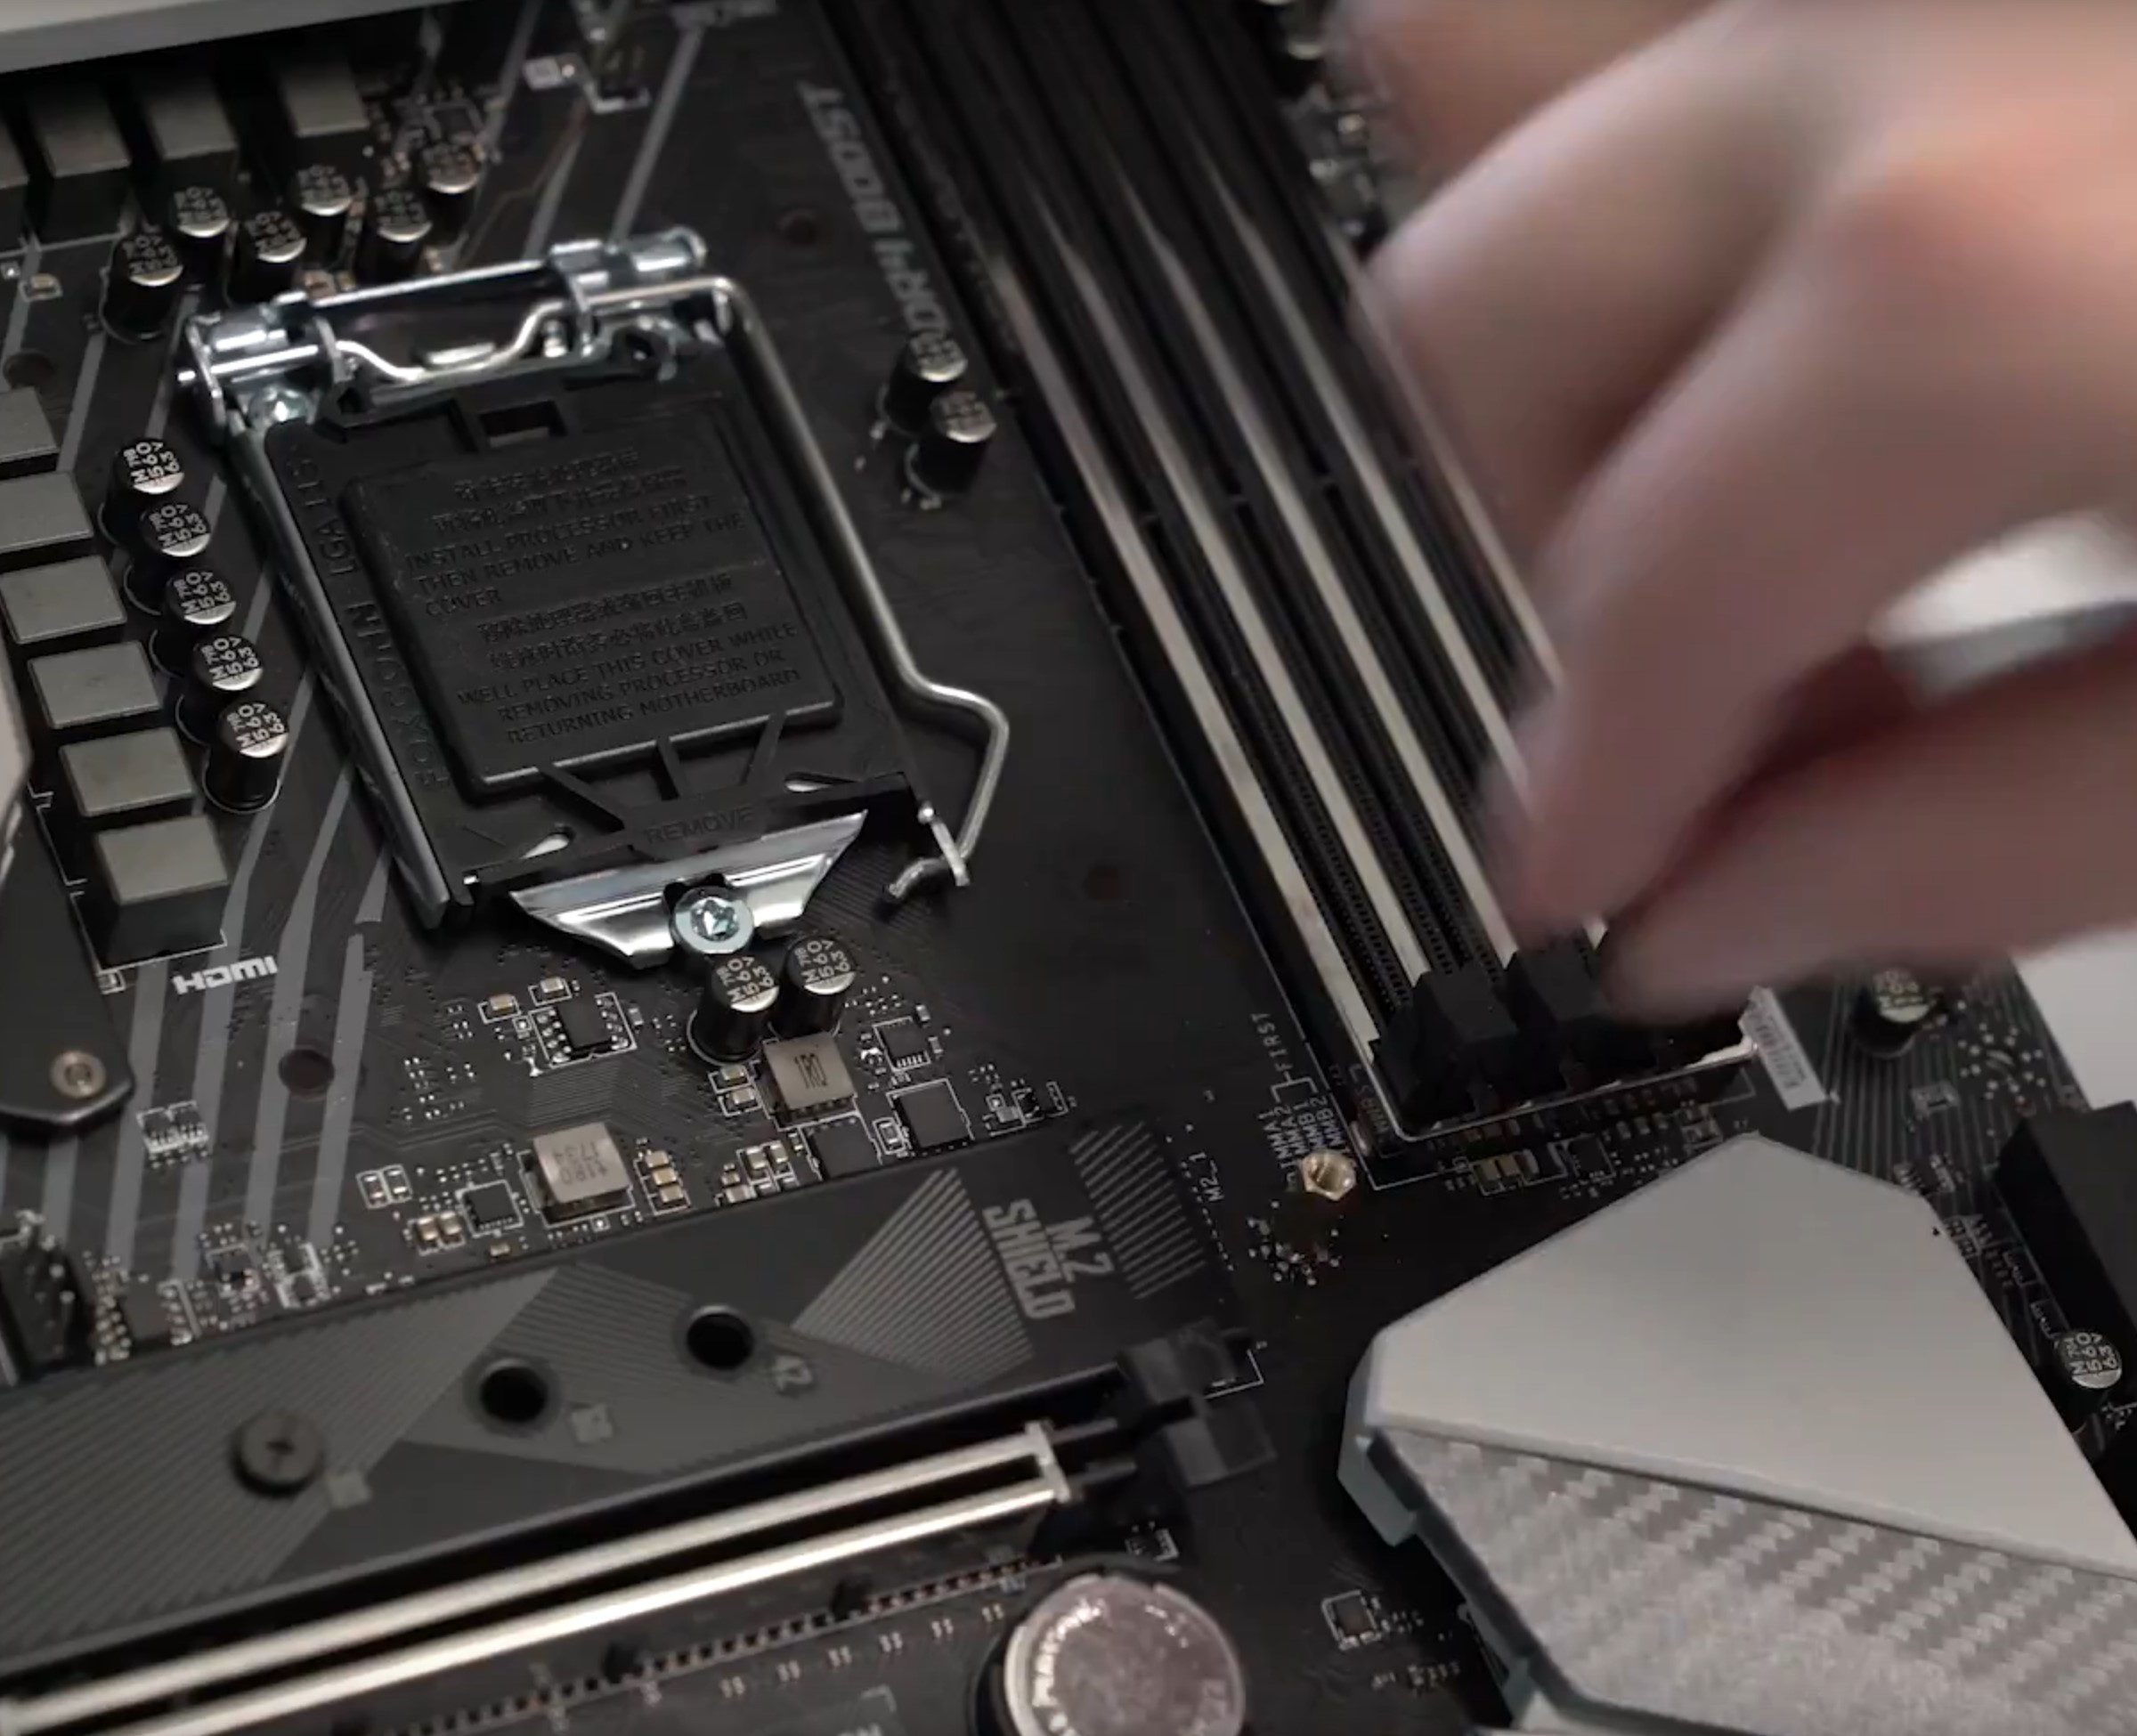
To give that 10mm clearance I mentioned, we're using these 10mm standoffs (below). Just use these instead of standard motherboard screws when installing the board into the case, then plonk the shroud on top and screw down with the regular screws. It's a simple and effective method, plus standoffs are available in a load of different sizes - much easier than making some from scratch!
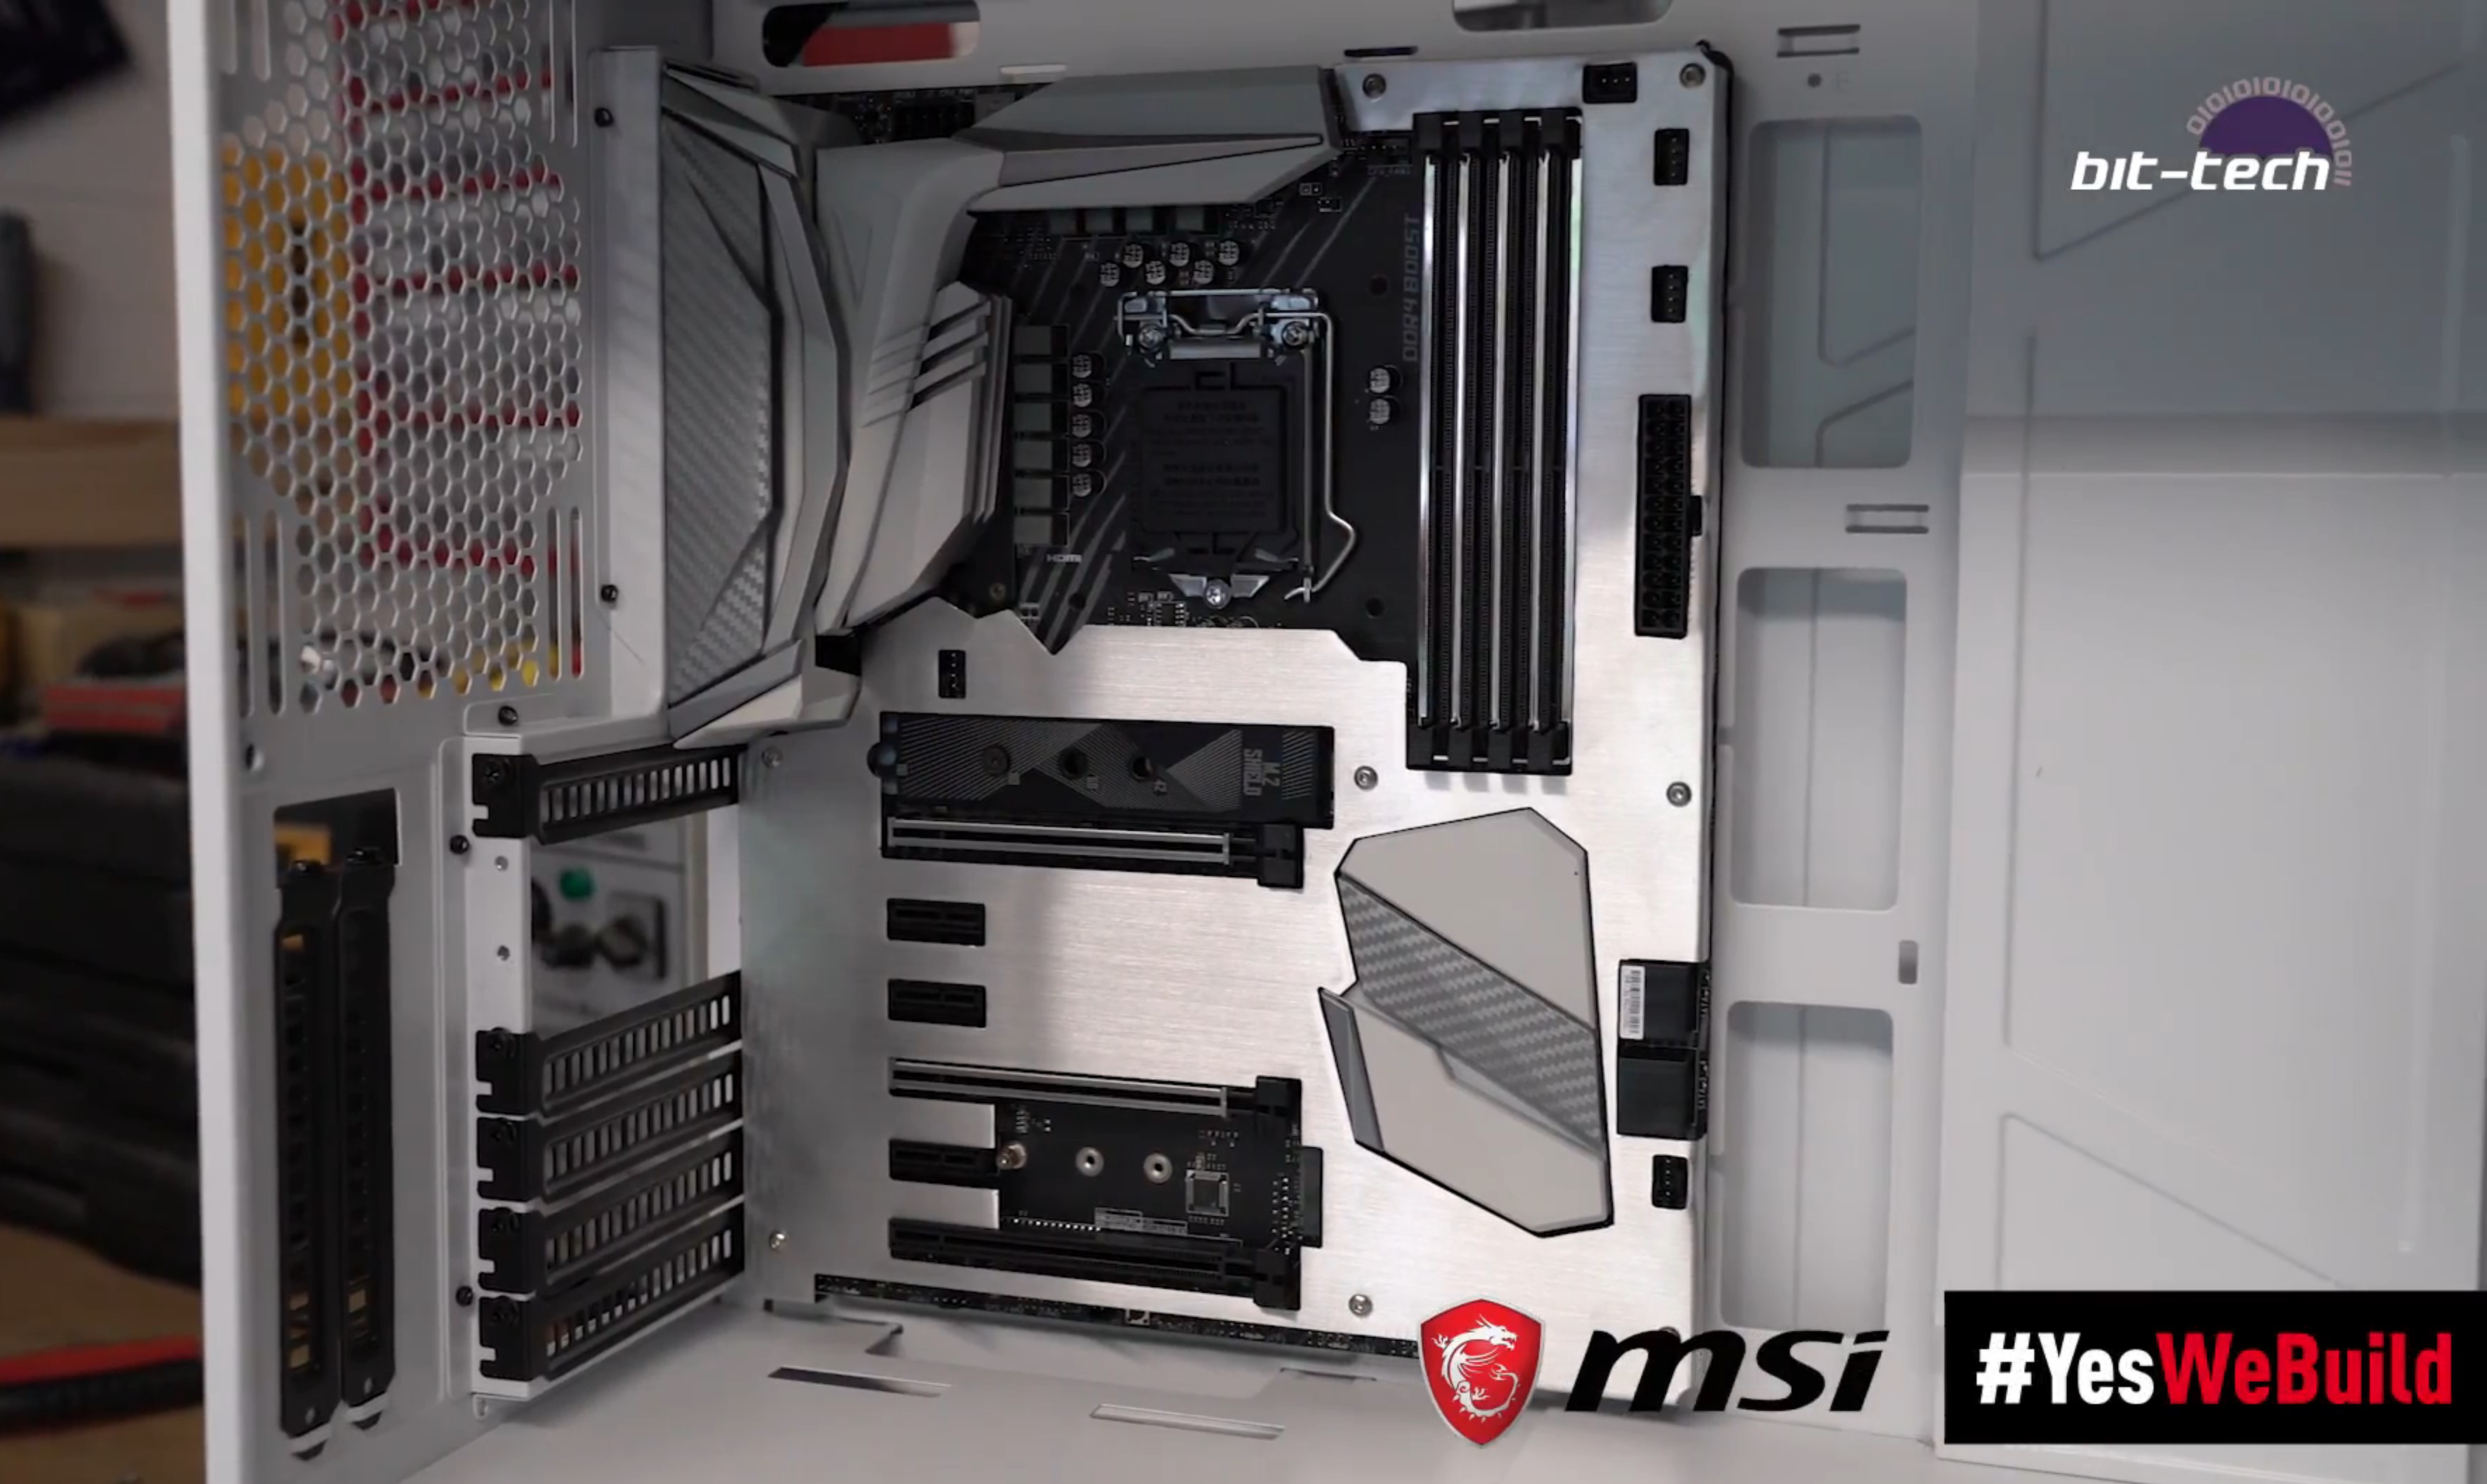
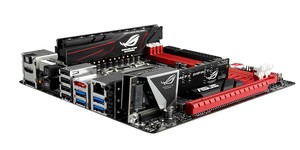
And here you have it! One fully suited up motherboard waiting to be placed into a matching system. The raw metal look definitely gives it a classy vibe, but remember you can always use other materials such as plastics or even wood!
RELATED ARTICLES


MSI MPG Velox 100R Chassis Review
October 14 2021 | 15:04

Want to comment? Please log in.