Dual-chamber cases have been rather popular of late. It turns out that by swapping height for width, therefore allowing the power supply to reside behind the motherboard tray, you enable quite a few possibilities. It's not a new phenomenon either, with Corsair's own Air 540 making waves back in 2013 - it was particularly popular for water-cooling enthusiasts - and Parvum's cases rocking a similar layout. More recently, however, Lian Li also stepped into the fray with the PC011-Dynamic. Corsair's response is an updated and modernised successor to the Air 540, the Crystal 680X RGB. We were sent one to build a system into, incorporating a fair chunk of Corsair's rapidly-growing ecosystem. As per the usual, we will also have a written review up later, directly comparing it to the other options on the market.
What about the case?
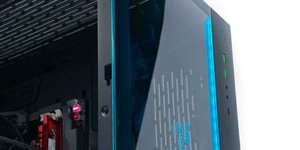
As mentioned, we'll have a full-on review up, so this is more of a summary of a number of the features that this case sports, which I found to be relevant when building into it. Probably the primary aspect is that this catapults the Crystal 680X into the realms of magical tempered glass and RGB, two 'must-haves' for premium cases in this day and age. Corsair has done this by redoing the exterior in the same manner as it did with the Crystal 280X, with glass panels wrapped around the primary chamber that houses the hardware you're most likely going to want to see.
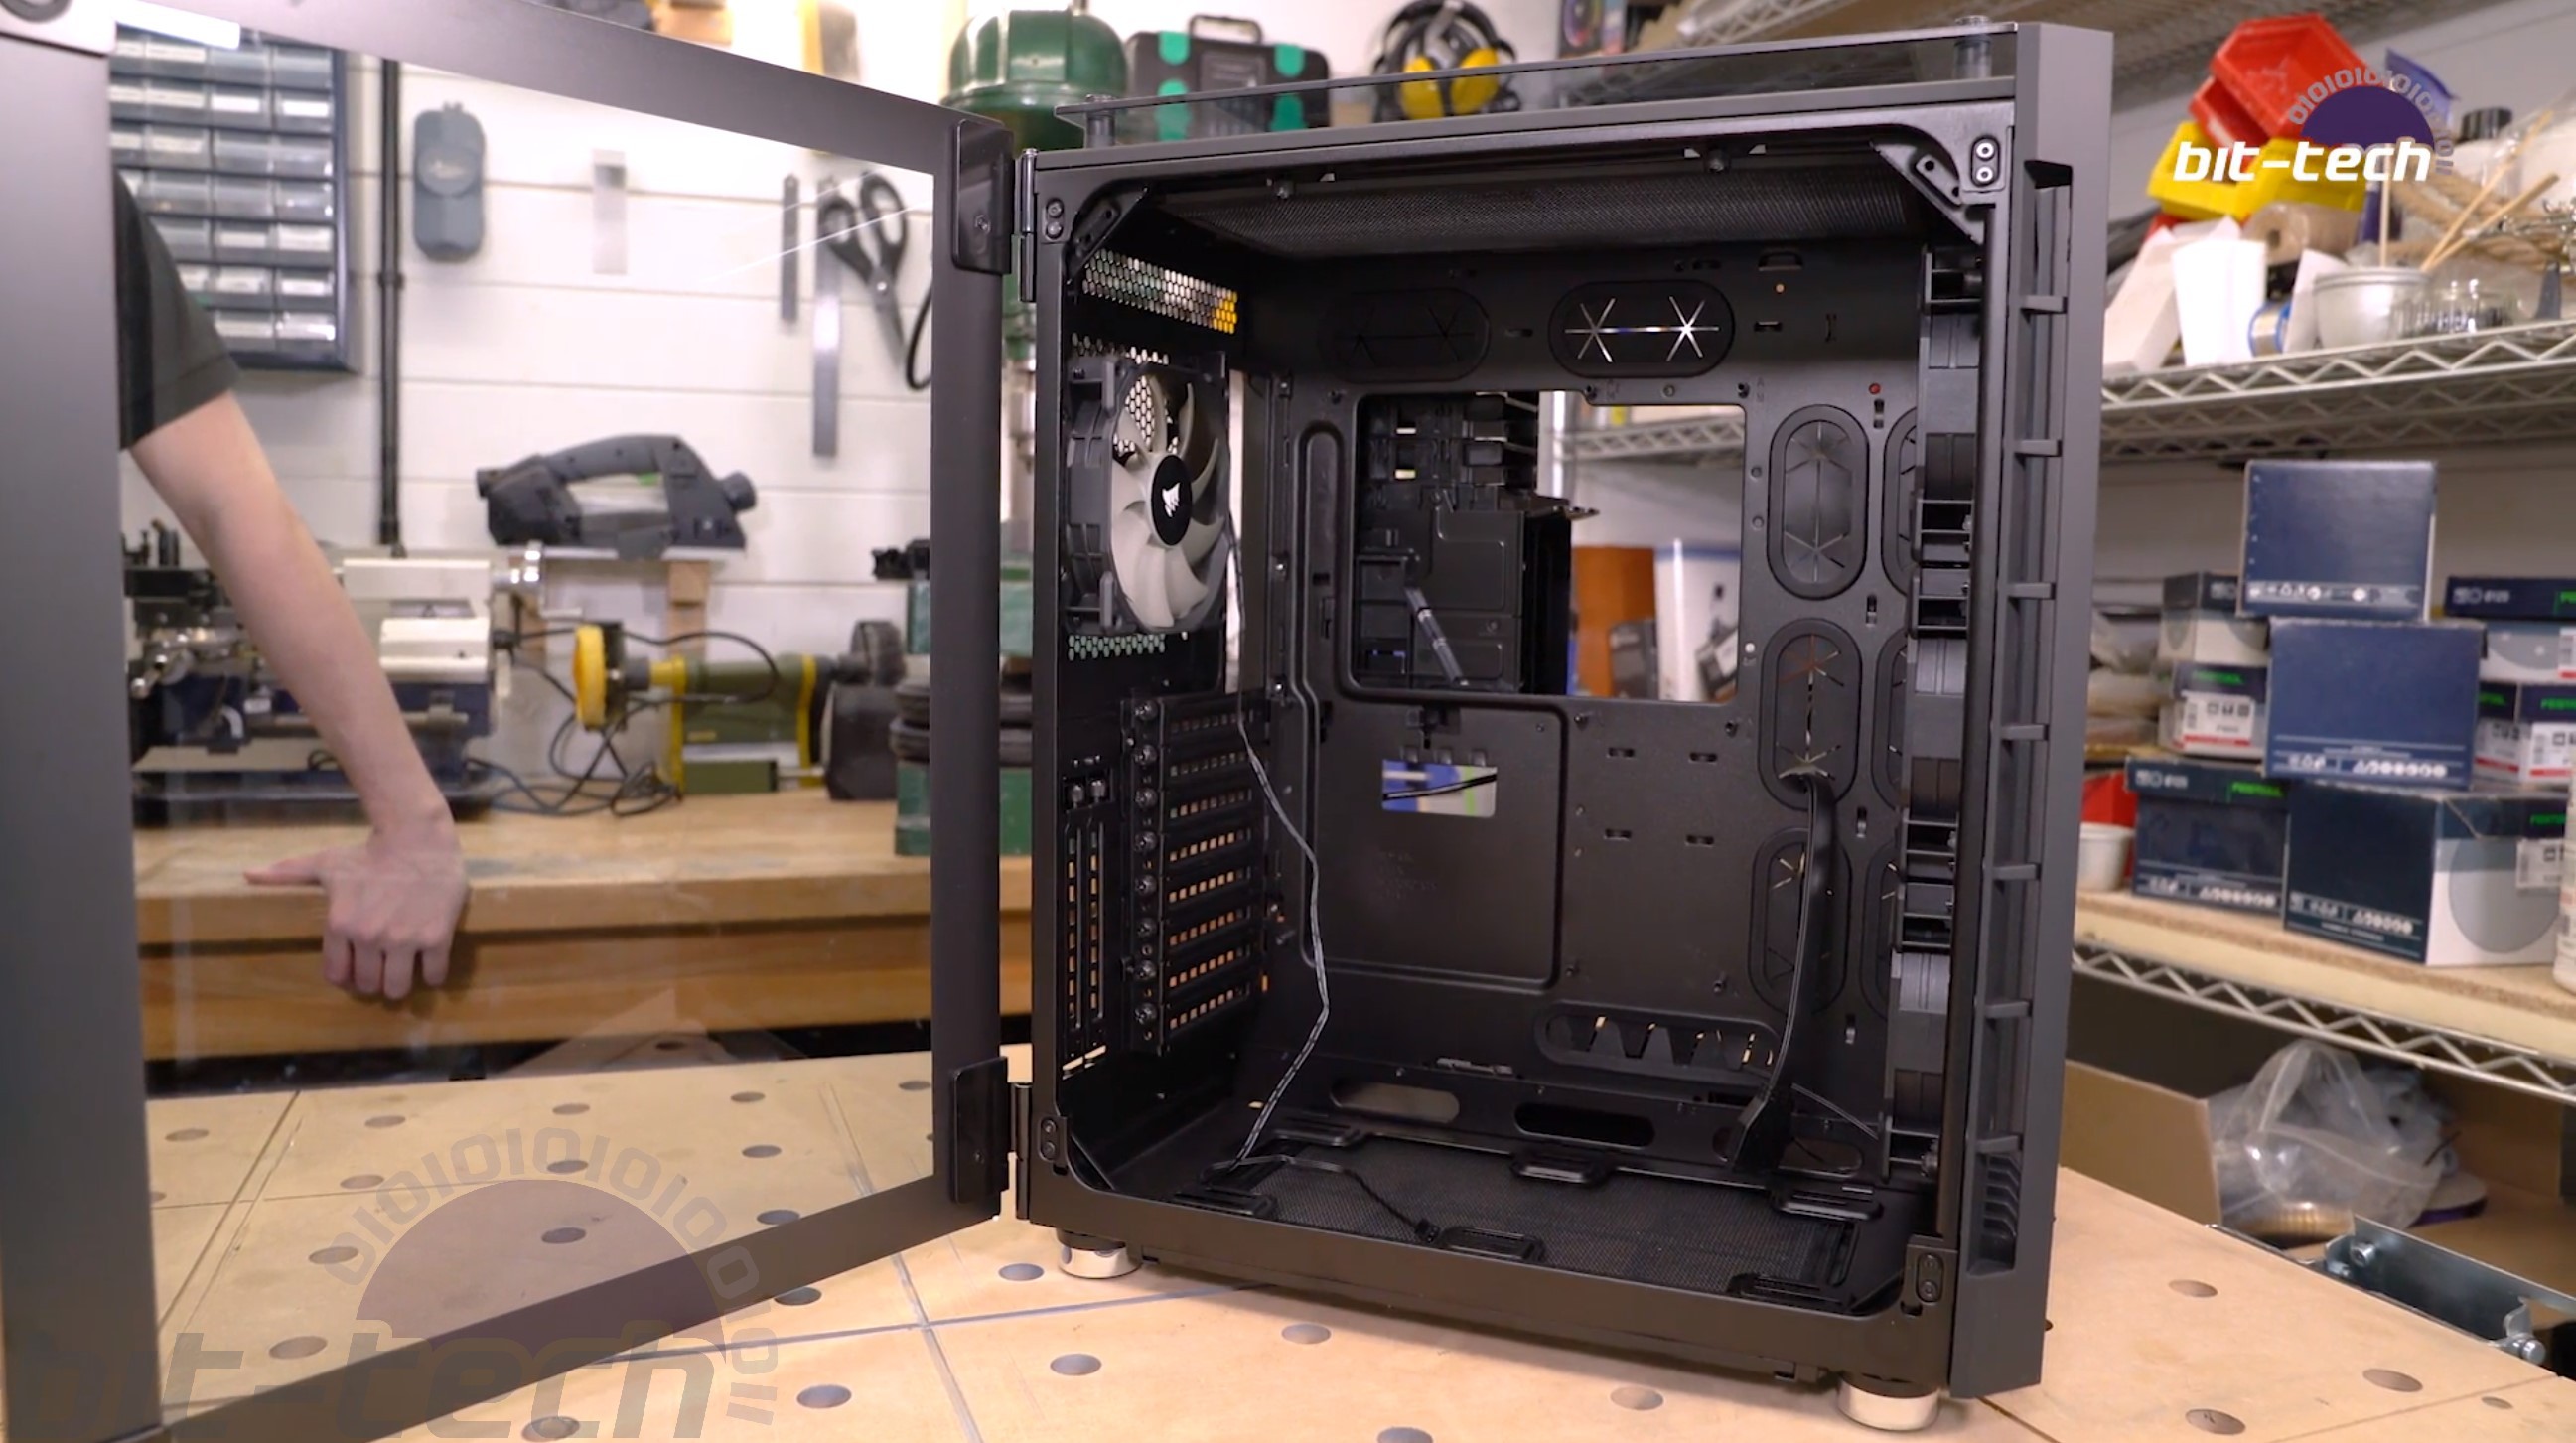
To aid cooling, the panels are offset from one another and sit on plastic and rubber spacers, leaving a healthy gap for airflow. These panels are held on with the standard thumbscrew affair found on many glass cases. The side-panel window, however, sits on hinges, one of which is slightly longer than the other to help with alignment should you wish to remove the panel during construction. I like hinged panels; they have a pleasing quality to them and are convenient, because it can be easy for thumbscrew-mounted panels to have 'accidents' during installation. The other panels likely won't be used as often, so having thumbscrew mounts isn't a big deal.
Another big feature recently has been the ability to mount a GPU vertically, with most premium cases offering some form of doing this. Corsair opted for the simple approach of adding in an extra PCIe bracket-mount in front of the existing slots: simple and effective, although given it's a two-slot design it could prove a limiting factor with some of the monstrously-sized cards of today. If you have a full-on triple-slot cooler on your GPU, you might want to consider that before jumping on things.
Cooling potential is pretty ample, with support for up to 360mm radiators in the front and 280mm radiators in the top and bottom. Thanks to this being a dual-chamber case, there isn't a power supply to get in the way of things underneath the motherboard, which does free up a fair bit of extra room.
What's the plan?
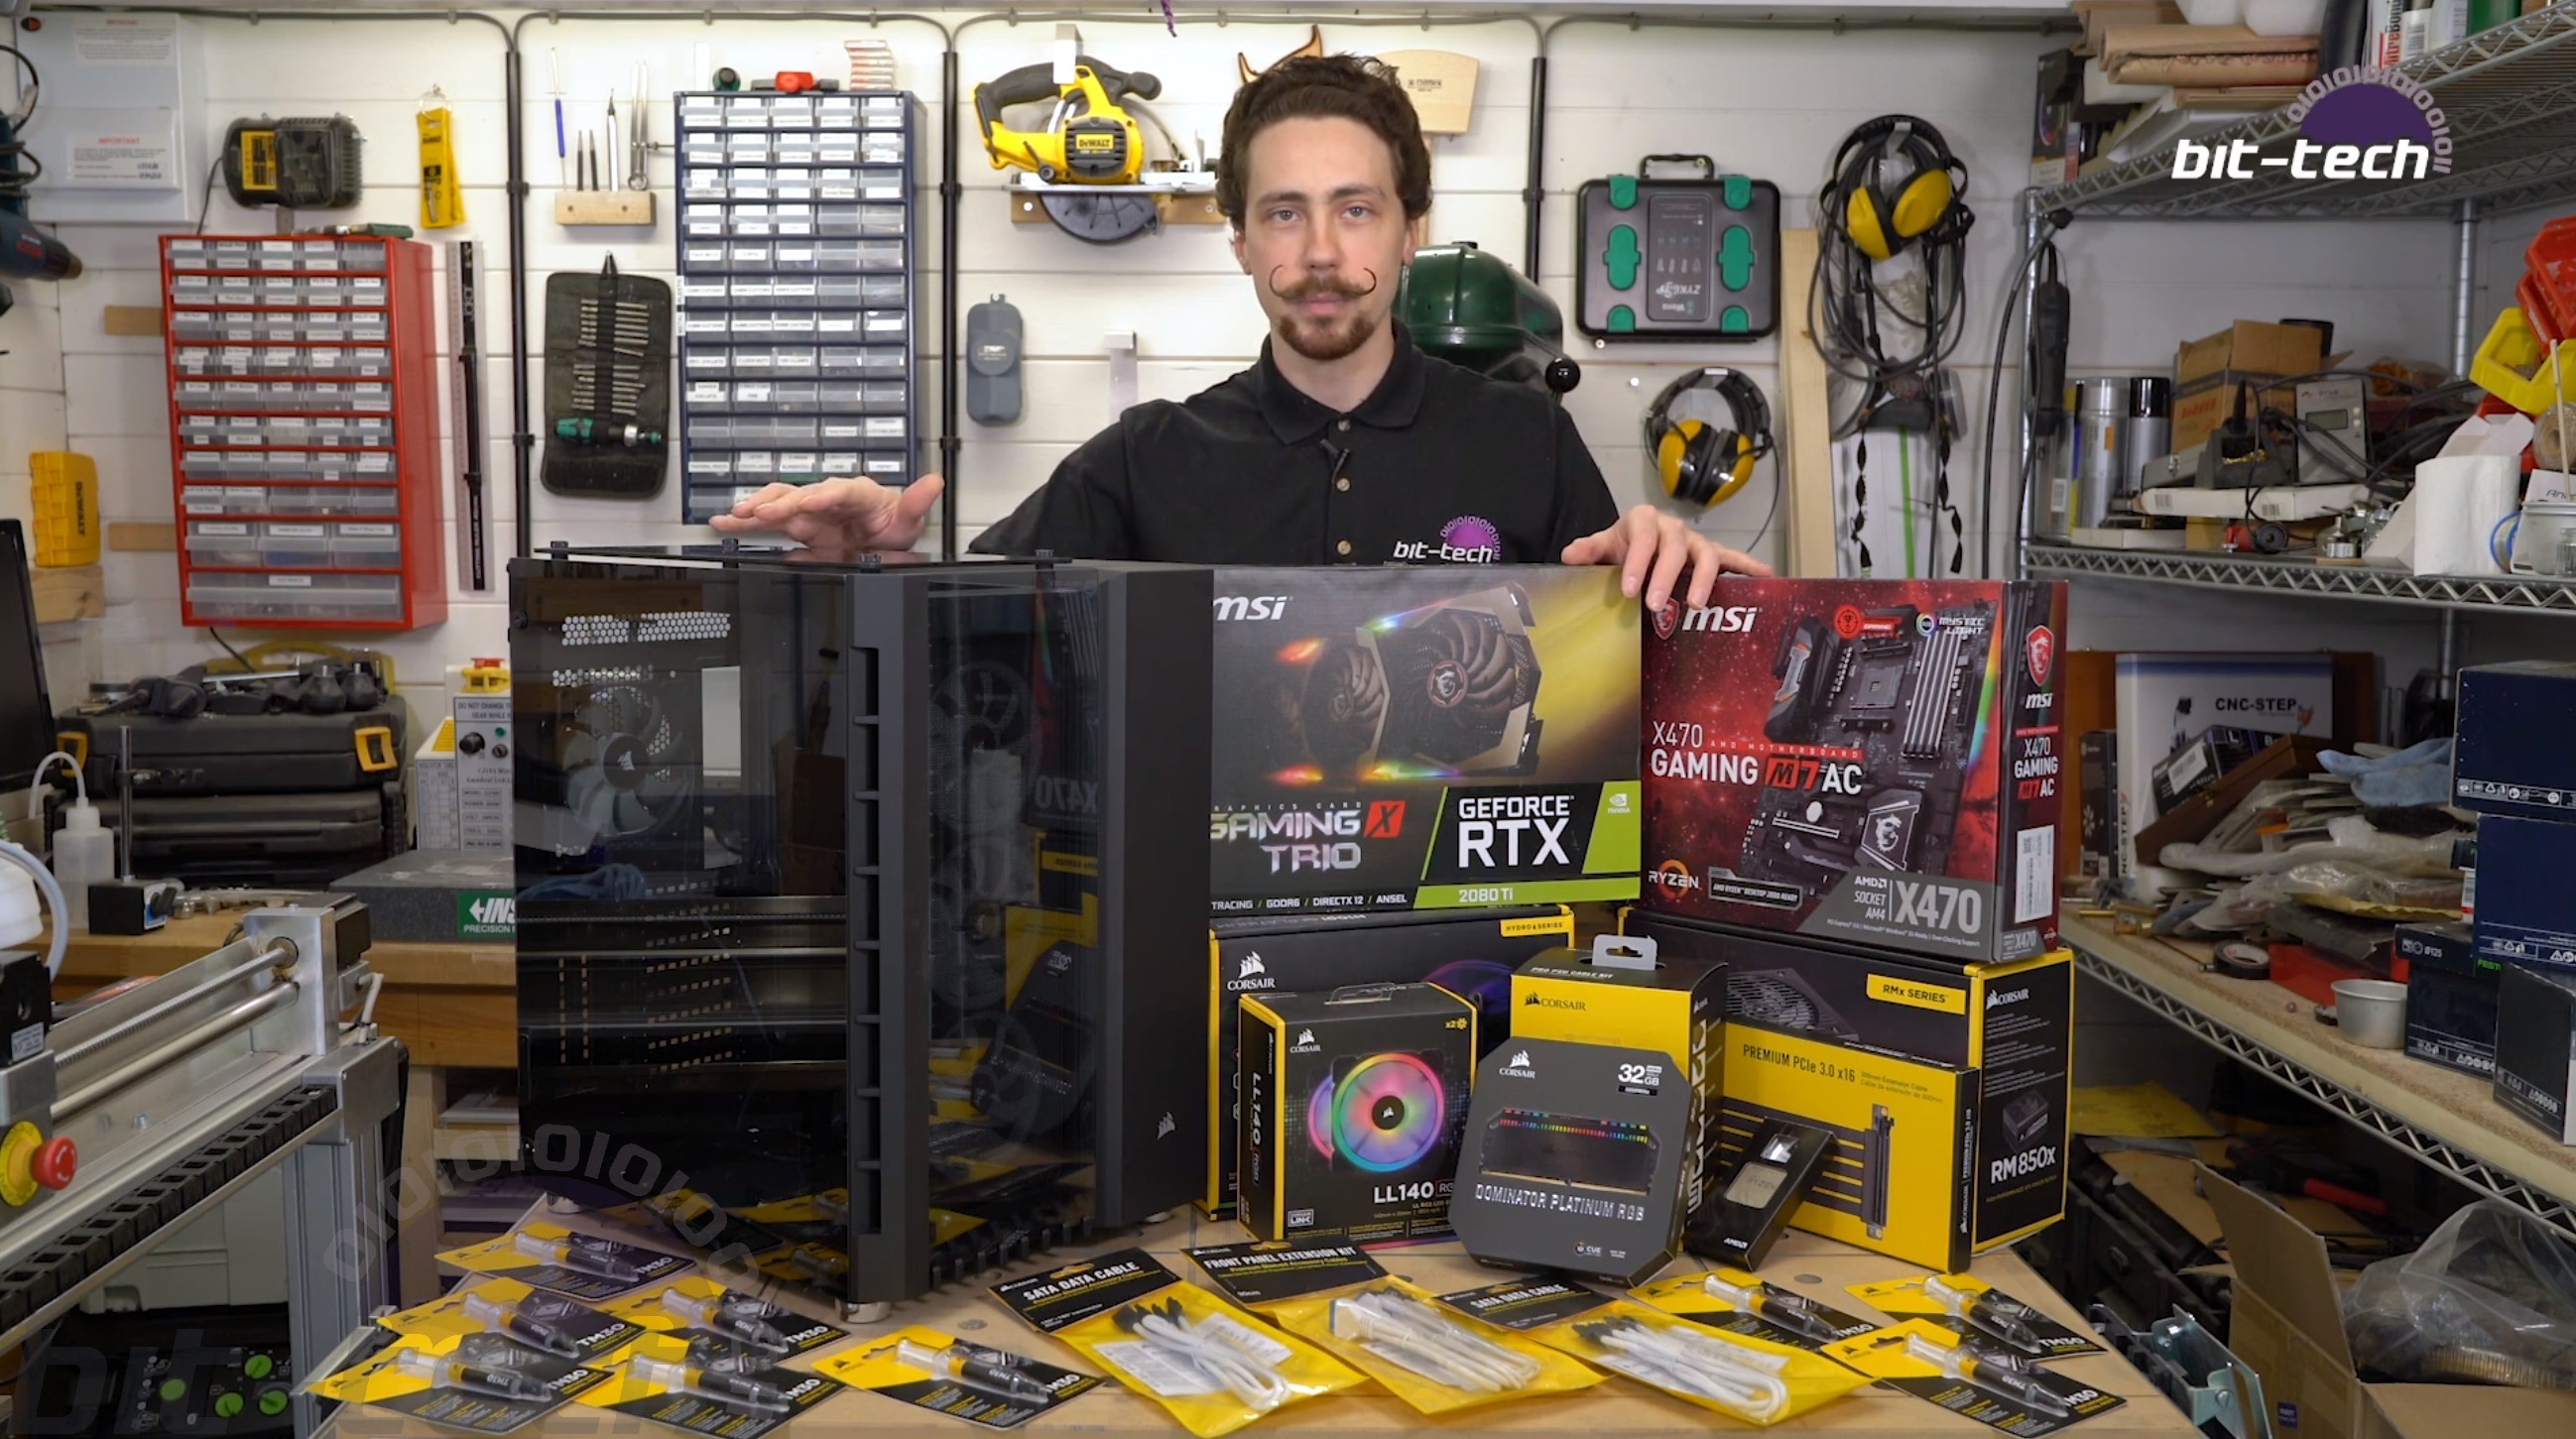
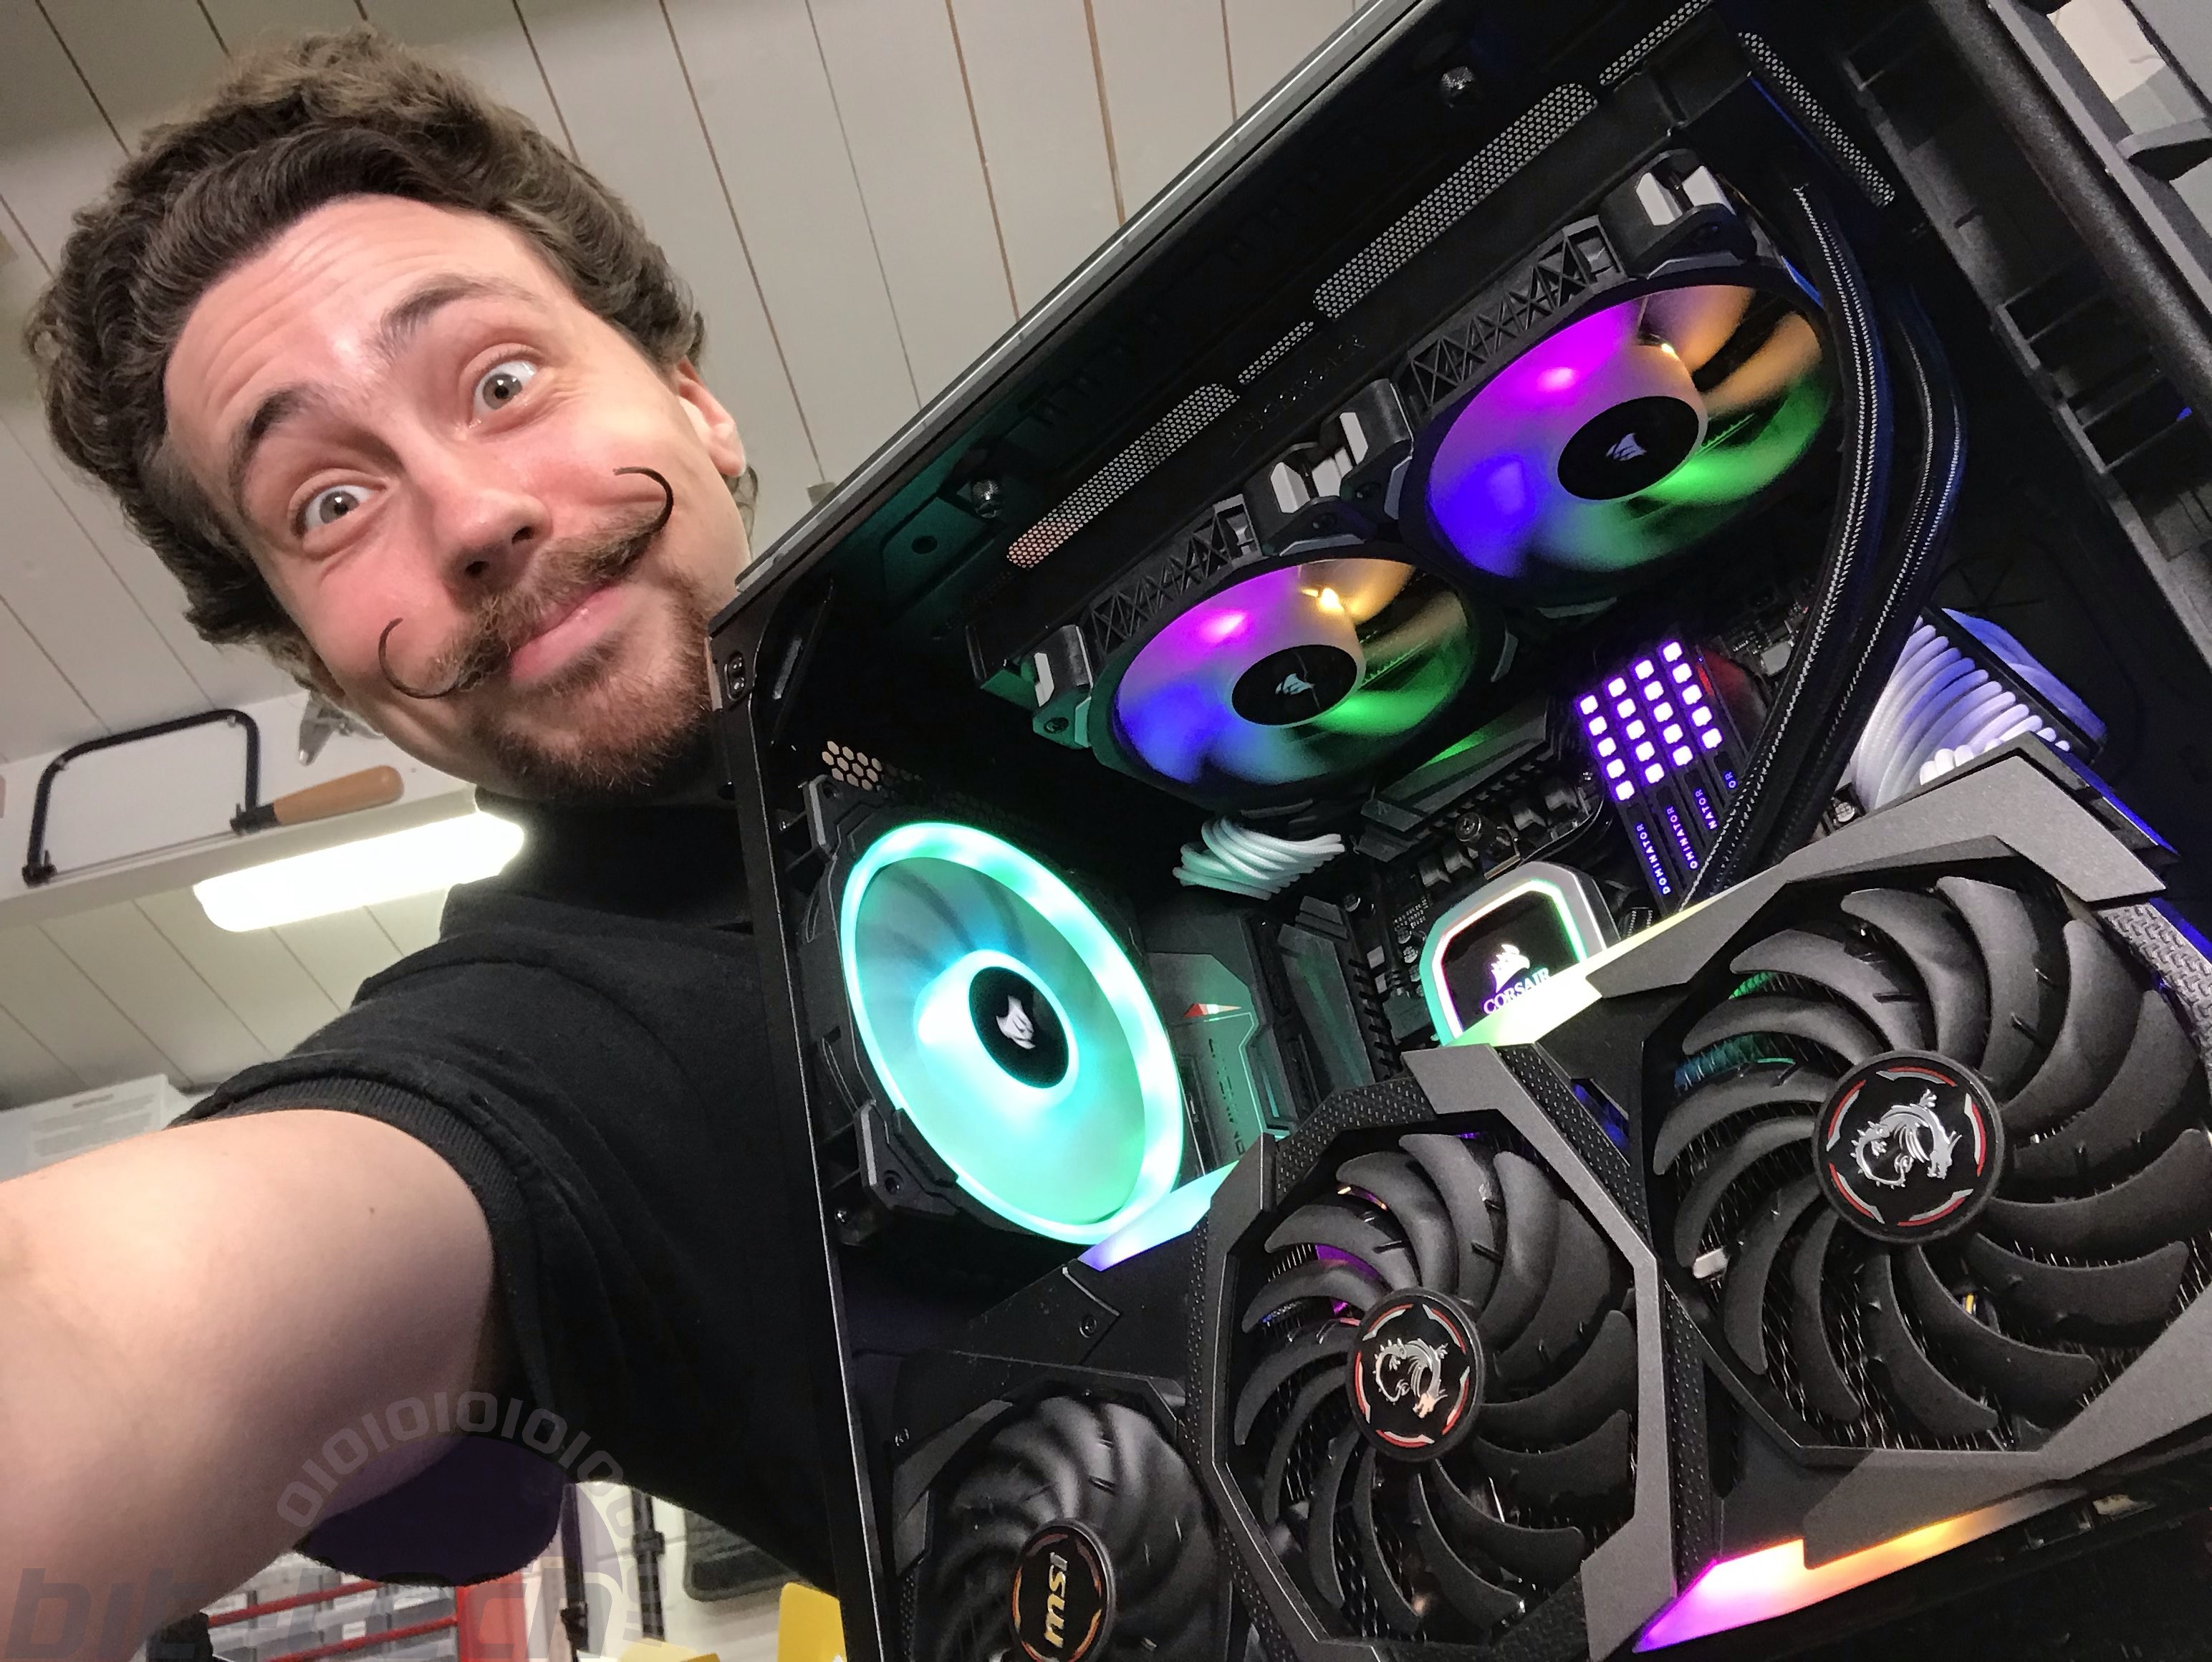
Simple enough really, we've got a budget-friendly high-end system to go in this case, and a big thanks goes out to MSI who supplied the GeForce RTX 2080 Ti Gaming X Trio and the X470 Gaming M7 AC motherboard for this rig. Corsair also sent along a bunch of its new parts and peripherals for us to add, including the brand-new Dominator Platinum RGB DDR4 and Pro Cable Set. Alongside those parts, Corsair also sent over an RM850X power supply, a 960GB MP510 NVMe SSD, the new premium PCIe Riser cable, a set of 140mm LL Series dual-light-loop fans, an H100i RGB Platinum AIO cooler, and, of course, a load of TM30 performance thermal paste. Phew! As such, the specs are as follows:
- CPU AMD Ryzen 2700X
- Memory 32GB Corsair Dominator Platinum RGB 3,200MHz
- Motherboard MSI X470 GAMING M7 AC
- Graphics MSI GeForce RTX 2080 Ti Gaming X Trio
- Cooling Corsair H100i RGB Platinum AIO
- Storage 960GB Corsair MP510 NVMe M.2
- PSU Corsair RM850X
- Case Corsair Crystal 680X RGB
Accessories:
- Corsair LL140 Dual-Light-Loop RGB fans
- Corsair Cable Combs
- Corsair Pro Series (for Gen 4 power supplies) individually-sleeved cables - White
- Corsair I/O extension set
- Corsair Sleeved SATA Data cables - White
That's a pretty tidy setup; let's get it all inside the case!
Building her up
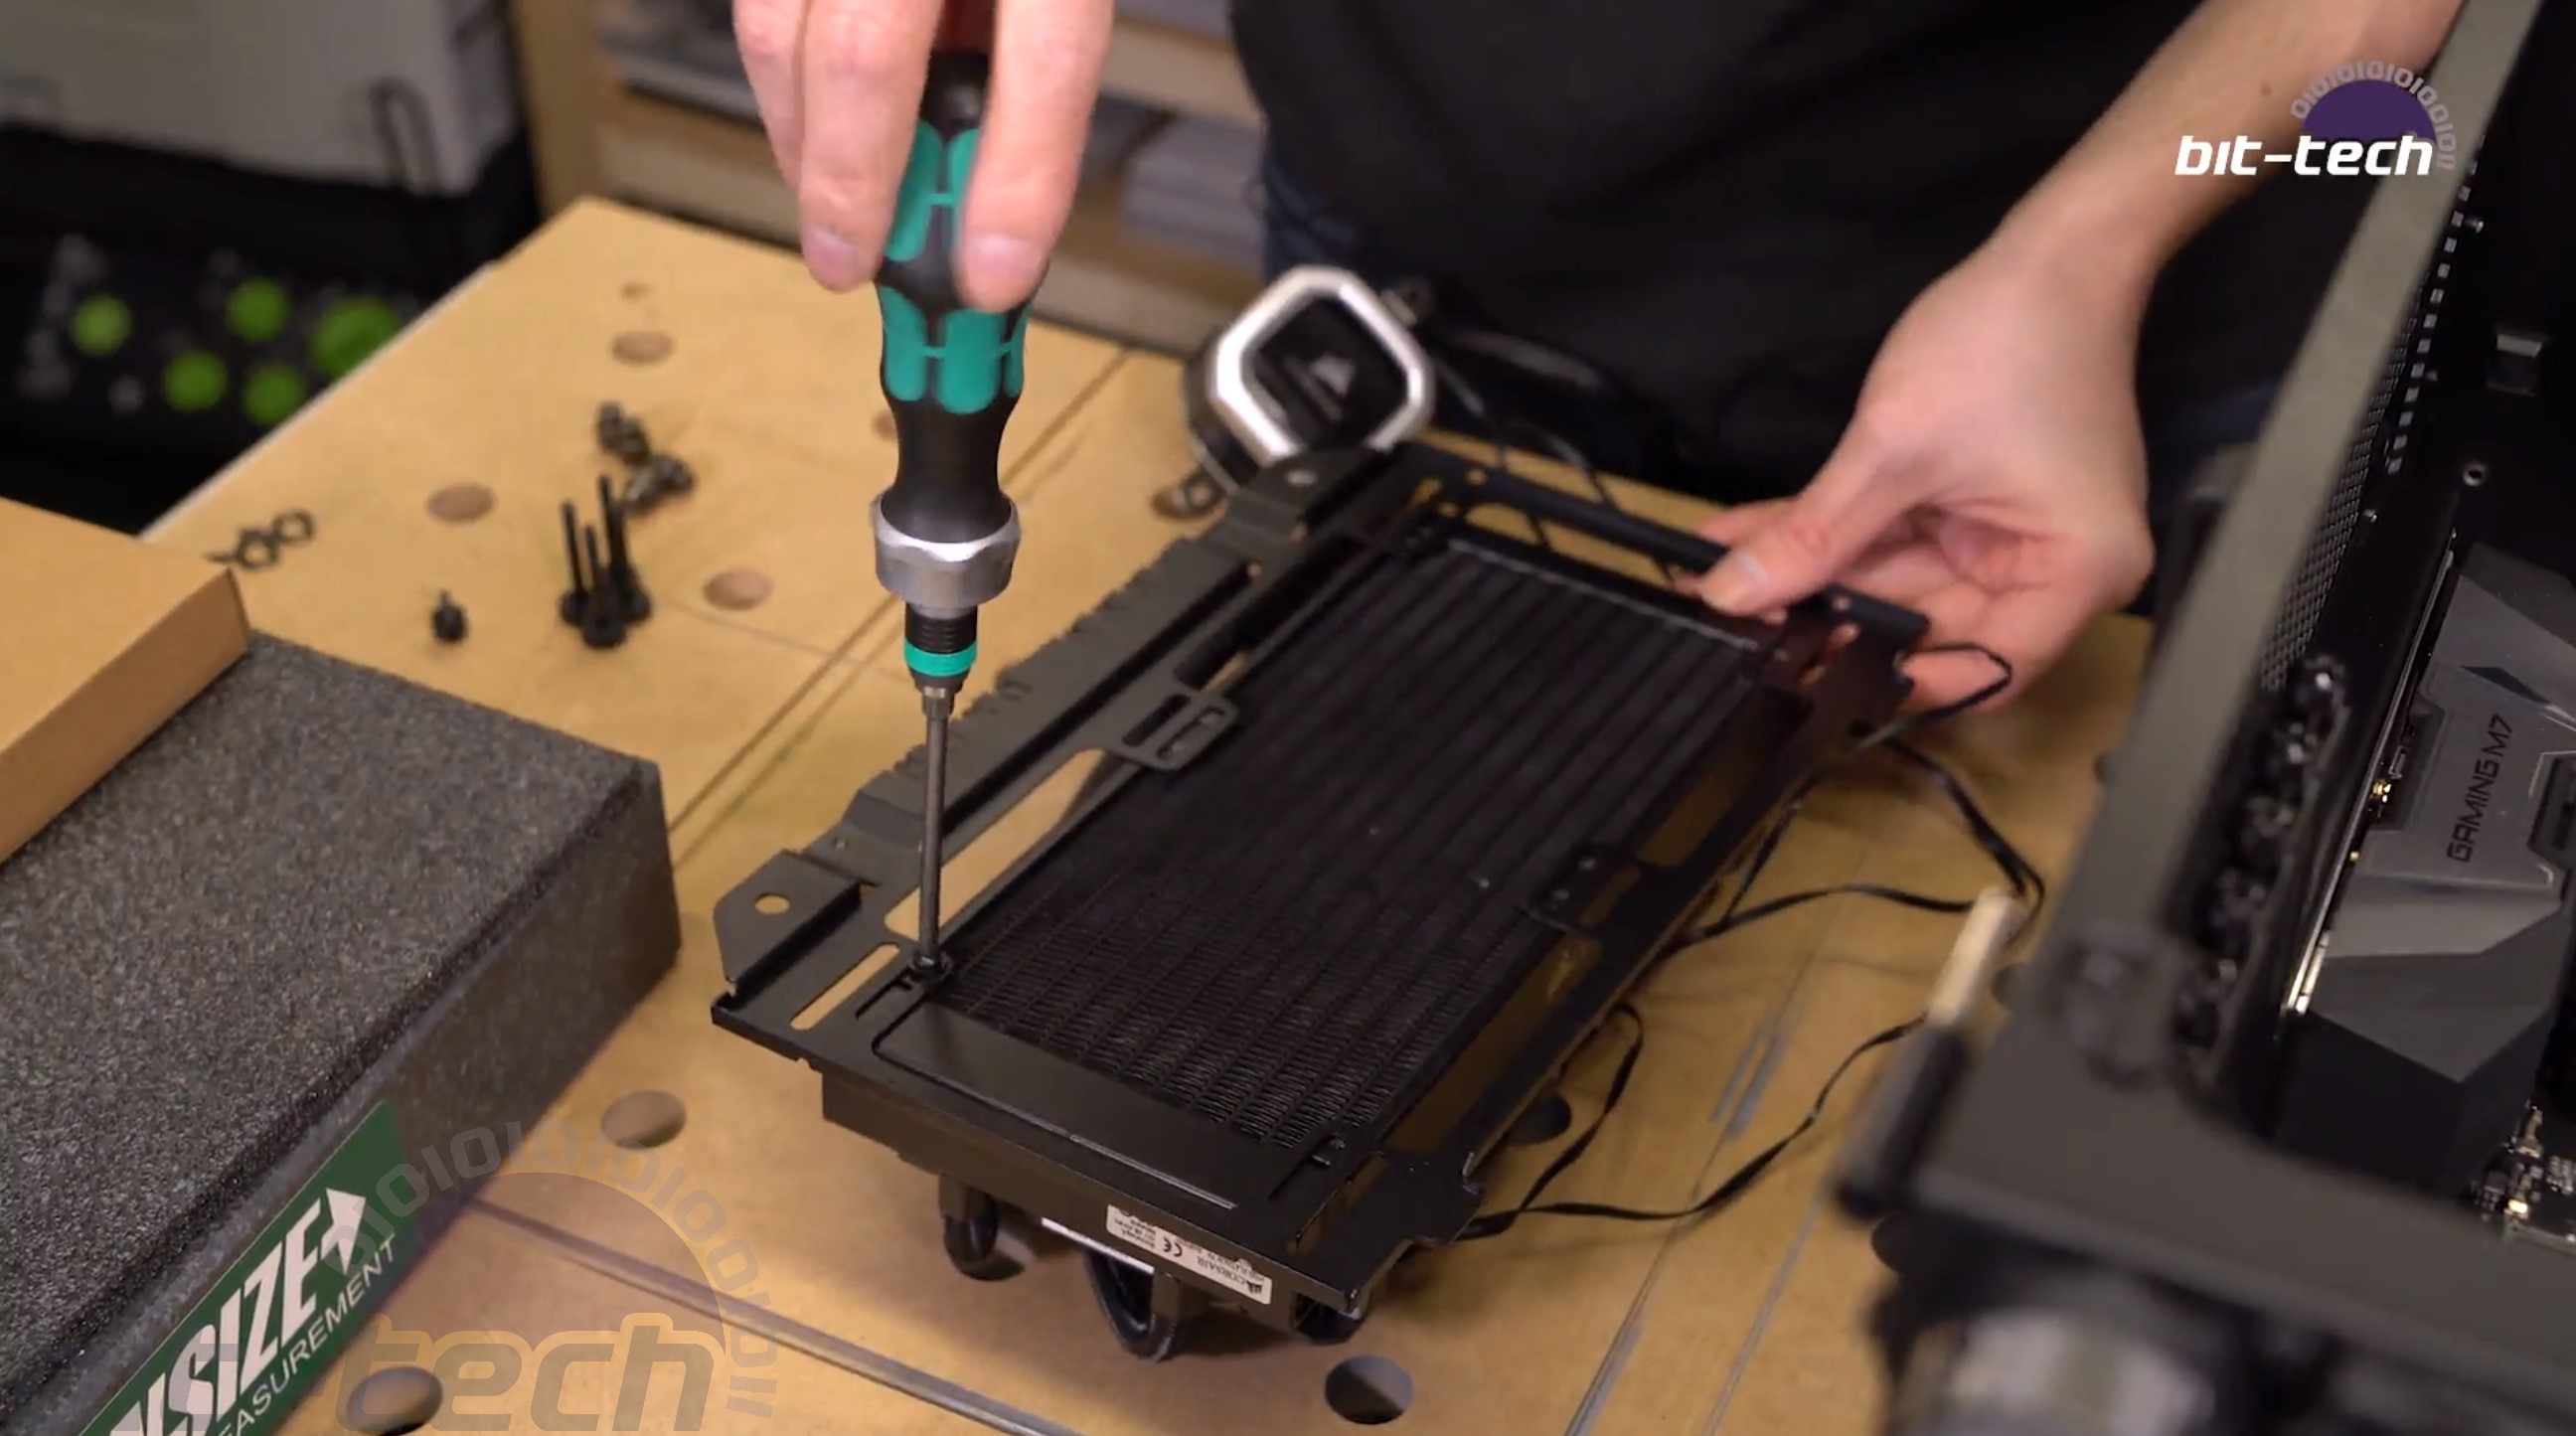
I'd be lying if I said building a stock rig is particularly novel or exciting in its own right, but it's certainly interesting seeing how different parts mesh together without the 'safe-stop' of being able to modify anything on a whim. Installing the cooler into the case was pretty simple thanks to the use of removable radiator brackets. I like these, as it's often quite fiddly trying to get everything in place when lots of screws are involved - invariably one falls into the case and rolls into the power supply or some other similarly-traumatic affair happens. The brackets just attach via simple thumbscrews, so just be sure to orient your fans correctly first so that the wires don't come out of the wrong side!
As anticipated for a case of this structure, cabling things up was also very straightforward. Having two chambers means cable management is a breeze. You can just chuck everything in the back without a care in the world; nobody will ever know... This was a good time to have a closer look at the cable sets we were sent, however. The new ones are designed to work with the more recent Gen 4 power supplies (the full list can be found on the product support page, so be sure to check this before purchasing to see if your unit will work with them). Since that includes the monstrous AX 1600i, it means they come with a lot of cables. Personally, I think that's a great thing; I'd rather have a few too many since it's so easy to lose the damn things, I swear. We also have an older set of cables from Corsair, from which we can draw some direct comparisons.
Looking at both sets, the first key difference is that they use different sleeving materials. Now I know that one of them is grey/silver and the other white... I do, however, refer to the sleeve construction itself. The older silver cables are a shinier, PET-style sleeve, held onto the wires with large heatshrink sections. The new Pro ones sport a paracord-type fabric instead and are sleeved all the way into the connectors. Since the new power supplies have in-line capacitors in the cables, so too do these Pro sets, and they also rock Corsair's new cable combs right out of the box.
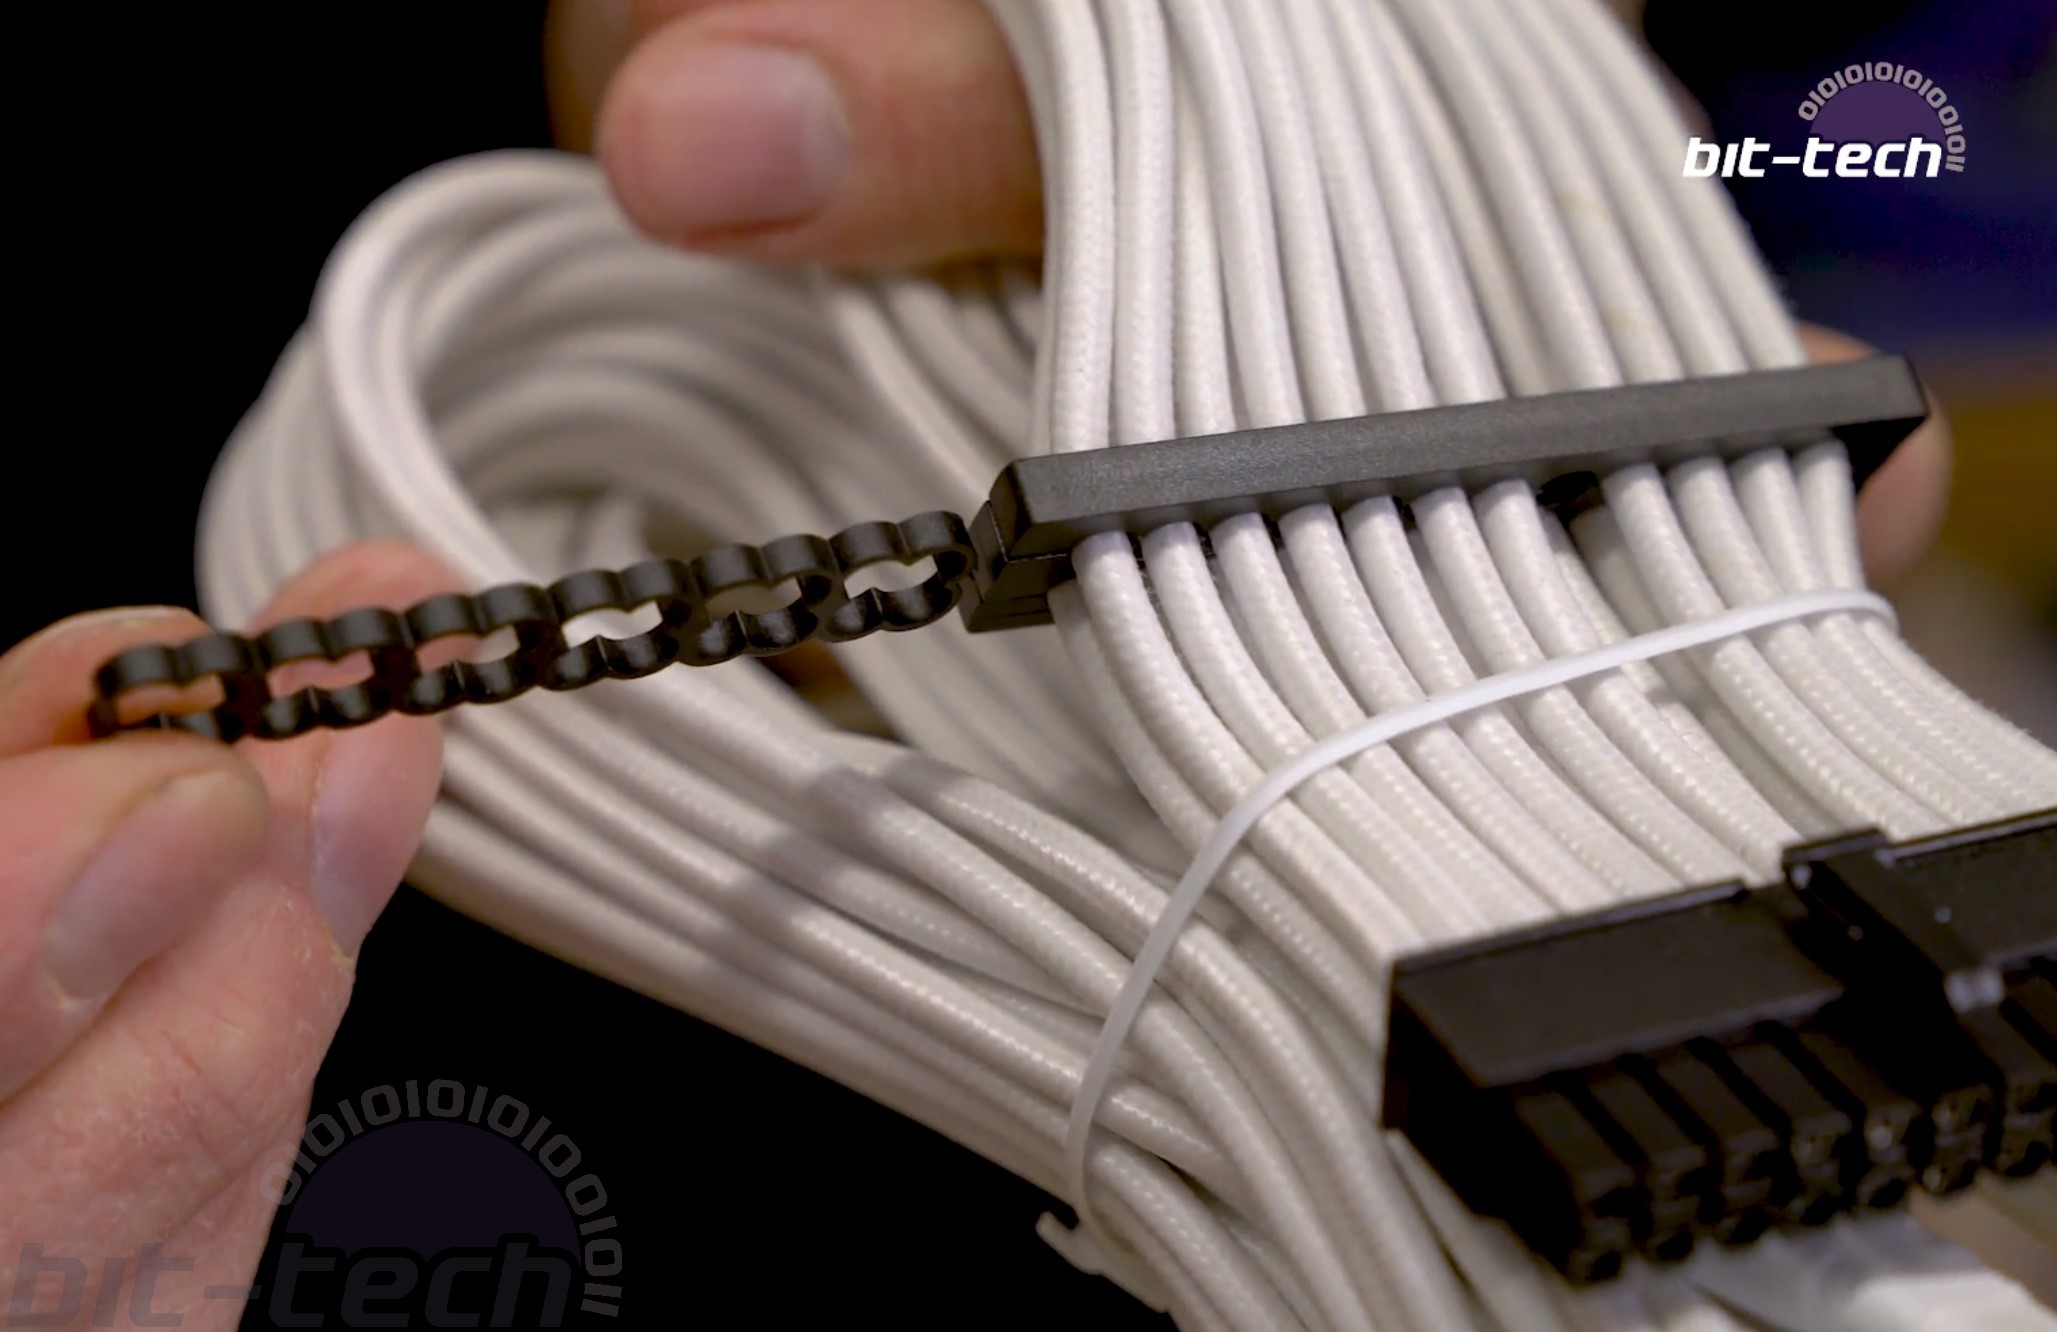
I'm in two minds about some of these features. On one hand the cables themselves do feel much nicer, being made from a heavier wire gauge and not rocking any heatshrink by the connectors. I do, however, prefer PET sleeves to paracord, because they tend to catch dust less and are easier to clean. Our cables also had some curious faint stains on them, visible inside the packaging itself from before it was unsealed (so it wasn't us, promise!). This comes down to personal preference, however; I know that paracord cables are very popular with many folks. I can't really explain the stains, but you can't see them in the video, so clearly they're not exactly a big deal.
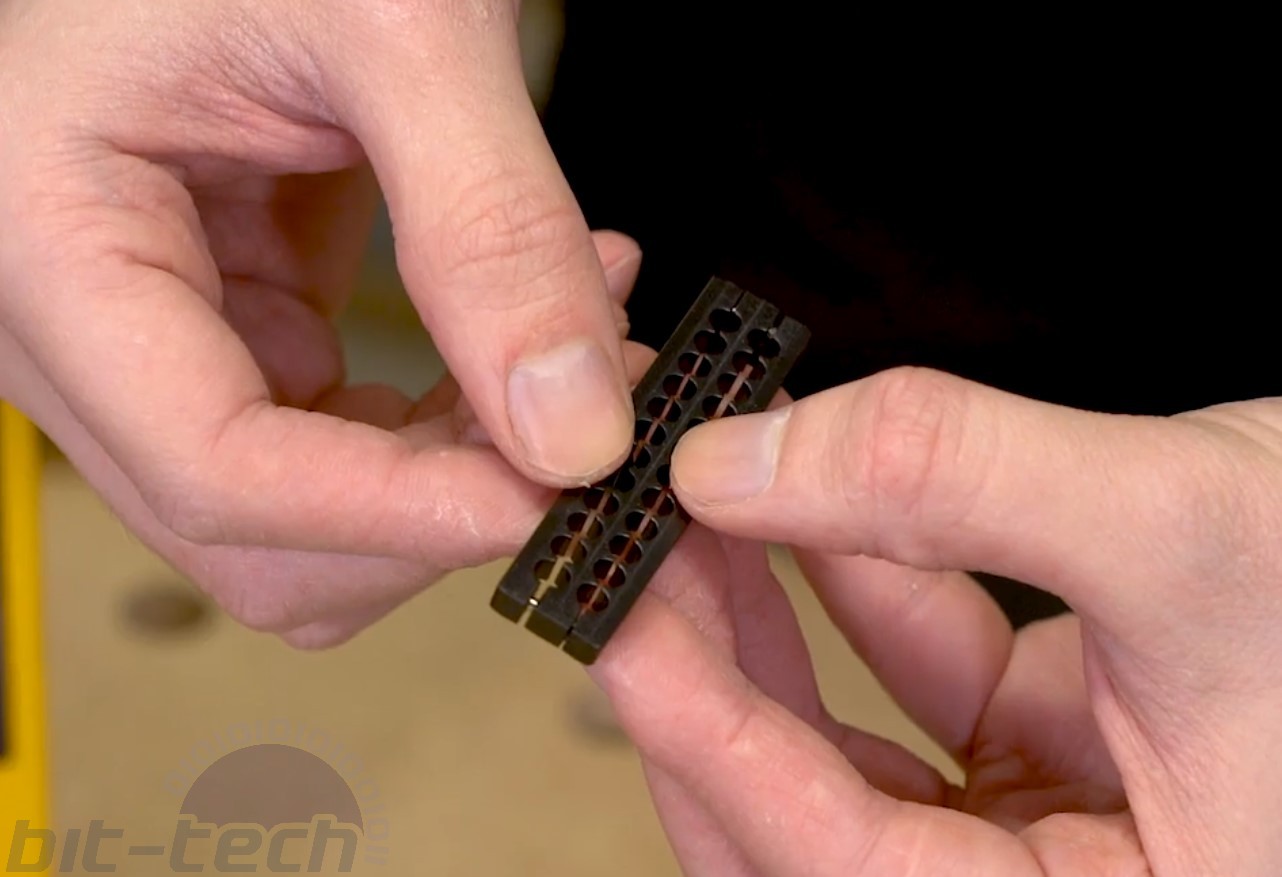
The cable combs are an interesting design, although again perhaps not quite the look I would prefer. My main complaint is that they're colossal, so big in fact that they did get in the way a little when installing the eight-pin CPU power connectors. The reason for their size is the construction. They encase the cables by being three distinct layers held together with pins on the outside. This is a pretty simple and clever method, as it means you don't have to mod your cables at all to install them and they'll hold the wires in place securely. The drawback, really, is the size, so I would suggest moving them out of sight, instead using them to organise the cables from further back. Luckily, the design does make this very straightforward.
The I/O cable extensions are pretty good, if perhaps a bit unnecessary in this particular build. Being able to neaten the straggly connectors that usually come with cases is a nice touch, especially where they might be in view. I don't really understand why the USB 3.0 internal connector has to be such a light blue, though. Perhaps that's me having a gripe with the standard itself, though, as I do very much hate those massive headers. The round SATA cables are pretty cool, although we didn't use them in this build thanks to only having a single M.2 drive. They're reminiscent of the old mods people used to do to IDE cables to make them neater to manage, and it's a shame they didn't come out several years ago when SATA SSDs were burgeoning. With recent price drops for M.2 NVMe drives and basically all-new motherboards sporting at least one M.2 connector, perhaps those cables will be solely relevant to bulk storage.
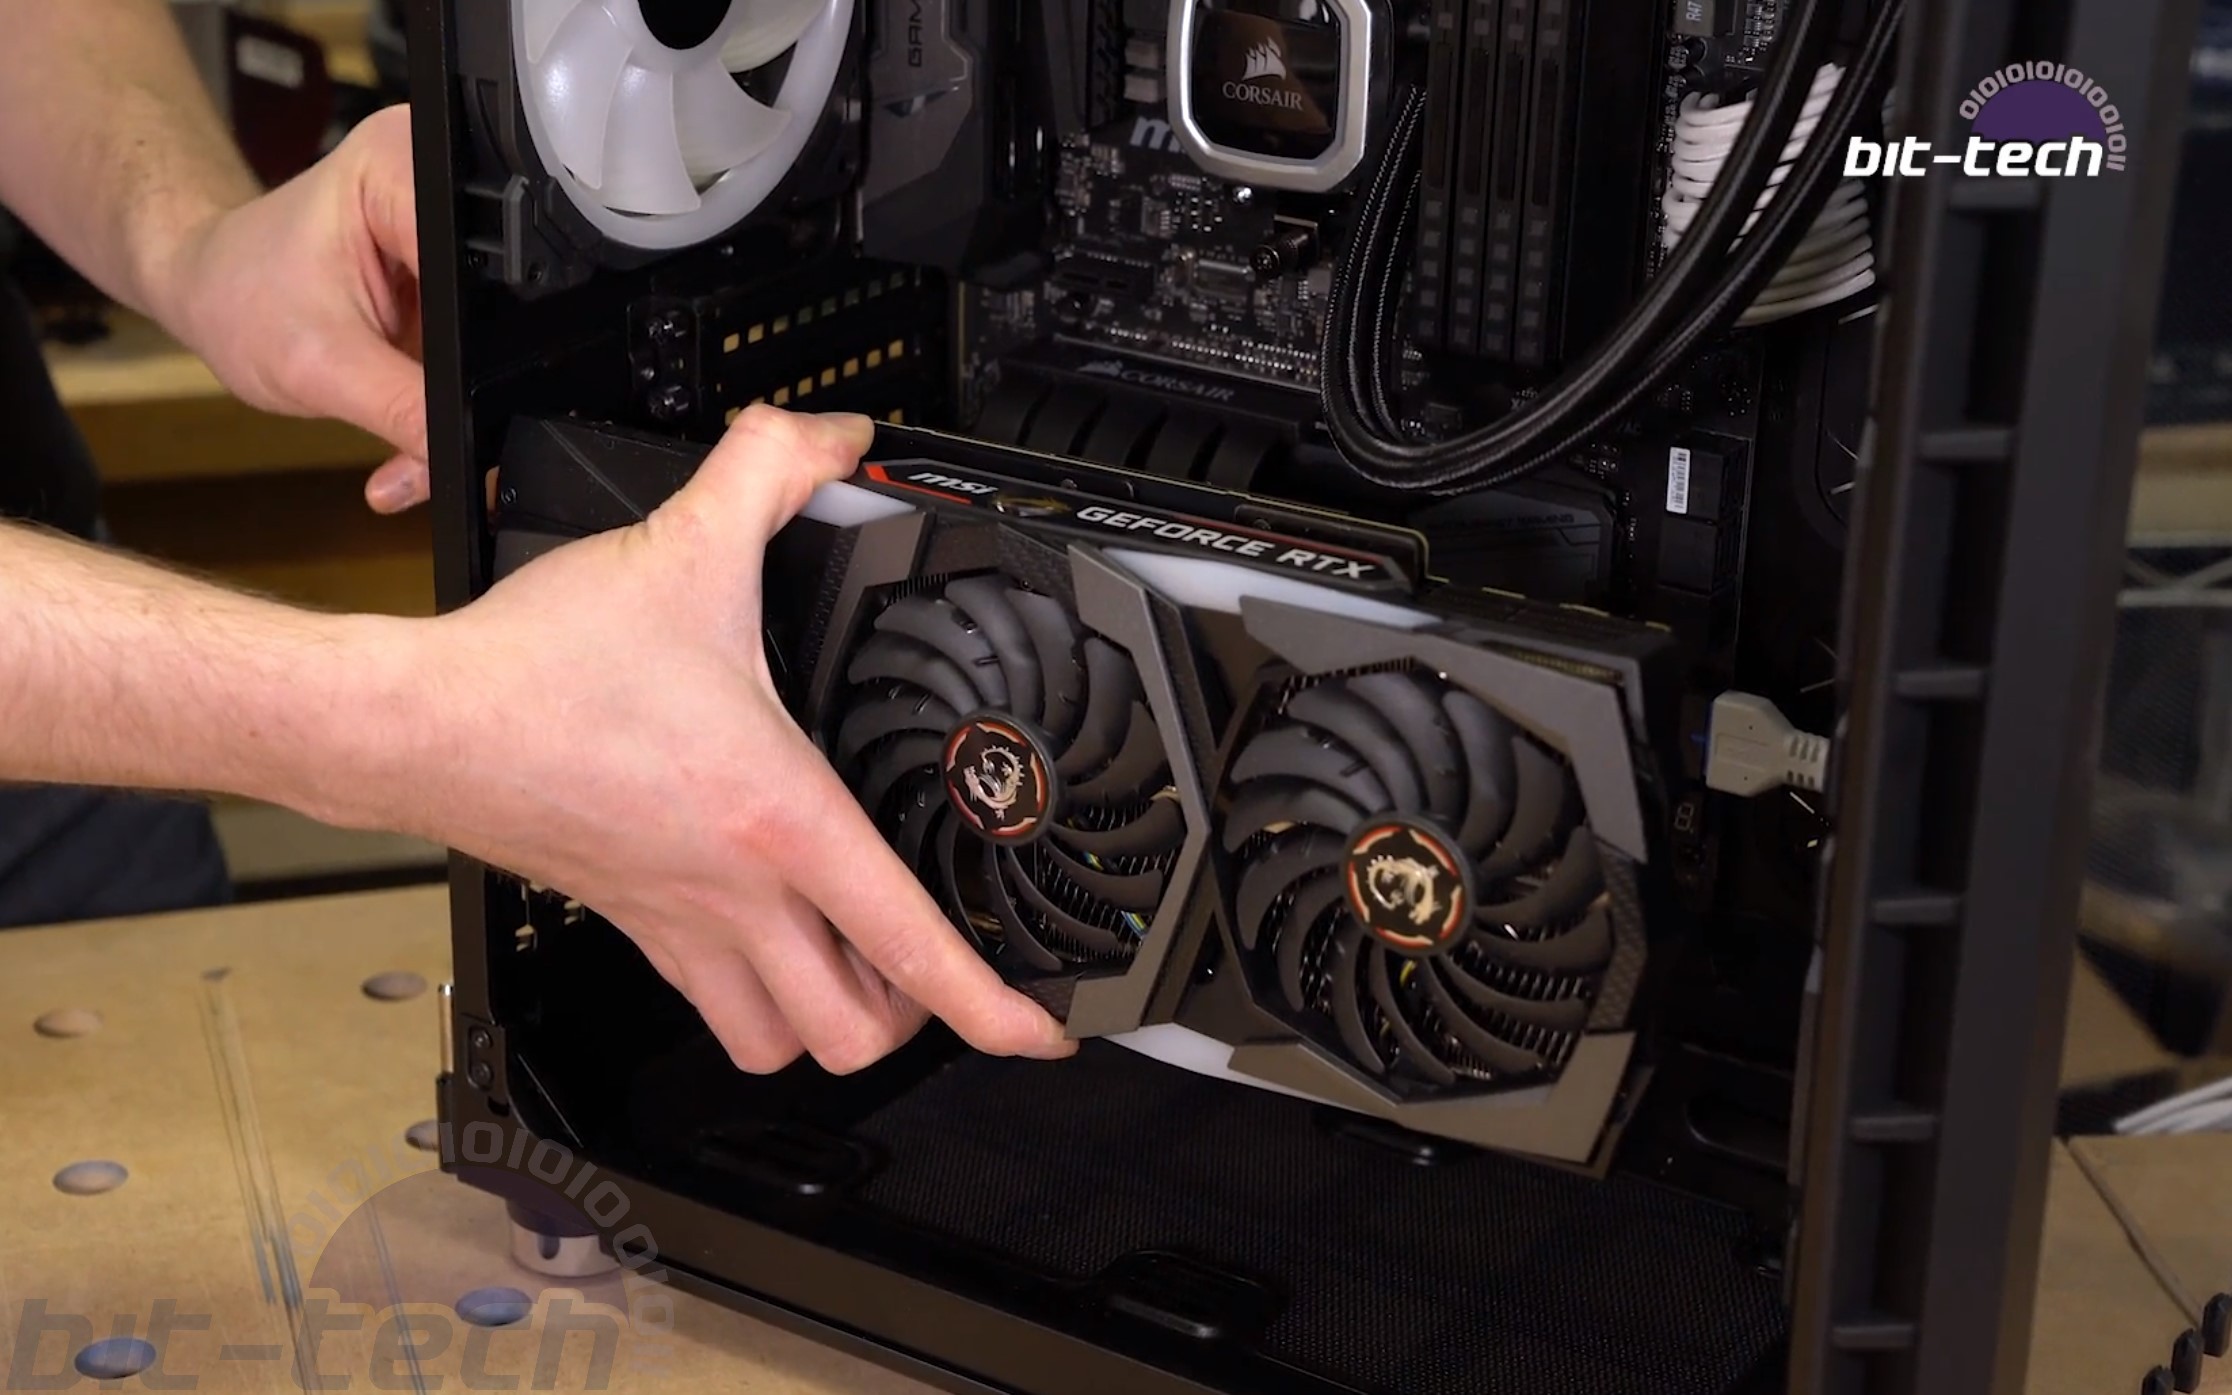
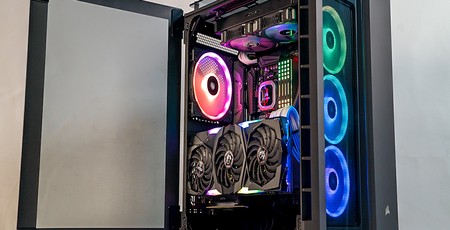
We had initially decided to install the GPU the traditional way onto the motherboard, but as the build progressed it became painfully clear that it would look empty without anything filling up the space below, so vertical it was! The mount was simple to use and seemingly offered ample support; the giant Gaming X Trio didn't really wiggle around like I'd feared it might, thankfully. This card is perhaps on the limit of what you should consider placing there. The fans are very close to the window, which I'm sure will affect the cooling somewhat. Standard dual-slot cards should have no trouble here, though, as there's ample room. The riser cable itself worked a treat; the angled female connector made the cable very low profile, the shielding on the ribbons themselves is flexible, and the PCB is a straightforward black - all positives for me. Quality PCIe riser cables are important, folks, so don't skimp on one, as the results can be pretty poor, ranging from simple connectivity issues all the way up to full-blown power-delivery problems and related hazards. Naturally it's hard to say how this one will perform in the long run, but I've used a lot of high-quality ones in mods now, and the Corsair one seems pretty bang-on with those in terms of construction.
Operation Argie Bargie
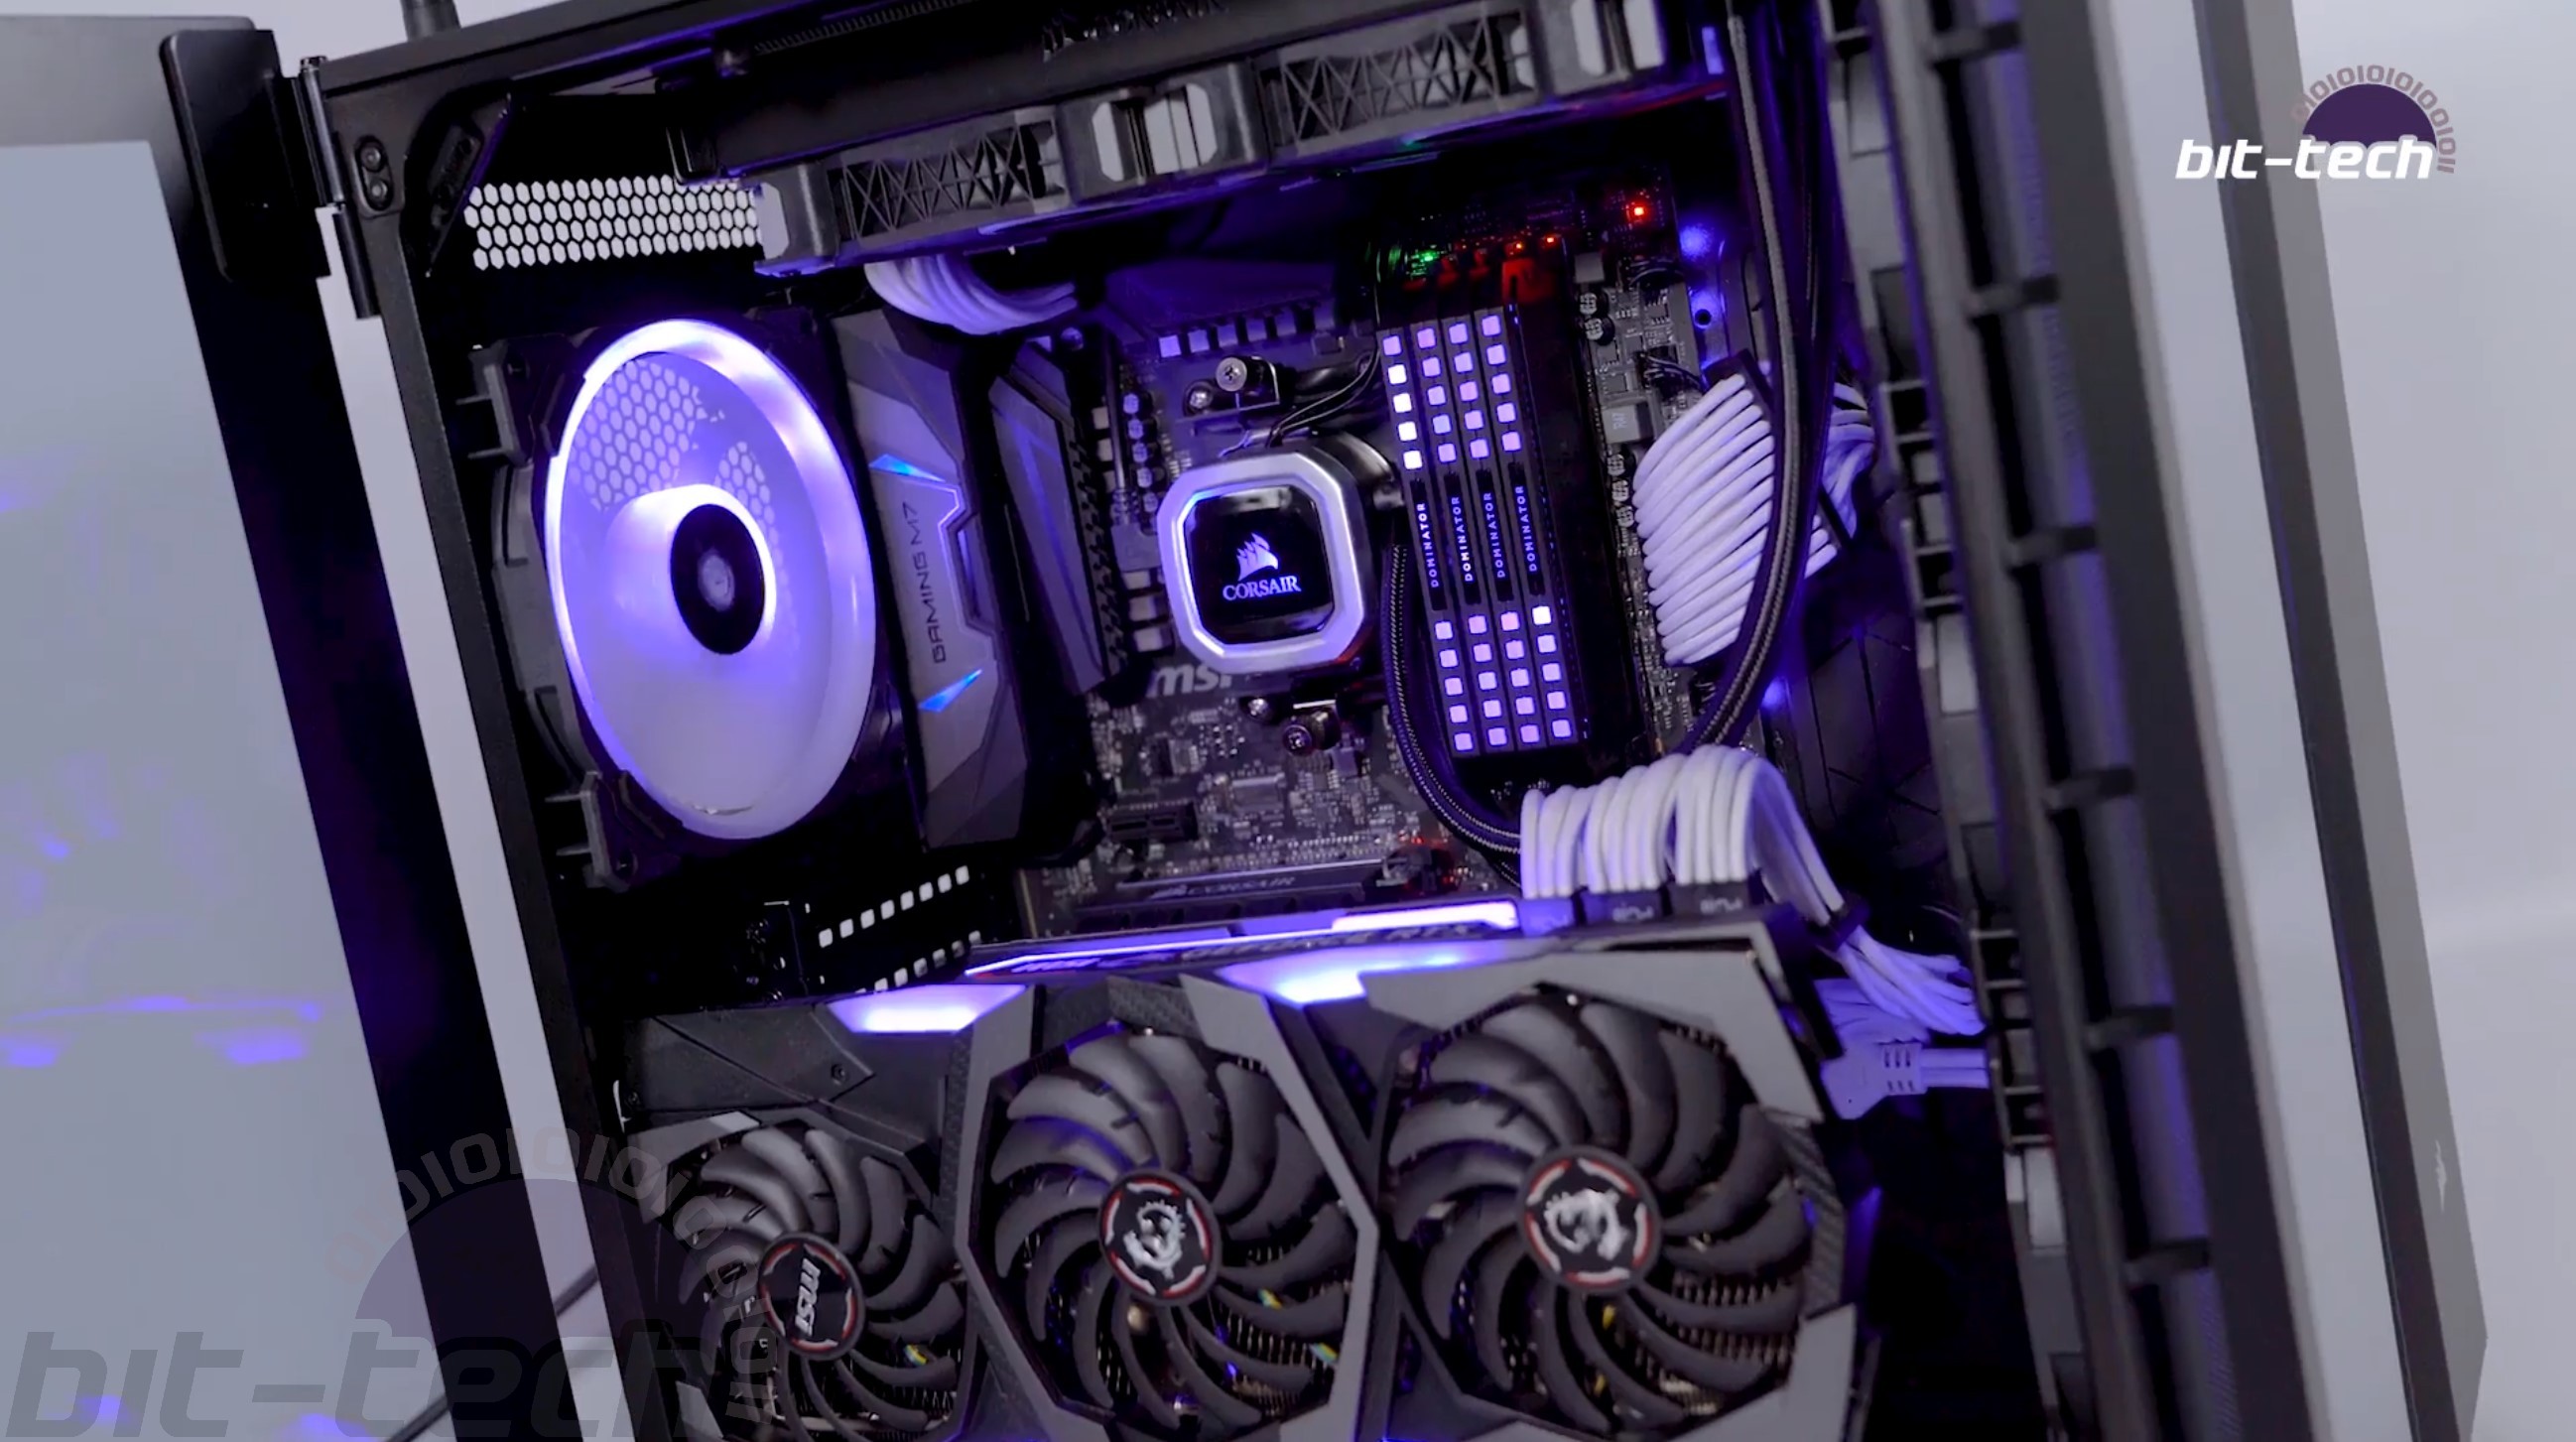
With everything added, all that we needed to do was install windows and get the RGB software going. Okay, anybody who's built an RGB-heavy system in recent years likely shuddered at that remark; we've certainly had our fair share of troubles in the past, that's for certain. This time 'round, everything just, sort of, worked? It was actually a bit weird if I'm honest, Mystic Light installed in a few seconds, as did Corsair's iCUE, and even better was that all the connected devices were recognised! We fiddled around a bit, trying out the different effects and colours, but honestly there's not a huge amount to say at this point: It's nicely colourful.
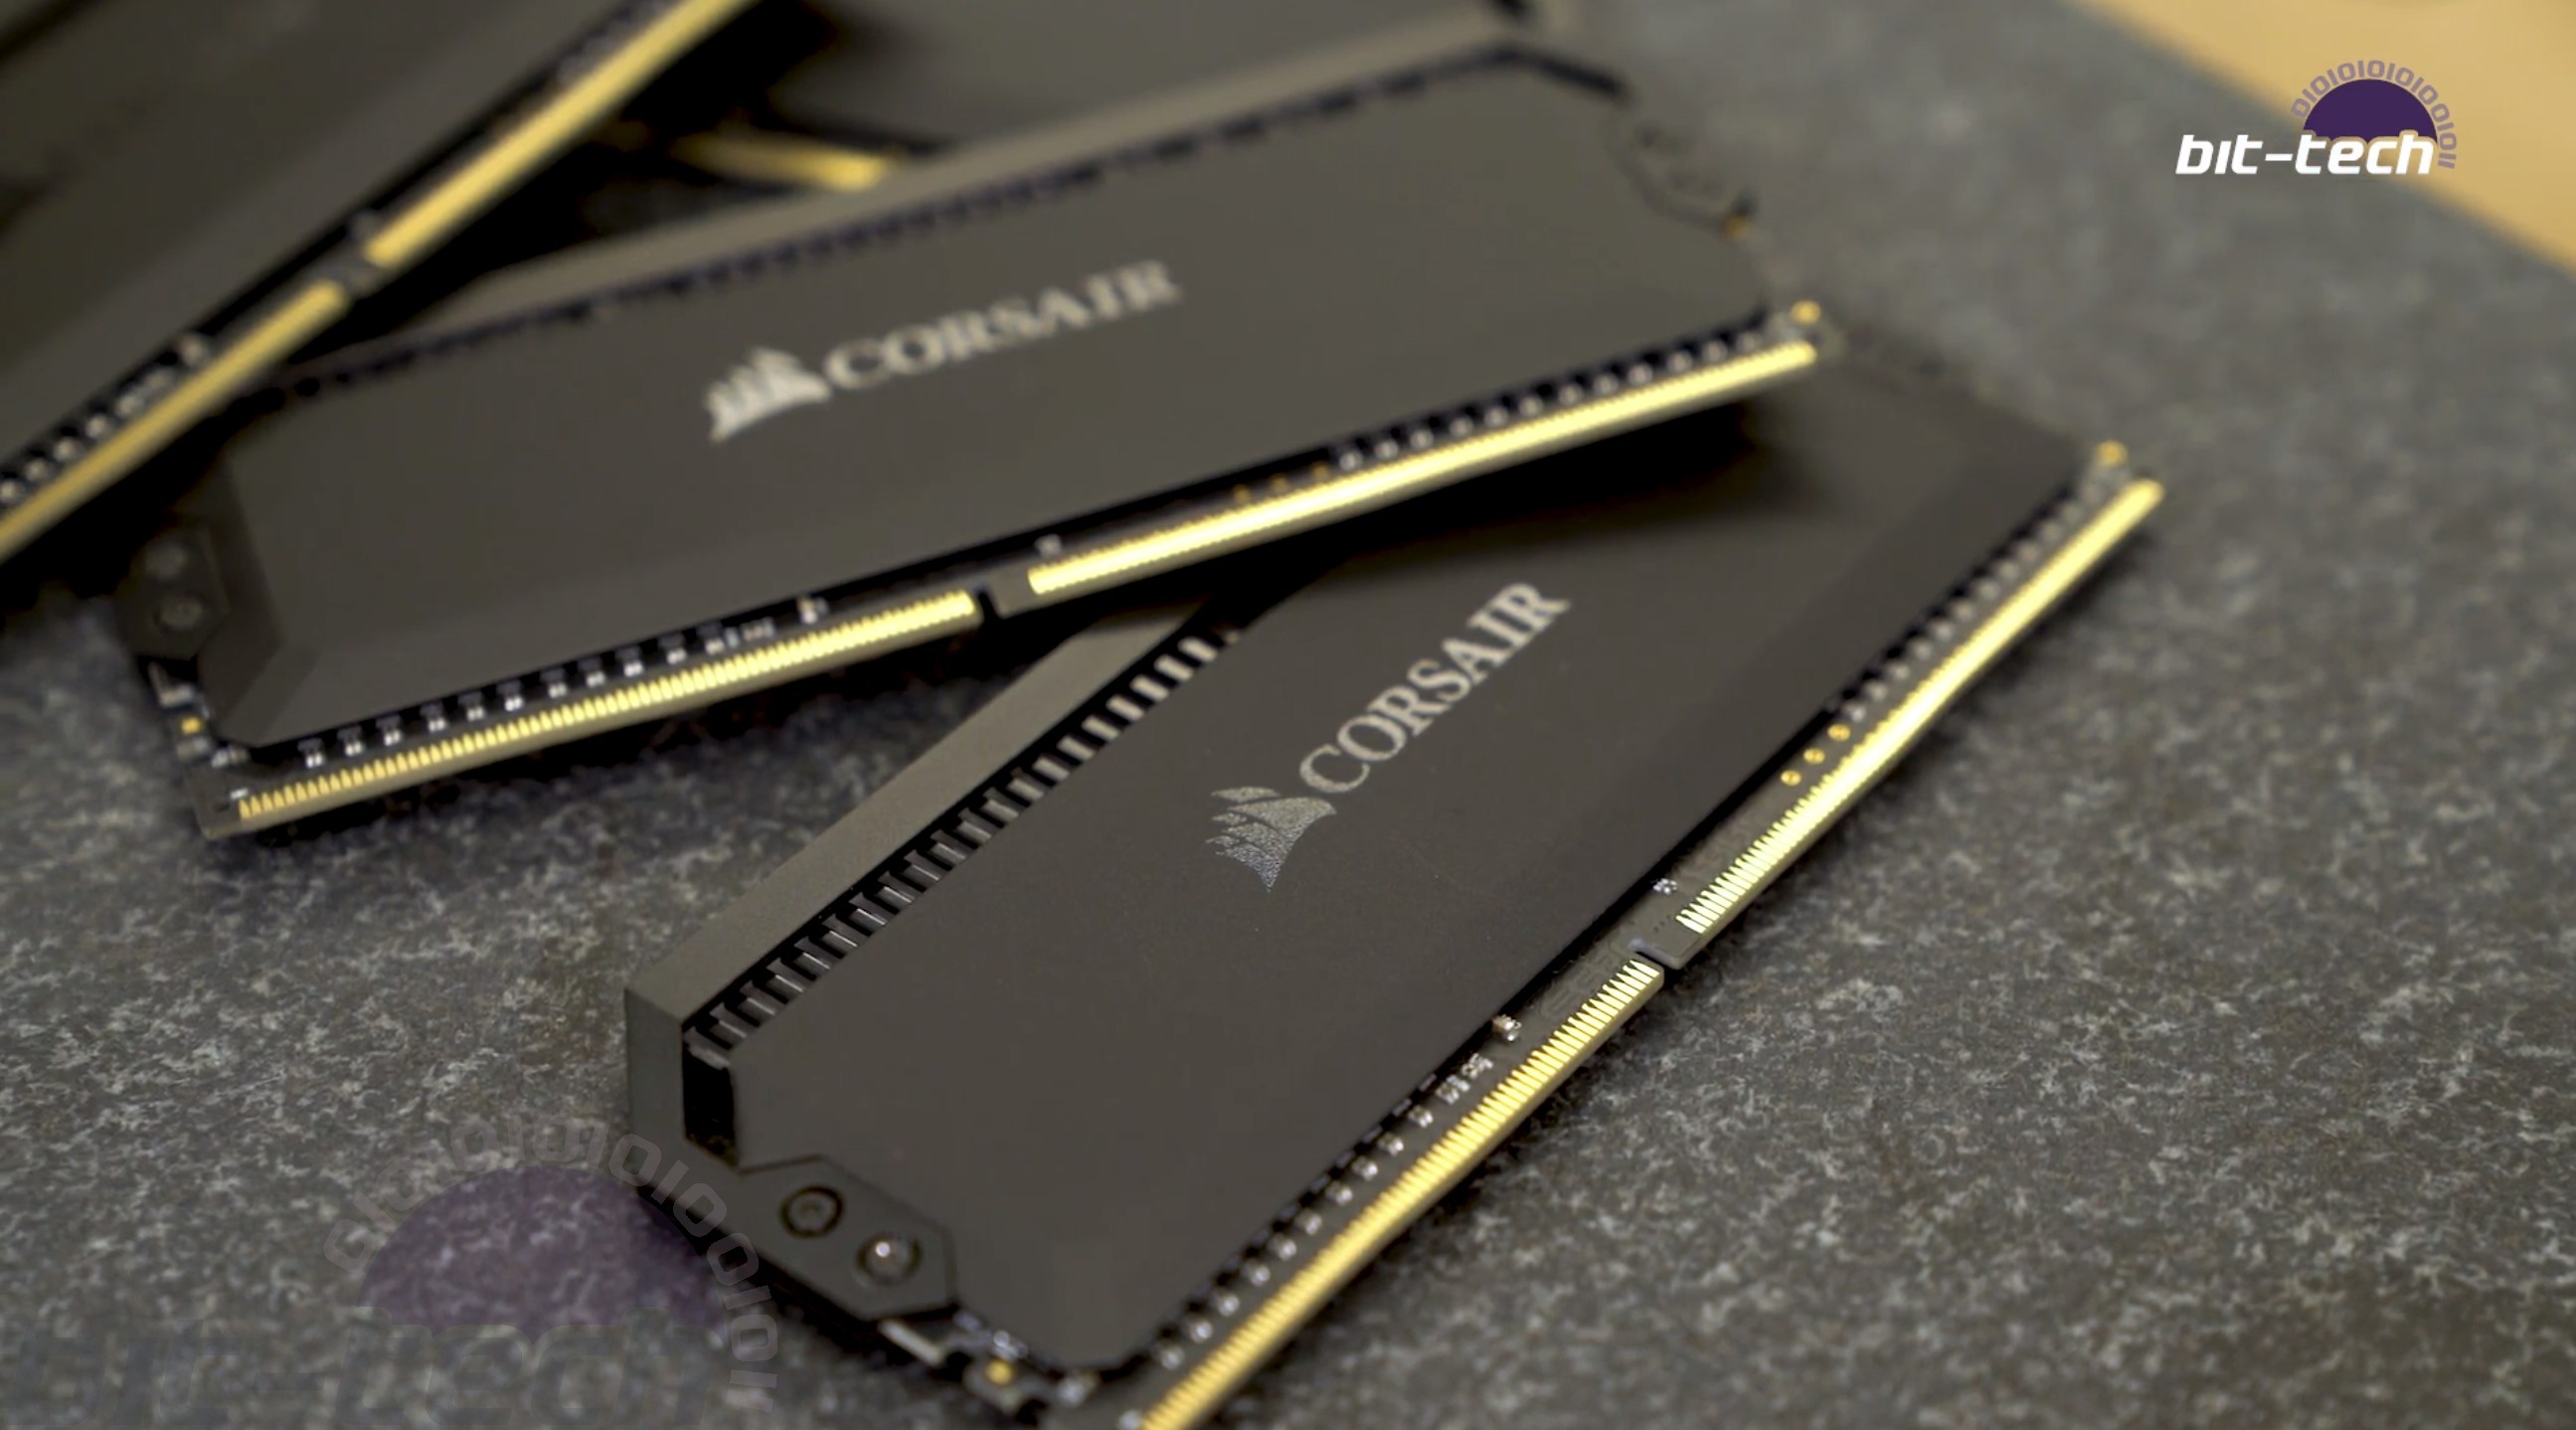
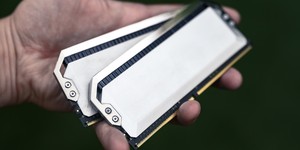
The one new piece of lighting kit we had was the Dominator Platinum RGB. These sticks are decked out with full blackout-anodised heatspreaders and have small square boxes cut out on the top for the light to emit through. The lighting itself was really quite impressive, the colours are very vibrant, and controlling the effects and individual lights is quite simple for the most part. We weren't quite able to figure out how to do a gradient-fade featuring just white and purple, though I'm sure it can be done, but our knowledge of iCUE is limited at best and we didn't have that long to play around. iCUE is very powerful as a lighting suite, although it can be a bit unintuitive at times. On a few occasions we were stuck wondering what on earth a given option had just done as all the lights might have spontaneously switched off or de-synced from one another. I wouldn't say this is a massive issue, because clearly lots of people have found their way around it, and some of the community effects out there are really impressive.
There's potential there too for some really advanced pixel-esque uses of the Platinum RGB, and one could definitely use the lights to write initials or draw pictures since the little squares are so distinct from one another. Again this is all a bit beyond what we could manage in the given time frame, but it could be fascinating to see what others who are willing to go that extra mile could do.
All in all, the Corsair Crystal 680X RGB was very simple to build in, and the final rig also looked pretty decent despite not a huge amount of time being allocated to aesthetics. Having a trio of LL120 RGB fans along with the Lighting Node Pro included in the case is a nice touch, but it might potentially inflate the price of the chassis a fair bit since a pack of those fans is nigh-on £100 alone! Stay tuned for the review, which will feature a more in-depth dissection of the capabilities and cooling characteristics of the £220 case!
RELATED ARTICLES


MSI MPG Velox 100R Chassis Review
October 14 2021 | 15:04

Want to comment? Please log in.