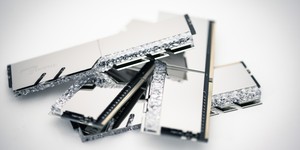
Dominator Platinum... it has a nice ring to it, doesn't it? Corsair's flagship memory range has always been about pushing that extra premium connotation i.e. this is better than gold; this is platinum. Since its release in 2012, Dominator Platinum memory has been a staple in high-end systems where aesthetics are a priority. The next few years would bring a few different revisions, such as the jump to DDR4 from DDR3 and a host of limited edition variants such as black, chrome, orange, and even torque. The thing is, these versions all sported white LEDs under the metal bars, which for the time was rather chic, but nowadays would be seen as a tad pedestrian. To rectify this, Corsair went back to the drawing board to update its signature line with an RGB model, which is what we're looking at today.
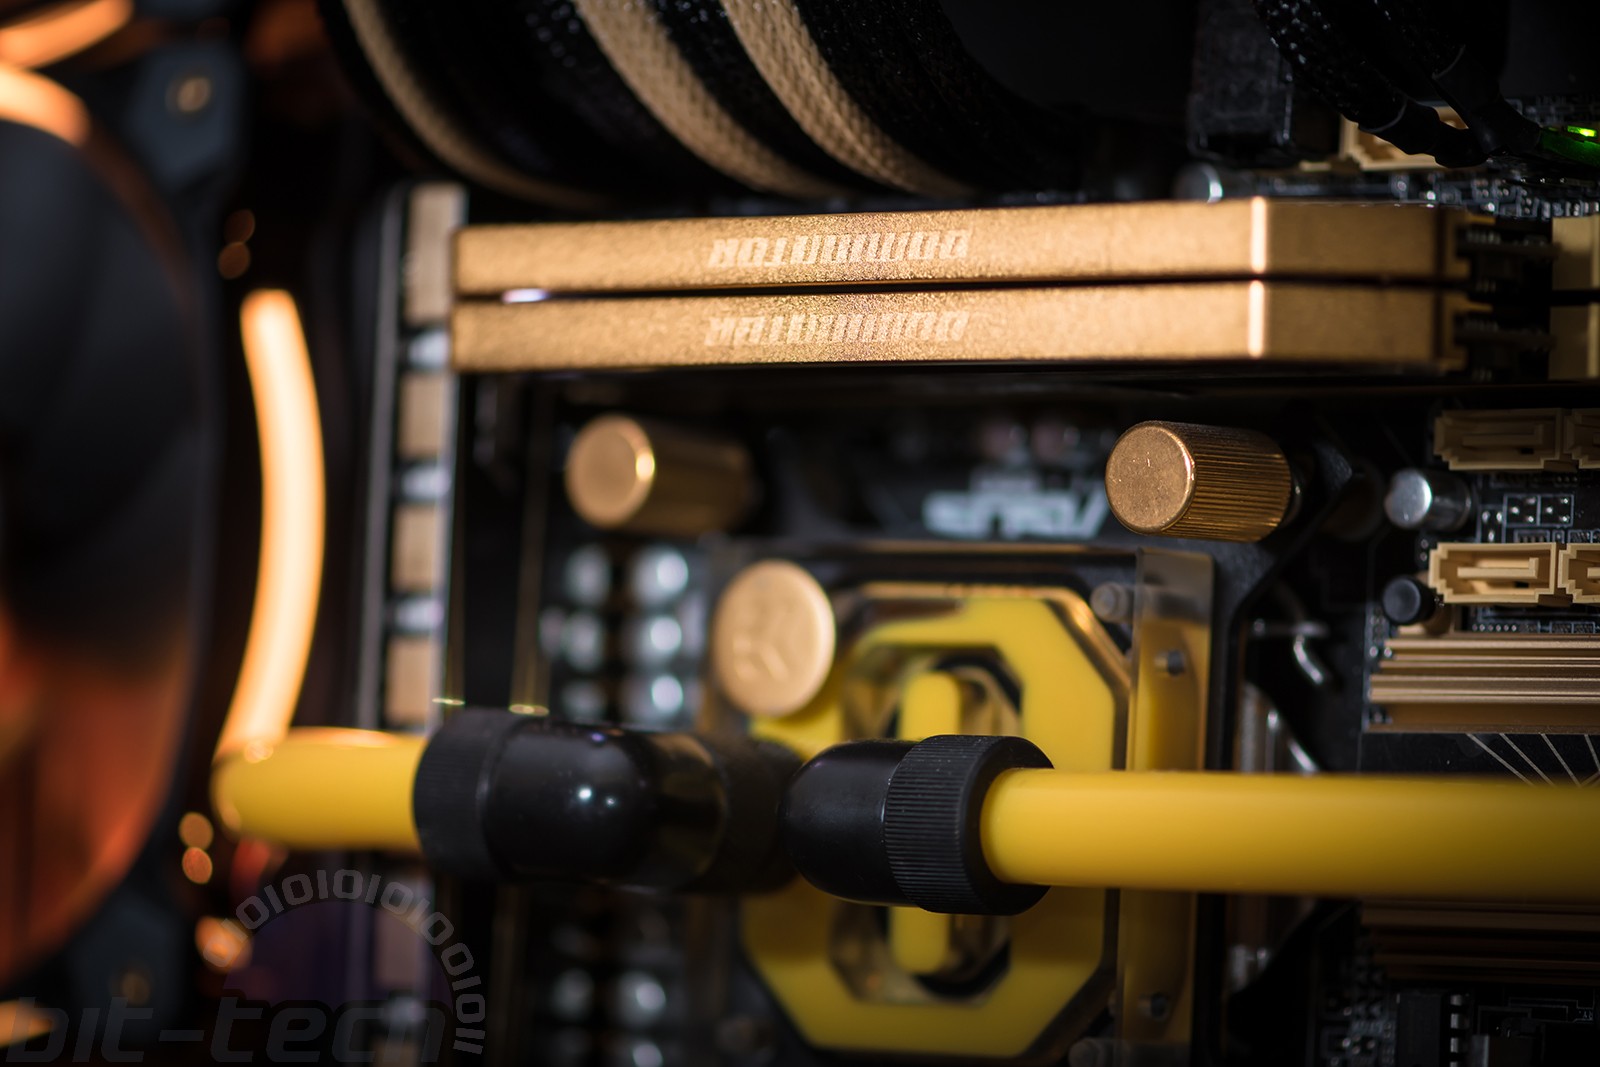
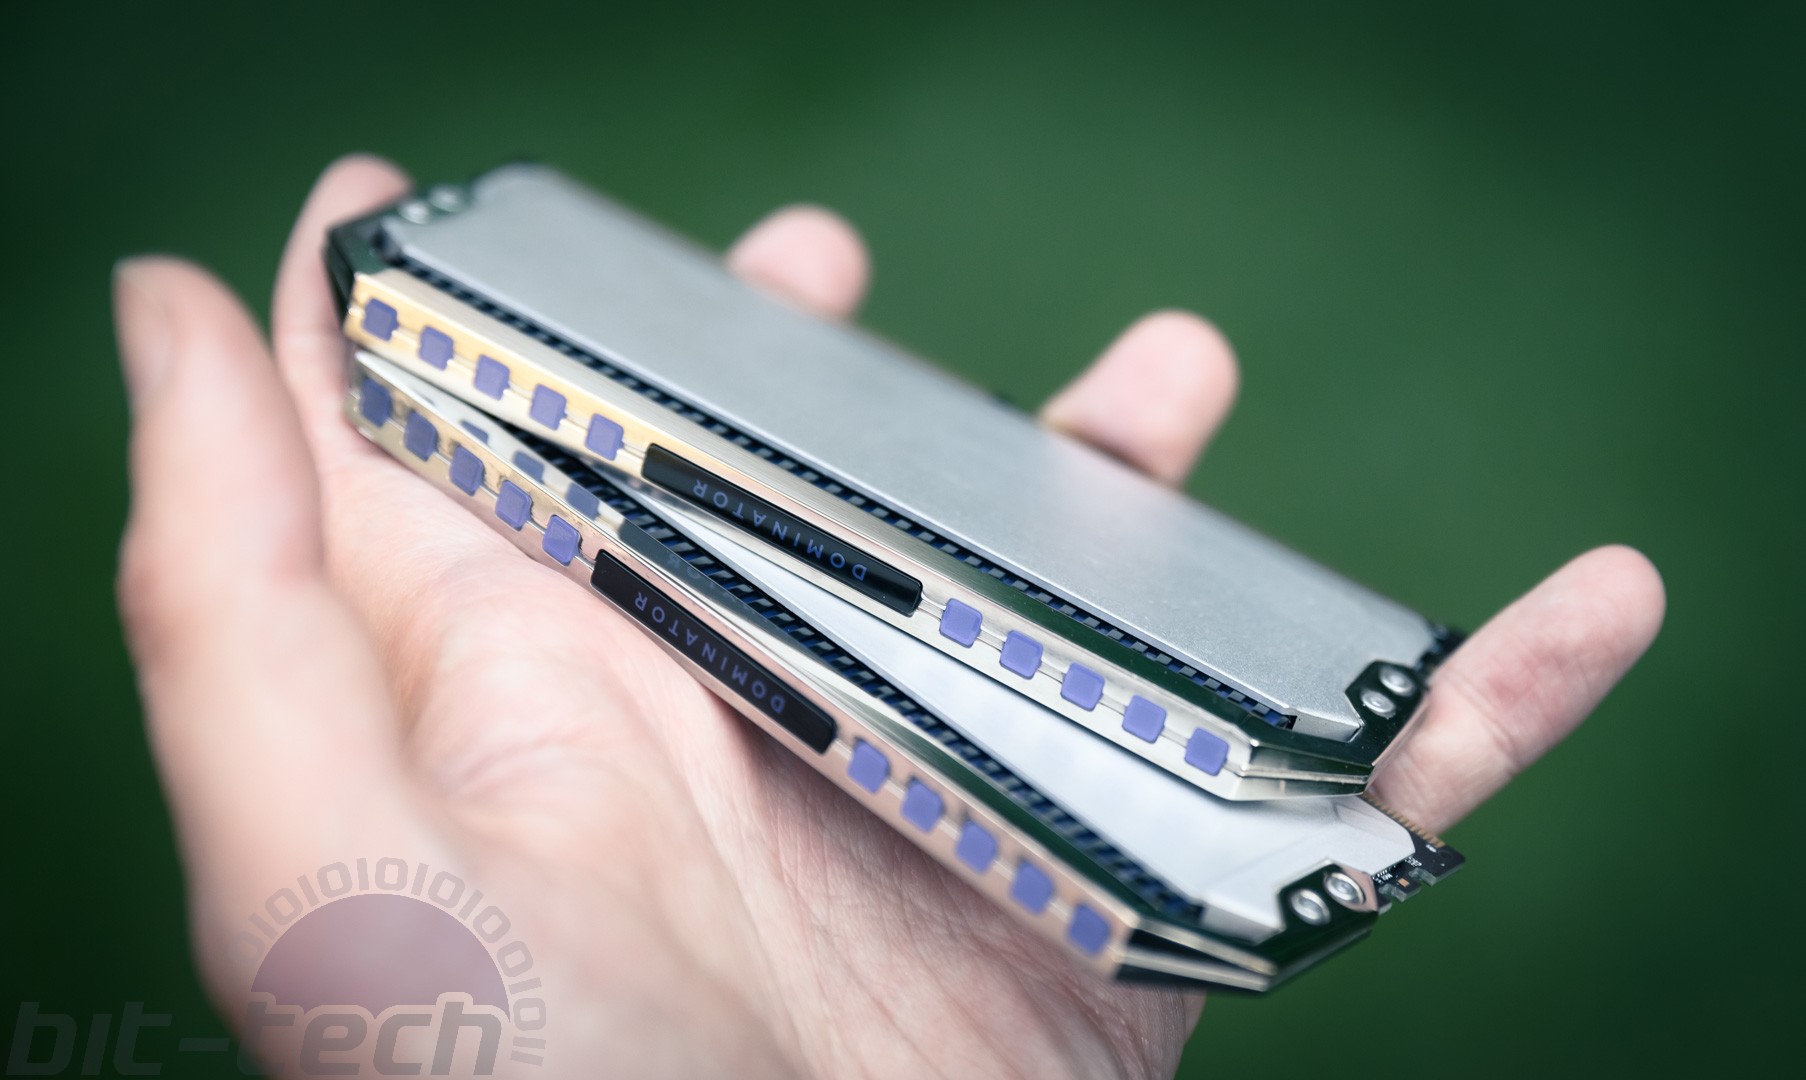
There's just one itty, bitty, tiny detail that doesn't quite sit well with me: These sticks are matte black. Now, normally, that wouldn't be a problem; in fact I would say that the heat spreaders really do look rather fantastic. Corsair redid all the main exterior elements, adding some svelte angles into the mix that give the sticks a a sleek appearance. I'm not so enamoured with the pixel-esque look for the top LEDs, but perhaps that's purely personal preference, and no doubt down the line there's room for some exciting stuff to be done there with iCUE? This is all well and good, but to me, Dominator Platinum as a branding meant metallic and silver.
So, why not go the extra mile and actually coat these sticks in genuine platinum?
Stripping the Heat Spreaders
Back in 2014, I actually did exactly this but with 24K gold rather than platinum. I must admit the results were rather special; needless to say, the heat spreaders look just as good now on that rig as they did the day they came back from the electro-platers, so I could only hope for similar success with this project.
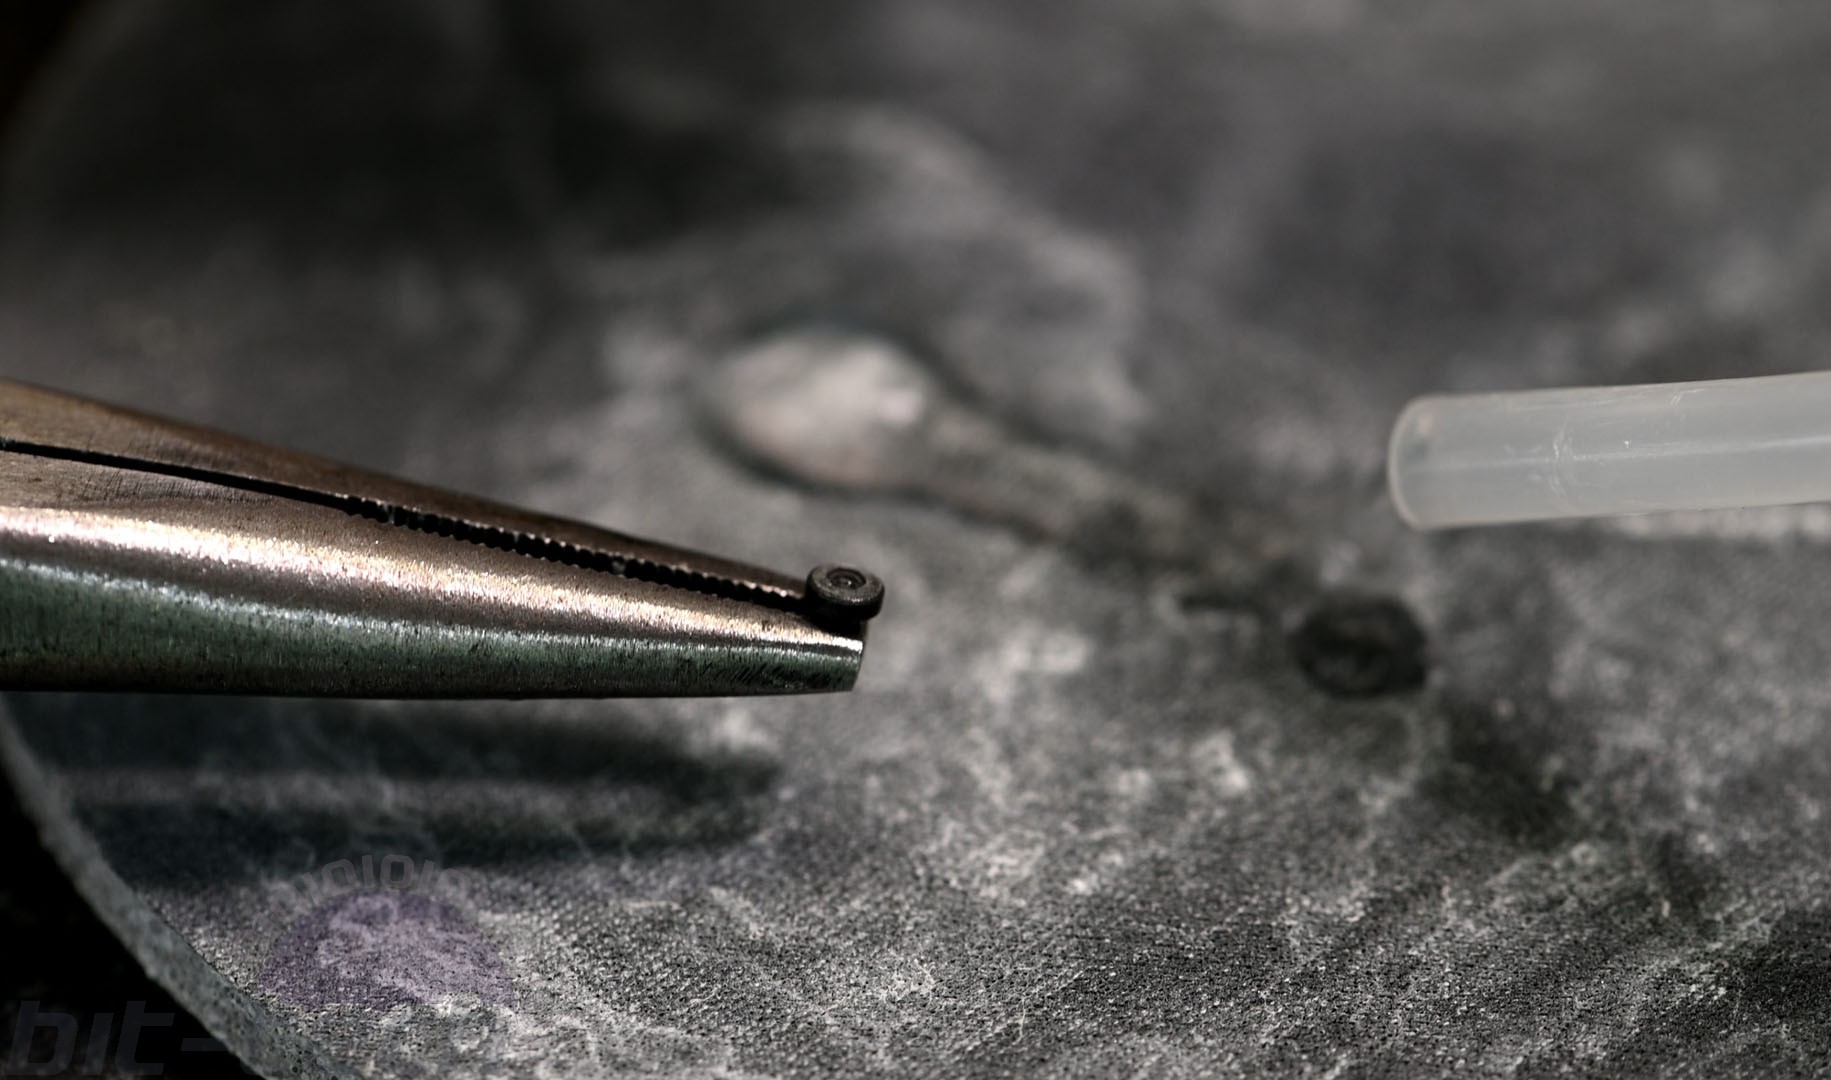
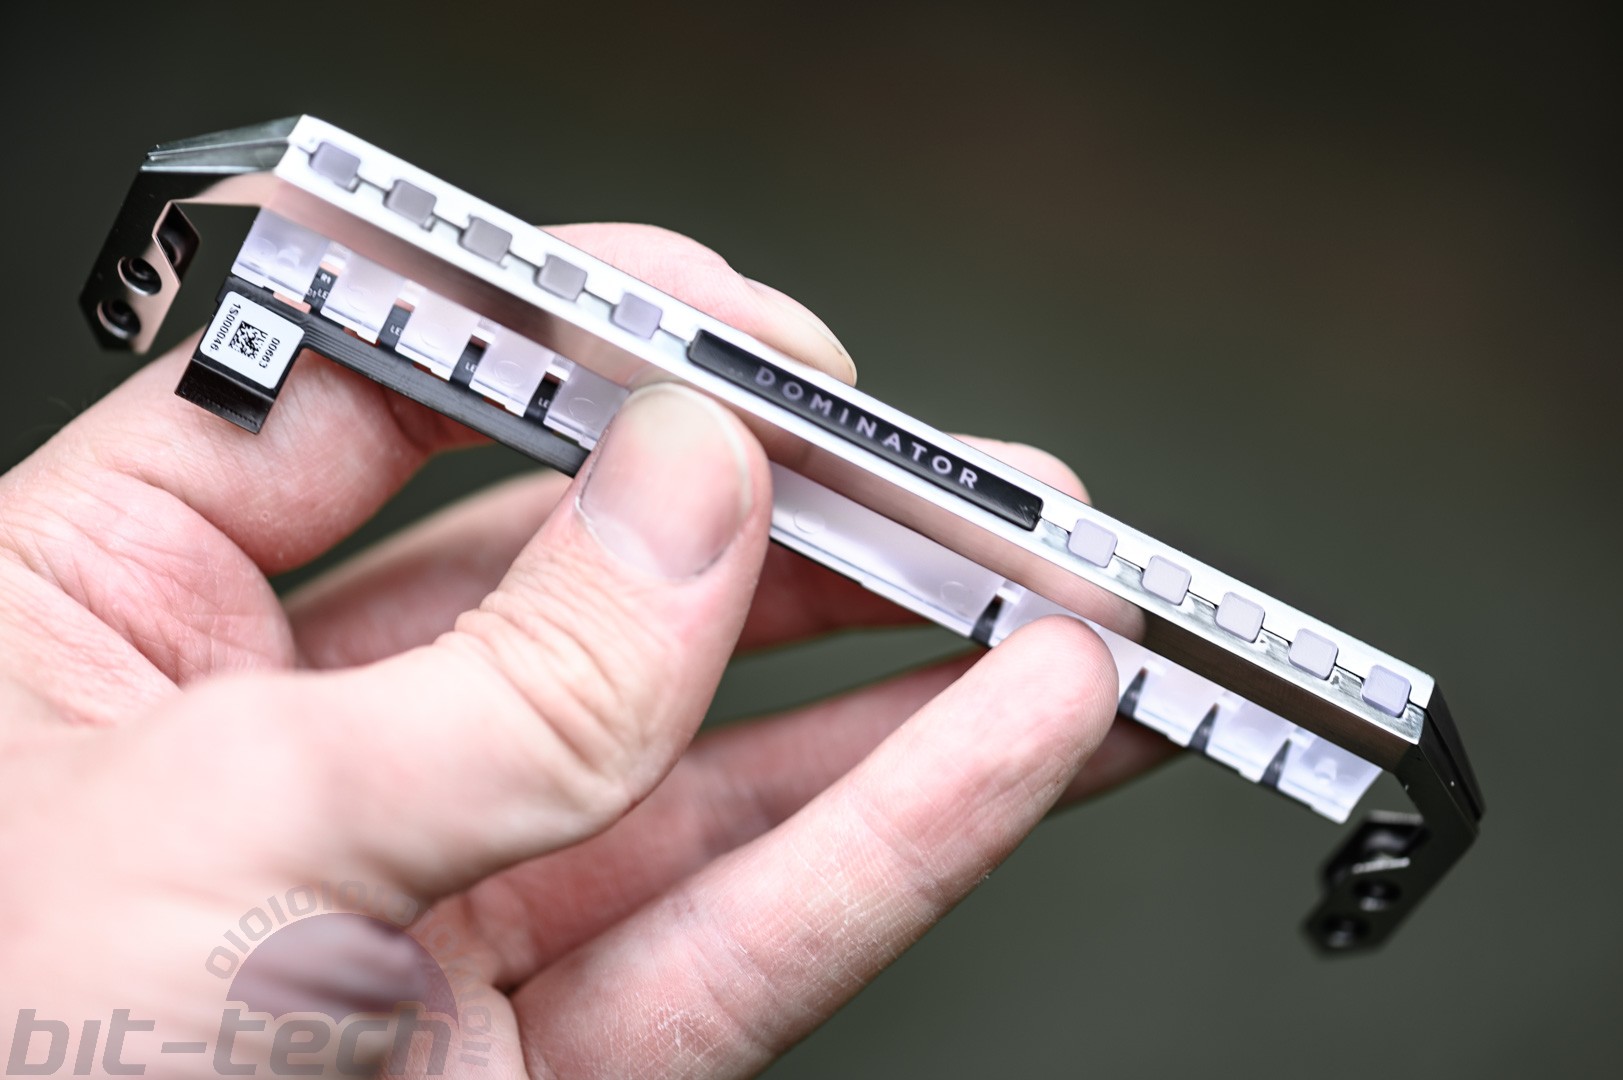
Naturally, the first step was to take the sticks apart. This was a matter of unscrewing the tiny little black screws on the ends, followed by gently prying off the heatspreaders with a screwdriver and a little heat. Everything came off pretty smoothly, no nasty surprises. One thing that did catch my eye was that the LEDs are actually connected to the DIMMS using a ribbon cable, rather than soldered to the PCB like some other brands do - interesting.

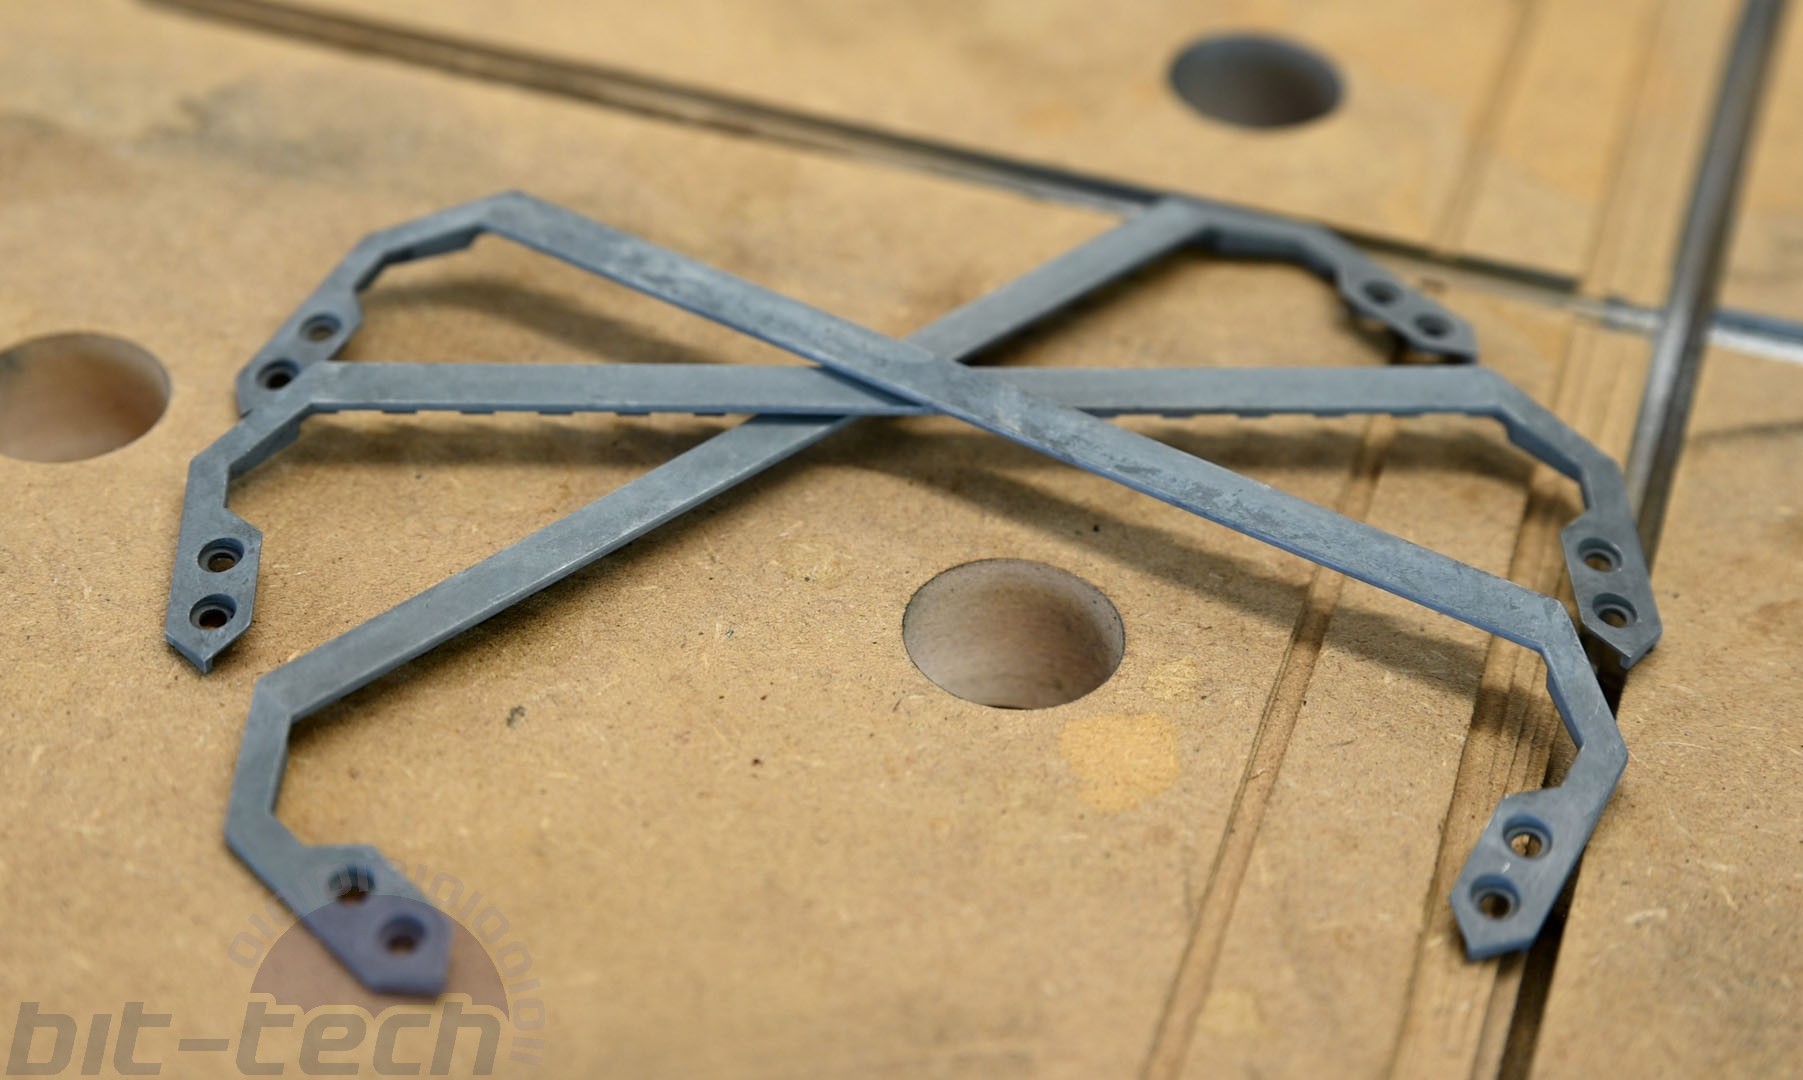
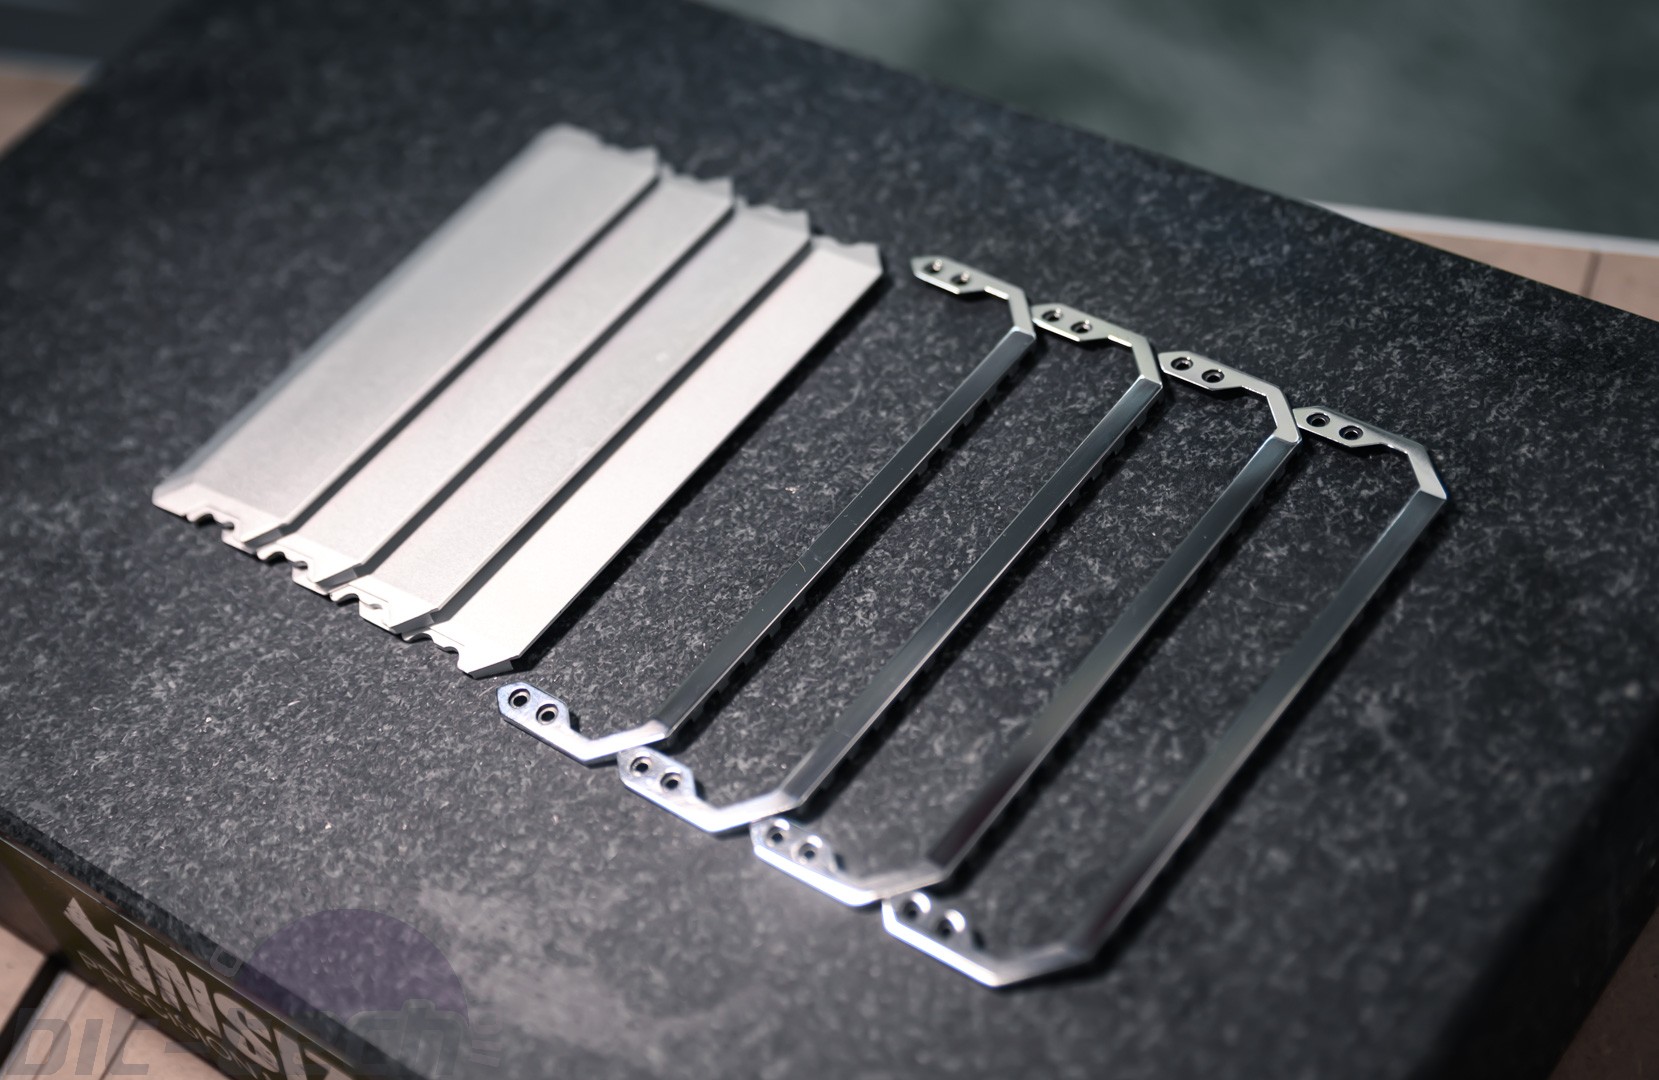
Before plating anything, it's imperative that surface finishes are removed to leave only bare metal. For the heat spreaders, that meant removing the black anodised finish. The simplest way to do this is with NaOH (sodium hydroxide) solution, as it will react with the surface (but also the aluminium underneath, so be careful). NaOH is pretty easy to procure, as it's a common household drain unblocker and oven cleaner. In only a minute or so, the black layer came right off, leaving the smooth, raw metal behind with a satin finish. There was, however, a goof. See, I had thought that the light bars would be made from aluminium too, much like the previous-generation ones. Well, putting the bars into the solution did nothing, as in literally not even a bubble. This chemical-based observation showed that these bars had to have been made from something else, which made sense given how they definitely had felt a little too heavy to begin with.
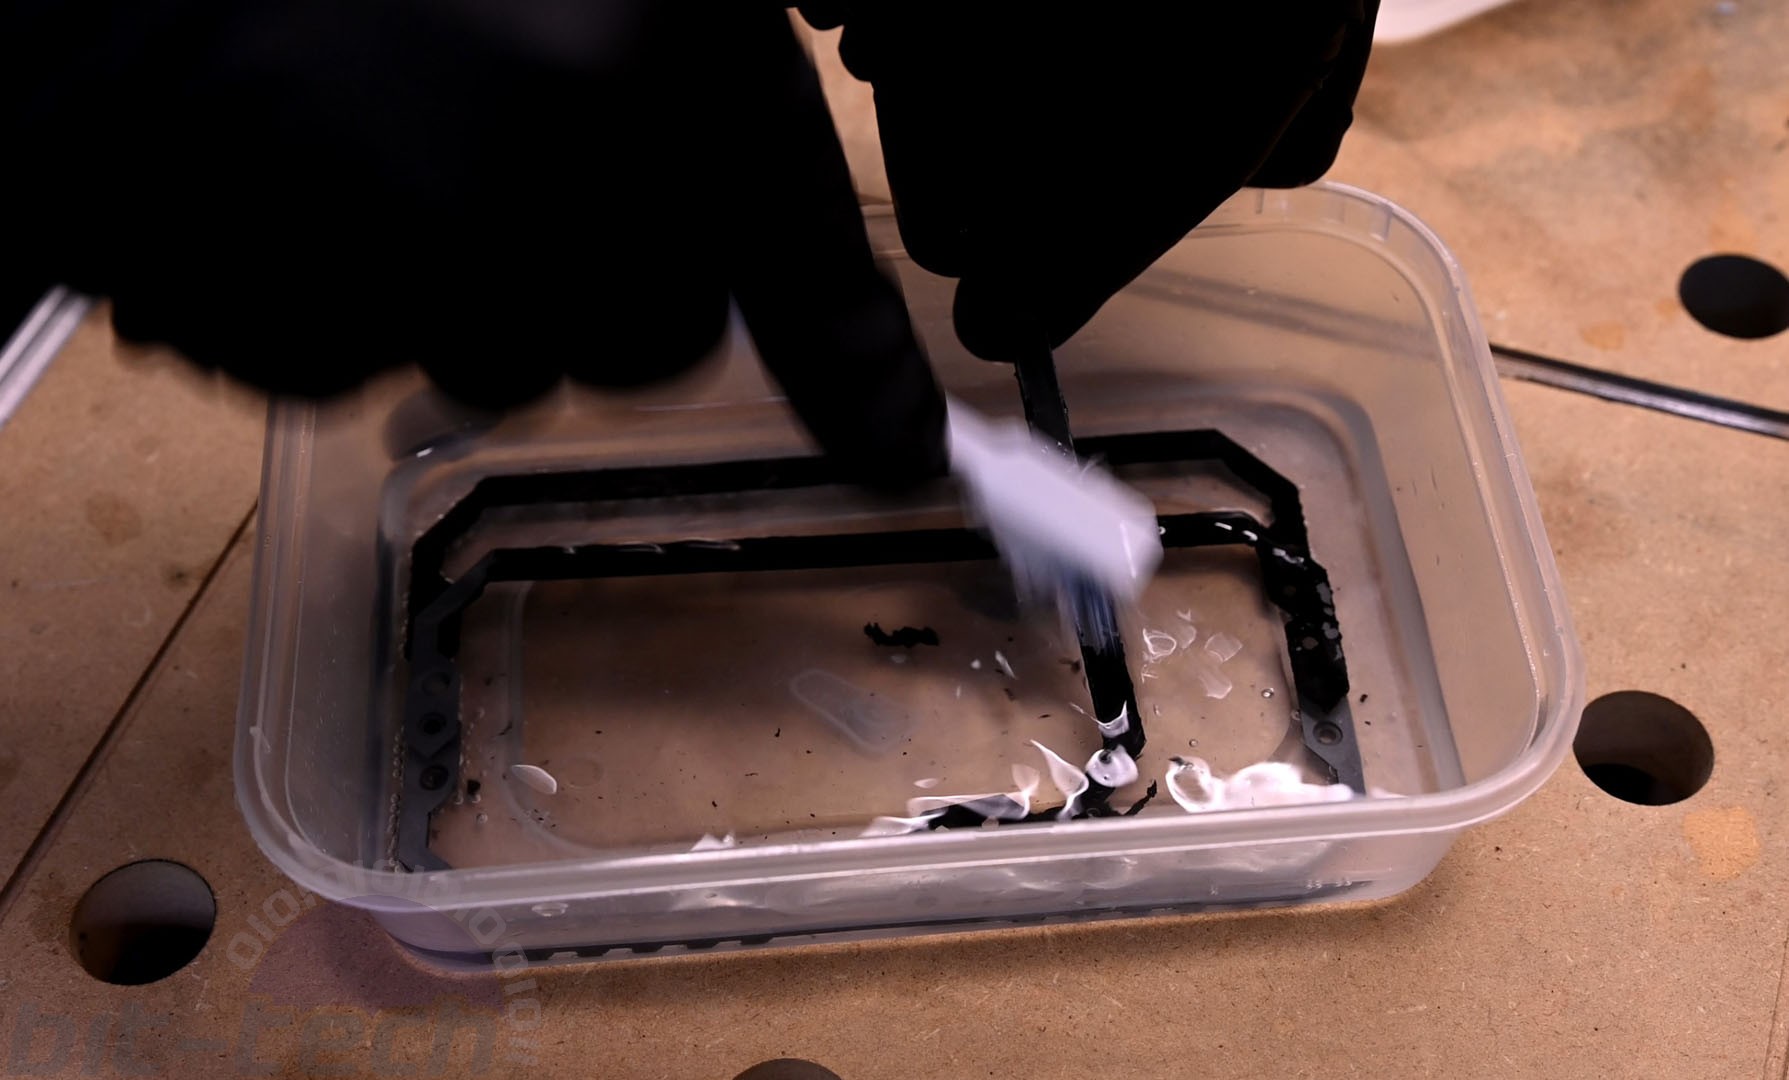
After chatting to some friends at Corsair, I was informed that they might be made from zinc instead. It turns out that zinc is a rather popular material for die-casting, able to achieve fantastic finishes with minimal post processing, straight out of the mould. Armed with this information, I decided to try using acid instead of alkali to strip the coating. This was a bit of an ordeal, as it turns out I had only a couple drops of powerful acid left, and, unfortunately, sulphuric acid was made an illegal substance to purchase without a special handling license, owing to a string of malicious acid attacks. This meant improvising; I tried distilled vinegar to no real effect, followed by various acid-based drain unblockers, none of which were remotely successful. Eventually, I had to buckle in and purchase some medium-concentration hydrochloric acid to do the job, which it definitely did.
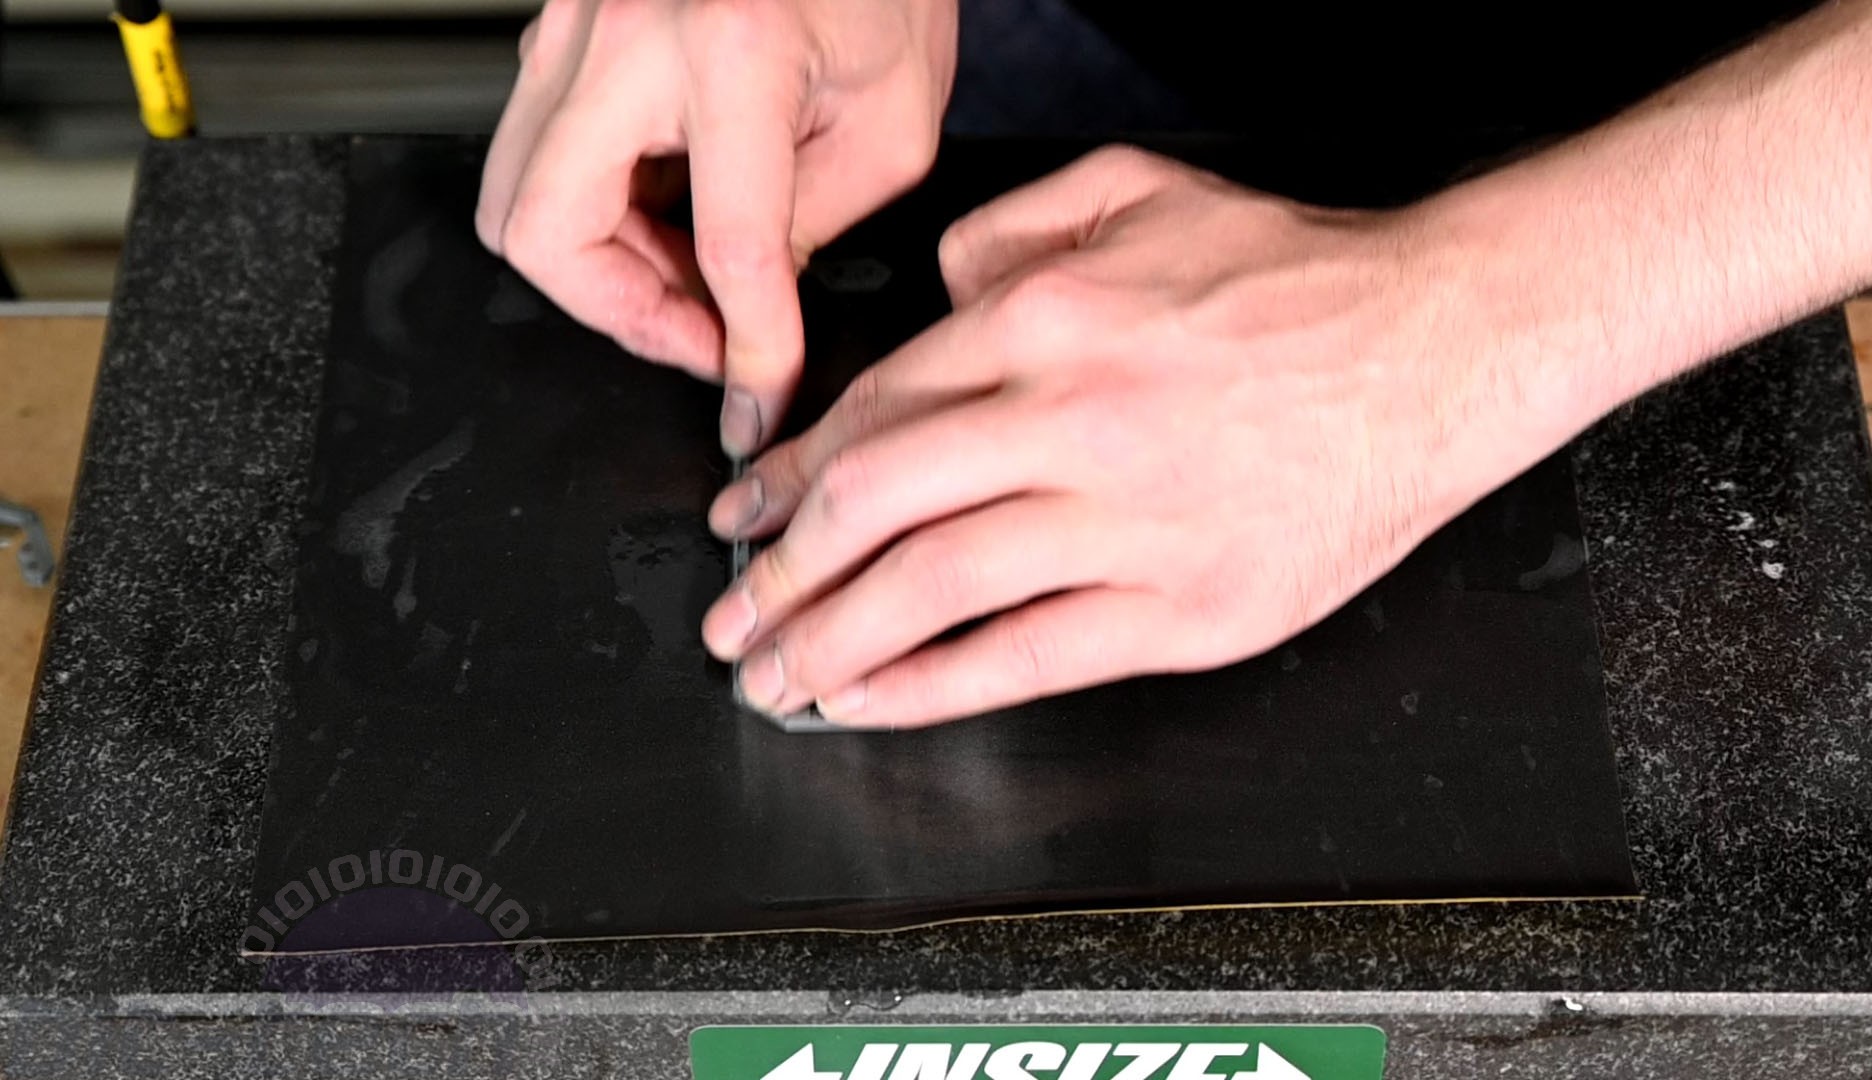
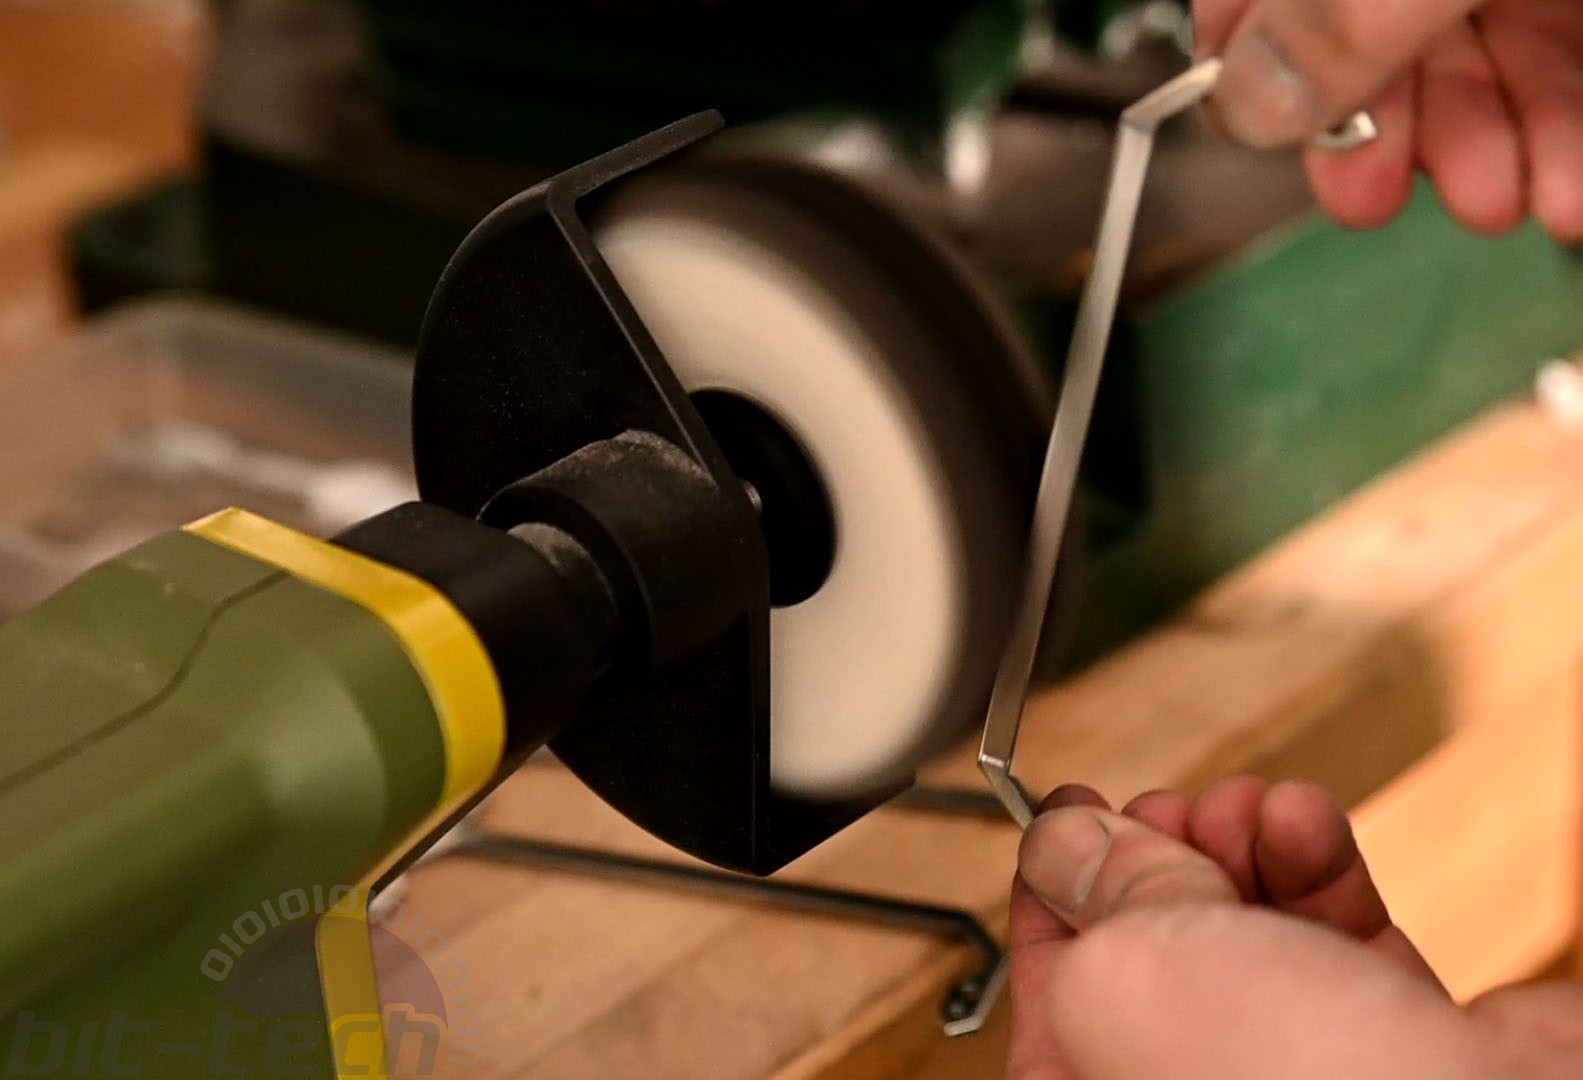
After scrubbing the coating off after the acid bath, I set to work polishing up the light bars. When you plate an object, it takes on the finish of the material underneath, meaning if I wanted shiny platinum, I needed shiny zinc first. To do this, I carefully sanded the outer faces of the bars by hand, starting with 500-grit and finishing on 4,000. To keep the edges crisp, I affixed the papers to my granite surface block and carefully lapped the bars. I finished them all on the buffing wheel and a fine polishing compound.

The Plating
With the bars ready, all that was left was to send them to be plated. I chose to use the same company that I used back in 2014, an outfit based in Plymouth called CIR Electroplating. All the bulk of the processing had been done on my end, which meant their turnaround could be pretty decent too.
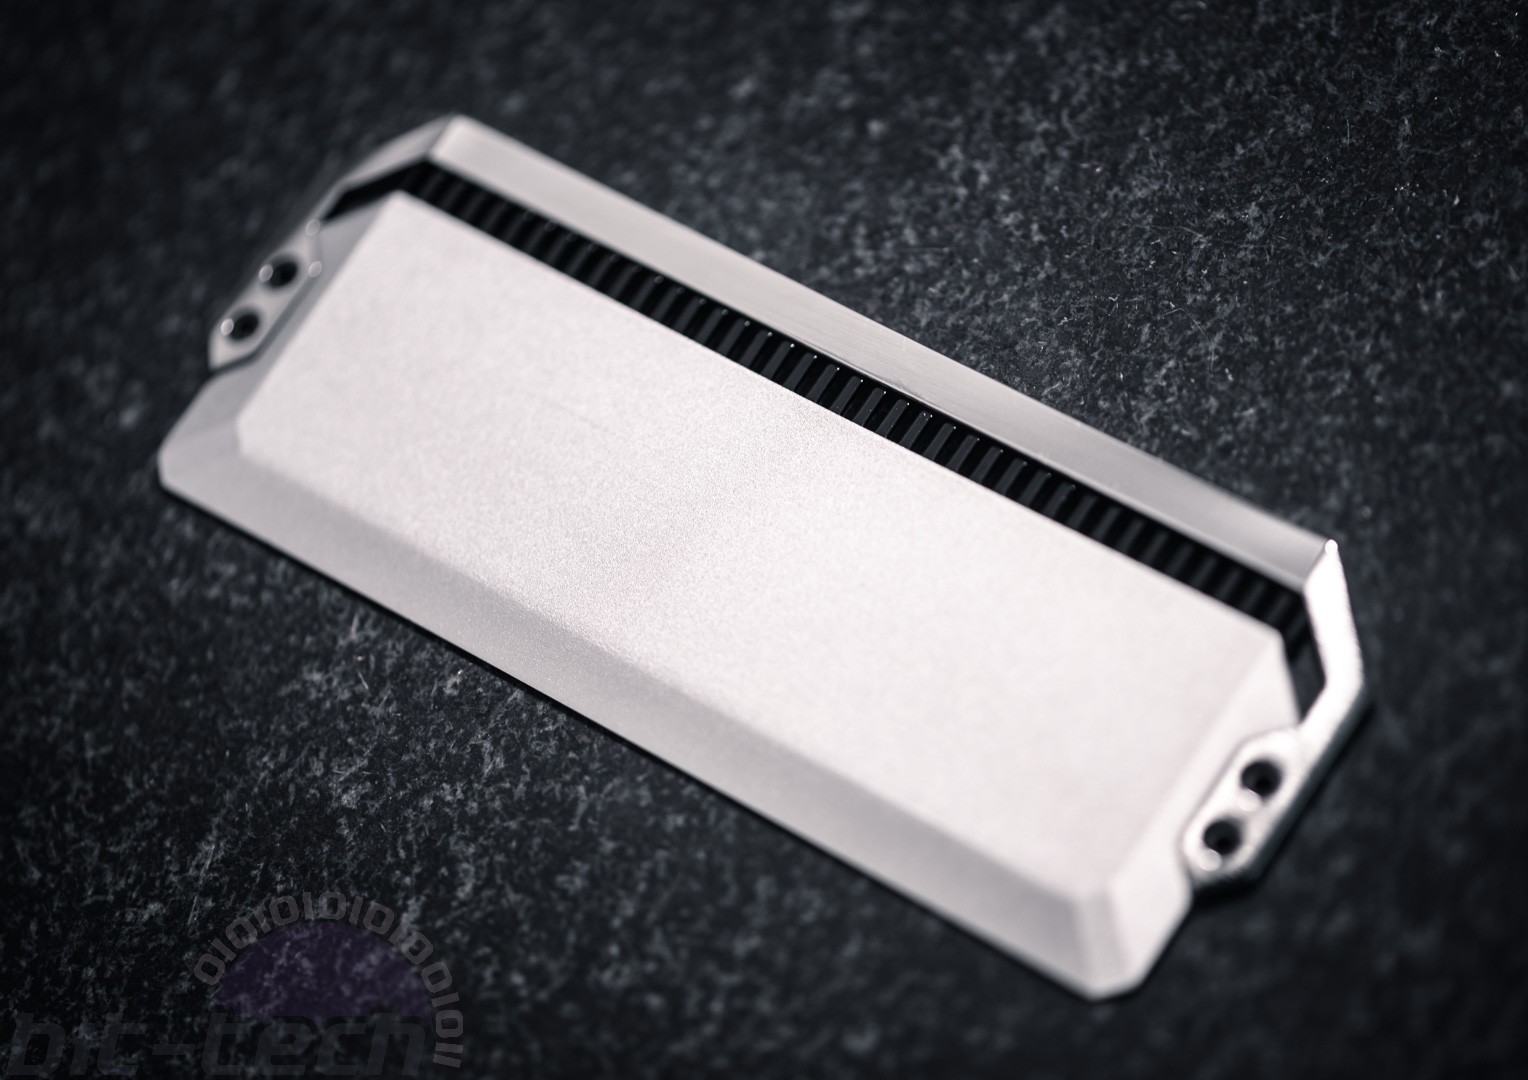
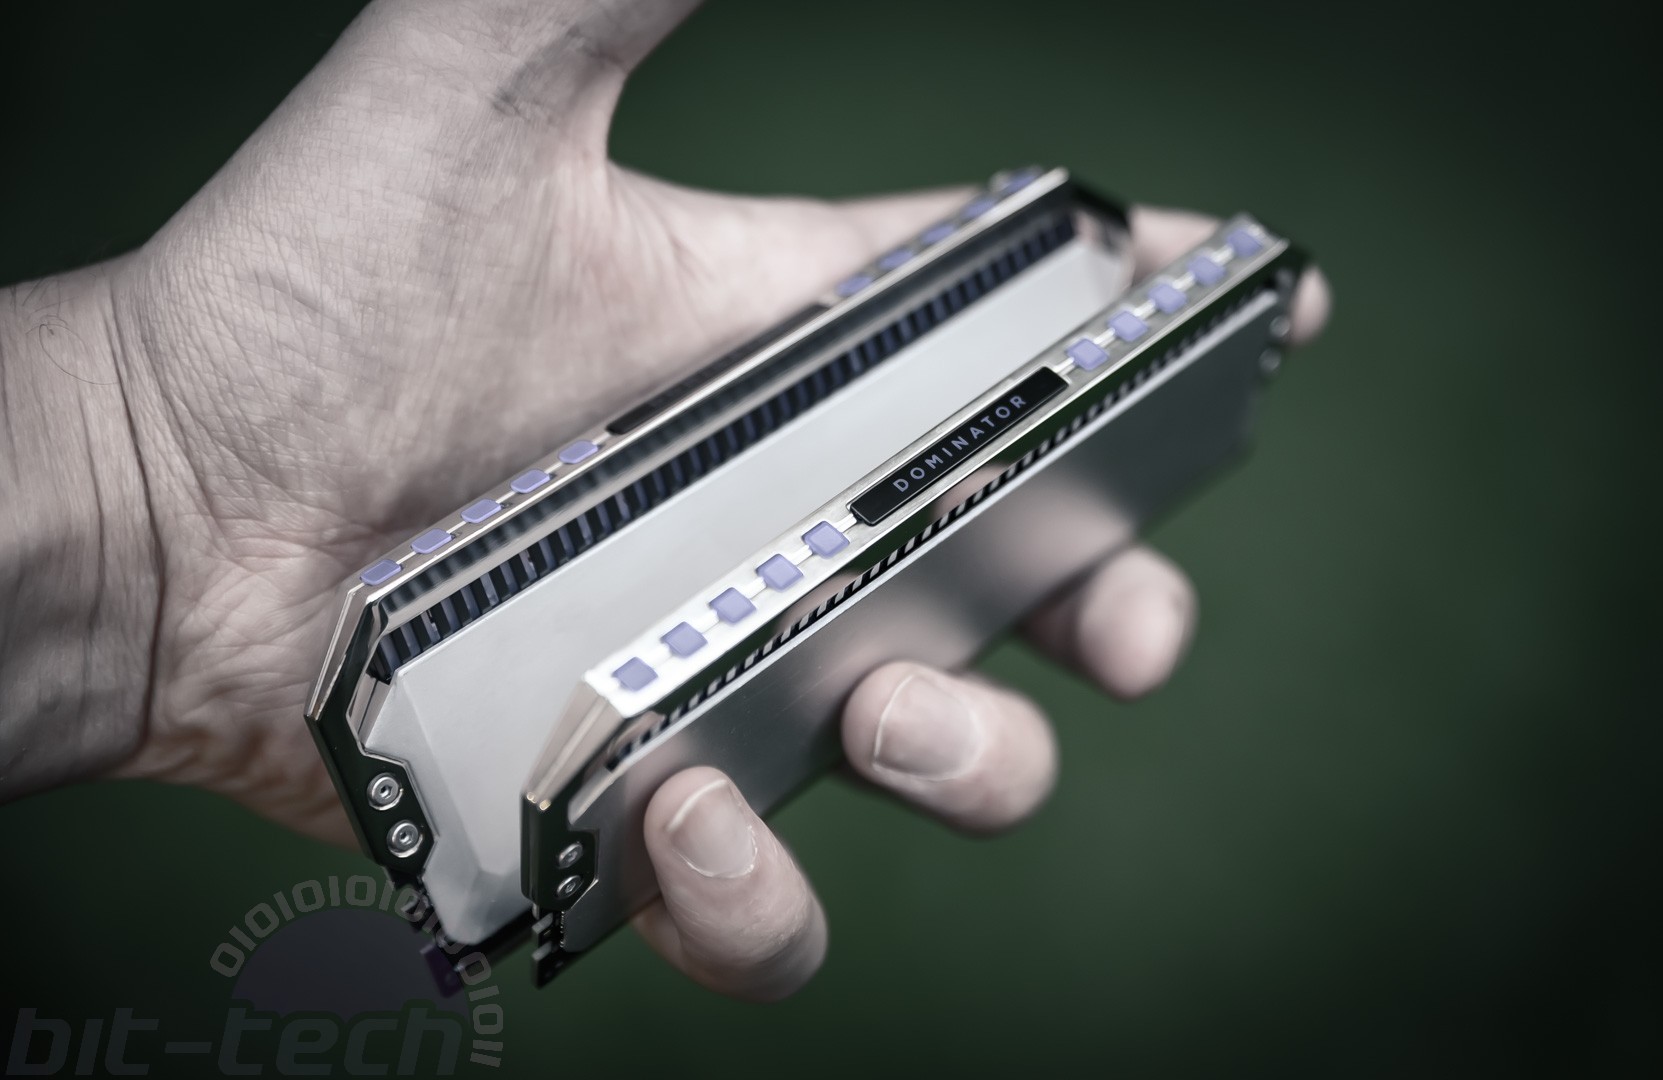
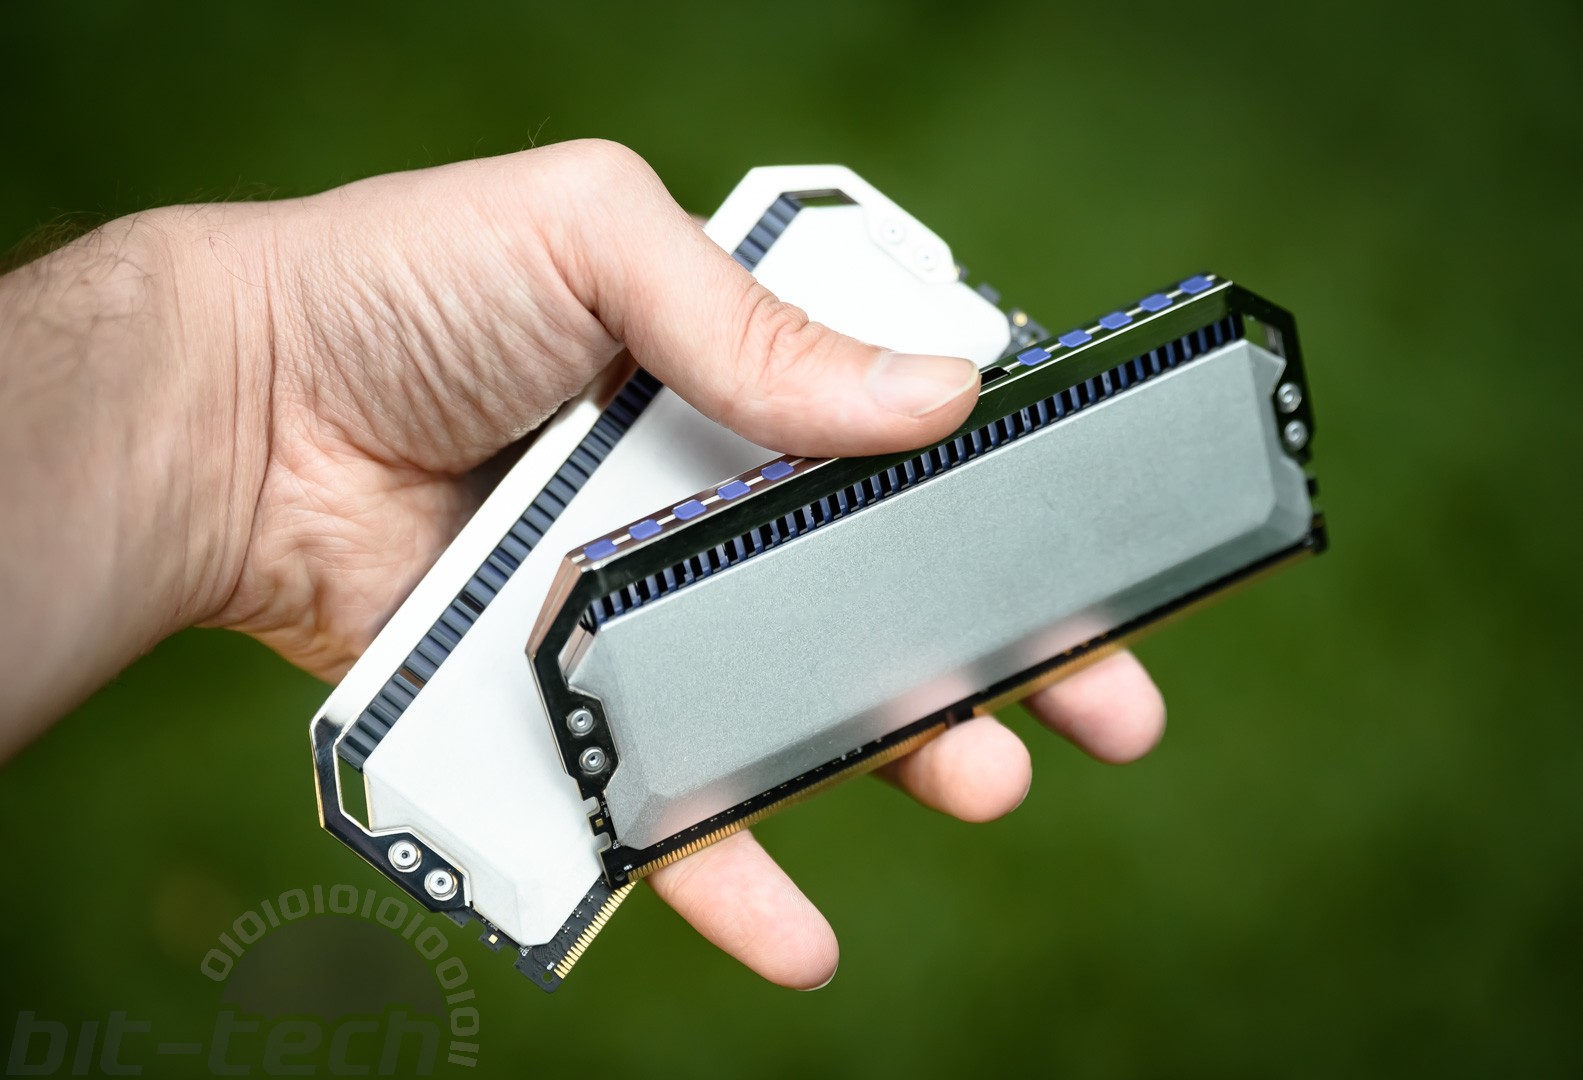
Fast forward a few days, and a set of very shiny, expensive-looking light bars turned up... oh, boy! Putting everything back together was a little fiddly, but definitely so worth it, as the sticks look simply fantastic. We chose to keep the sides with their clean, glass-beaded look rather than polishing and plating like the tops. I feel this was a great move, as it really makes the tops stand out and adds some subtle contrast. Now the question is: which metal to do on the next one, eh?
RELATED ARTICLES


MSI MPG Velox 100R Chassis Review
October 14 2021 | 15:04

Want to comment? Please log in.