Belting it out
Up to this point I've focused on handheld machines, but remember there's also a whole range of free-standing machines that are worth considering if you have the space for them. Of these, my personal favourite is a mini-belt/disc sander.
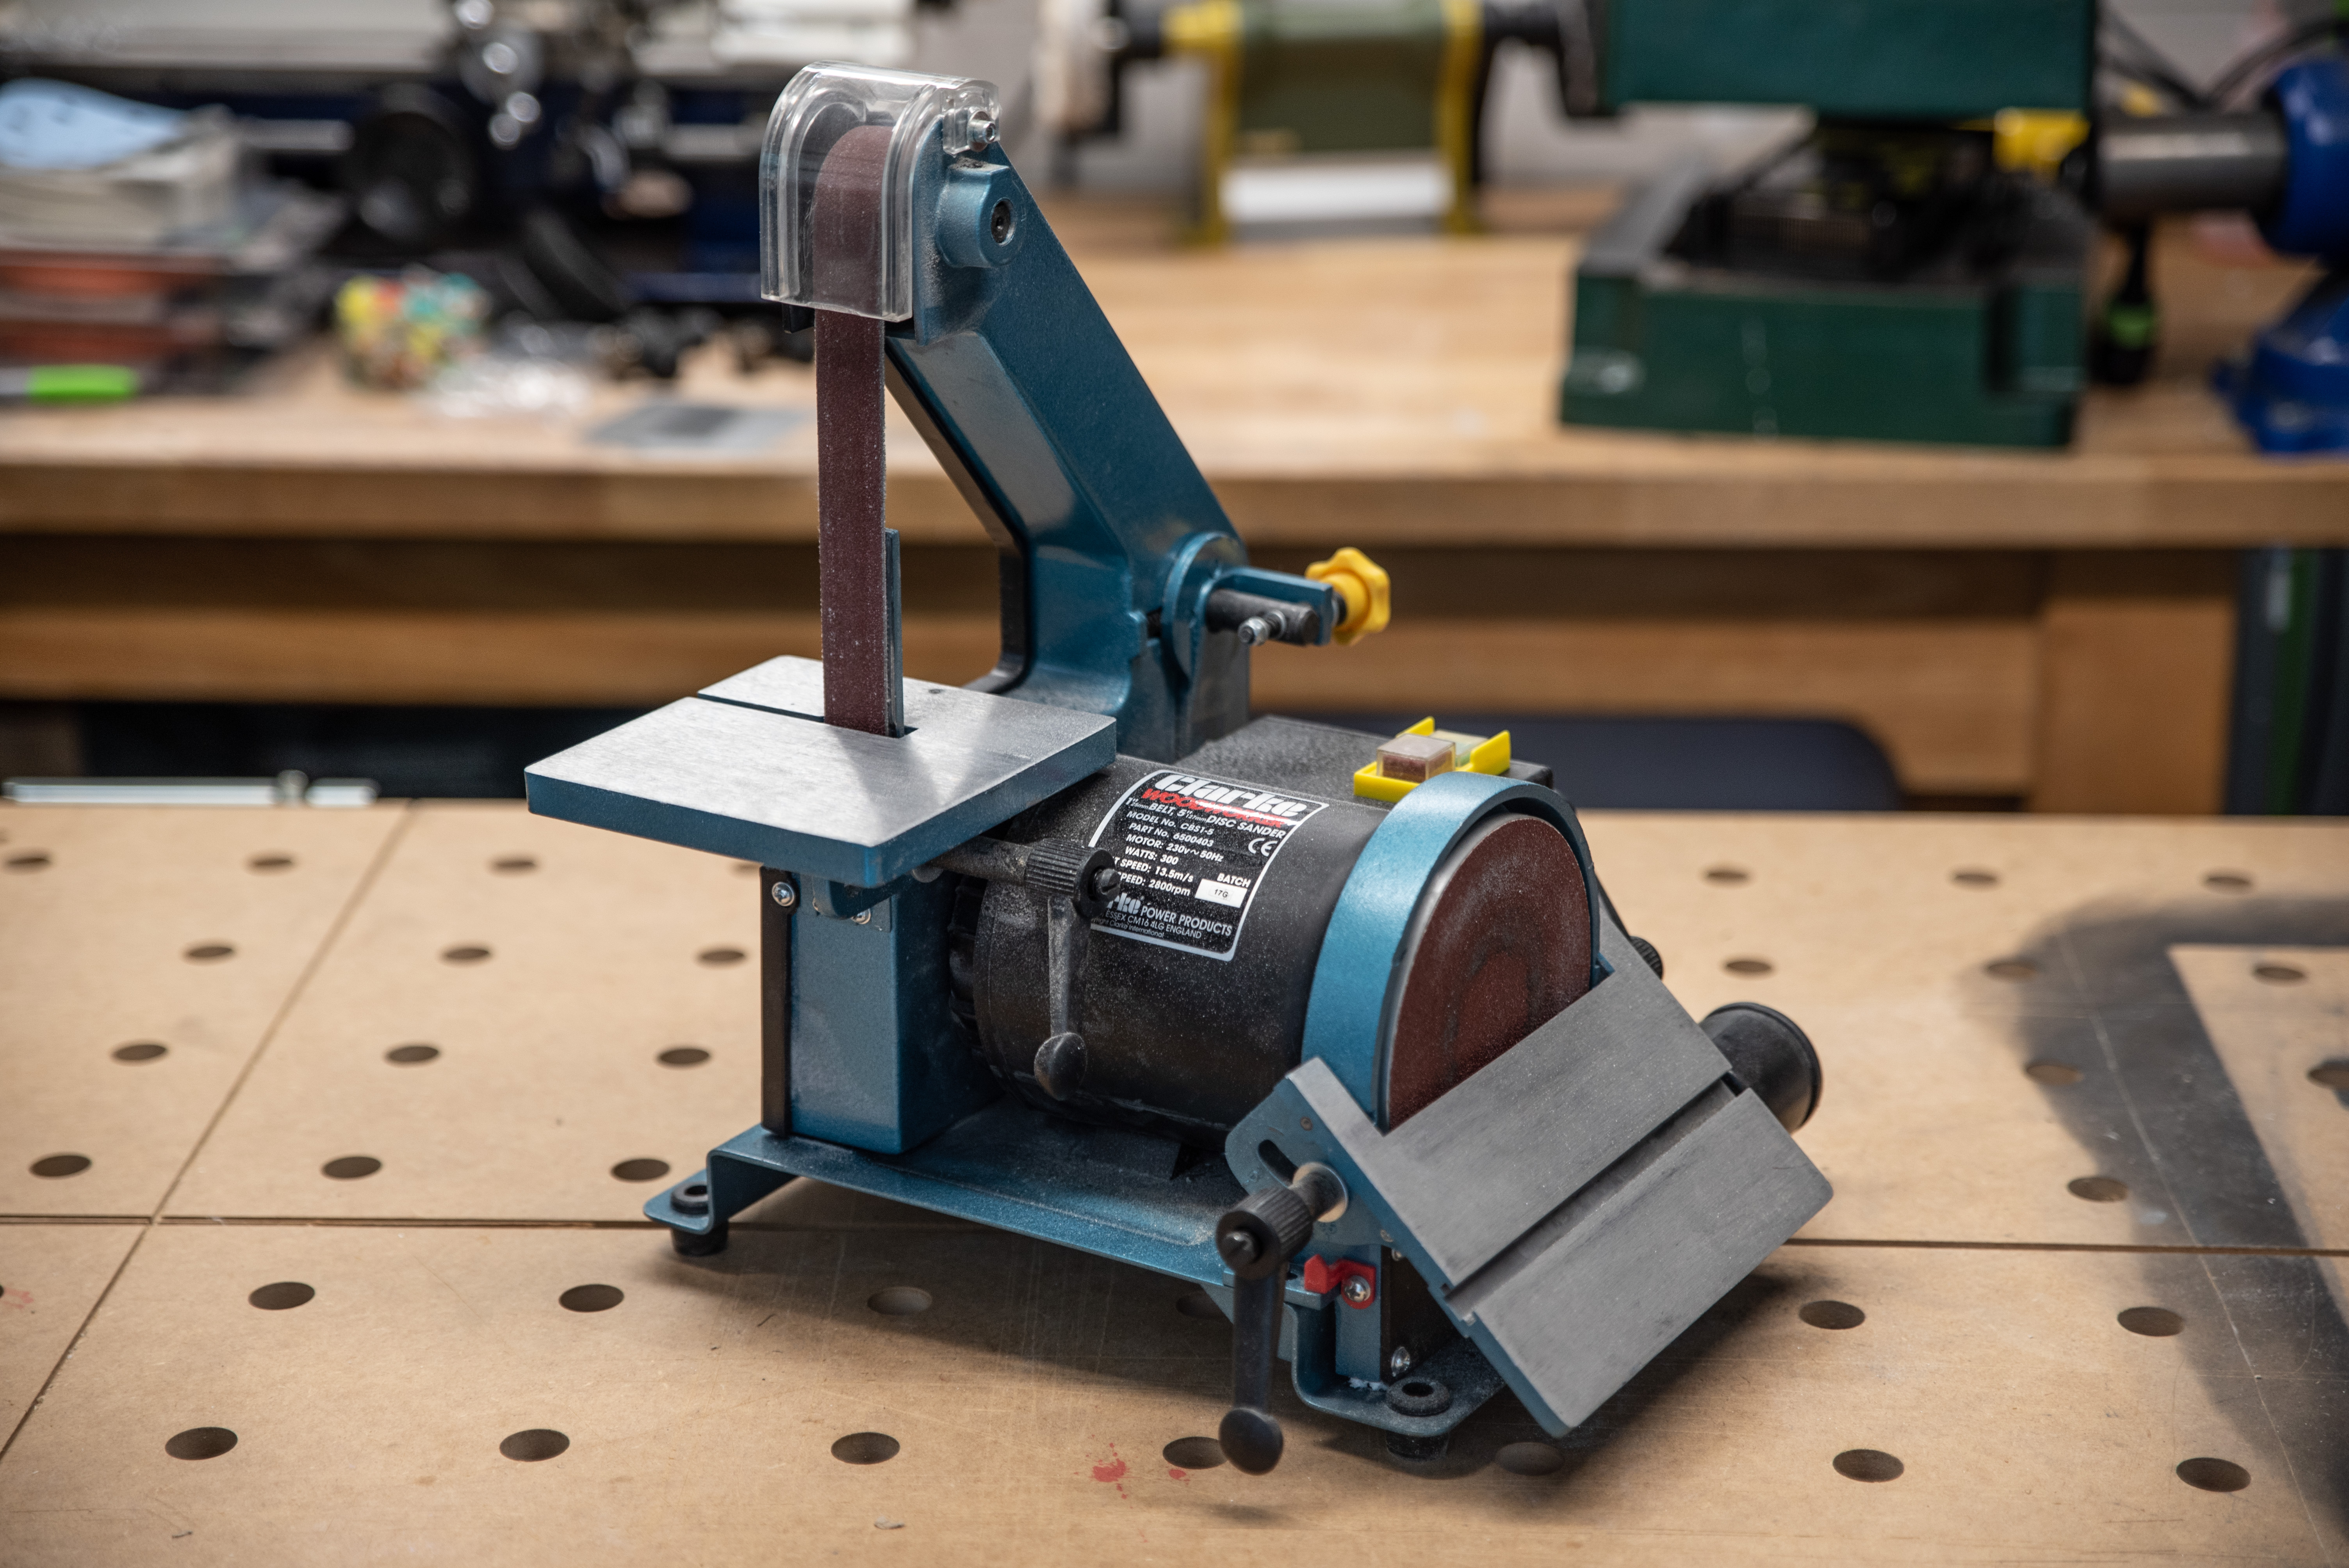
Honestly, this tool should be on every modder's shortlist as it's so very versatile. This Clarke model is really cute, definitely not a difficult machine to store away if you're low on space, it's also affordable (I think I paid ~£75 for mine) and very capable. When combined with cutting templates, you can achieve very accurate results using a miniature belt sander like this. Being able to have both hands on the work piece while the machine cuts away means you have a lot of control, and I use mine very frequently for straightening edges on hand-cut pieces.
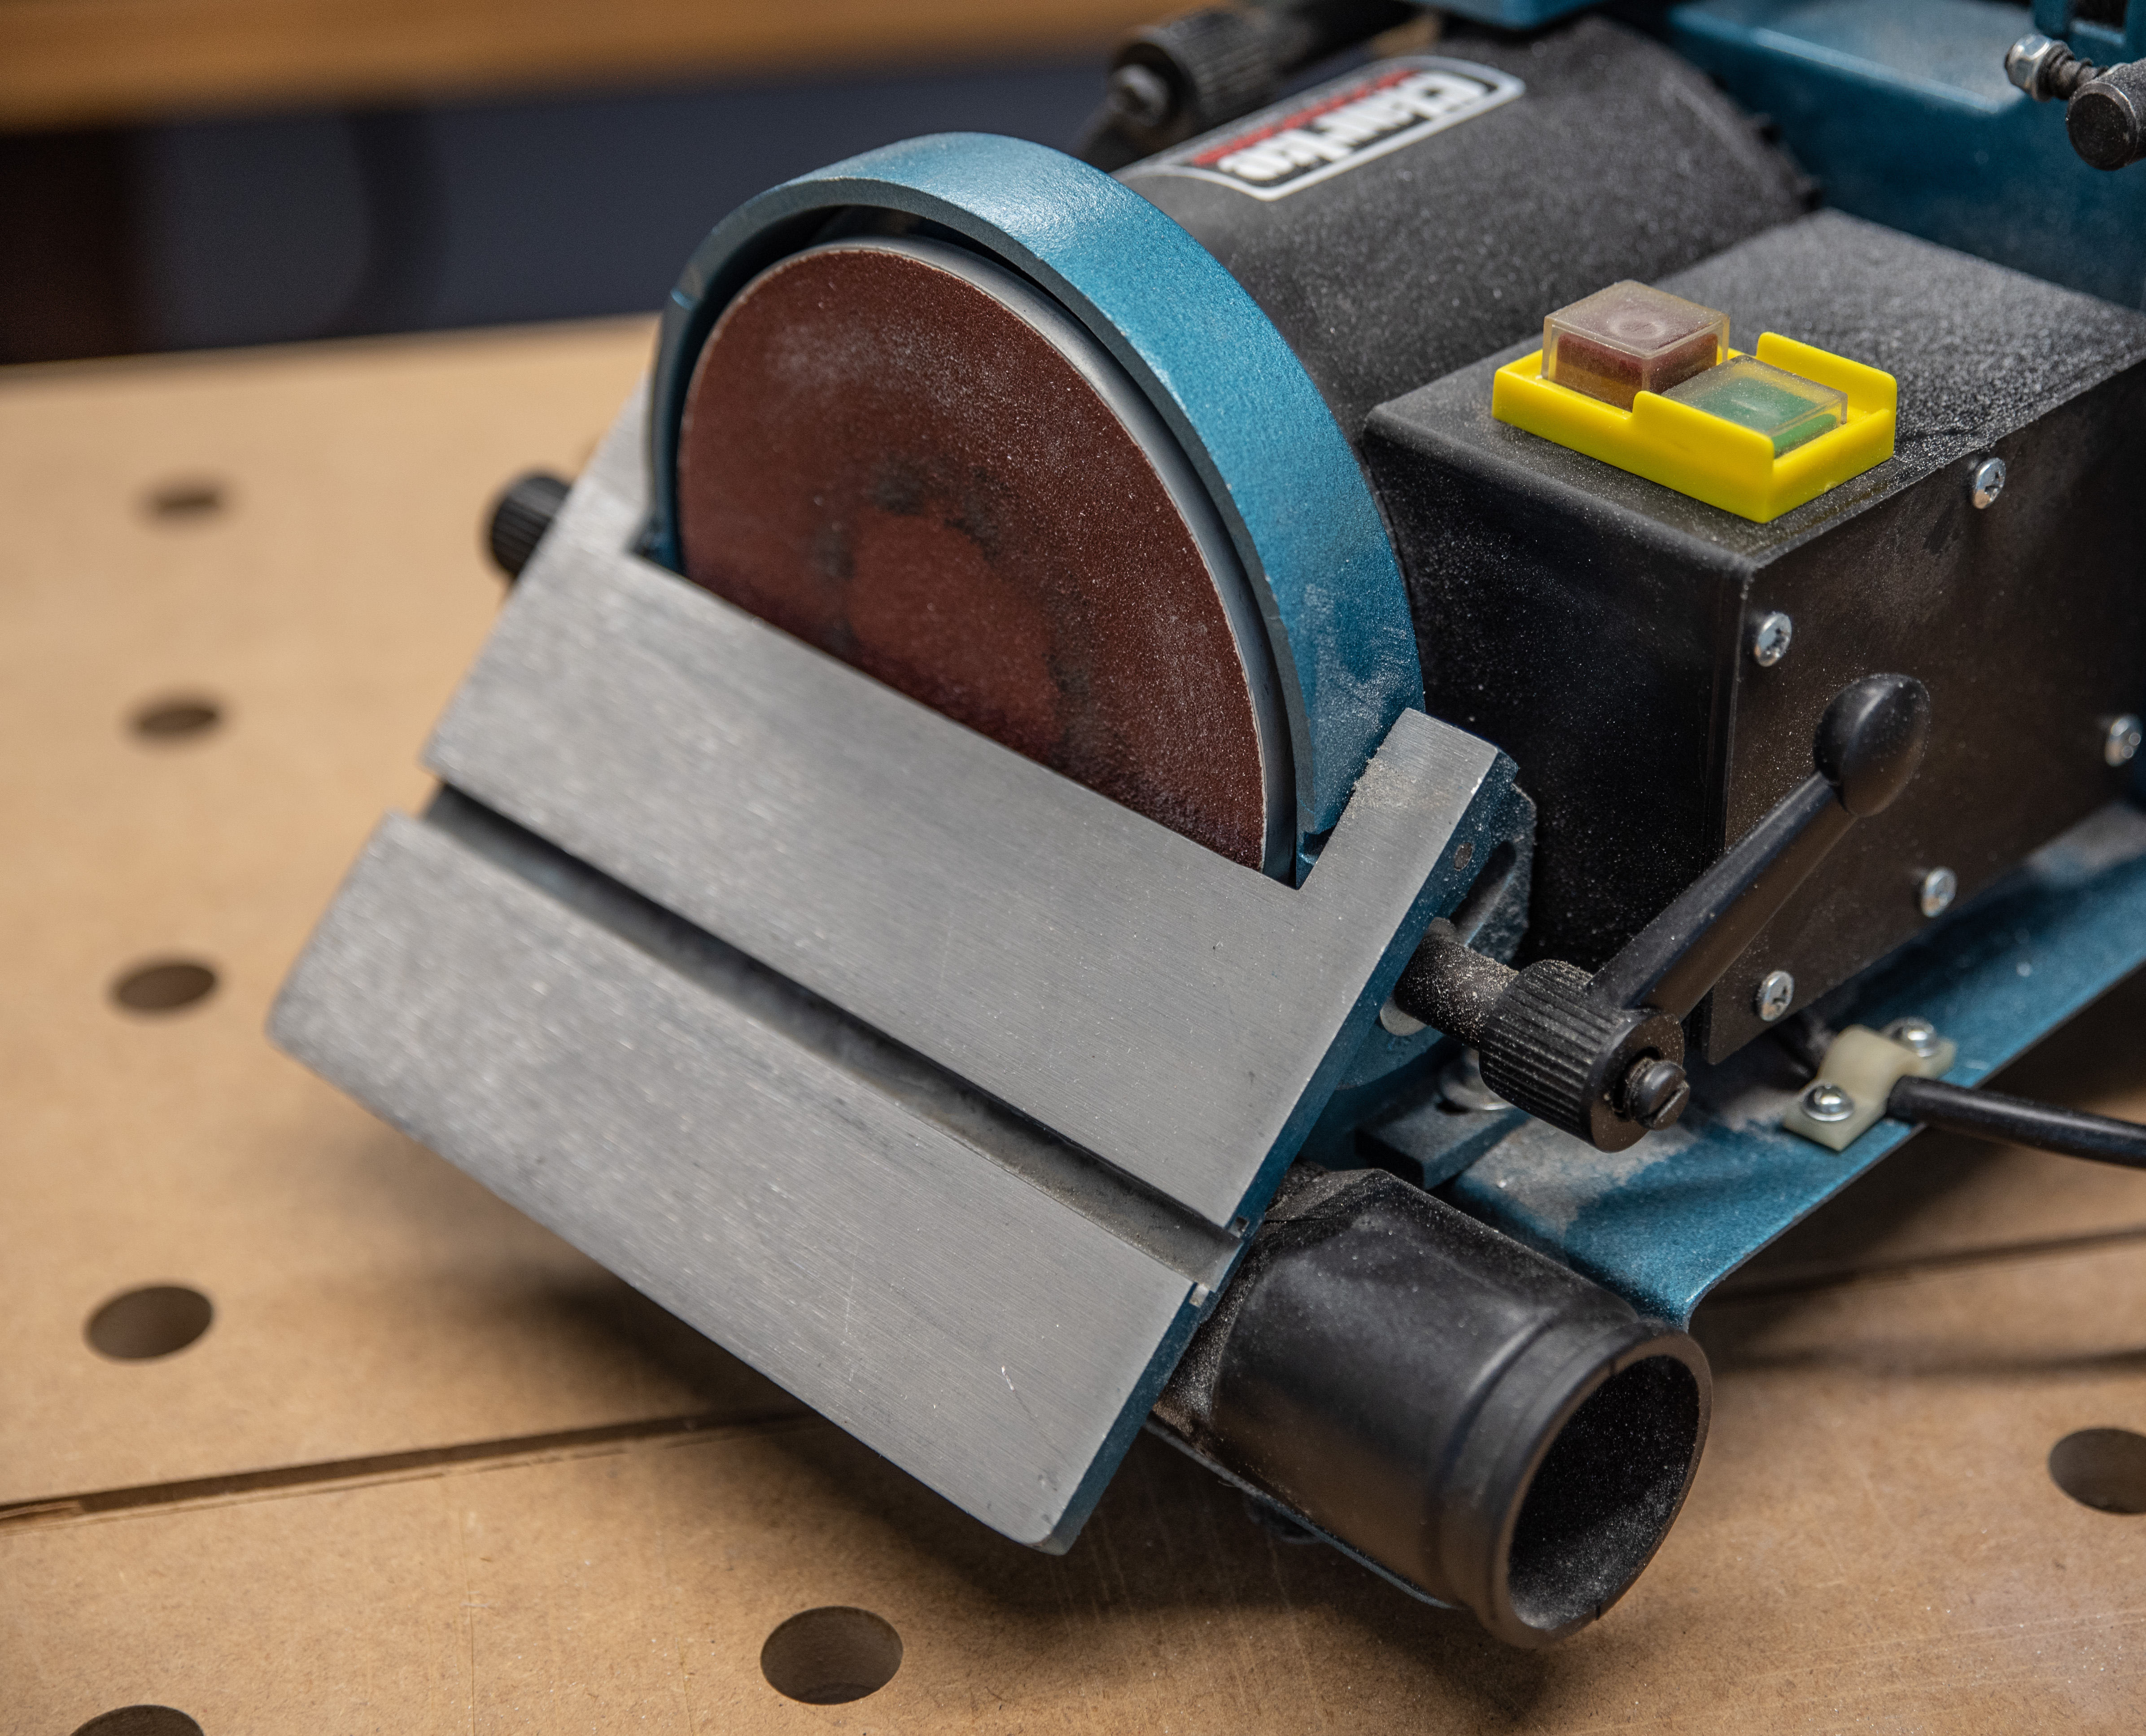
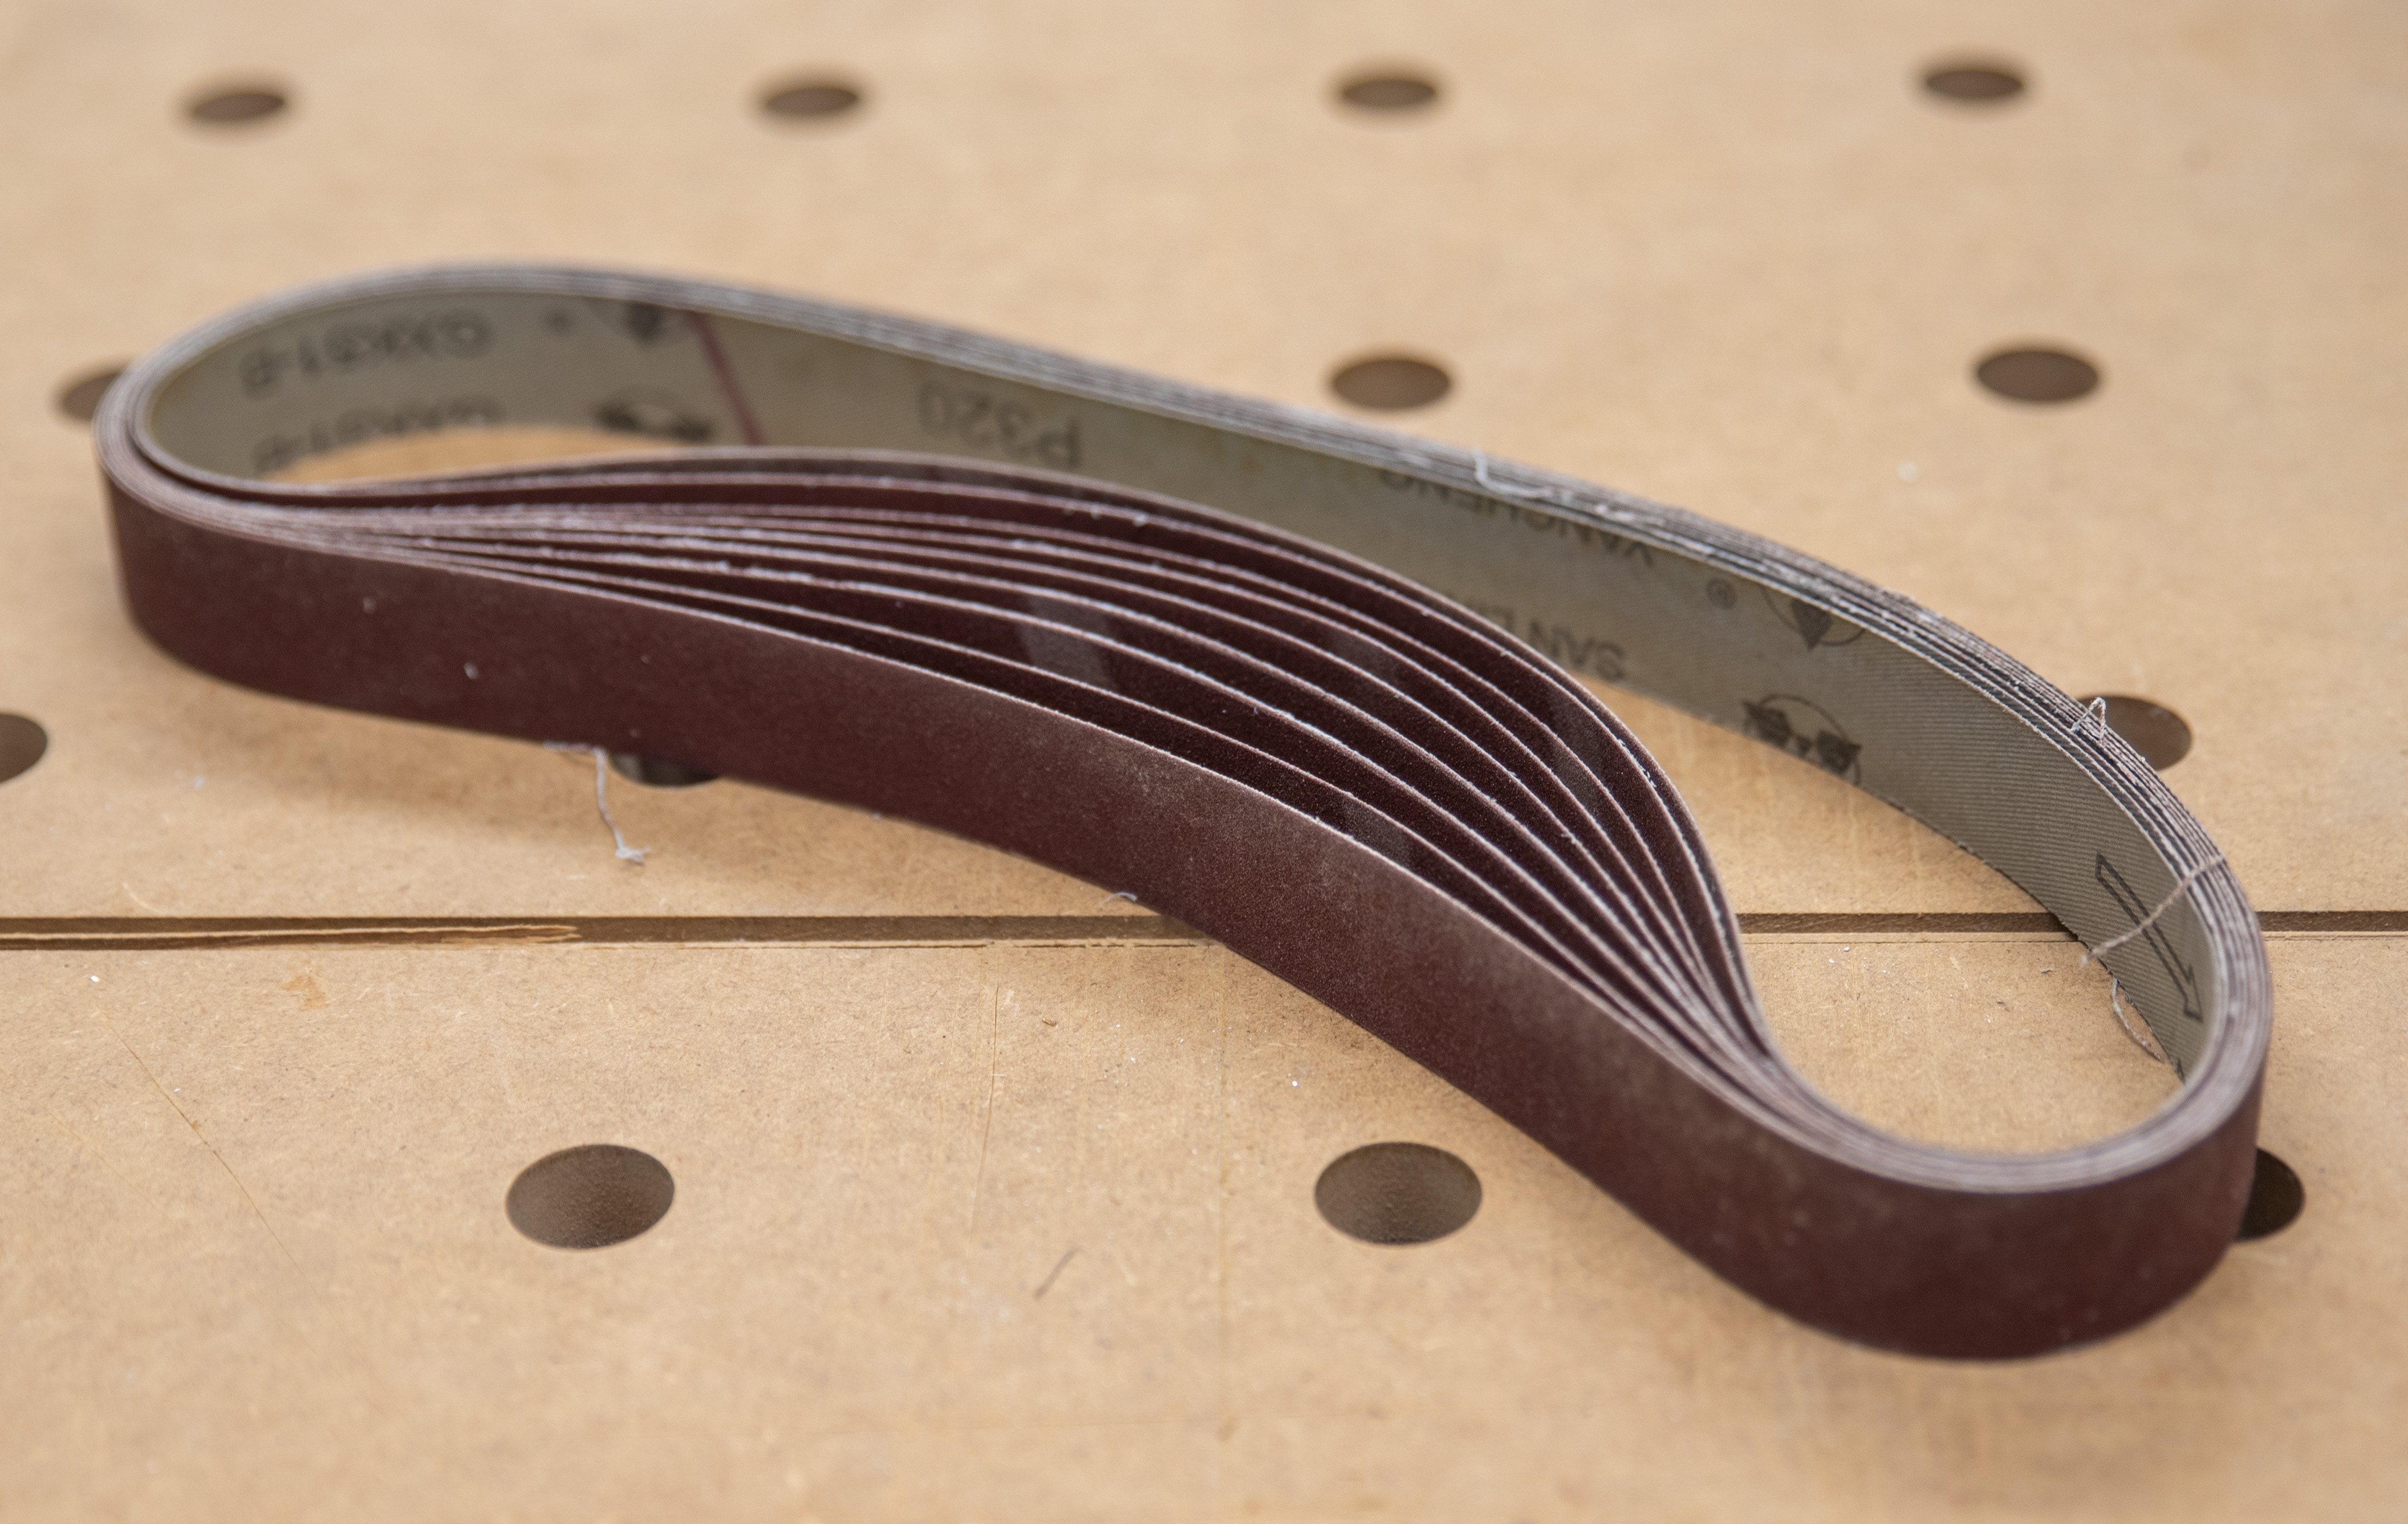
Getting the belts for these sanders is also fairly straightforward. I picked up a number on Amazon as it takes standard 30x1in belts. Thanks to the amateur knife-making scene, there are plenty of grits to choose from, too, going all the way up to 1k+ and even leather strops. This model also comes with a small disc sander attachment that takes the same 125mm diameter discs that the RO125 uses. I don't use the disc attachment as much as the belt, but it's certainly convenient to have for making even bevels on material. The angled table allows you to have a consistent chamfers just by dragging the material carefully along the disc.
Belt sanders also come in hand-held varieties, but, in all honesty, their use is better suited for home improvement work, although some models can be converted to run like a standalone version.
Dust Extraction
Dust extraction is fantastic, plain and simple. Using a tool with a proper dust management system can make a colossal difference to not only the finish quality, but to your general health and well-being. In essence a dust extractor is just a robust vacuum cleaner that attaches to the tool, by extension turning the tool into the nozzle. By sucking up the dust produced by the sanding tool, it stops it from flying around the workspace. This is particularly useful if you're working with materials like MDF or resins/fillers that can be particularly nasty if breathed in.

As with the sanders, they come in different flavours. The majority of the ones worth considering for these applications have a strong vacuum and an anti-static hose. Often you'll plug the tool into the extractor itself for power, which in turn allows the extractor to switch on/off automatically. Higher-end models come with self-cleaning filters and even fancy Bluetooth modules for remote operation (believe it or not, handy for use with stationary tools like saws or a CNC). These extractors come, of course, in different grades and sizes. Typically the more expensive ones will not only be larger, but will be designed with smaller dust-particle sizes in mind, with top-end ones being used for hazardous materials like carbon fibre or asbestos.
There are also chip extractors. These are typically large machines designed to remove an awful lot of material. Rather than having a very strong vacuum to suck the material, they instead rely on very high airflow. These are the machines you'll typically see in woodwork shops and used on CNC routers, because they're great for use with high dust/chip volume applications. However, since they require high airflow, they need large-diameter hoses and nozzles;they'd be rendered all but useless by a 20mm nozzle on a sander, so even if you have space somewhere for one, consider your intended use-case.
Accessorise!
Clearly the best bit of any tooling-related hobby is the insatiable need for accessories, right? Well, as you can imagine, with sanding machines, there's no shortage of available peripherals and kit. The majority of this takes the form of various paper grits and styles, but it's worth thinking about nonetheless.
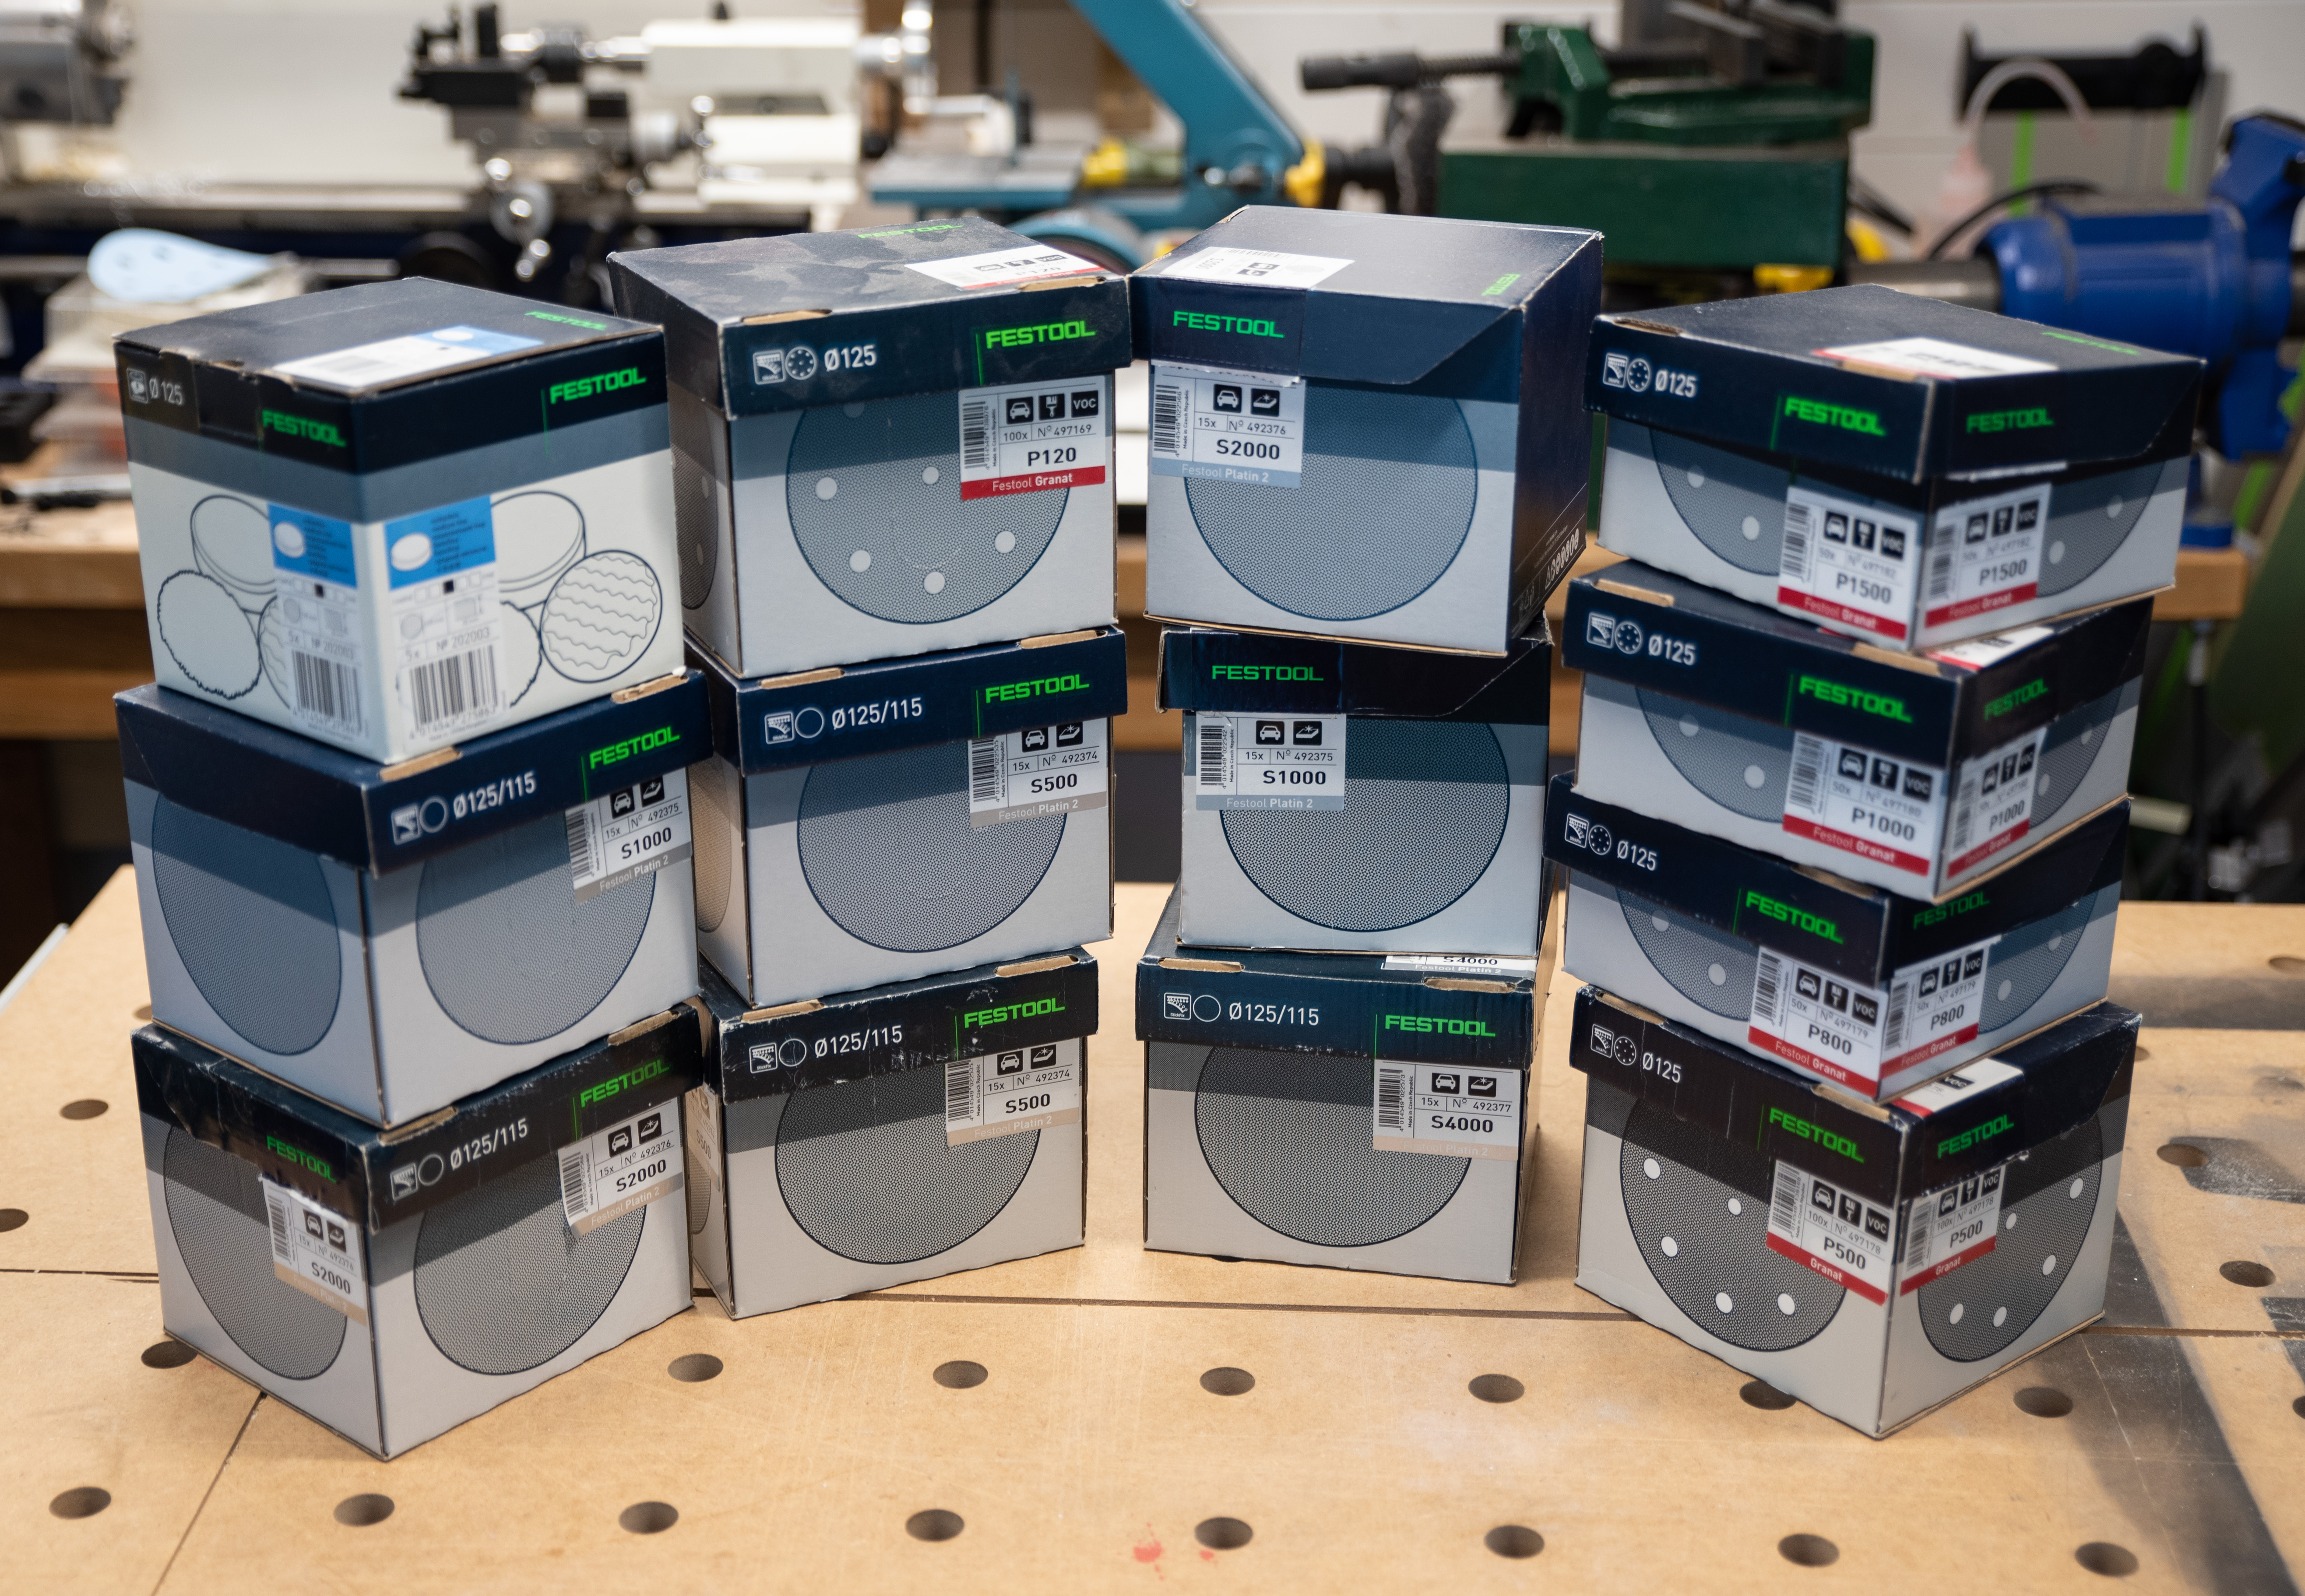
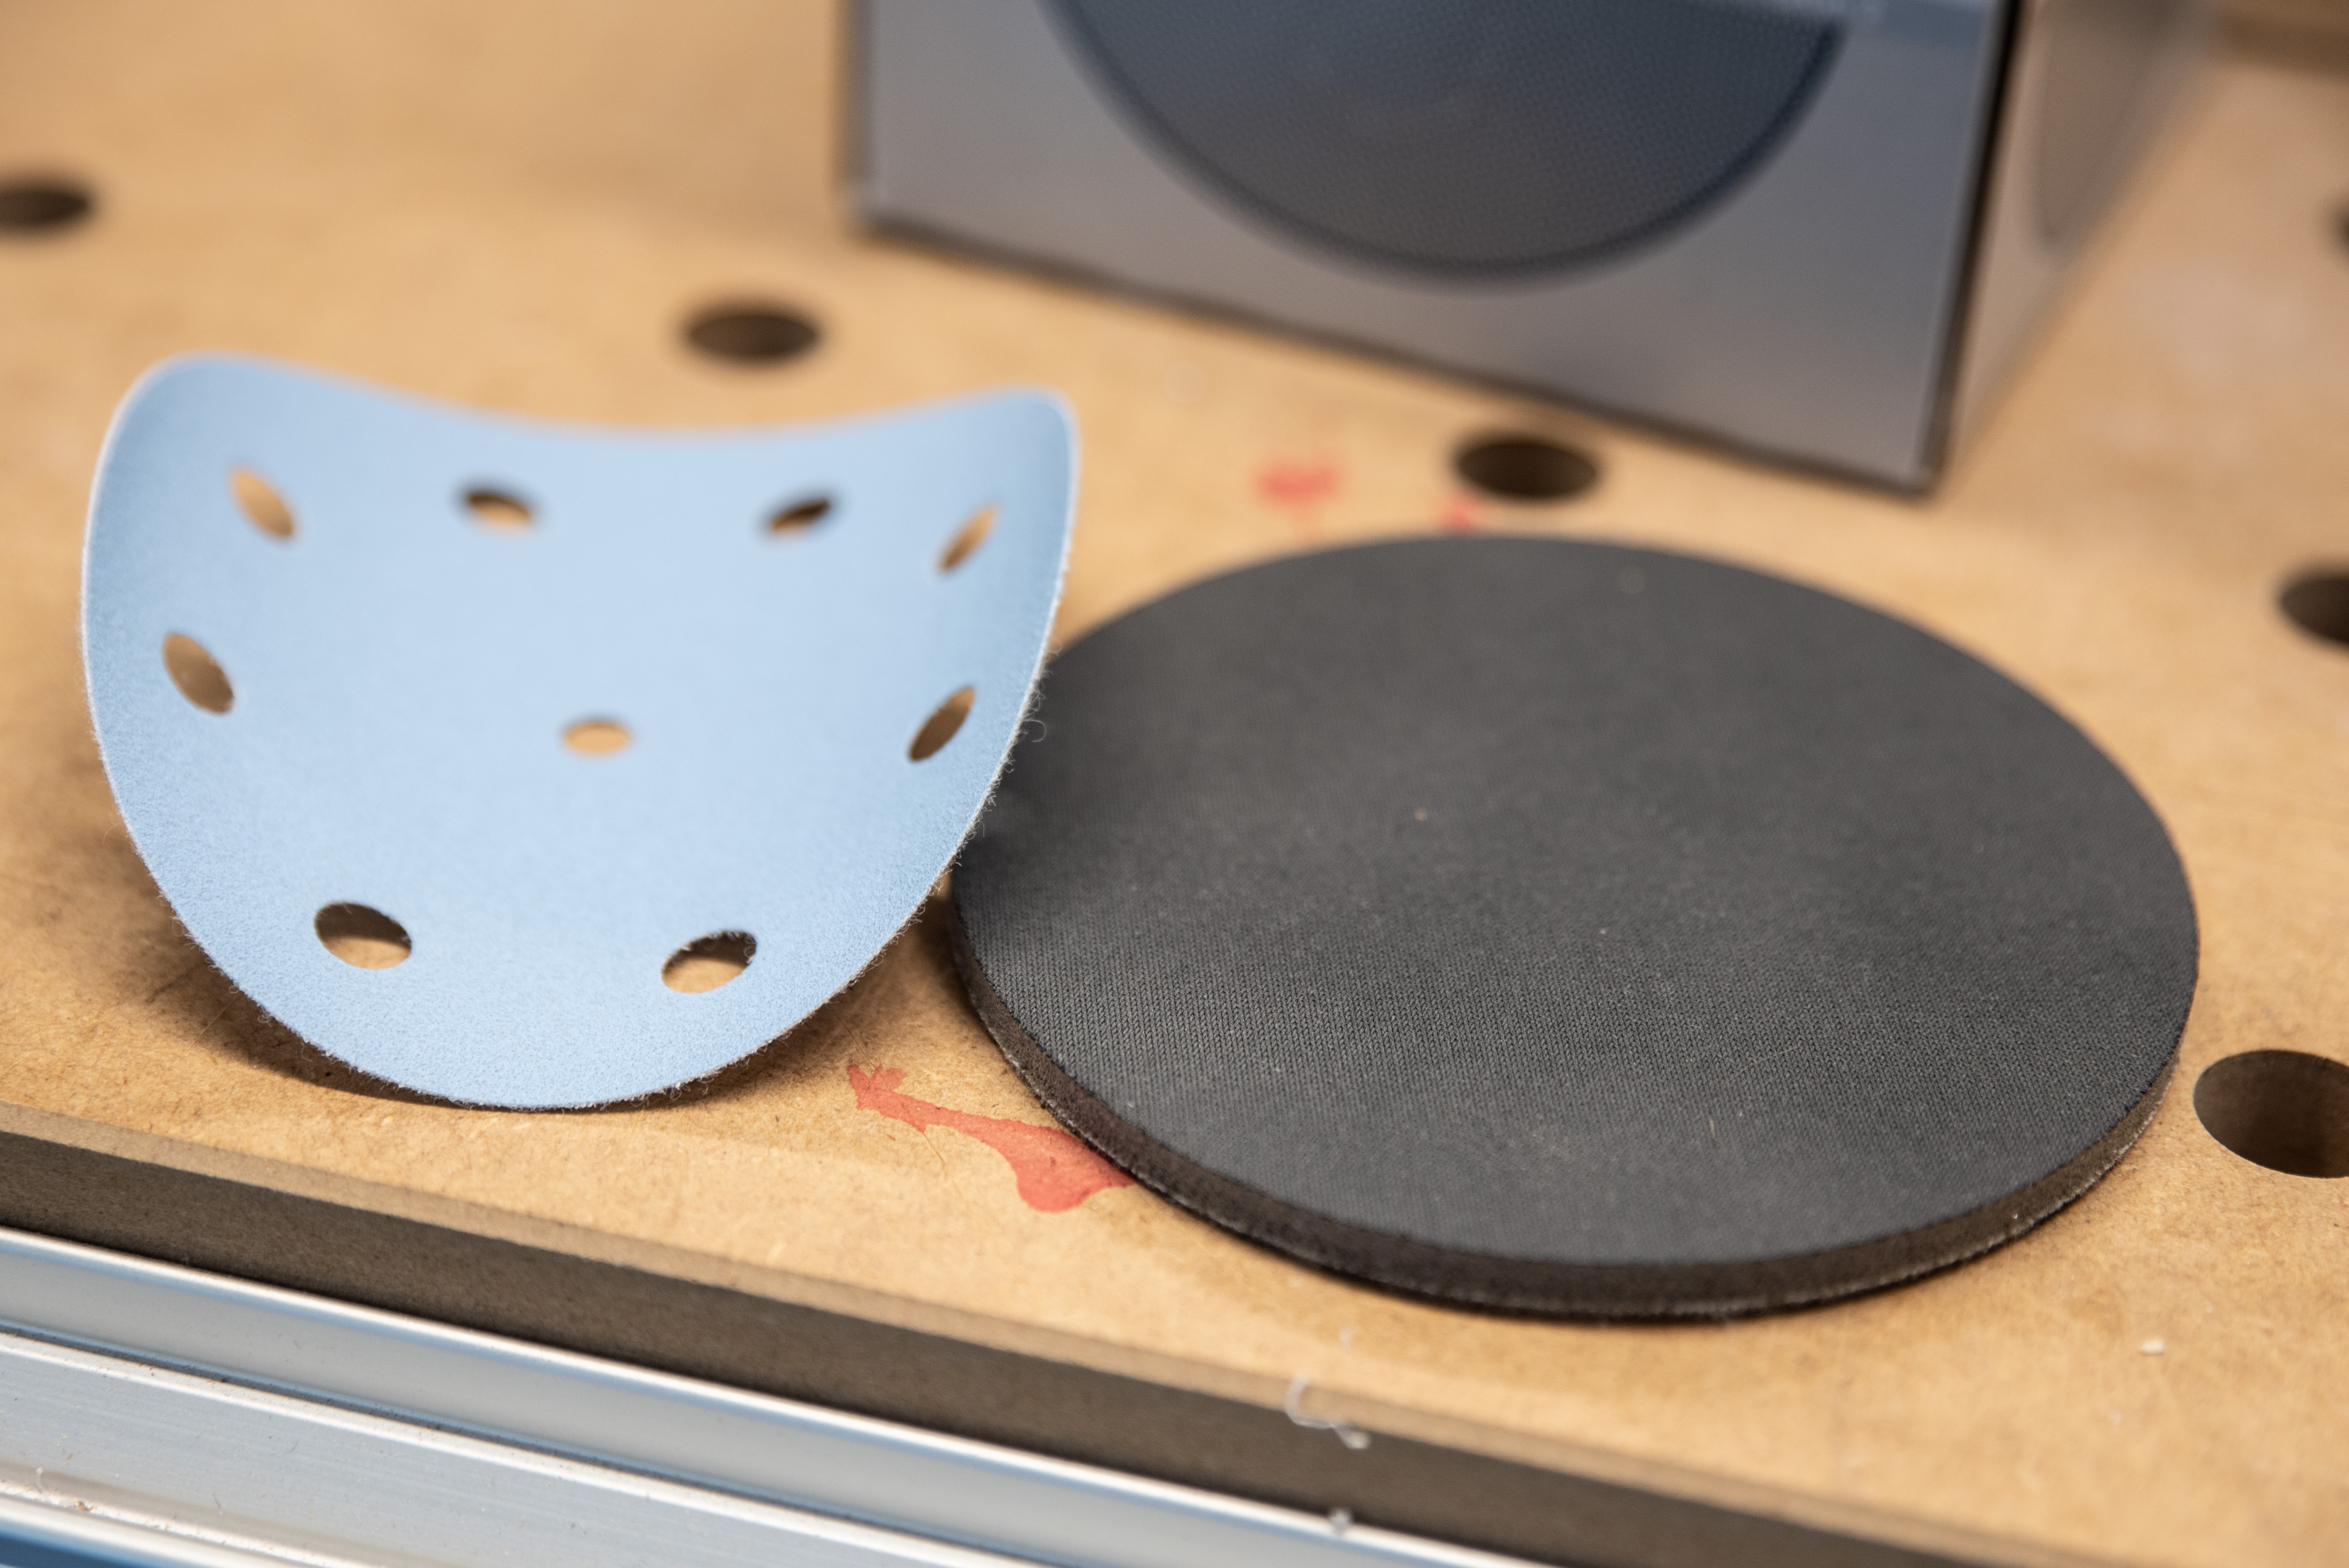
I mentioned earlier about hard and soft sanding pads, knowing about both of these and how they can be used effectively can open some interesting doors. In essence, hard pads are your typical sanding pads - they're best used for flat surfaces and harder materials like metals or materials that produce a lot of dust like woods. For Festool, my general go-to ones here are their Granat pads, mostly because they have the right hole layout for the dust extractor, last a long time and come in loads of grits. Using those ones I can go from 60 all the way to 1500 grit, nice and simple.
Nowadays there are some fancier kinds like net/mesh-based hard pads. Rather than be covered in holes for dust extraction, these are based on a sort of fabric net, with dust passing through the surface itself. In theory this means they will clog less often and last longer, and though I haven't yet tried them they do sound interesting. Mirka's Abranet and Festool's Granat Mesh are examples of this.
The other main kind of pad I use is the soft kind. These are fine abrasives attached to a spongy layer. Typically they're used for final finishing of softer materials like plastics, they're particularly good for achieving polished surfaces for clear coats and paintwork in general. Mirka Abralon is a very popular option here, and it's commonly used for resurfacing tenpin bowling balls in fact. I've had trouble getting hold of all the grits in the right size for Abralon so usually stick to Platin II from Festool, but I've heard Abralon is more effective - it's simply hard to get here in 125mm discs.
Soft pads are more effective when used in a rotary motion, they will provide a better finish and also last longer. Likewise, if using rotary then it's worth considering polishing supplies. Polishing sponges can simply be attached in place of a sanding pad, allowing you to use the same tool for multiple jobs. This is great if you have a larger panel you want to polish up as doing that by hand can be very challenging if you want even results. Just be sure to have sponges dedicated to specific materials. It goes without saying that using a sponge on a clearcoat that was previously used on raw aluminium likely won't end well as it's now full of abrasive dust.

Food for thought
Hopefully that's provided a little insight into some of the available options when it comes to machine-operated abrasives. It's honestly a really interesting subject when you get into it as there's a lot of knowledge to be gained. I love stumbling across tips and tricks from the experts out there (it didn't occur to me to try the soft pads in rotary since generally finer sanding is done in eccentric, for instance). It would be awesome to hear about any tricks you may know in this field!
RELATED ARTICLES


MSI MPG Velox 100R Chassis Review
October 14 2021 | 15:04

Want to comment? Please log in.