Welcome back to the next instalment of the bit-tech Modding Toolbox! This time we're going to be covering what may initially seem a simple and even mundane task, but one that if used well can make your modding much simpler. Marking out: an essential practice if you want to make either new parts from raw materials or modify your case/components.
What's in the Toolbox so far?
- Drill Bits
- Heat Guns
- Sandpaper & Files
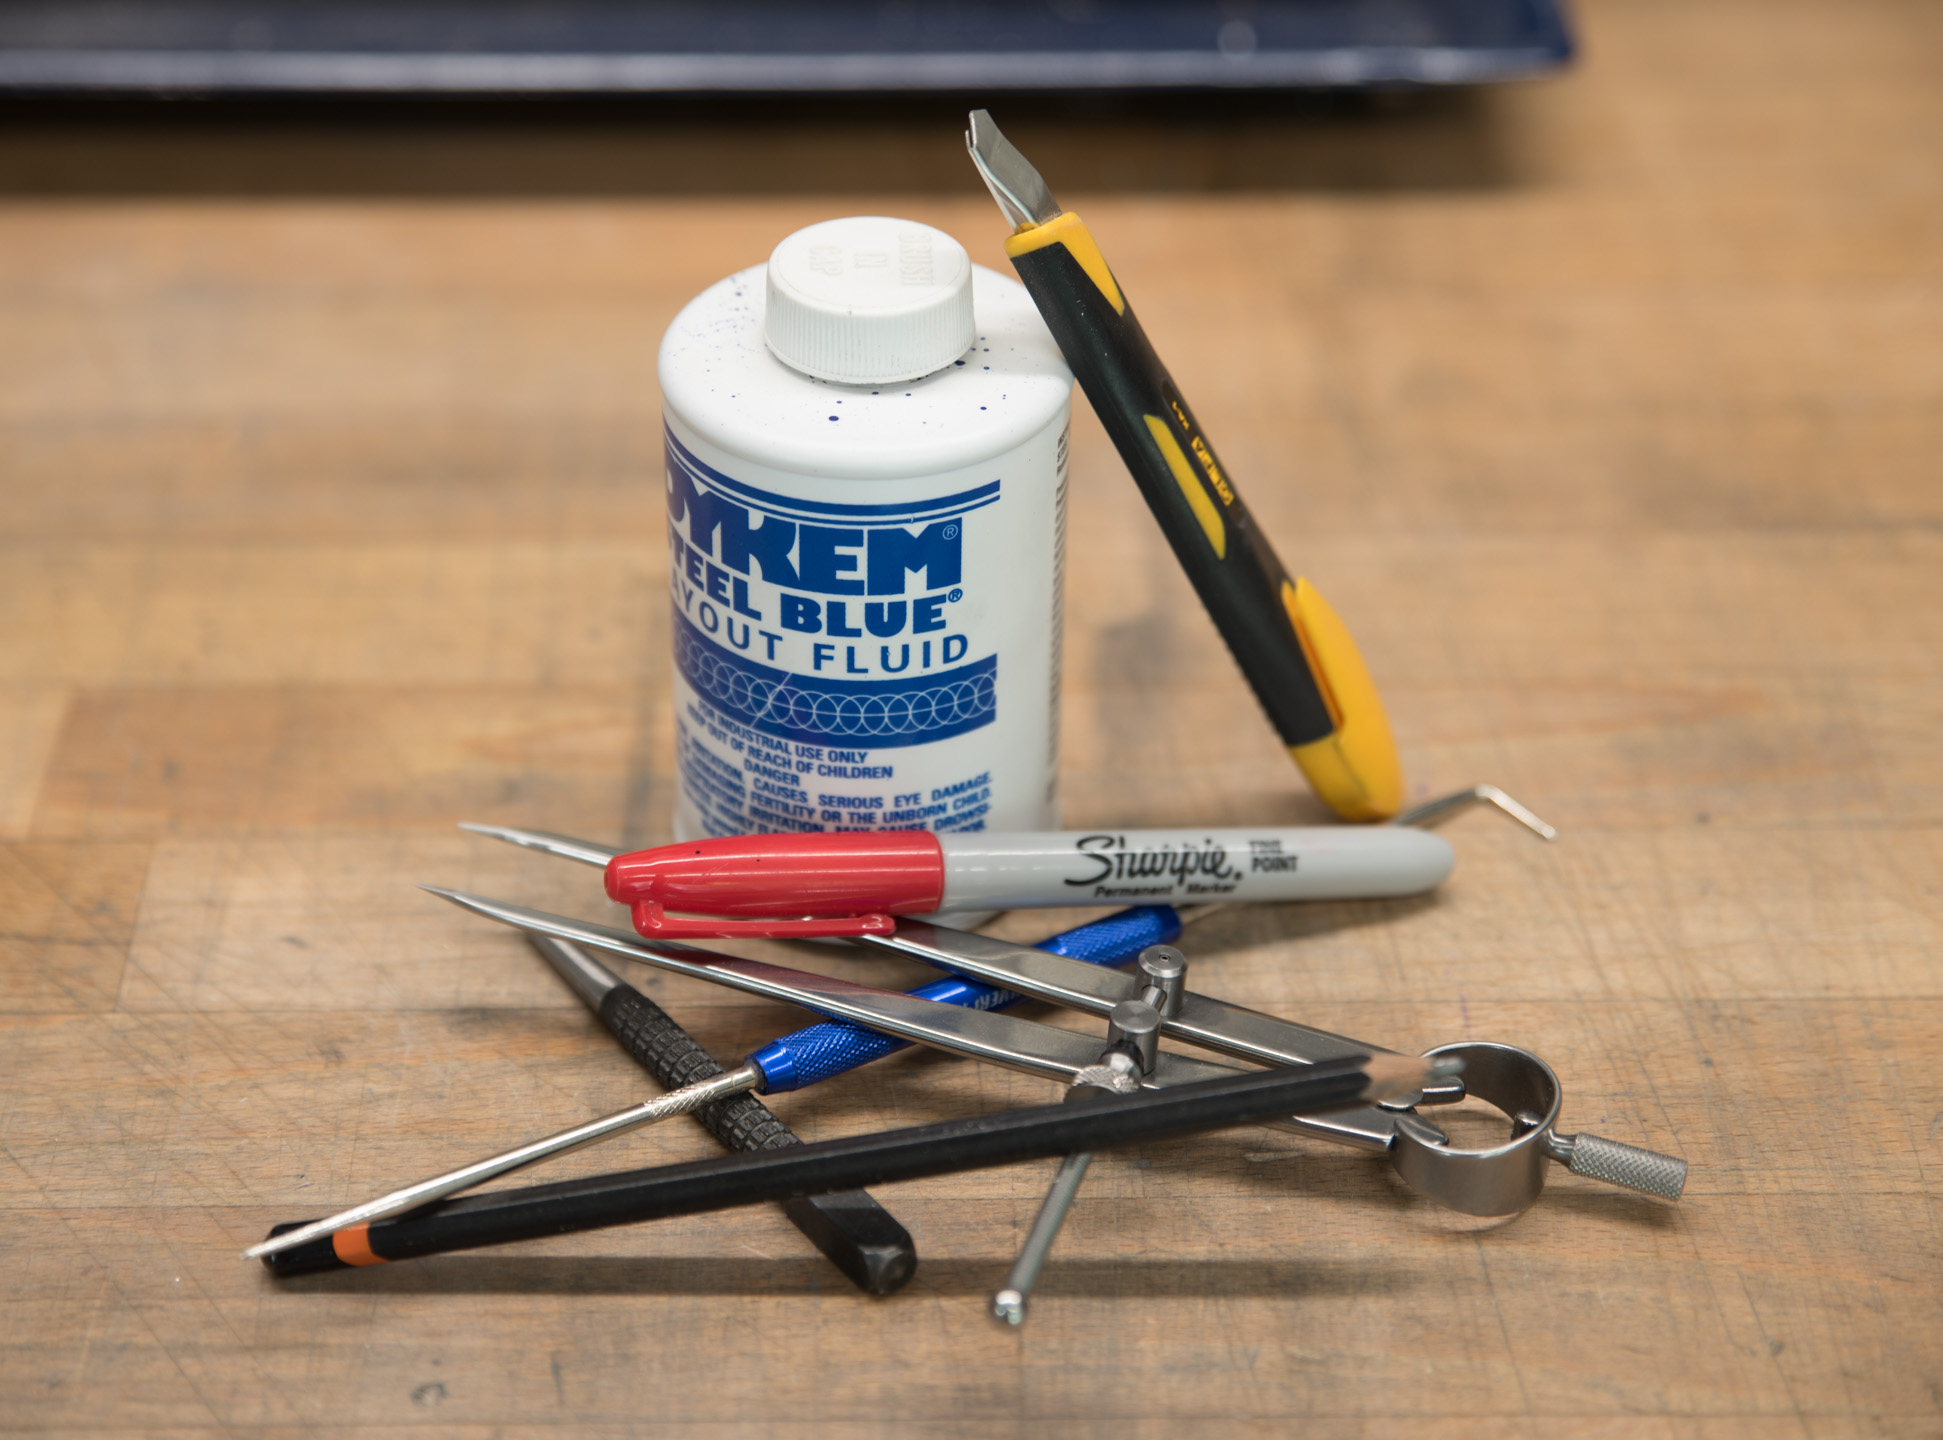
- Tools for Marking Out
What's the Big Deal; We're Drawing Lines?
The old adage 'measure twice, cut once' very much springs to mind here. Alongside printing accurate cutting templates derived from a CAD file, you'll want to be able to make accurate cutting, drilling, bending etc. guides for manual modding work. This may be for cutting some sheet stock to make a shroud, drilling holes for a mounting bracket, cutting part of a case for more room, etc. but the common factor is you need to know where you're performing these operations with maximum precision.
Like with the other toolbox features, this is not an exhaustive list. In fact, it doesn't even come close to it. This is because so many materials have unique properties, you need to use the correct methods for that material should you wish to extract the maximum potential from it. This doesn't make the process high tech, moreover you just need to think about which tools are right for the job. I'm going to be going over a few tools and methods that I use frequently, which form a decent basis for most modding tasks. Of course, should you wish to delve further into the topic (say if you want to do some advanced woodwork/metal work) then you can have a decent place to begin.
General Materials
I've lumped these all together for a reason, as these methods are pretty universal. You can use them on wood, plastics, metals, whatever. They're robust and pretty much what people think of when they sit down to plan what they're doing.
Pen and Pencil
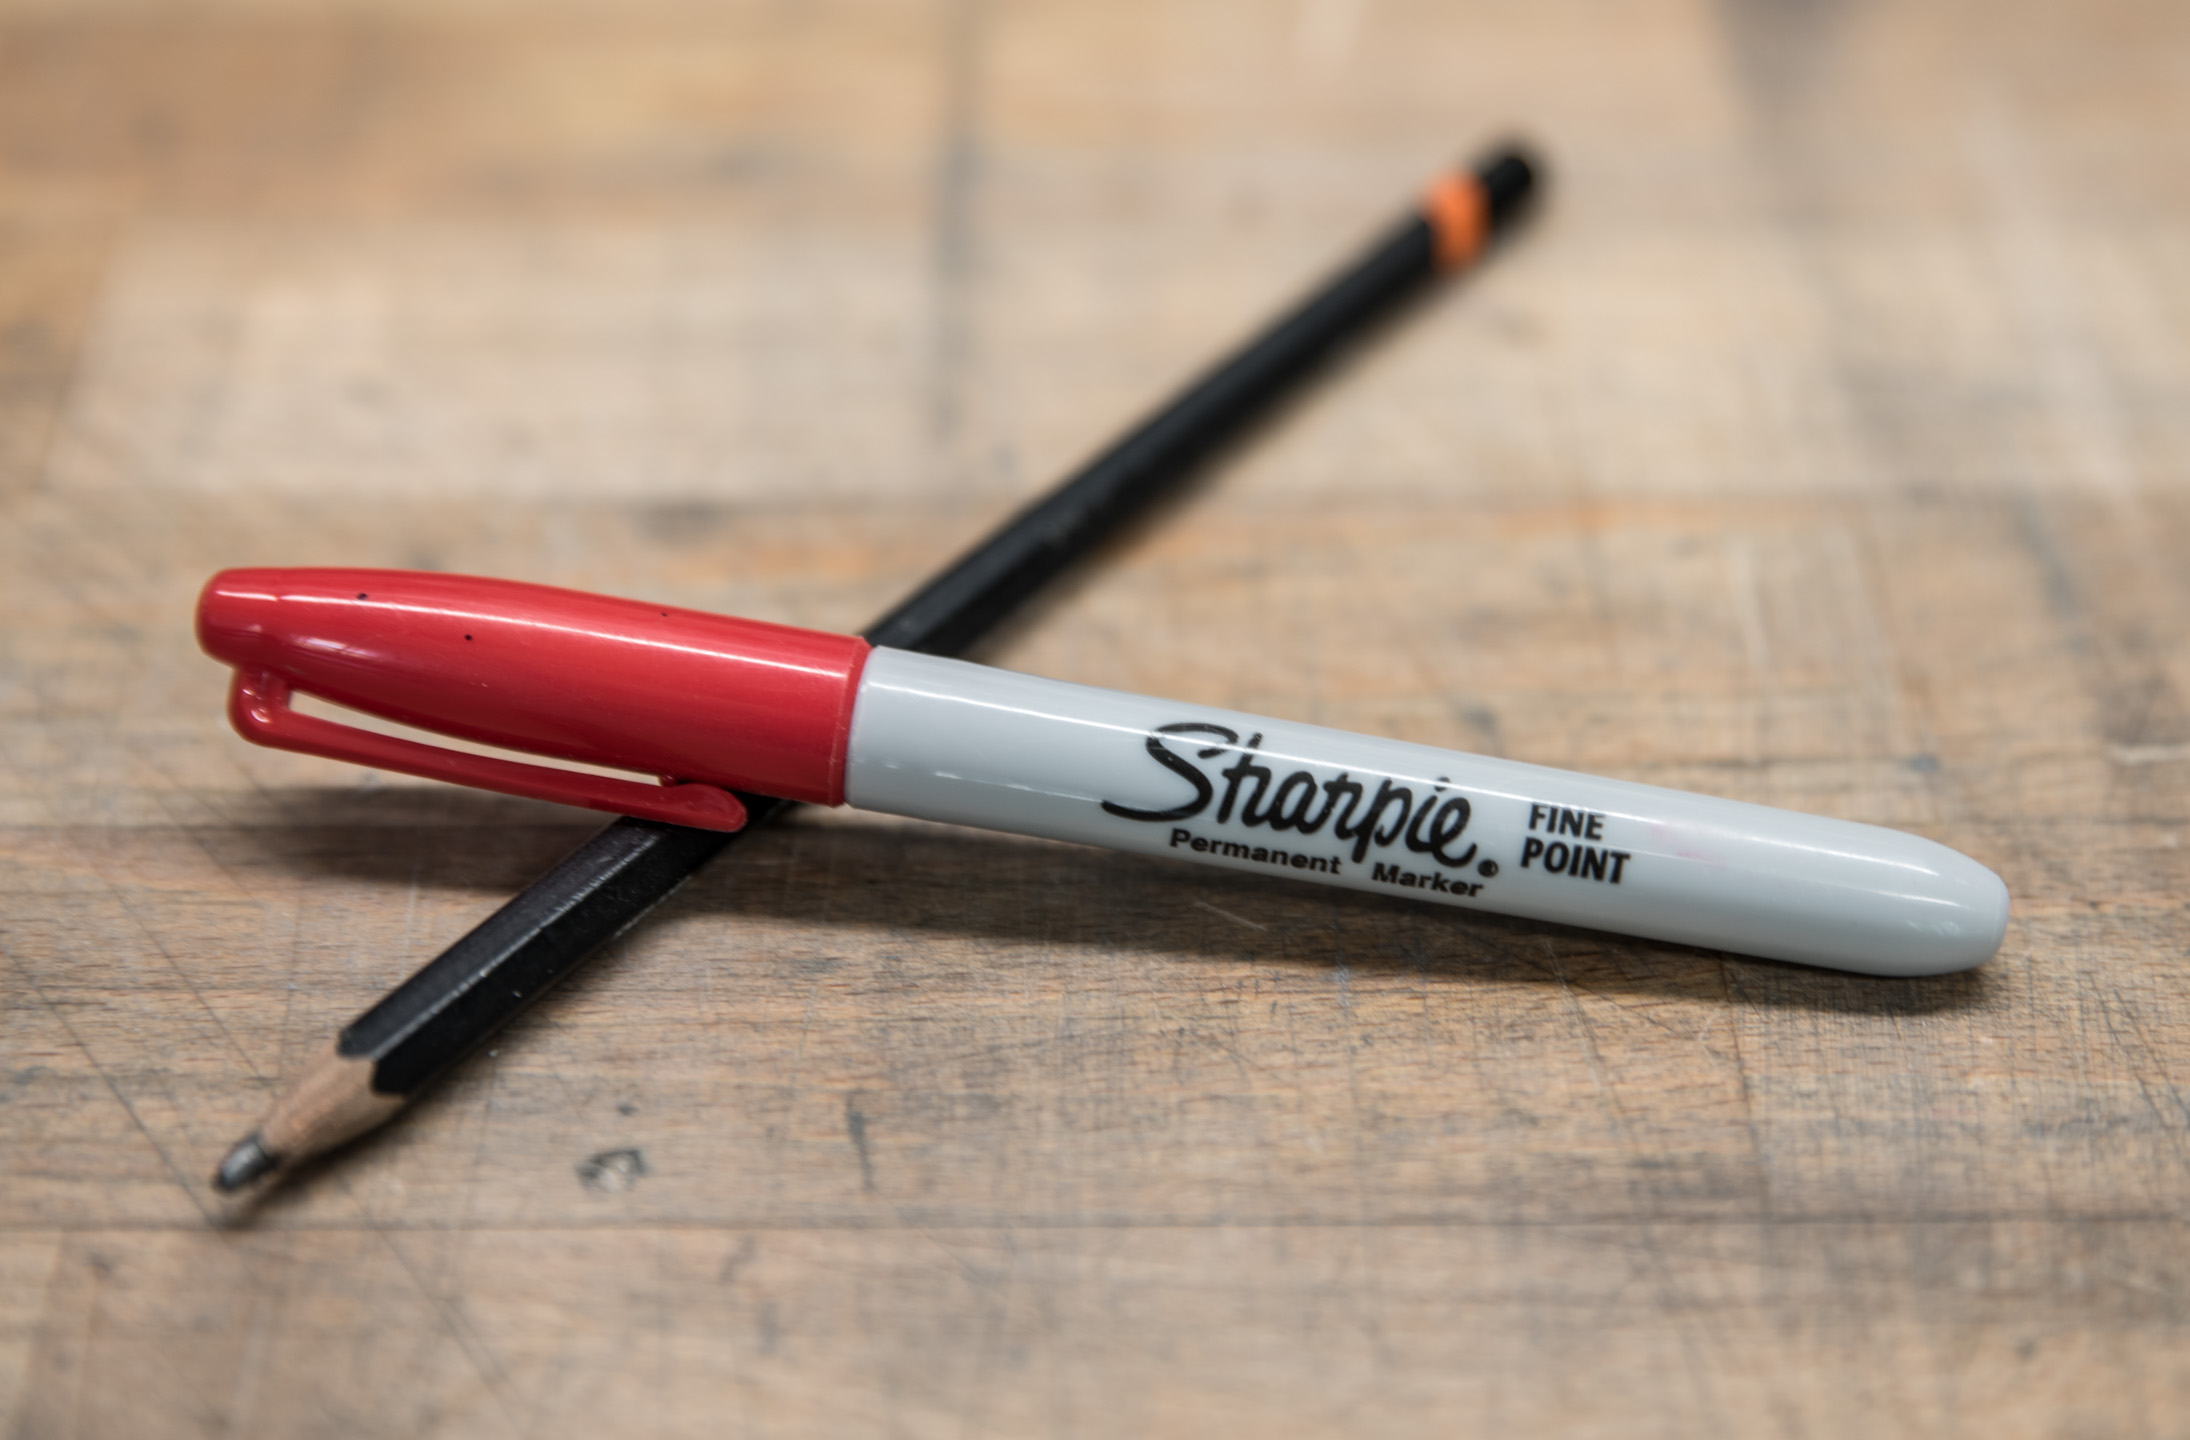
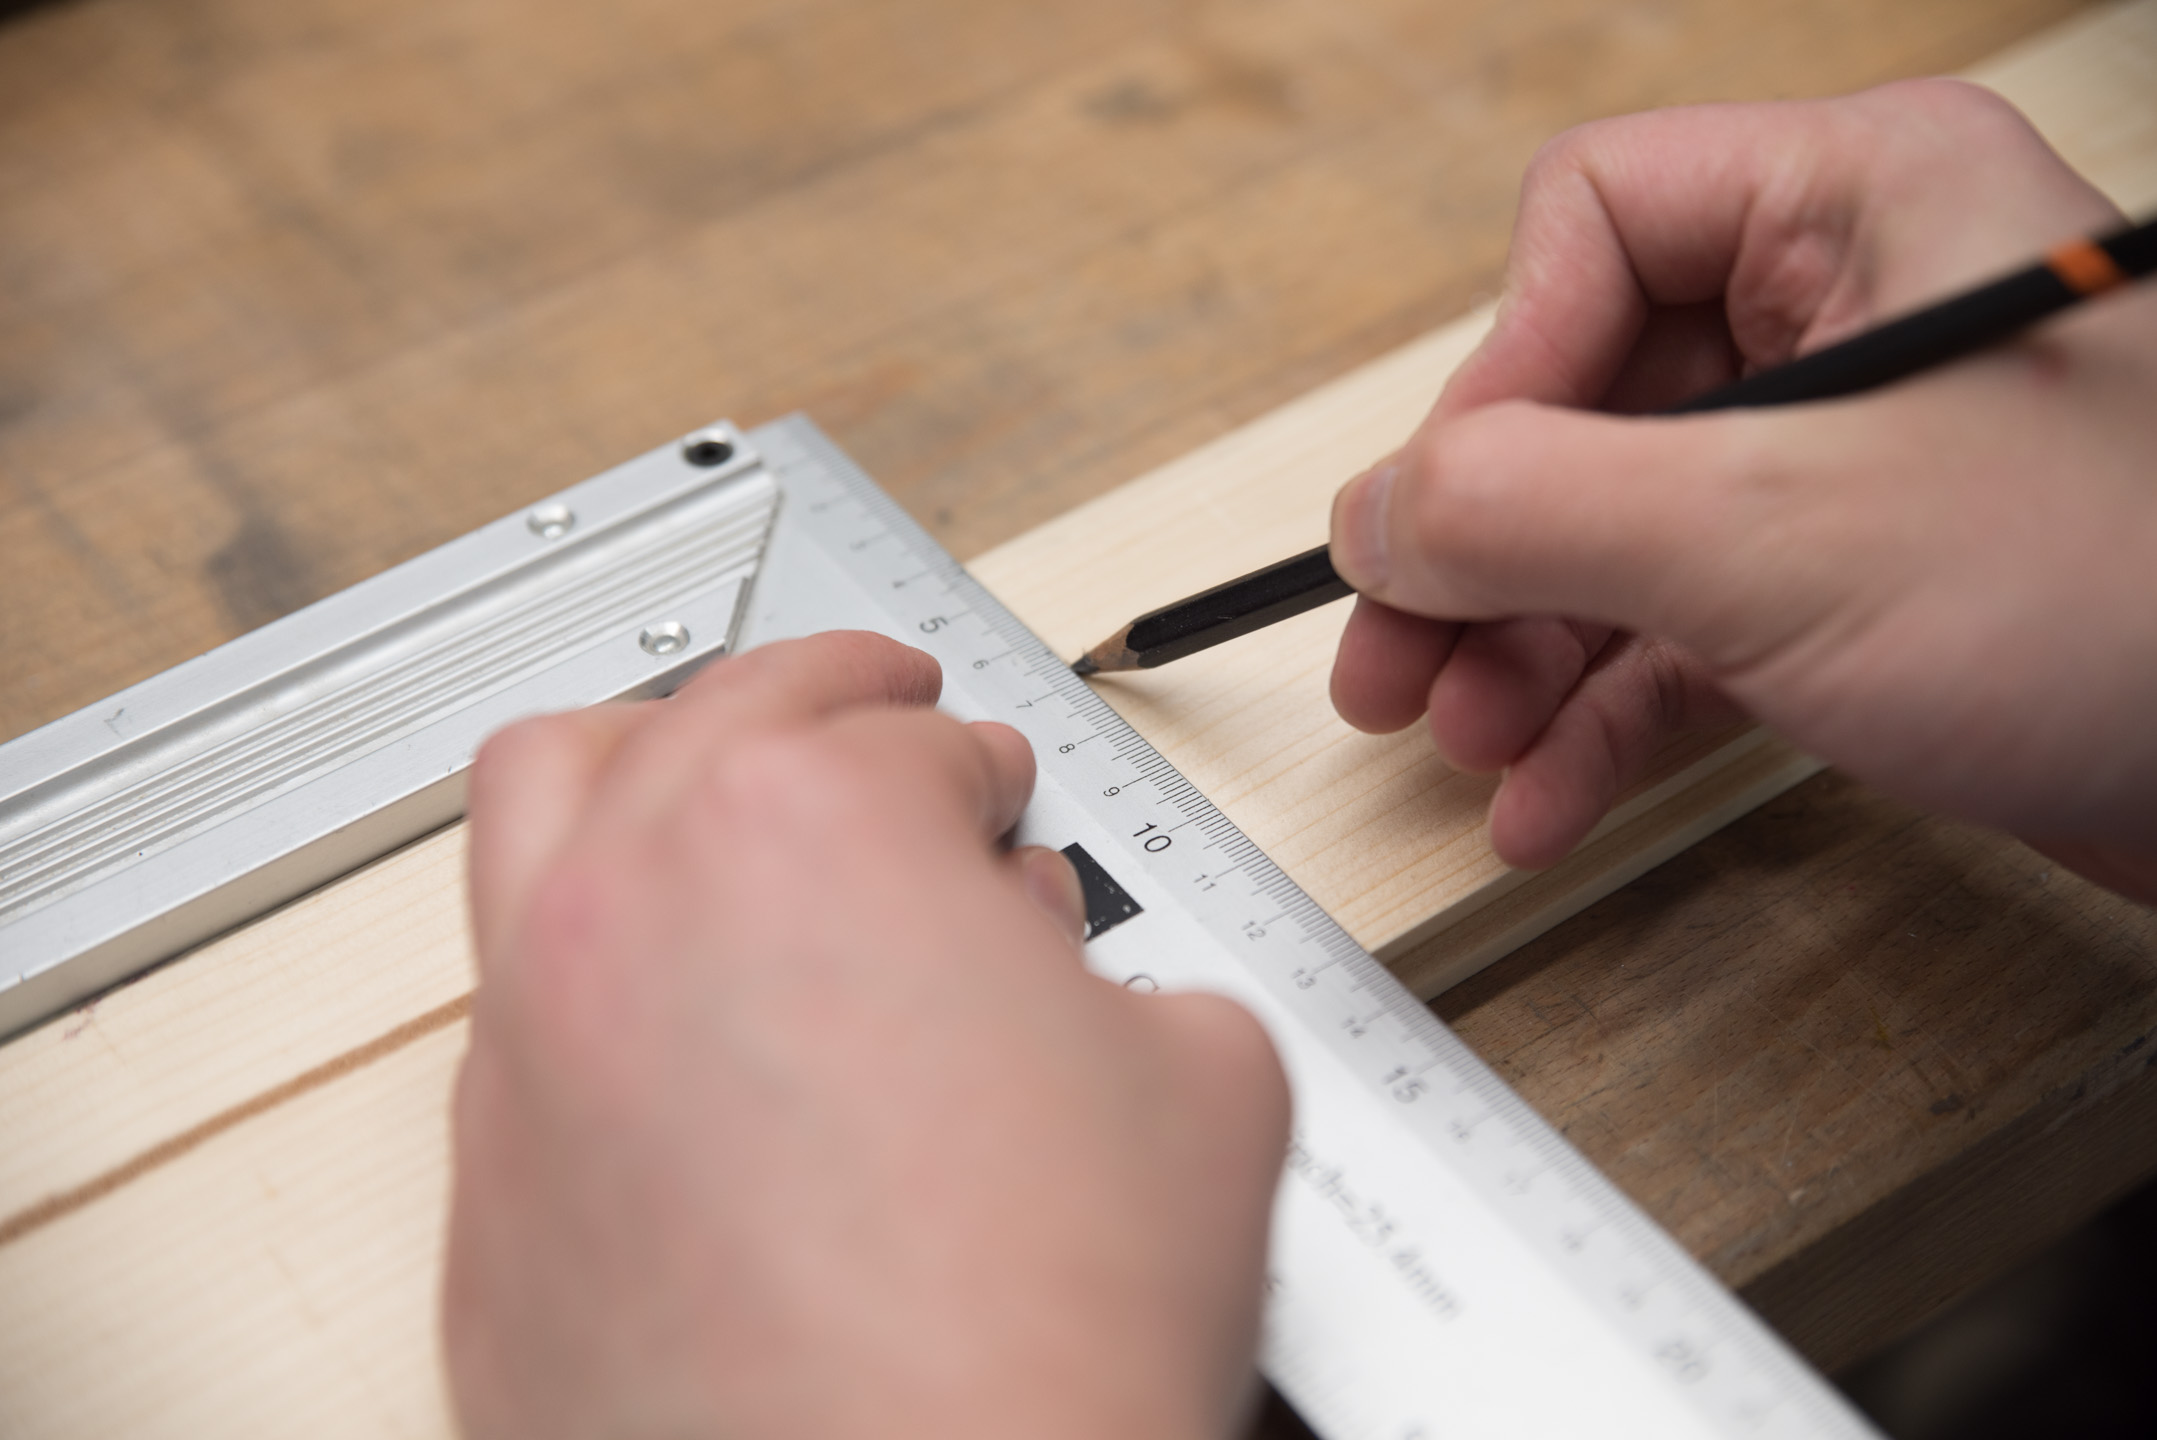
Okay, this isn't exactly rocket science, but pens and pencils funnily enough make decent tools for marking cutting/drilling points. When paired with a straight edge such as an engineer's square or a rule, you can achieve a lot with these simple items. If you're working with wood, a sharp pencil is a solid choice, as the lines will show up well (unless your wood is dark...) and of course can be erased afterwards assuming you don't push into the grain too much. I don't really recommend pens for wood, since the grain can soak up the ink, causing the line to bleed.
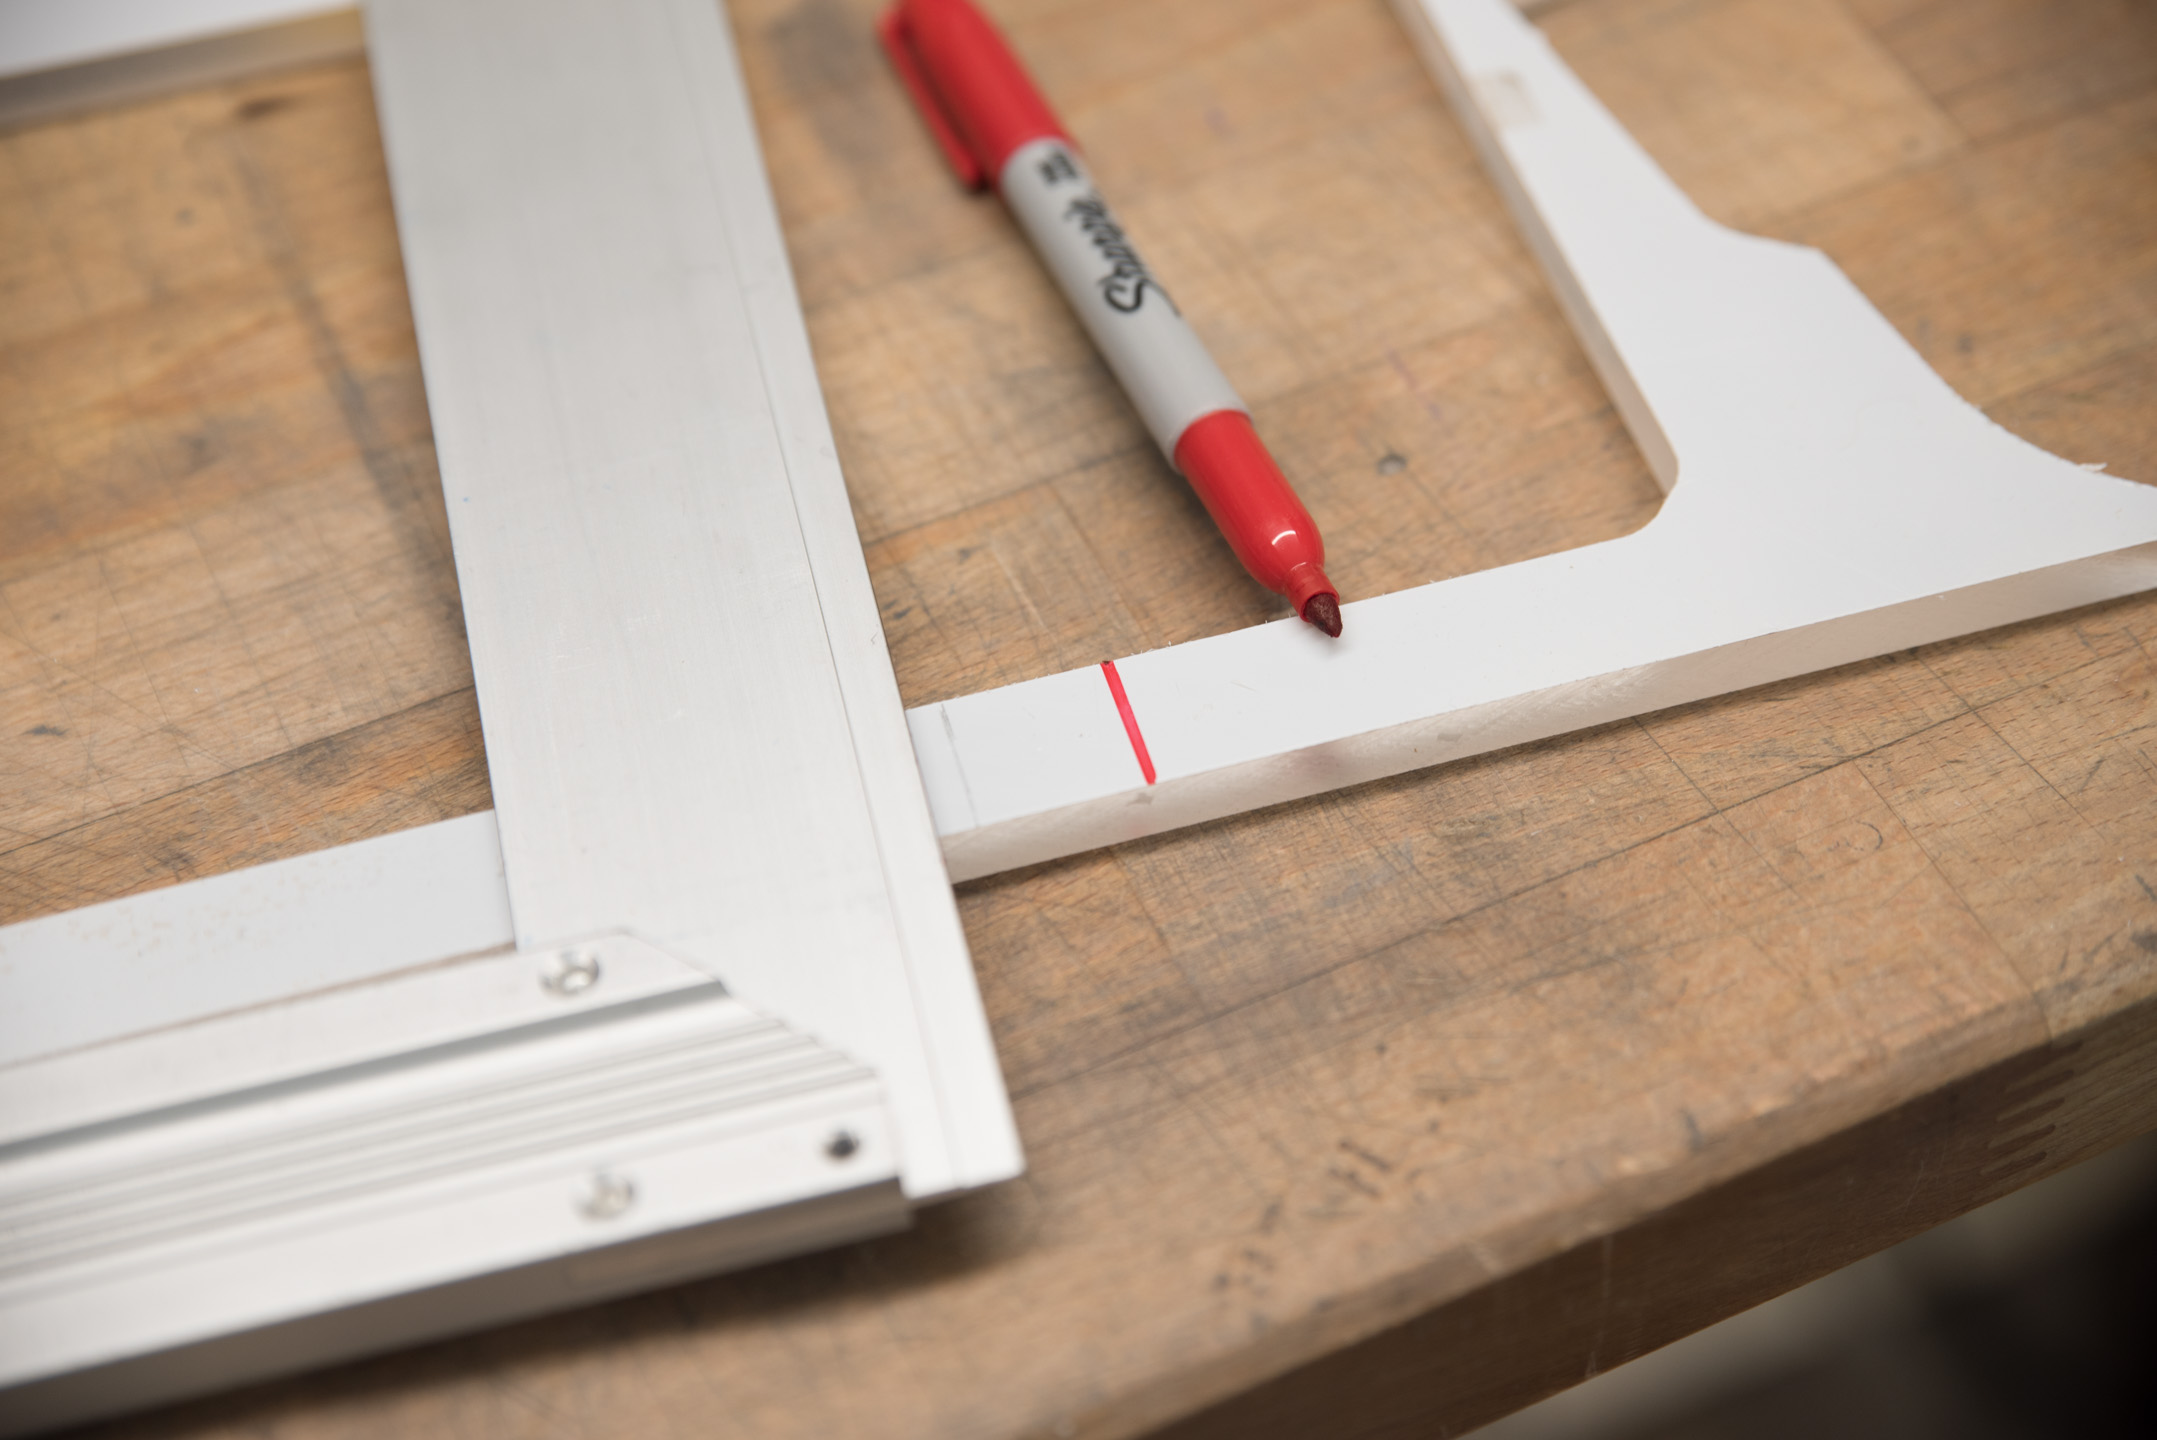
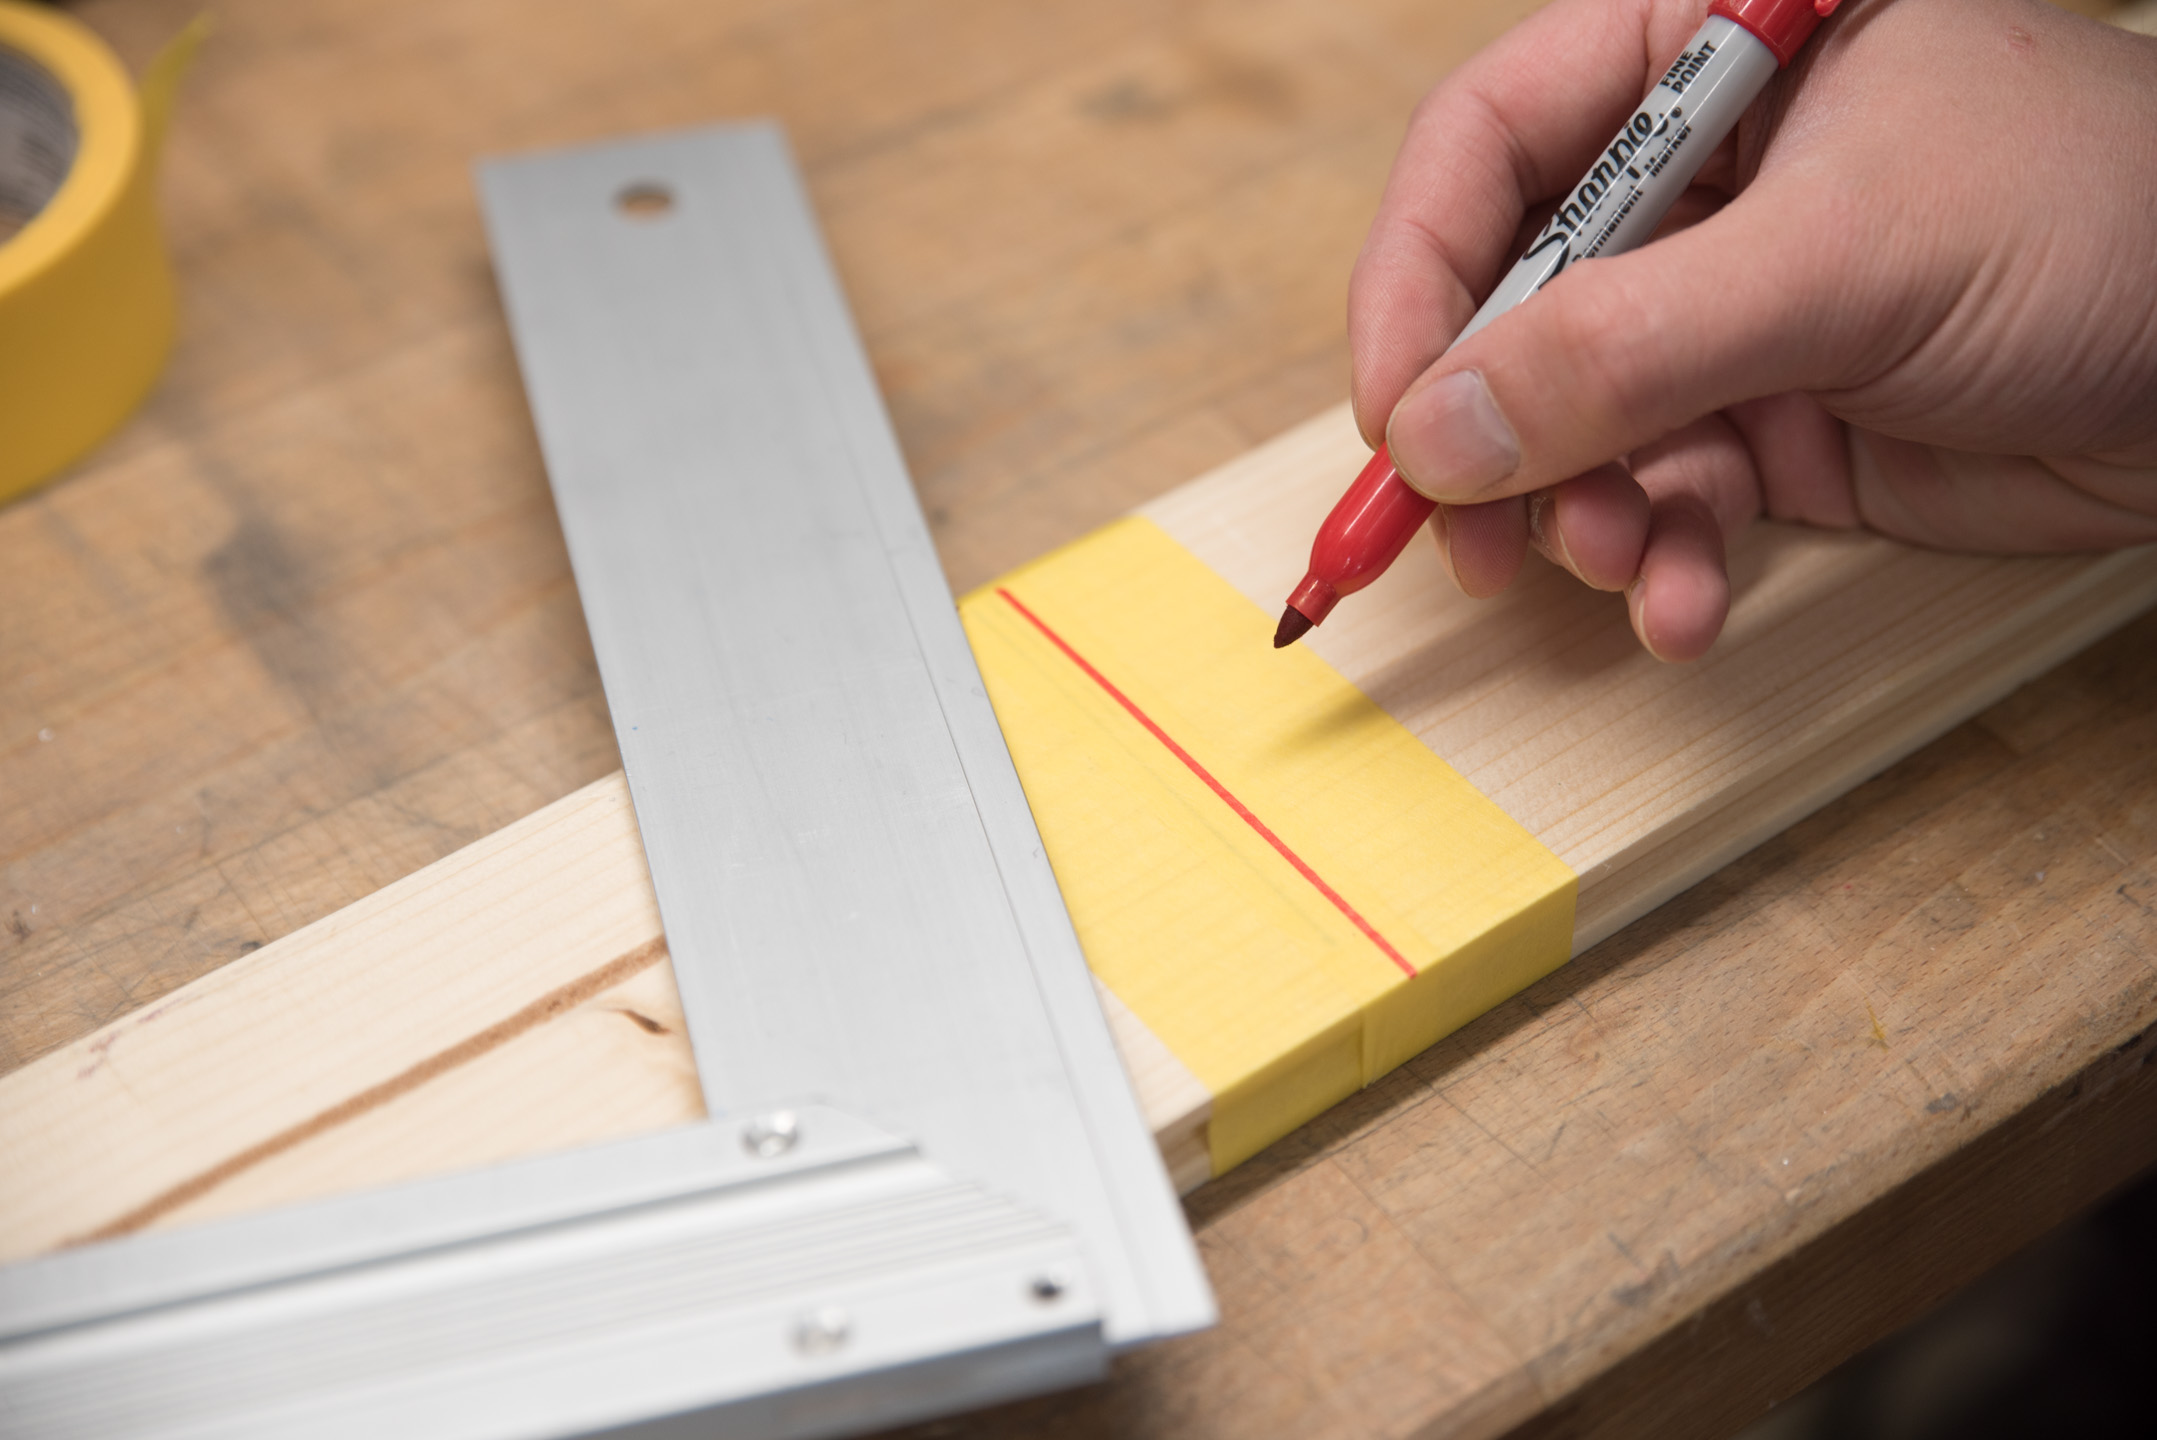
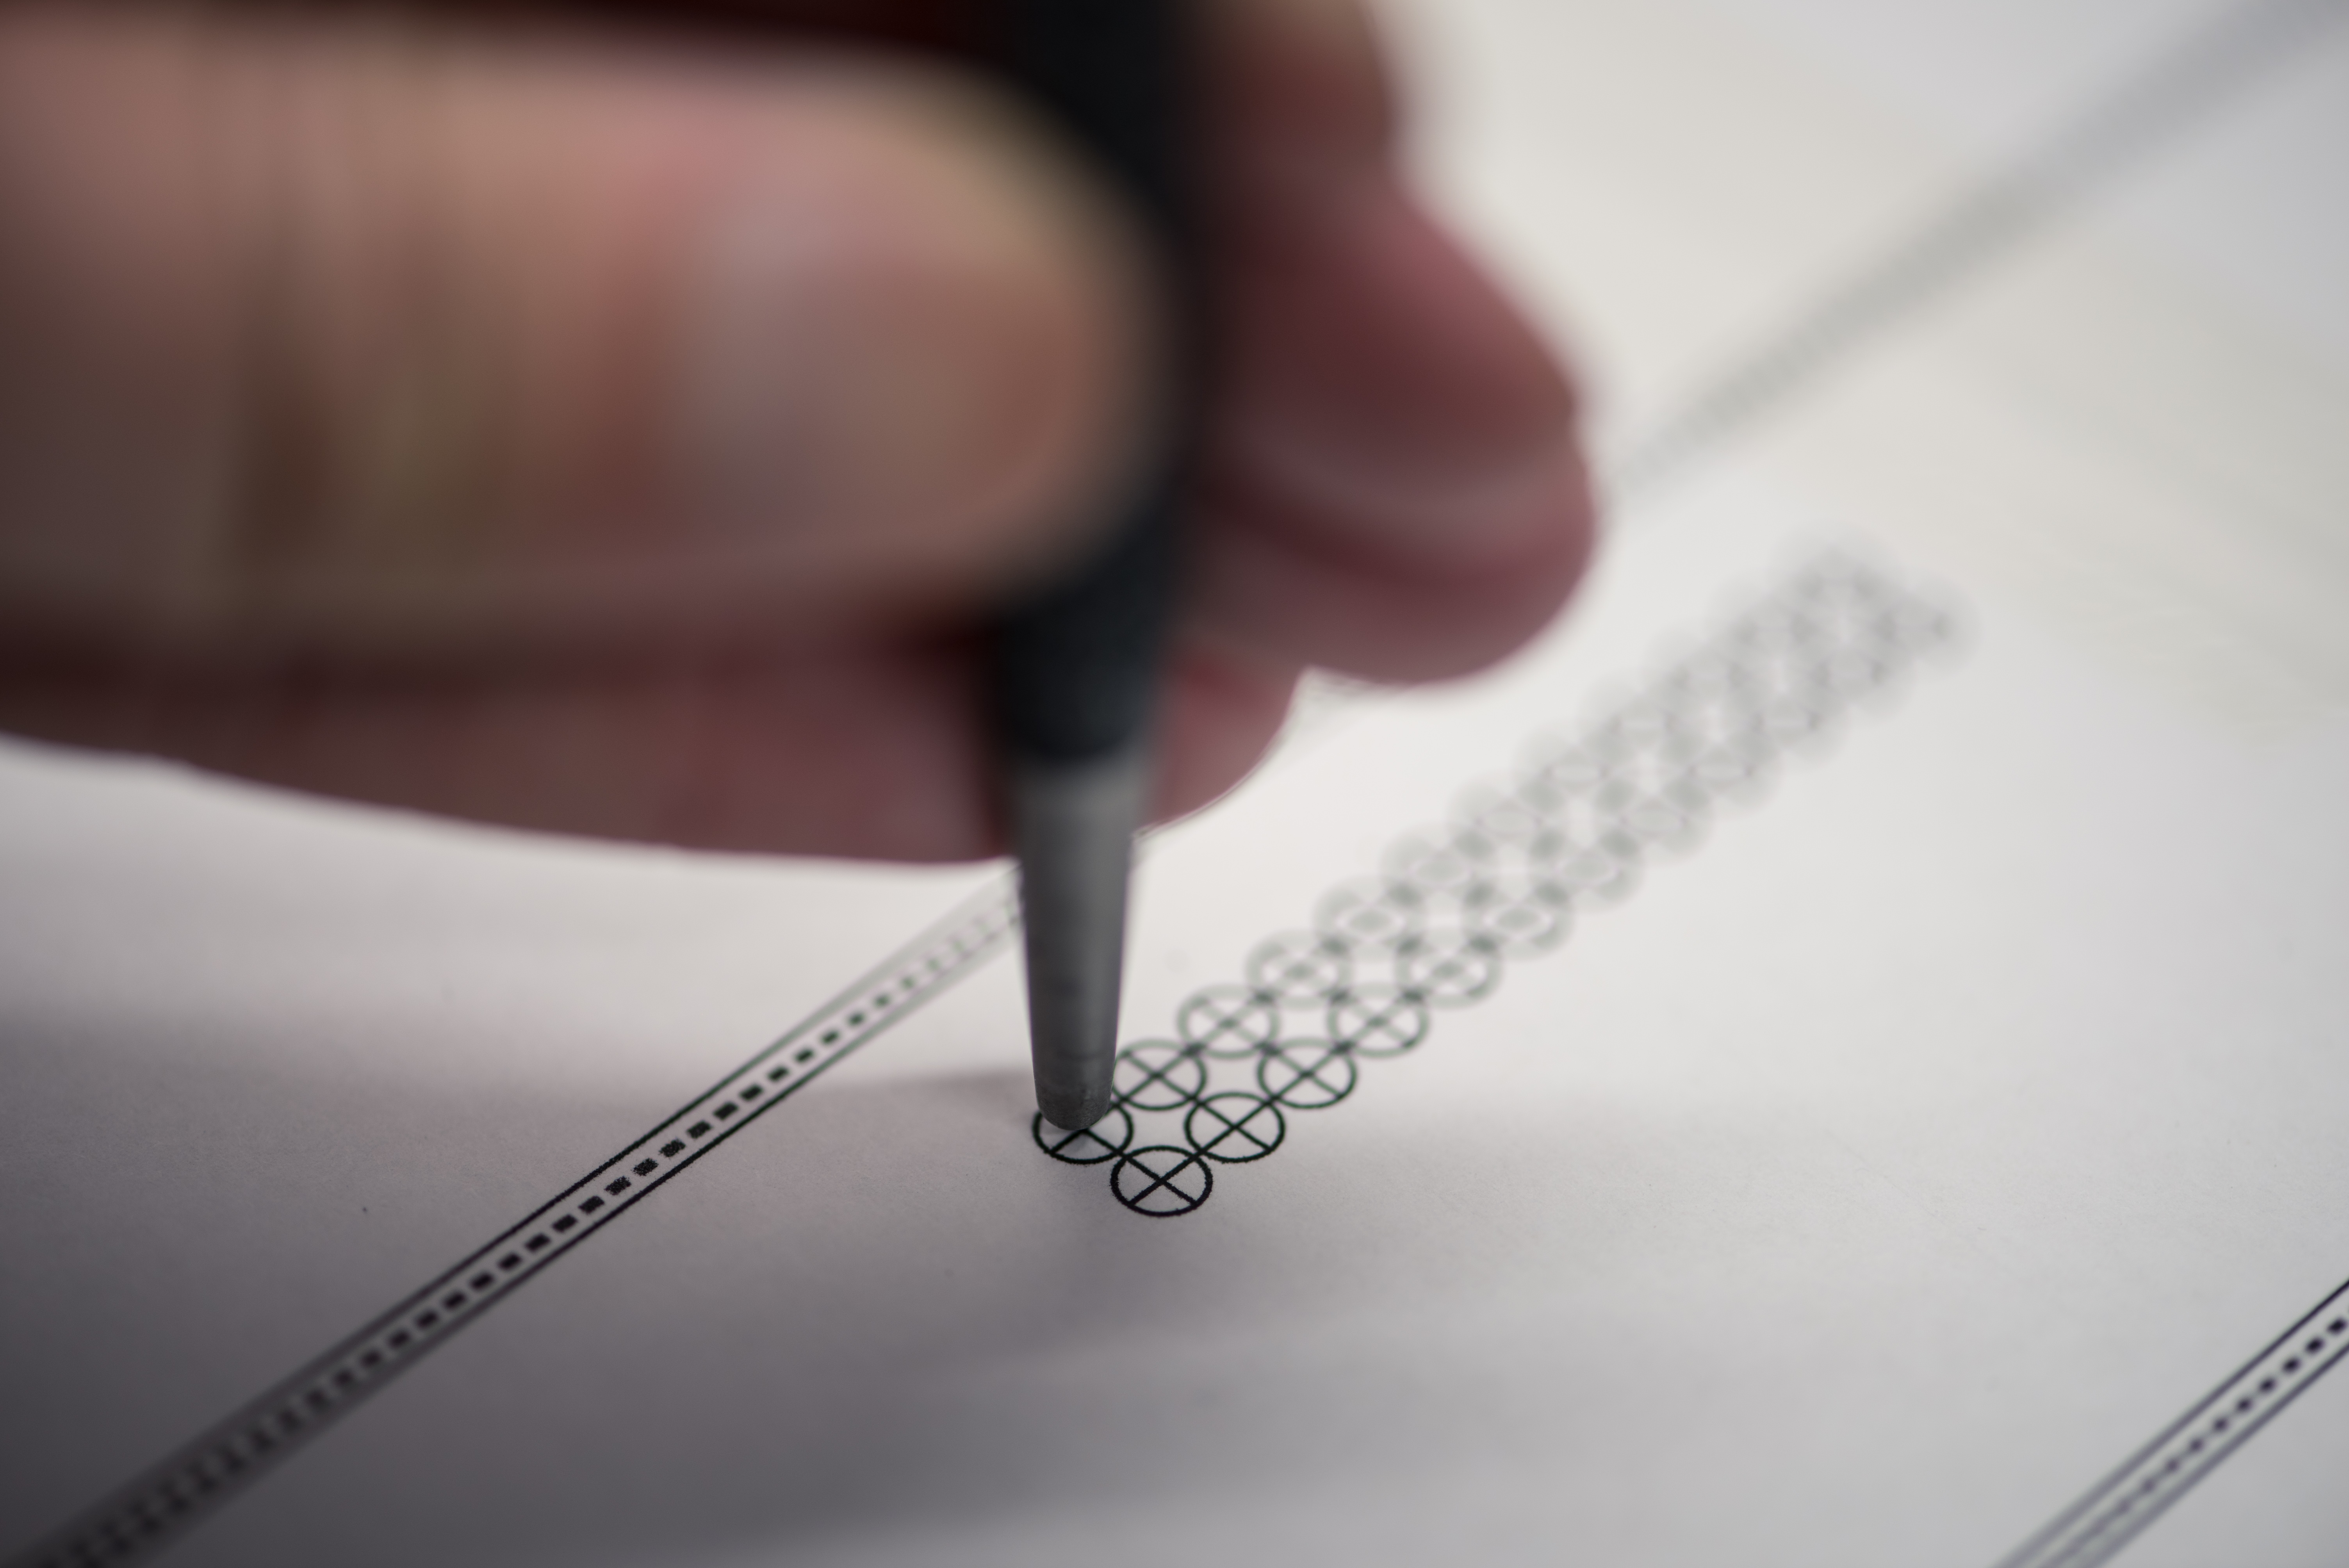
For plastics, pencil can work, but honestly it's a bit rubbish. Generally, the smooth surface means the lines can smudge and be rubbed off during standard handling, and it's hard to get a good contrasting line that's visible under all light conditions. Most plastics when purchased as raw stock will have protective sheeting layers to prevent scratches to the surface finish, which is perfect as you can just use a pen on them. Permanent markers like Sharpies won't smudge easily so can provide a clear line; one issue, though, is they're pretty fat. When marking up, accuracy is paramount. Being half a millimetre off here and there can really add up over time, leaving you with panels that don't fit or holes that don't line up.
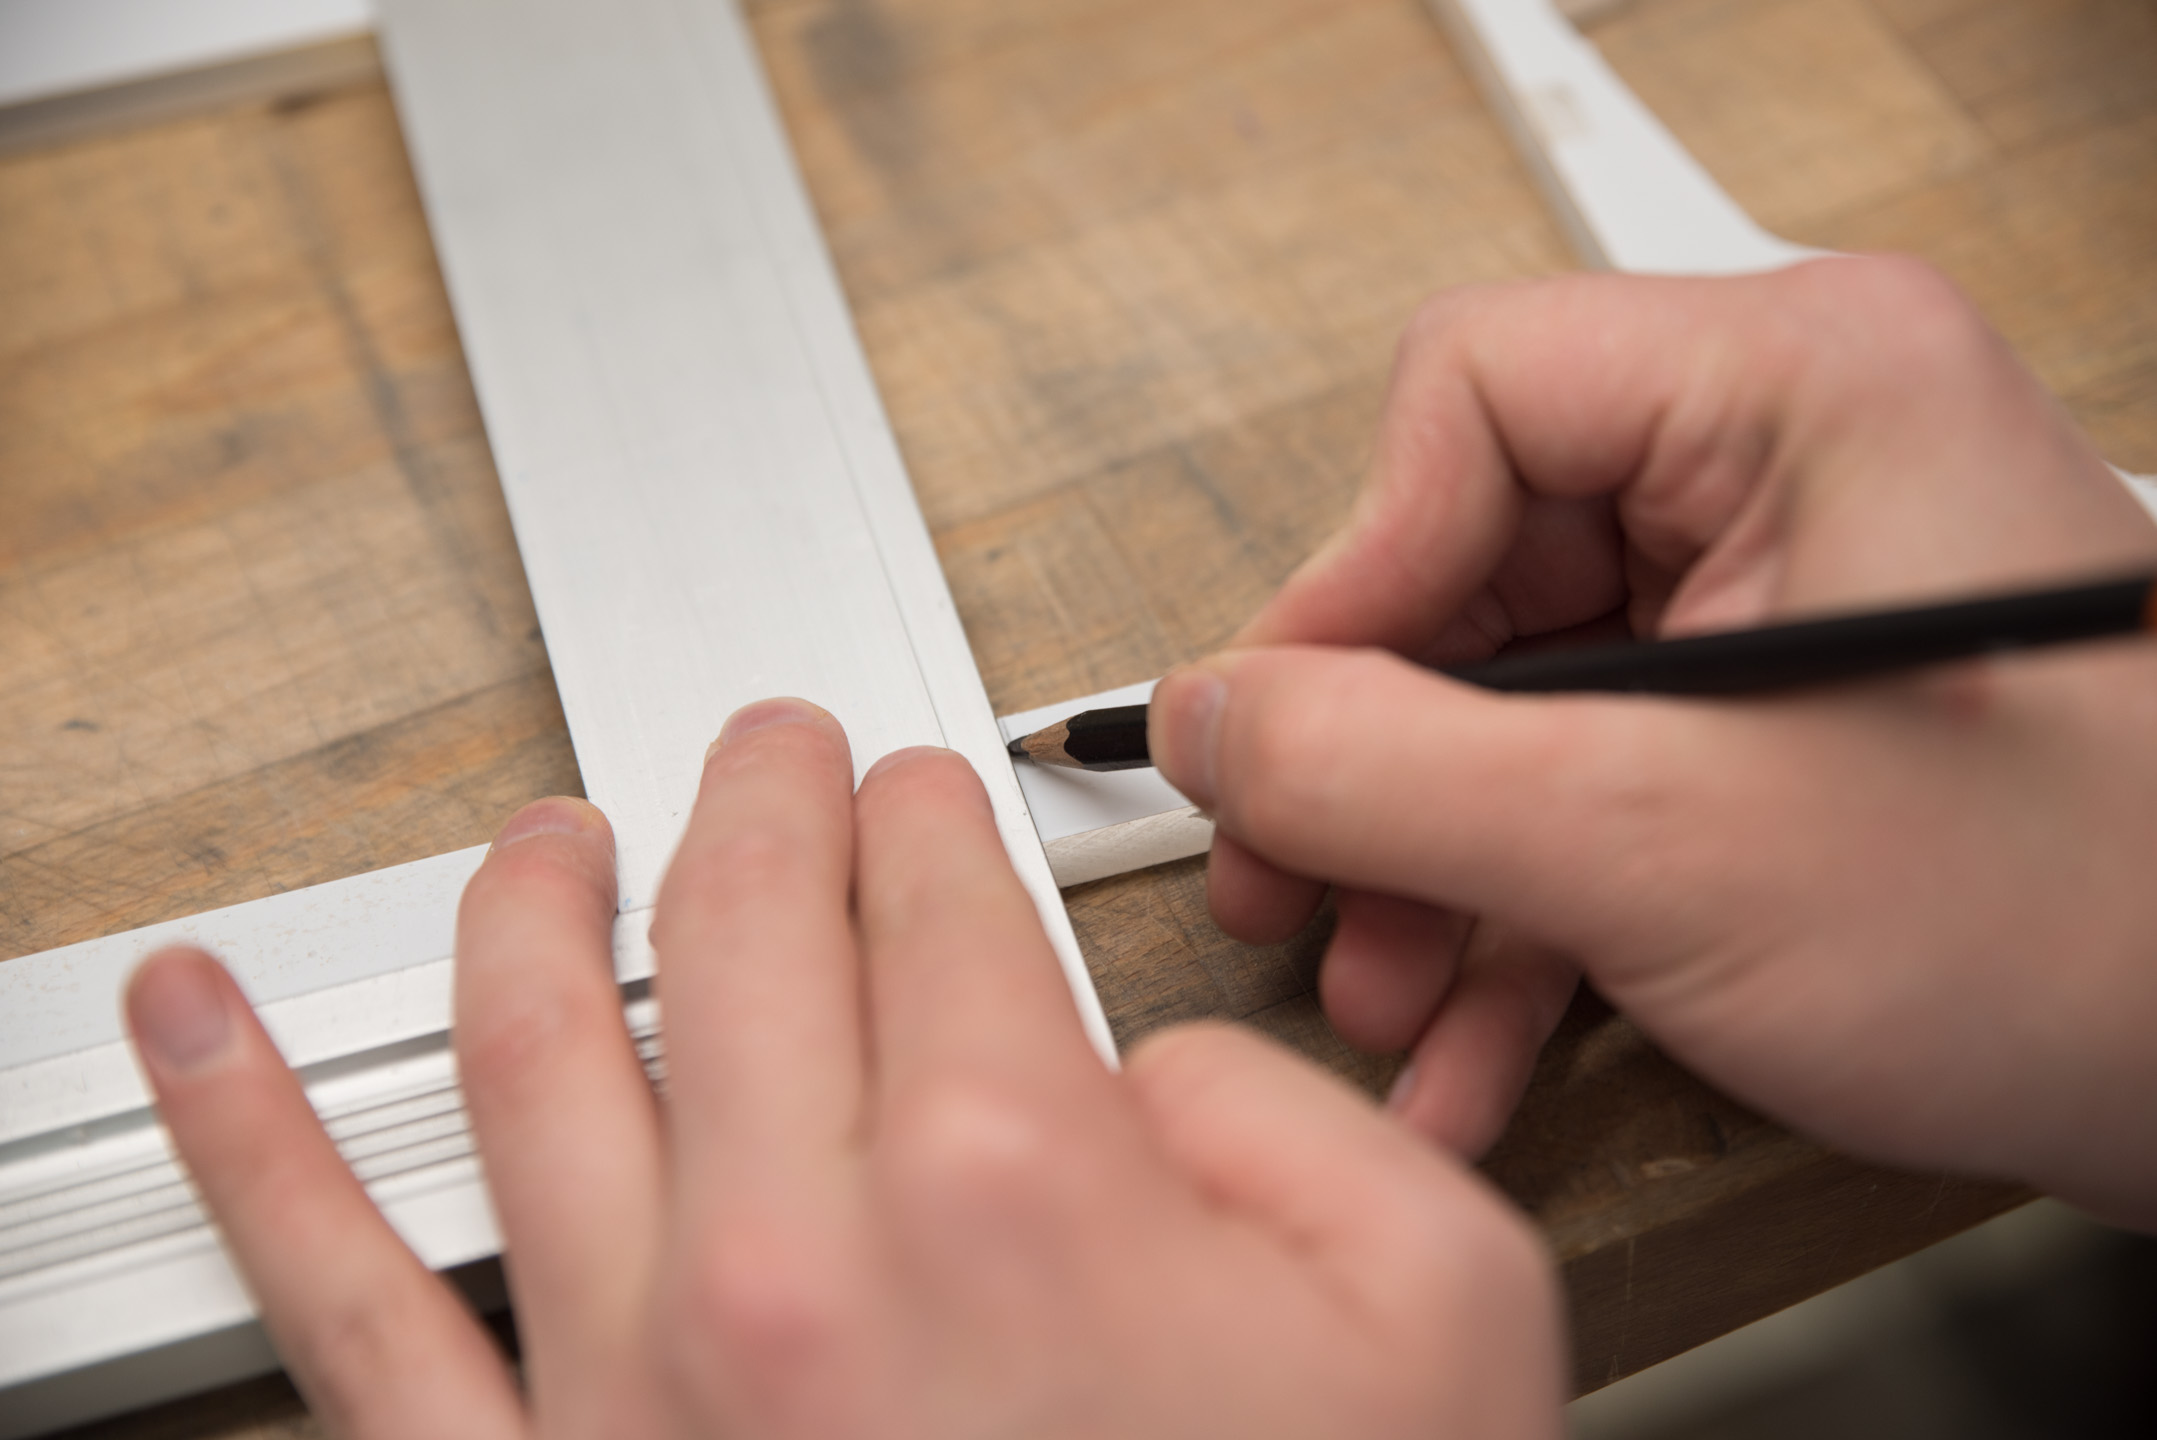
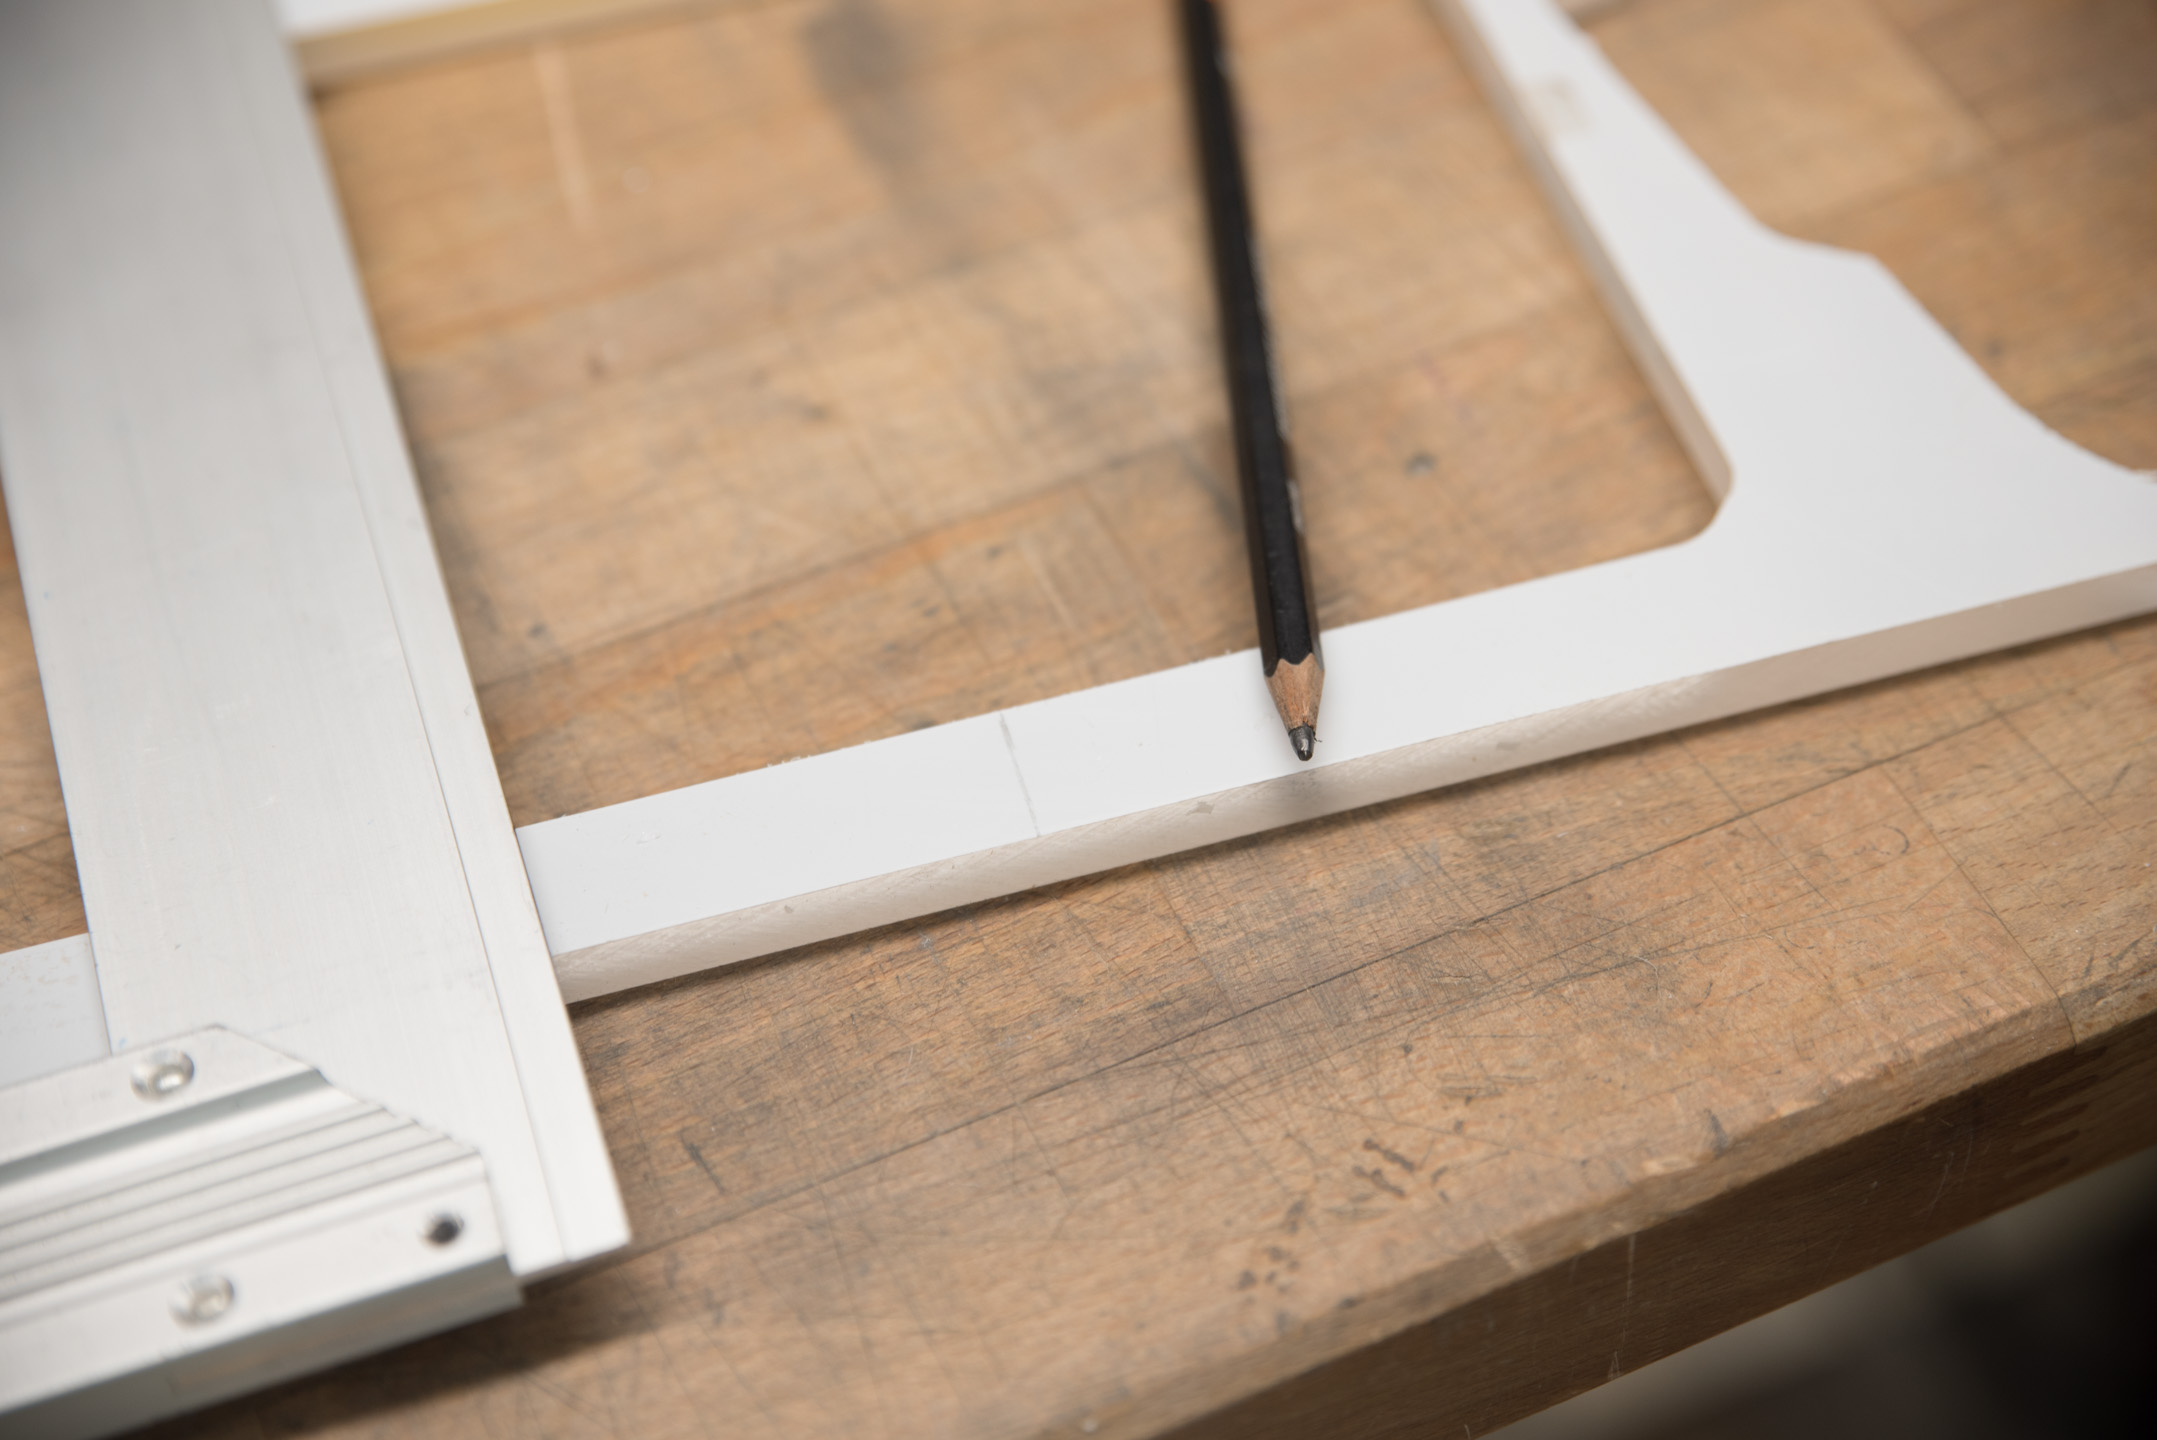
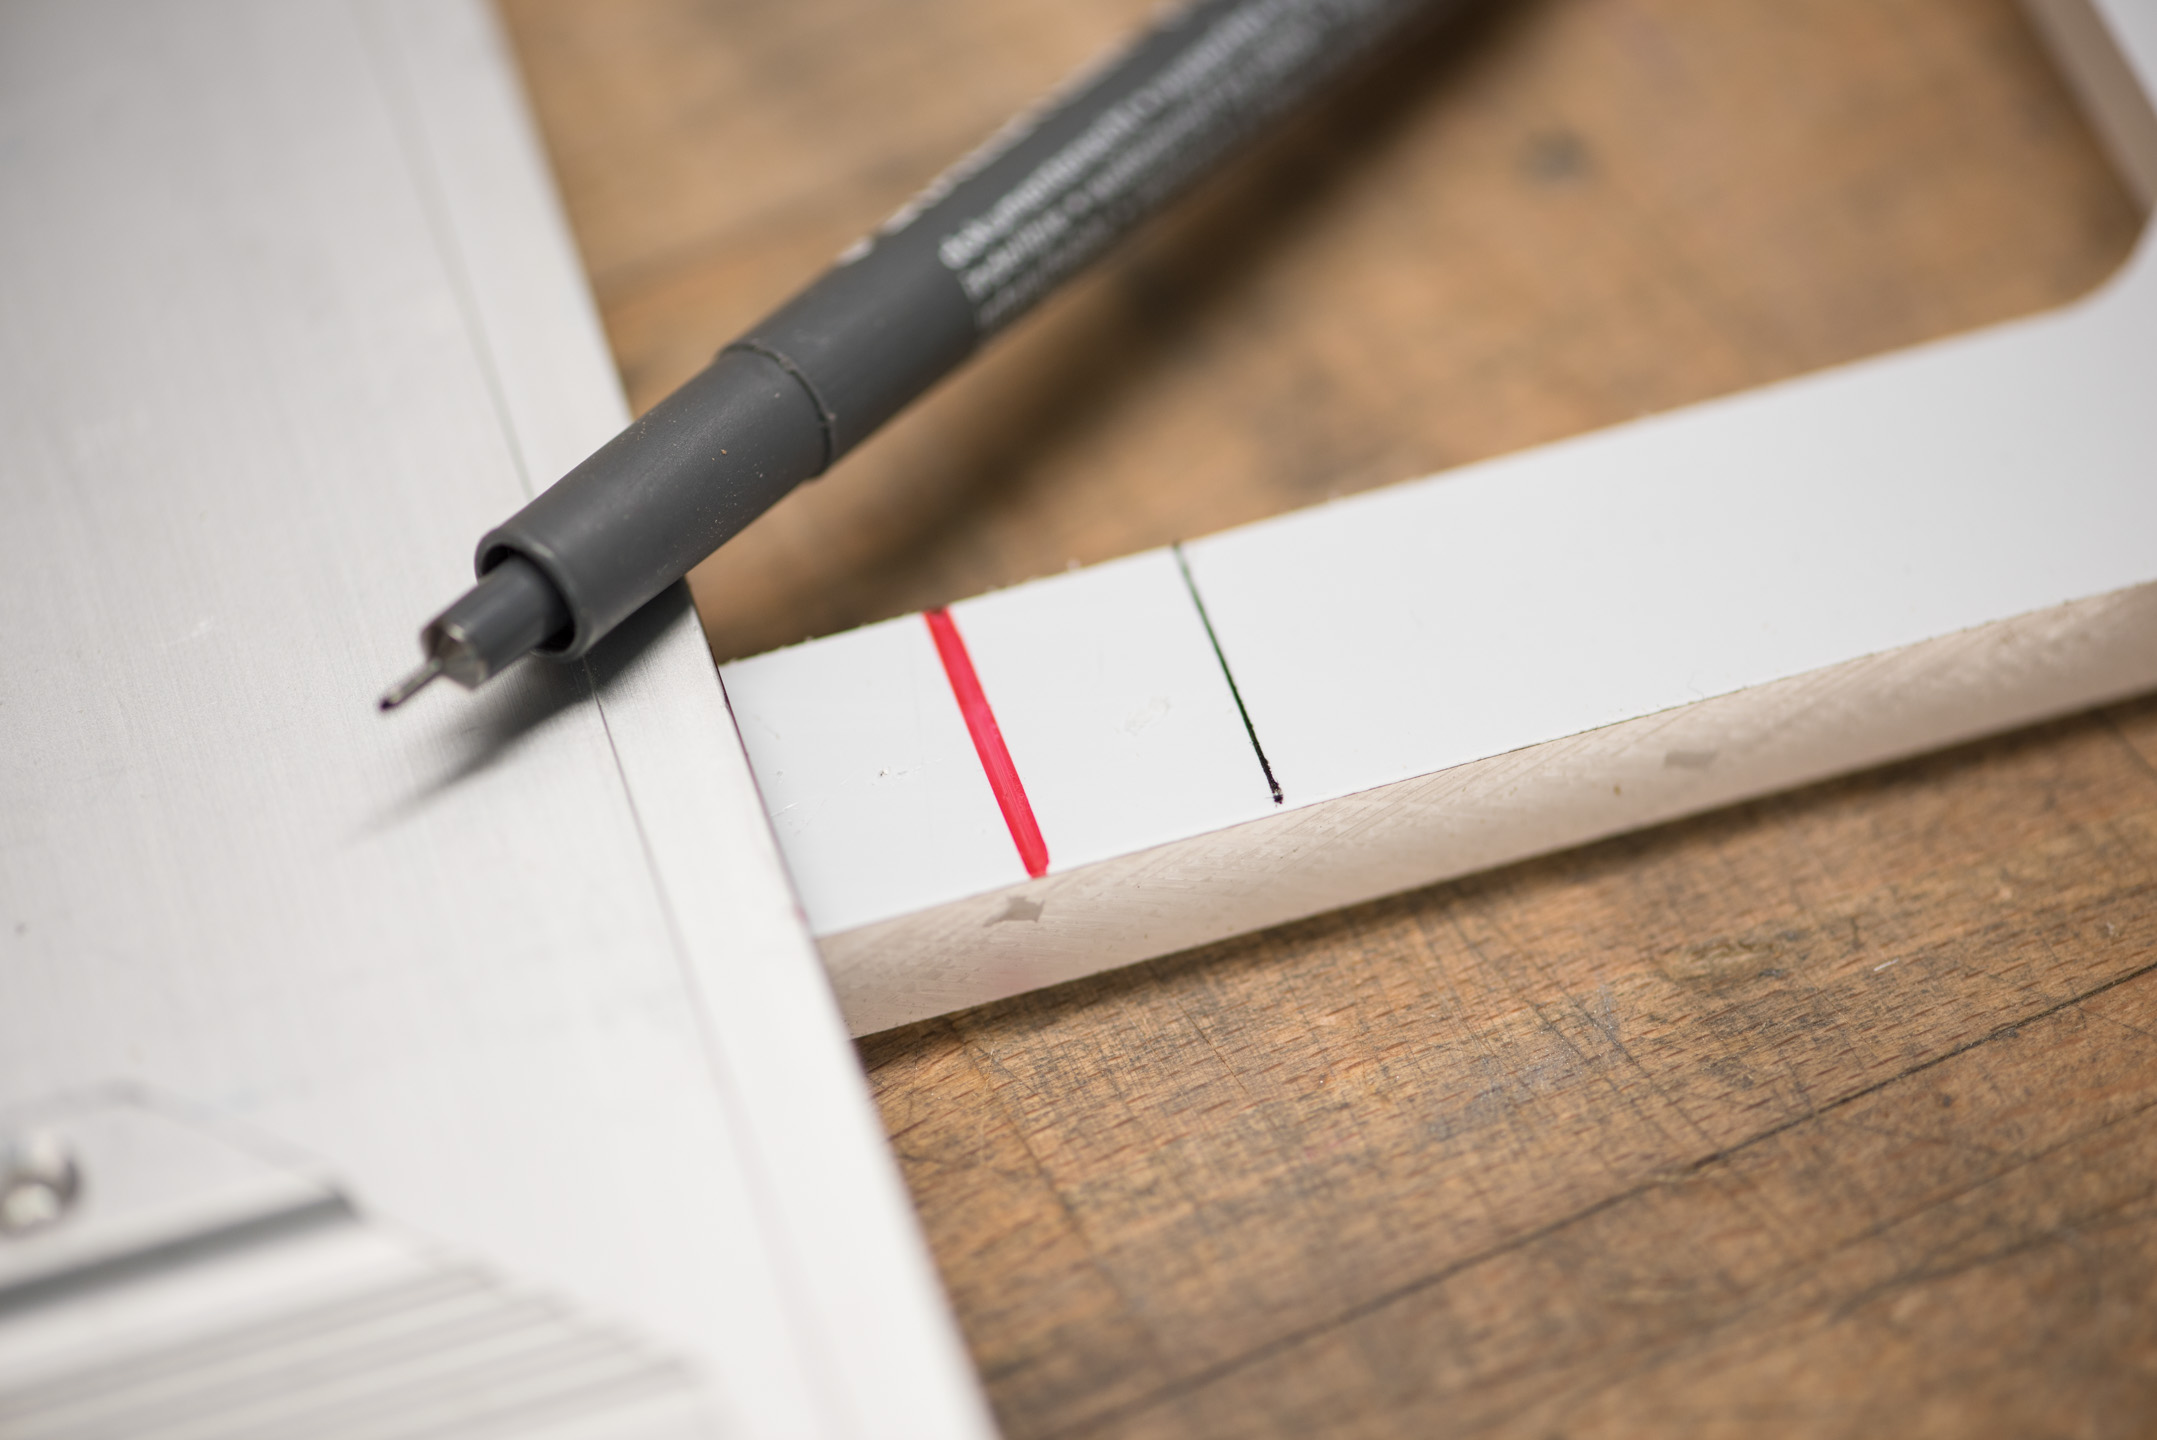
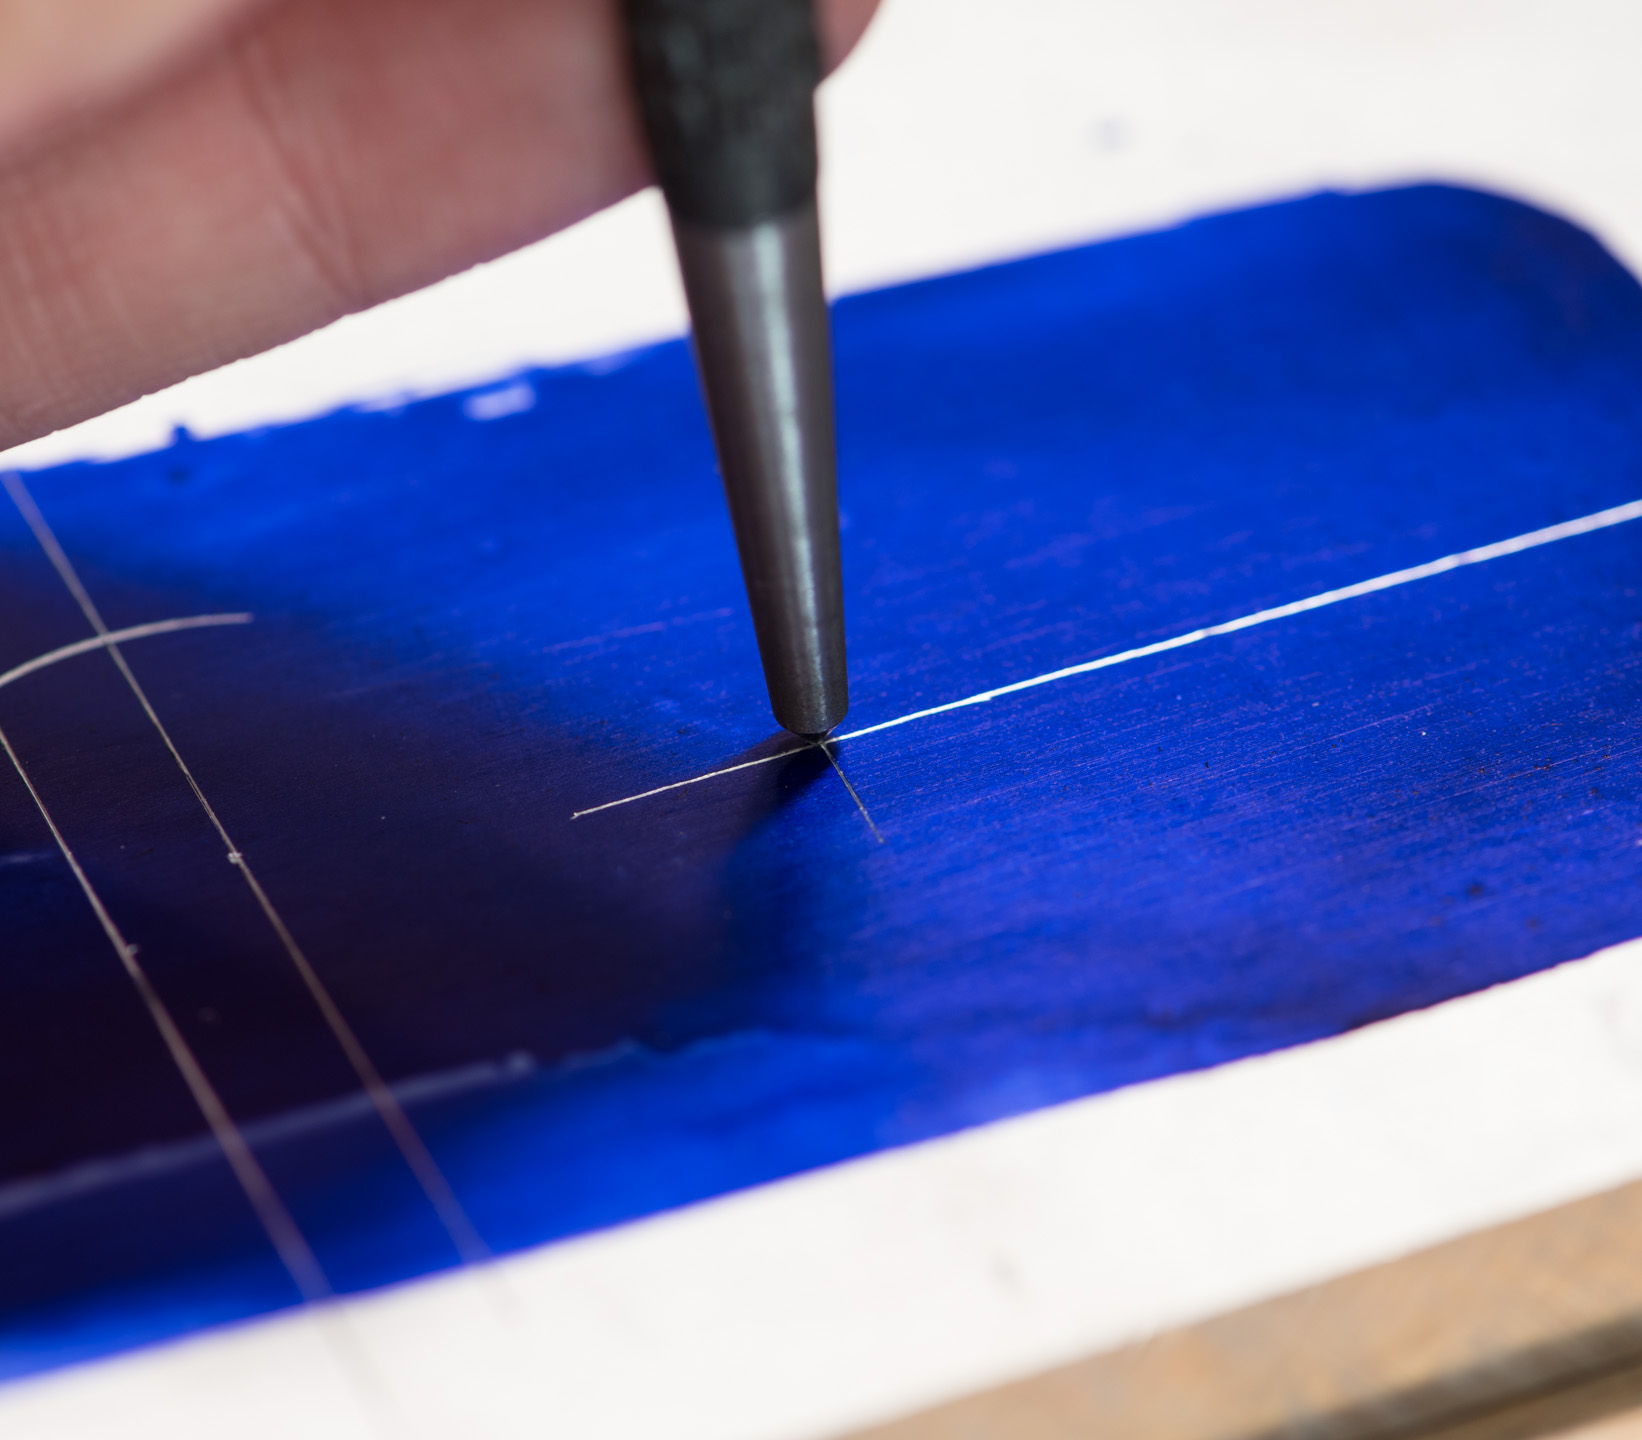
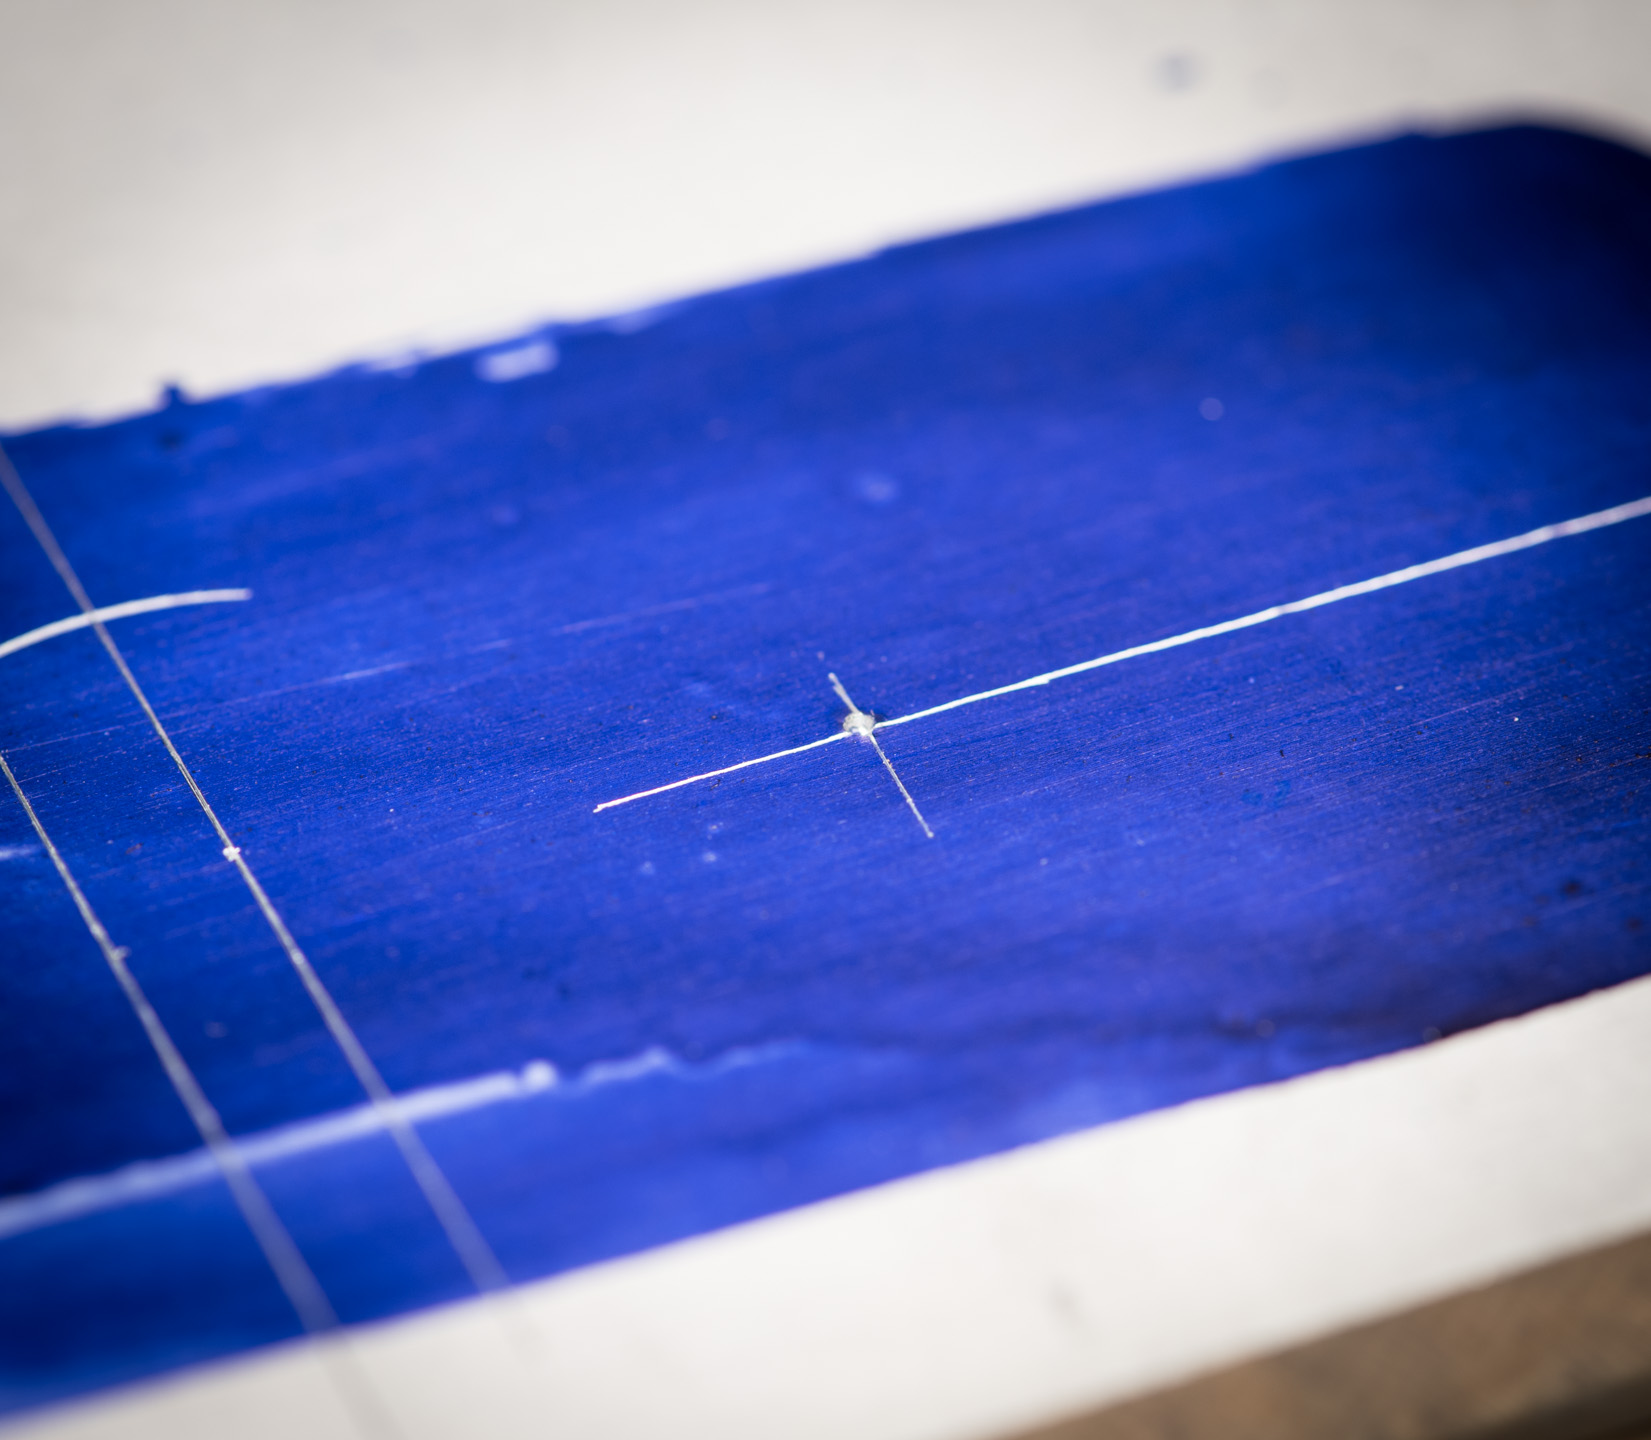
To ensure accuracy, consider your intentions! Accuracy don't necessarily mean use a thinner pen. Whilst you can see in the picture that the line is much thinner, that doesn't mean you can cut it better. In fact I often will use a fat marker to be accurate, because you can get a thick line up to a certain point, then after cutting you can sand away the remaining material until all the ink has disappeared. This is significantly easier with a thicker line than a thin one. Conversely, if you want to drill holes, you need a precise point, so a fat pen/pencil is useless for that. Draw a cross with the thinnest pen/pencil you have; the cross section of the lines is where your hole goes.
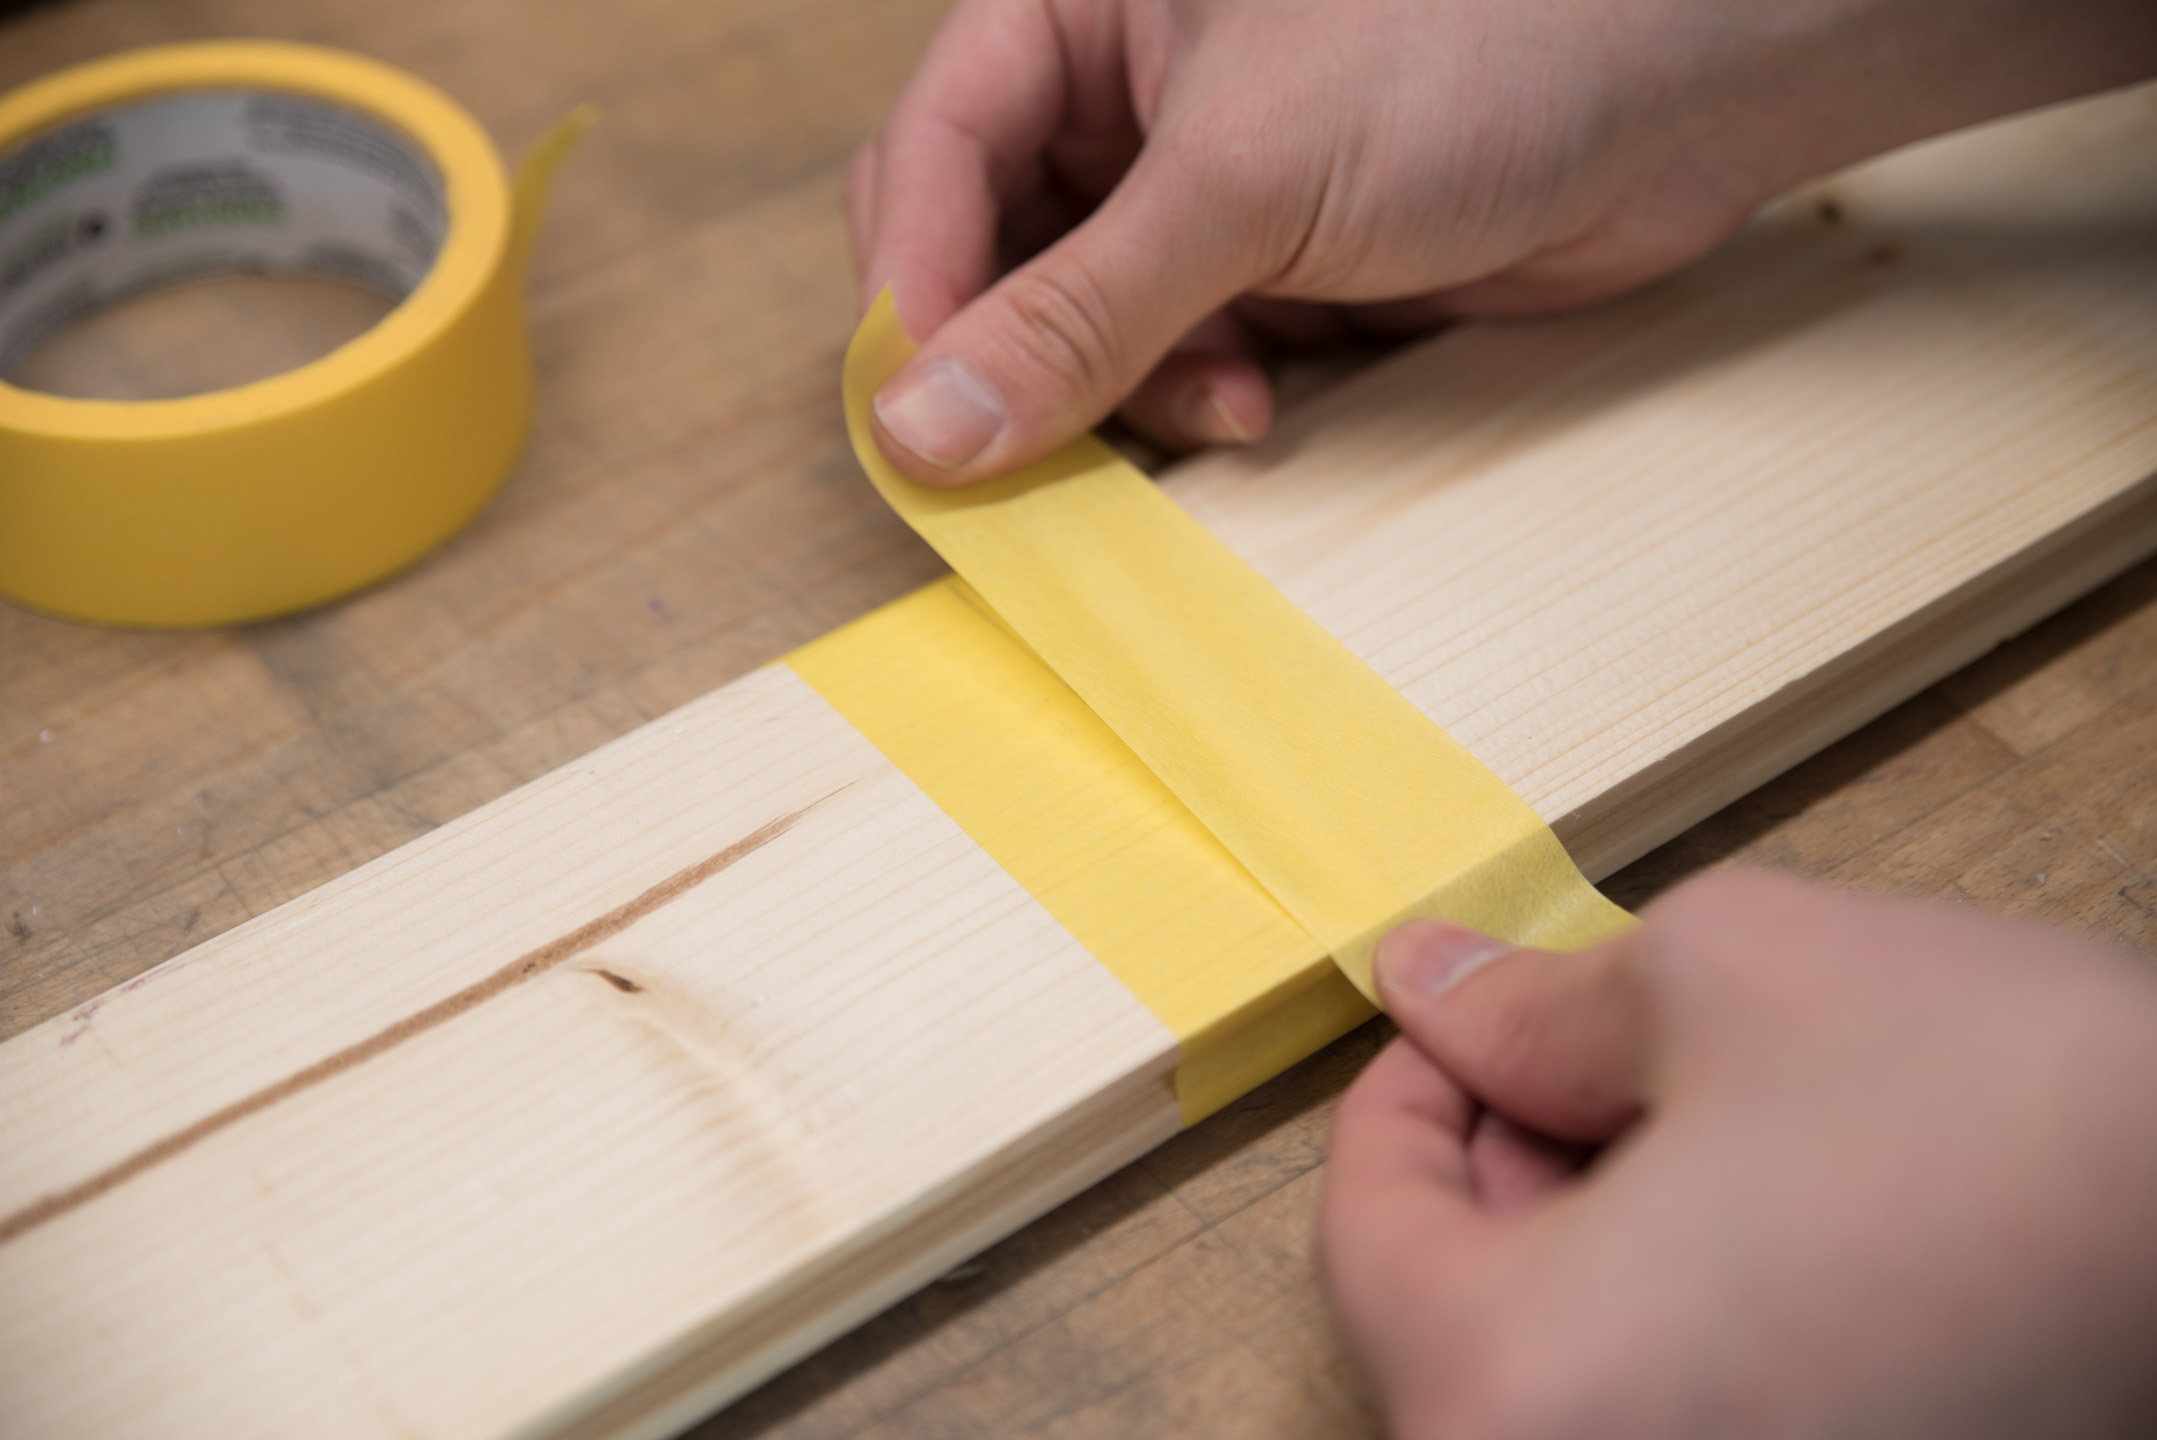
Masking Your Surface
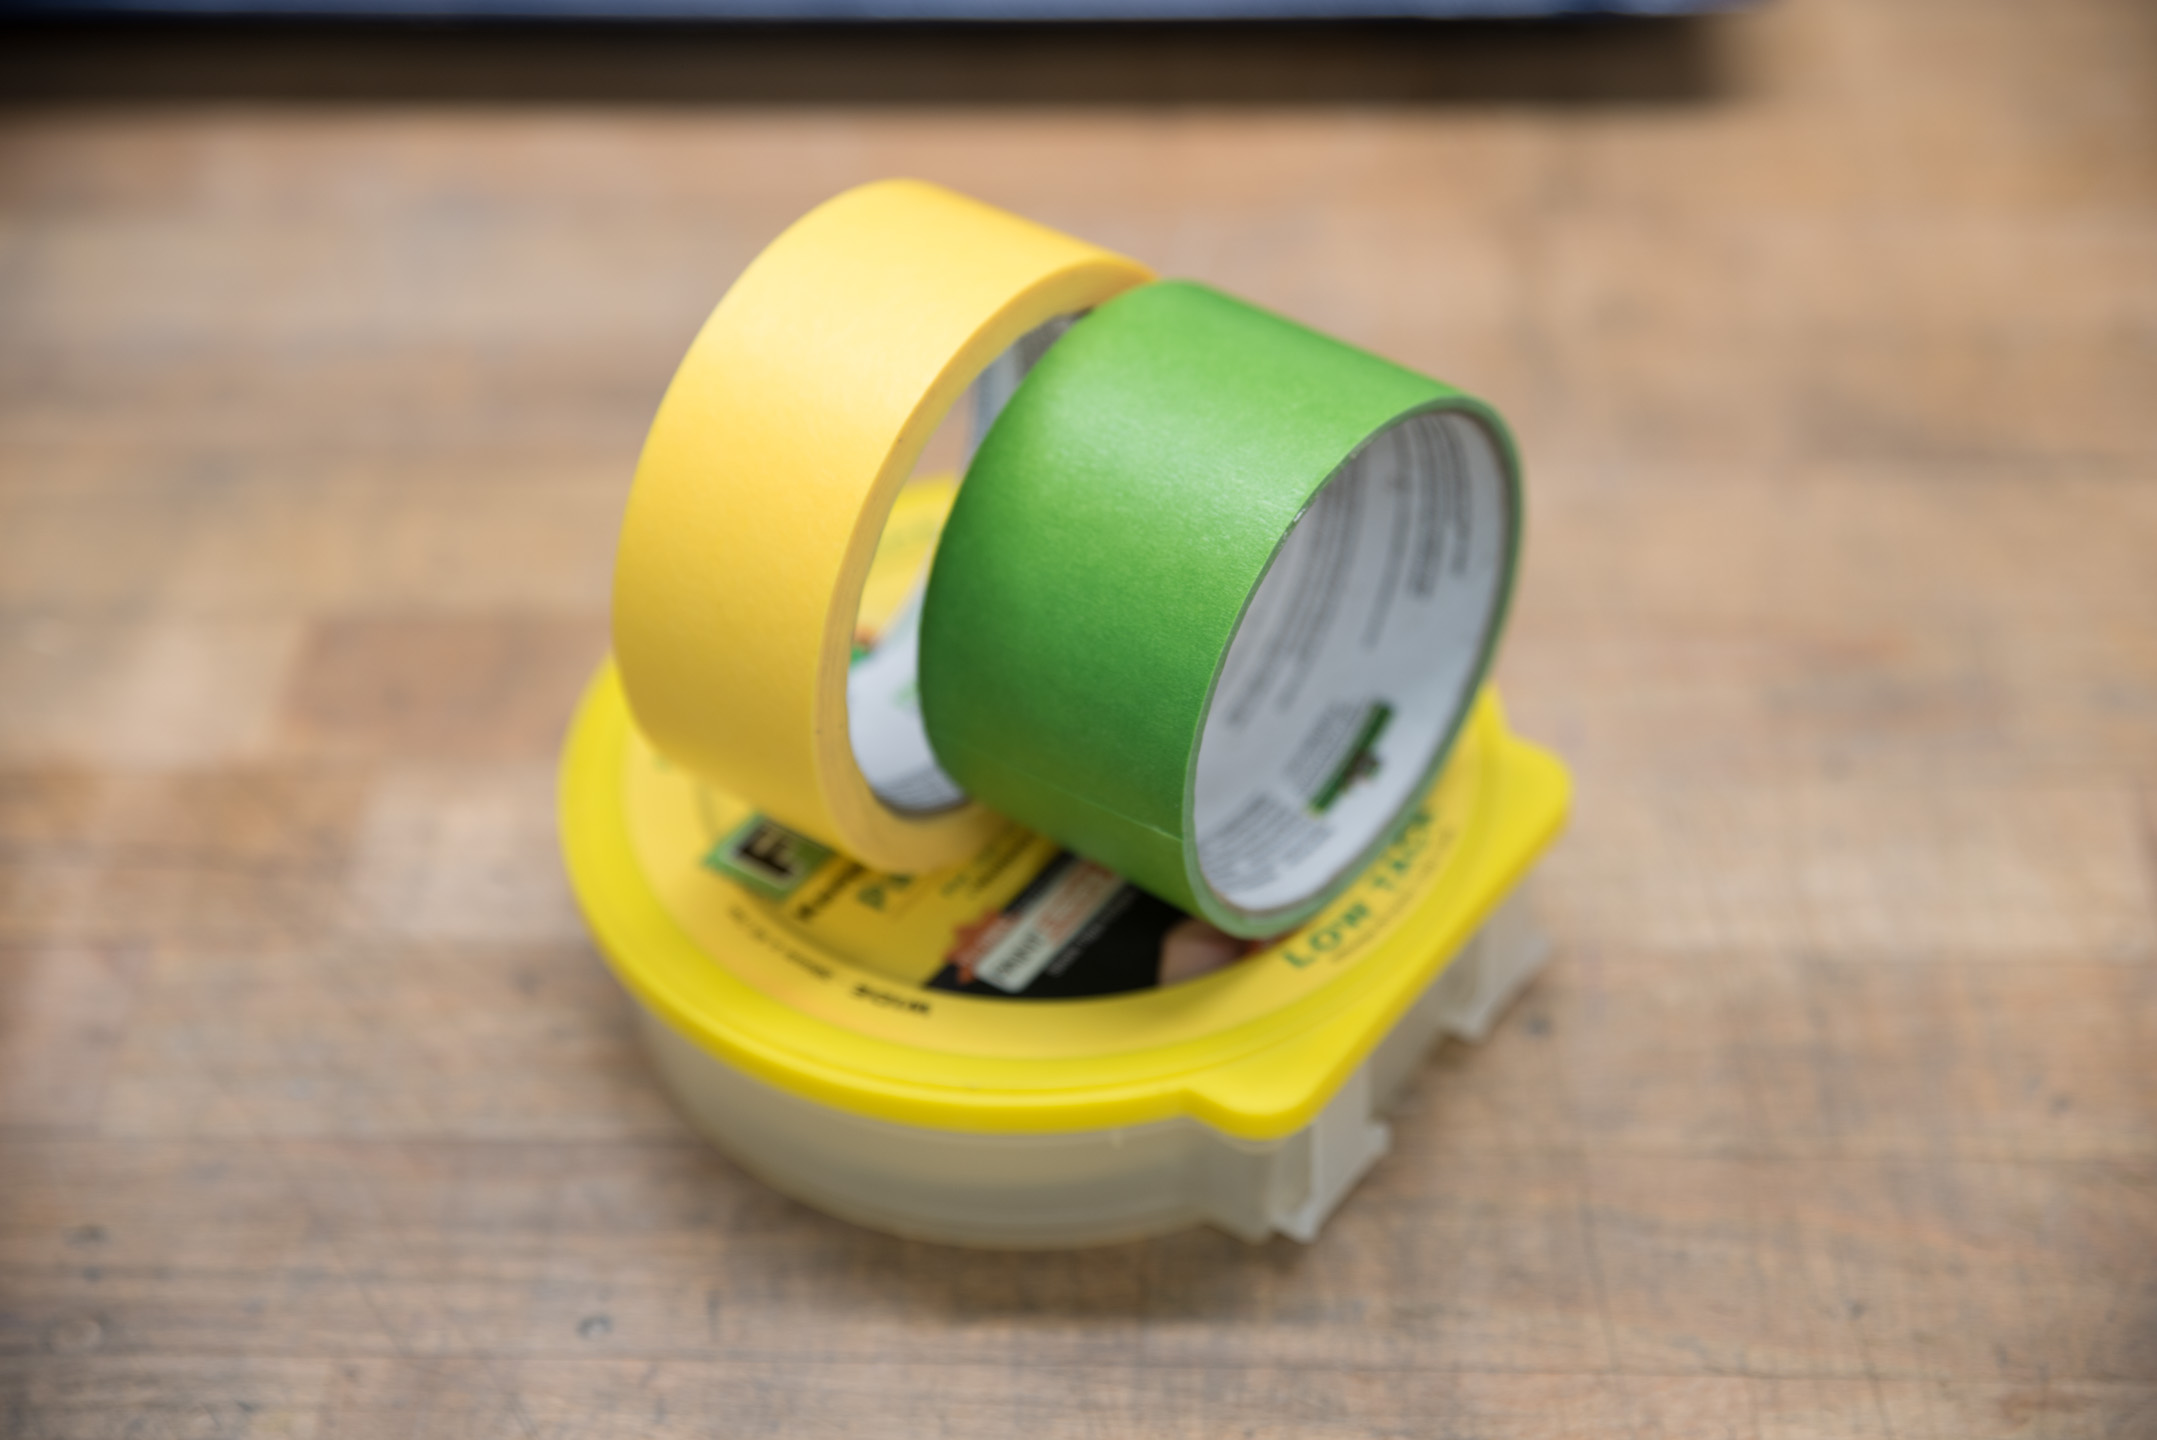
A modding staple is masking the surface of your material in preparation for cutting. A couple of the benefits of doing this is that during the actual cutting itself, the tape prevents scuffing occurring to the surface of your workpiece, and it also allows you to draw on the surface without fear of ruining the material underneath. Low-tack painter's tape like Frogtape is the stuff you want to use here. It won't leave horrible residue on your workpiece nor damage existing finishes (choose the correct tape for the job), you can then freely draw on top using what you like. This is a very popular technique for cutting case side panels, since you can get a clean edge to the cut and not ruin the paintwork/powder coating, meaning you don't have to refinish the whole panel.
Centre Punch!
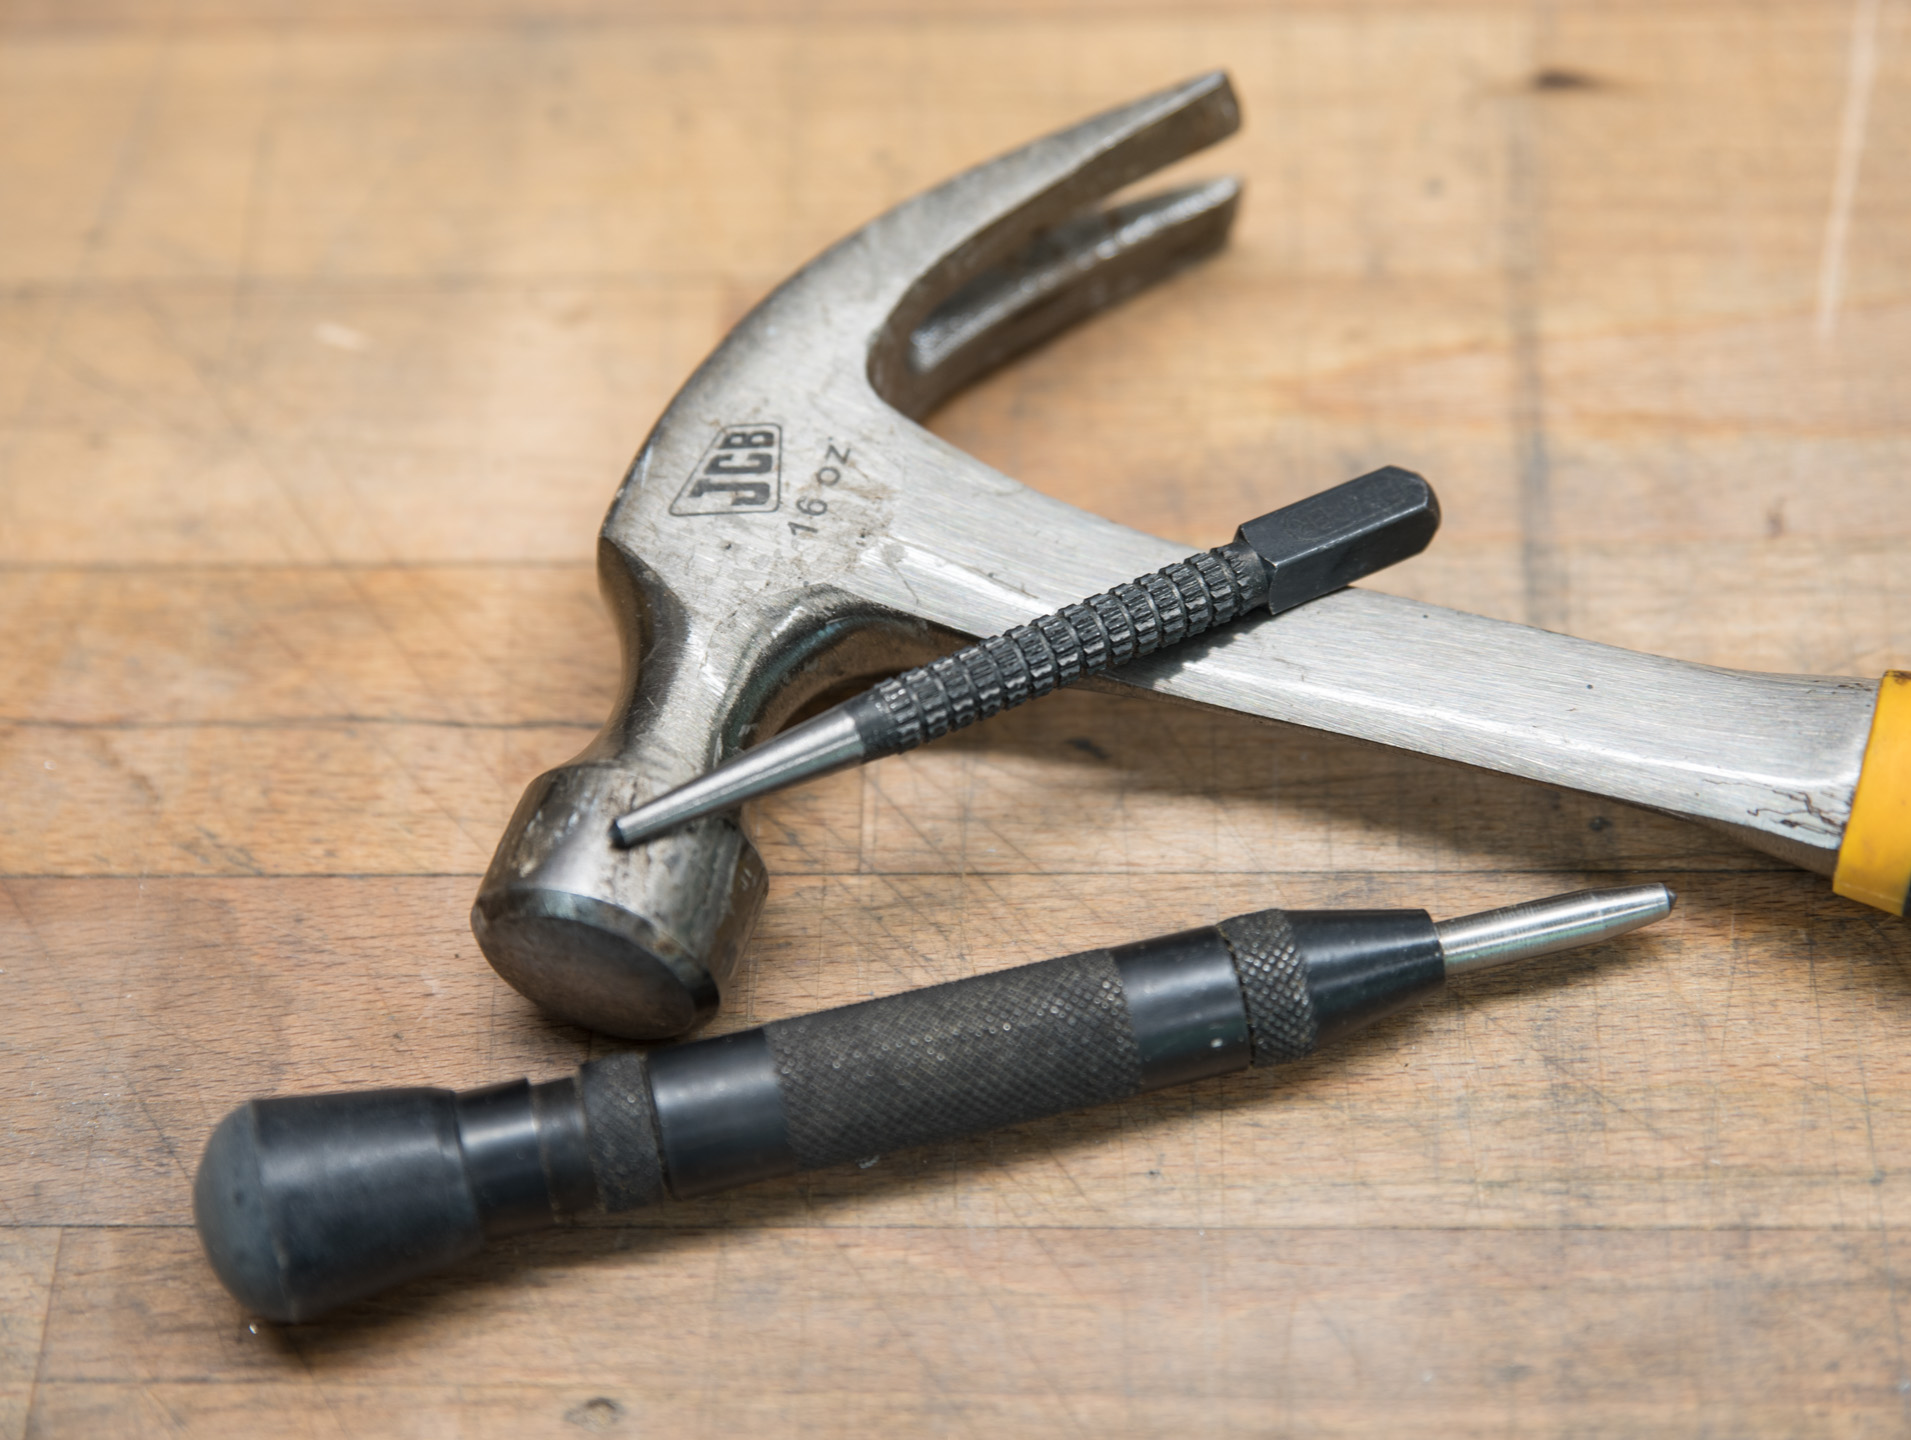
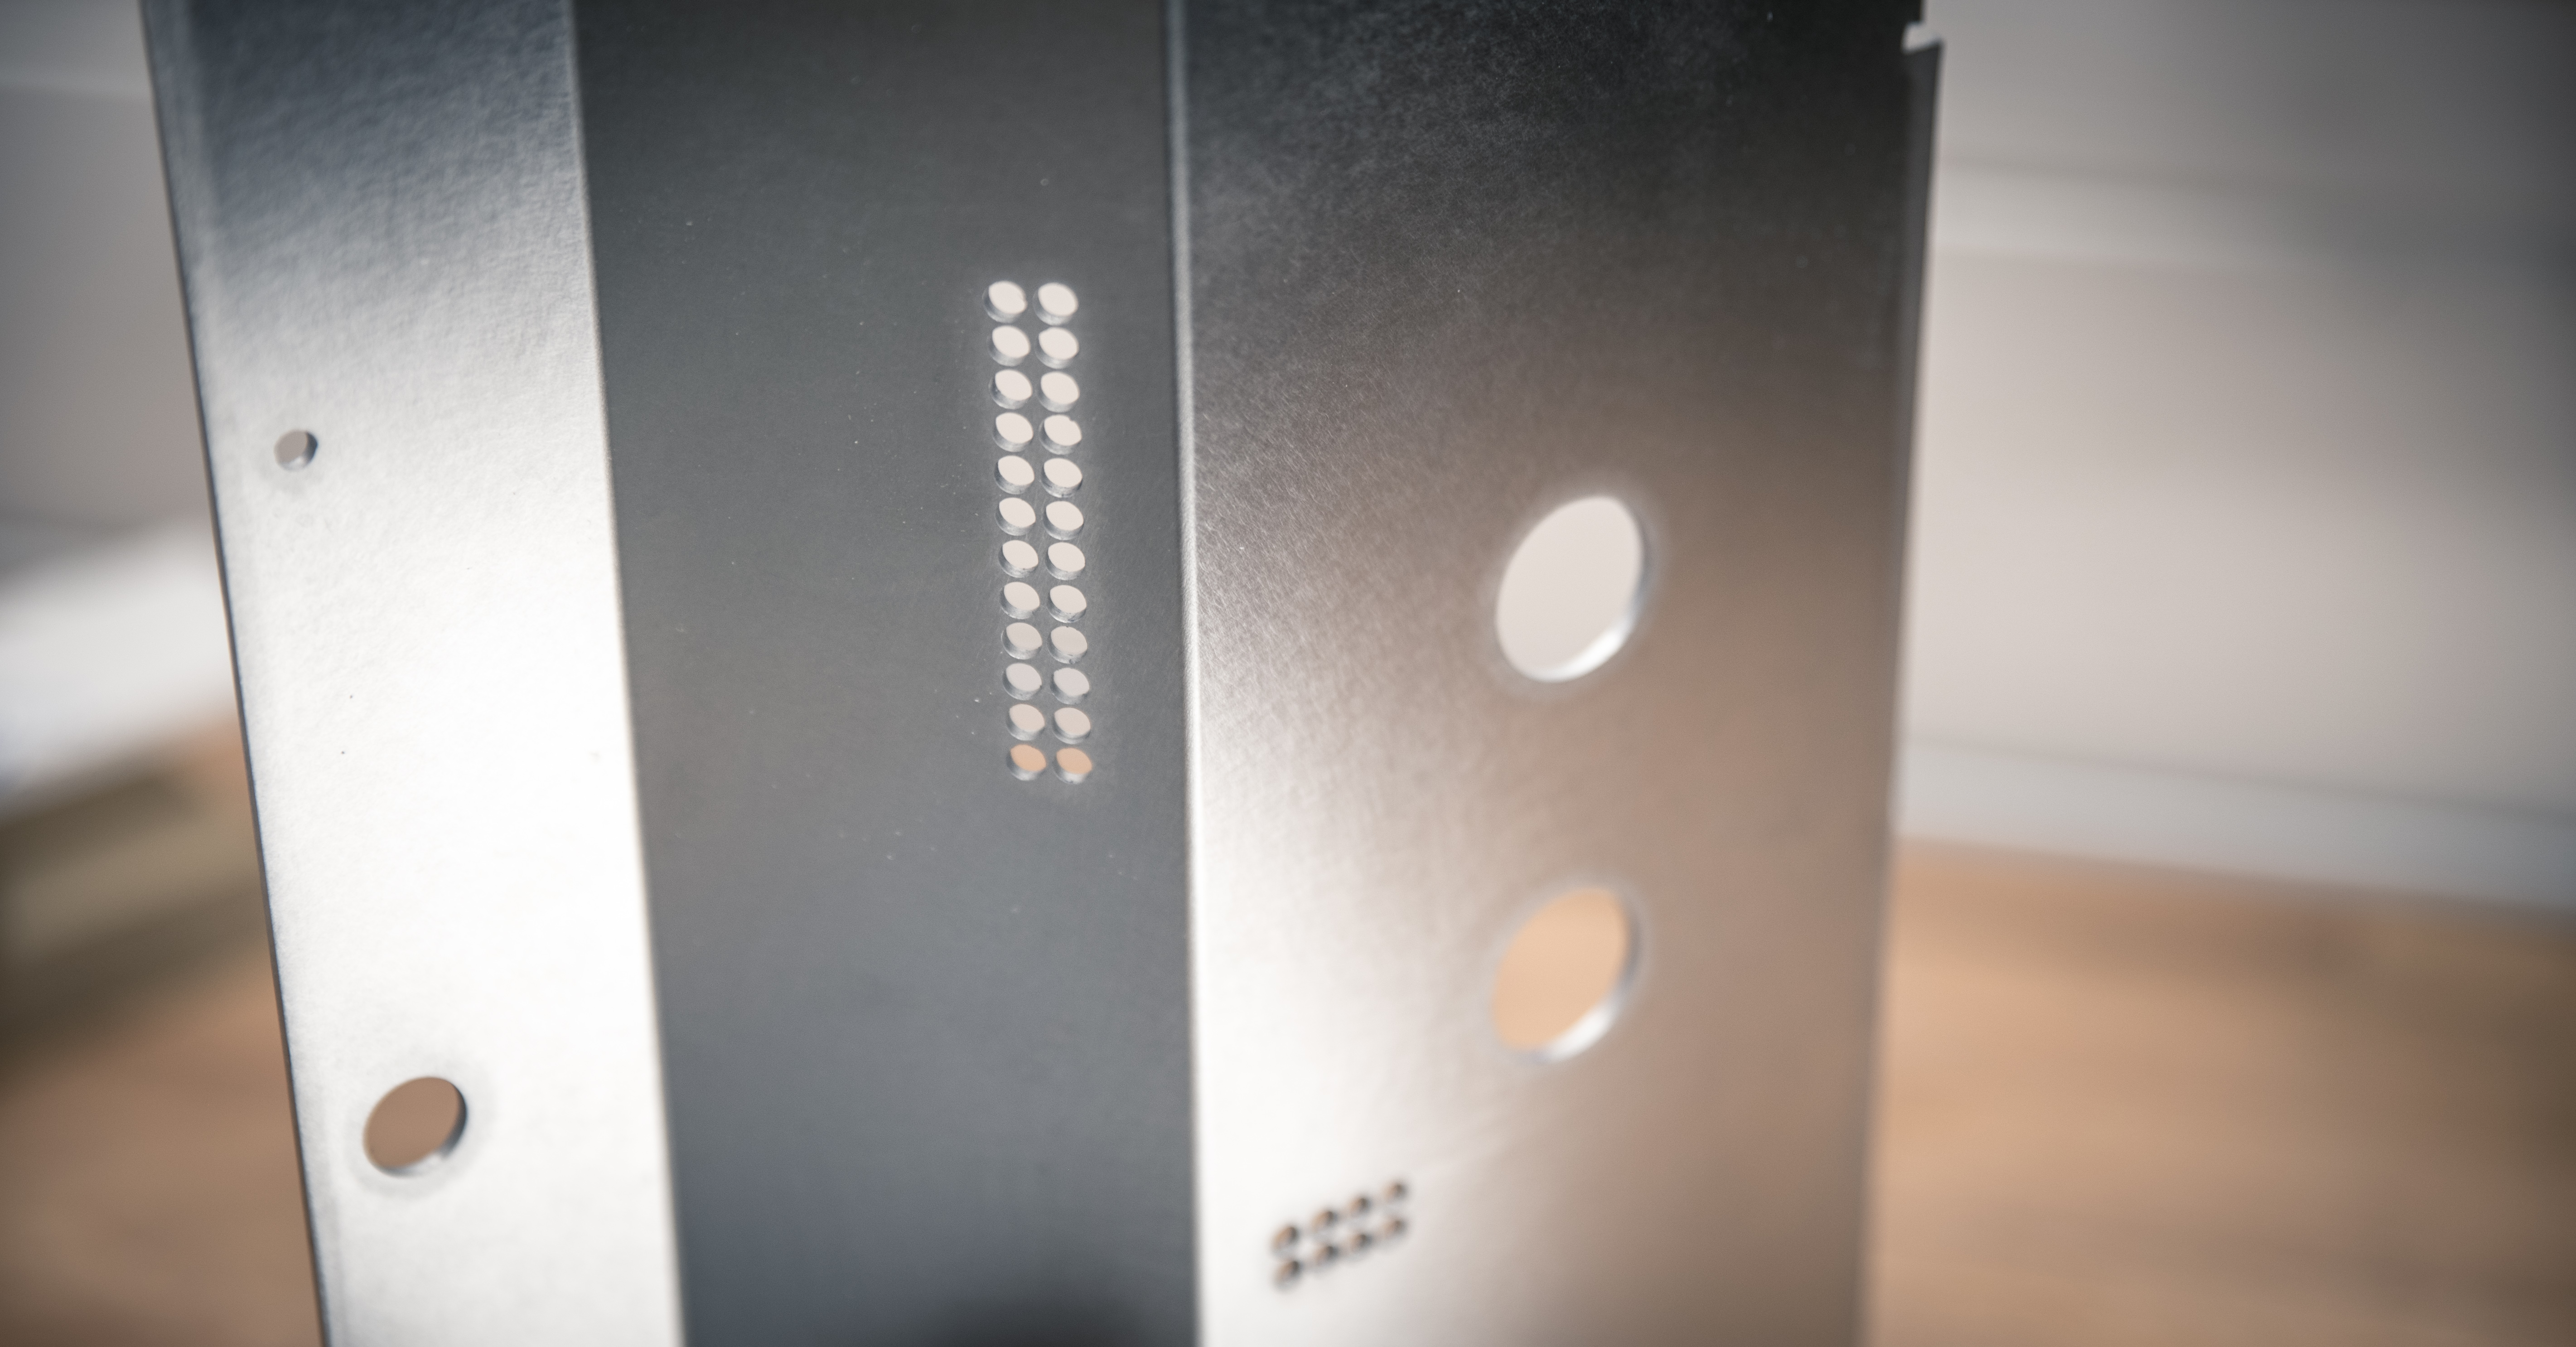
Again it's not rocket science this one, but a lot of the time folks forget just how useful centre punching can be. If you need to drill accurate holes, use a punch, as it will stop the drill bit from travelling across the surface. Correctly used, you can comfortably drill holes that are very close to one another without interference, which is handy if you want to pass cables neatly through a panel for instance.
They come in a few varieties; I use both a manual and automatic punch. The manual one is simple: position and then tap with a hammer. The automatic one is similar, but you don't need a hammer. Instead, you line up and push down, and the spring mechanism inside will click and action the punch. You can change the torque on automatic ones, which can be handy if you want a specific punch type, but manual is very quick and simple.
RELATED ARTICLES


MSI MPG Velox 100R Chassis Review
October 14 2021 | 15:04

Want to comment? Please log in.