It's been a long time coming, eh?
3D printing's one of those fields that's fascinated me ever since I first started exploring the technology back around 2010. At the time I was still in school, and a friend of mine introduced me to the concept of SLS printing, as his father had recently set up an independent professional printing studio as a side-business. Although the technology was beyond exciting, it did feel a bit niche and out of reach thanks to the obscene cost of the machinery and materials. However, if you're clued up on the 3D printing scene, you'll likely remember that this was also the time when processes like FDM printing were beginning to make their way into the enthusiast space. The next five years signalled an incredible boom for home 3D printing as machines continually fell in cost, largely fuelled by aggressively priced Chinese imports.
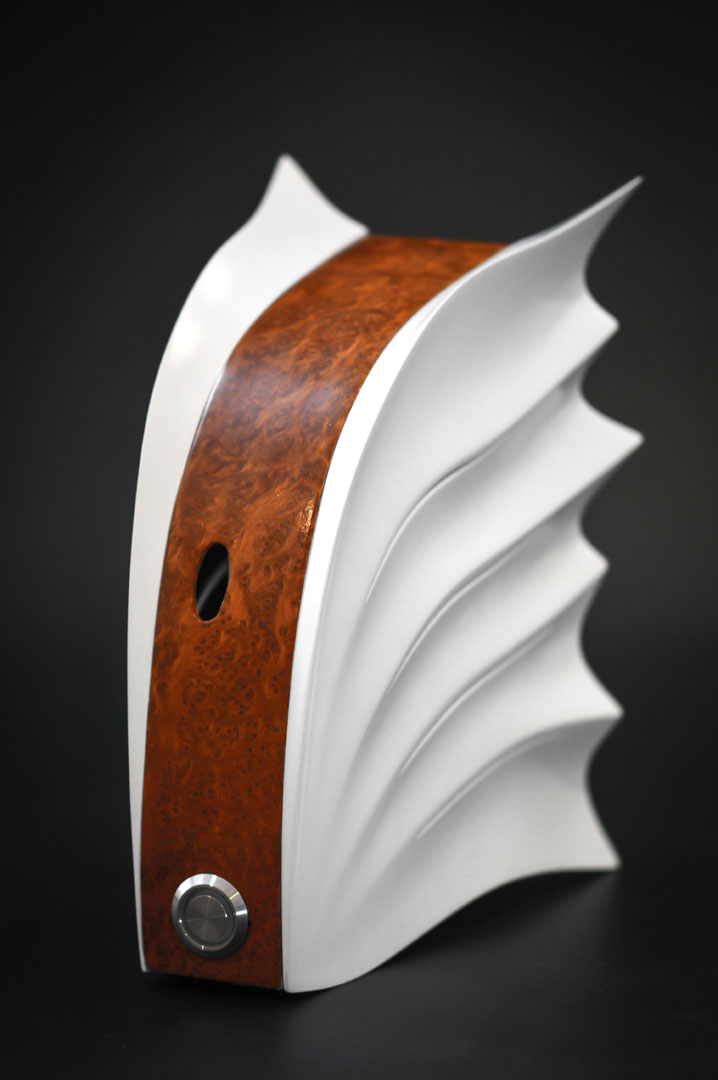
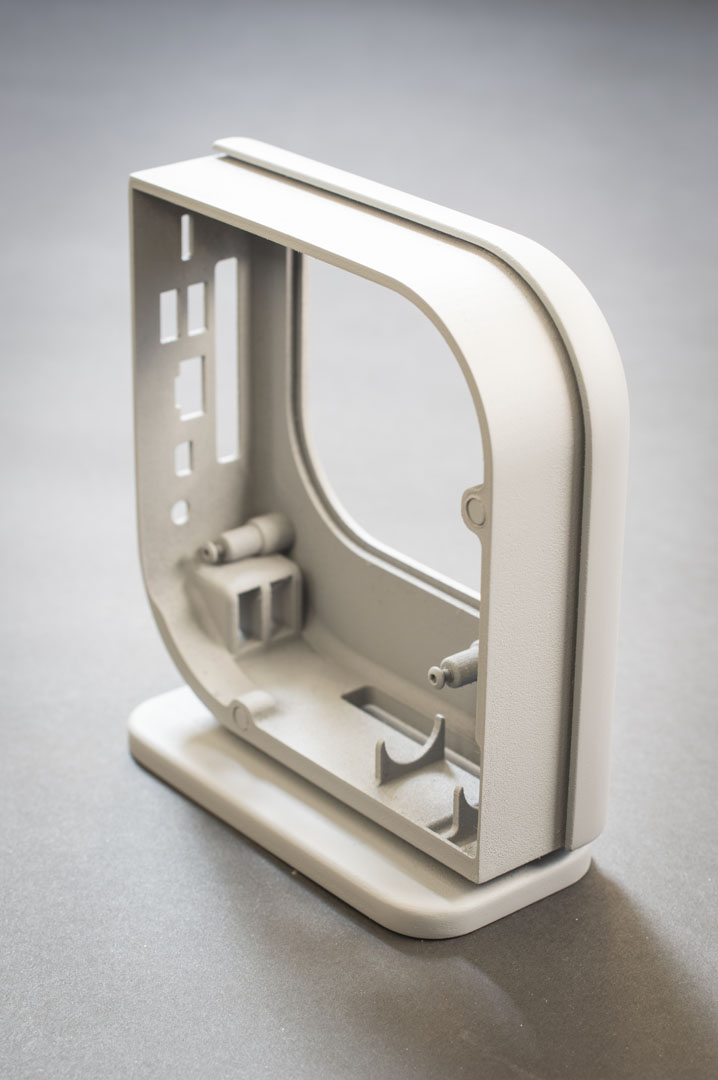
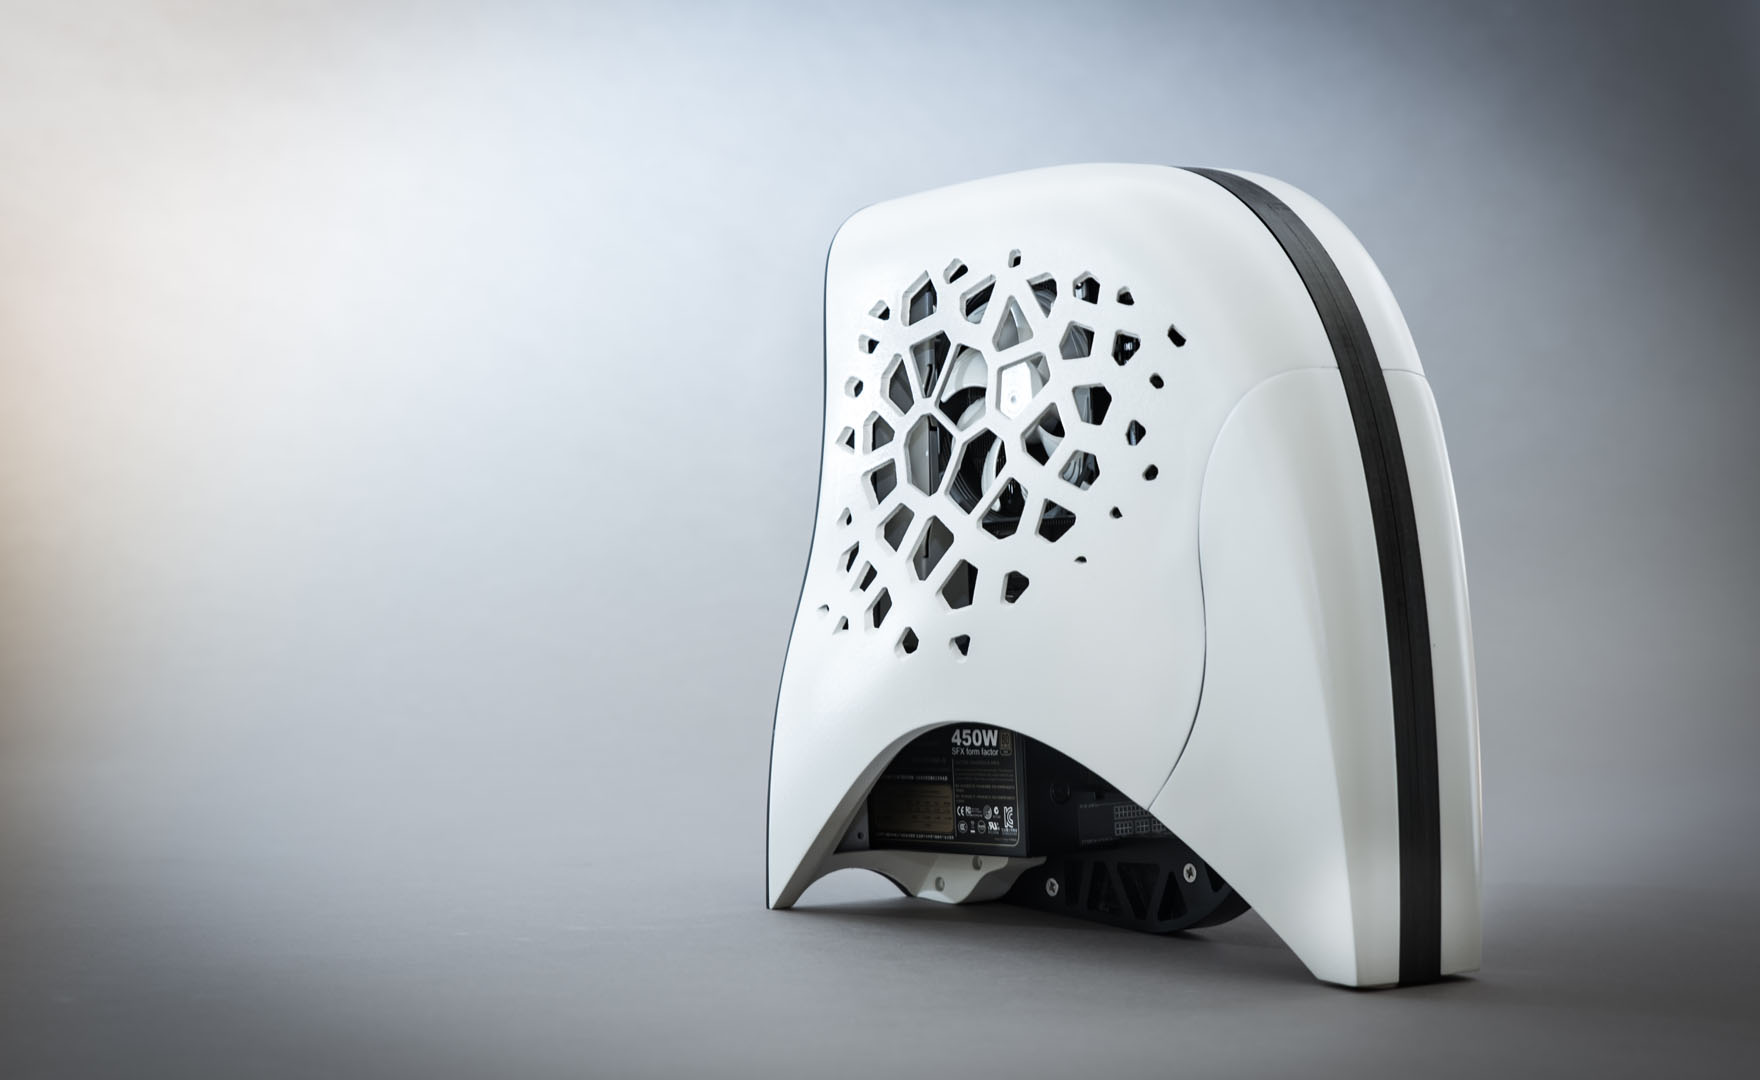
Interestingly enough, I've actually already done a few 3D-printed case mods, the first being for the 2013 bit-tech Design a NUC Contest, then again for the 2015 one, and then lastly for a system build for AMD and its #makeitnano initiative. All three of these mods used SLS nylon printing, however, chosen because it produces very high quality, strong parts that are fairly straightforward to process afterwards.
So, why take so long to jump on the gravy train? Honestly that's a good question, one which doesn't really have an adequate answer. One of the key things that held me back from picking up a printer was that the scene was changing so rapidly. It made sense that if I didn't desperately need the capability there and then, it would be a better choice to wait until later, given it would likely result in a higher spec and cheaper machine being available. I'm happy with this move, as the current crop of budget-mid level printers are really quite impressive, boasting larger print areas and features like self-levelling, heated beds, and filament sensors that only a few years ago were mostly luxuries on higher end models.
As you've likely seen in a number of the threads over in the Project Logs forum, 3D printing has become an integral part of modding. It brings the ability to produce some fantastically complex parts that either would have been inordinately expensive to produce or downright impossible via other means. It's particularly well suited for making mounting brackets and props for themed builds, especially video games where in-game files can often be downloaded and converted to be suitable for printing. I can think of more than a few occasions over the last six months where I've ended up changing designs drastically to make up for not being able to produce a given shape in the workshop; I reckon that's a sign that it's time to get a move on!
So, why the Prusa MK3S?
Choosing my first printer was a bit tricky, because frankly I wasn't sure what I should be looking for. It would have been great to have a huge build volume with IDEX extruders and every fancy gubbin under the sun, but the more I researched, the more I found that these features often caused major headaches for beginners. Even worse, some of the machines that did have these features would lack other, more convenient ones like bed levelling or direct drive extruders. So upon the advice of many, I settled for a smaller machine with a proven track record.
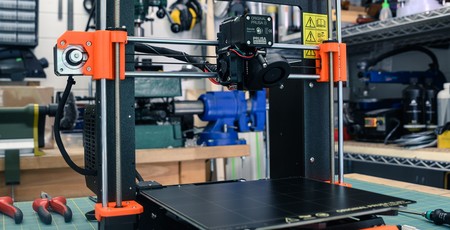
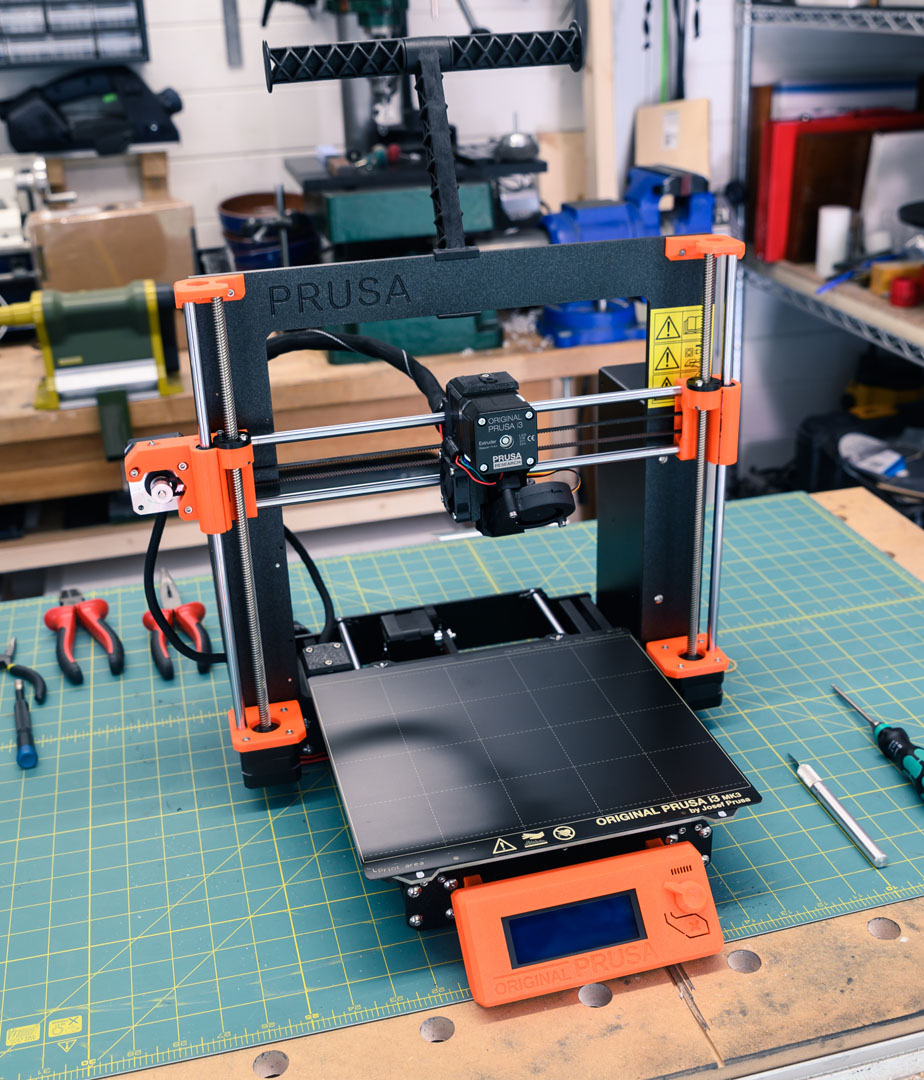
One thing that the Prusa has in spades is community support, as so many units have been sold by now. This meant that it would be, in theory, easier to find solutions to potential problems. The Prusa is based on the tried and tested i3 platform used by many other kit printers. It can also be supplied fully assembled, although I opted for the kit so that I could get a better understanding of how the machine operates - handy for upgrades or troubleshooting. It was also simple finding lots of reviews, meaning the pros and cons of the machine were widely published, again a real bonus. The print volume is also pretty decent for a printer of this size, with 250x210x210mm available to play with. I'll likely want to upgrade to a larger format machine down the line, but this should be a good starting point.
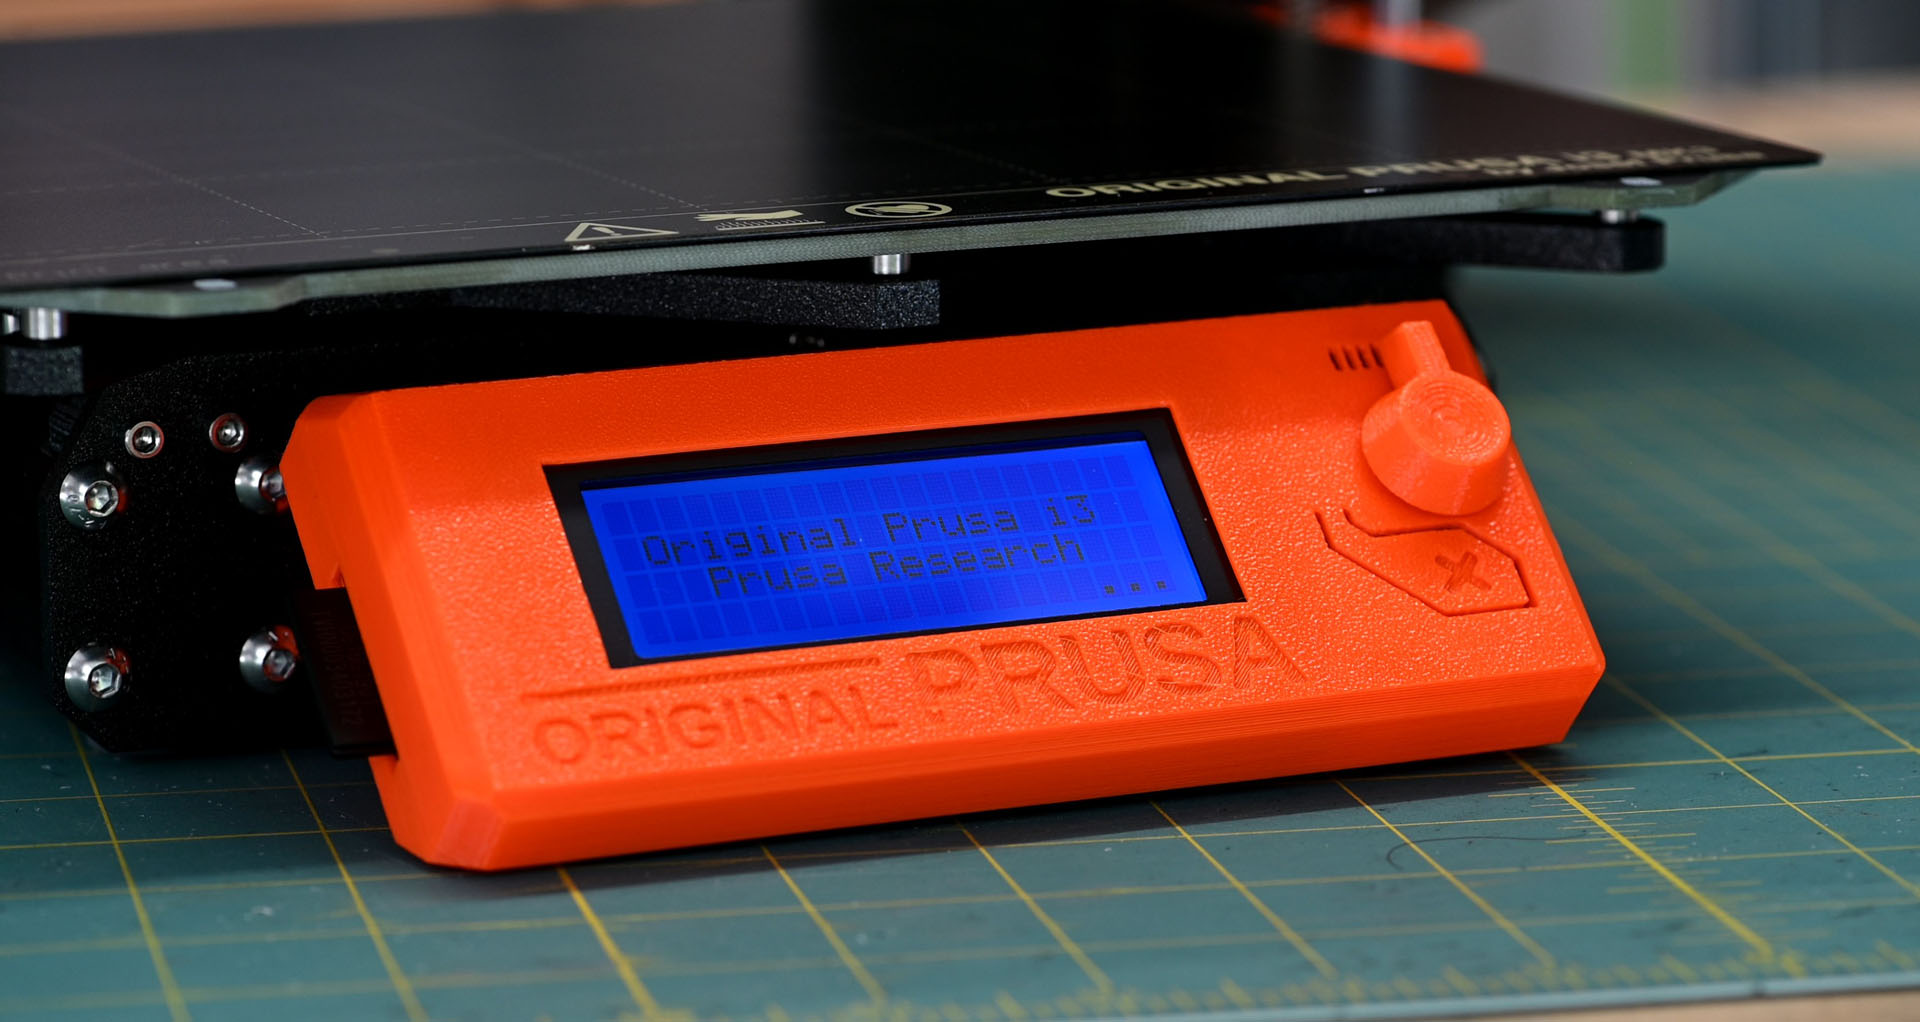
The Prusa i3 MK3S comes with a host of modern features, including a heated removable steel bed, automatic bed level compensation, and a filament sensor. That said it does have a fairly dated interface compared with some other kits around nowadays that use touchscreens, and the filament sensor is a simple mechanical/optical type that doesn't aid with detecting jams. One thing I do like, though, is ability to upgrade the kit to a newer version by simply ordering the replacement parts. This means that if a future upgrade contains features you fancy the look of, it's straightforward to add them to the machine you already have.
Assembling the kit
The video goes into more detail here, as frankly it's largely a case of following the instructions provided in the substantial construction manual. The kit arrived neatly packed in a series of labelled boxes, with all the pieces laid out clearly and concisely. There was also a pretty decent pack of gummy bears! I was honestly taken aback by how easy to follow the instructions were. Each step was given a thorough but concise description along with handy pictures to help show the necessary actions. Locating all the parts for each stage was simply a matter of retrieving the suitably labelled bag of bits, and there were even scale diagrams present for the purpose of identifying different screw types. I thought this was a nice touch; I work with lots of different screws on a daily basis, but it's still a bit tricky discerning a 14mm screw from a 16mm one at a glance.
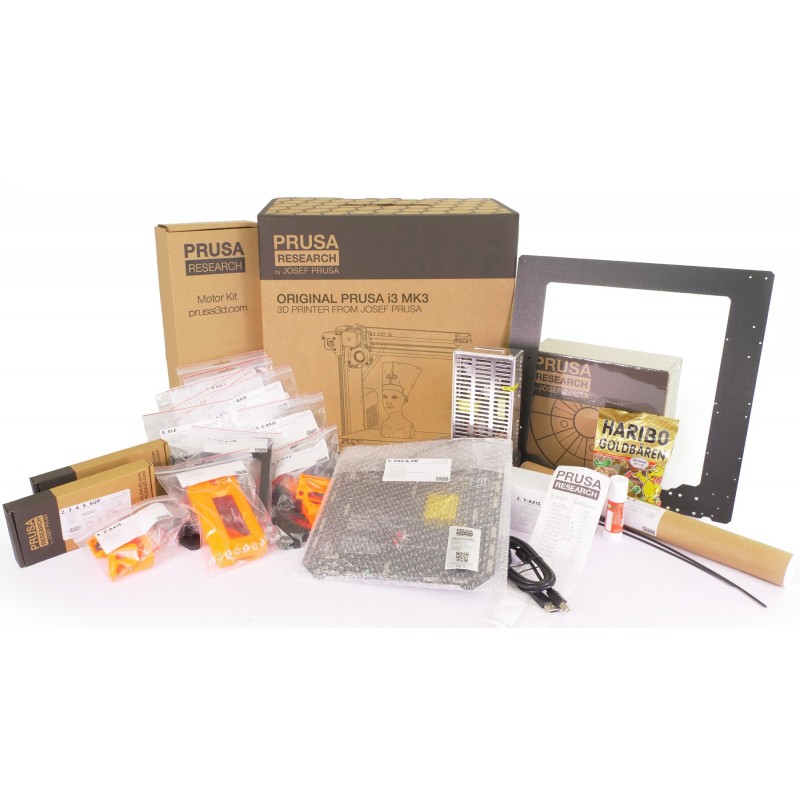
The kit comes with all the tools necessary for the construction too, although I ended up using my own ones plus a few extras (such as an iFixit socket set rather than pliers to hold nuts in place) to make some of the steps simpler. Again this is a nice touch, as it means the kit is literally ready to assemble straight out of the box. In terms of complexity, if you like Lego or Meccano (so literally everybody, right?) then you'll have no trouble with the Prusa i3. There are a few quirks that did get a bit frustrating at times, such as inserting the square nuts into little slots, but for the most part these went smoothly. It's quite interesting to note how many components were actually 3D-printed in the kit vs injection-moulded. I suppose it makes sense for a 3D printing company to do this, although with the number of parts being produced (Prusa Research is hardly the one-man-band it was when Josef started it) I would have thought it might be more viable to mould some things like the axis housings.
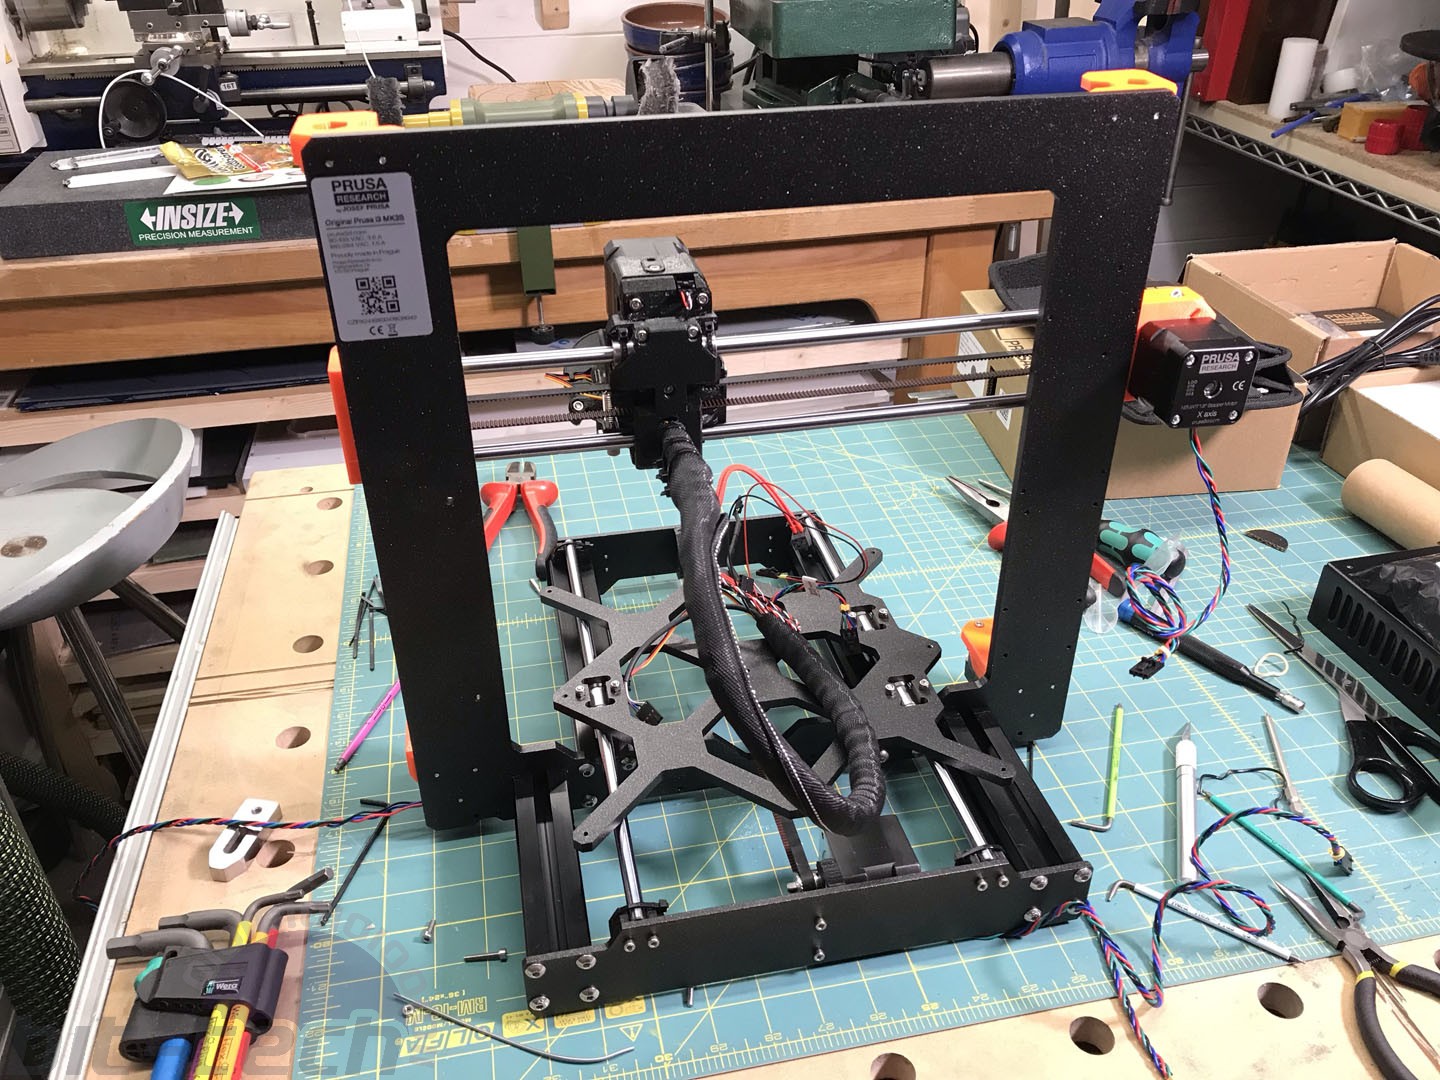
The one tricky part I encountered was trying to insert the E-axis linear rods into their holders. For the life of me I couldn't push them in, so I resorted to using the little jack-clamps I have for the workbench to gently push them into place without damaging the 3D-printed components. I'm not entirely sure what I would have done without those, perhaps attempt to sand the interior or enlarge the hole a smidgen? Either way, it might be a good thing in the long run, as the axis is now rather rigid.
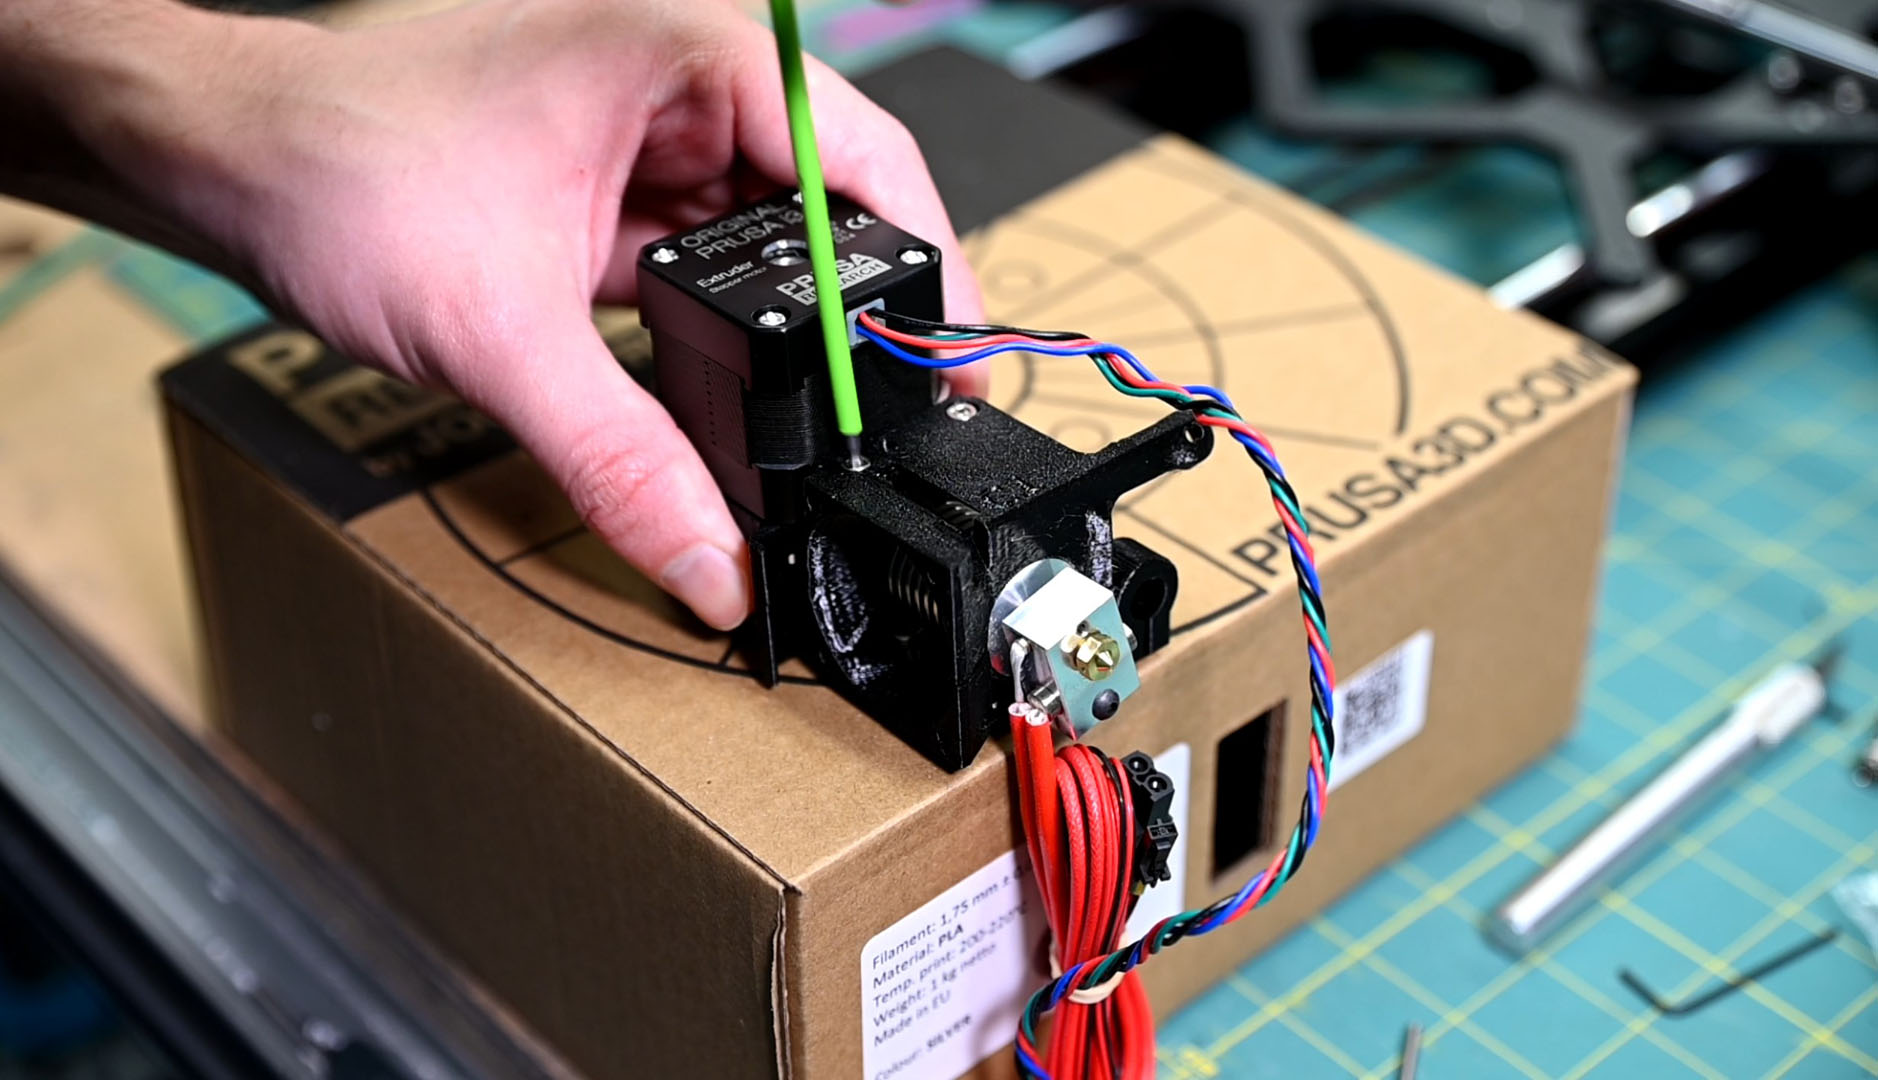
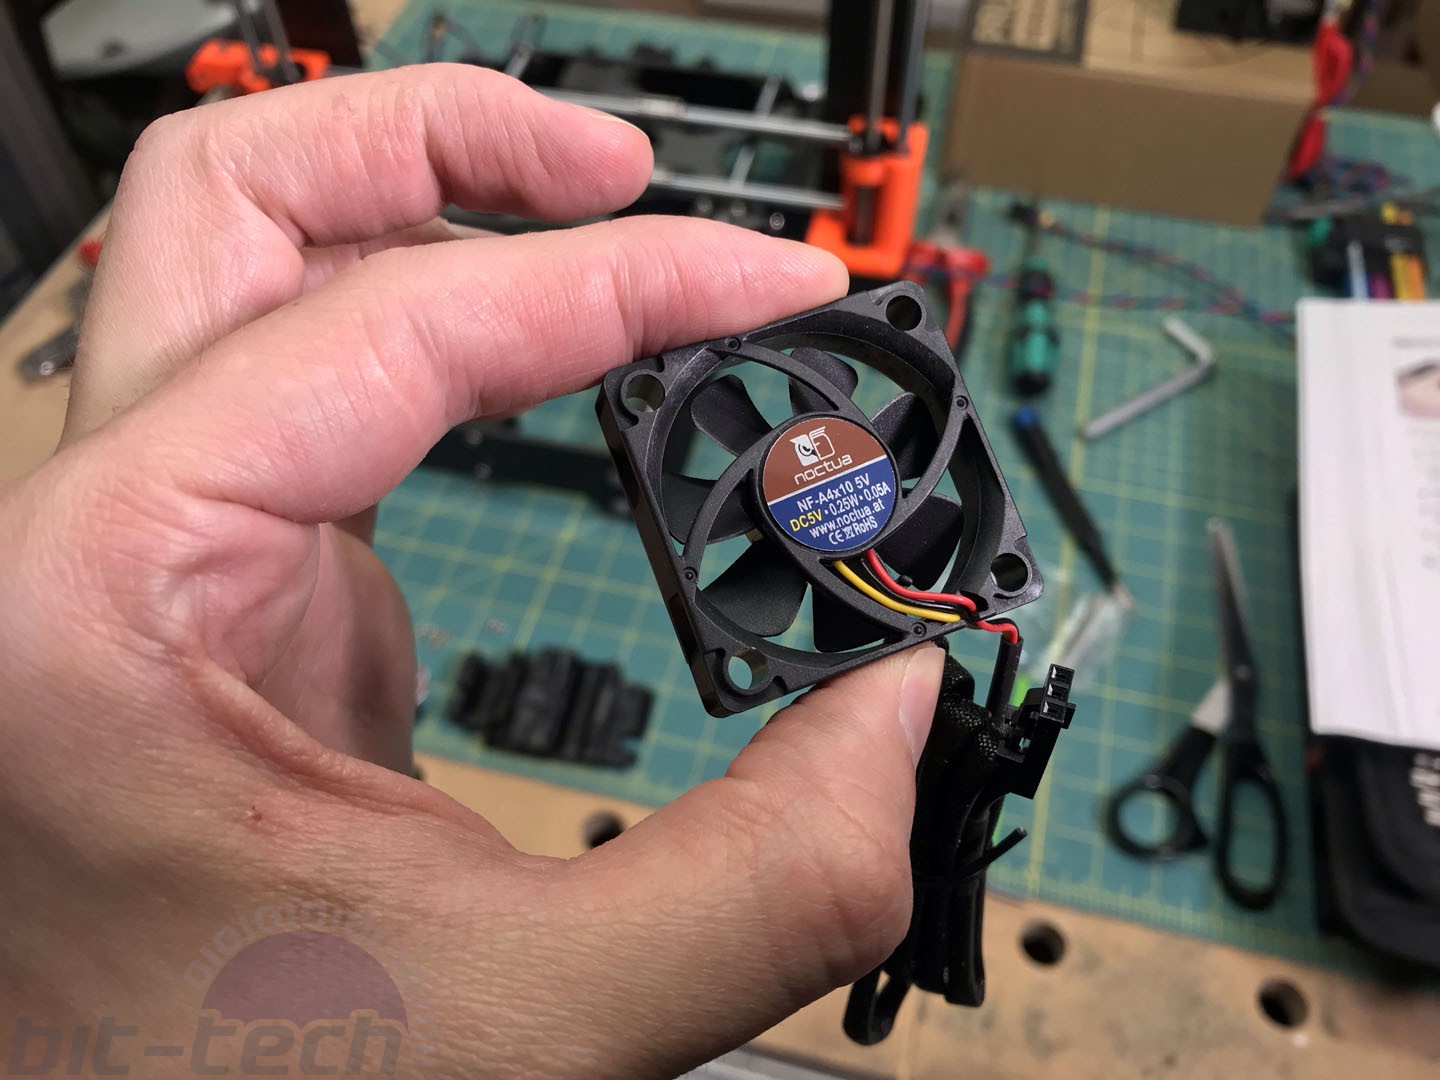
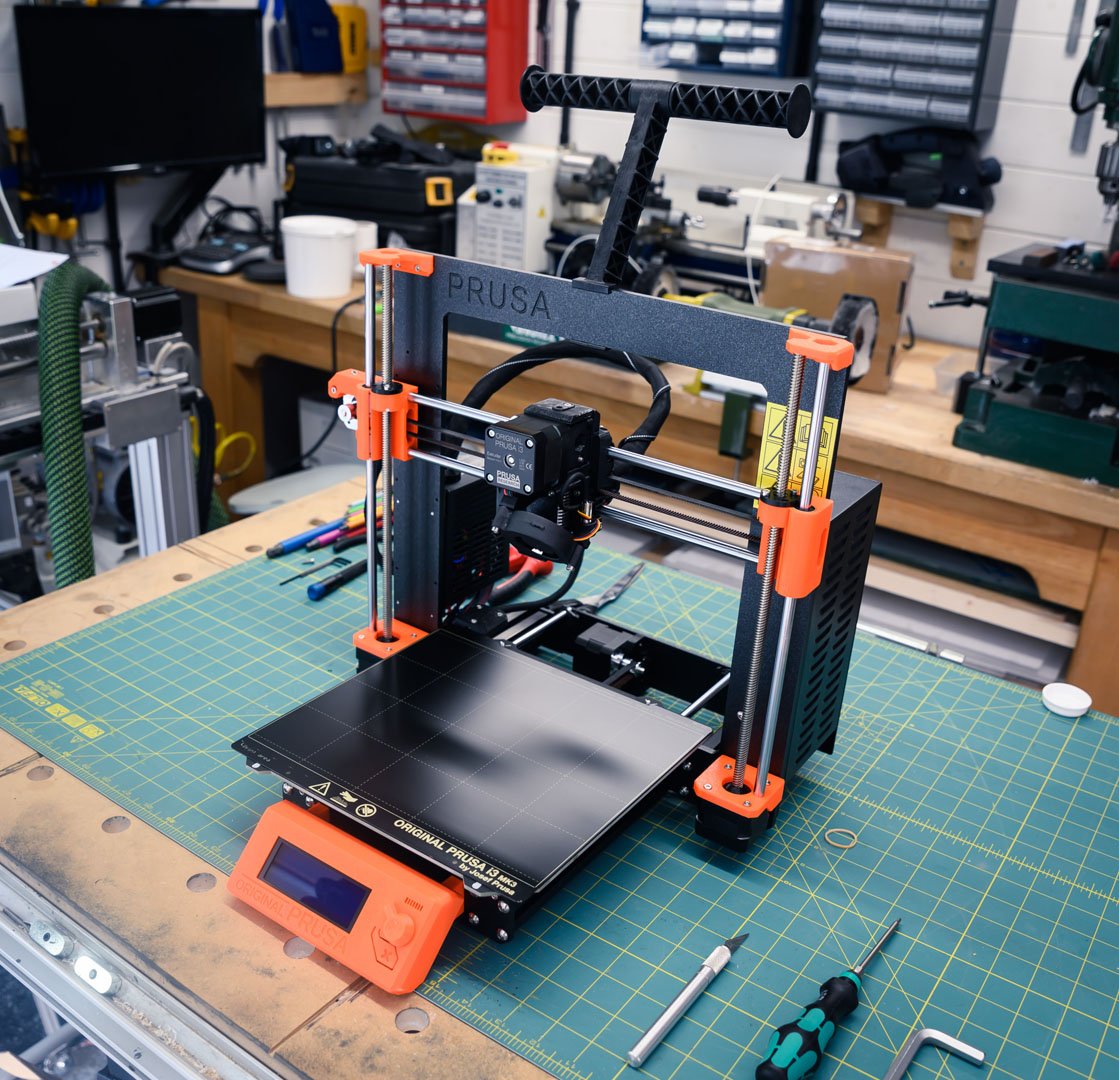
Assembling the extruder head was a little on the fiddly side, although in the end it didn't prove that troublesome. The parts all mated together nicely, and getting things running smooth and true wasn't hard at all. The wiring for the printer was also delightfully simple too! Cable management was carefully thought through, so each stepper motor has an appropriately measured set of cables, likewise for the control box and extruder parts. This meant that everything came together with a minimum of fuss. It's also a nice touch that the hot-end cooling fan is a dinky little Noctua!
Calibration and first prints
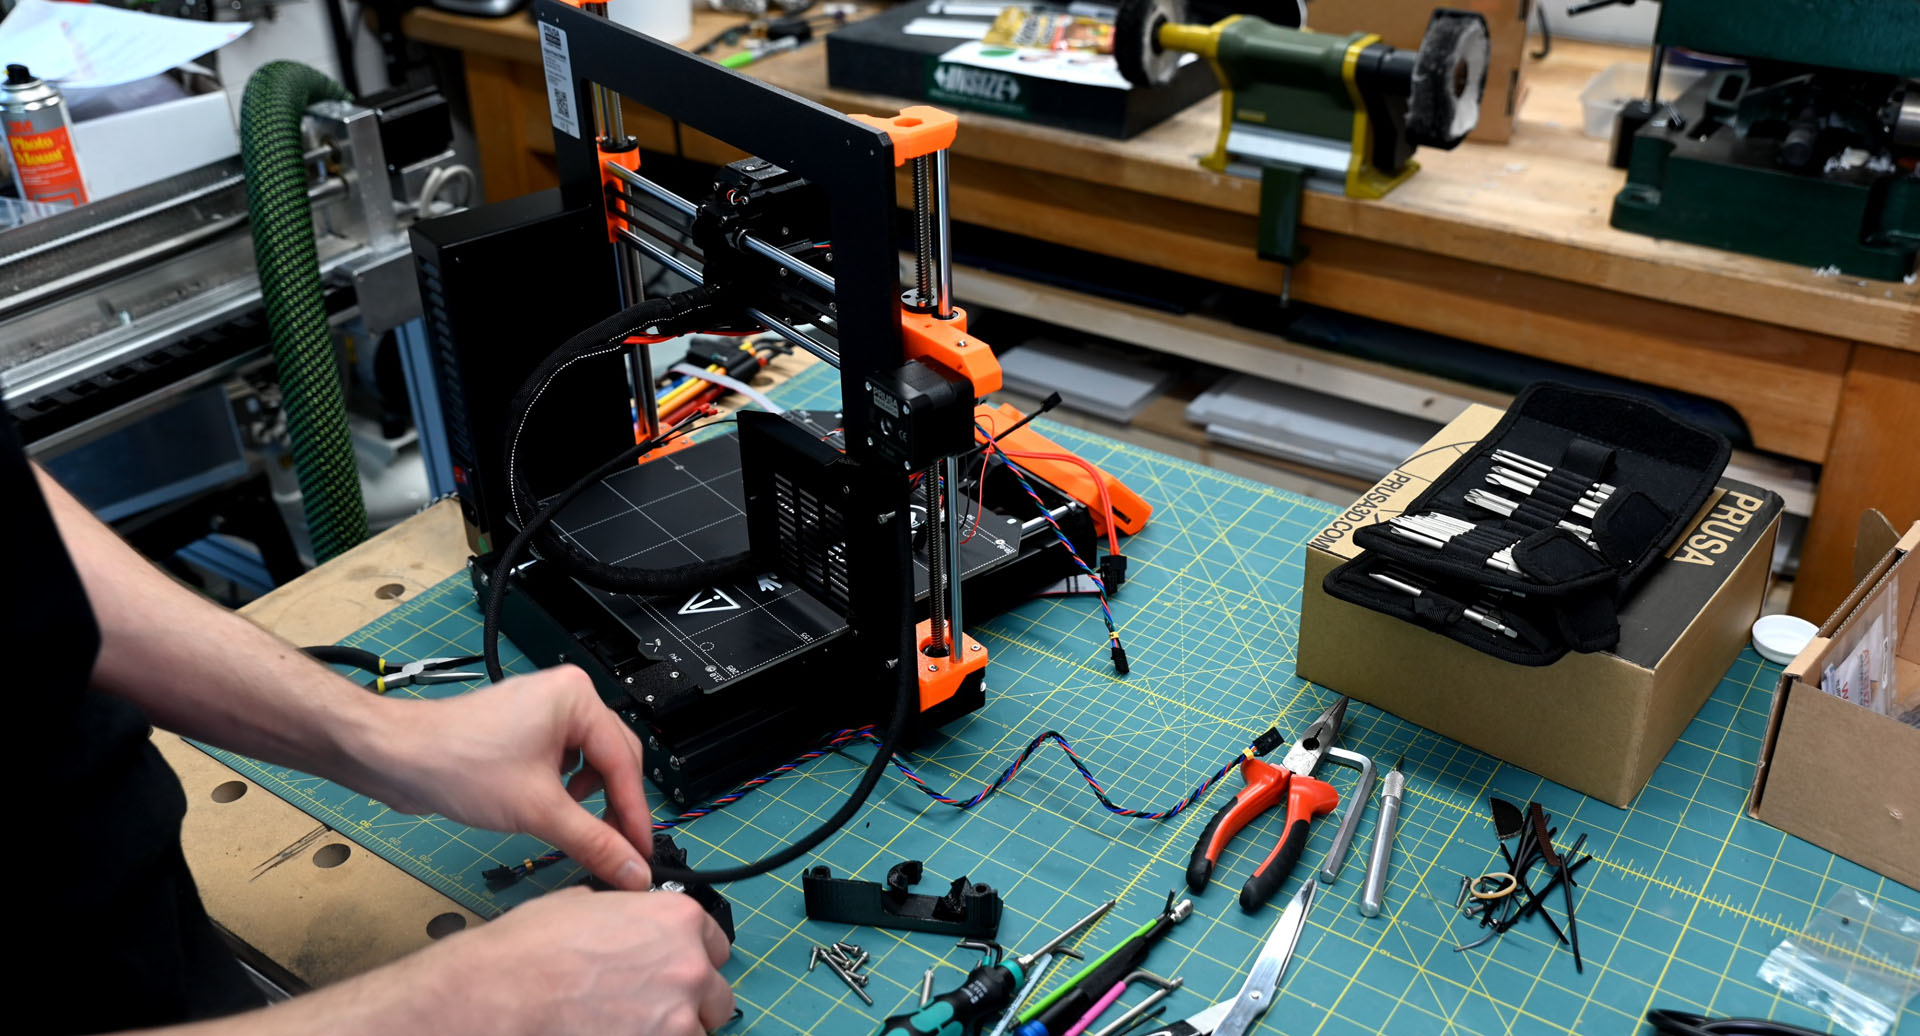
As you might imagine, assembling the kit is one thing, but it does also have to be able to print, and that means calibrating the machine. Thankfully, this part was also covered in detail within both the manual and the handy online video tutorial. The calibration process is fairly simple, as the printer does most of the work for you, checking things like the fans and hot end along with testing to find out how perpendicular the frame is. If there's one complaint here, it's that I found the default value for setting the PINDA probe wasn't quite right. The advice is to use one of the supplied zip-ties as a temporary spacer, but this value didn't seem to work for me at all. During the bed height tests, the printer would routinely just stop and say 'Calibration Failed' and not list why. Checking the manual did yield some handy tips for this, but in the end Googling the query proved the more successful approach. Turns out the probe needed to be a tiny bit closer to the bed; the ridged sides made this part more challenging to get right, as it would snap in place a little too close instead.
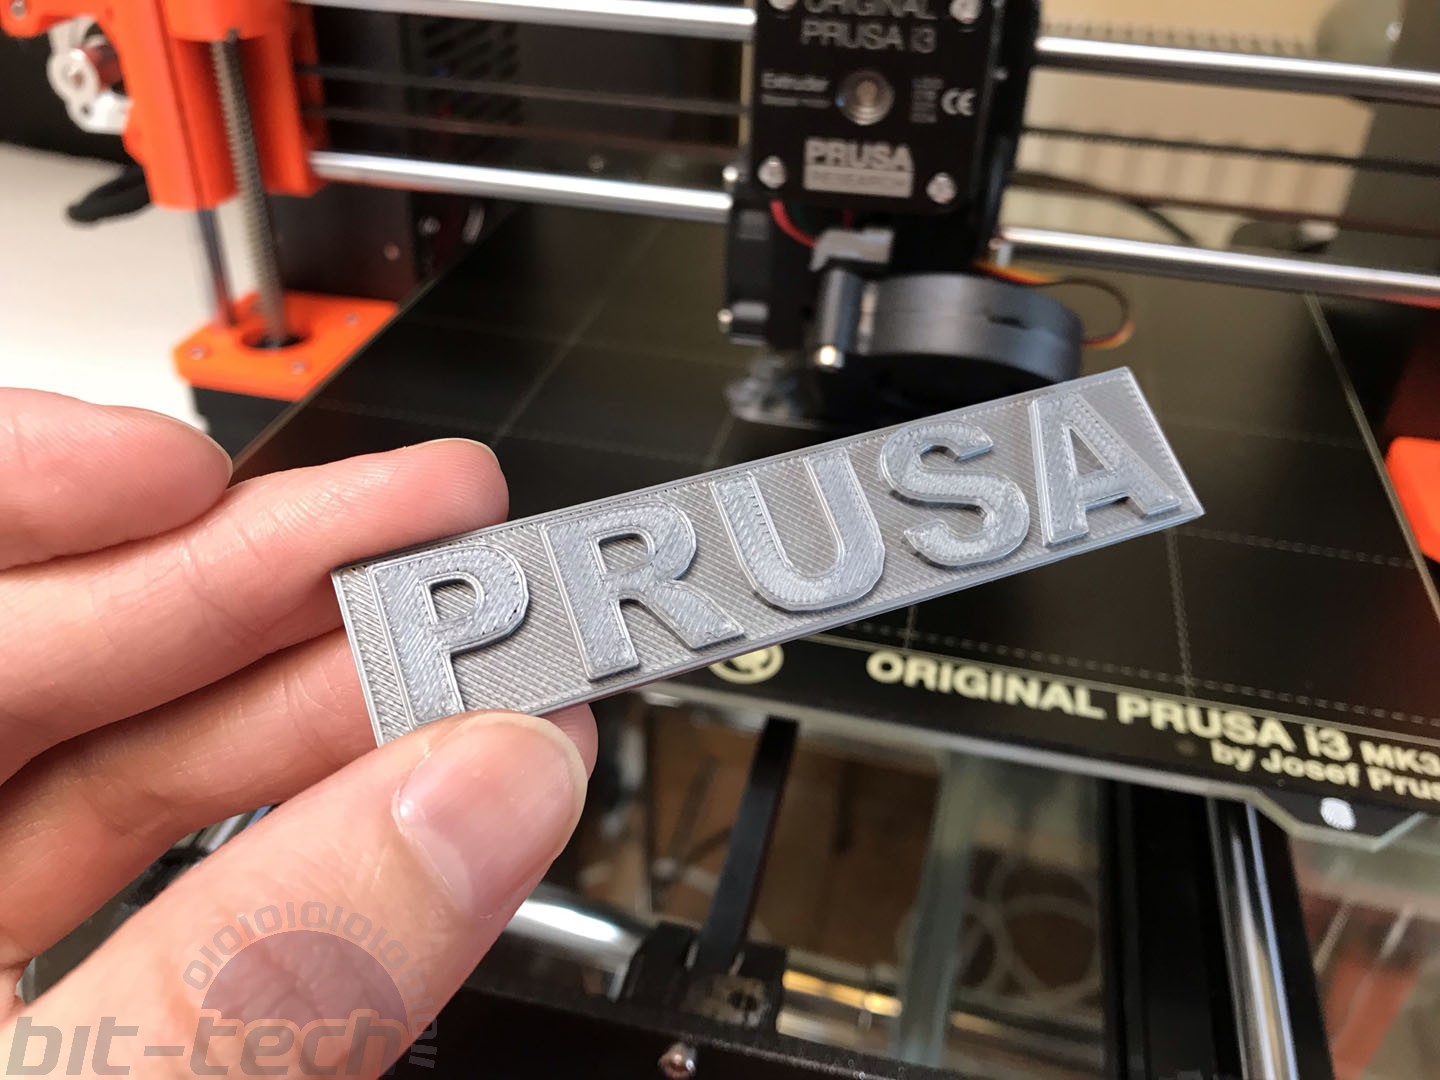
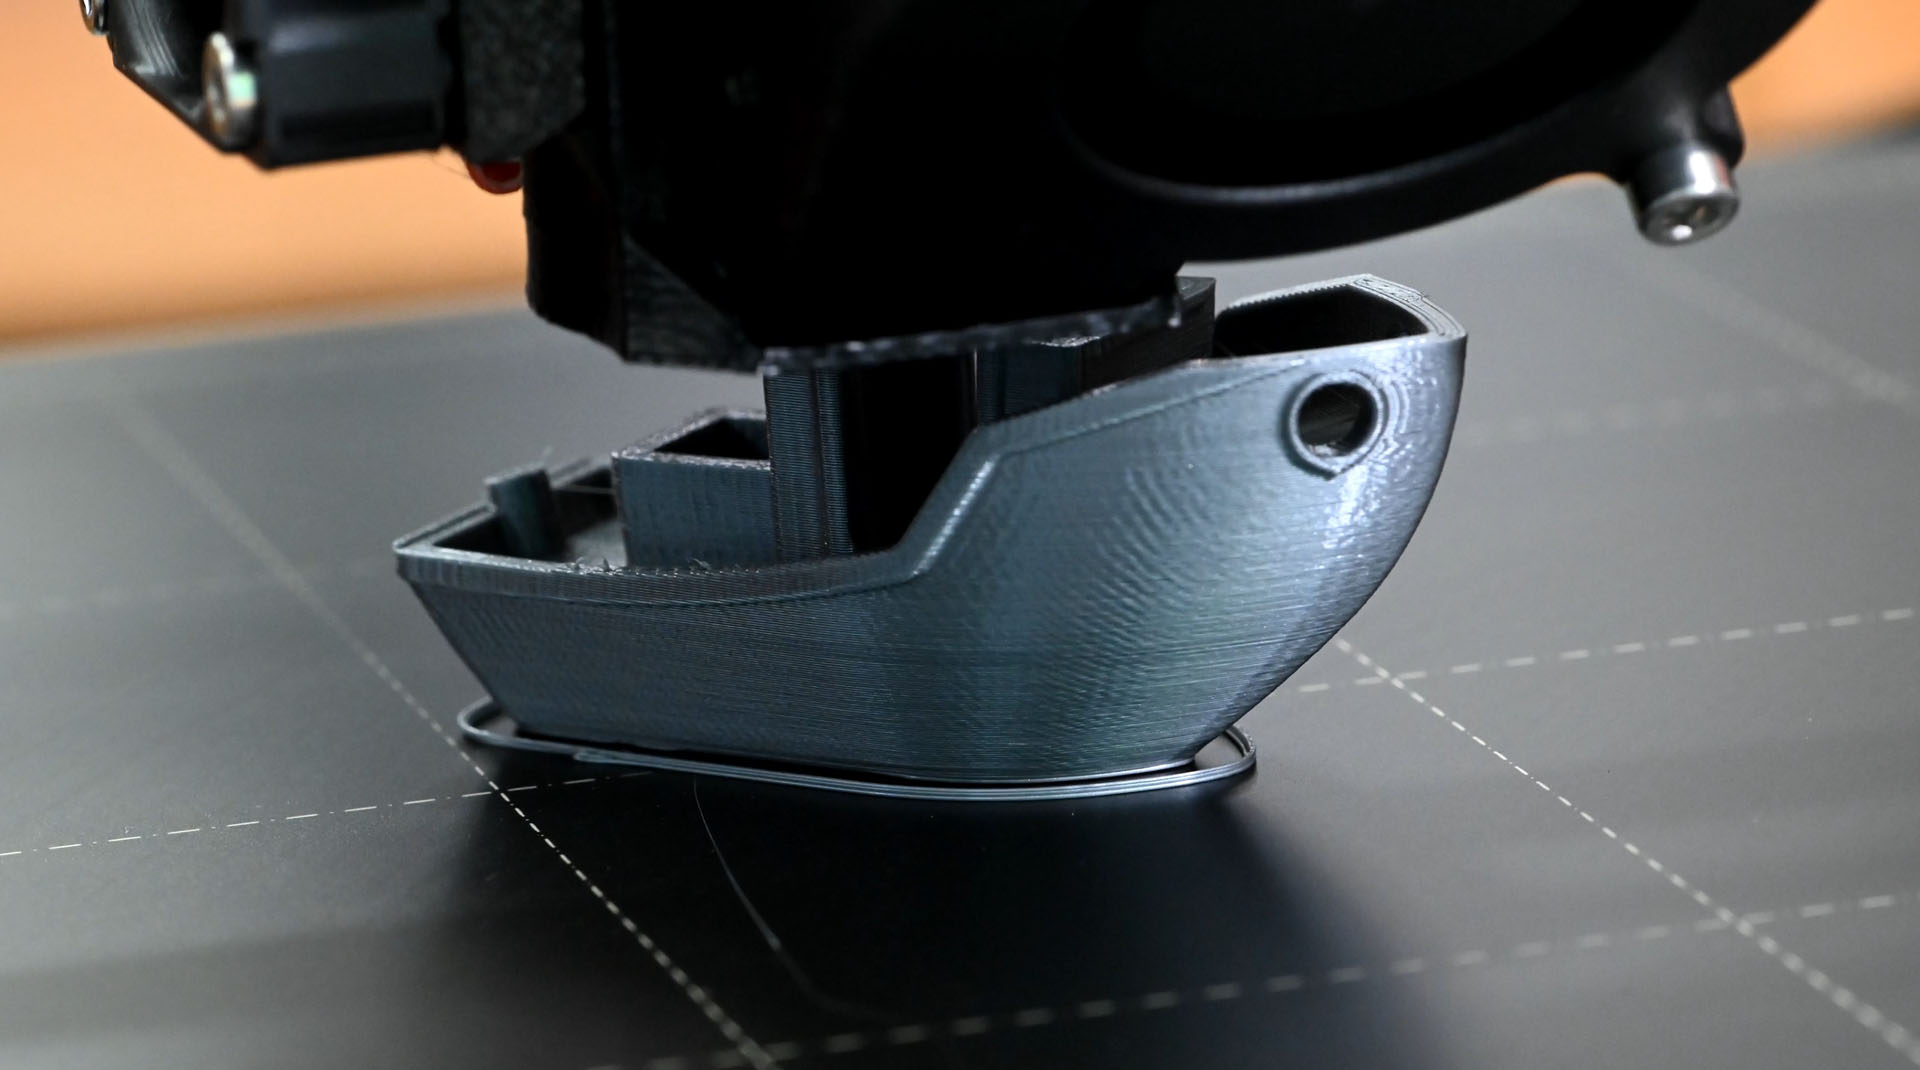
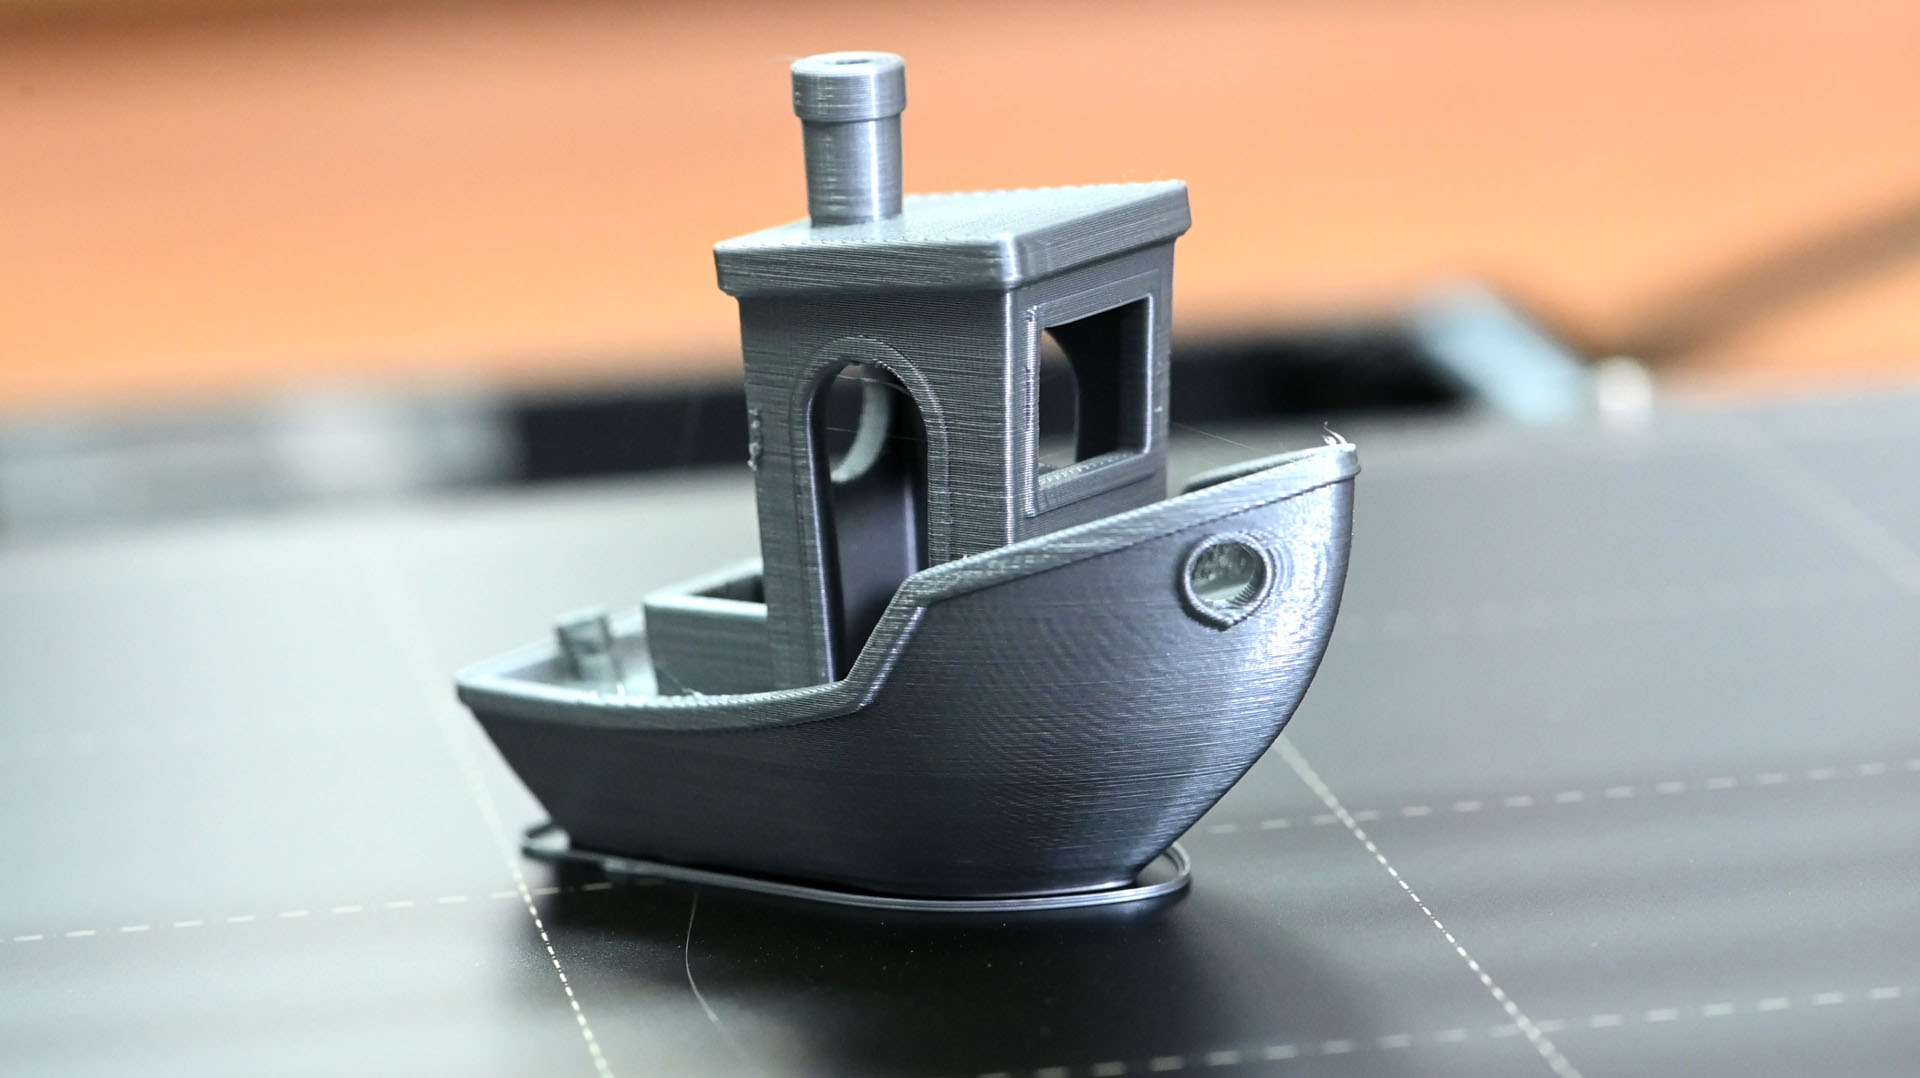
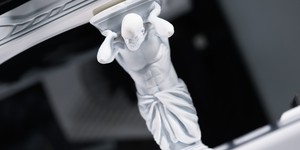
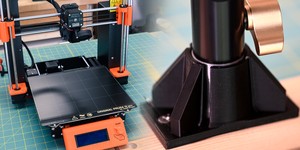
With the calibration complete, I loaded up a couple of the default models that come pre-packaged with the printer on the supplied SD card. First on the list was the Prusa logo, printed in the silver PLA that's supplied. This was beyond satisfying; the print itself wasn't all that exciting, but it's hard to hide away a cheesy grin when observing a machine whirring away making something when only the day before it was just a bunch of bits on a table. Of course, I had to follow up with a 3D Benchy, printed at 0.2mm layer height, along with a tree frog at 0.05mm. Print quality on the Benchy was, in my eyes at least, fantastic. It's not a hard model to print by any means, but it was cool to see how smooth the contours were. It felt worlds apart from the early FDM printers I remember seeing in the foyer at university.
The tree frog was less successful, with some noticeable stringing present along with some surfaces that weren't so smooth. That said, I'd put this down to the layer height being so low, so perhaps it would fair better with a smaller nozzle than the standard 0.4mm one supplied with the kit? I hadn't played either with some of the other settings that can help with more complex prints such as Z-hop or retraction. PLA is a very forgiving material to print, so it will be interesting getting to grips with some of the other options such as ABS, PETG or the flexible filaments. There's also a multi-material upgrade kit available that allows 5 filaments to be used at once, although I think I'd want to look into that further before considering it. The main use I could have for a kit like that would be printing in water-soluble support materials such as PVA. That said, it would be pretty bad if I accidentally ended up contaminating the main print with it!
I'm definitely excited to see where this is going to head, though. For the time being, it's largely going to be a case of learning the ropes and getting to grips with how to print reliably with different materials. I'm definitely considering building an enclosure too, which in theory could make ABS printing less failure prone. Constructing an external filament holder would also be a sensible move I reckon, as currently the stand puts a lot of weight at the top of the frame, which can't be that great for stability. Onwards and upwards!


MSI MPG Velox 100R Chassis Review
October 14 2021 | 15:04

Want to comment? Please log in.