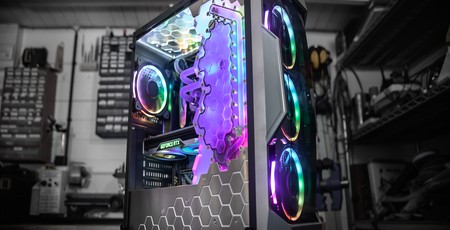
You may remember that a while back, Antec approached us with the view to completing a set of builds in the Antec DF500 RGB chassis, largely to show off its new and updated product stack, including its 5 Series RGB Gaming DDR4. Initially we built a fairly standard system into the case with a stock configuration similar to how most owners would likely use it. In the second part we expanded on that, showing how you could potentially add in a rather neat CPU water-cooling loop with very minimal modding.
Well, the time has finally come to complete the trifecta and actually mod things! This isn't really about proving a point and saying, 'Oh, you can do x in this chassis,' moreover it's a classic case of simply wanting to make something cool, which nowadays is likely the basis for 90 percent of modding it seems. I did, however, have one minor self-imposed limit in that this time I didn't want to gut the entire case and start over. The mods going into this build will all be able to fit the case without a tremendous amount of additional work, which should make for an interesting ride I reckon.
Disassembly time!
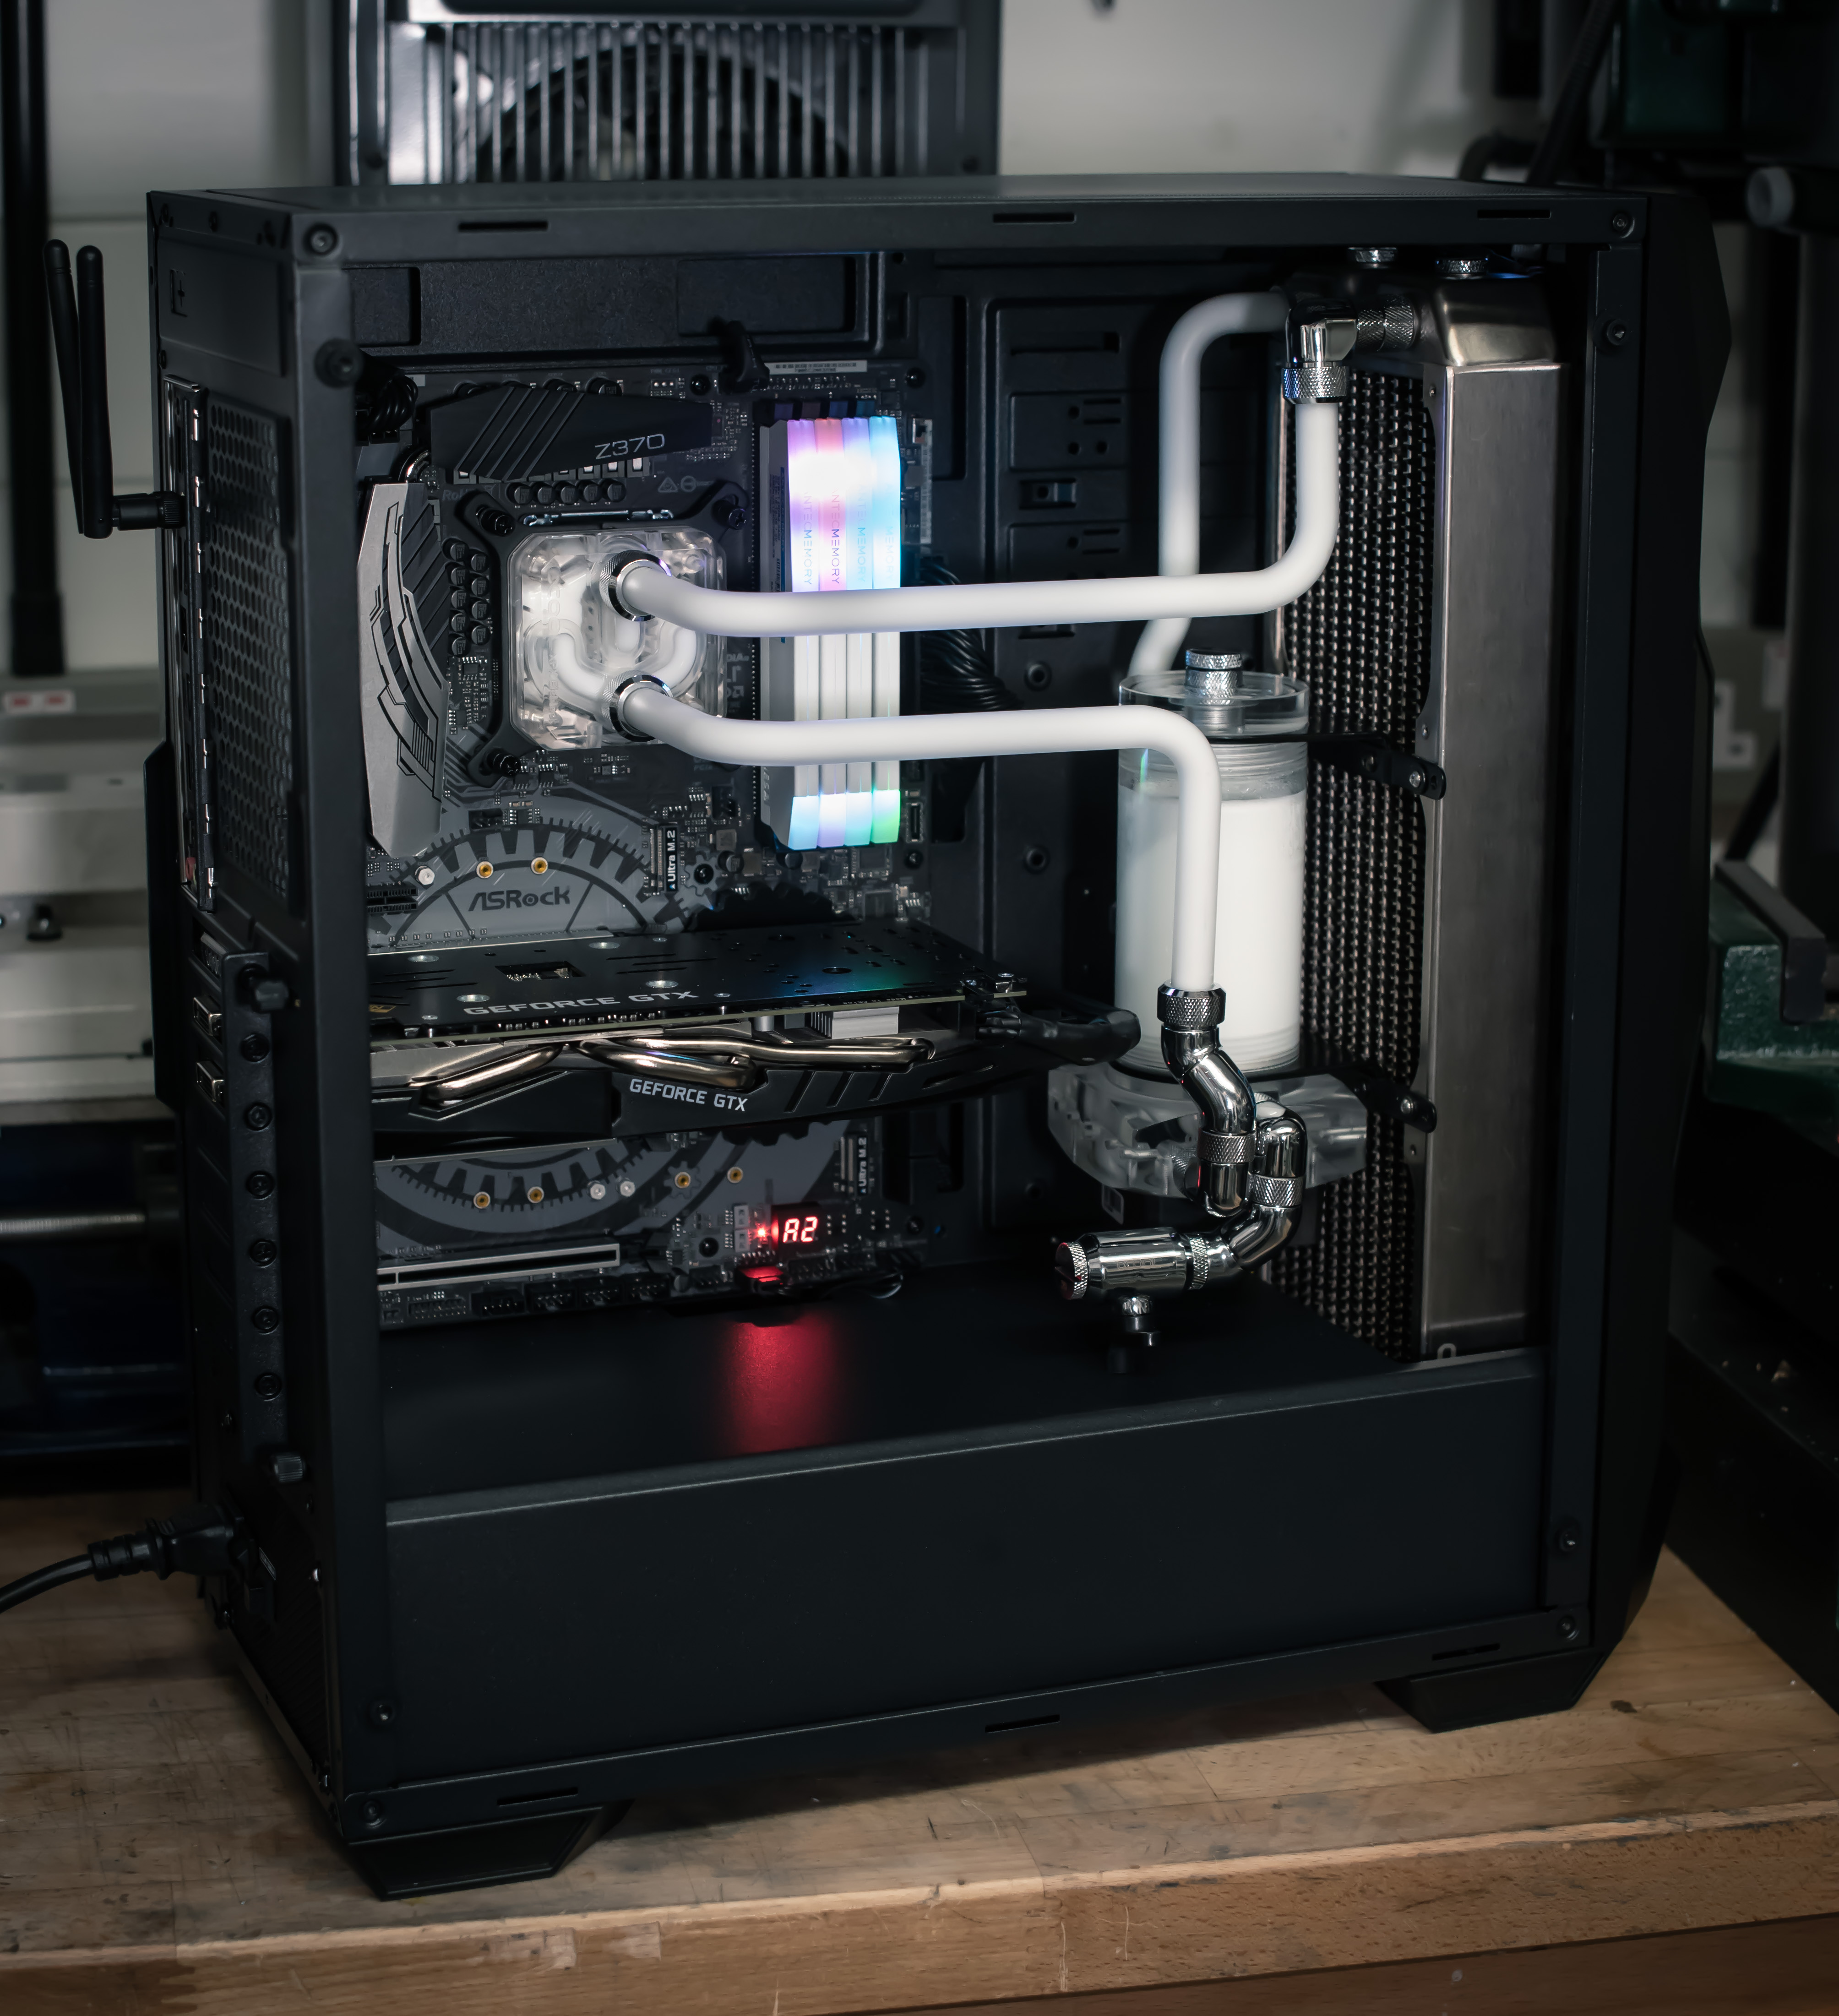
Of course, before any real work can commence, we've got to remove the existing system from the case, which means removing that existing water loop. This was definitely a case of easier said than done. I thought I'd been really clever and installed a drain system into the loop so that it could be emptied with ease when the time came. Fat chance, it turns out I got the pump/reservoir combo oriented completely wrong for doing that, and as such the drain valve only reduced the liquid level by about 2cm, courtesy of the vertical aqua-tube inside the reservoir.
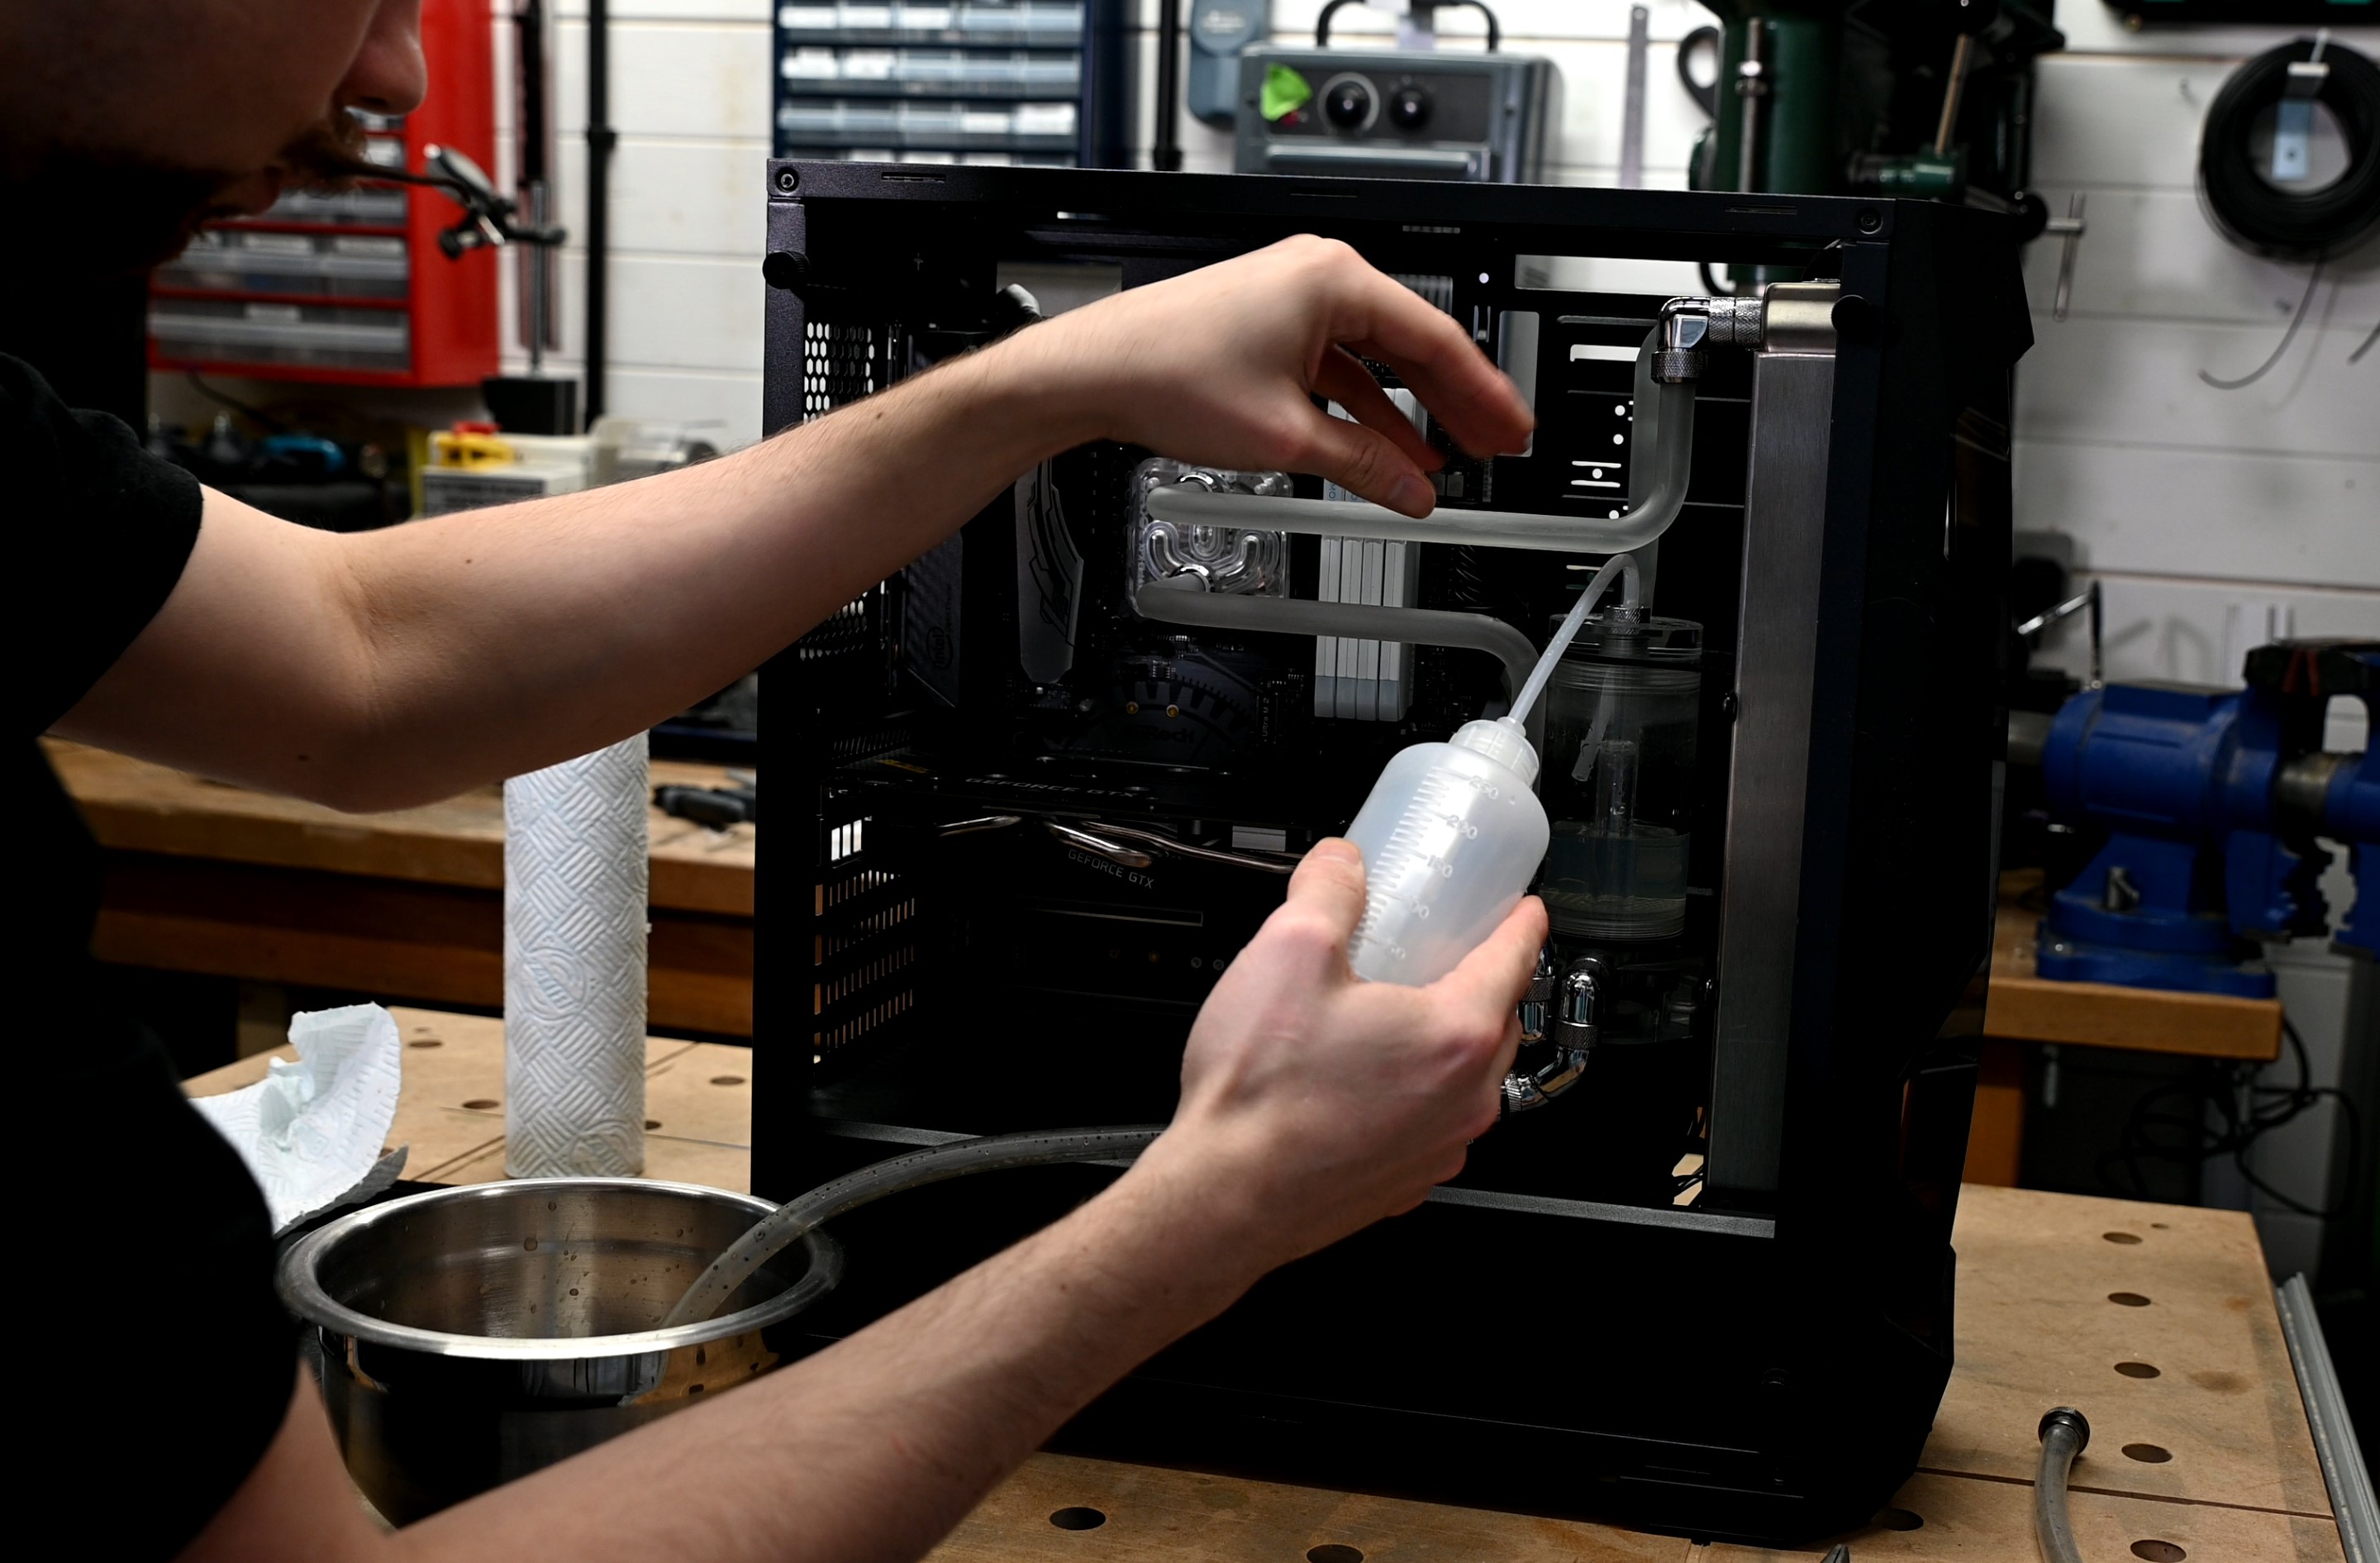
No matter, this is one of the typical difficulties with a hardline loop, since you can't simply remove the water blocks in situ. To get around this, I used a fill bottle with a long tube to siphon the coolant out through the top of the reservoir via the fill port. Once enough of the liquid was gone, it was then possible to remove individual tubes and flush out the majority of the coolant.
By contrast, a proper drainage system would have accomplished this in seconds. Whilst that's not a huge deal if you plan on disassembling your loop on a fairly regular basis for hardware upgrades and so on, a proper drain system can be such a quality of life improvement for general maintenance. I can guarantee that if your loop is quick to drain and fill, you'll be more likely to replace the coolant when scheduled to do so (six months to a year for most coolants).
Plan that thing out
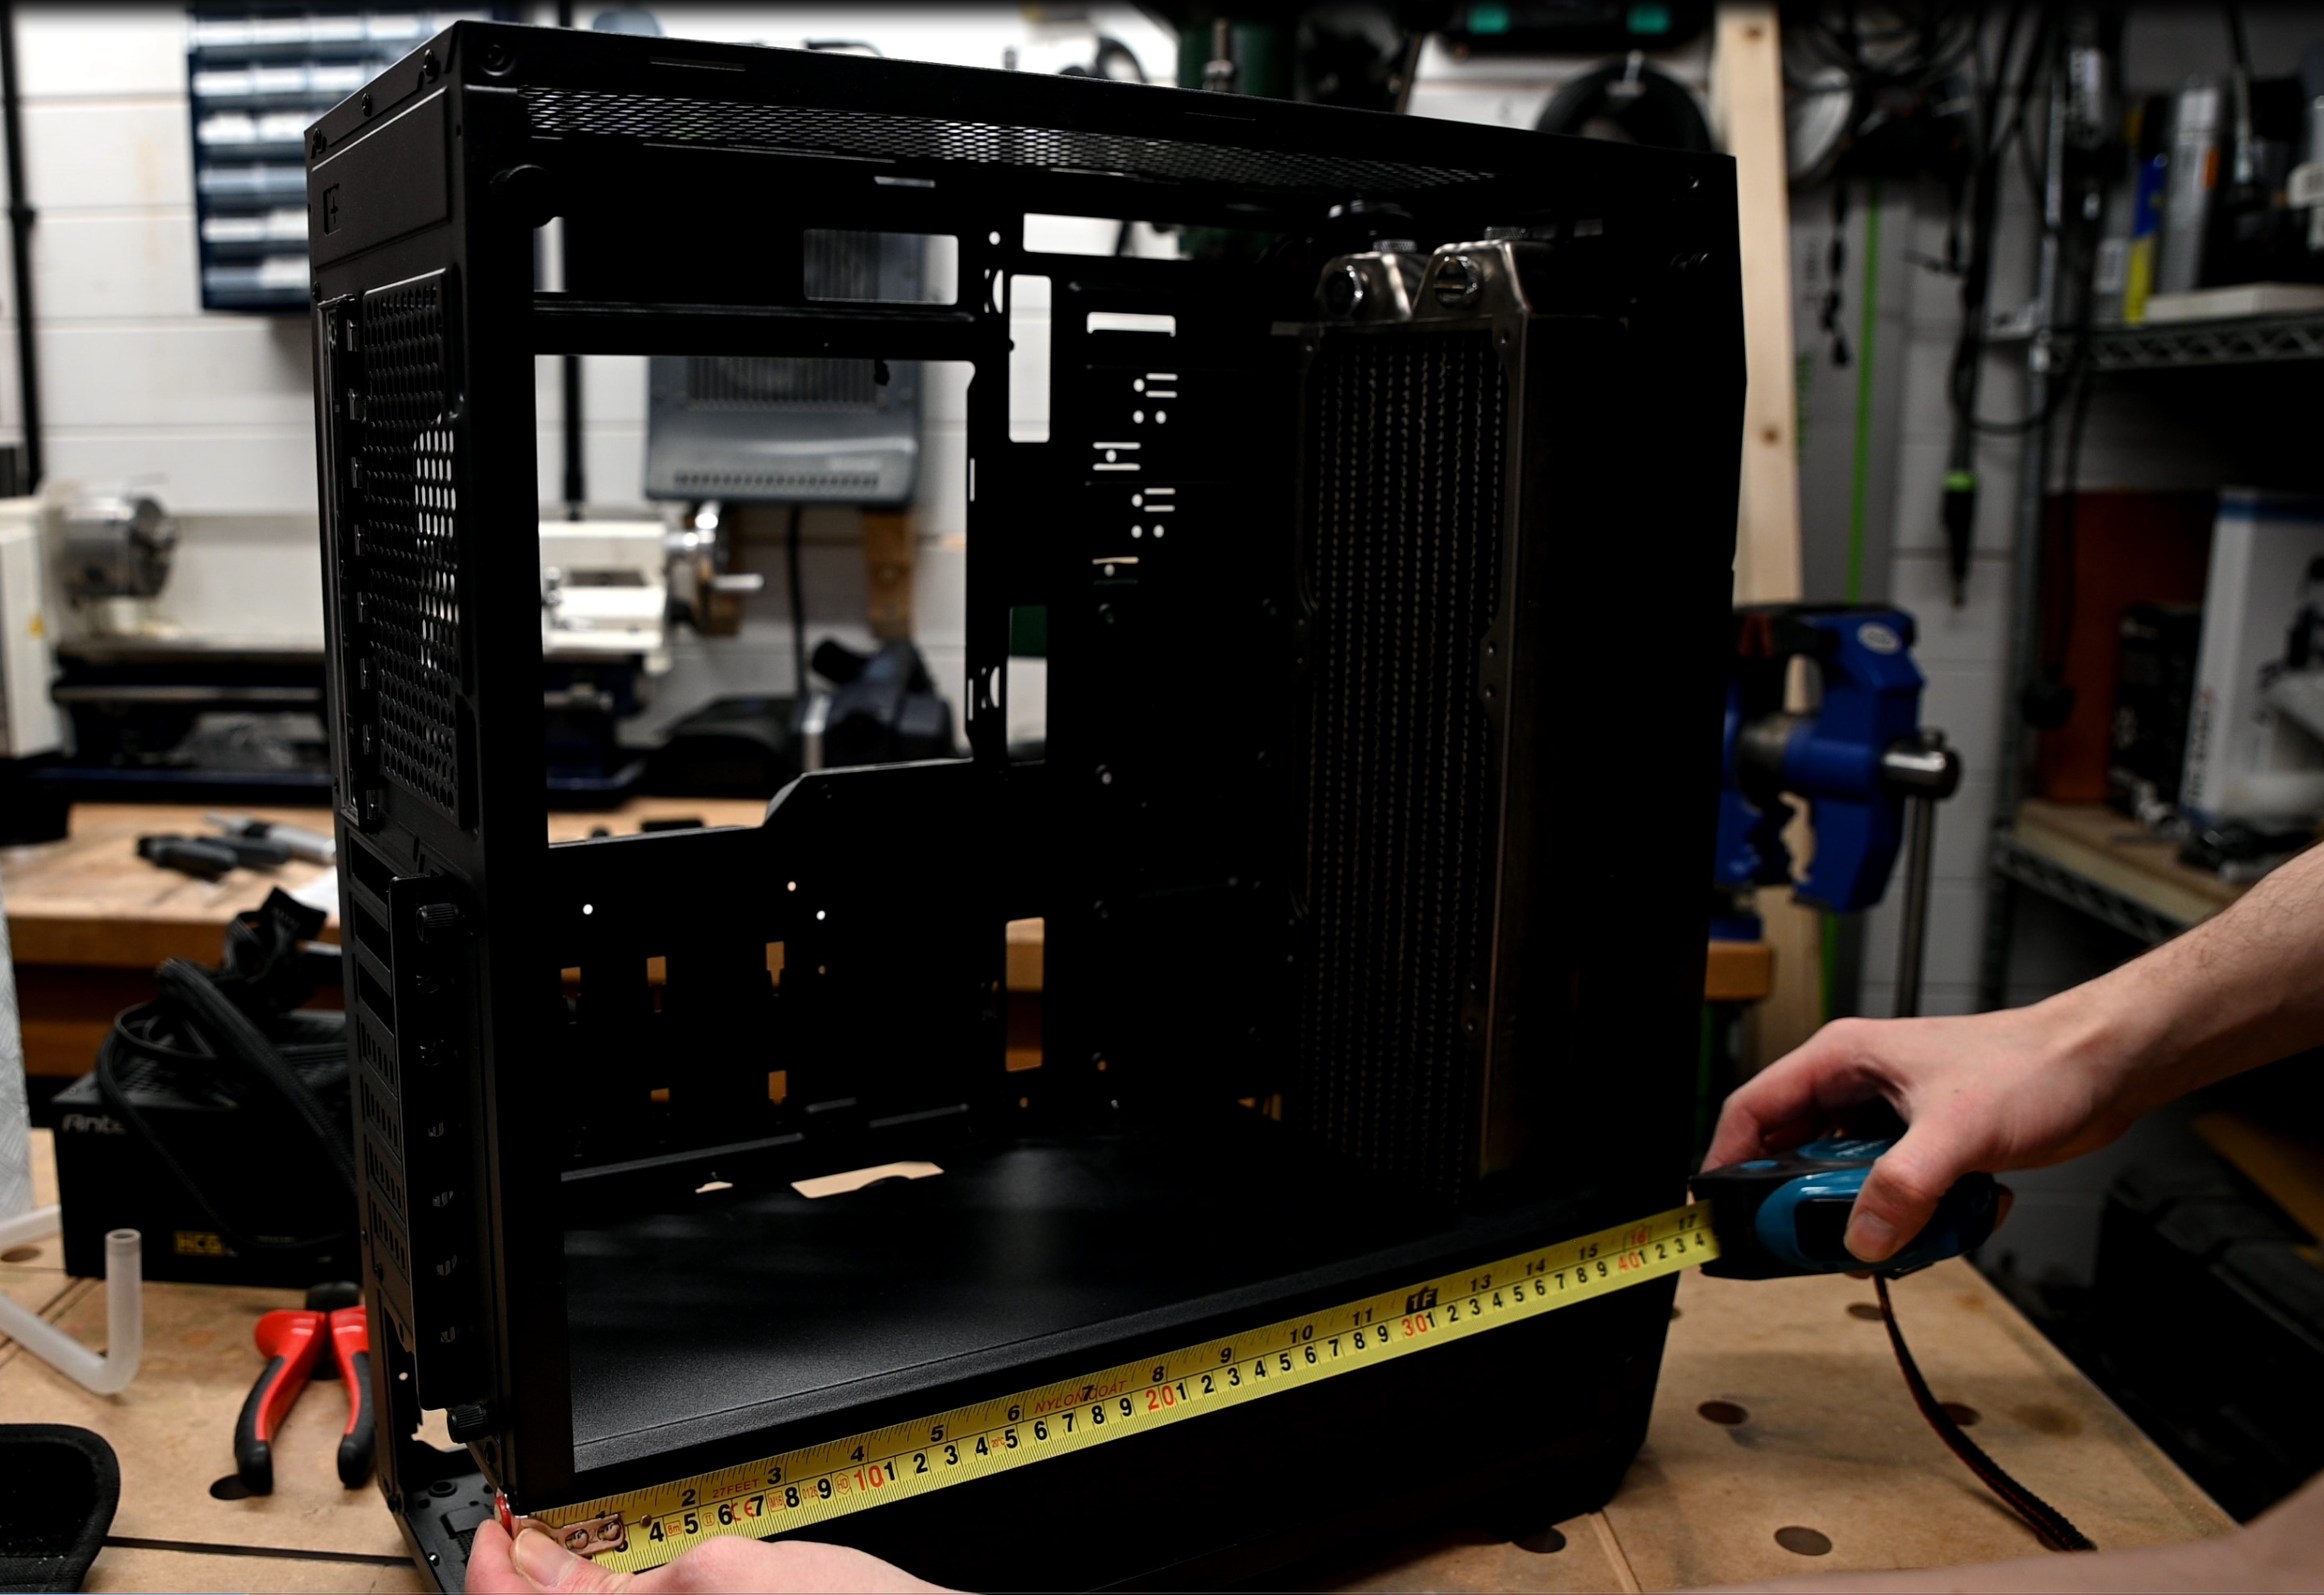
With most of the components out of the system, it was now simpler to take some measurements from which to draw up a suitable plan of action. I decided to leave the radiator mounted where it was for this so that I could treat it like part of chassis and measure around it.
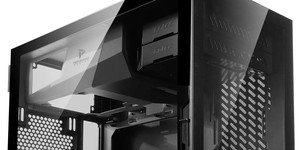
The case has a decent PSU shroud built into it, so it made sense that I should keep that there. Since this is very much a budget chassis, that decision also has the added benefit of greatly increasing the structural rigidity of the case, as the motherboard tray is riveted to it directly. So rather than remove it, it made more sense instead to mount any additional pieces on top of and around it.
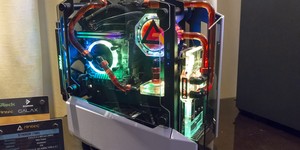
Theme-wise, honestly I just wanted to do something with a honeycomb pattern. There's no real rhyme nor reason to it; it's a nice pattern that's popular for a reason, plus it threw in some interesting possibilities for working it into the acrylic. So taking that and the measurements, I hopped into Fusion 360 and came up with this plan.
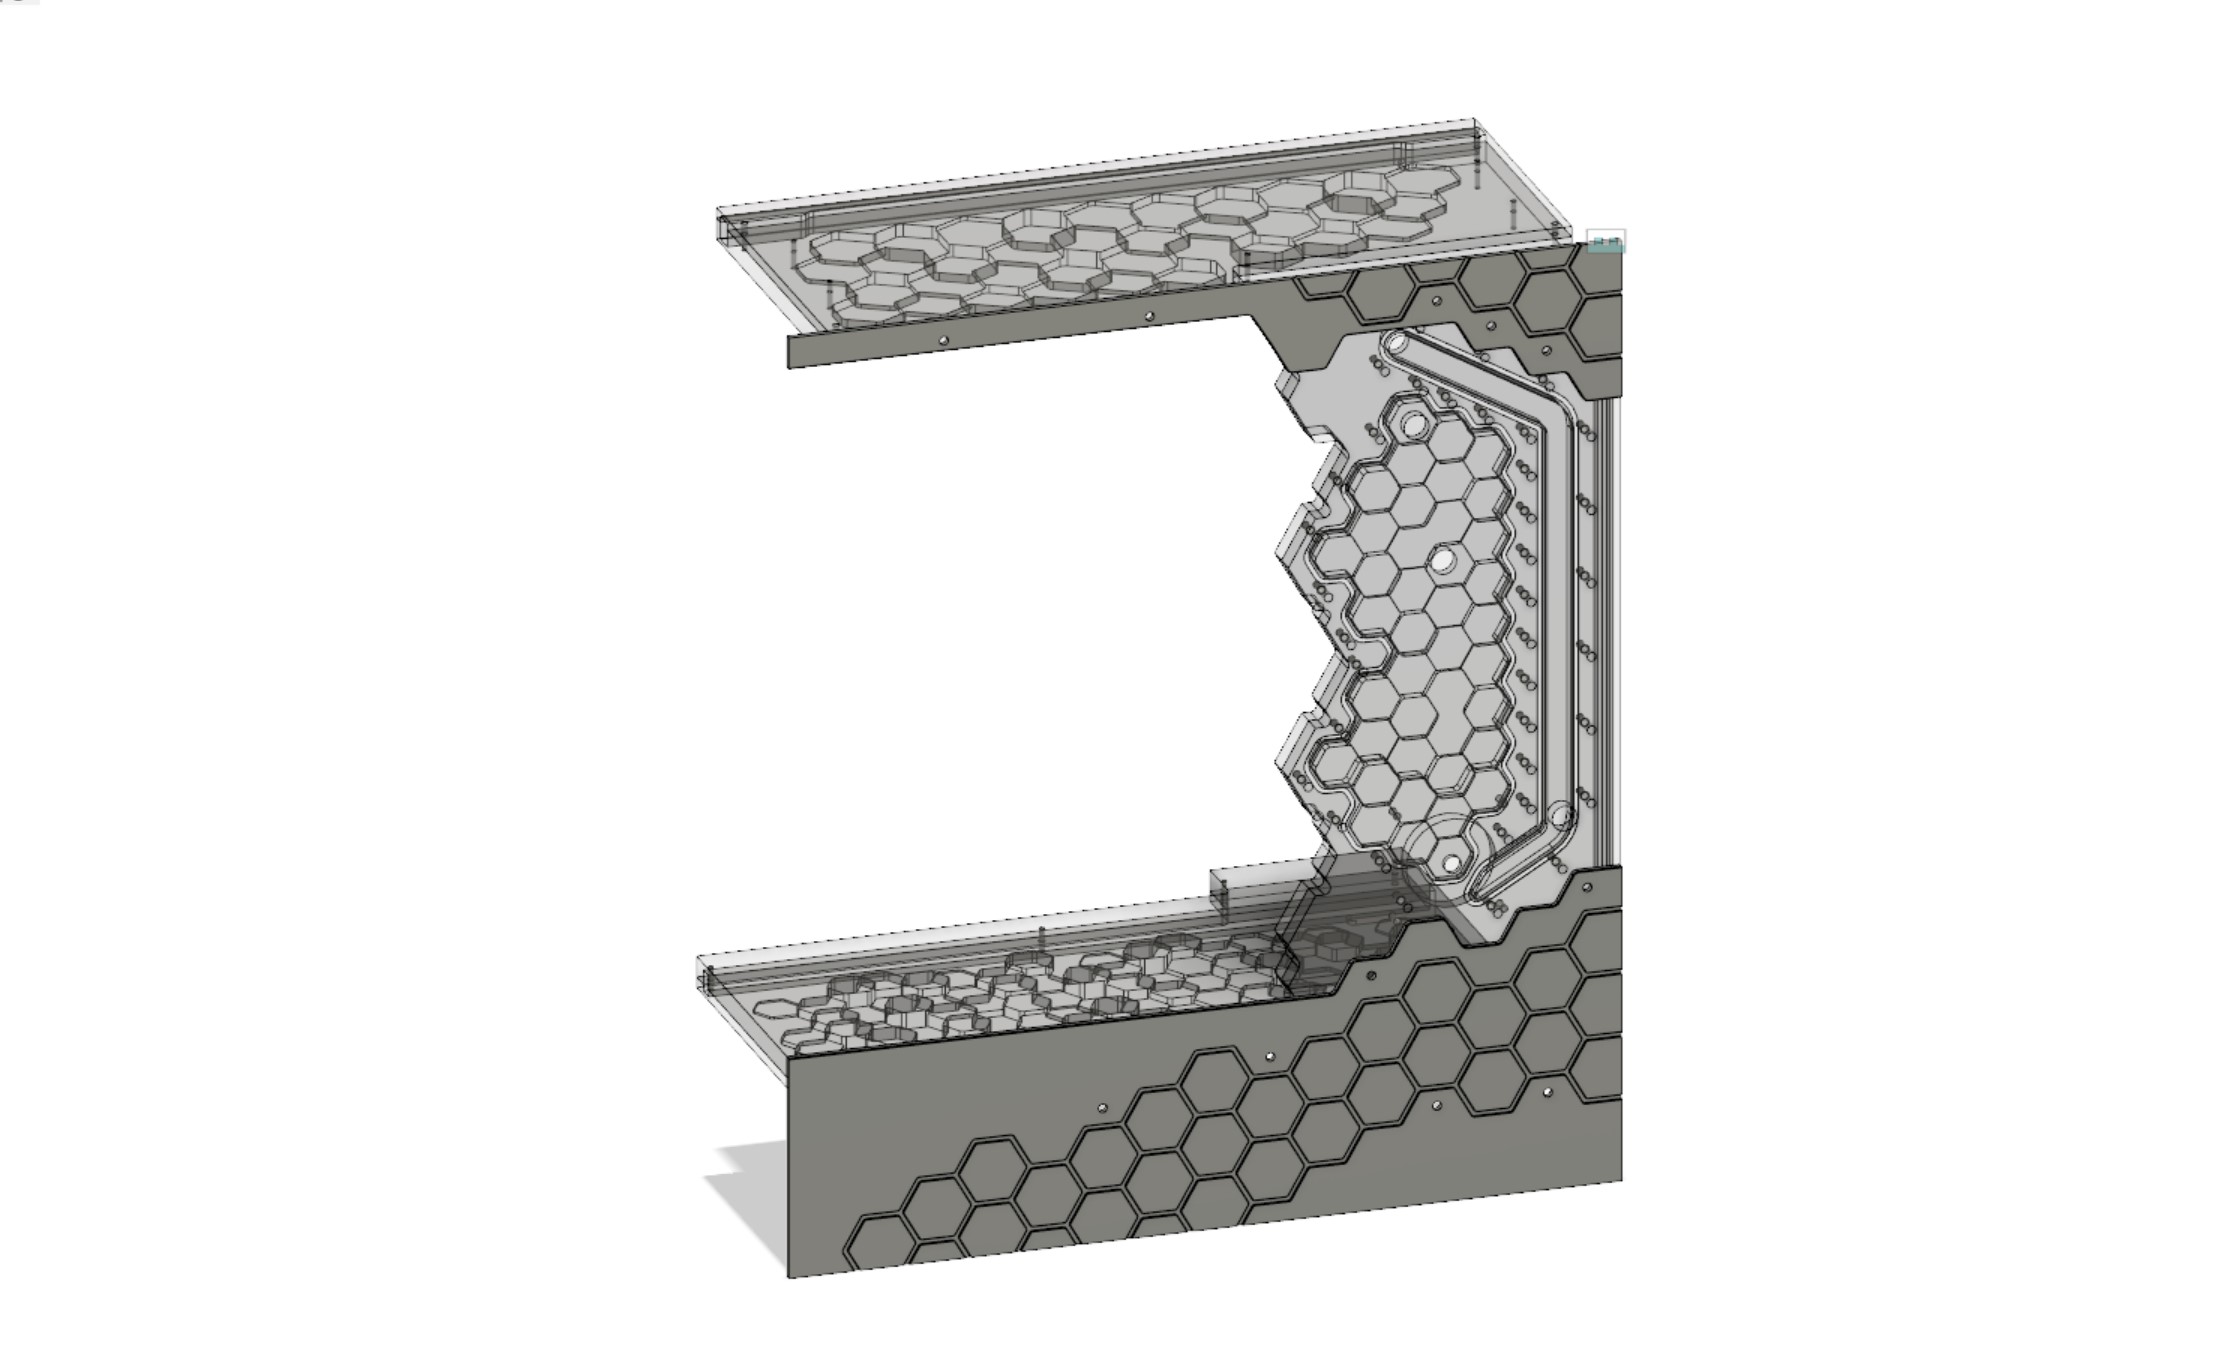
Essentially it's two lighting plates with machined, stepped hexagons cut into them and channels for LEDs down the back, plus a matching distro plate with the DDC pump integrated into it. These acrylic plates would then be accented by a host of aluminium panels also sporting the same honeycomb pattern milled into them. The plates connect to one another and the chassis using M4 screws and M3 square spacers (the same sort that Parvum uses to construct their cases); this should provide ample strength whilst also being simple to implement.
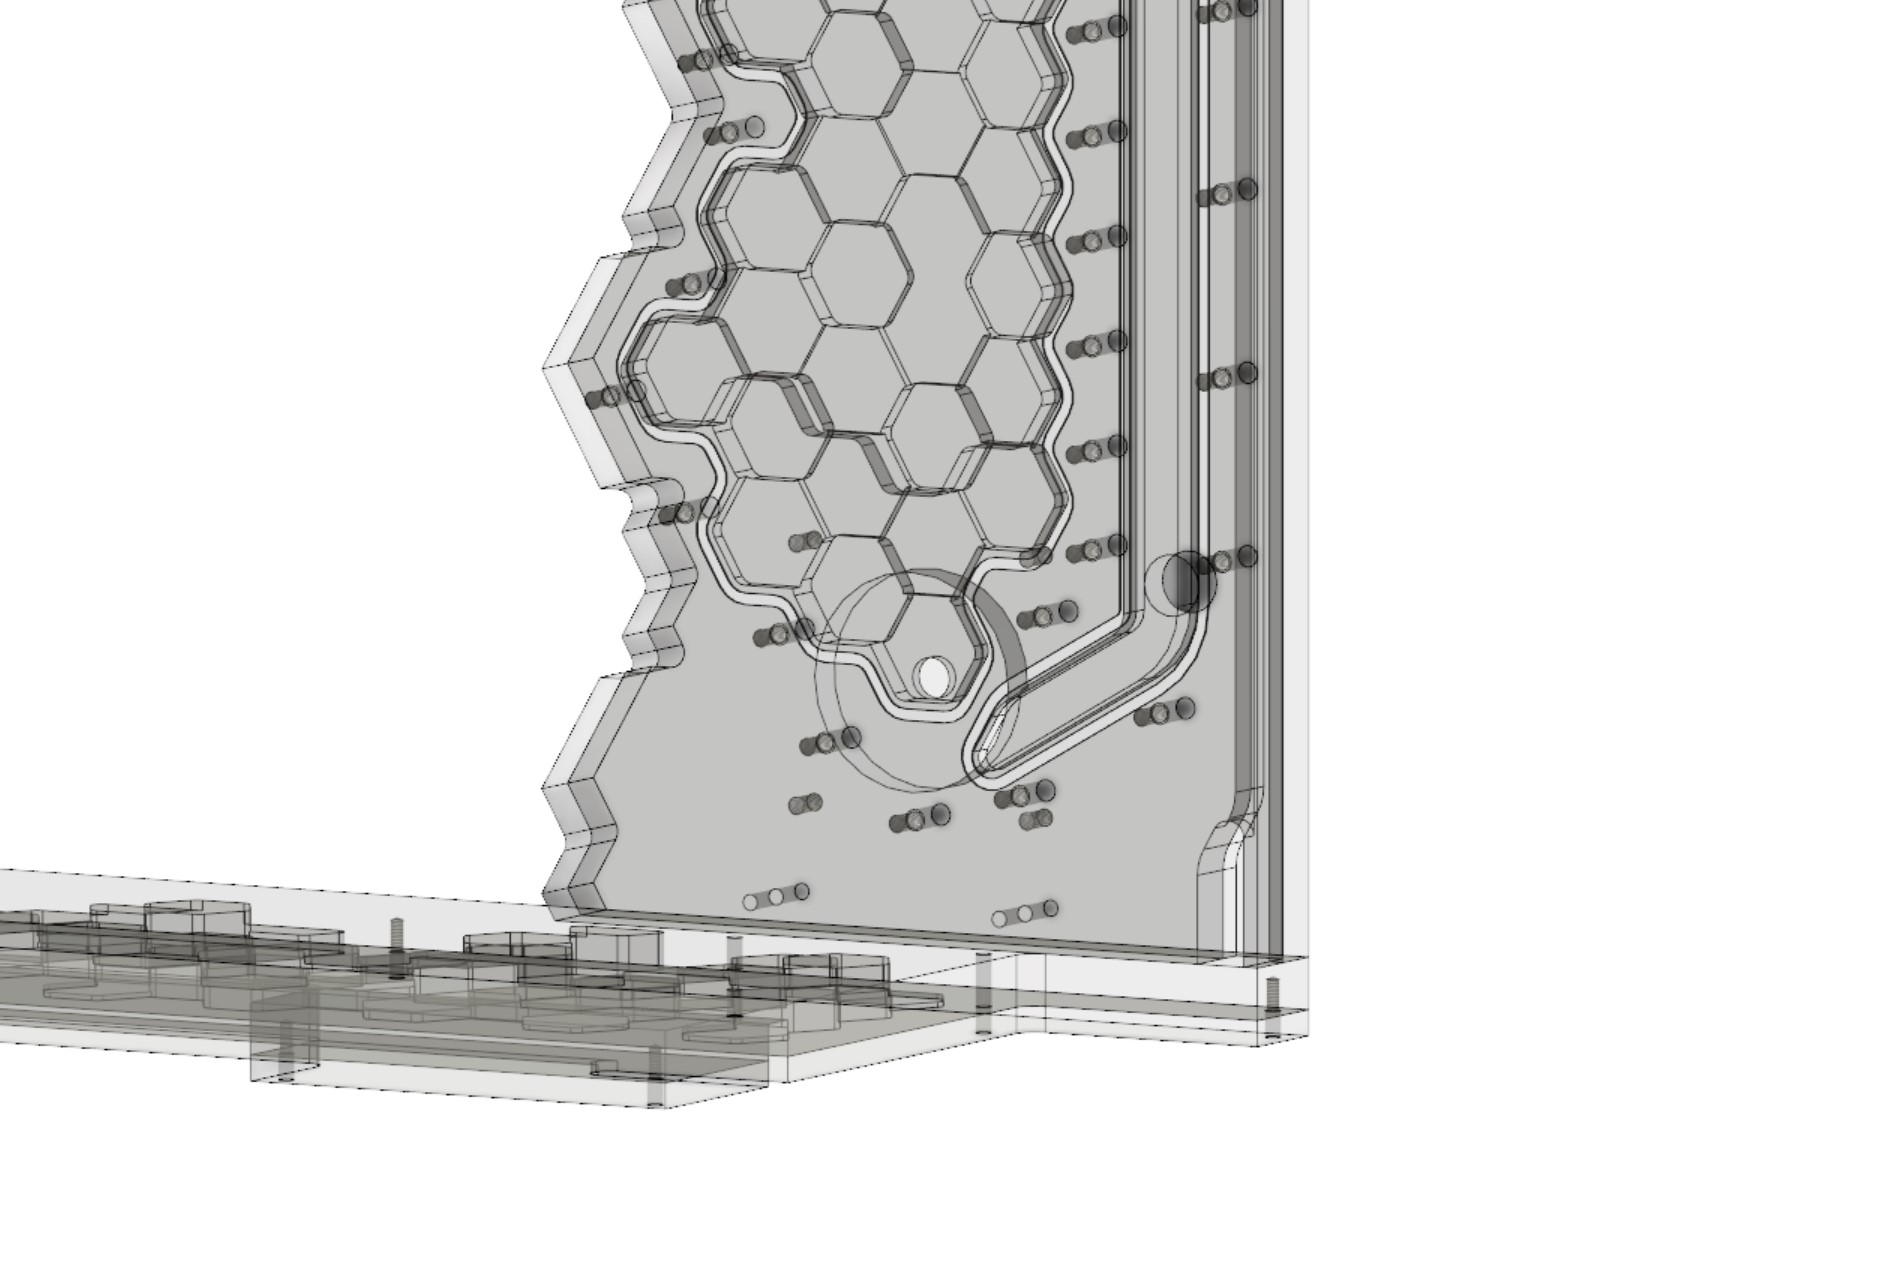
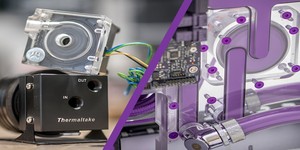
The CAM side of things was quite interesting. The pump-distro plate is a double-sided job, but is also a very simple one, so it didn't really require much planning. Of larger note was toolpathing the honeycomb pattern so that it would machine well. Again it's not really a complicated piece, but it's worth thinking about things like the order of operations so that the best finishes can be achieved. To do this, I separated the flat, depthing operations and the 2D contours, that way I can offset the height of the endmill a smidgen, preventing it from marring the surface finish of the parts as it trims up the edges.
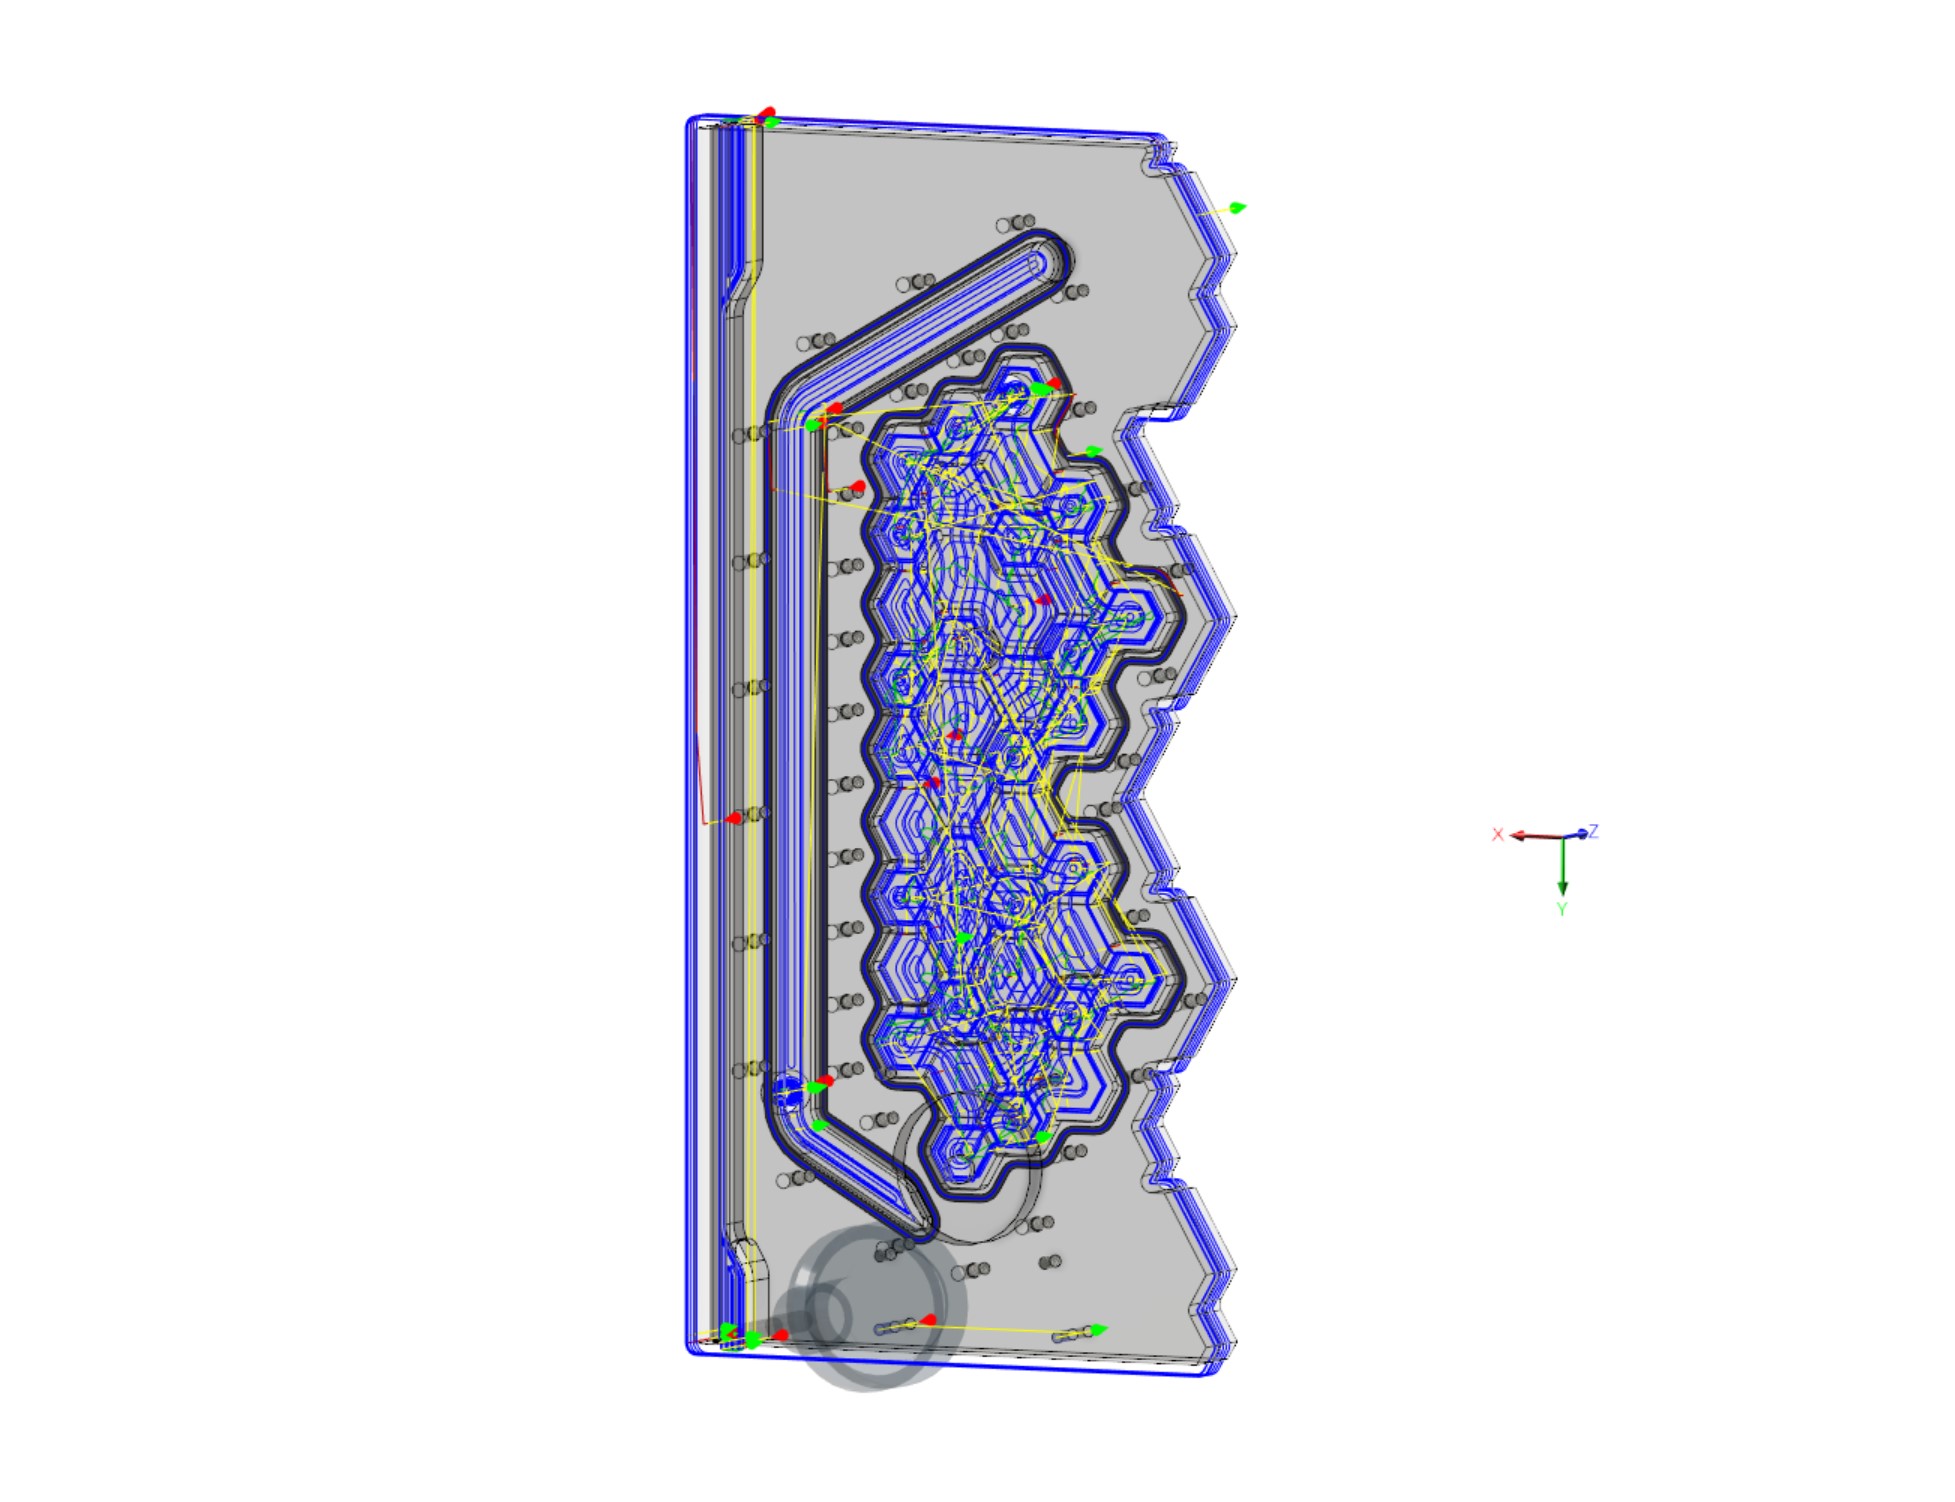
The aluminium pieces are also pretty straightforward, I just made sure to be conservative with the settings to prevent chatter. A key element to the appearance of the panels is the presence of a chamfer along all the main edges. This breaks up the corner and provides a lovely sparkle to the plates when viewed from different angles.


MSI MPG Velox 100R Chassis Review
October 14 2021 | 15:04

Want to comment? Please log in.