How To Make Your Own Satin Hardline Tubes
November 20, 2018 | 17:00
Companies: #alphacool #bitspower #ekwb #thermaltake
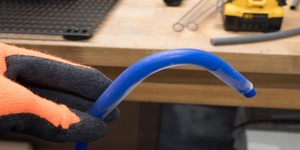
It's safe to say that hardline tubing is incredibly popular. When used correctly it can lend an incredibly neat and precise aesthetic to a build; it can also be used in a manner of creative ways such as being bent into specific shapes and forms. That said, most enthusiasts tend to stick to the standard clear acrylic and PETG tubes, letting the coolant do the work for colour and texture. However, there are far more options out there to be explored, including a particular favourite of mine: satin tubing.
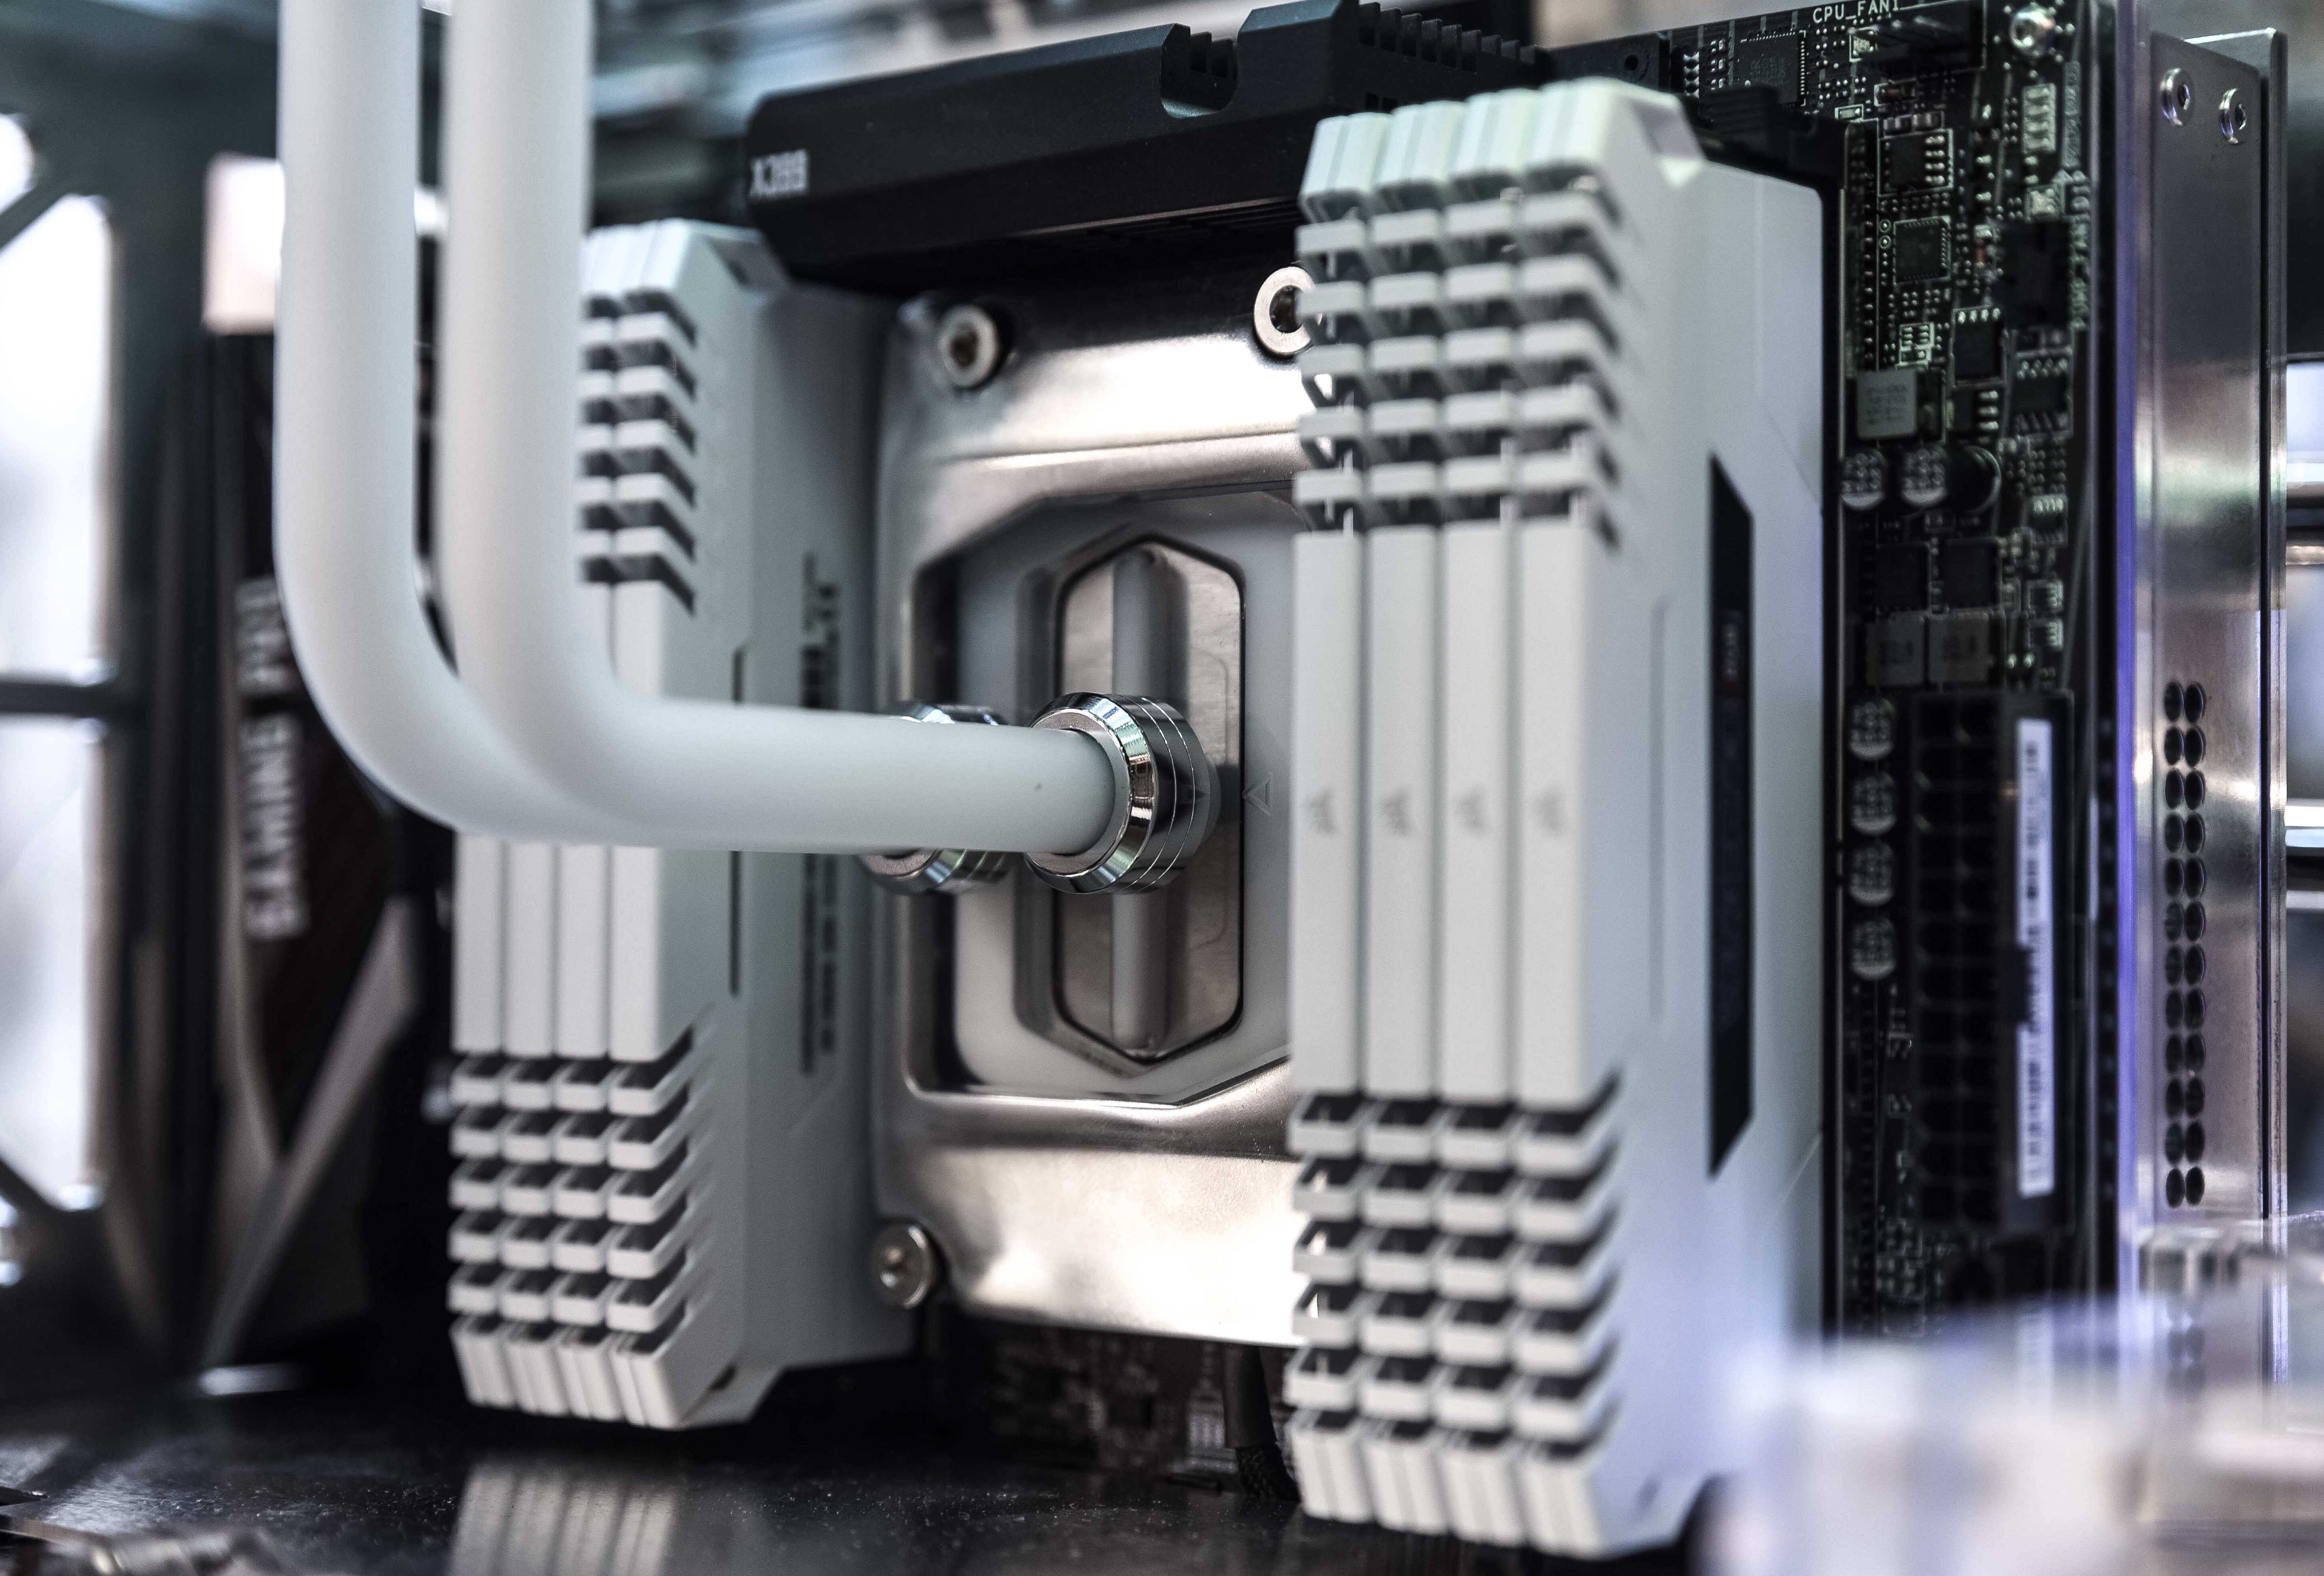
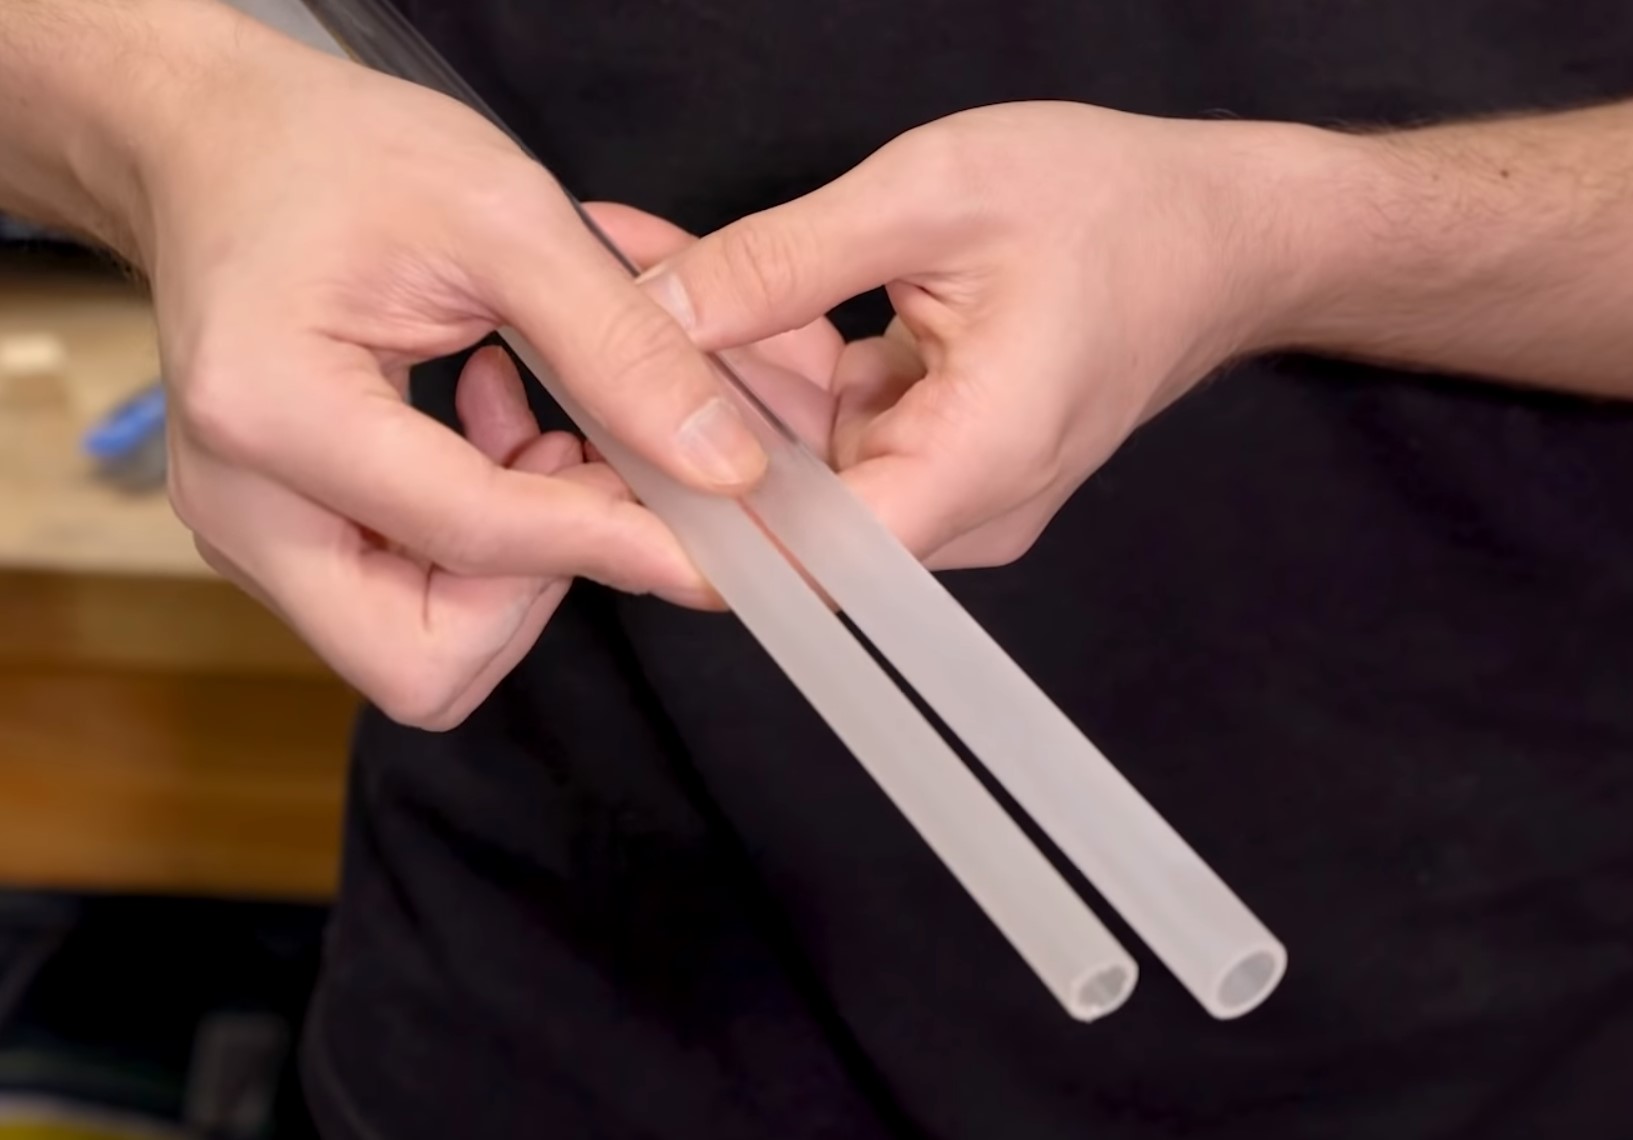
You can actually purchase satin tubing off the shelf, such as Alphacool's Eisrohr Satin acrylic tubes (we used the 13/10mm variety in the 1000D mod). There is a drawback, though, in that you're limited to one supplier and the sizing that's available within that range. Additionally, if your preference is for PETG tubing, you're out of luck. Fear not, however, as you can very easily mod regular clear tubes into those with a satin finish with a little elbow grease and some simple supplies.
Why go satin at all?
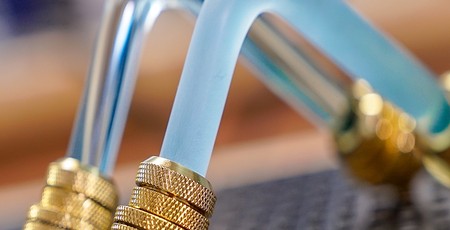
This largely comes down to personal preference; it's an aesthetic choice after all. Some builds will suit glossy tubing while others will be better set with the matte finish you'll find with satin. A key advantage, in my opinion at least, comes when using very pale colours. With glossy clear tubing, often the coolant colour won't show up unless the colour is fairly strong as is particularly the case in darker builds. If you rock a pale blue coolant in a case with a fully black interior, it will likely recede into the background. However, with satin tubing the colour comes out much stronger, and it will even show up in builds that have been fully stealthed out. This means you can play around with different coolant colours that normally would be all but indiscernible outside of the reservoir, such as varying shades of blues and greens, or even light browns and reds.
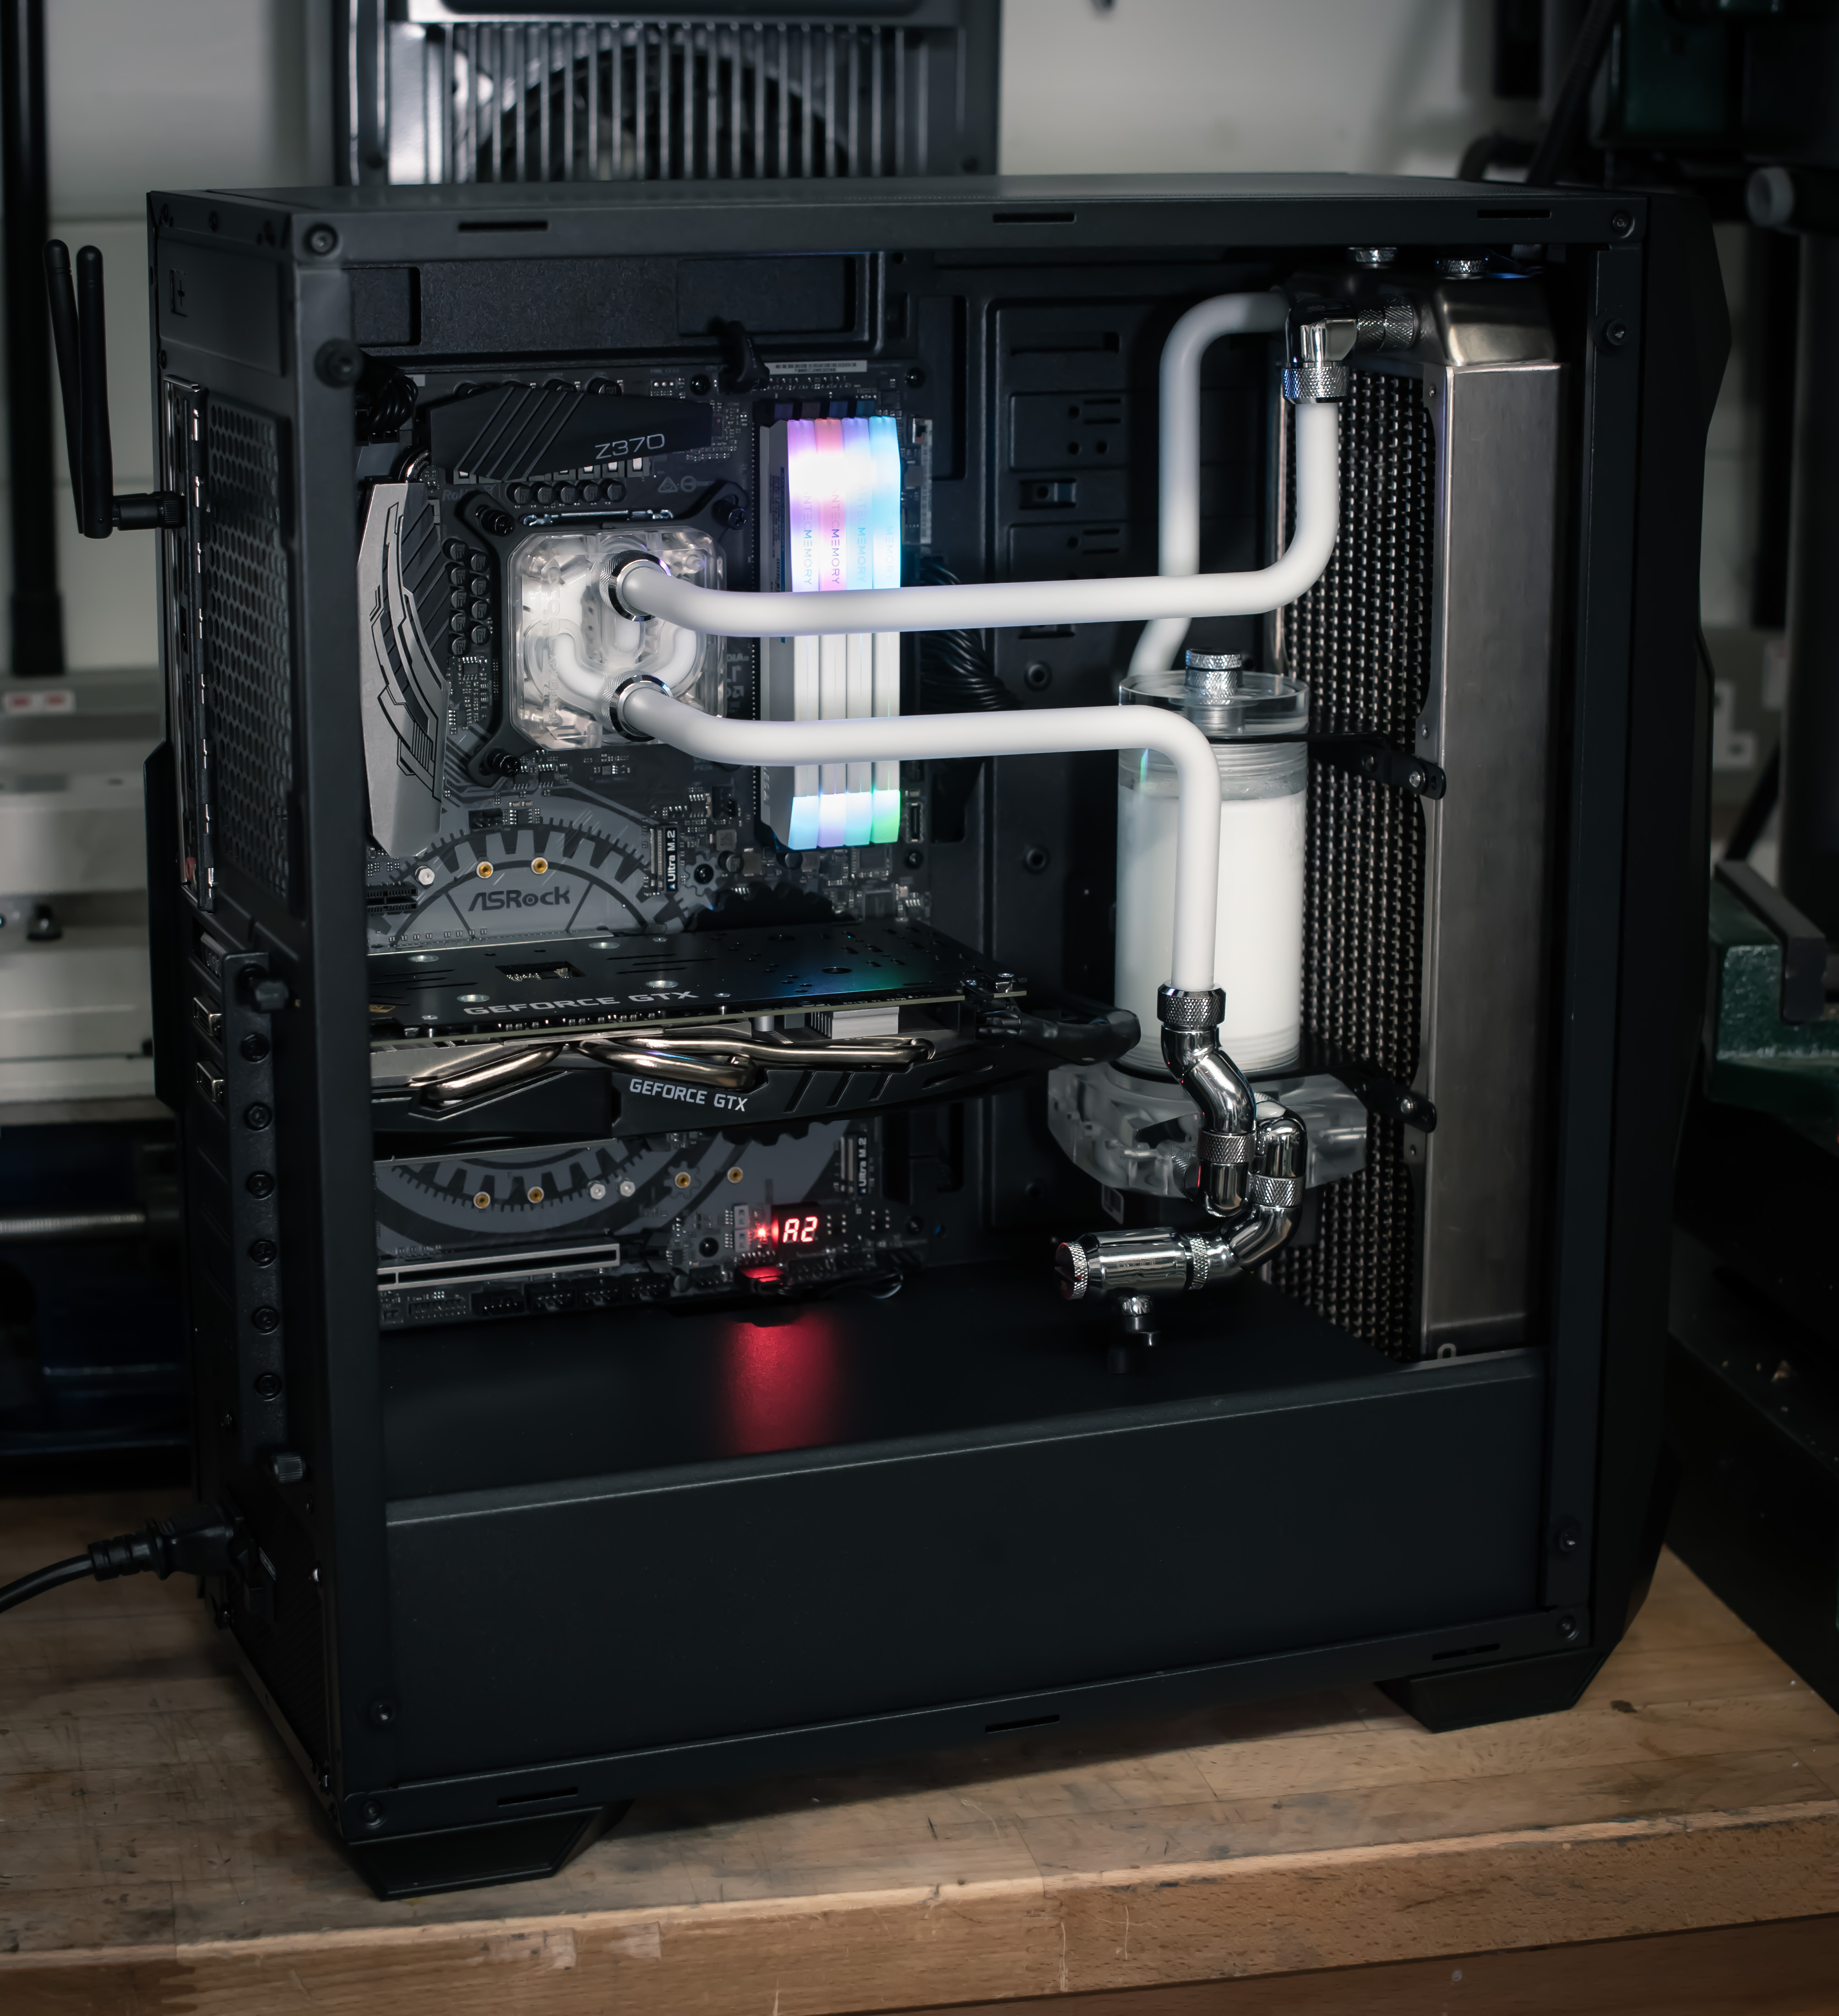
Satin tubes also provide a very different, almost tactile appearance to the tubes once filled with coolant, similar to a gummy sweet I suppose. In particular, pastel coolants cause the tubes to look soft and smooth. Whether that's a desirable effect or not is up to you, but it's certainly an interesting one. Let's also not forget lighting since RGB just insists on finding its way everywhere. If for some unholy reason you've decided to rock RGB fittings (been there, done that, never again) then satin tubes will diffuse the light a lot more than glossy will. This will give the effect of the tubes glowing along much more of their length, and it will also increase the strength of the colour from the fittings.
Another interesting opportunity comes in the form of coloured tubing, which for the most part only comes in glossy finishes. Frosted acrylic panels can look fantastic, so being able to match them with frosted tubes of the same colour is an intriguing concept. I haven't tried it yet myself, but I have used the same technique before on sheet material, so it should hold up.
What materials do I need, and how is it done?
This is the exciting part for me, as this mod is fantastically simple. All that it requires are soft pads in 500 and optionally 1000 grit variants. If you're not accustomed to this sort of sanding pad, be sure to check out our Toolbox article on machine sanding where I highlight some of their uses and benefits. In essence these sanding pads are designed for conforming to curved surfaces; they're frequently used for polishing soft surfaces like plastics, lacquers, and resins. If you happen to do automotive body work or are into tenpin bowling, you'll be accustomed to seeing these around.
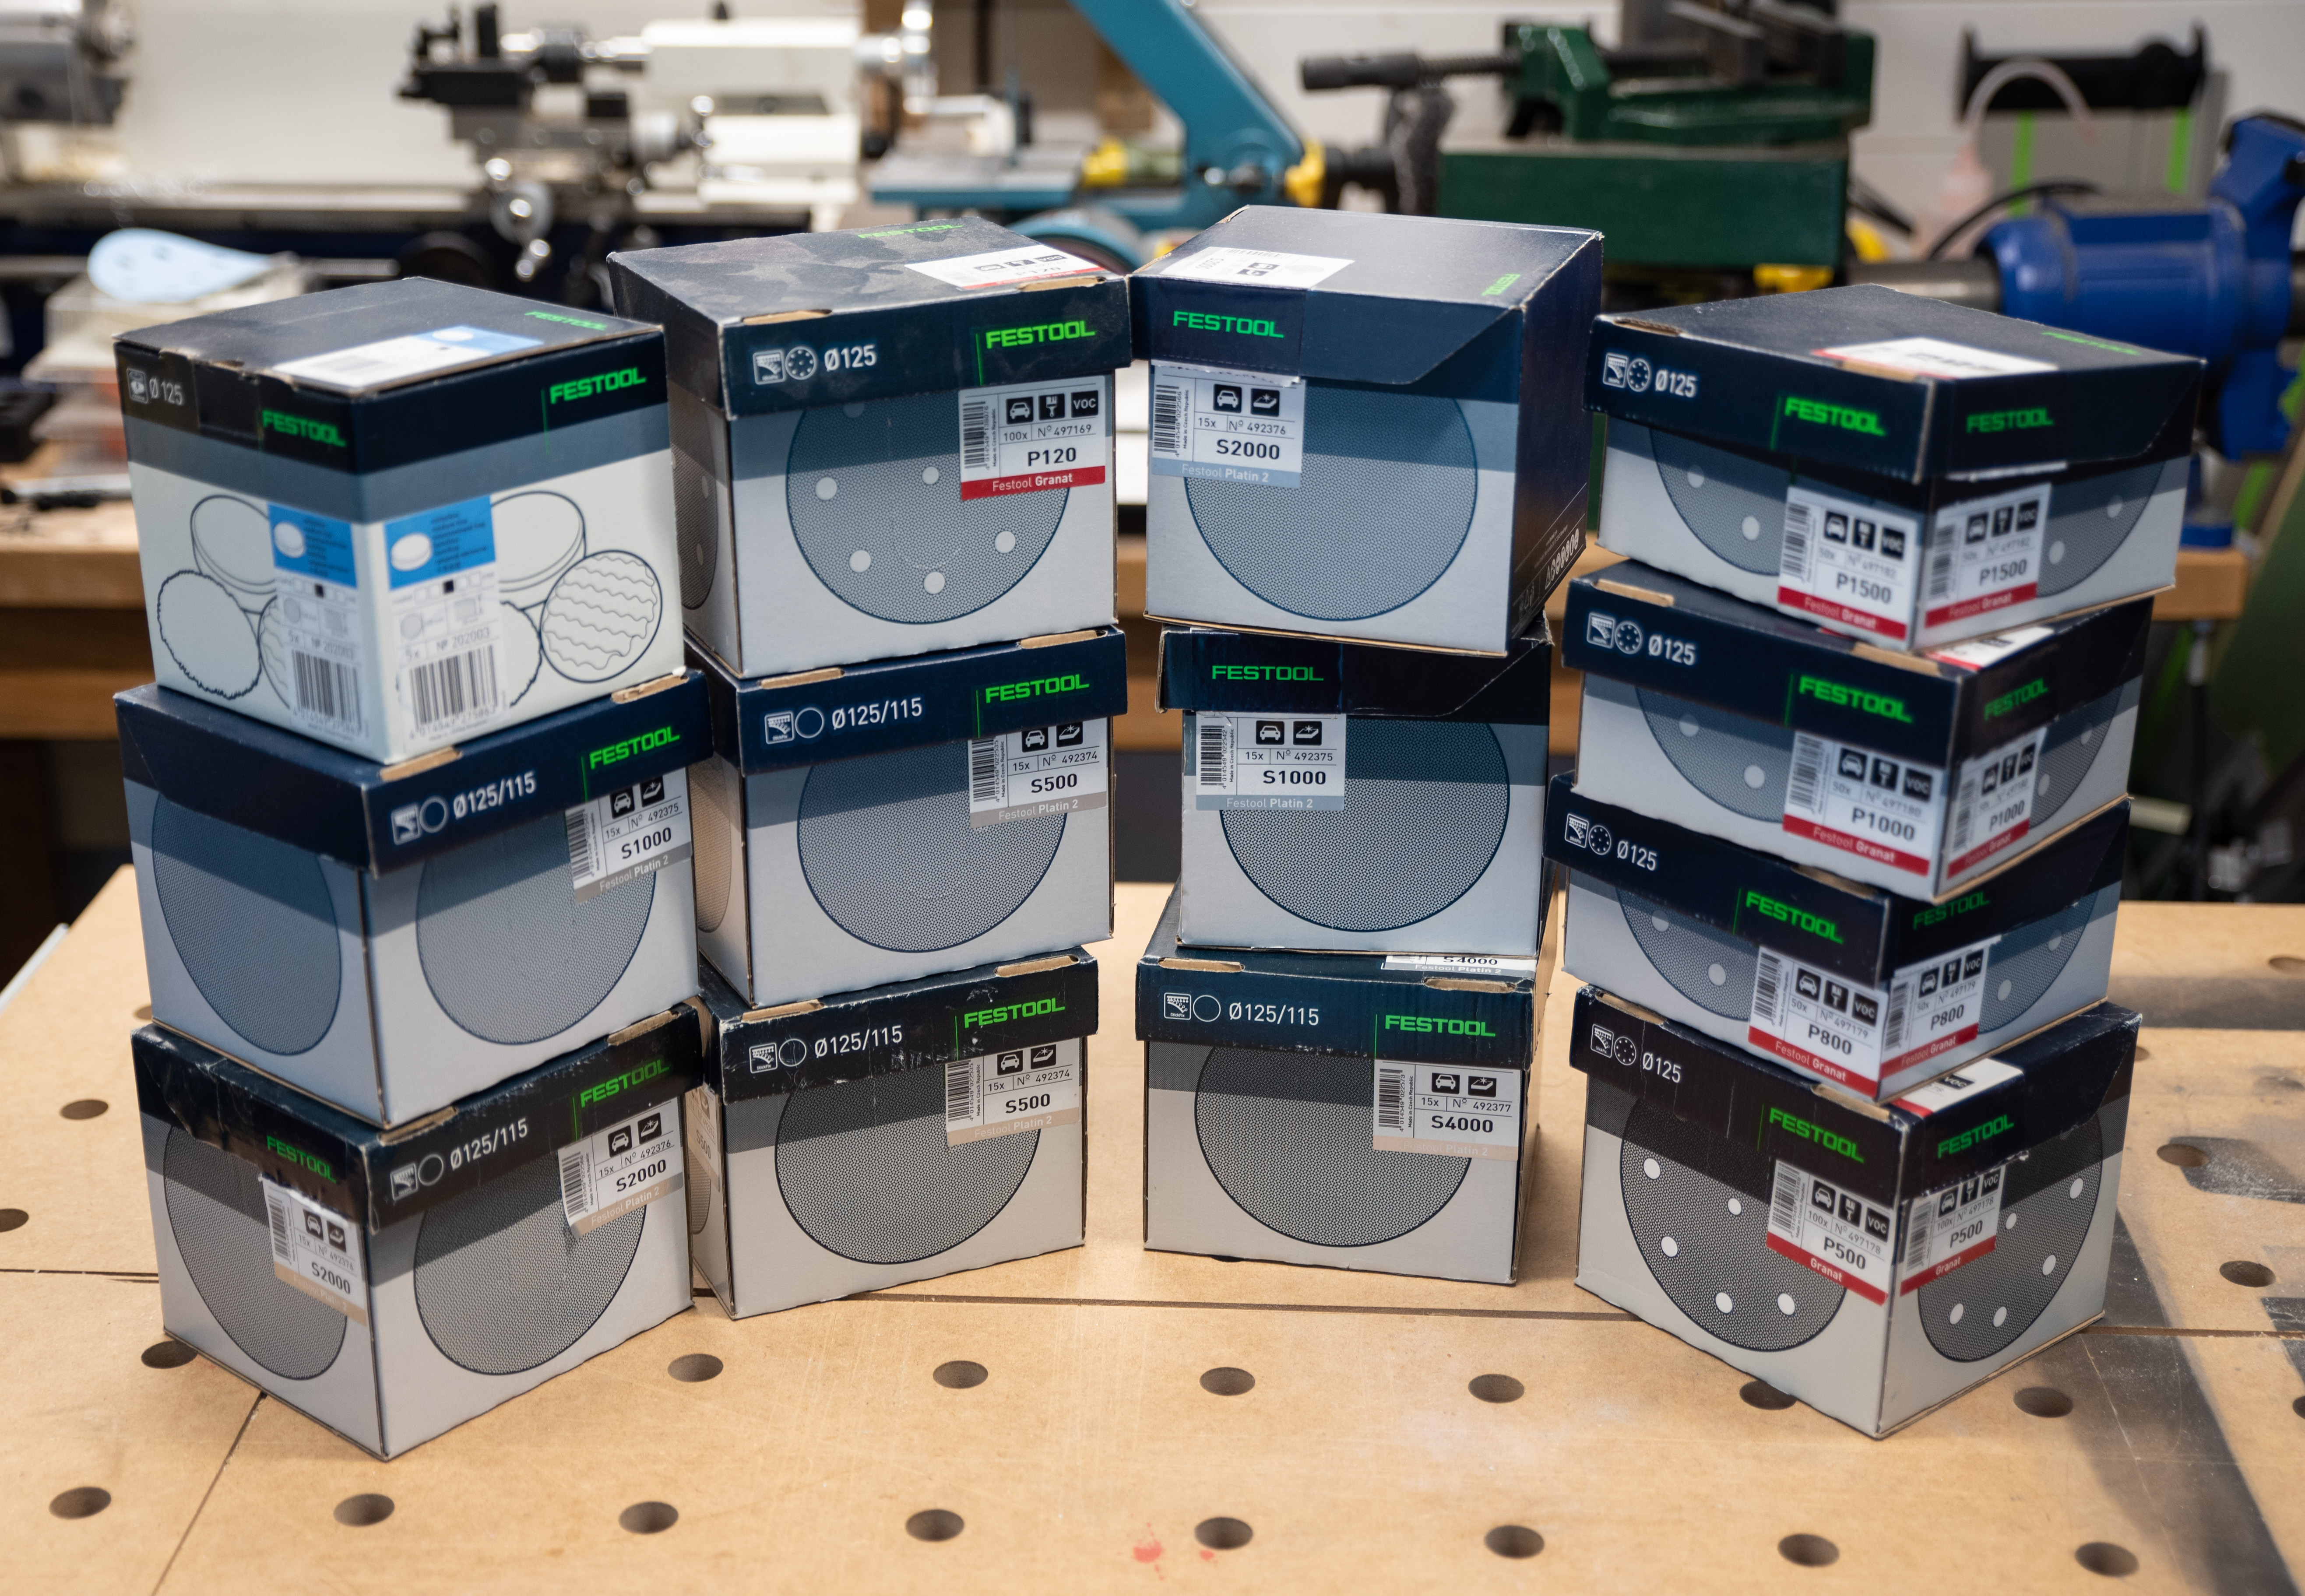
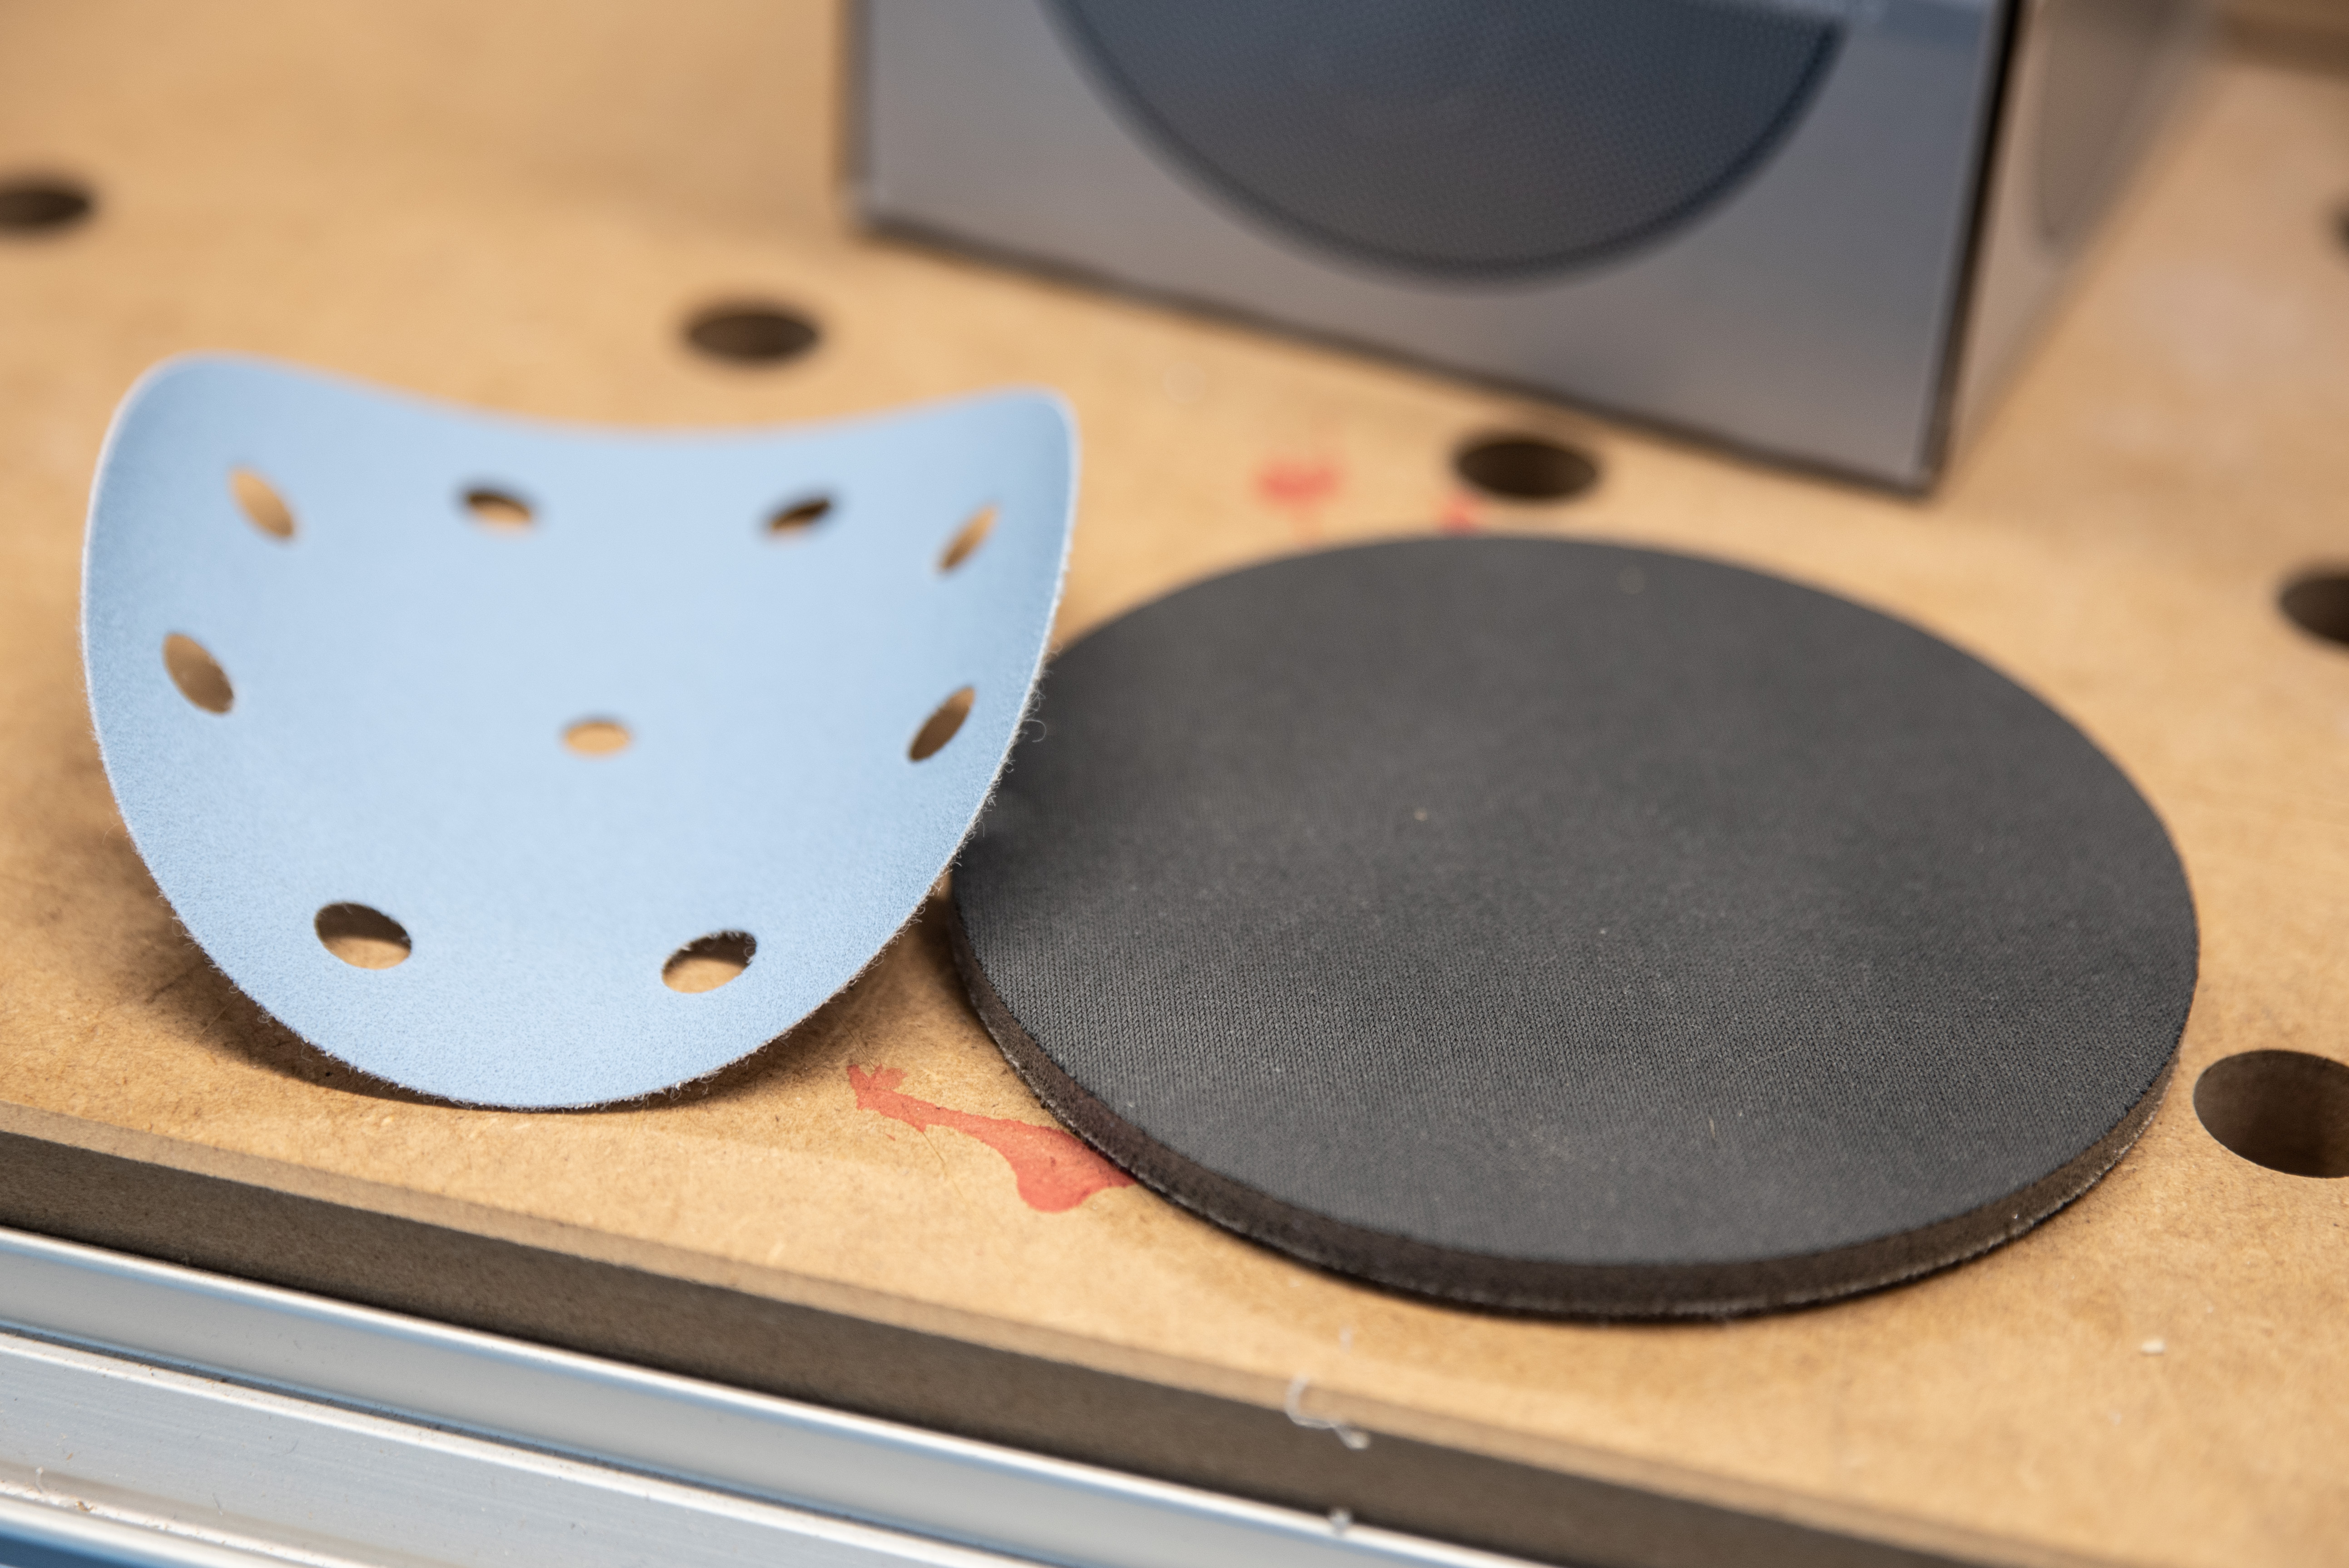
The ones I use are Festool's Platin II discs; a very good alternative is Mirka Abralon, which also conveniently is often sold in smaller packs. All you need to do is take a 500 grit pad, then gently sand down the tube. I like to begin by dragging along the length of the tube, and then doing a circular motion to even out the sanding pattern. If you can still see some faint marks from the 500 grit pad, lightly go over the surface with the 1000 grit one and all should be smooth.
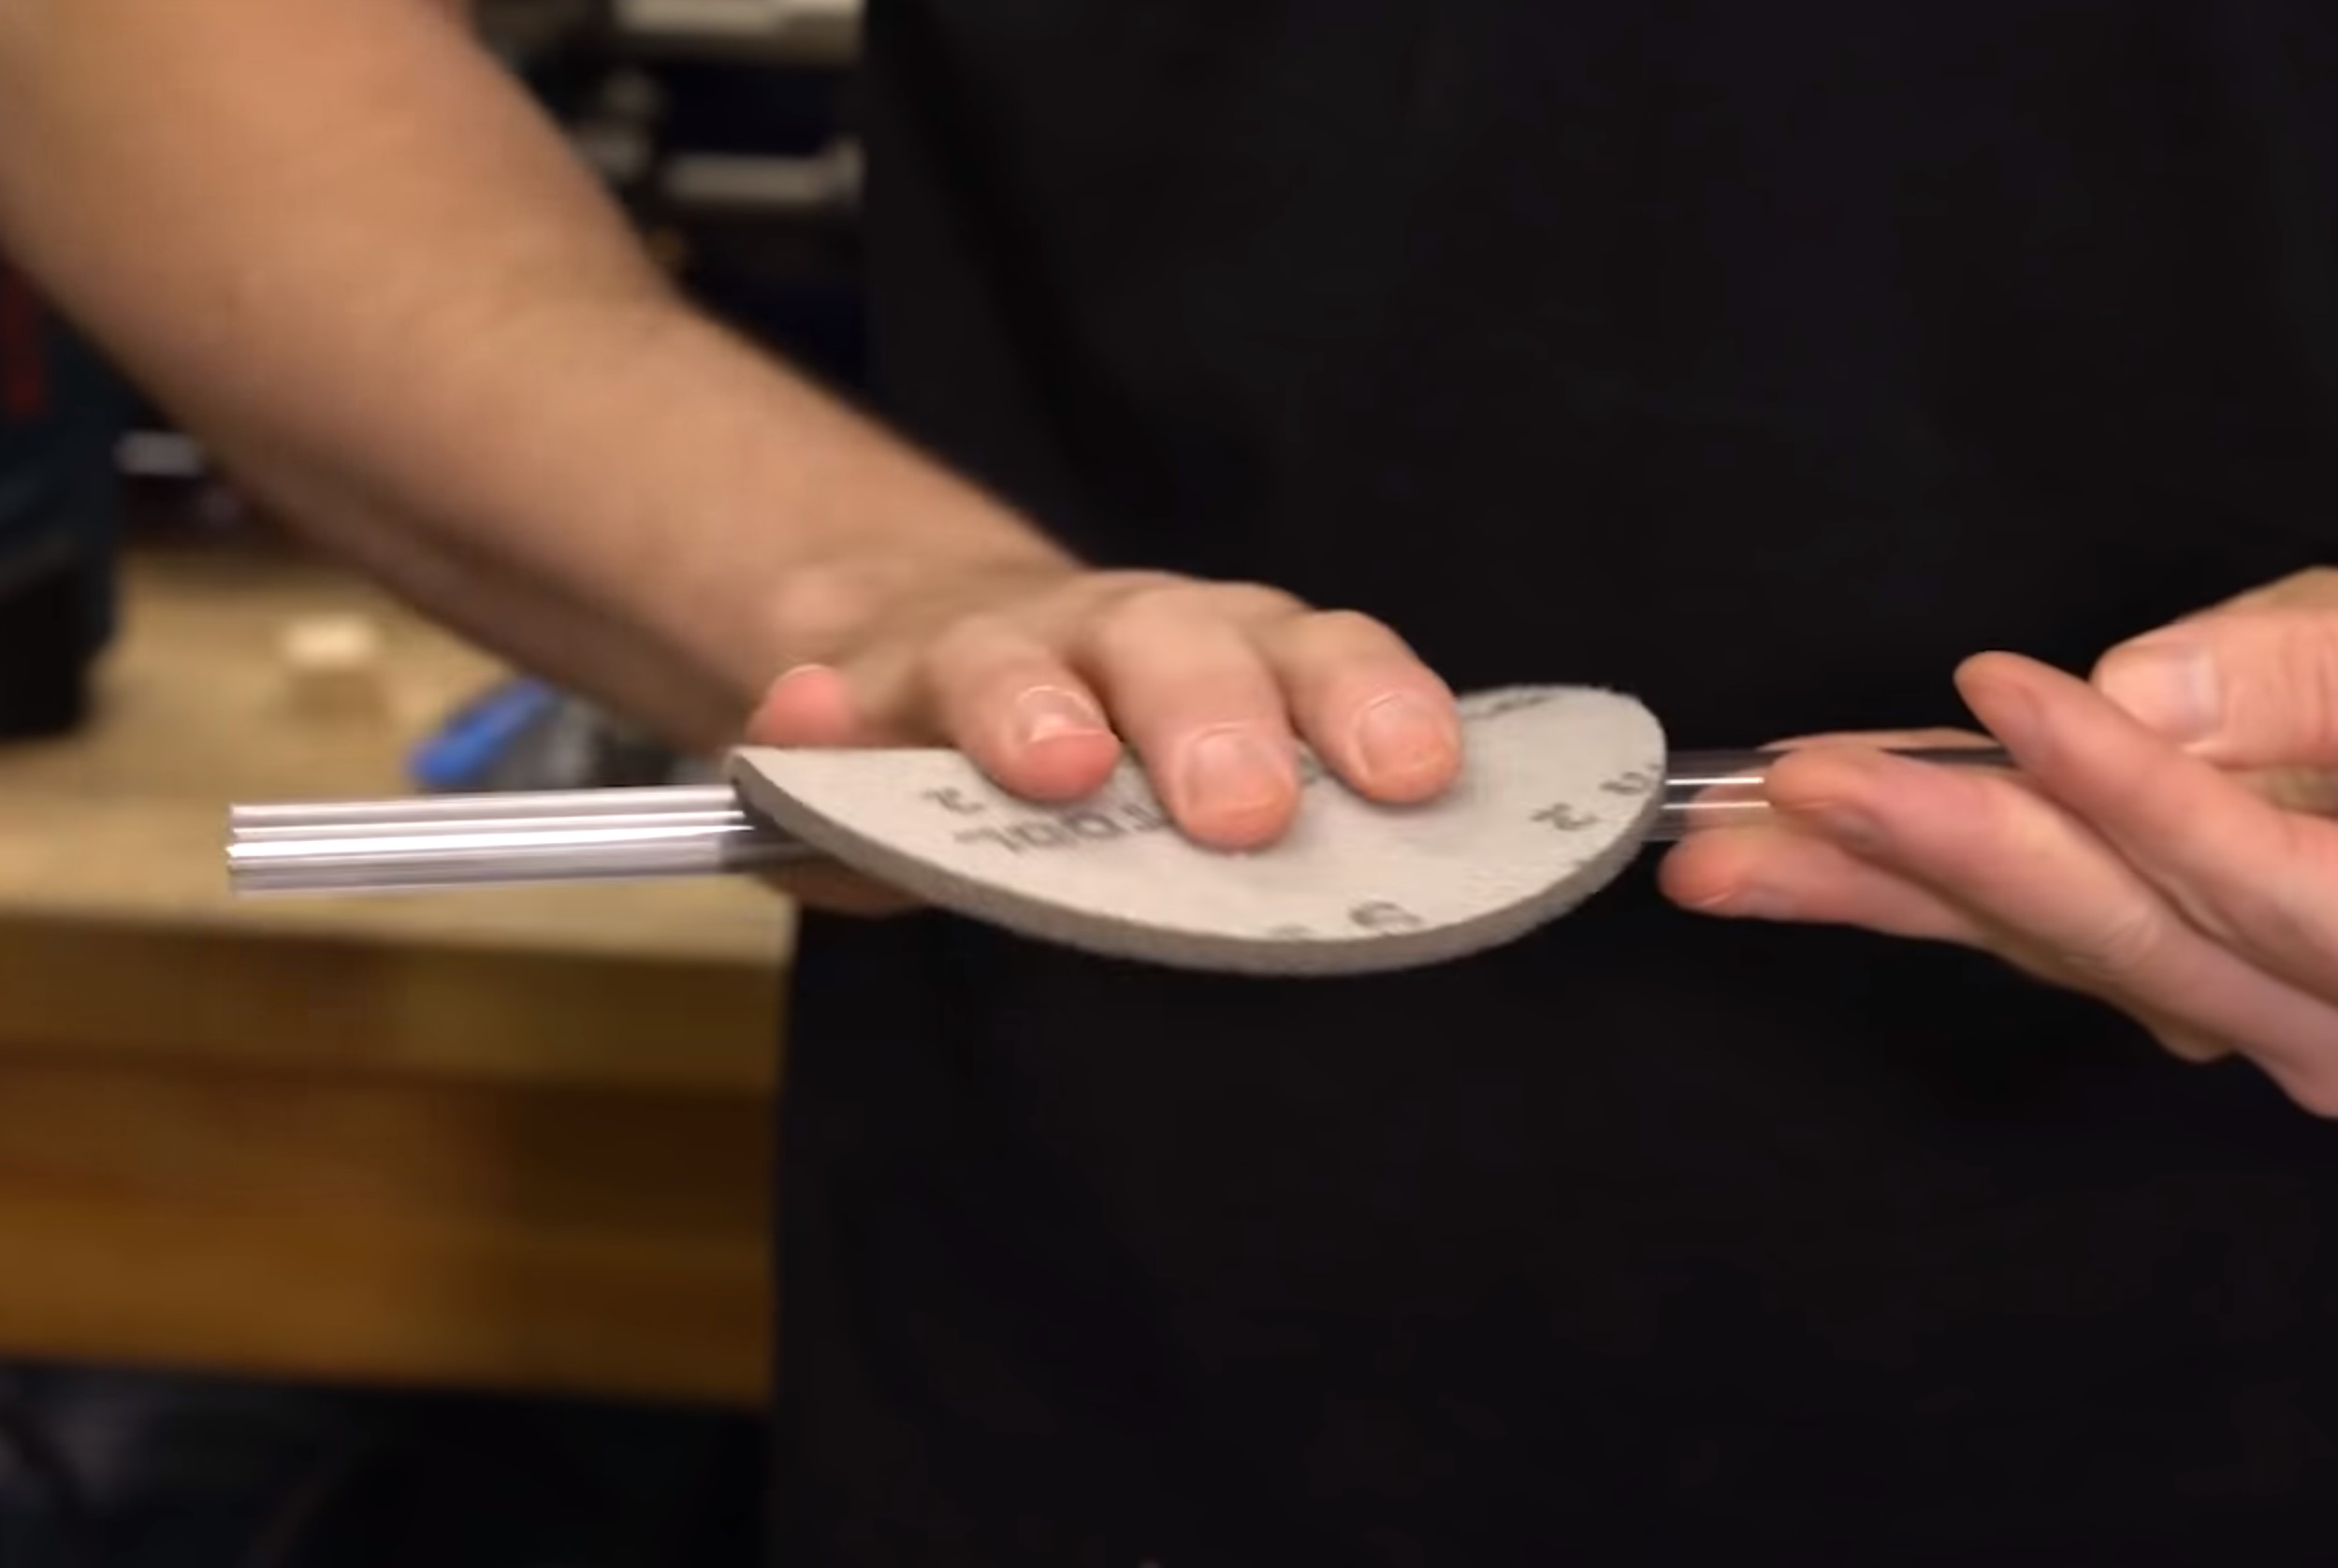
Why is it important to use the soft pads? Well, it's not 100 percent essential actually, but it just makes the process much quicker and more reliable, especially around corners. It's very much possible to use standard high grit papers for this, but it takes a fair bit longer to achieve the same level of finish. Any scratches present on the surface will come out very clearly once the coolant flows through, so being even is really important.
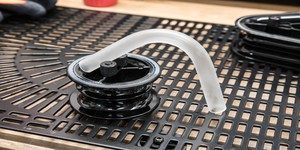
It's very much worth mentioning that you should do this process after you've finished bending all your tubes, especially if doing PETG. The sanded layer is incredibly fine, so if you heat the tubes to bend them you will significantly reduce the effect over that area, much the same principle as in flame polishing. Just do your tubing as normal, then sand them down afterwards.
That's really all there is to it!
RELATED ARTICLES


MSI MPG Velox 100R Chassis Review
October 14 2021 | 15:04

Want to comment? Please log in.