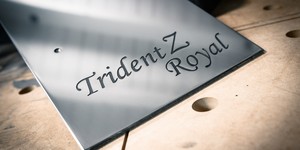
G.Skill Trident Z Royal RGB Scratchbuild for Computex 2019 - Part 4
June 13, 2019 | 09:00
Welcome to the final part of our G.Skill Computex 2019 scratchbuild project log! If you’ve only just joined on this part, I definitely suggest you have a look through the previous ones to see how we got here!
• Part 1 – Machining an aluminium accent piece for the EKWB Velocity CPU water block
• Part 2 – Cutting the aluminium chassis pieces
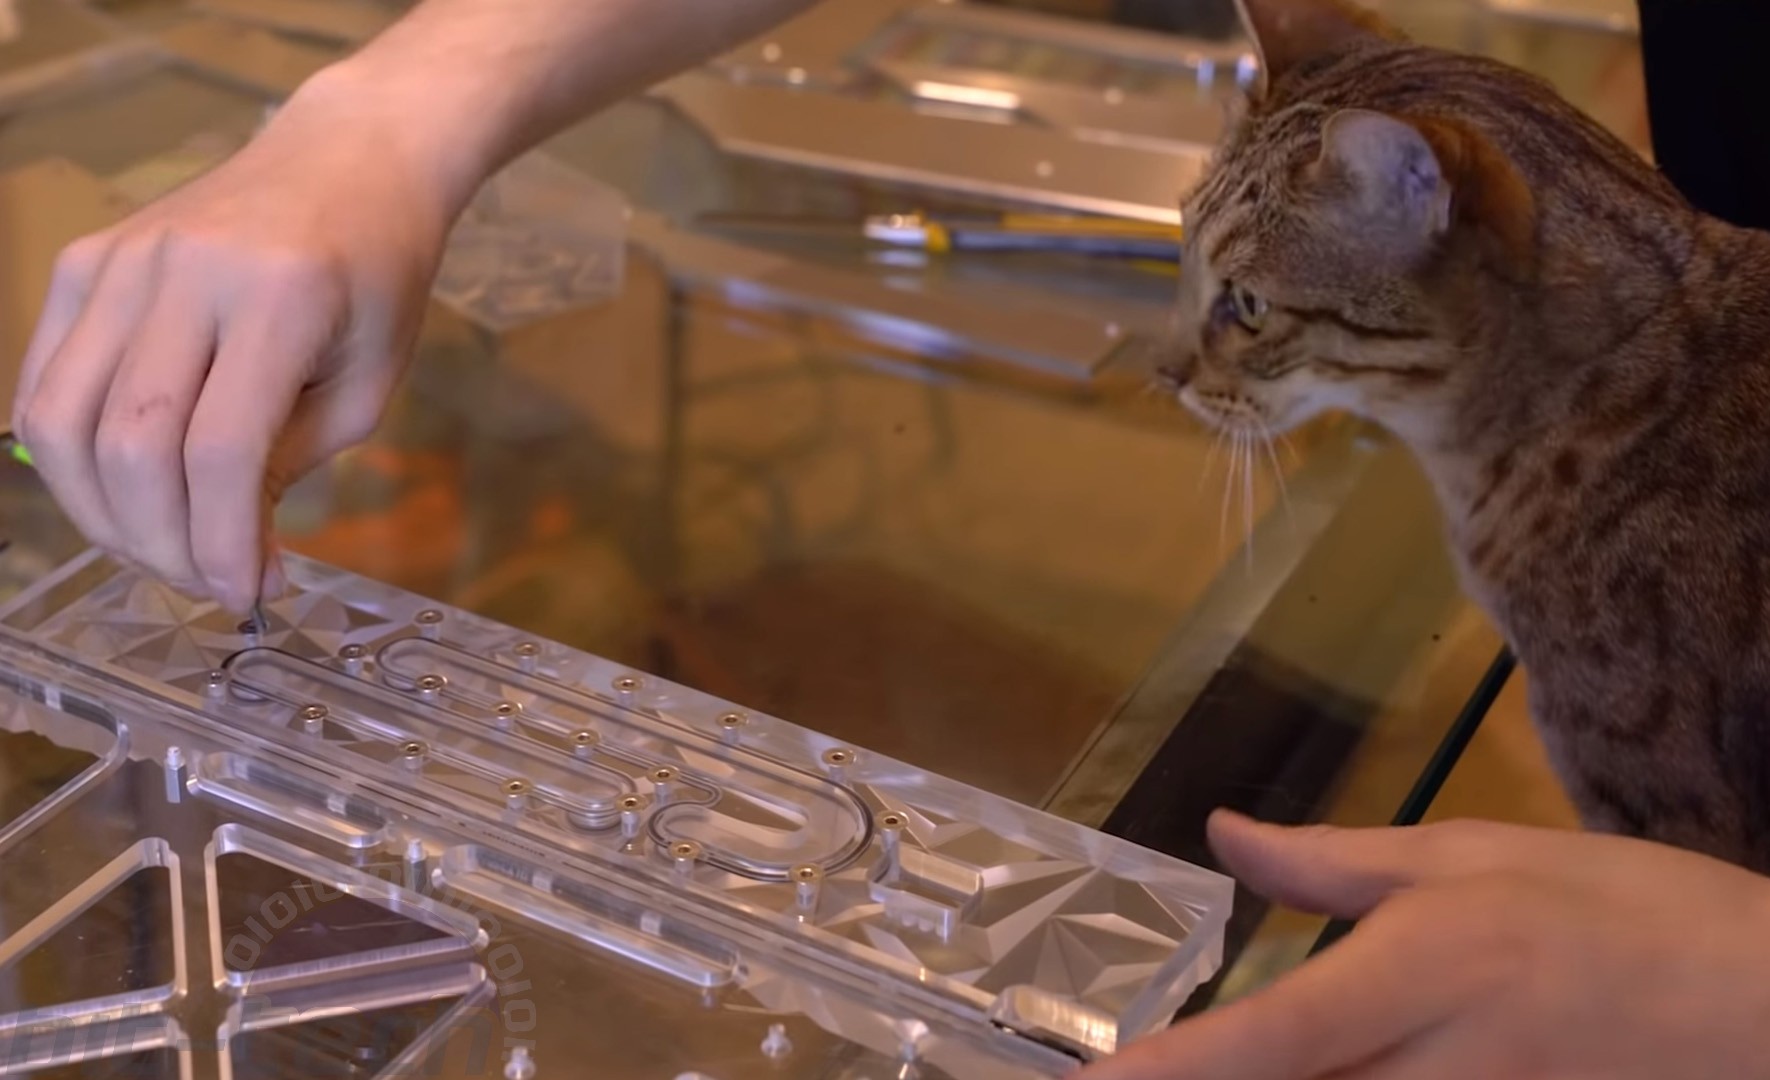
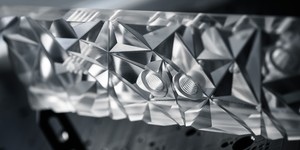
• Part 3 – Designing and making a crystalline distro plate and lighting panels
In this section we’re finishing the whole rig; that means fully assembling the chassis, installing the components, adding the water-cooling loop, making cables, and then actually getting it all up and running in time to be shipped out to Taipei.
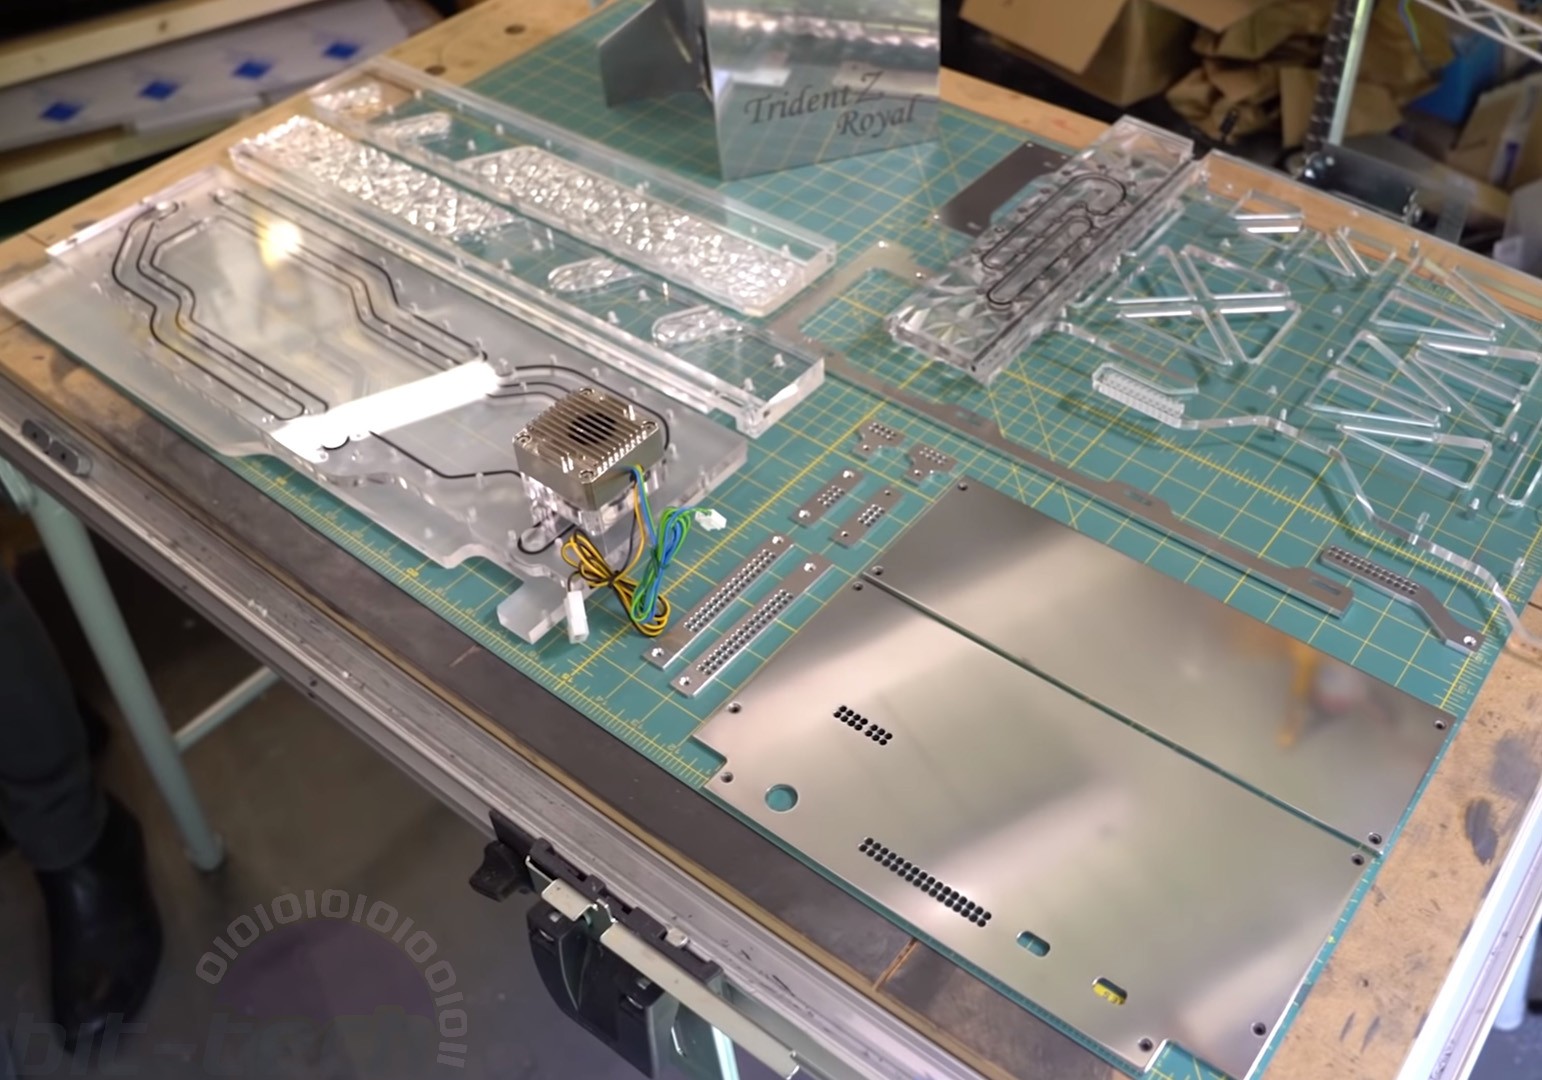
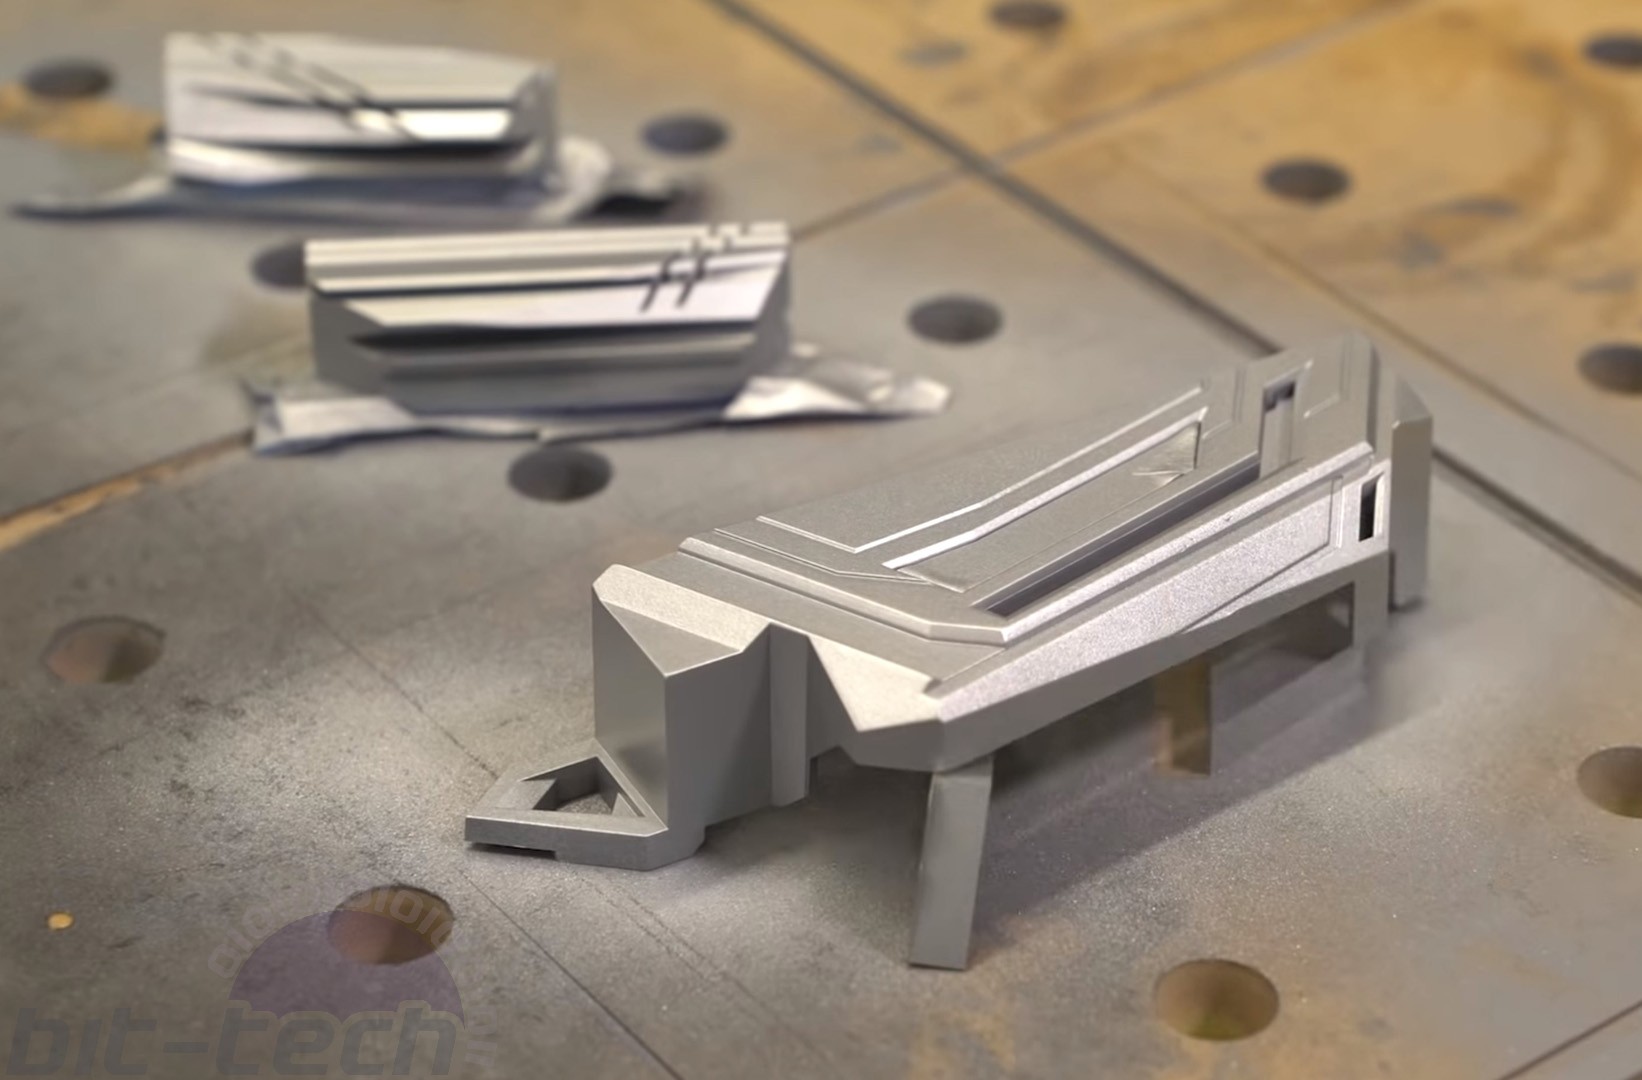
Now, I was a tad cheeky here and machined a bunch of stuff in between parts, namely all the remaining aluminium and acrylic pieces. Fear not, however, as nothing was really missed that wasn’t already covered before; it’s essentially just repeating the steps.
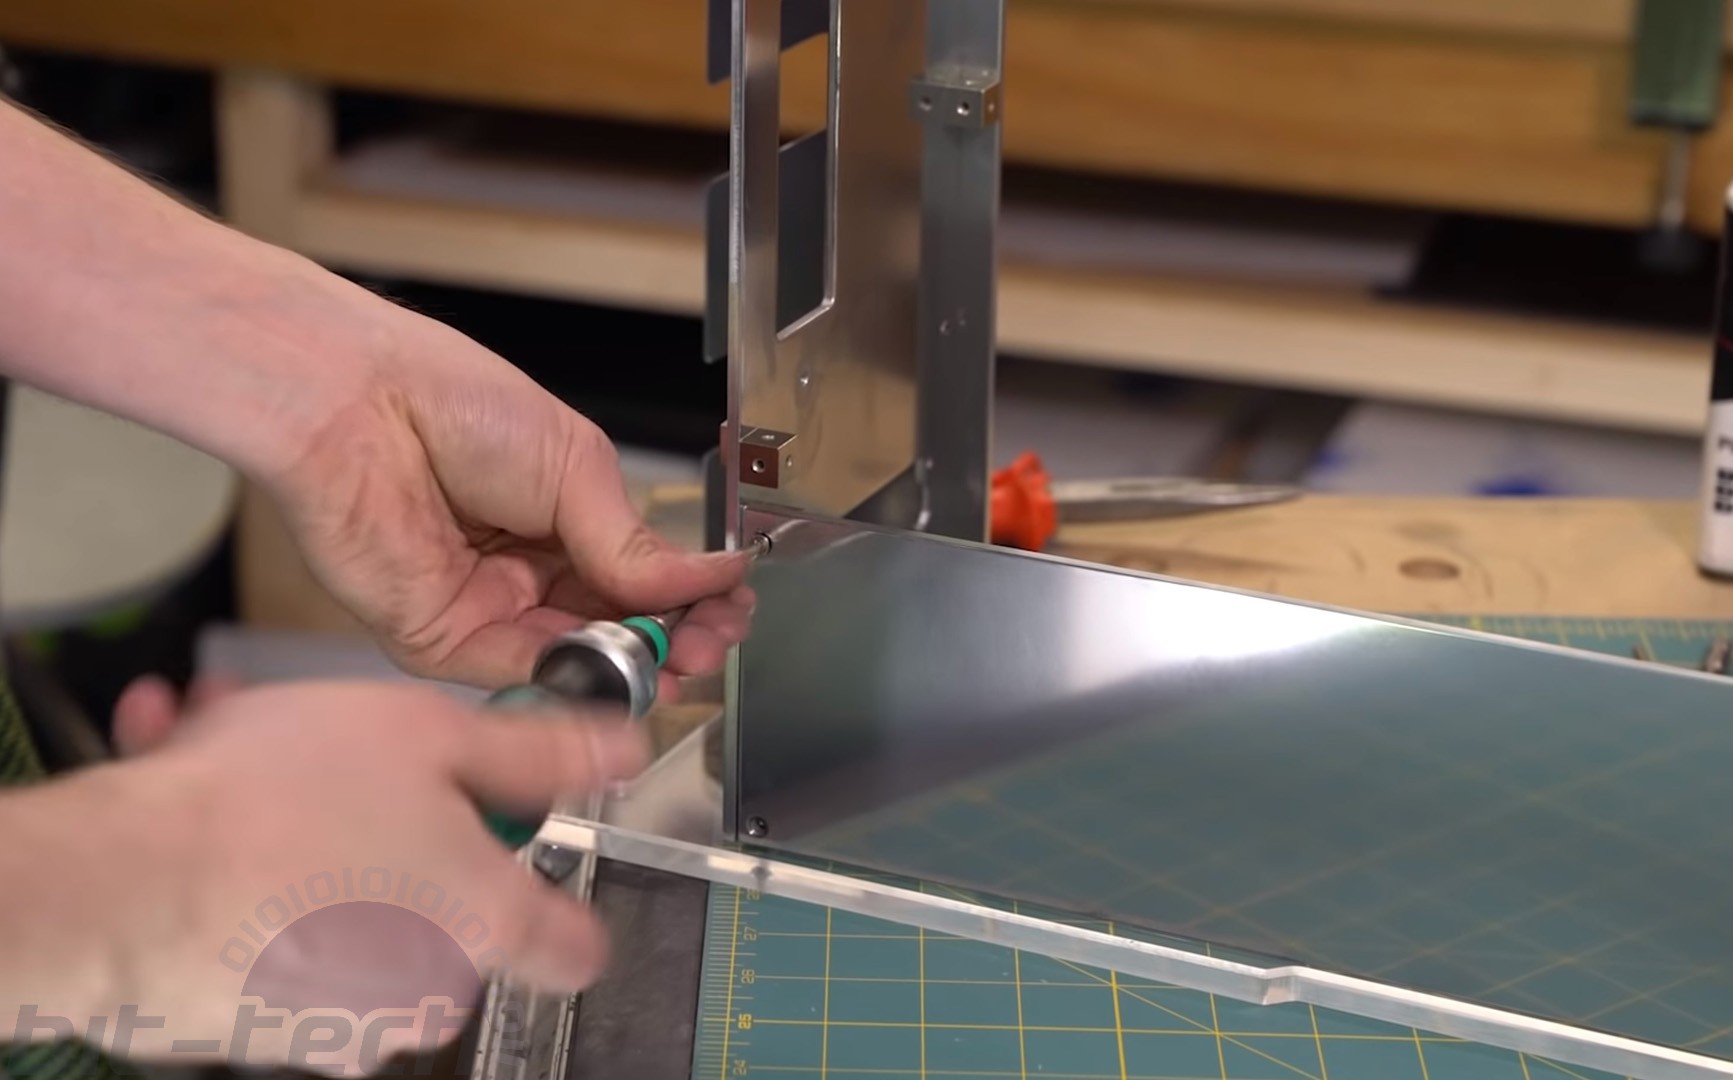
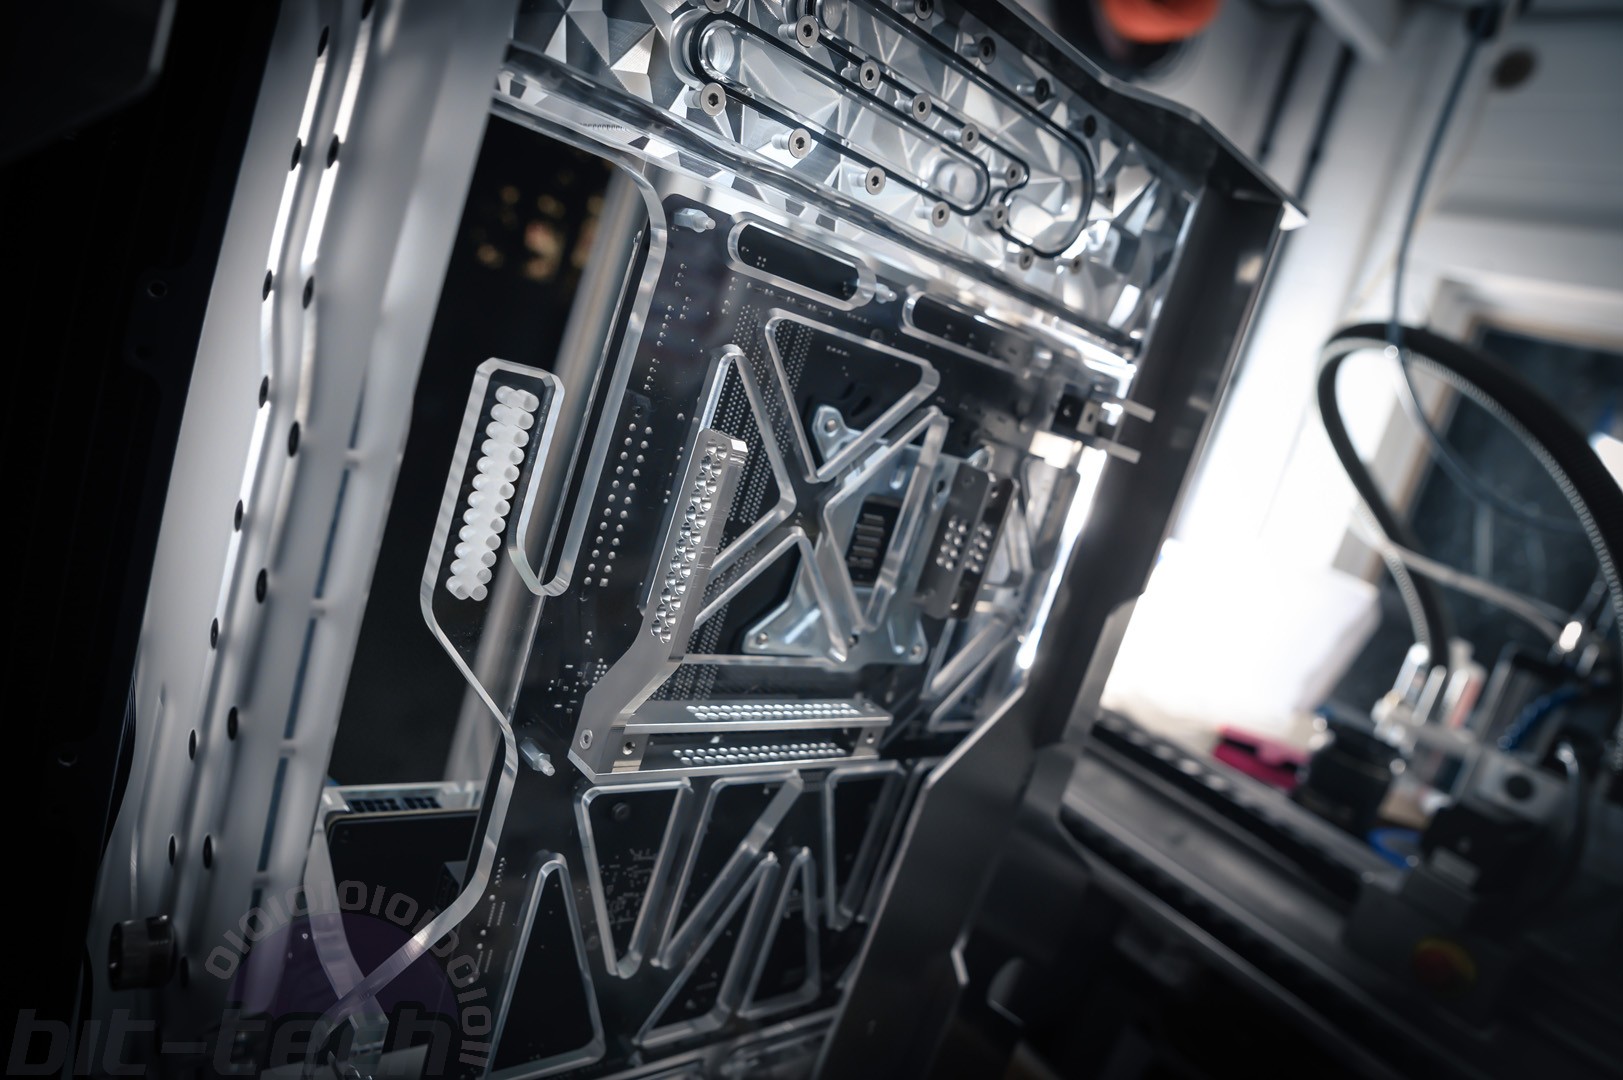
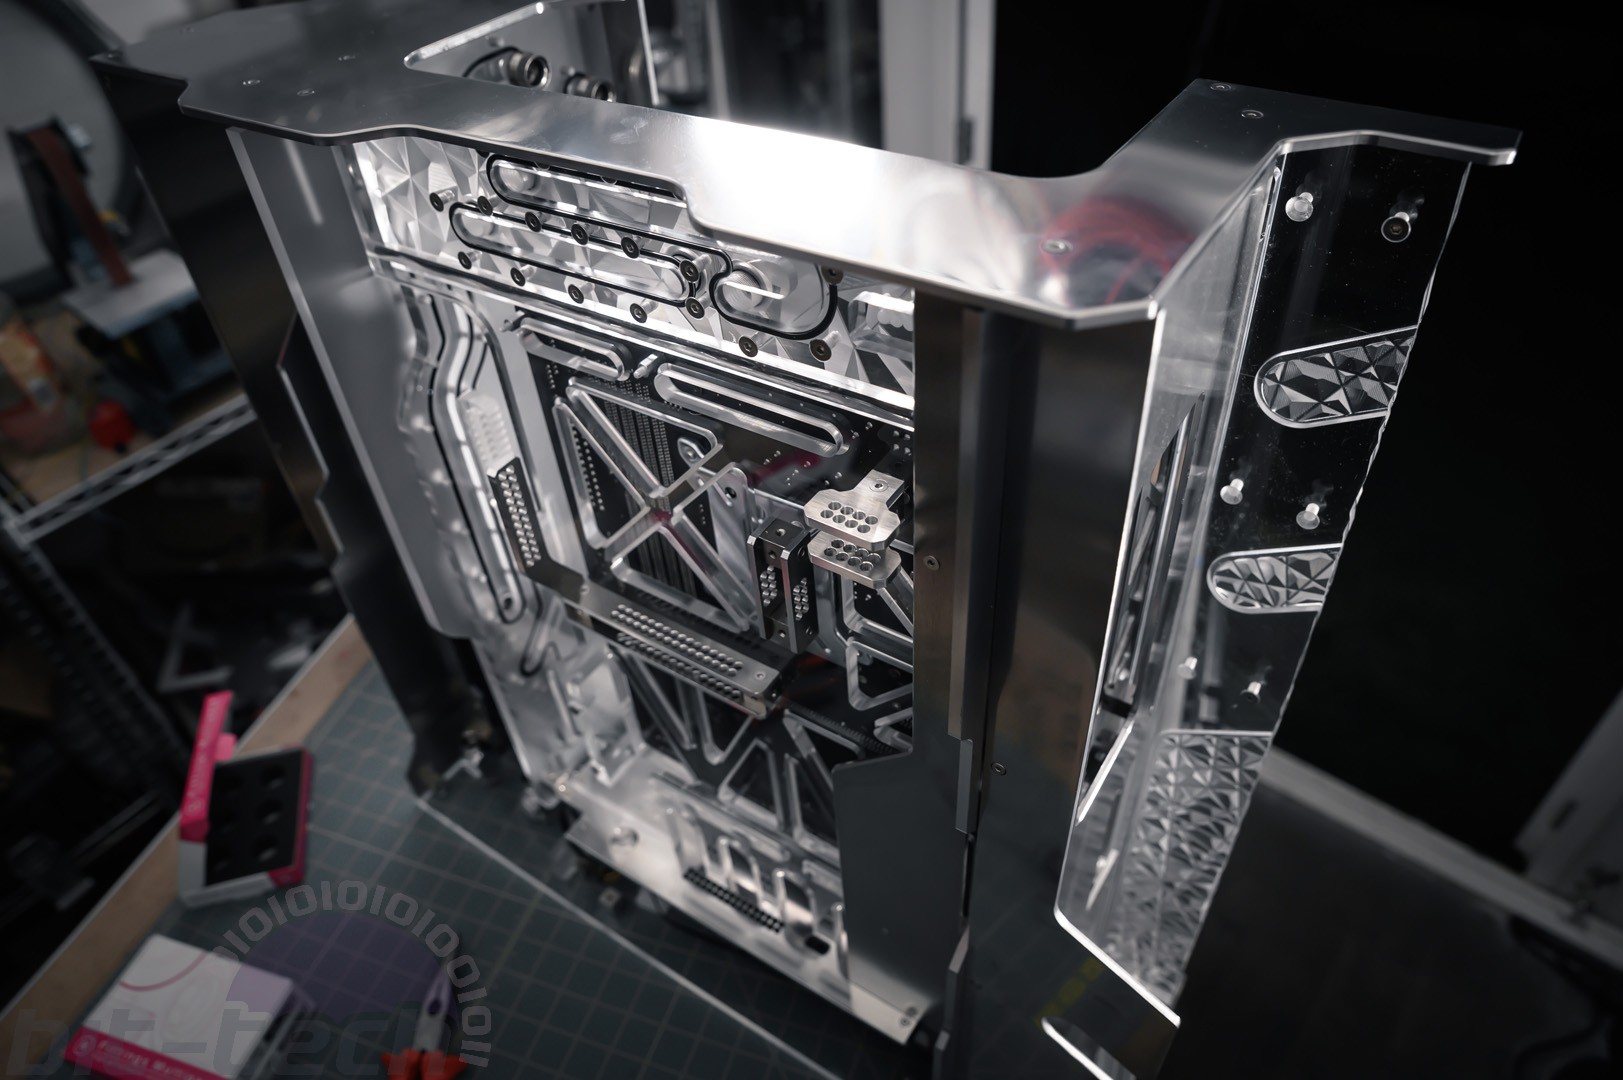
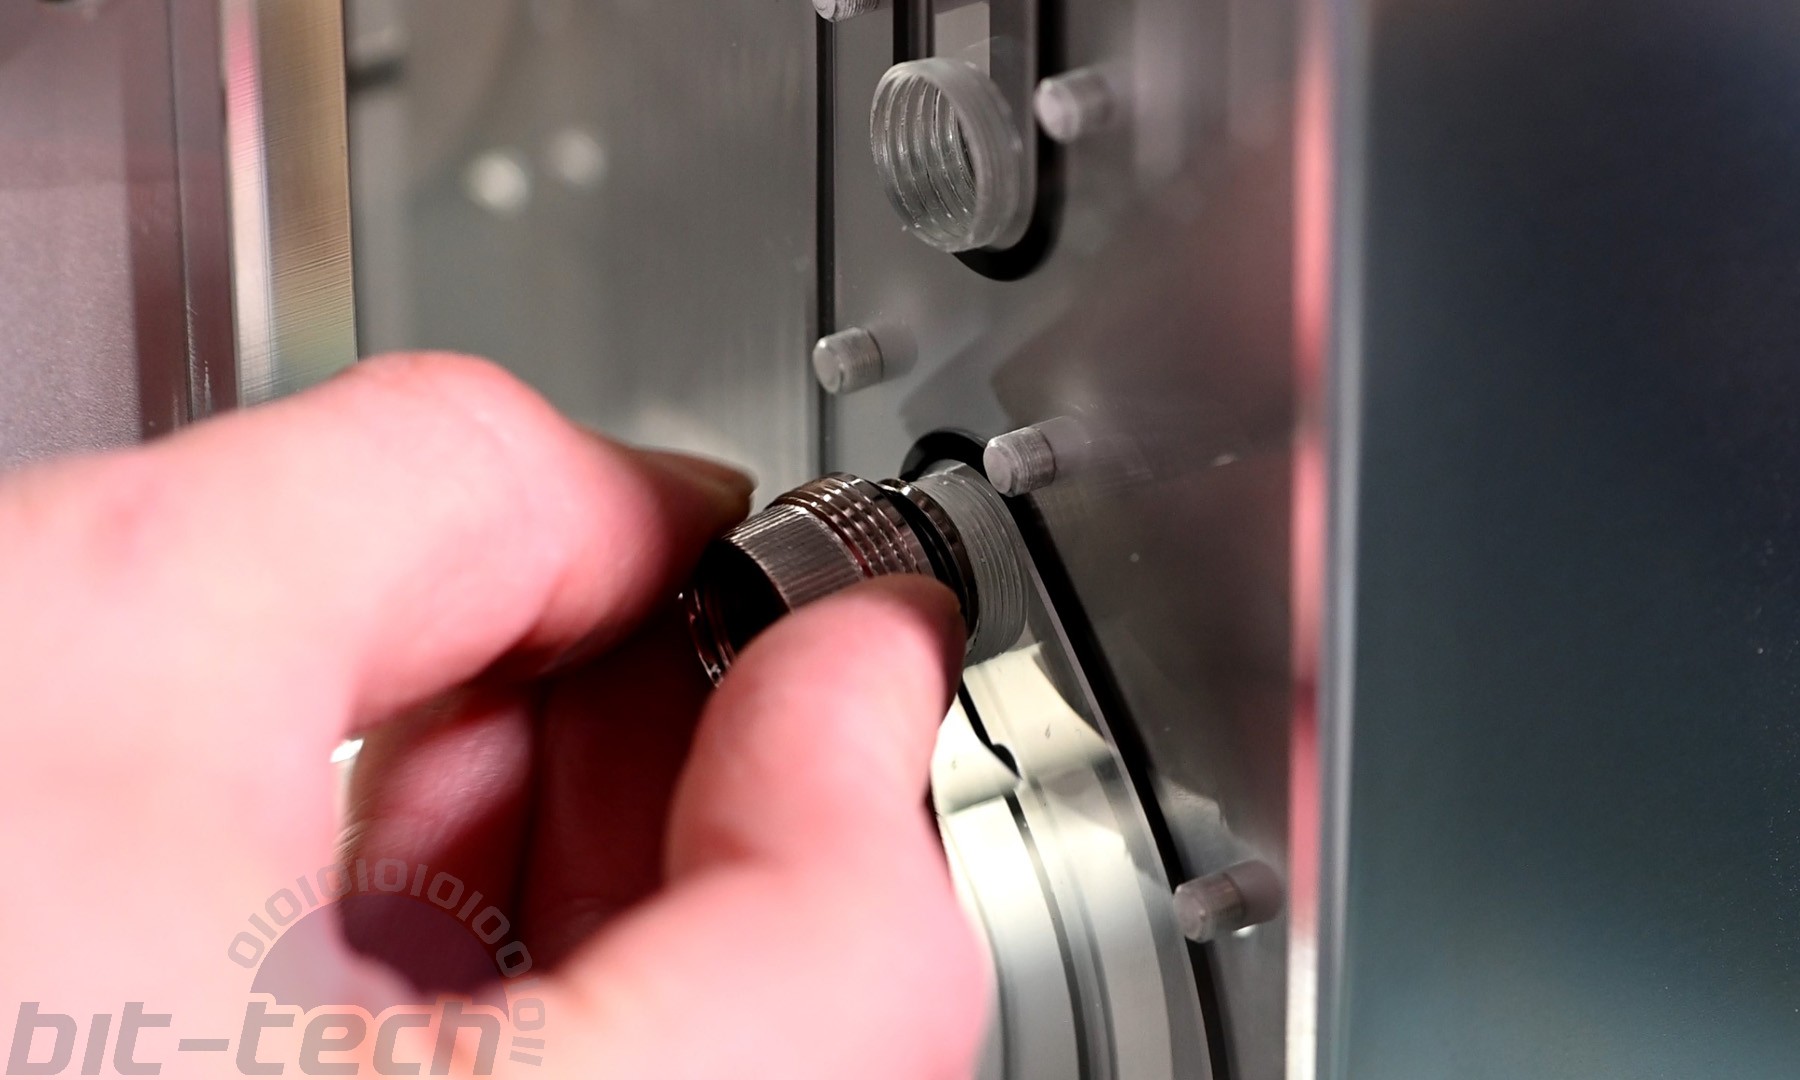
Assembly was pretty straightforward for the most part thanks to the build being entirely held together by 12mm brass threaded cubes. In fact was I sort of taken aback by how neatly everything fitted together. It may sound like it should have been a given, since the panels are all CNC-cut, but error can creep in when you have lots of parts going and you only need tiny mistakes to stop things from lining up correctly.
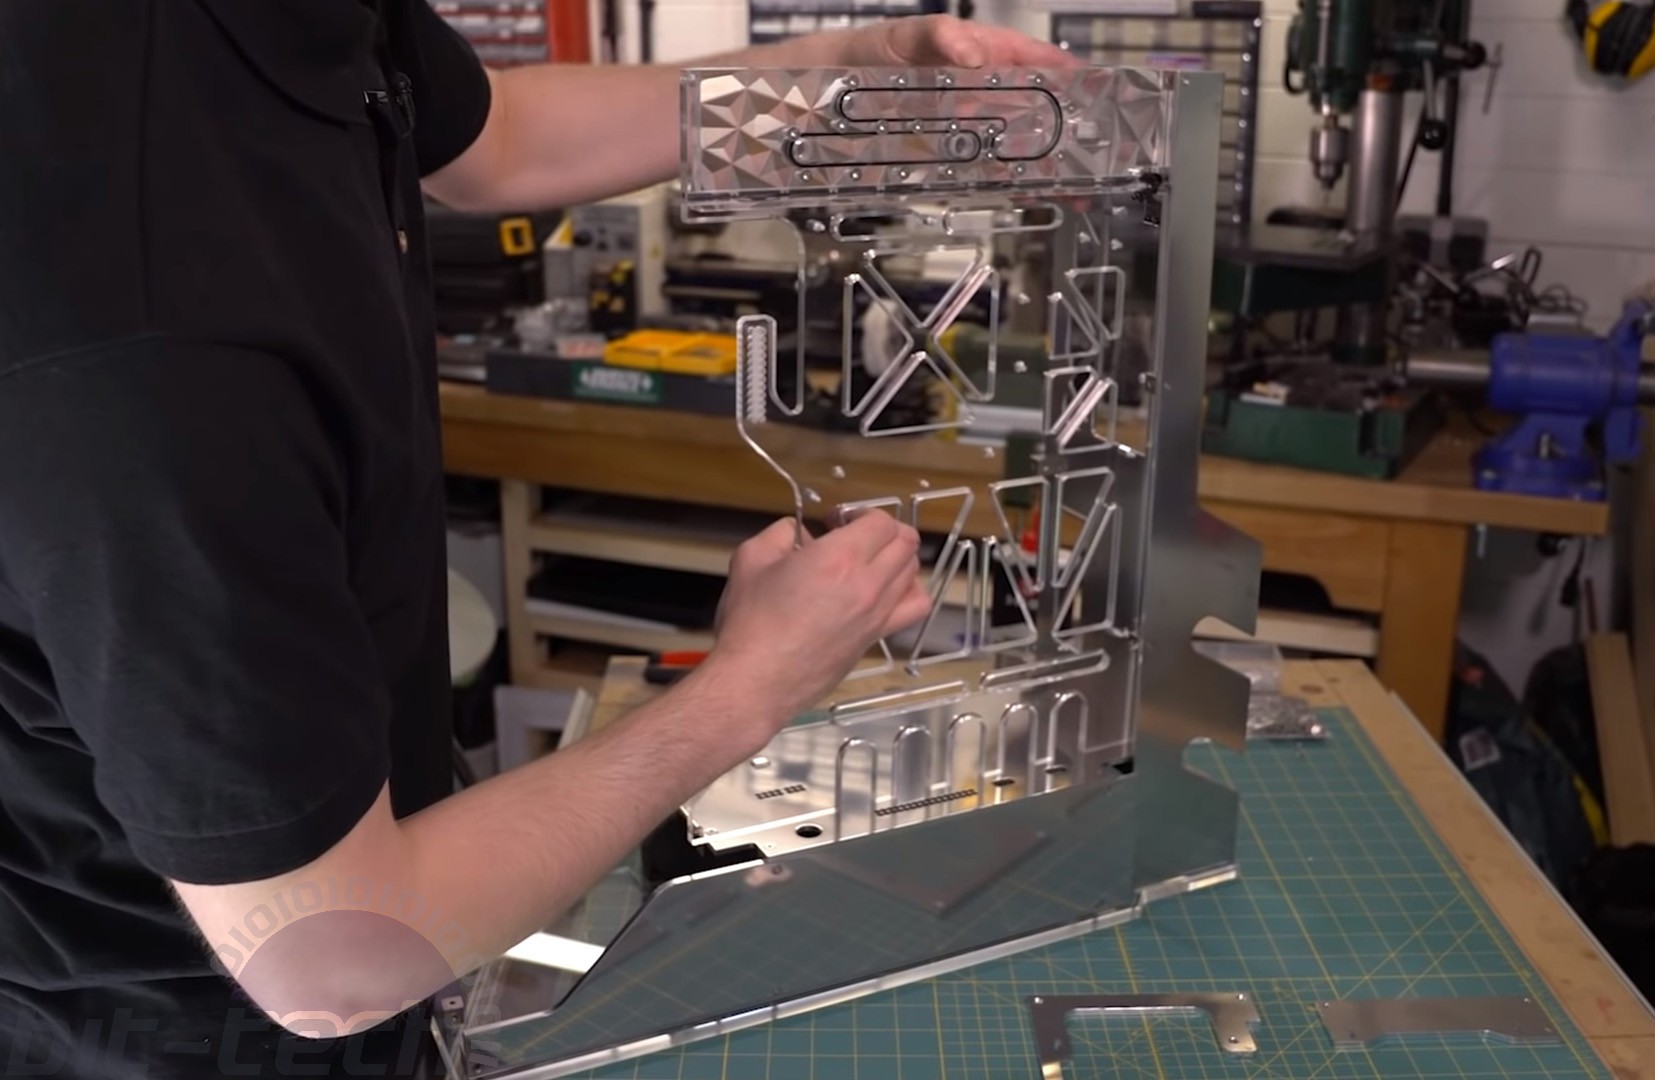
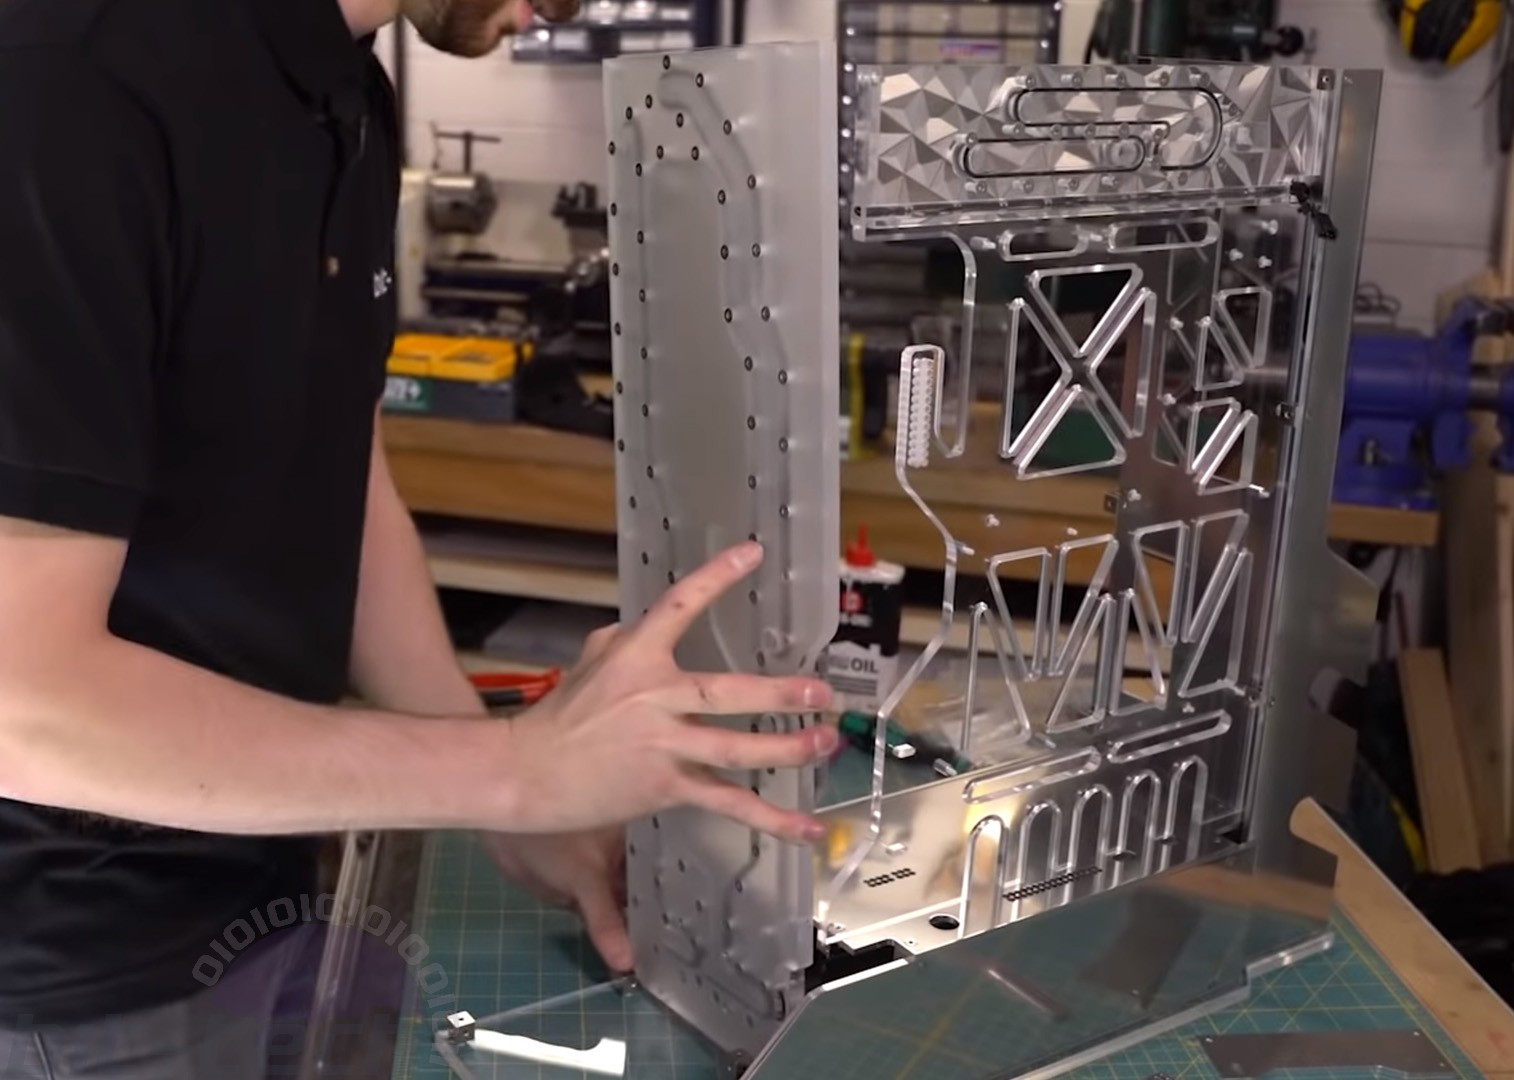
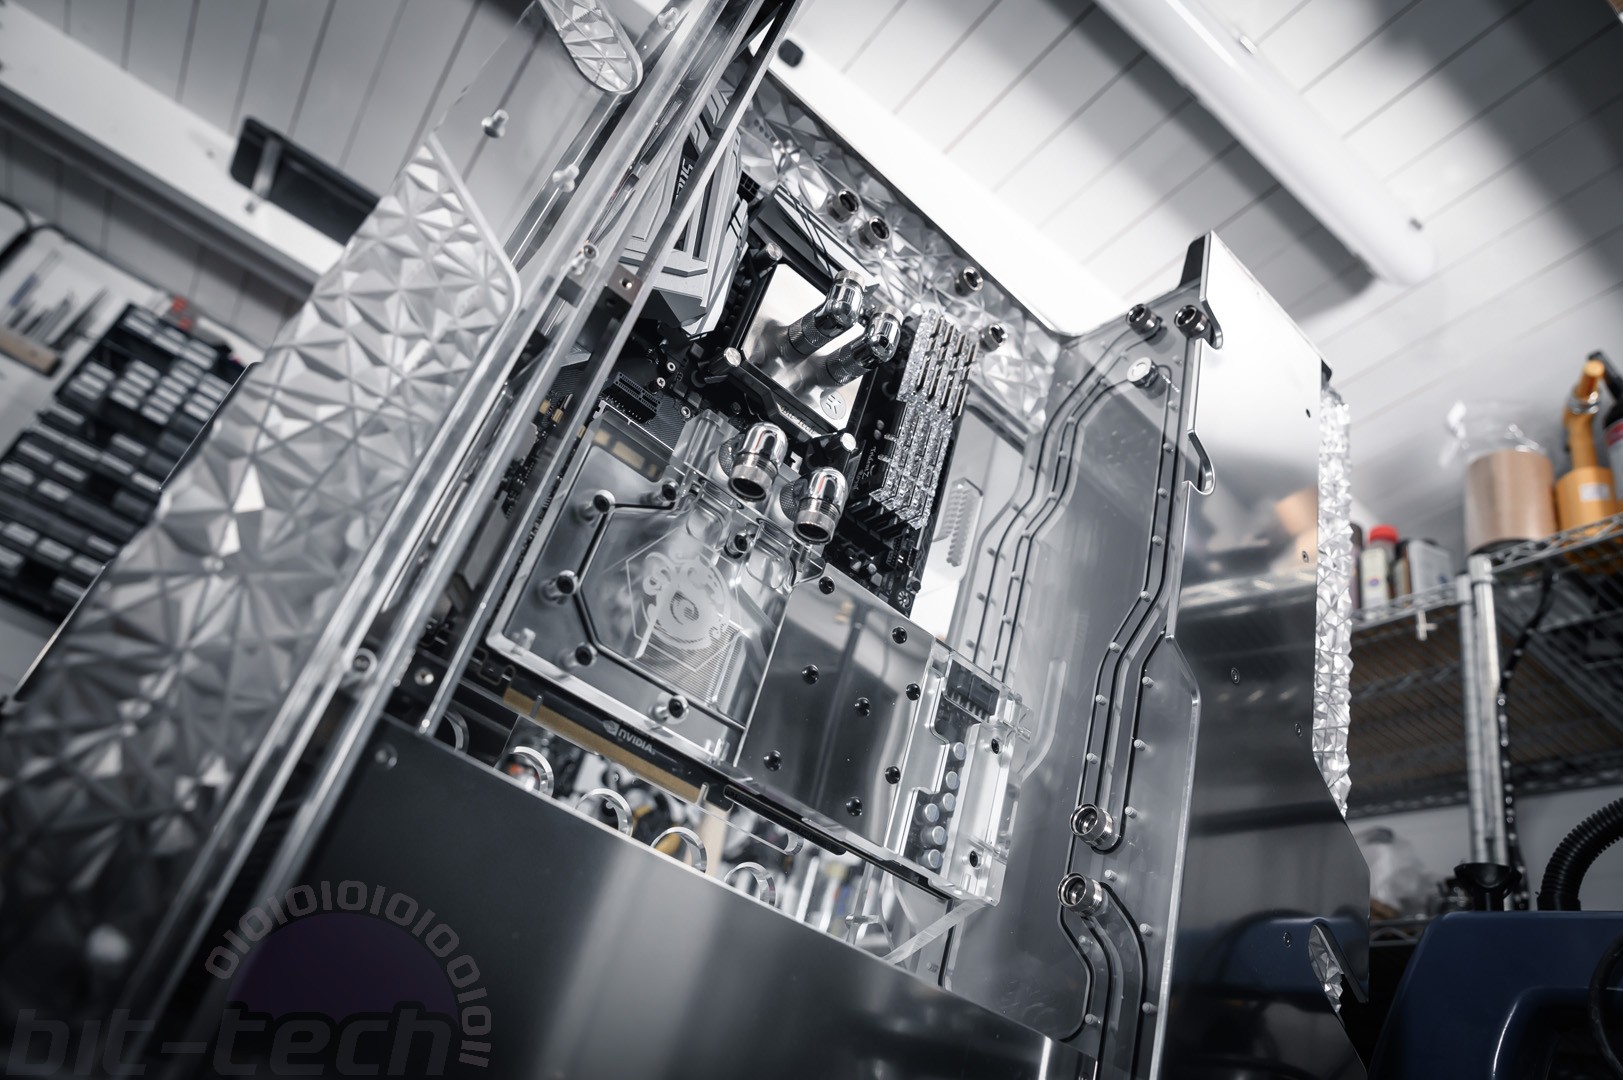
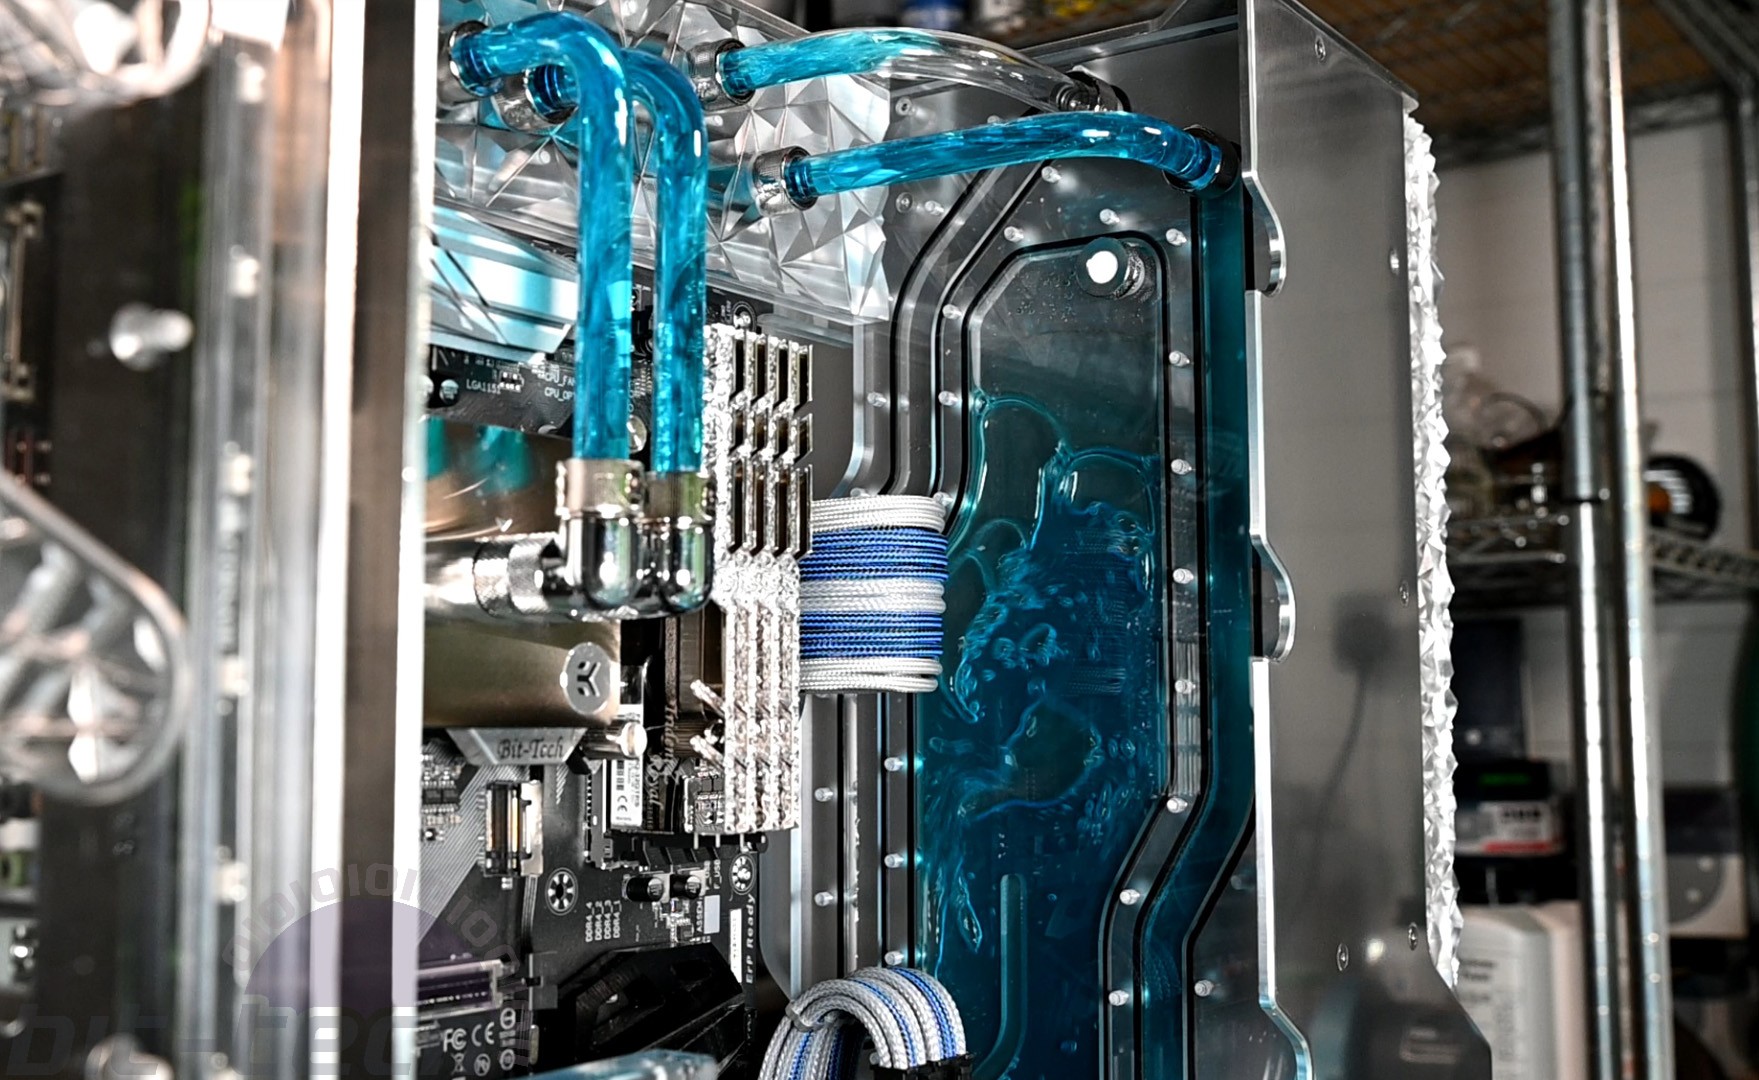
One very pleasing aspect of this rig is just how solid it is. I’m serious; it’s a tank. The panels all work to strengthen one another, and if you try knocking any piece you’re greeted with resounding thud rather than a metallic ring. Even the GPU vertical mount is a unit so that it can survive shipping. To do this I drilled mounting holes into the end of the water block itself, which is then secured directly to the chassis via a 10mm thick acrylic plate and M4 screws.
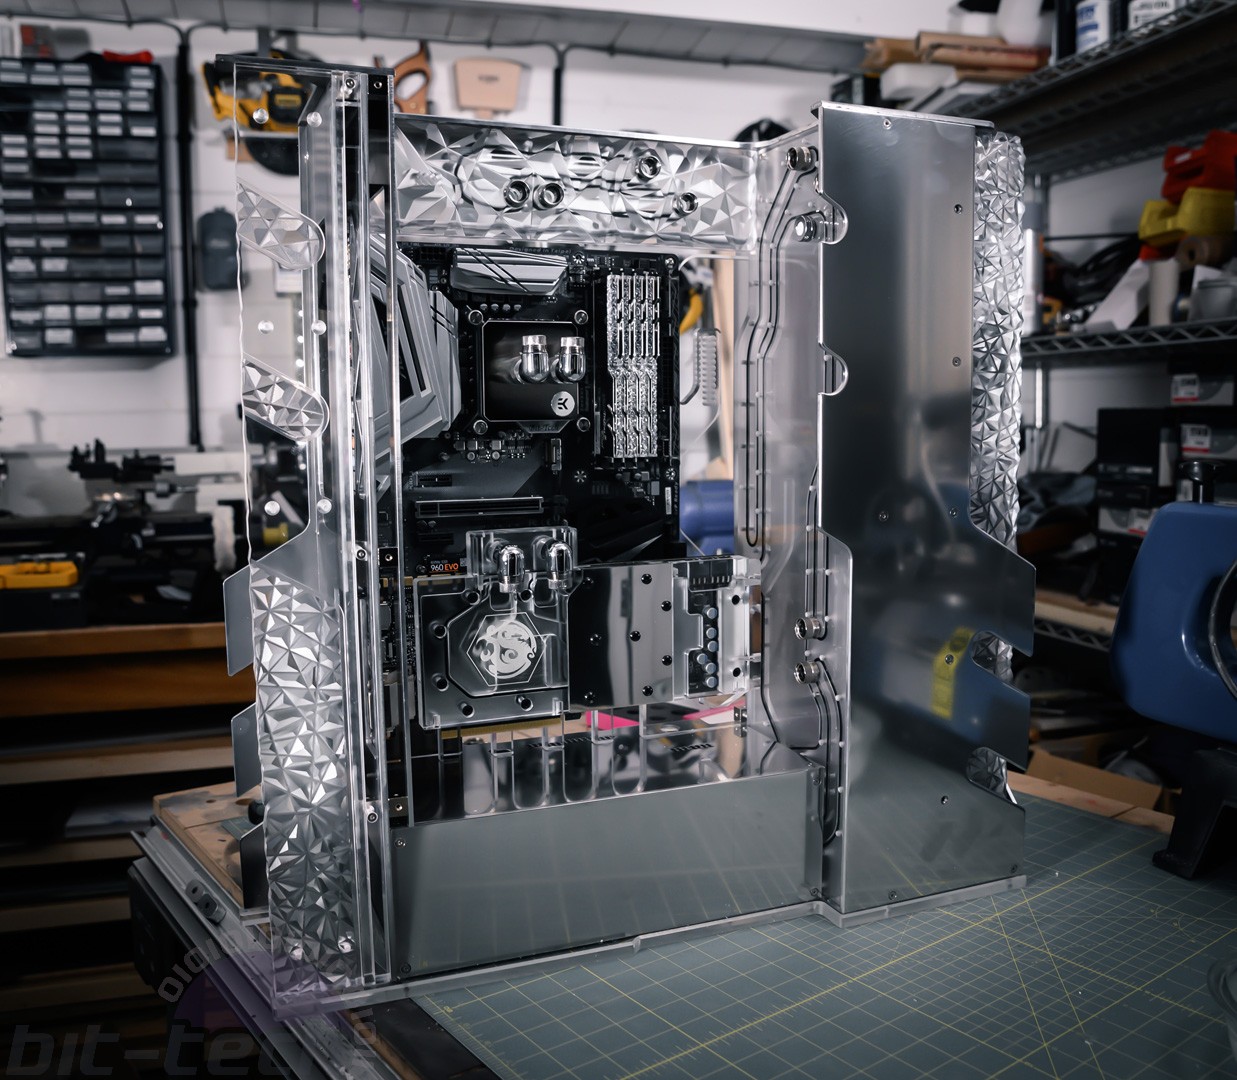
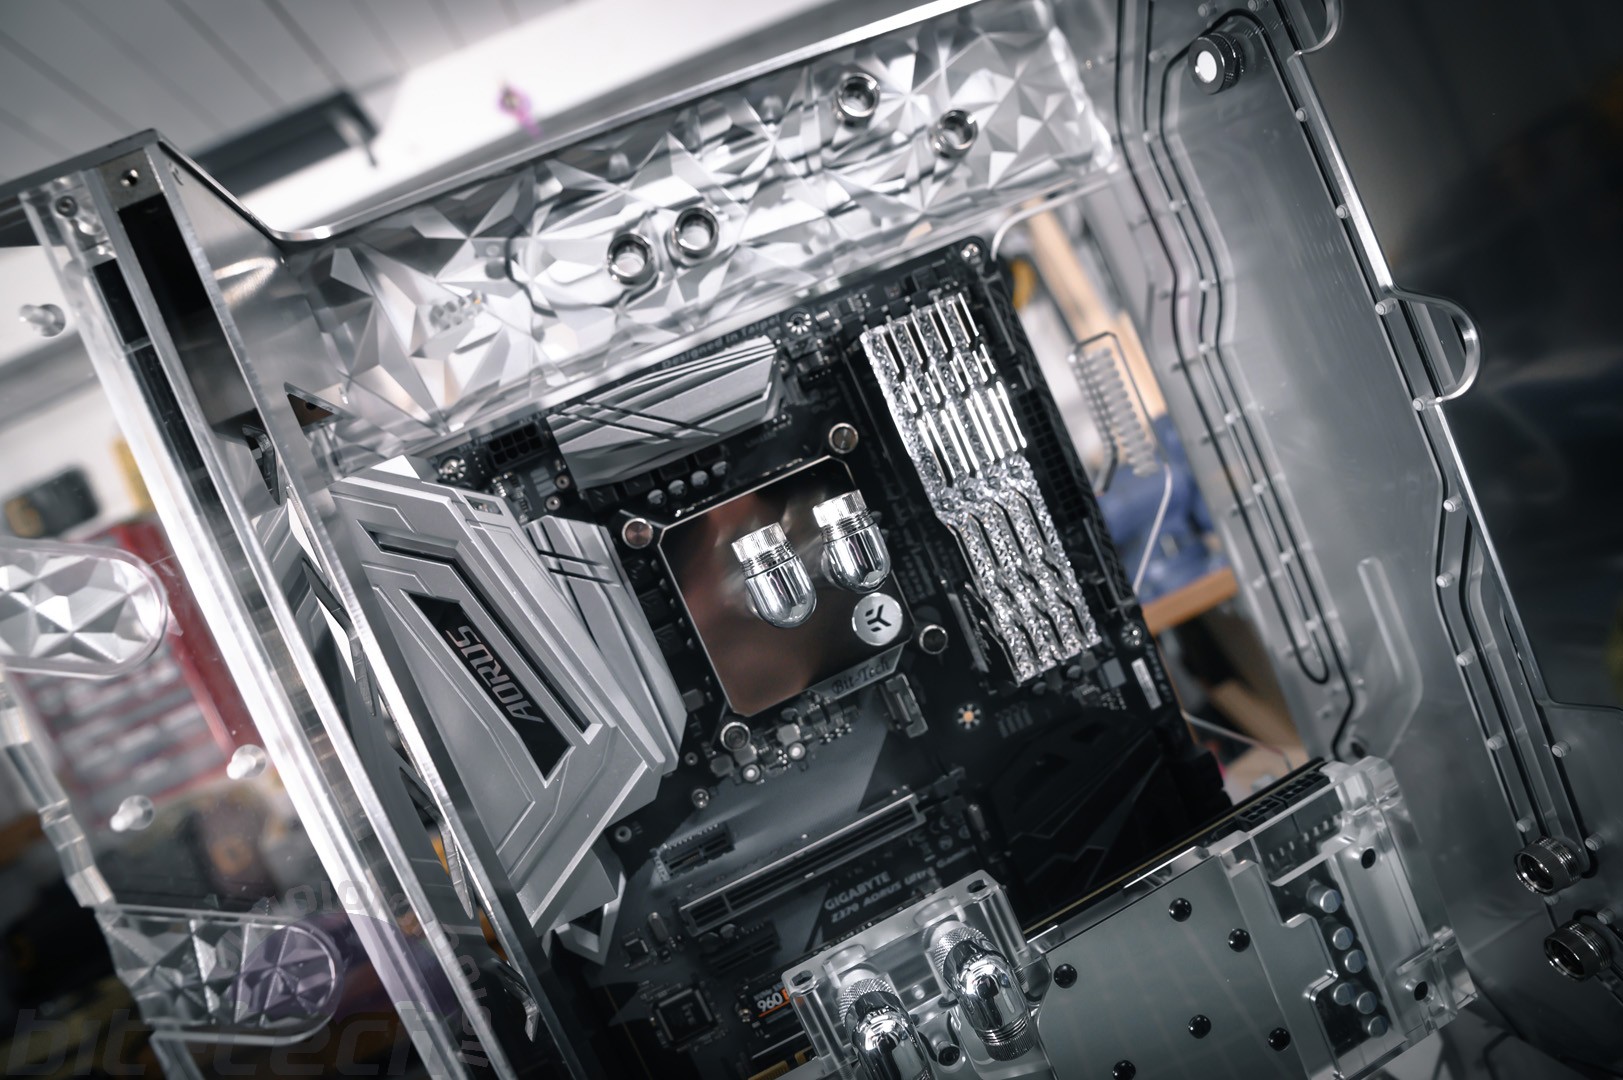
So that the components match up a little better, the motherboard I/O shroud and heatsinks were sprayed silver, a definite improvement over the black and orange of the original, I think.
Trying to decide the colour scheme for this rig was a bit tricky. The aluminium is very neutral and pretty much goes with anything. As such, pretty much any colour is a viable choice. I didn’t want to go with clear or black coolant and neutral cables, however. I wanted features like the coolant channels and distro plate to stand out rather than recede, plus I’ve done that colour scheme too many times now and wanted something a little different.
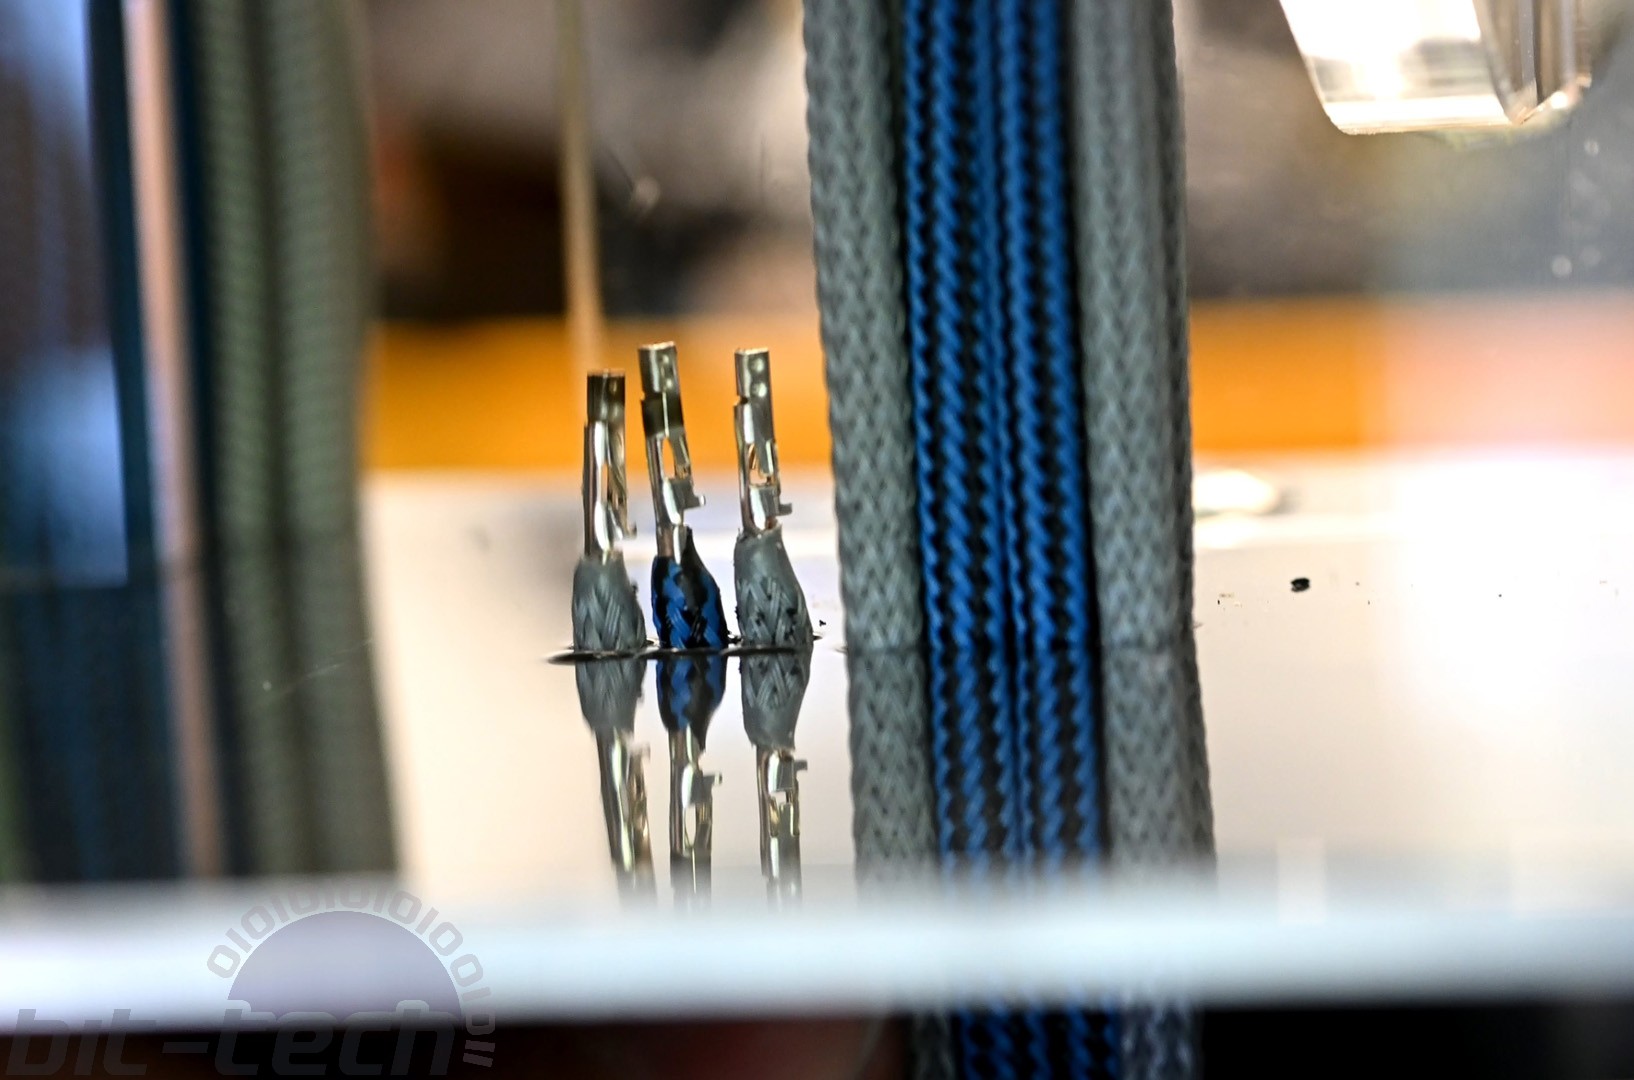
I settled on blue - it’s always been a favourite of mine, and it fits silver really well, plus the memory also looks fantastic in pale blue with a slight gradient to it, so I was sold. To work the blue into the cables, I used MDPC—X blue/carbon sleeve along with silver and grey. Since the back should look as good as the front in my eyes, I machined a bunch of combs that attach to the rear of the motherboard tray, through which the cables can run down through the shroud and to the PSU.

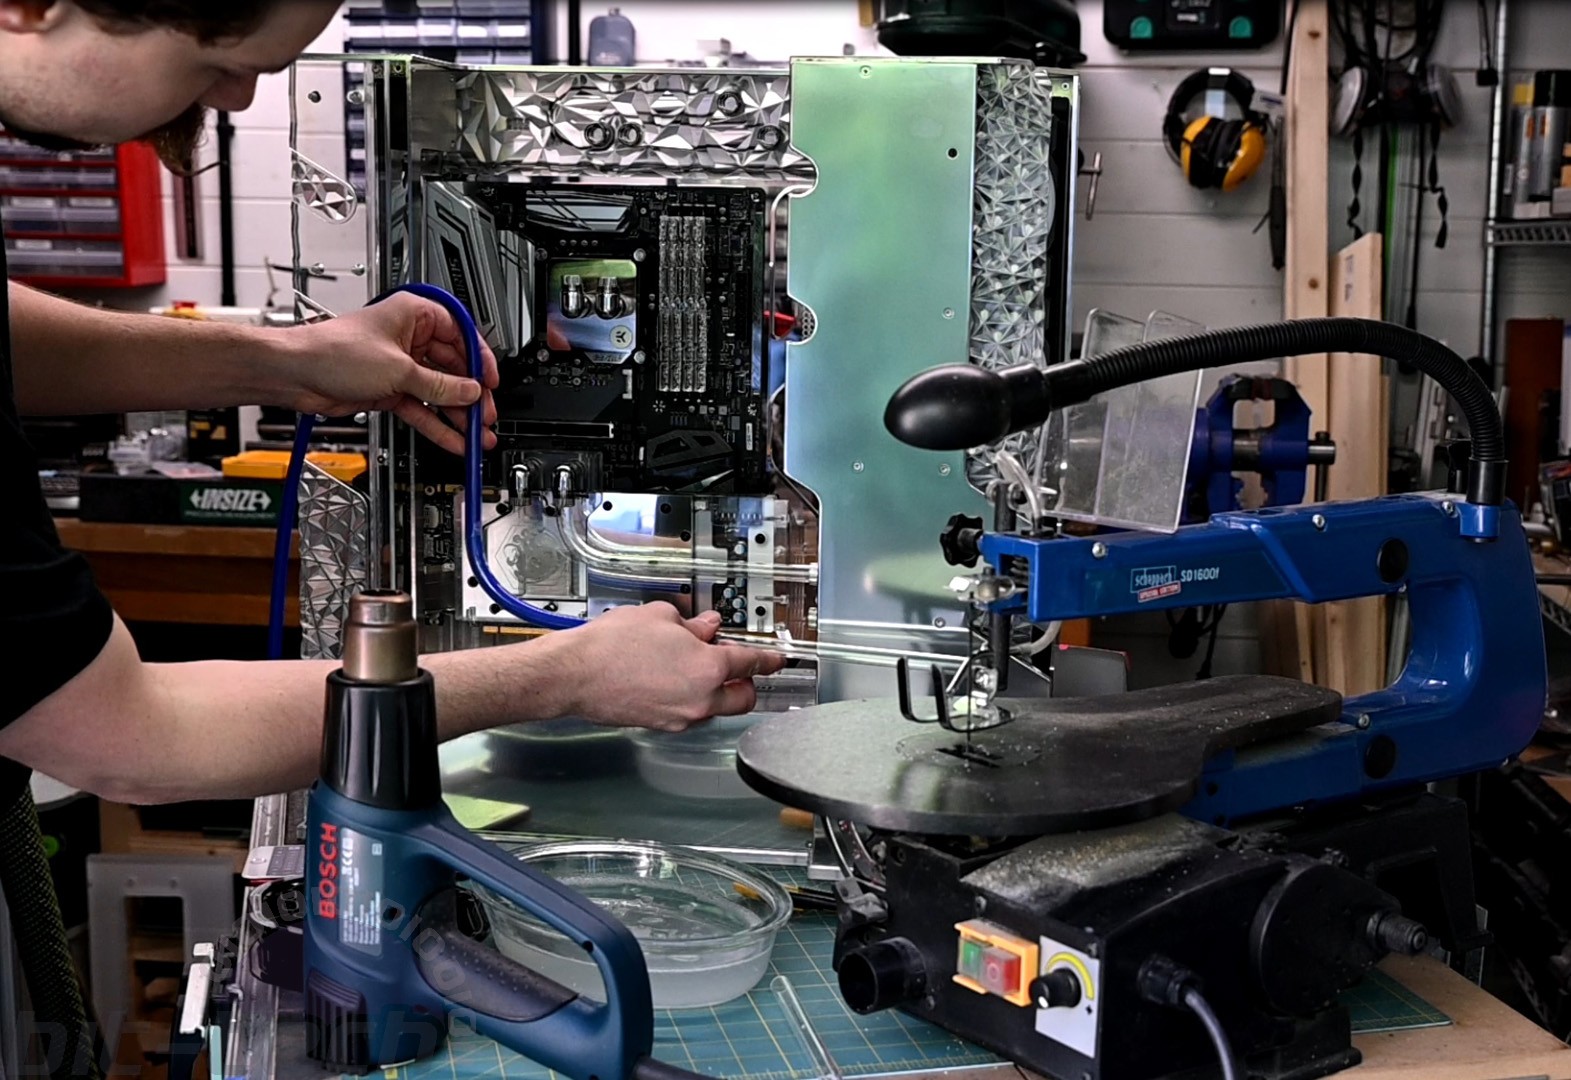
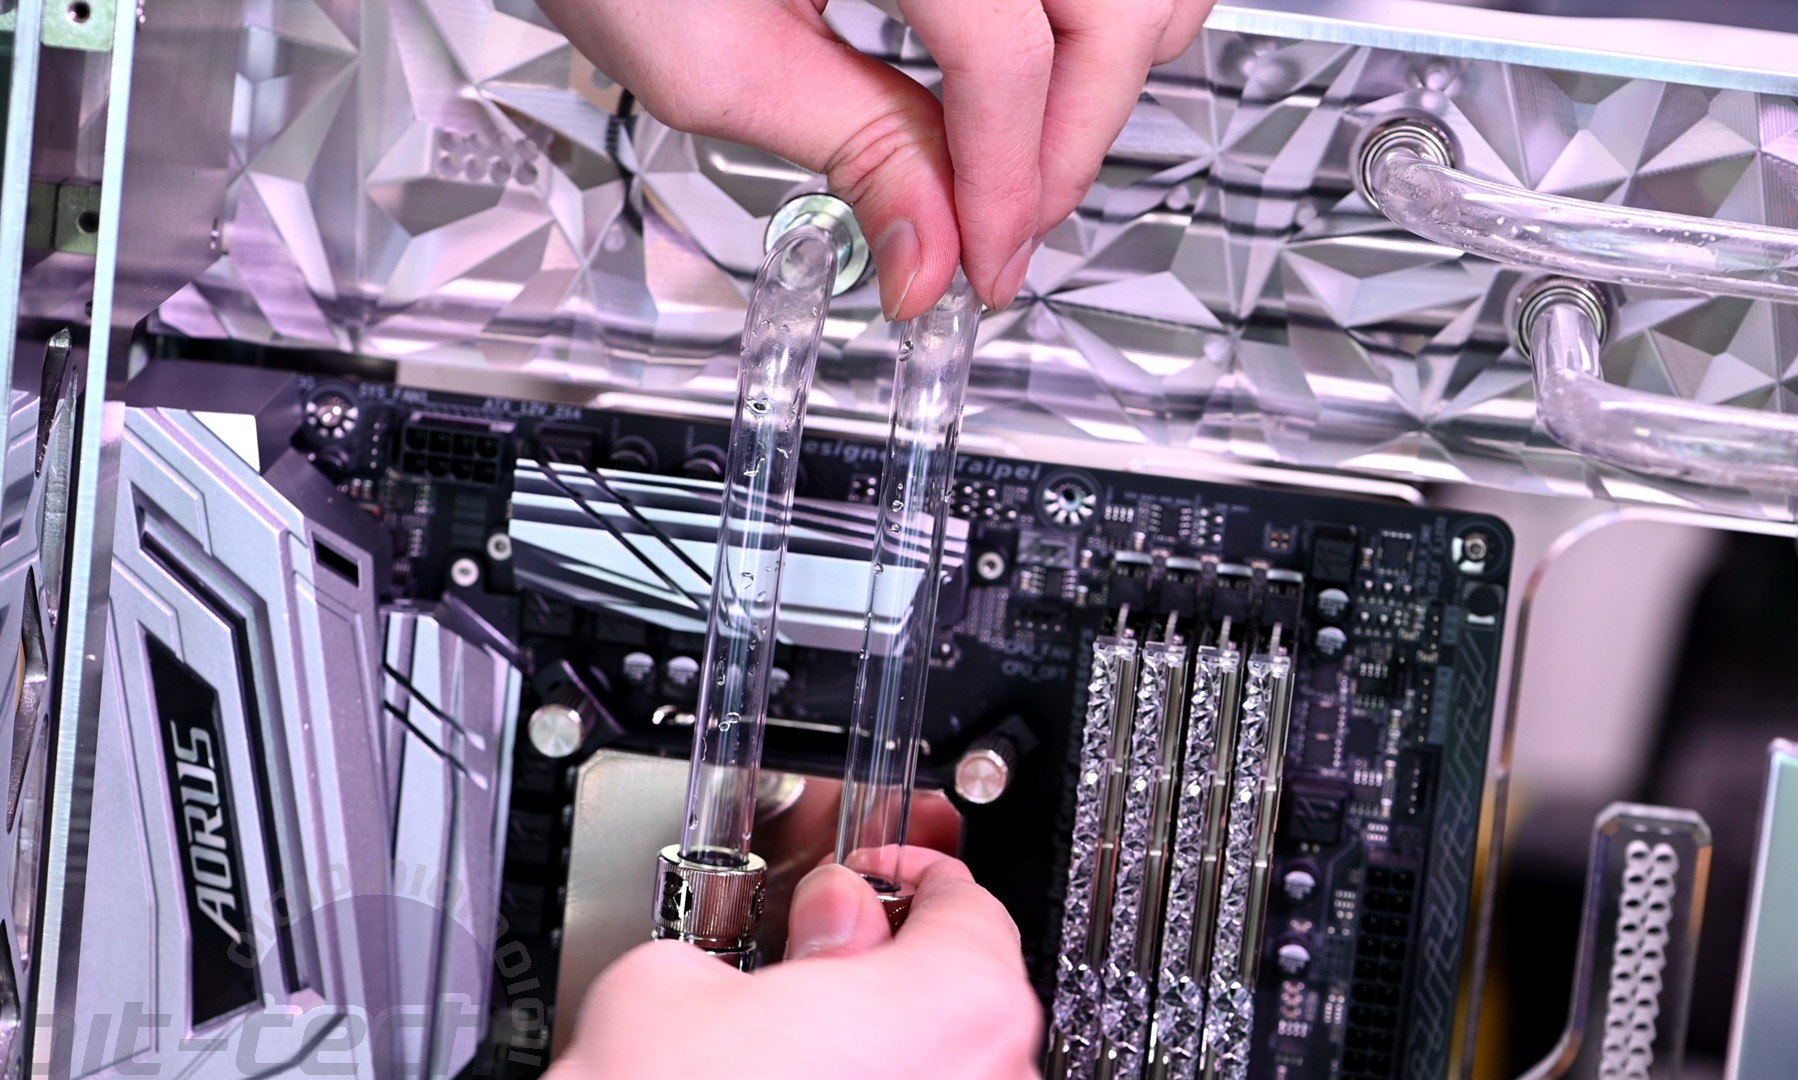
The loop itself I wanted to keep very simple, using only single-bend, short-length tubes. The only thing I really did differently here was use multiple-bend radii to keep the runs looking more parallel around corners. I’ve never been a big fan of sticking on one radius when tubes flow next to each other; it creates an awkward looking pocket in the corner and generally looks a bit weird to me.
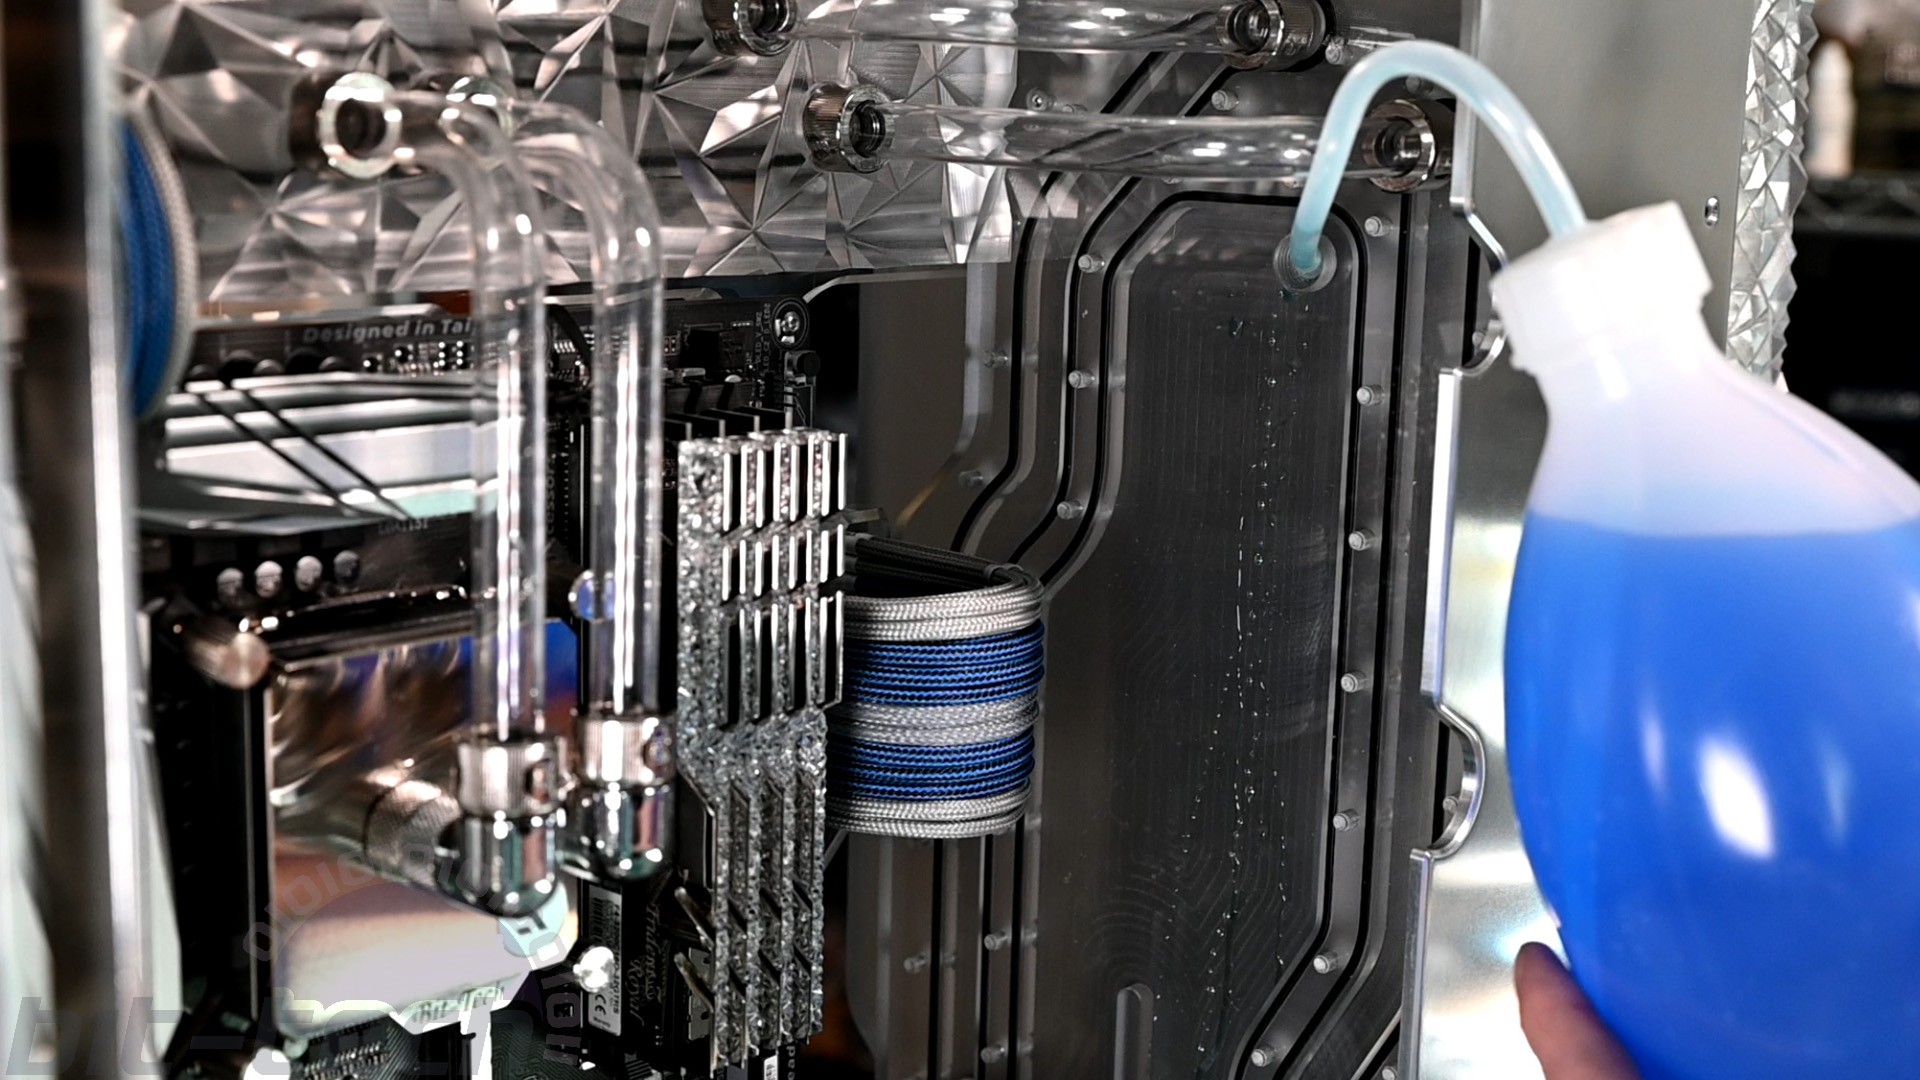
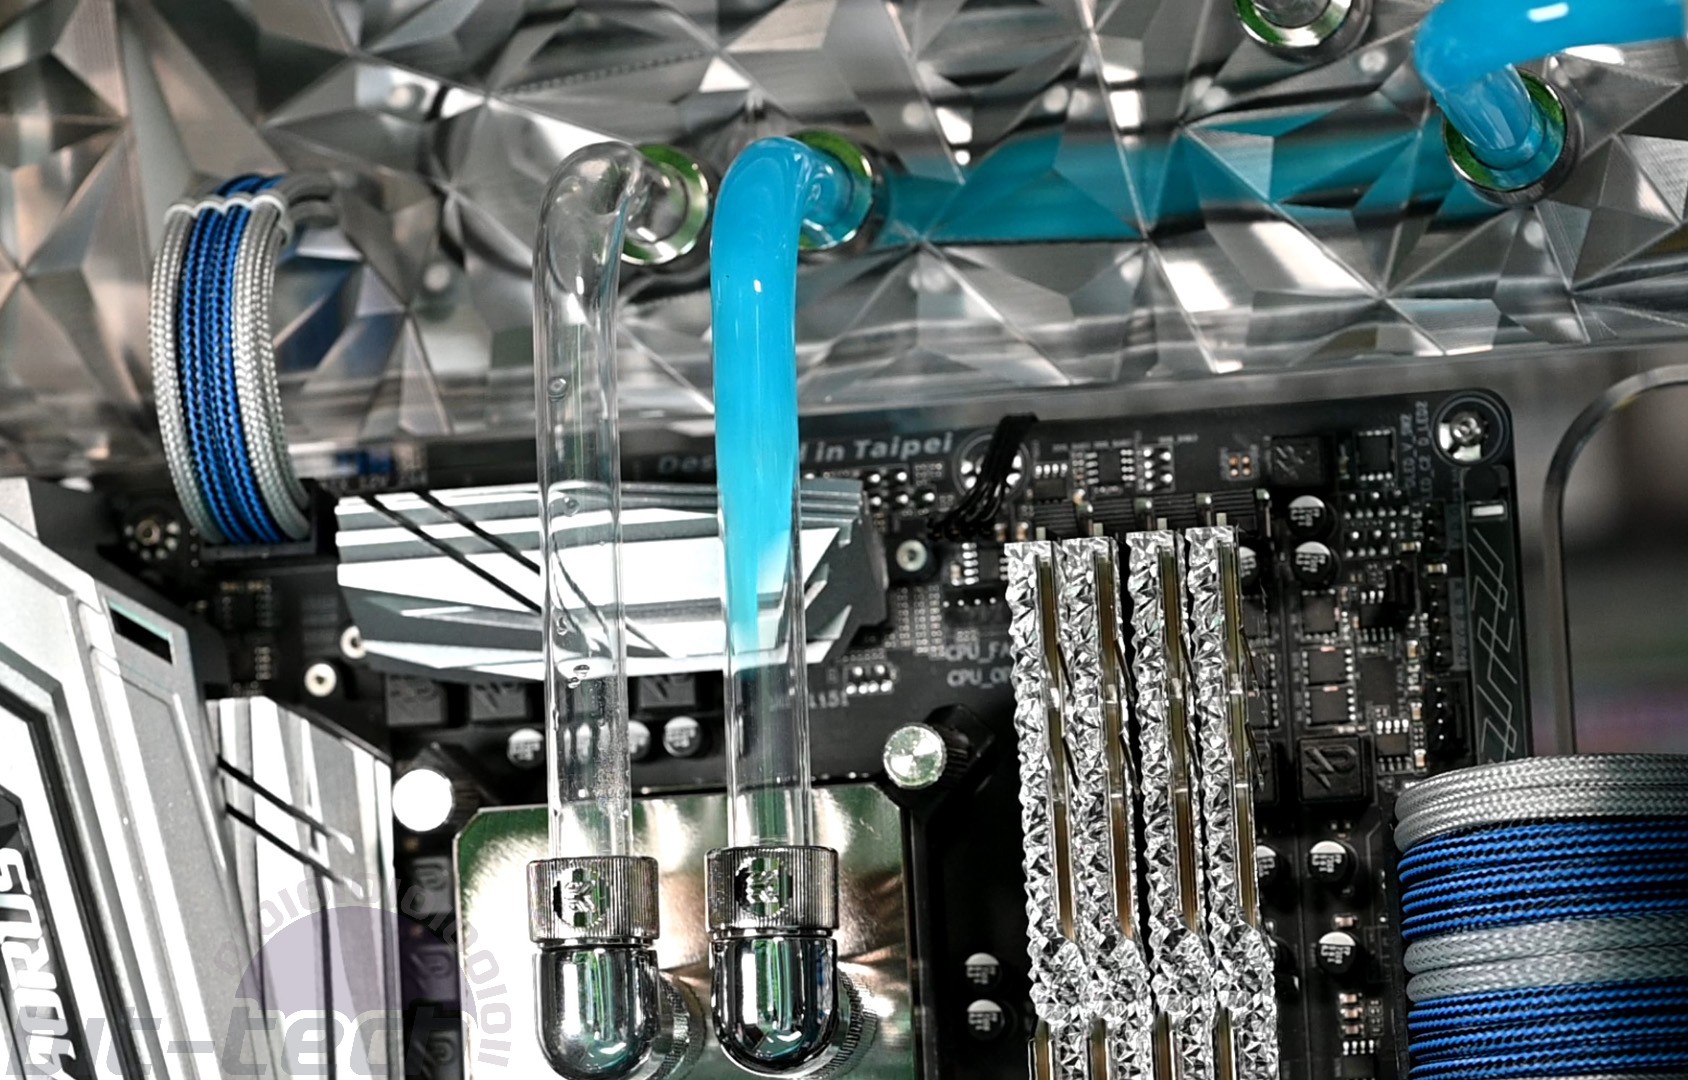
The coolant colour is just clear EK Cryofuel with a few drops of blue dye added. Blue premixed coolant tends to be a very rich, deep blue colour which seemed a little strong for this rig; mixing your own gives that flexibility to match up with other parts of the build. Filling all went very smoothly with no surprise leaks anywhere, and it even bled the air pretty fast. As usual, turning on the rig for the first time was terrifying, but that went smoothly too.
Getting all the RGB to work, though, was of course a faff. iCUE worked straight off the bat, thankfully, recognising all the Corsair bits and syncing effects between them. Gigabyte’s RGB Fusion was pretty successful too, but unfortunately had trouble controlling the memory well. It sort of worked, but there were no options for individual LED control to make gradients, nor did the brightness control work. To mitigate this, I installed Asus Aura to do just the Trident Z Royal RGB, which just about worked out. When you switch on the rig there’s a 50/50 chance that the Gigabyte software will win the fight against the Asus, so the memory lights are a bit inconsistent. That said, they look fine with both, so it’s not exactly a deal-breaker.
As we finish up, I’d like to thank our sponsors on this rig: G.Skill for commissioning the piece, EKWB for providing all the water-cooling components, and Corsair for sorting us out with the power supply, fans, and lighting!
Flip over to the next page for the final photos!


MSI MPG Velox 100R Chassis Review
October 14 2021 | 15:04

Want to comment? Please log in.