If you’ve been following along with this particular build on the bit-tech YouTube channel (I should definitely hope so) then you may have been wondering where on Earth the written log had gone. Well, fear not, for we’ve got you covered!
The previous part went into detail on the making of a new aluminium accent piece for the EKWB Velocity CPU water block that this rig sports. In this section we’ll be looking at the intended design of the rig, along with crafting the first panels for it.
Scratchbuilds are very much where I feel most comfortable. It’s a different sort of challenge to modding an existing chassis; it’s not necessarily more difficult (in fact I would argue that often it can be more straightforward if you have an ambitious project in mind), but it’s easy to get lost when starting with a complete blank canvas.
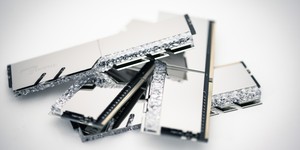
As mentioned in the previous part, the brief of this rig is essentially to make something eye-catching for the G.Skill booth at Computex 2019 that shows off its Trident Z Royal RGB memory. To that extent I wanted to incorporate the design of the heatspreaders themselves into the structure of the rig. To do this, I opted to construct the whole chassis from aluminium and acrylic. Since this requires a lot of precision fitment and machining, I set to work designing the entire thing in Fusion 360 - this is what I went for:

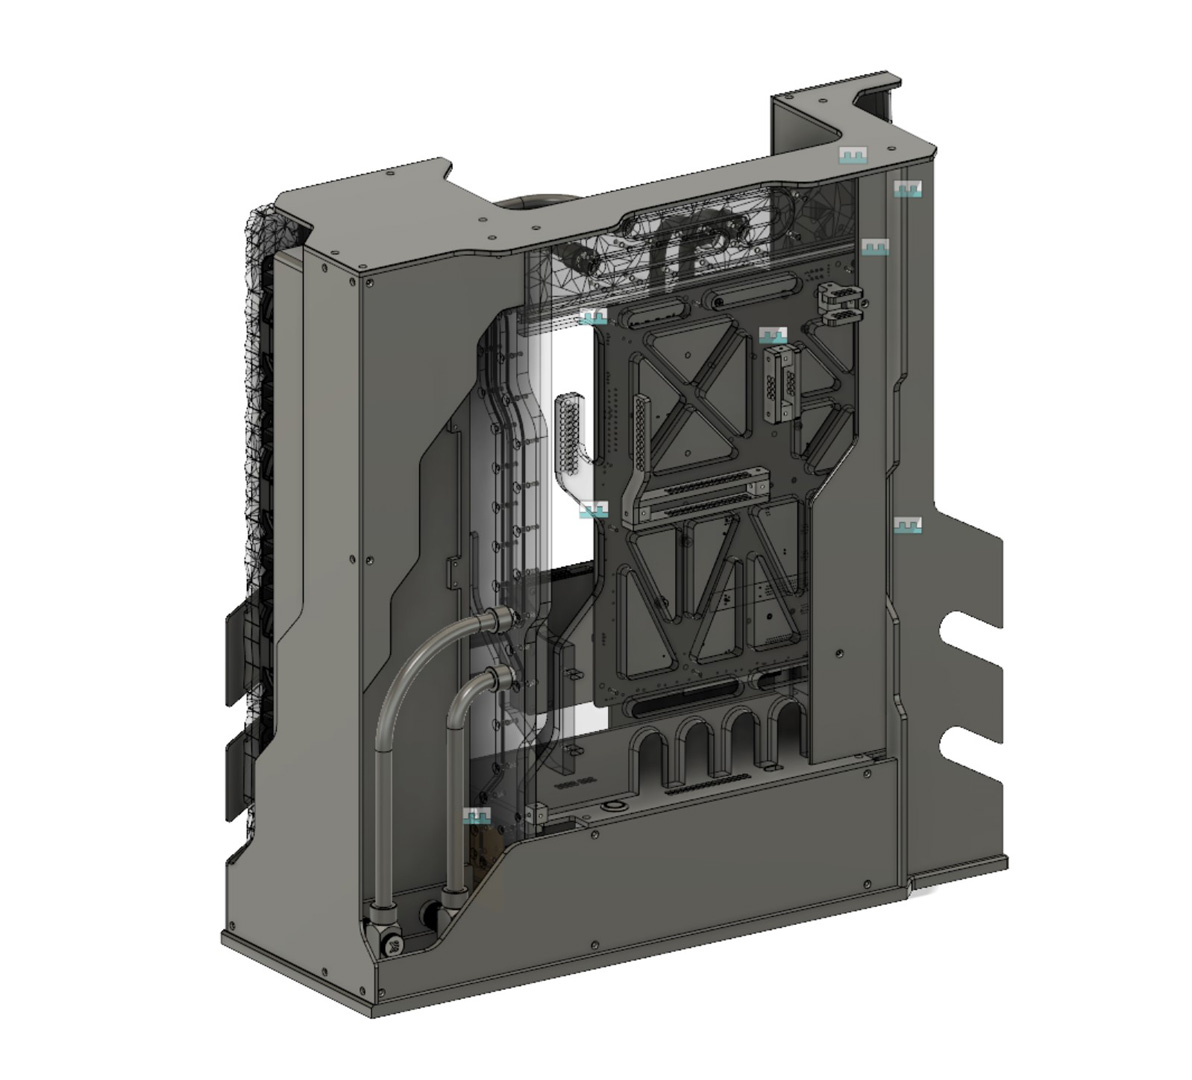
I tried to stick to the rough layout shown on the whiteboard, with two heatspreader-themed panels on the left and right banked with crystalline lighting panels. The motherboard sits on an acrylic tray that features cable management routing on the back side and a crystalline distro plate on the top. To the right you’ll find a full-height distro plate that connects most of the components together and also fits a DDC pump below the shroud. Cooling is handled by a thick 480mm radiator on the side
To keep things neat, I added a PSU shroud that houses all the RGB controllers and whatnot. To provide more room, this section is actually designed to fit an SFX PSU rather than ATX; a Corsair SF750 should be able to provide plenty of oomph for the intended hardware. All the panels are joined using 12mm threaded-brass connection cubes. I love using these cubes, as they’re both very simple but also incredibly strong. The fact that the threads are in the cubes themselves means there’s no risk of accidentally stripping any threads in the acrylic panels. The only tricky thing about them is arranging them around so that their visibility is kept to a minimum.
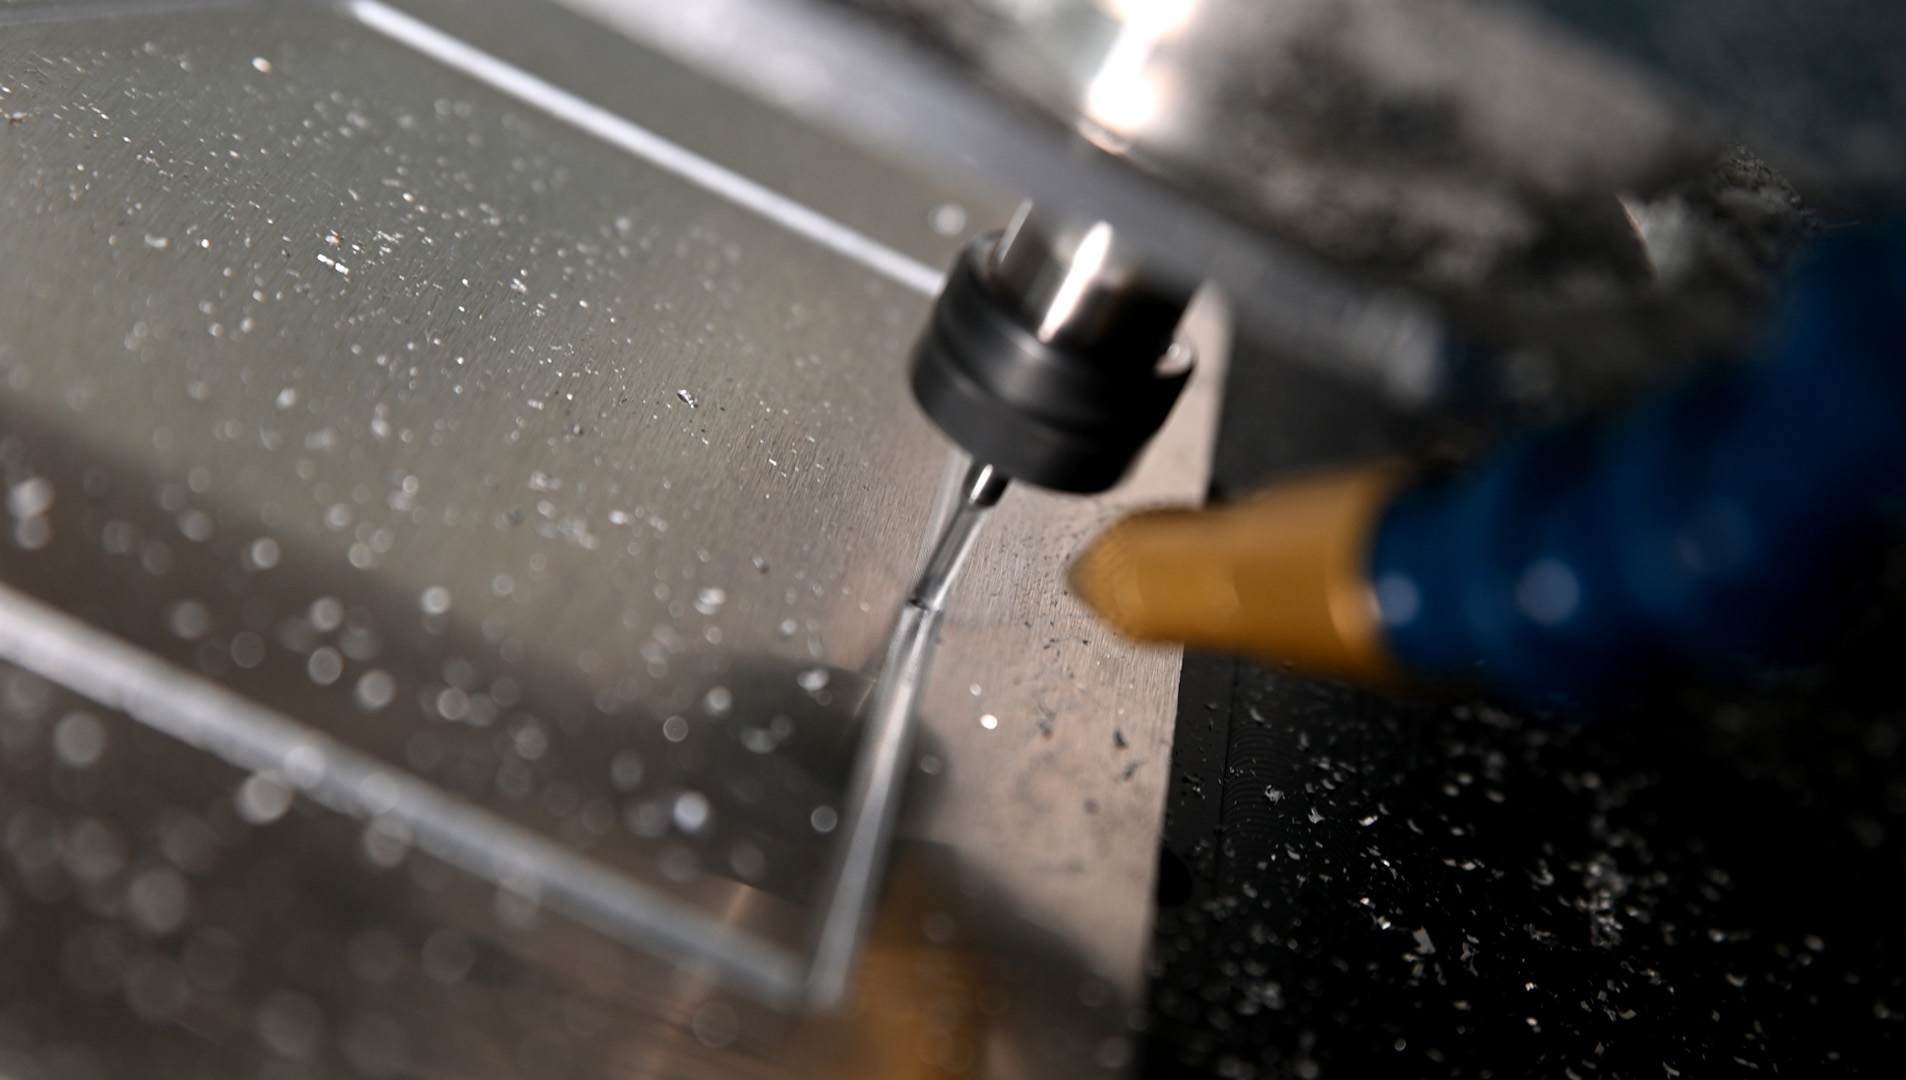
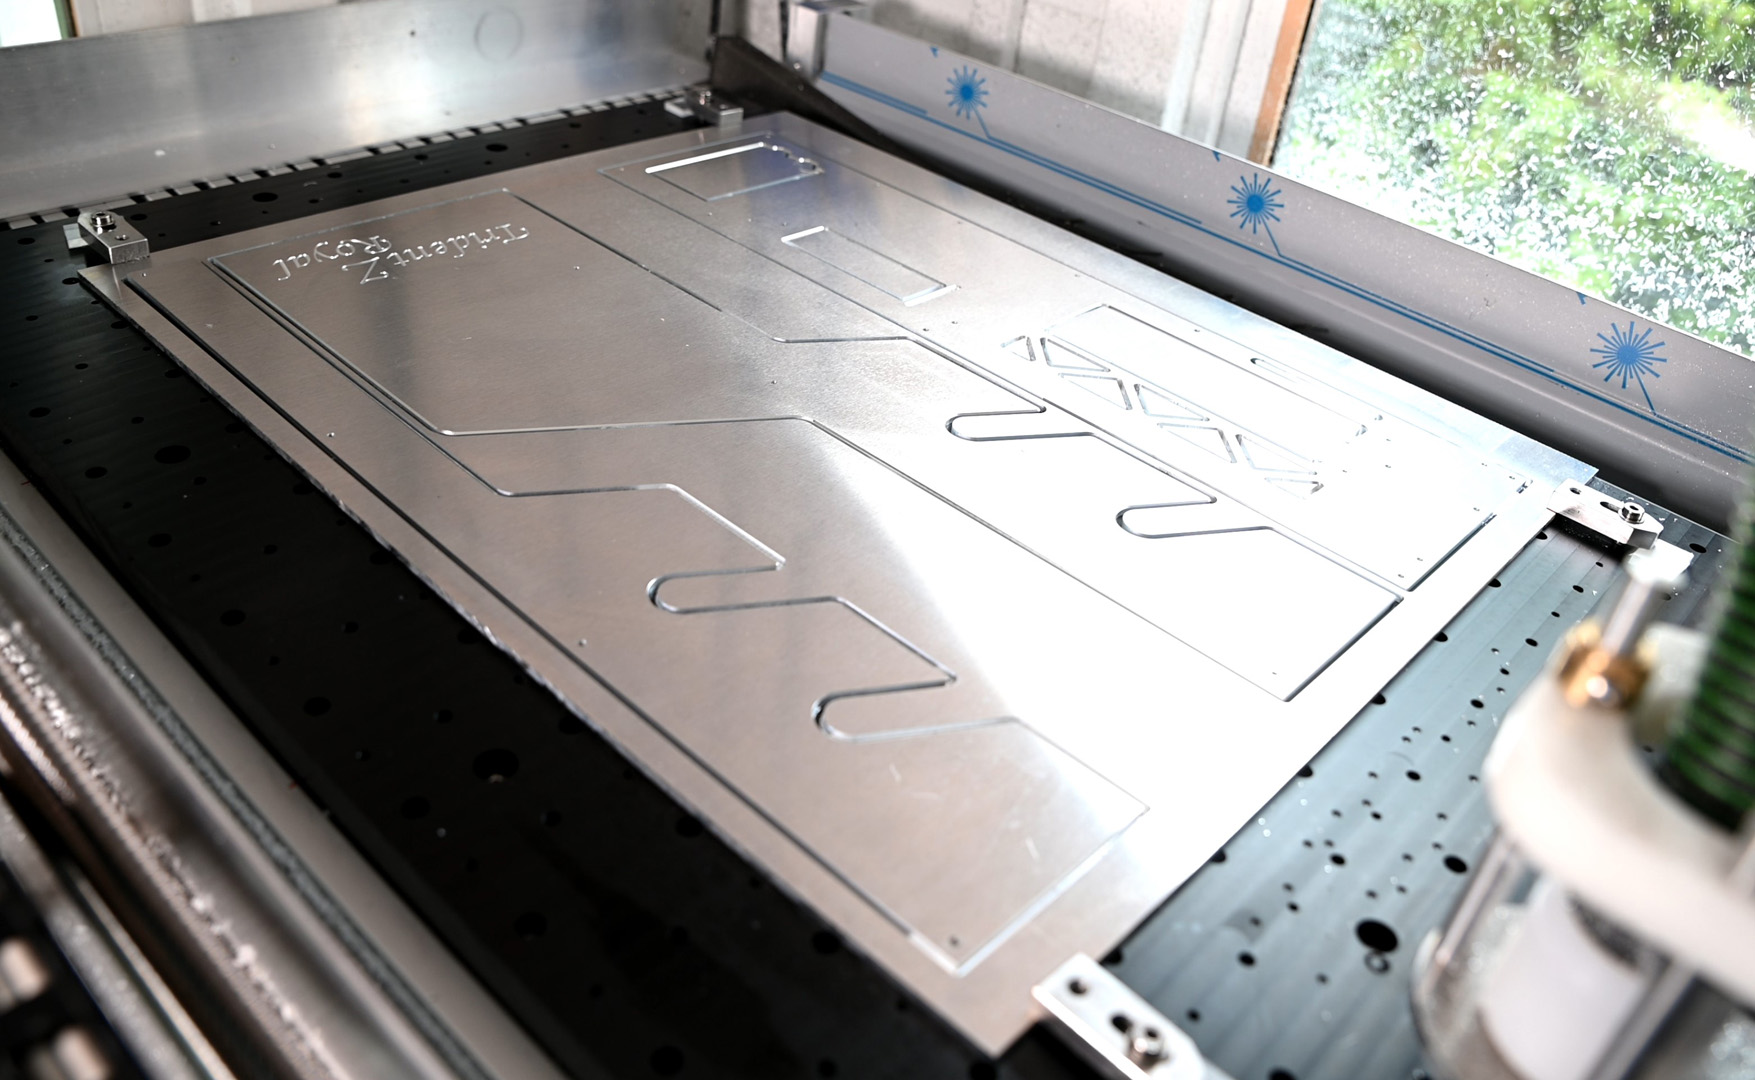
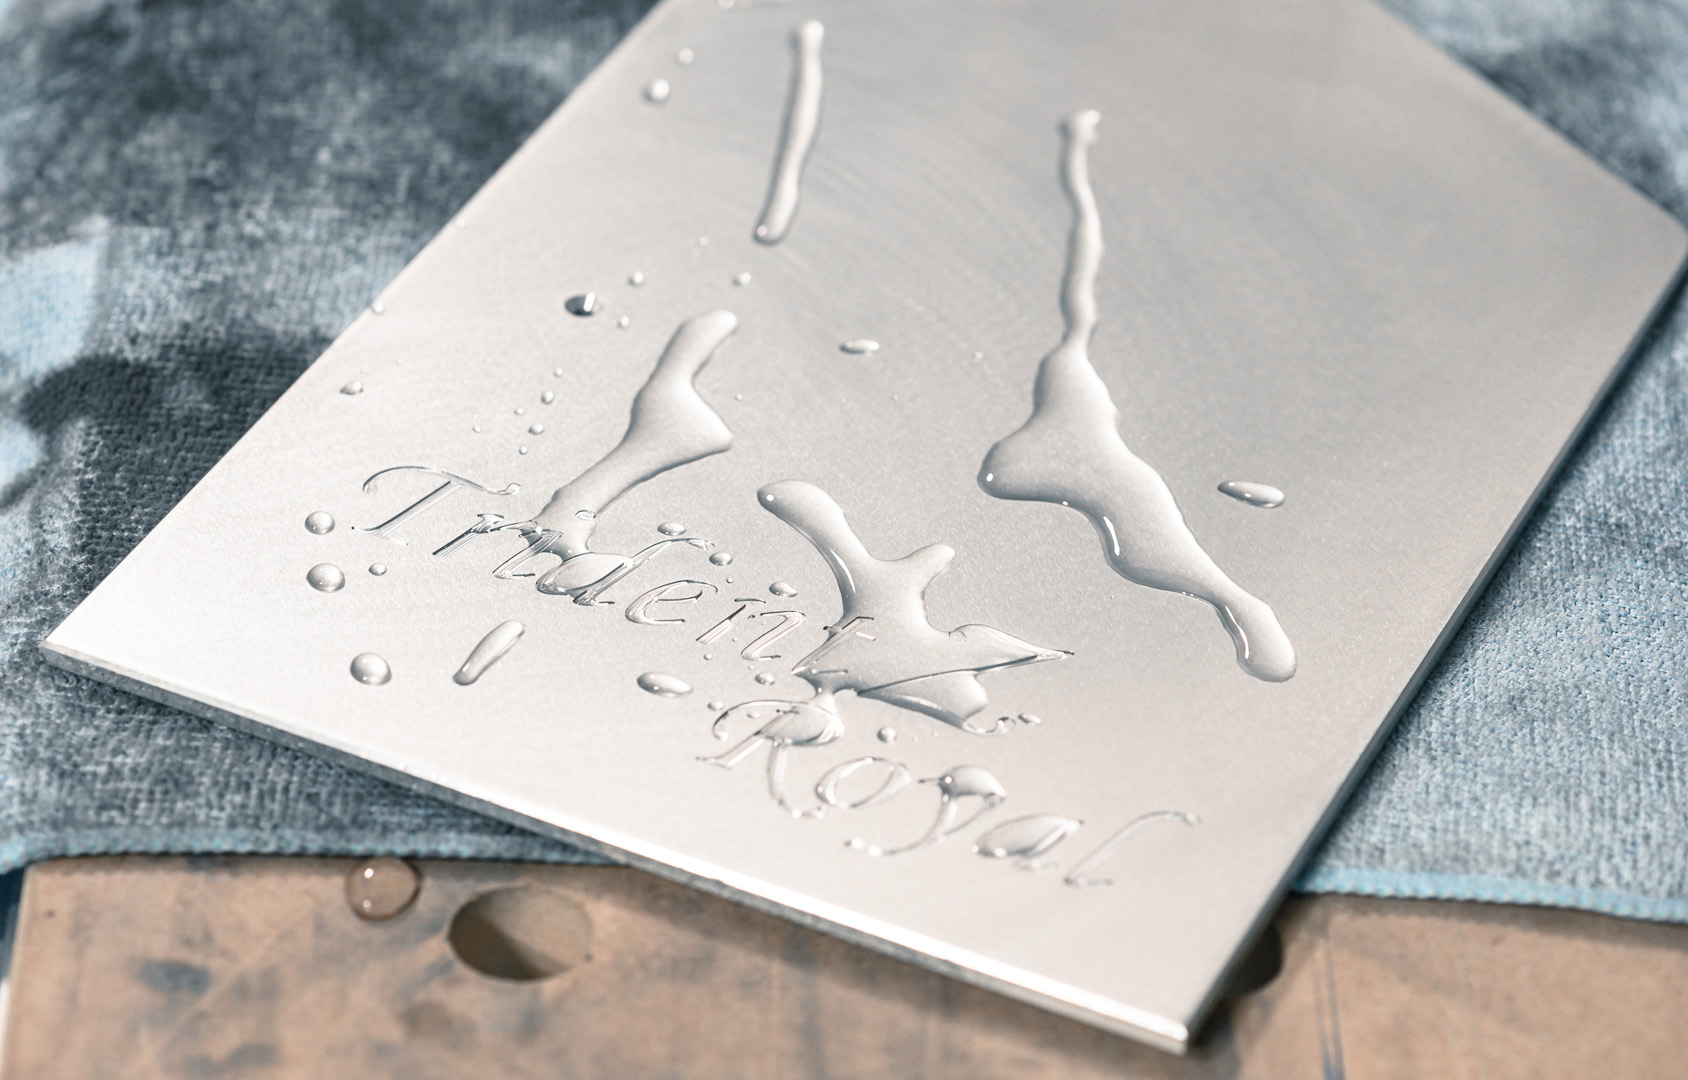
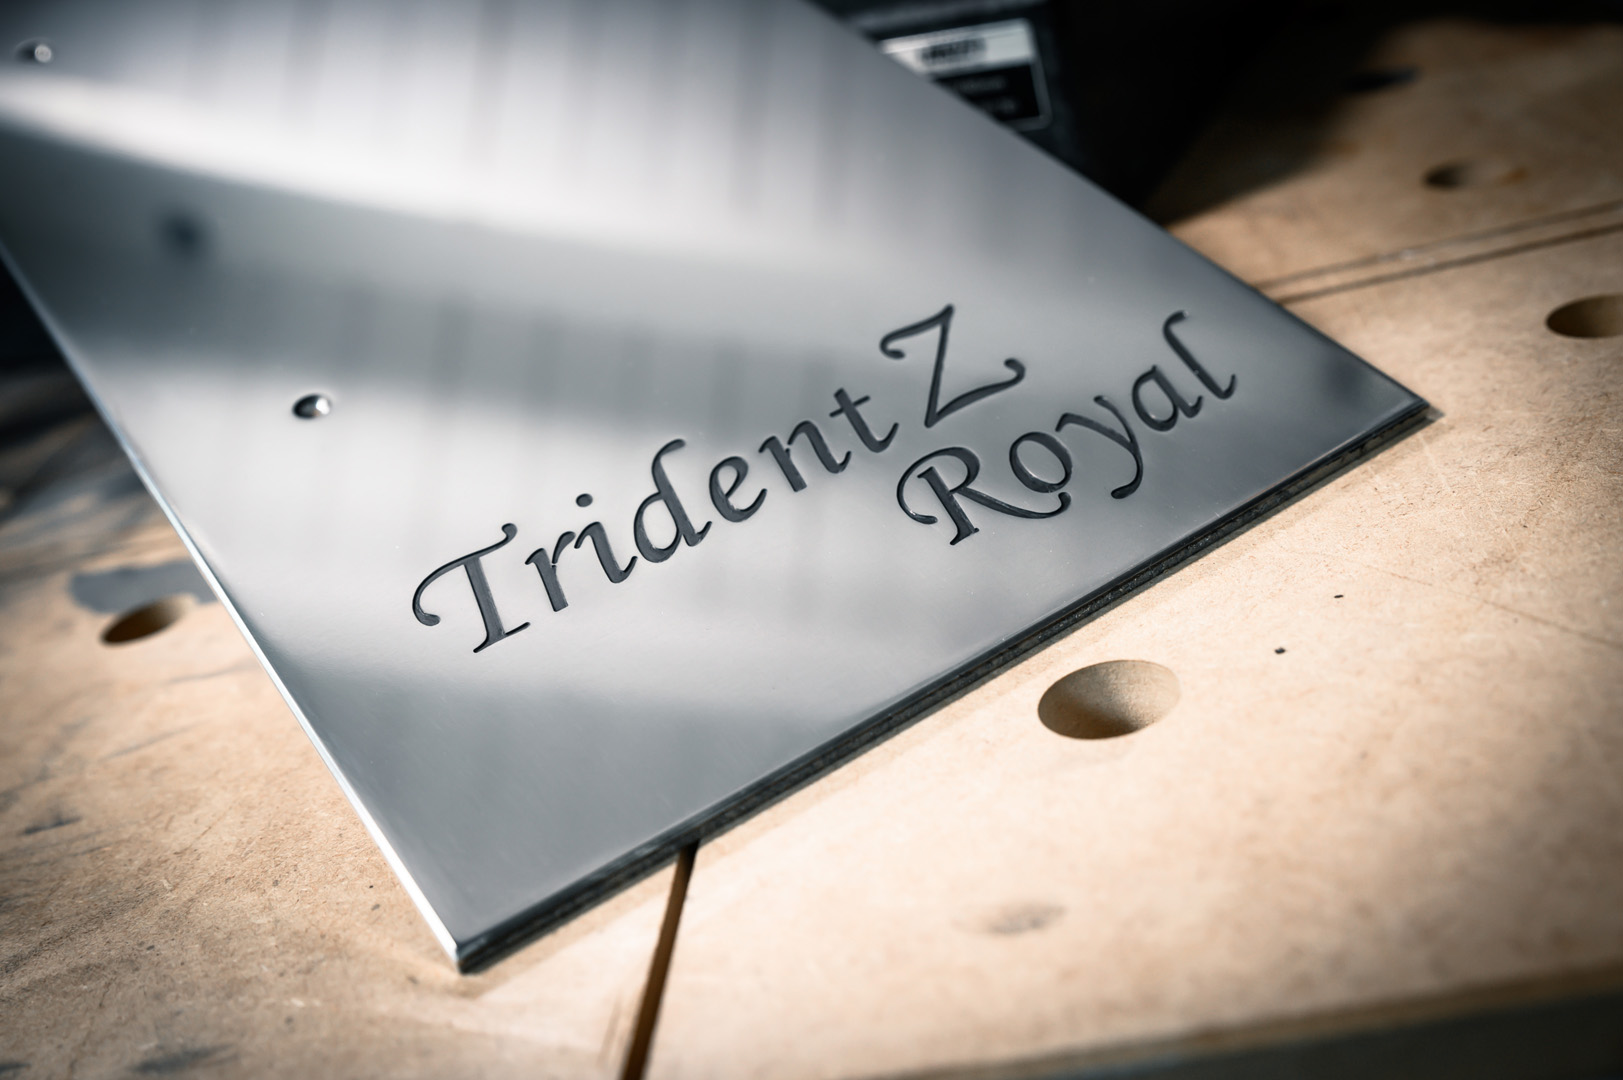
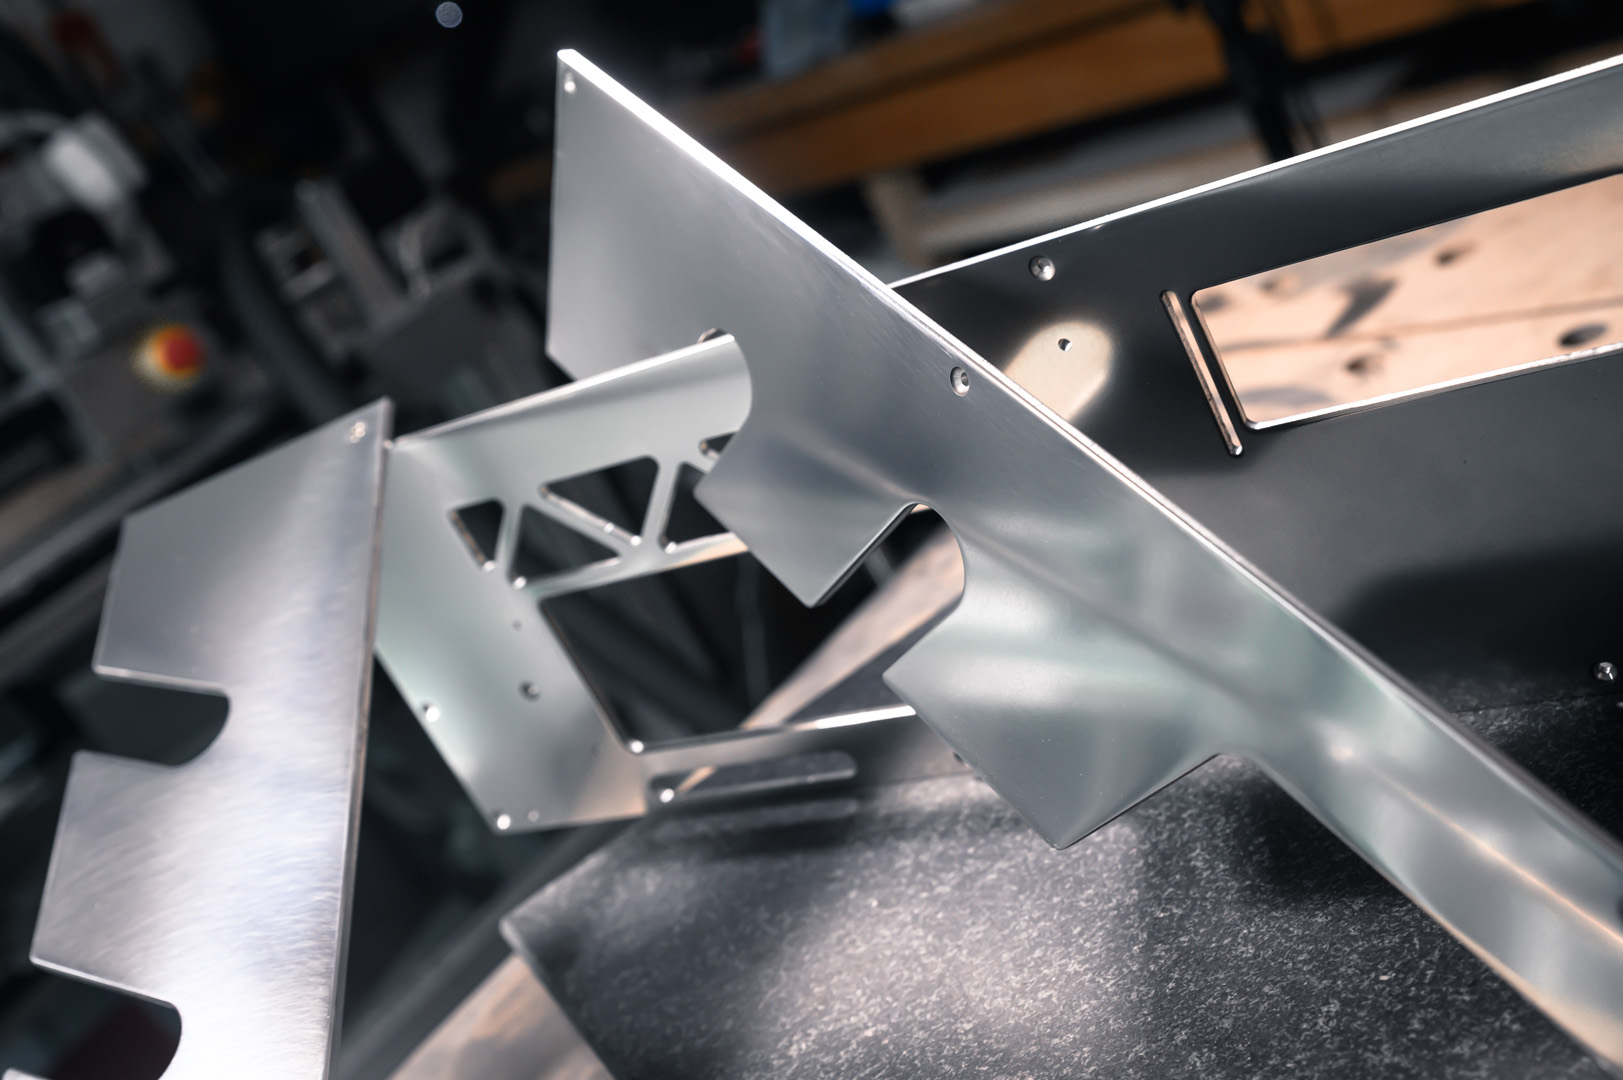
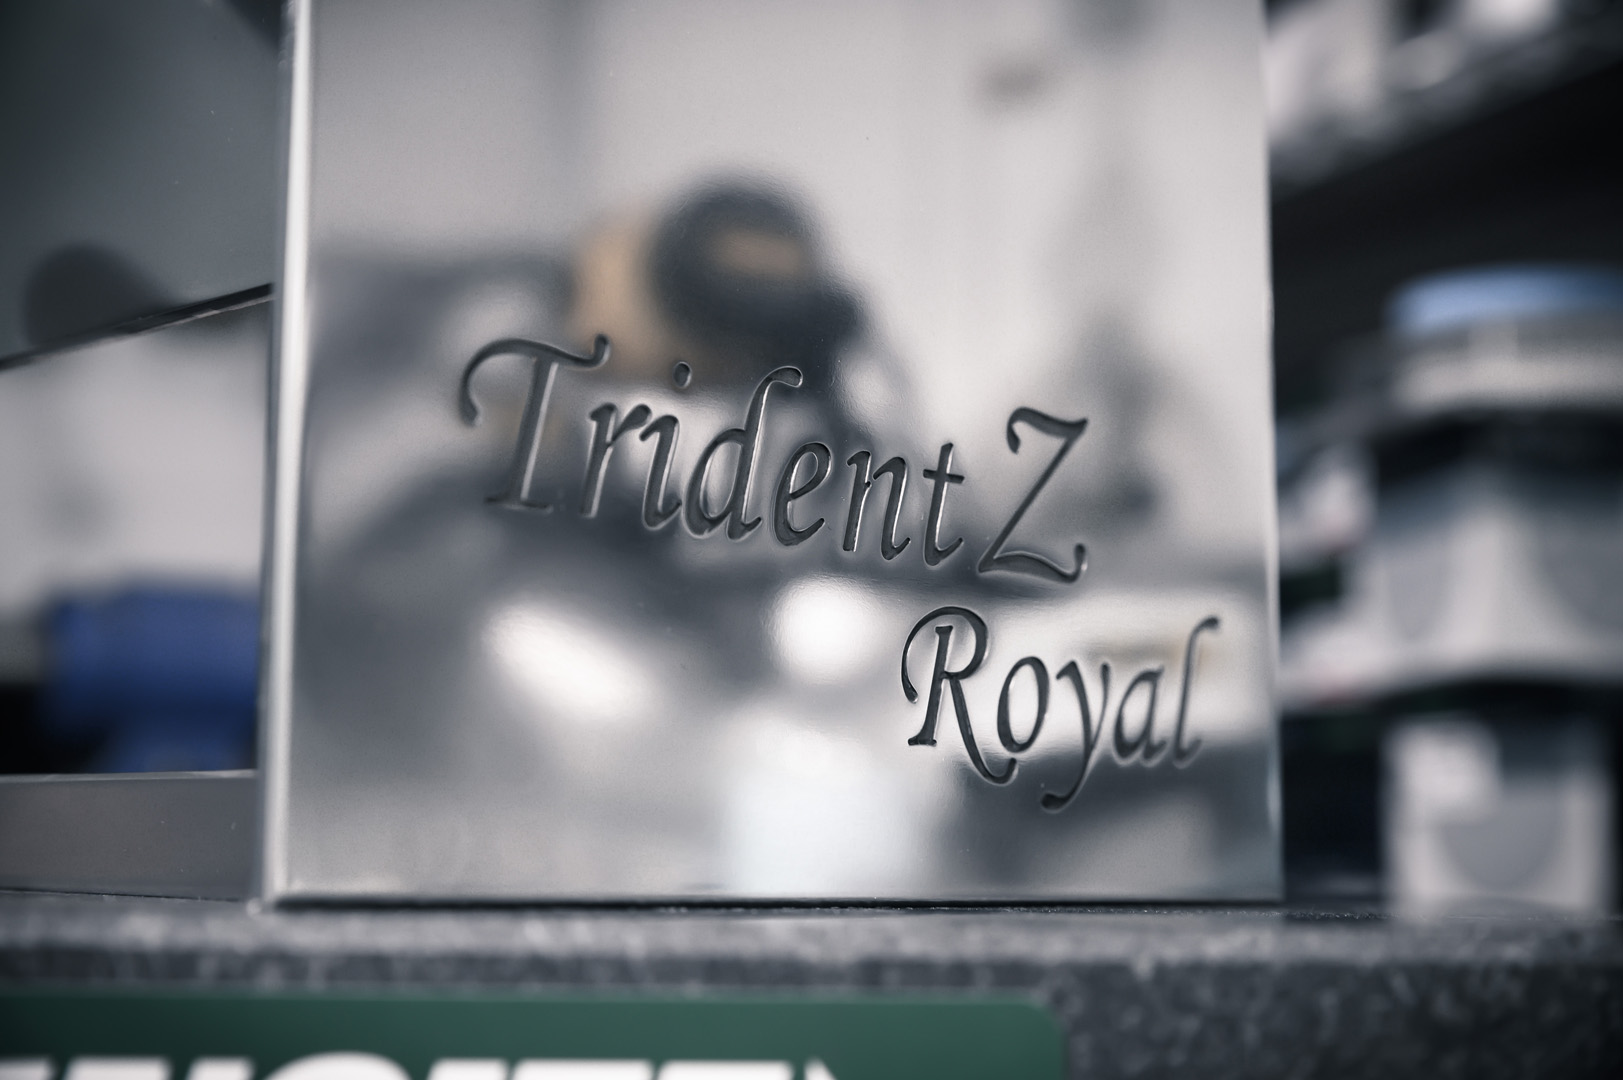
I’m using a mixture of 3mm, 4mm, and 5mm aluminium for this mod. Truth be told 3mm could have been used for everything; I just like the solidity that comes with the thicker metal. Most of the cutting is fairly straightforward; the only challenging part is the Trident Z text that’s engraved on the front. The reason this is tough is thanks to the requirement to use a tiny endmill for the cuts rather than an engraving bit. Using an endmill allows for a great surface finish inside the lettering but also means nice and sharp walls. Given these plates will be polished up, it makes sense to have a deeper, sharper cut as it will be softened during that process.
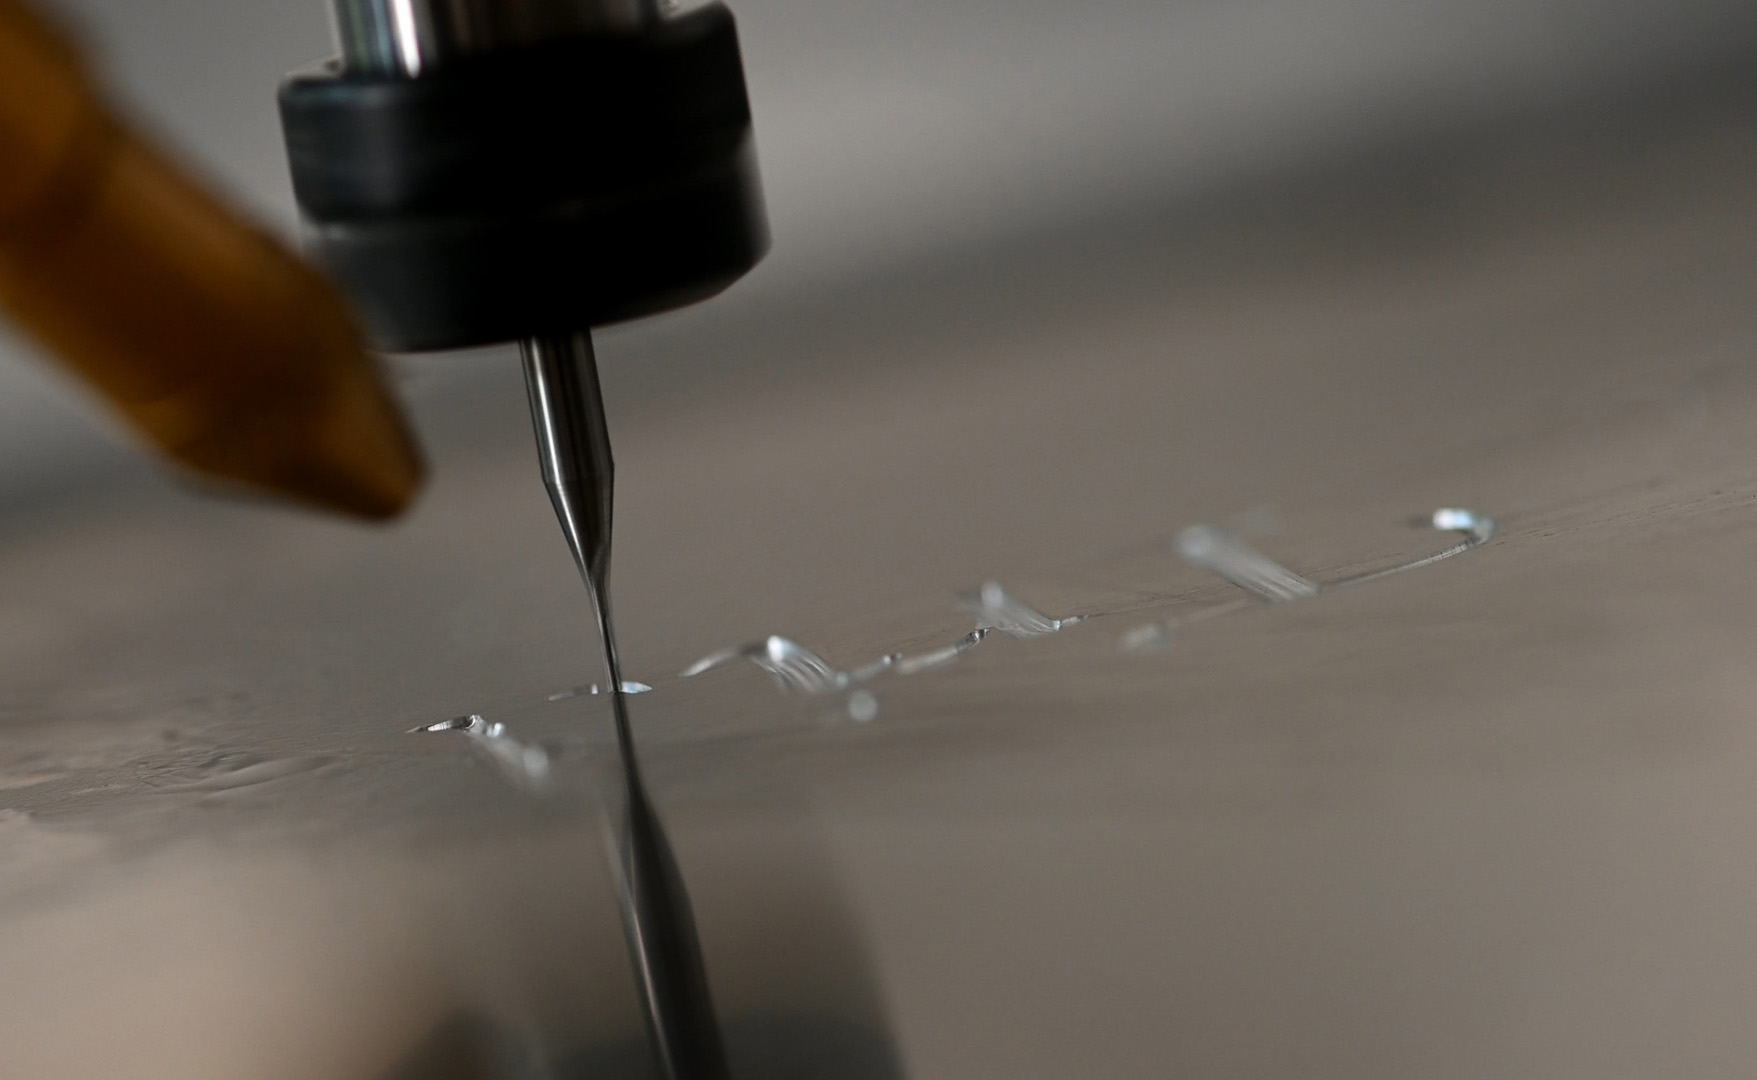
I set to work cutting out the panels, I primarily stuck with a 3mm double flute endmill for this. I’m using the cheap ones from Sorotec for this; they cut very well and any mistakes won’t be very costly vs a Datron cutter. Speaking of which, for the text I used a 0.5mm Datron single flute endmill operating at 22Krpm and 200mm/min. That’s a very low feed rate normally, but for detail work it greatly enhances tool longevity on a less rigid machine like mine that doesn’t handle rapid direction changes all that well. Any wobble at all when cutting will just translate to a snapped tool unfortunately.
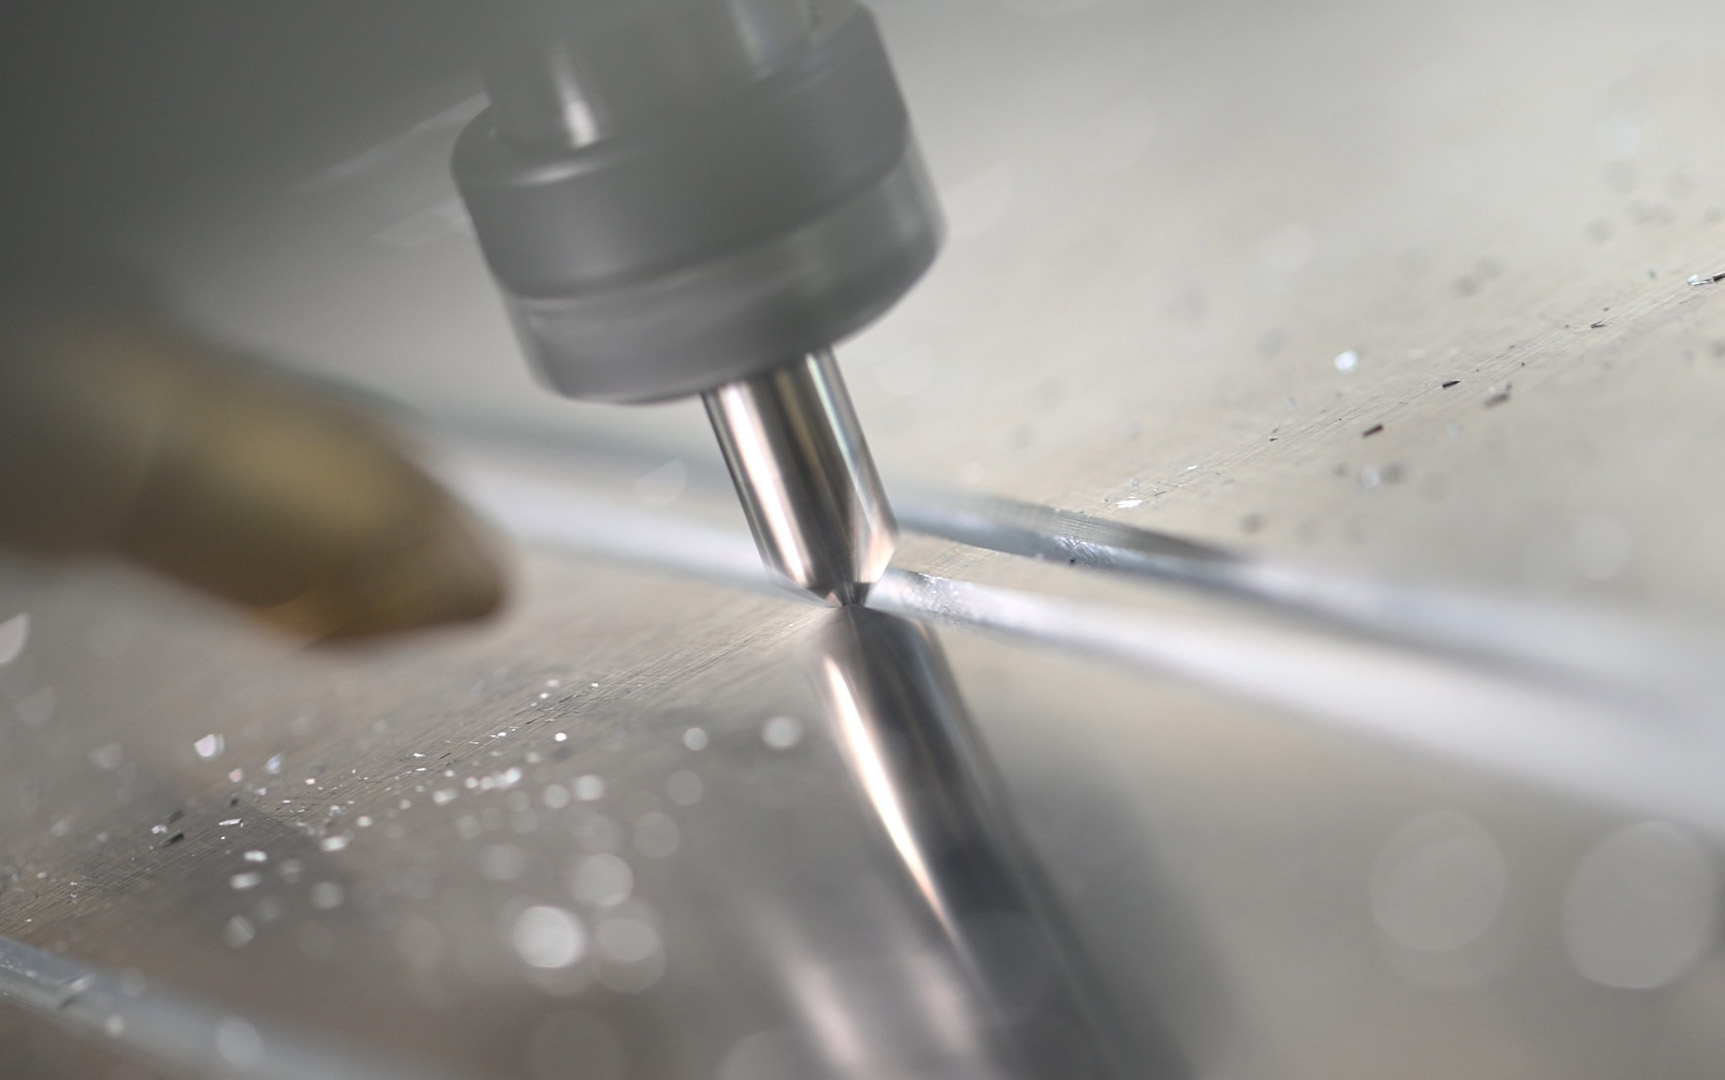
The pieces were then finished up with a 6mm chamfer mill, just to break the edges and allow more light to be picked up by the panels. I’m such fan of chamfered edges; they just seem to add that extra finish quality to a piece.
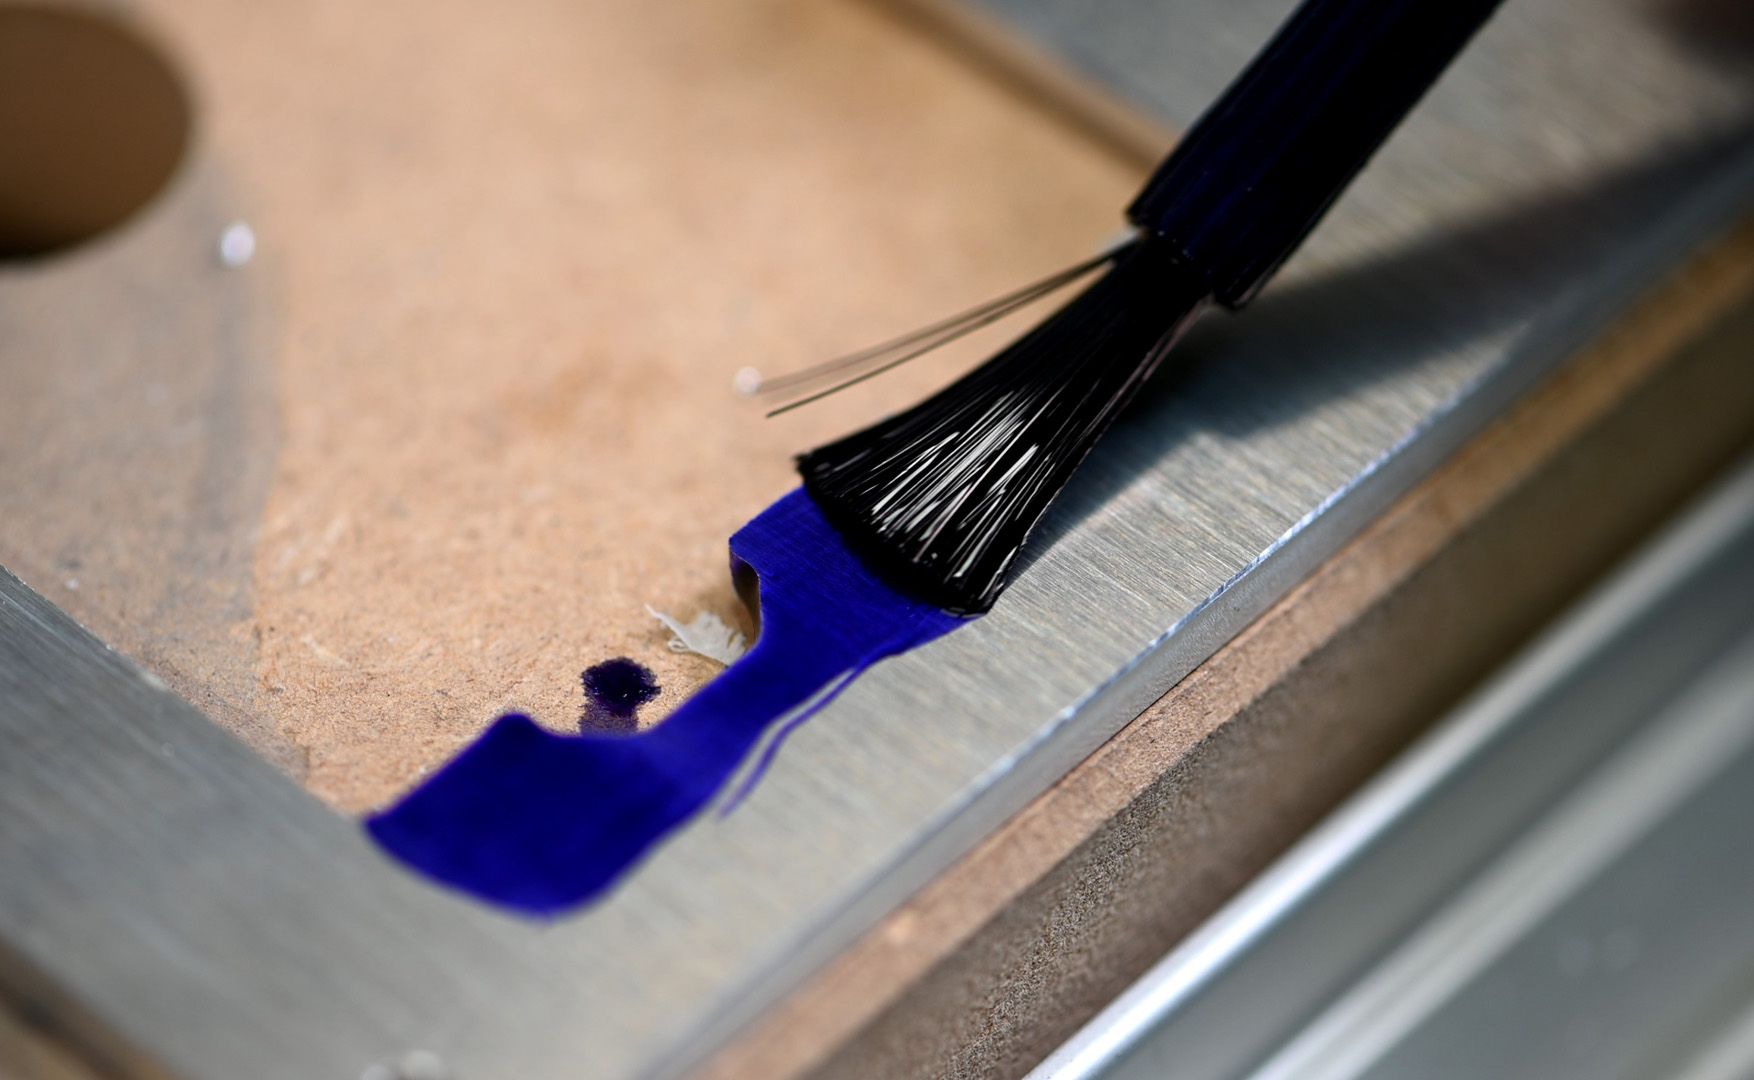
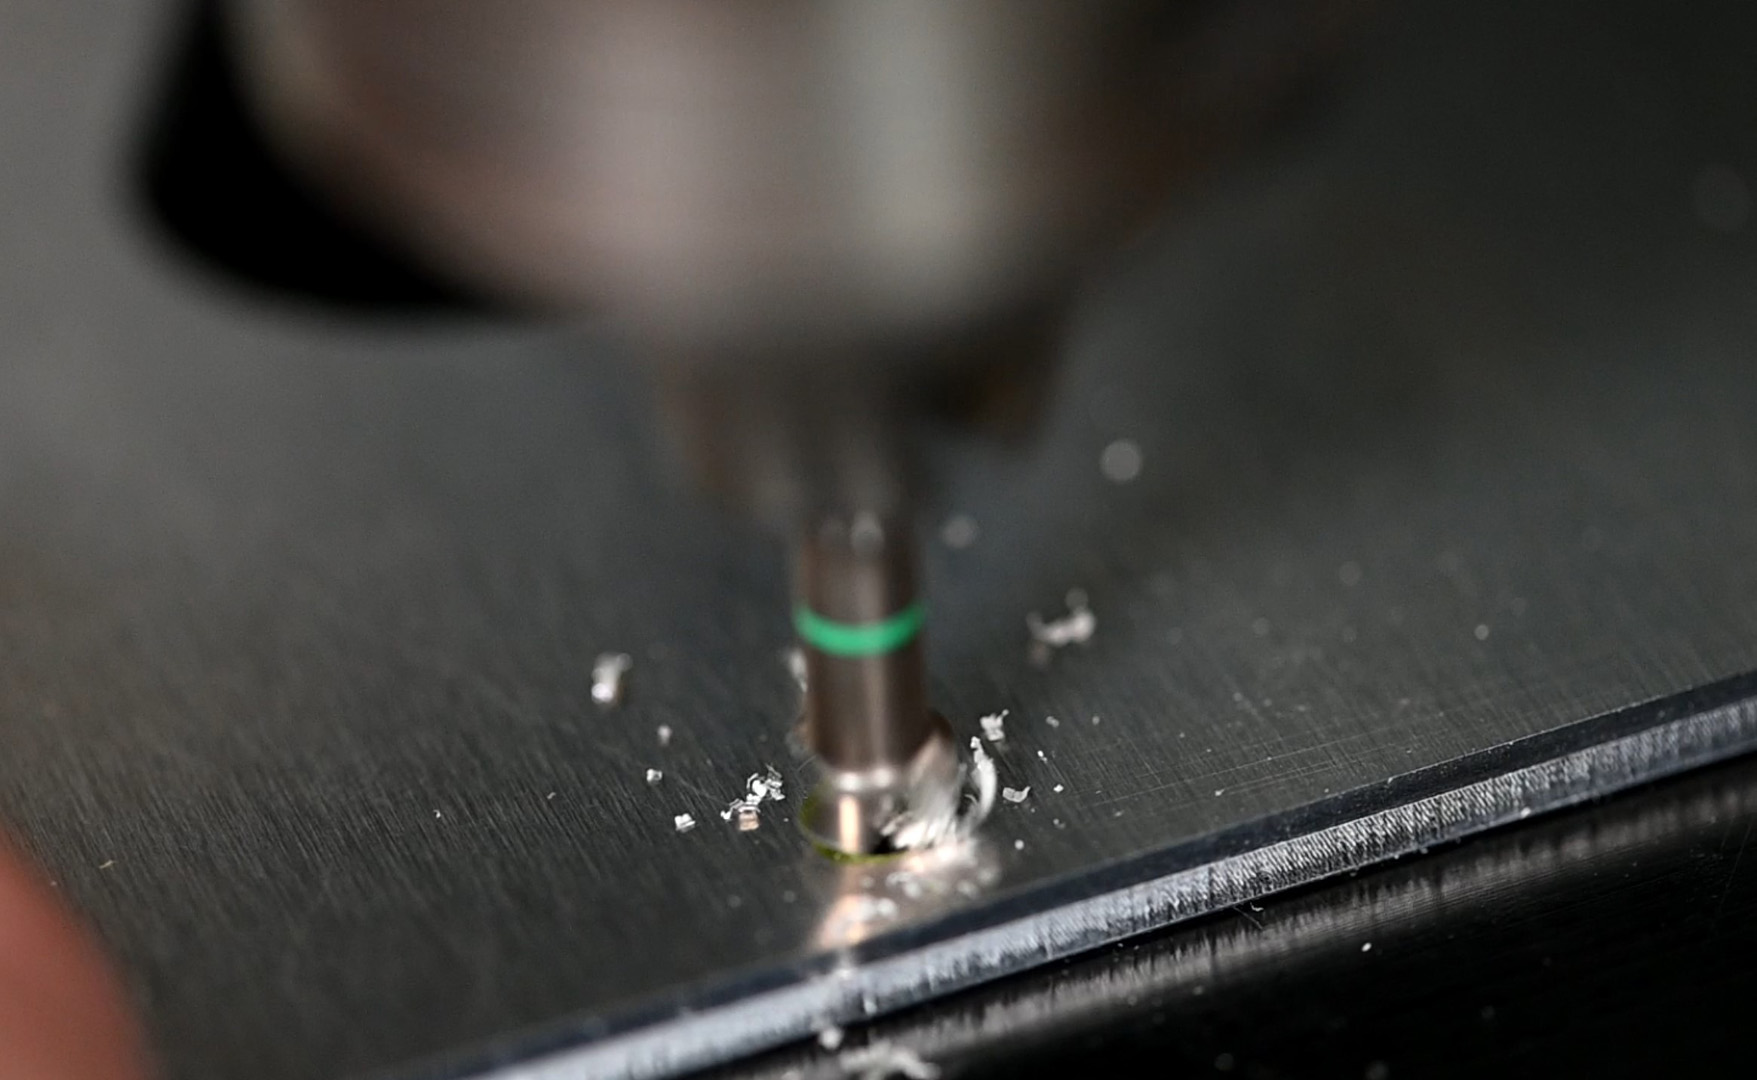
Once done on the router, I countersunk the M3 screw holes and drilled the PSU mounting holes. Now, why didn’t I do this on the machine? Well, for the countersinks it would have meant doing a double-sided operation; it’s simply quicker to do them by hand than set the machine up for something like that. As for the PSU holes, I just missed them in the toolpathing... oops.
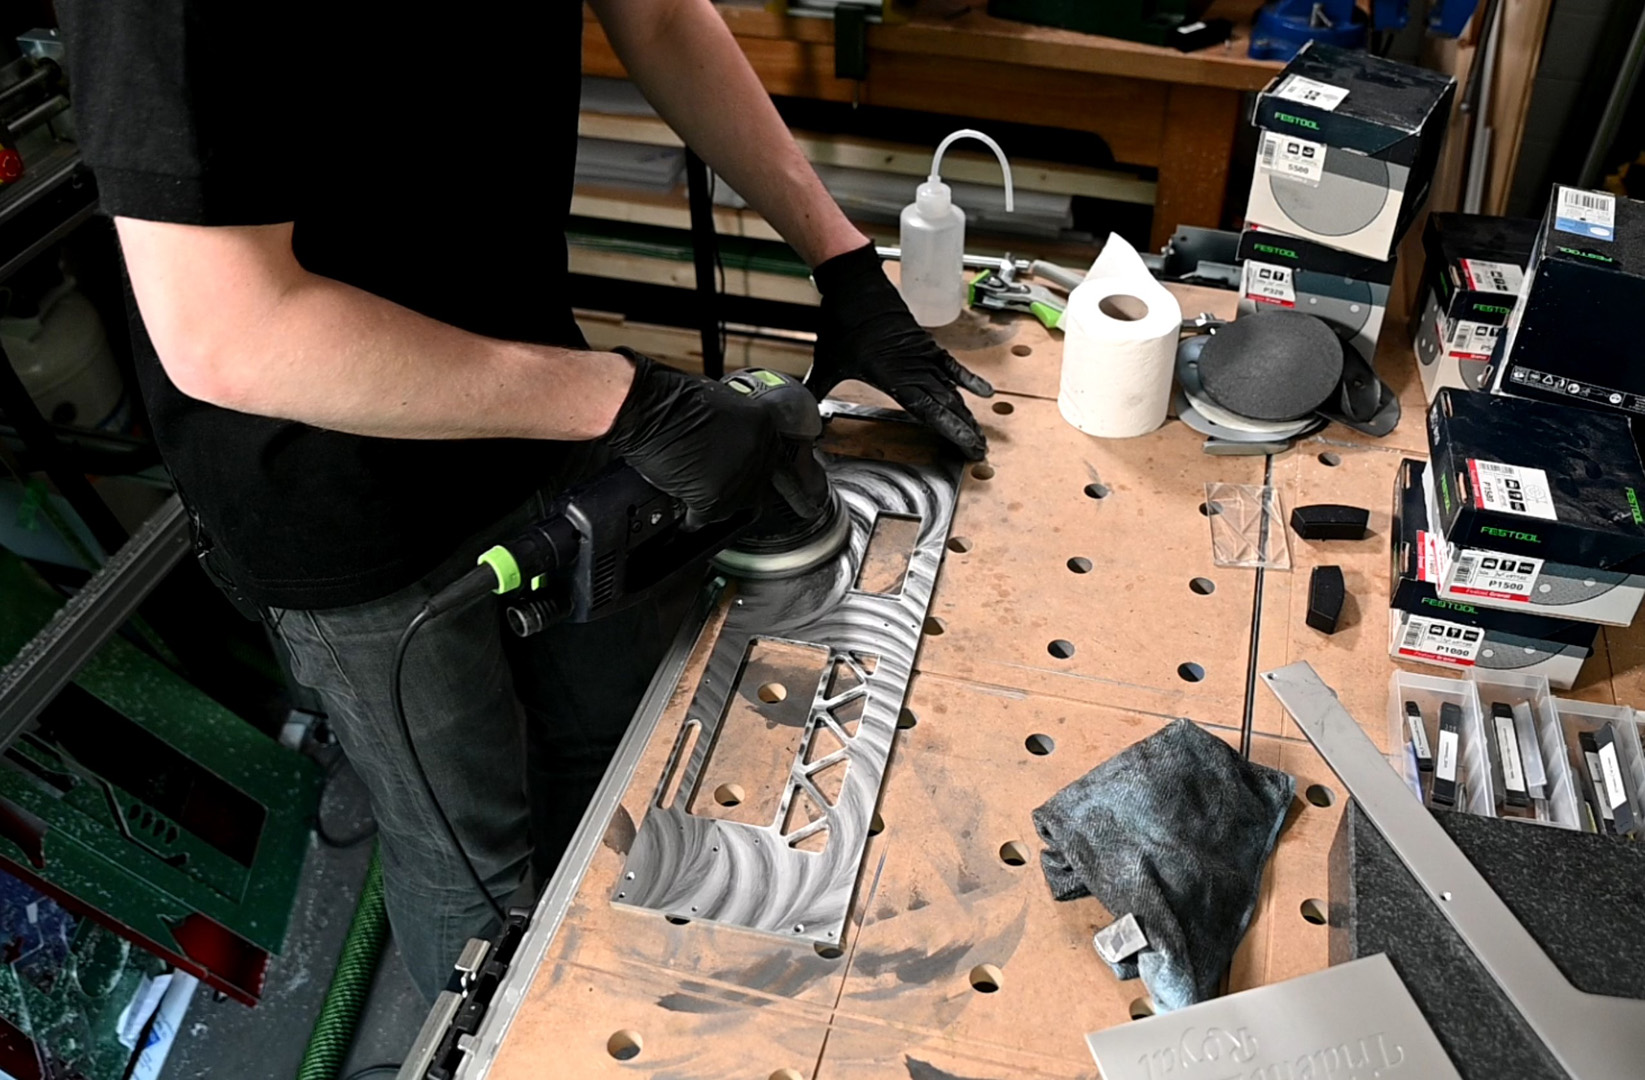
The last step was to buff these babies up. To do this I worked my way through 320, 500, 800, 1,000, and 1,500 grit papers and then 500, 1000, 2,000, and 4,000 grit soft pads. Finally, I used the polishing felt on the Rotex 125 to bring them up to a lustre.
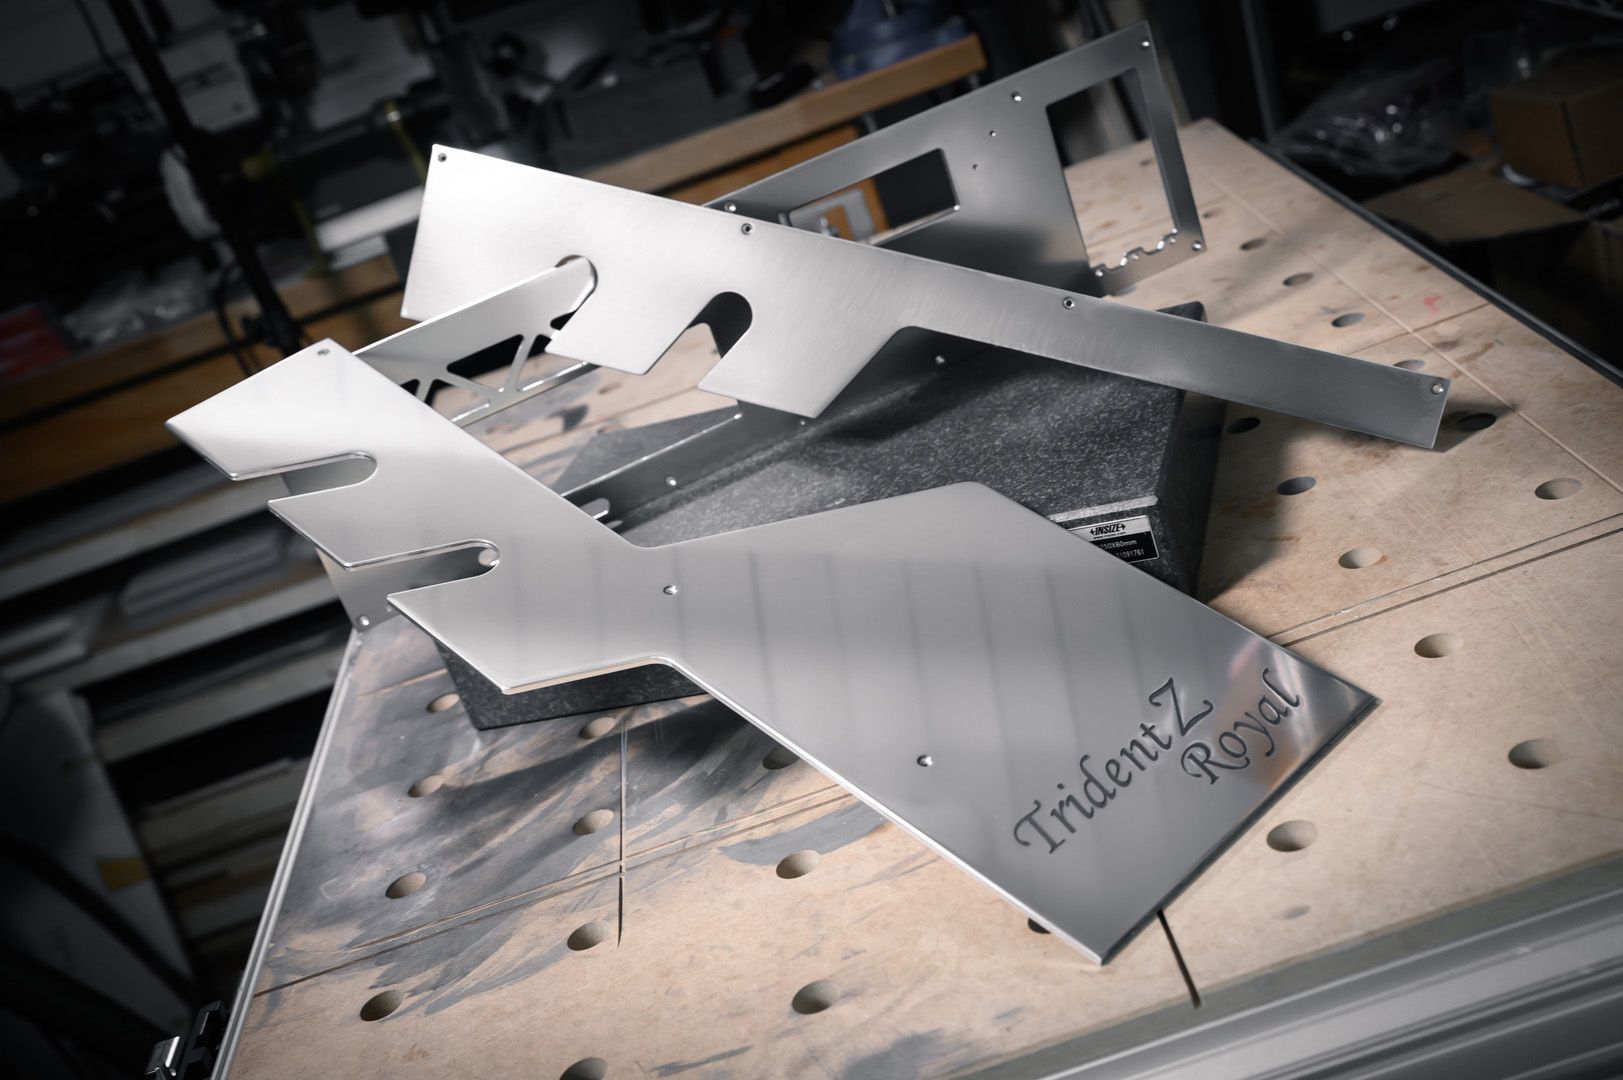
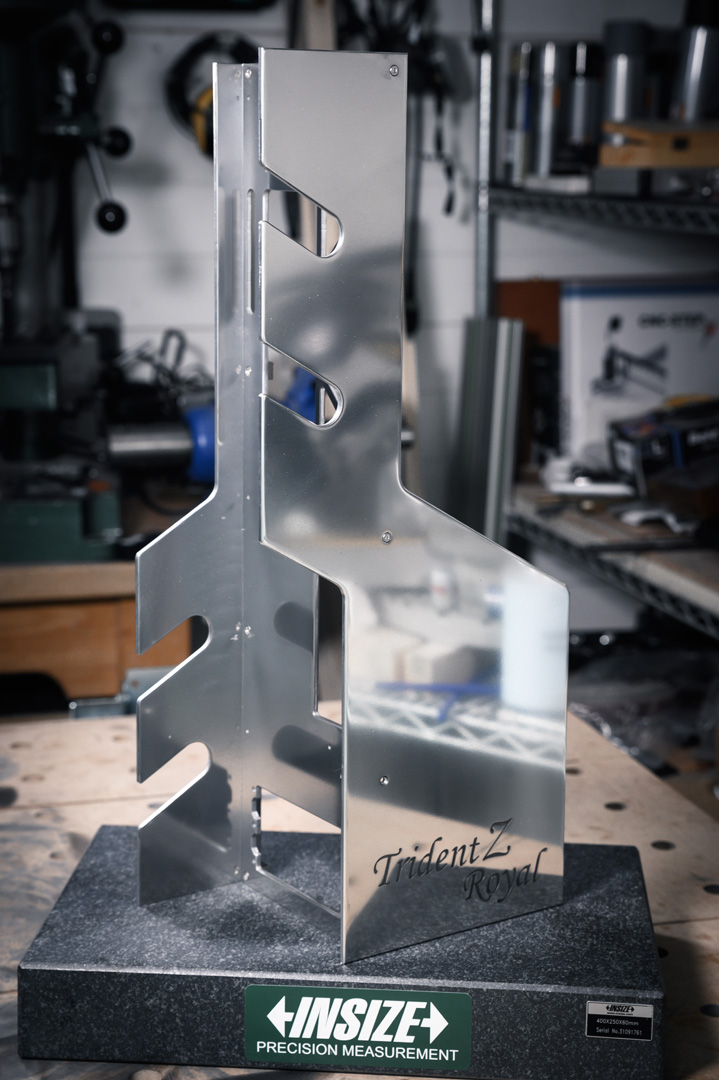
I’m thrilled to bits with how these panels came out; you can really start to see the theme and plan creeping in too. The next step is to finish cutting all the remaining panels (exactly the same process) and get to work on the acrylic parts!
RELATED ARTICLES


MSI MPG Velox 100R Chassis Review
October 14 2021 | 15:04

Want to comment? Please log in.