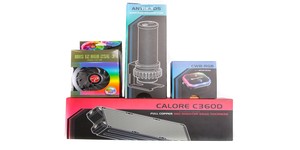
Thermaltake Pacific C360 DDC Hard Tube Water Cooling Kit Review
August 23, 2019 | 14:00
Companies: #thermaltake
Installation
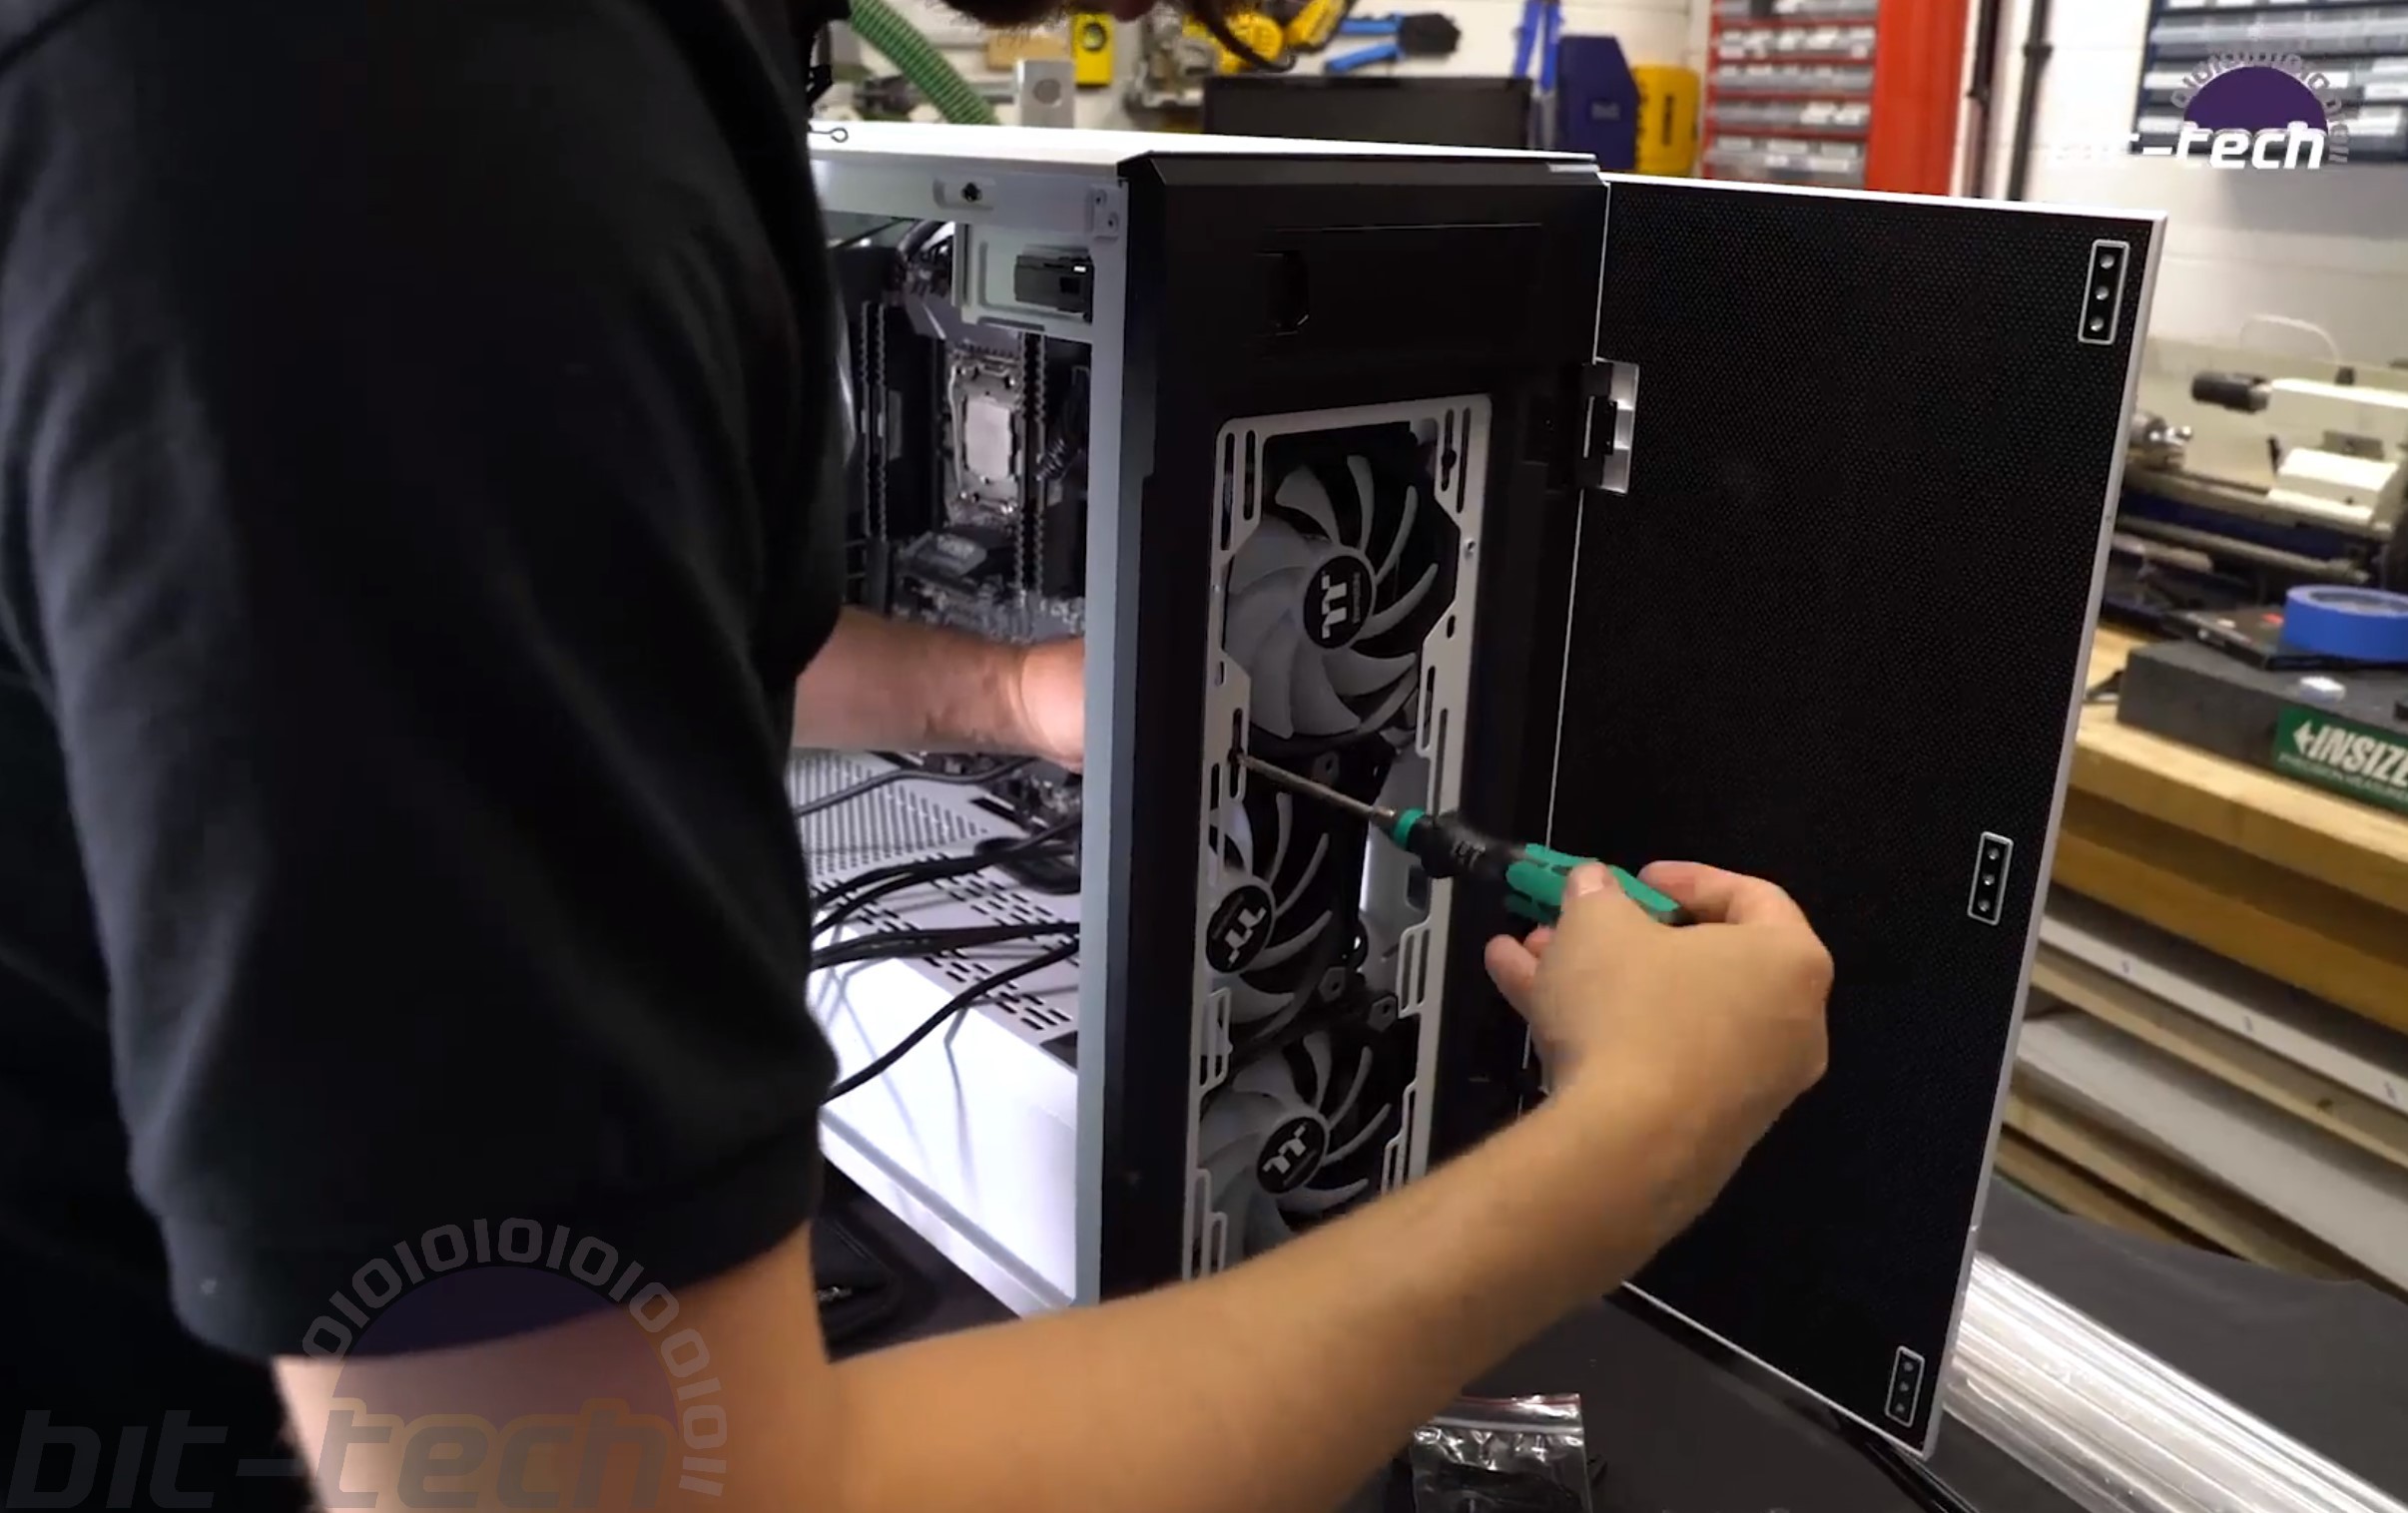
Rather pleasantly, the kit was rather simple to install into our test rig. The Corsair 678C is a tower chassis that's able to fit a 360mm rad comfortably in the front and not-so-comfortably in the top. As such, it seemed like a pretty decent candidate for the task; the front door also allows us to test both high- and low-airflow scenarios. For simplicity and consistency, we decided to fit the radiator into the front; that way it can be more easily compared with future kits that might use thicker radiators.
Water-cooling tends to shine best when presented with more power hungry hardware, so we're using the X299 test system from the cooler reviews for this setup; the overclocked, 18-core Core i9-7980XE should provide ample heat with which to test the cooling capabilities.
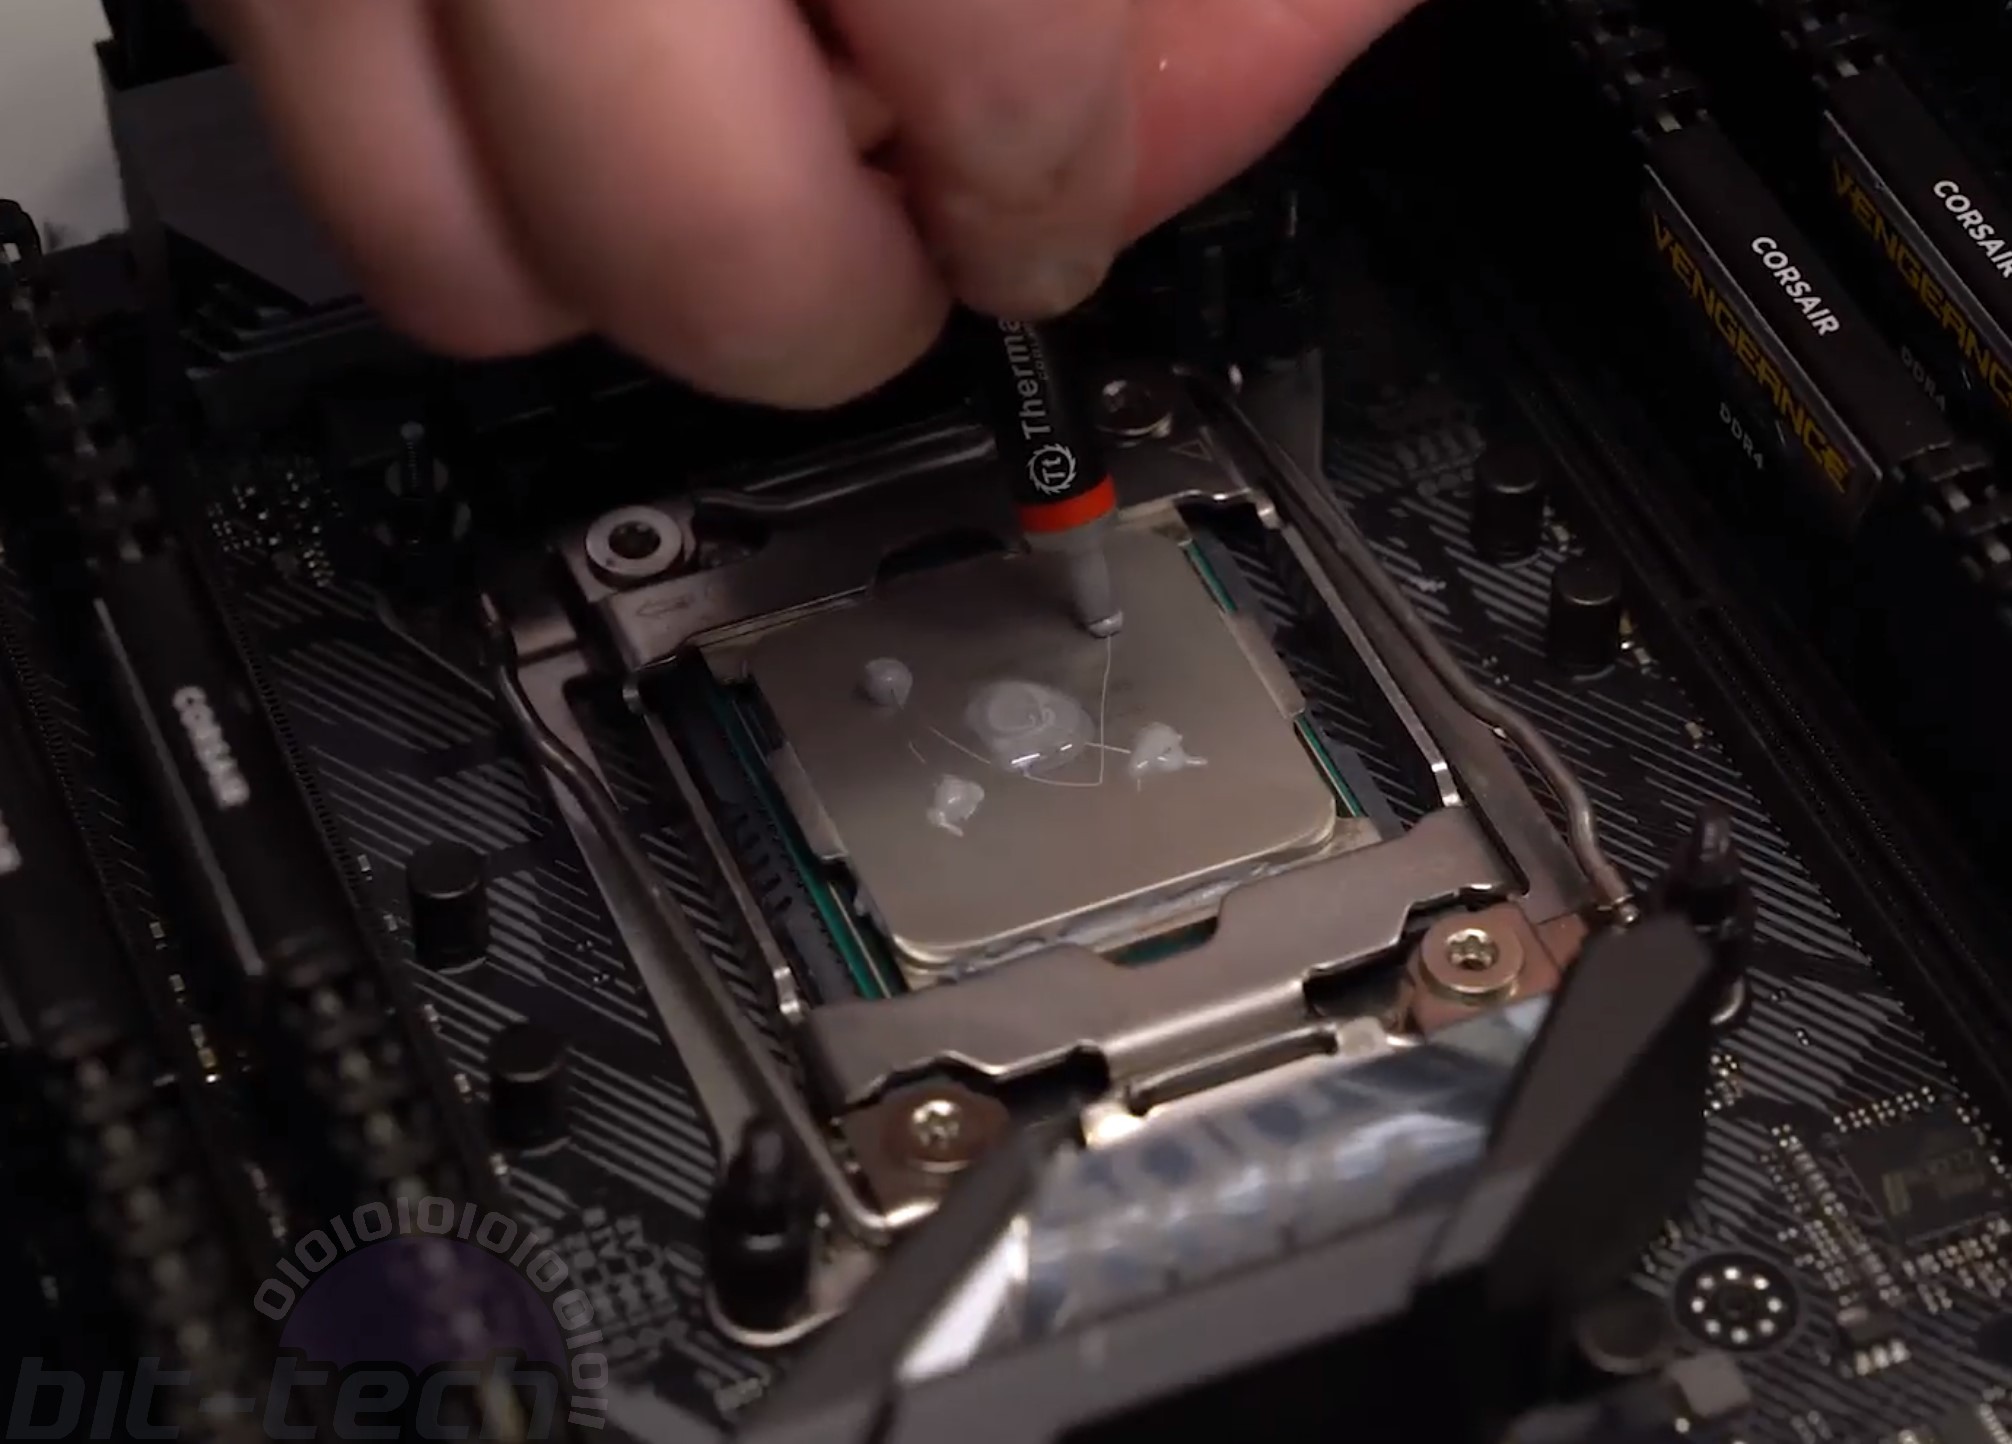
The X299 mounting system for the W4 CPU block is very straightforward and in line with the majority of other blocks out there. You have four mounting standoffs that screw directly into the socket's mounting points, you then place the block on top and tighten down with springs and thumbscrews. This method is largely shared by the other mounting hardware, although you need to use the supplied backplates in addition. The block itself has a small pigtail for the ARGB lighting; you'll want to consider where you route this so that it's hidden out of the way.
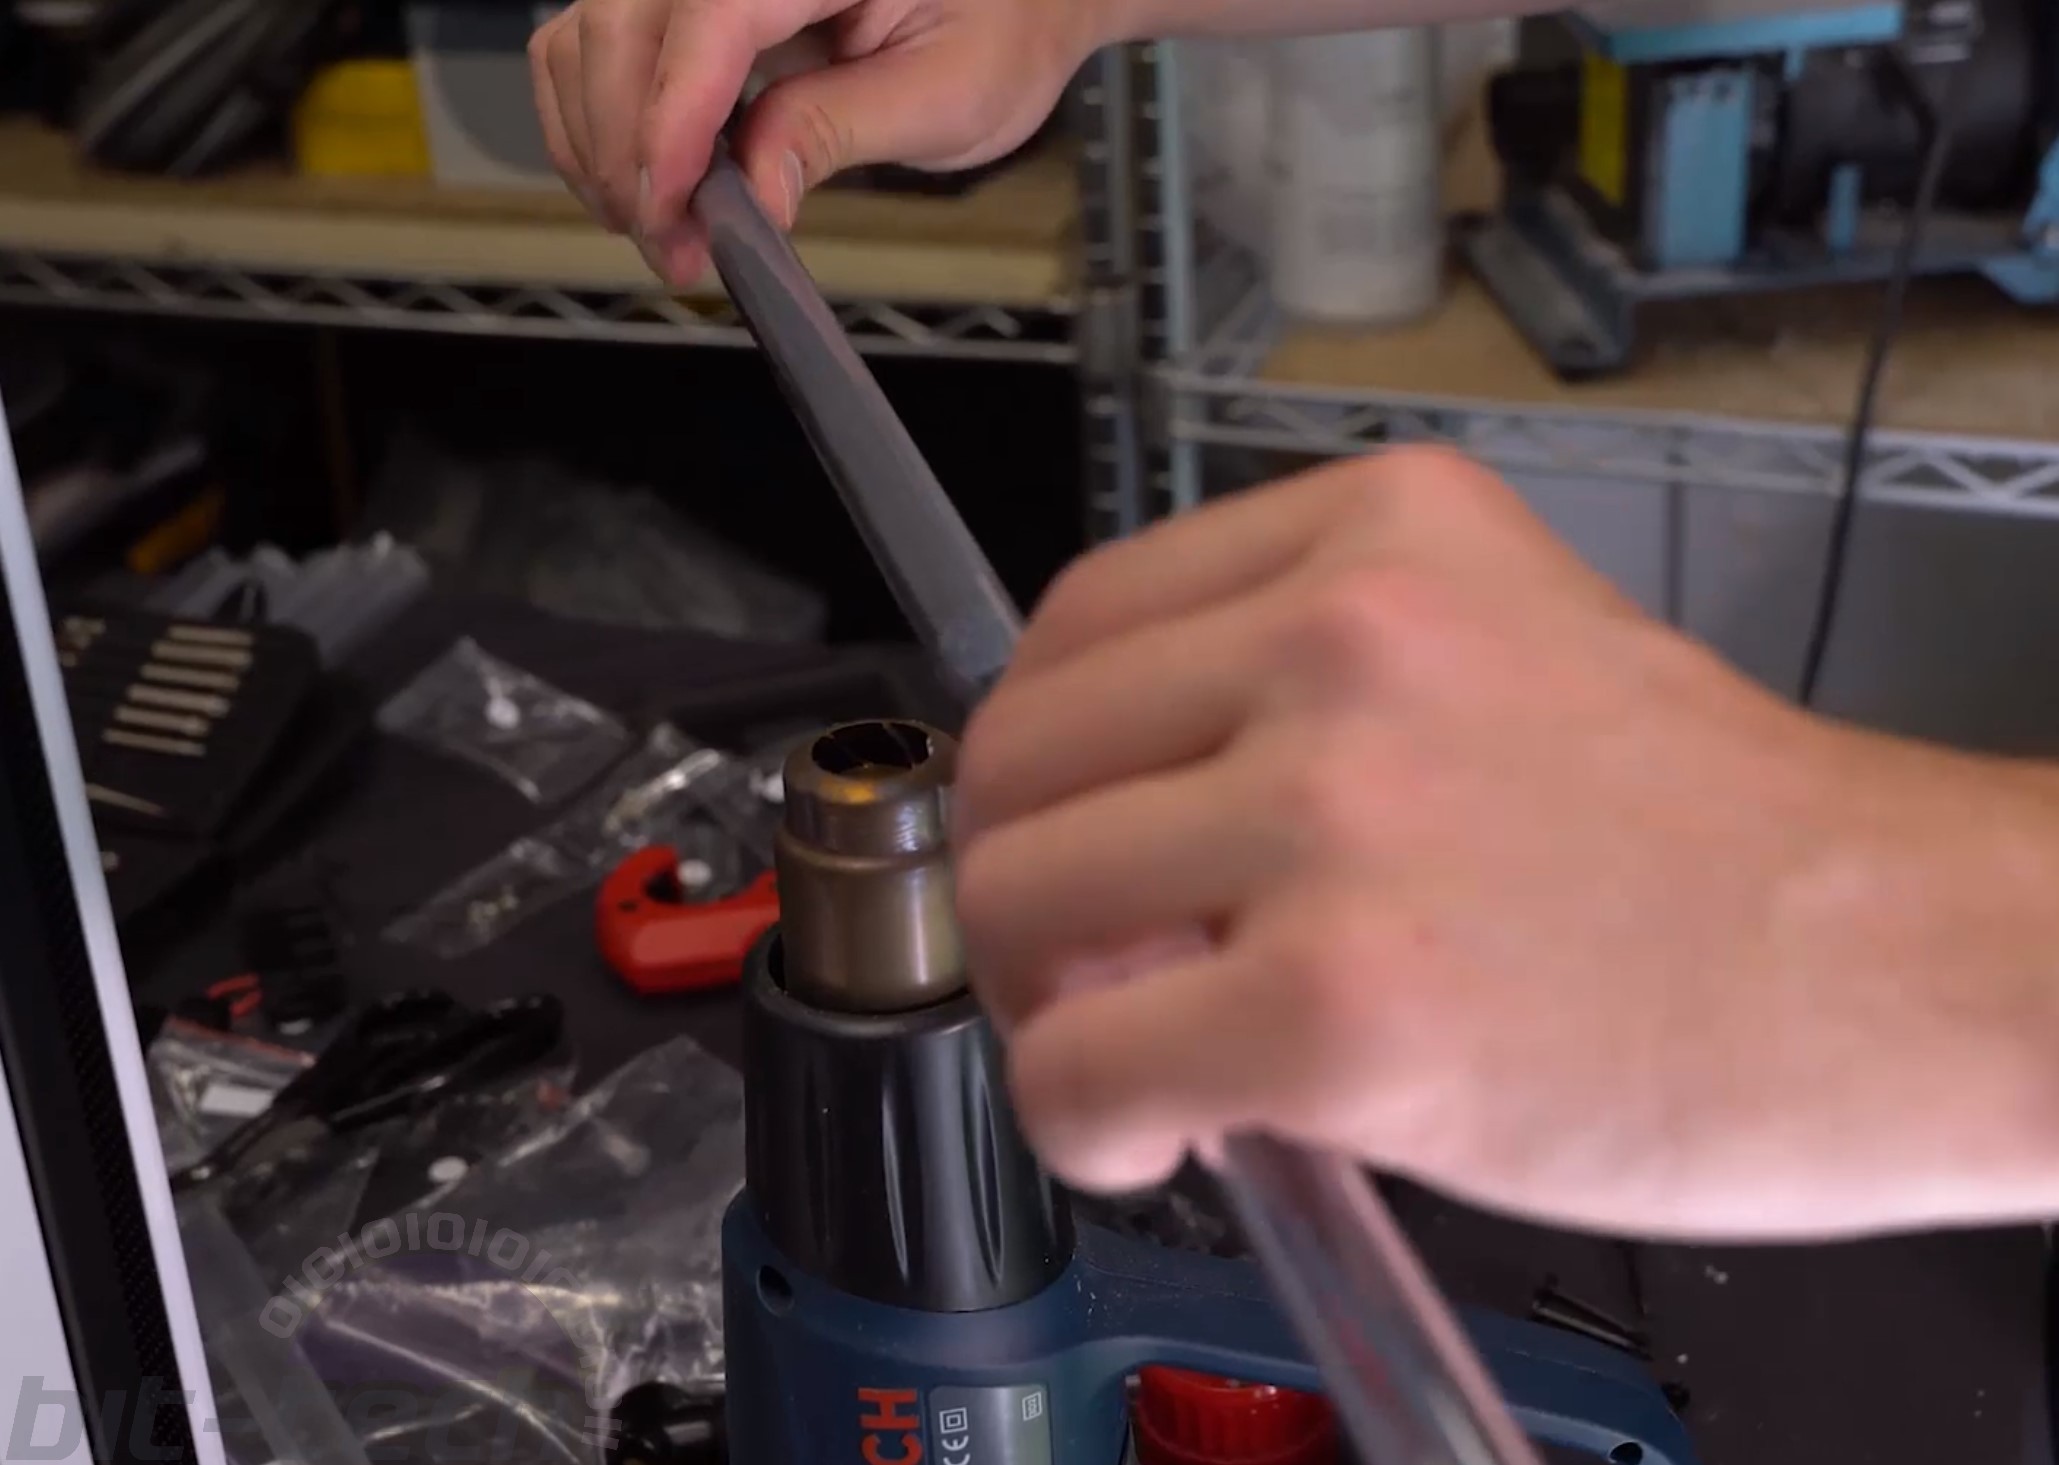
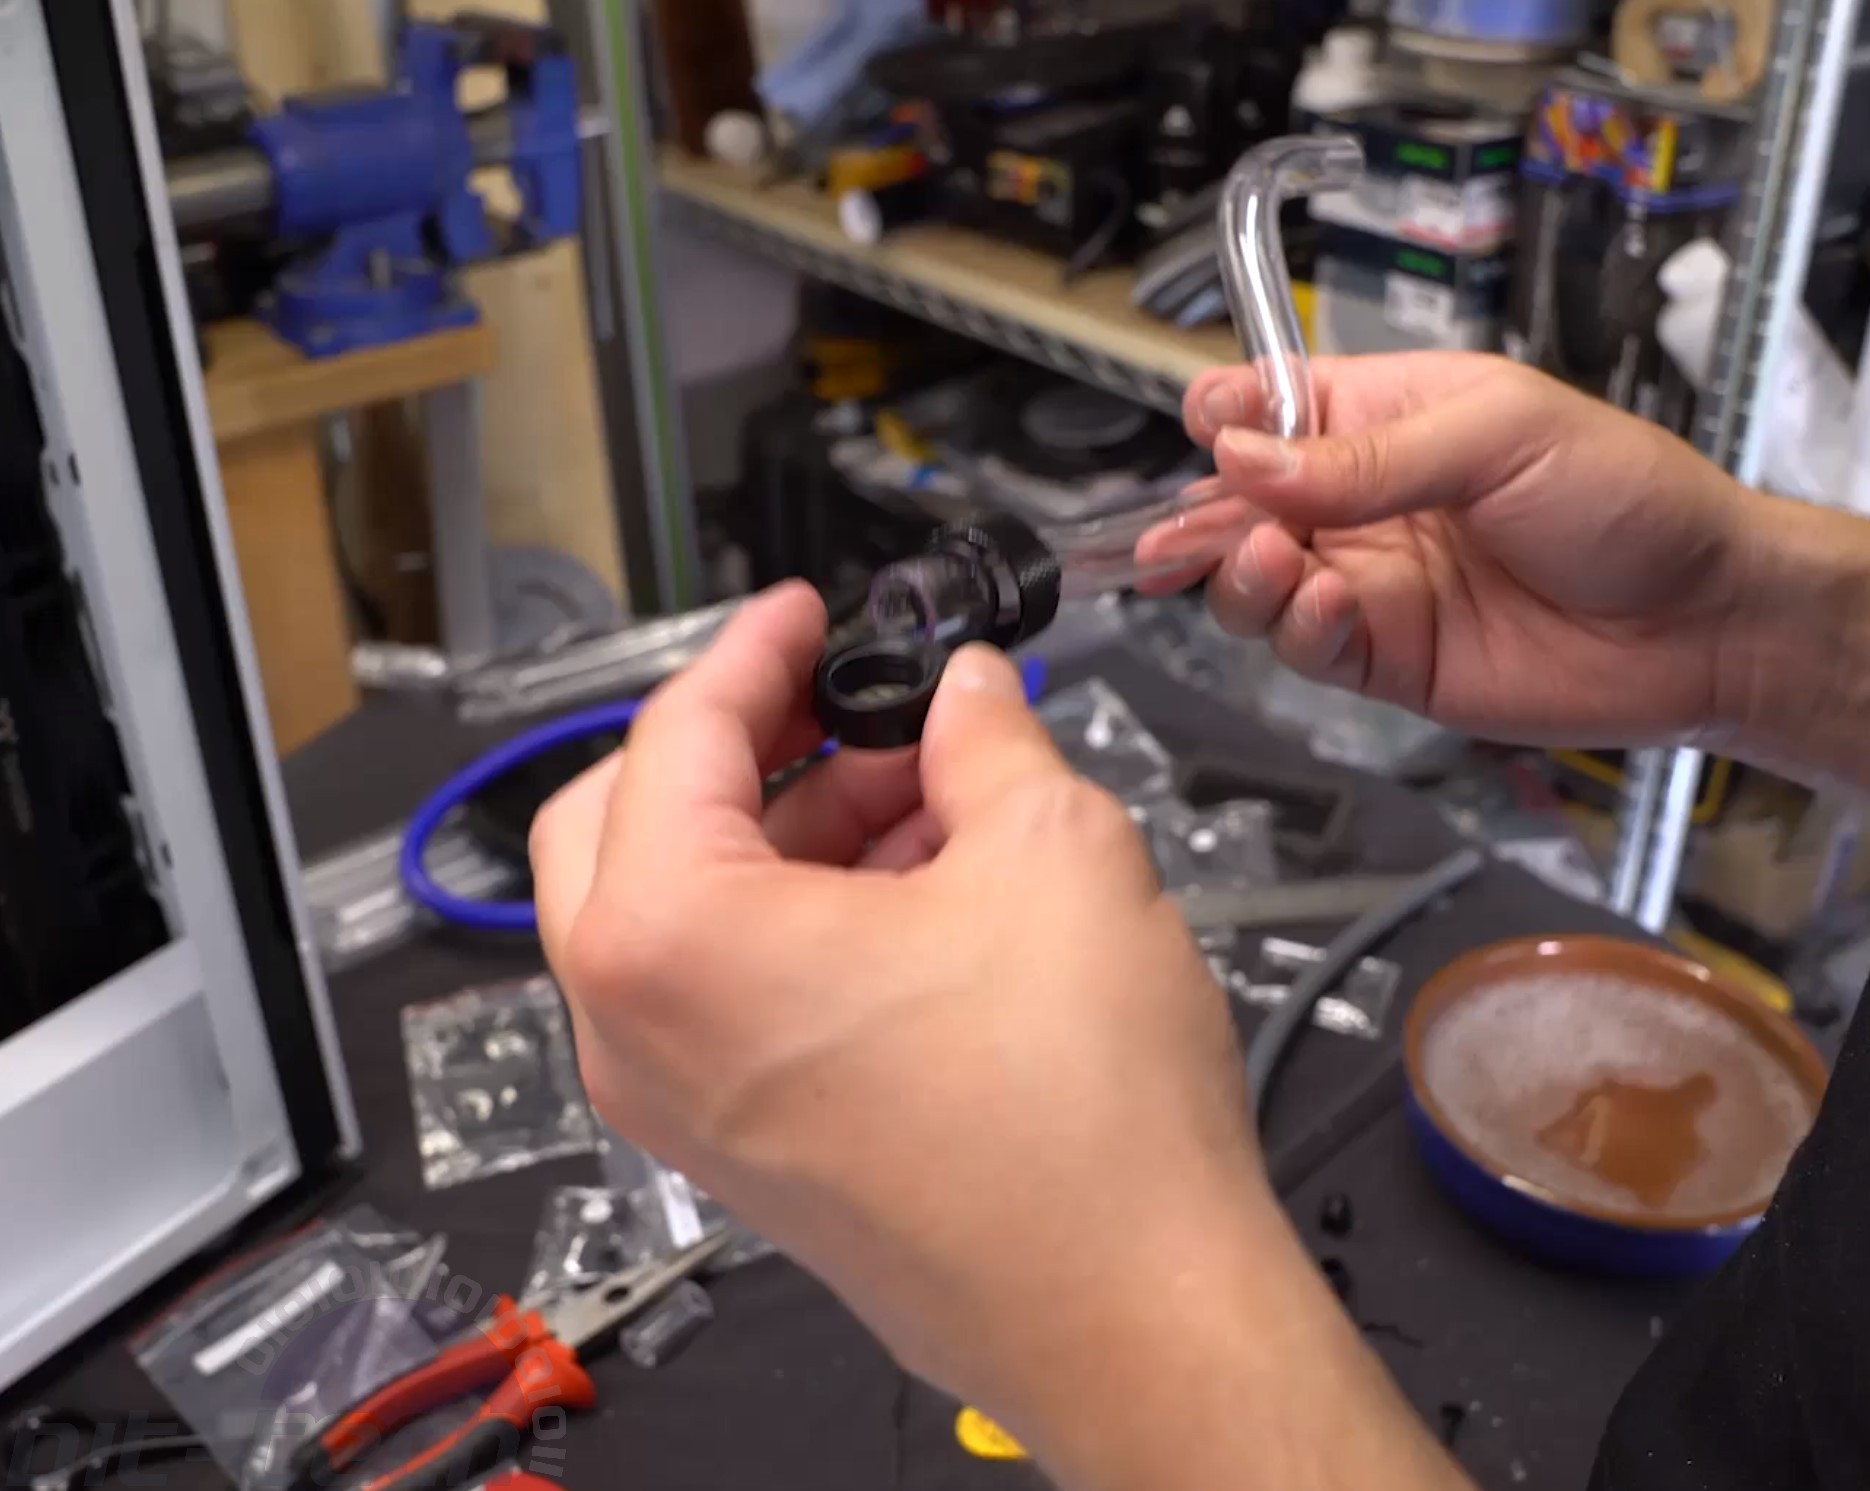
If you haven't worked with rigid tubing before, I'd suggest you have a look at our guide on the subject. PETG is straightforward to work with, and the C-Pro fittings definitely helped with judging some of the tube lengths. One thing that's worth mentioning is that I would personally pick up a few more angled adapters. Whilst the kit comes with two, having four to six would make things easier and reduce the number of necessary bends per length of tubing. All in all, I only used 1.5m of tubing for this build i.e. three pieces of tubing from the available eight, but if your chassis is larger or your bends more complex you may need more.
On the subject of fittings, the kit doesn't come with a drain valve. Personally, I think it would be prudent to purchase one along with a manifold/splitter fitting and a male-male adapter to help make draining the system easier (our very own MLyons has had to drain the system since, and he FULLY agrees - ed.). Without a drain system you can instead siphon the coolant out of the system using a fill bottle (trust me, it works well! - MLyons agrees again, but this time begrudgingly - ed.).
To fill the system, you simply need to attach the supplied bridging cable to the 24-pin cable from your PSU, fill the reservoir, and cycle the power supply. I thoroughly suggest doing a proper leak test, either with air or the traditional way; between two and four hours would be a good idea. One thing I did find with this particular pump/res combo is that the bubbles had a habit of being sucked straight back into the loop. DDC pumps are strong, so without a robust anti-vortex plate or design, bubbles can keep getting back into the loop for a while. The routing chosen for this particular rig was done so that it would bleed air quickly, but remember your setup could be much more challenging. Even with the simple loop, it took a good hour or so of cycling the pump to get the coolant suitably bubble-free. A larger reservoir or different pump inlet design could help here, but once things are properly bled it's a non-issue.
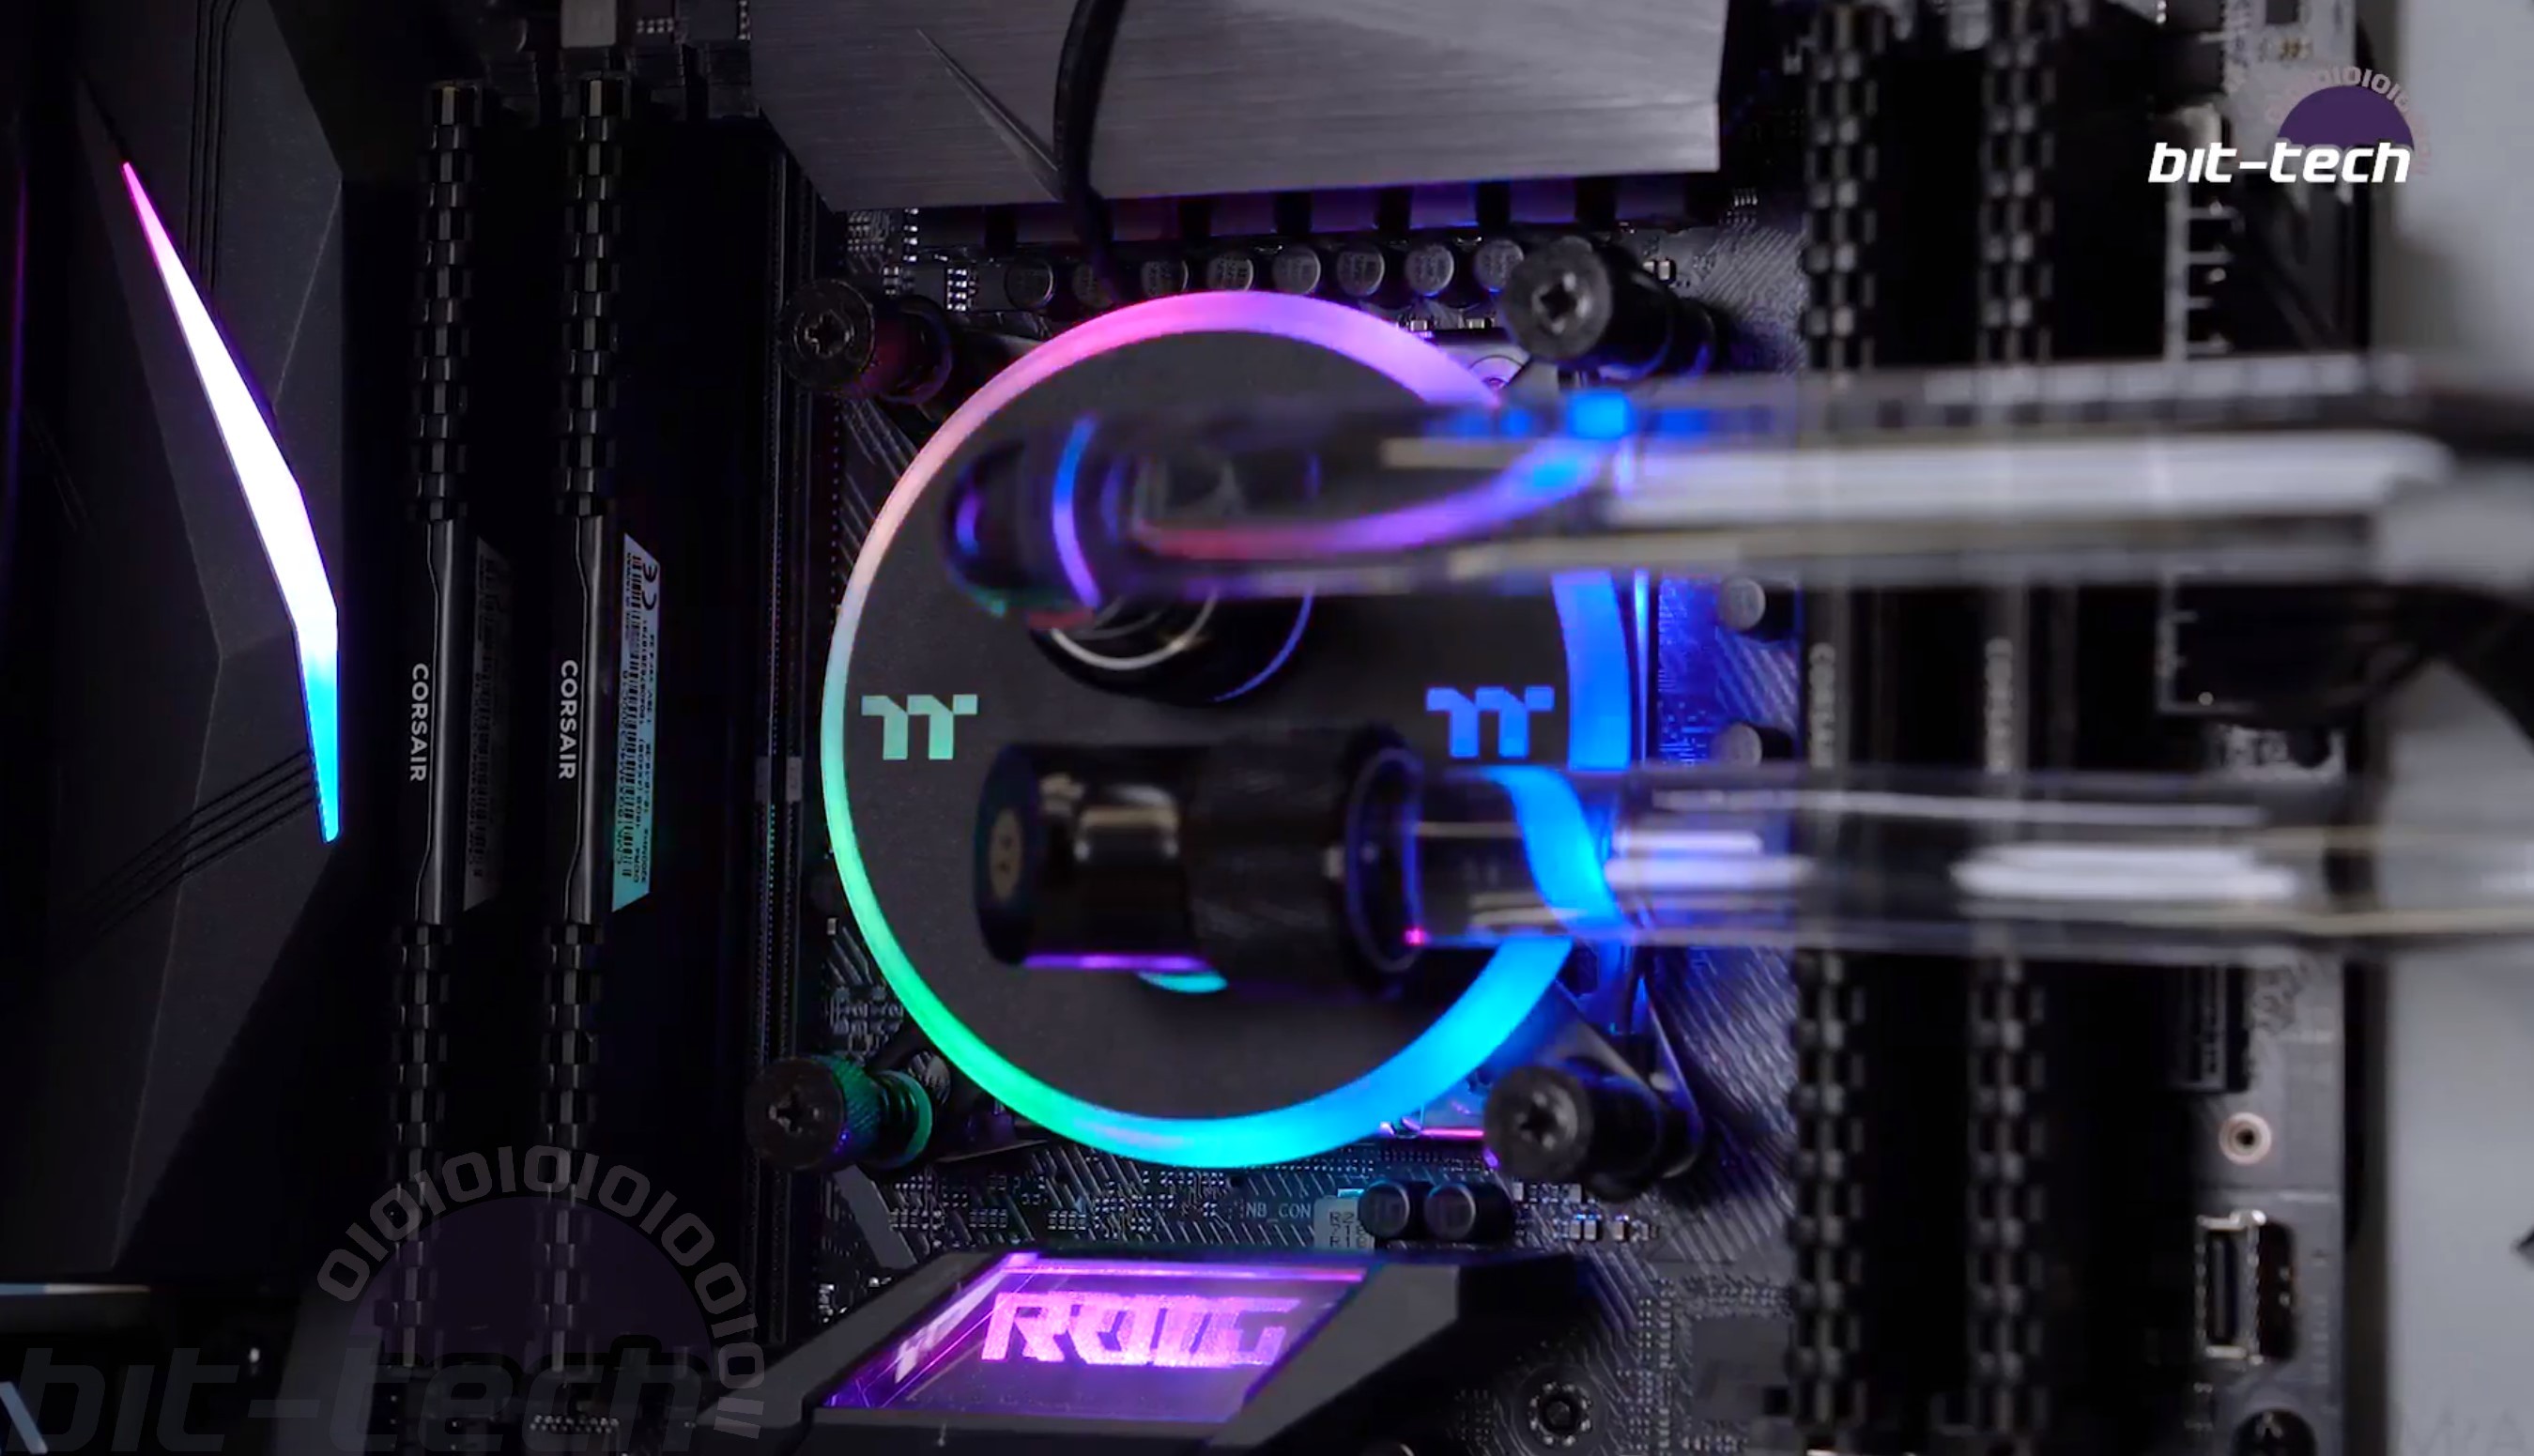
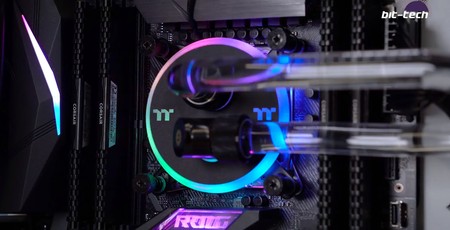
Since the fans come with a manual controller, you also didn't need to install any additional software to have lighting control, although the option is still there if you wish to purchase a full-on controller to access more advanced lighting modes. The W4 has been around for a while now (in fact, there is a W5 out, so perhaps this kit will be updated), so the lighting effects are fairly well known. You have a ring of LEDs on the inside which can be synced with the fans and additional TT RGB devices, or Asus Aura if using the additional Sync controller. I'm personally not a fan of the look of the CPU block, but that's purely a preference thing. You can't deny, though, that it's a block thoroughly designed with ARGB lighting in mind.
RELATED ARTICLES


MSI MPG Velox 100R Chassis Review
October 14 2021 | 15:04


Want to comment? Please log in.