The Build (continued)
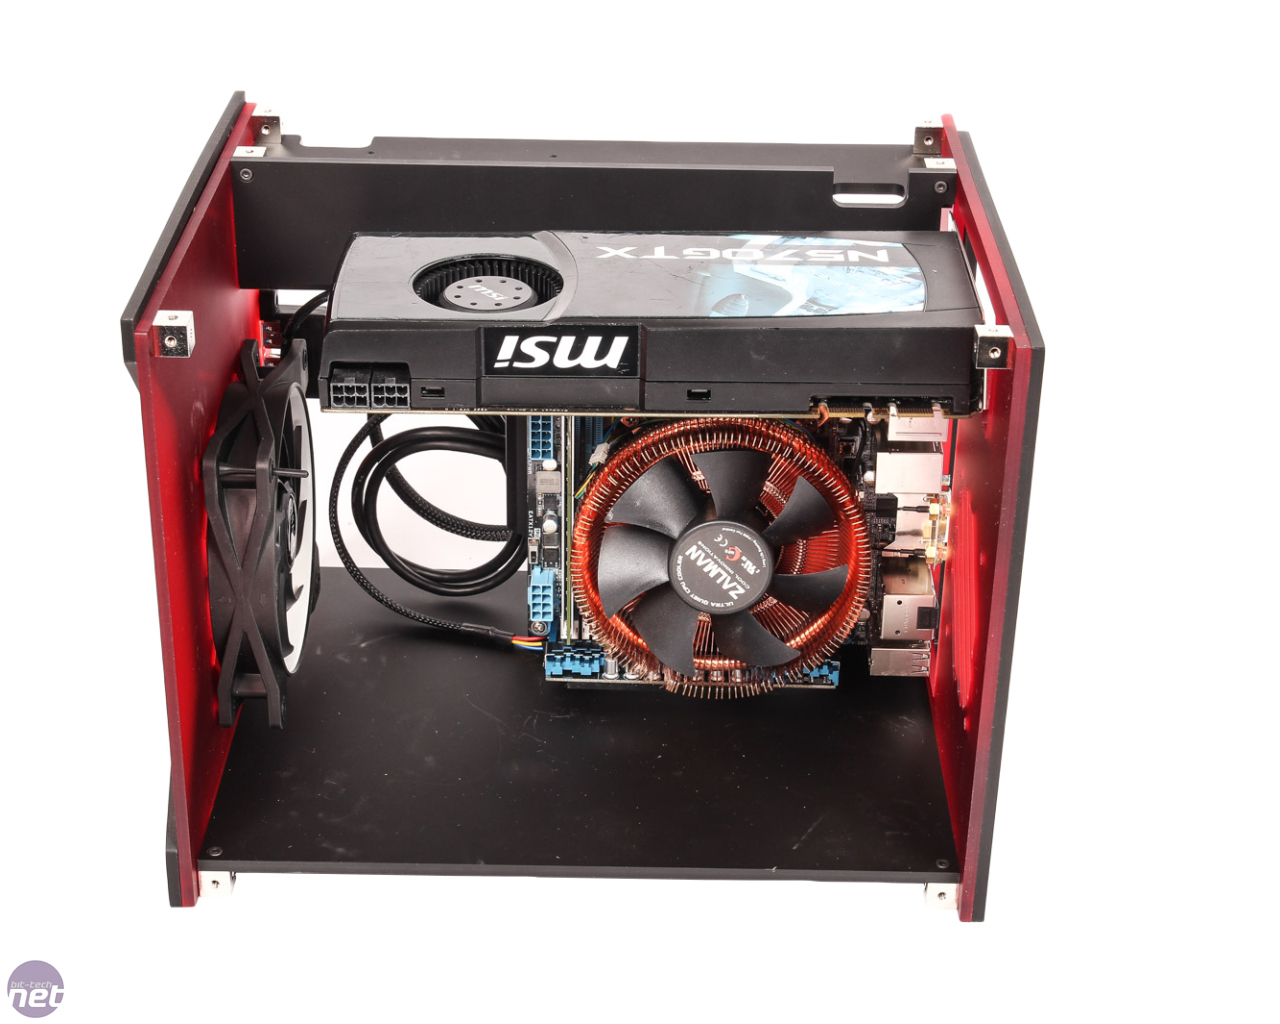
You may well find it easier to mount your cooler and motherboard to the motherboard tray before installing it into the case too, as getting at the bottom screws for the motherboard can be a bit tricky.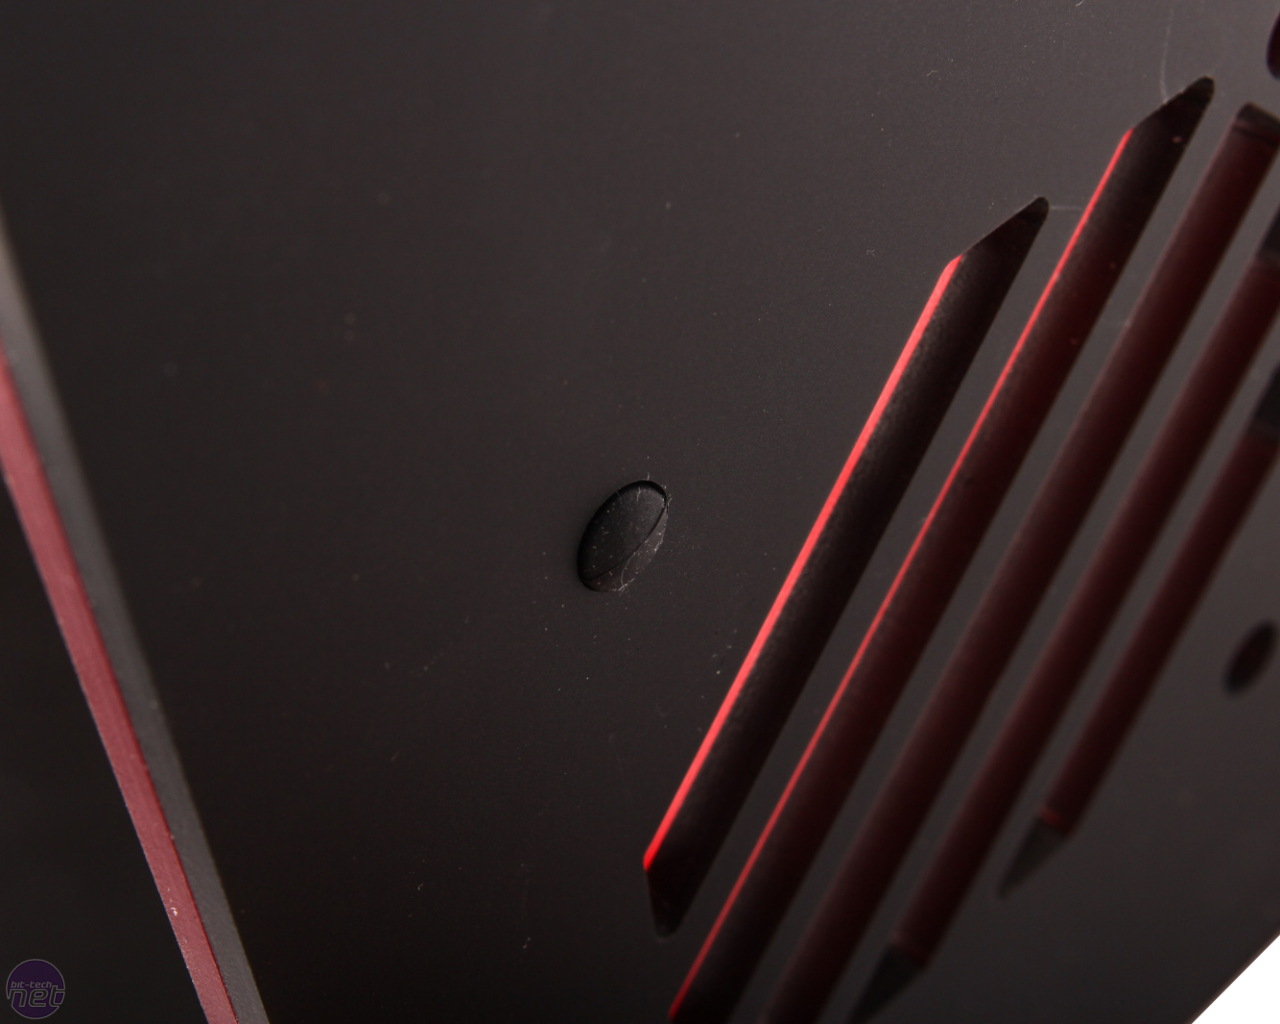
Click to enlarge
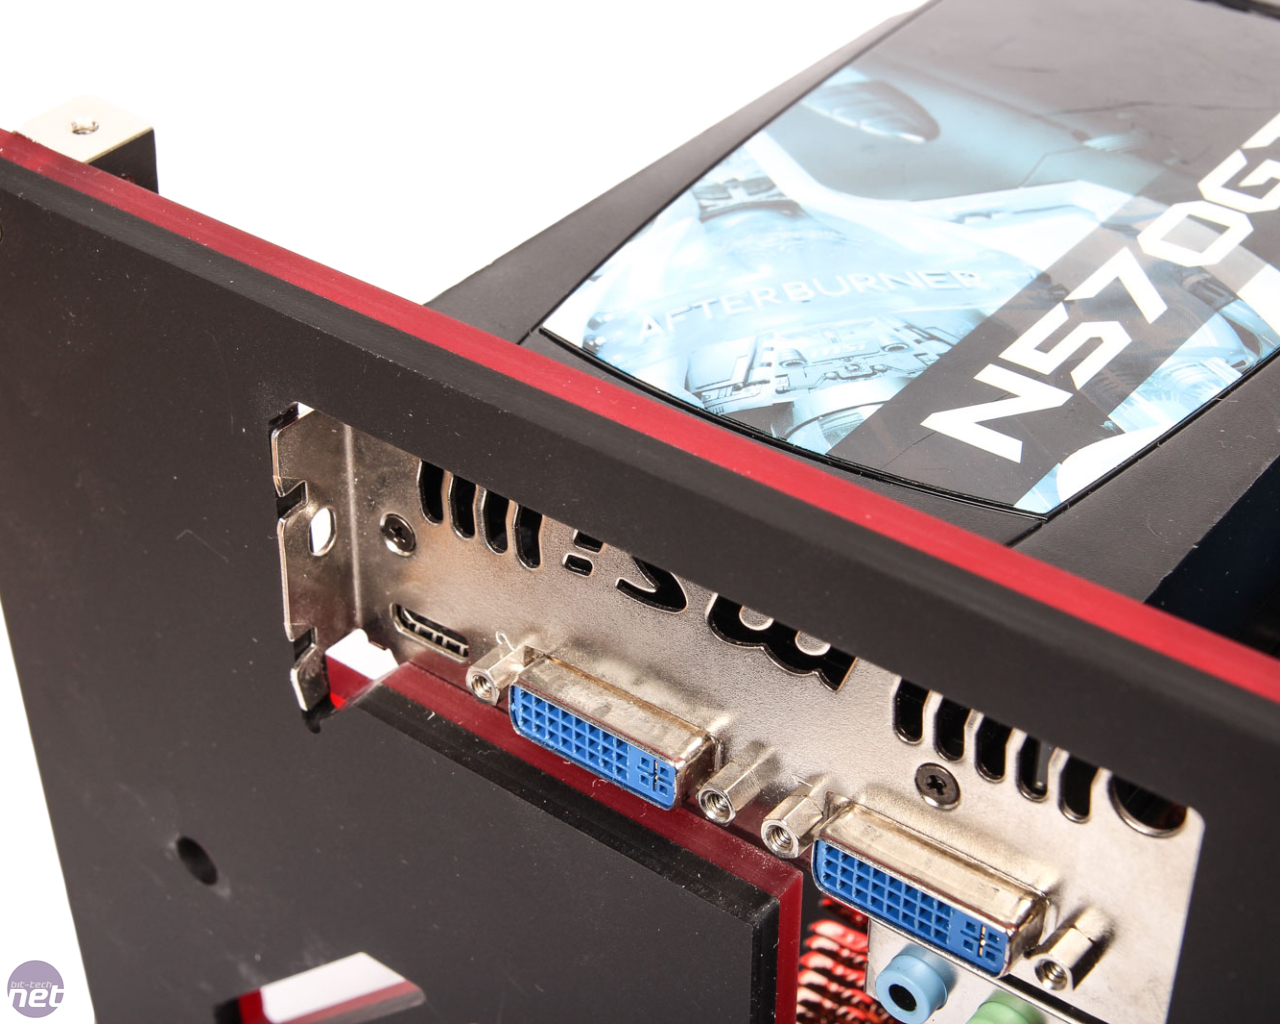
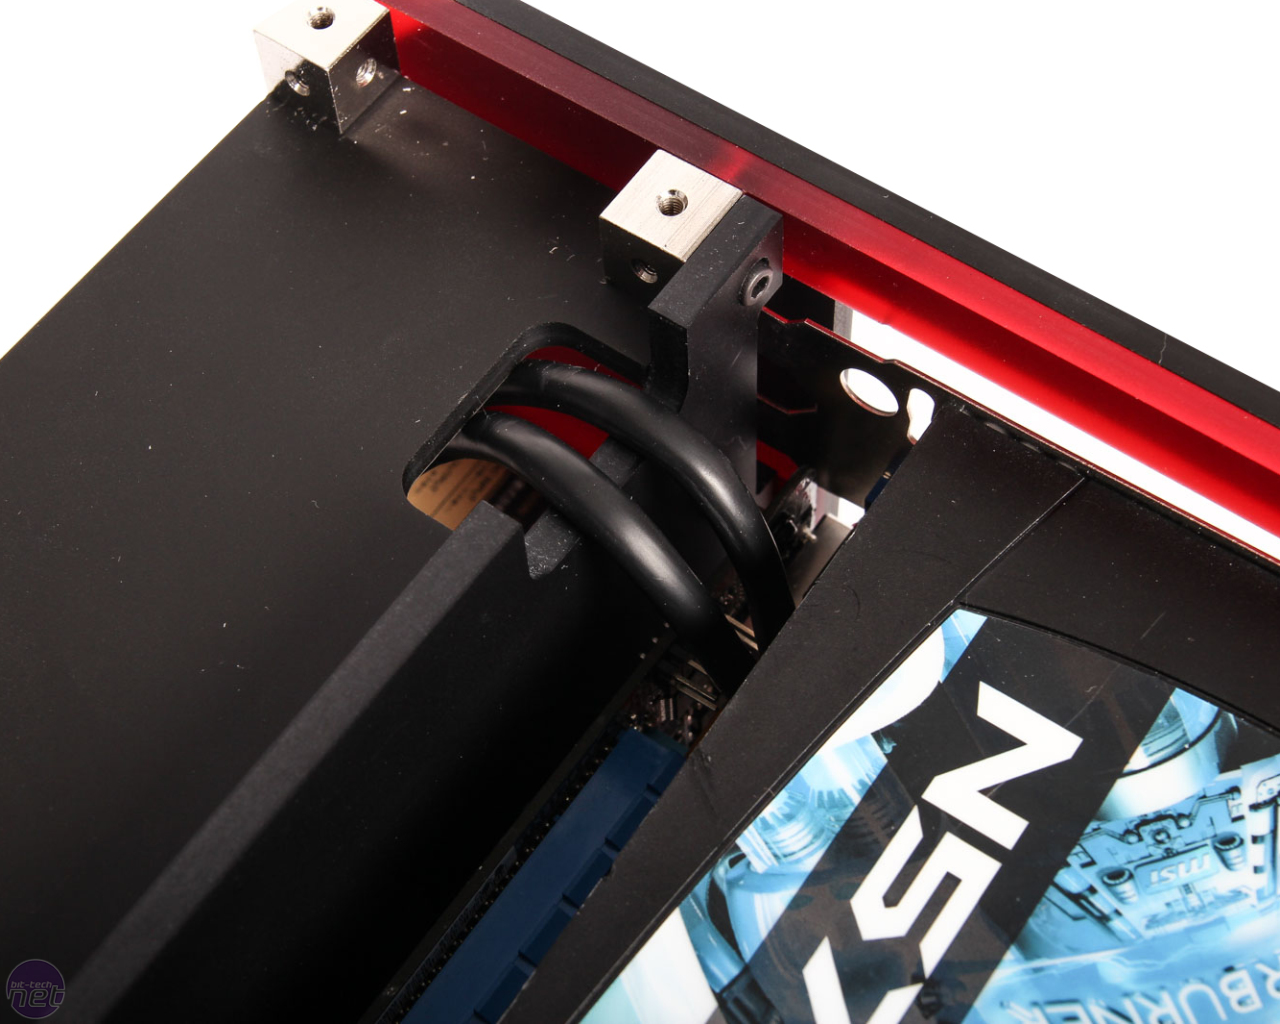
Likewise, you'll need to have the graphics card in place before you secure the rear section too, so it's advisable to start with the base, then the front of the case, followed by the rear, roof and side panels.
Click to enlarge
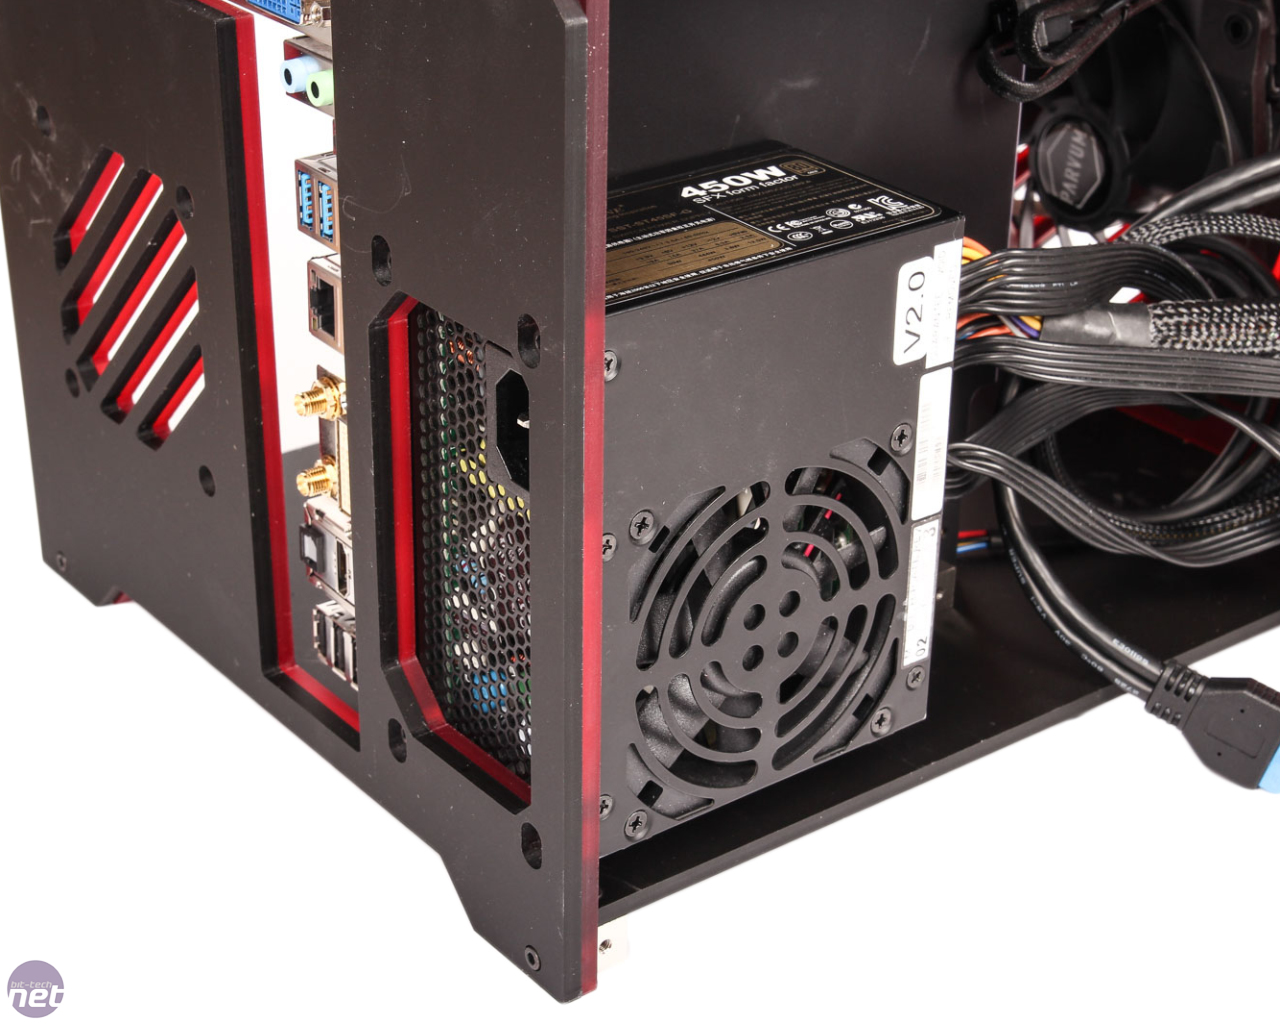
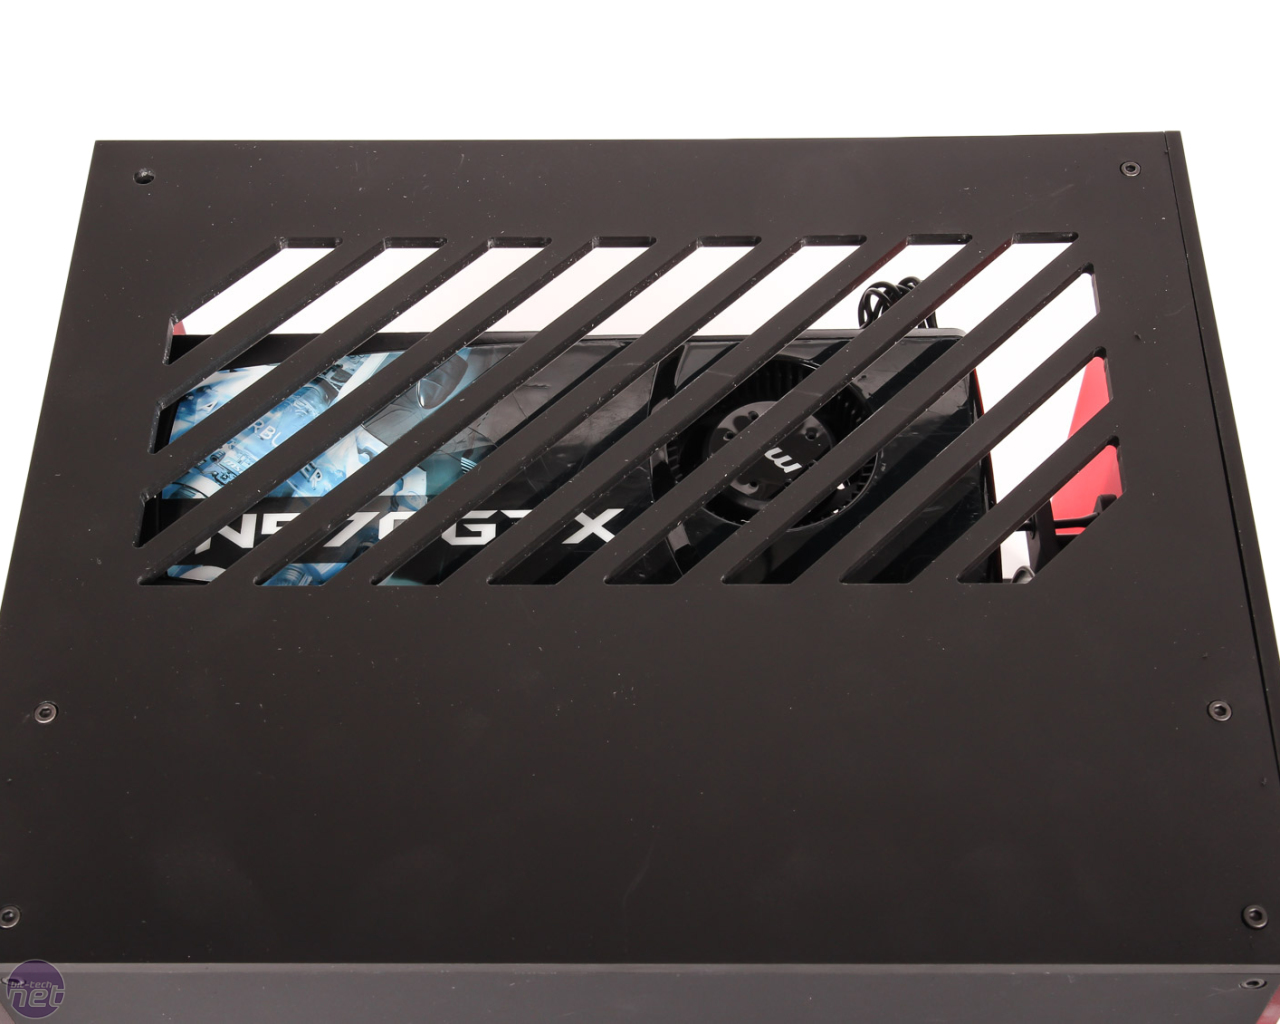
Screws are included to mount the PSU and the side panel here also includes a small cut-out for the fan.Cable routing is reasonable, with small gaps beneath the motherboard tray and over the top too, and the main goal is to tuck everything away behind the motherboard - there's plenty of space here.
Click to enlarge
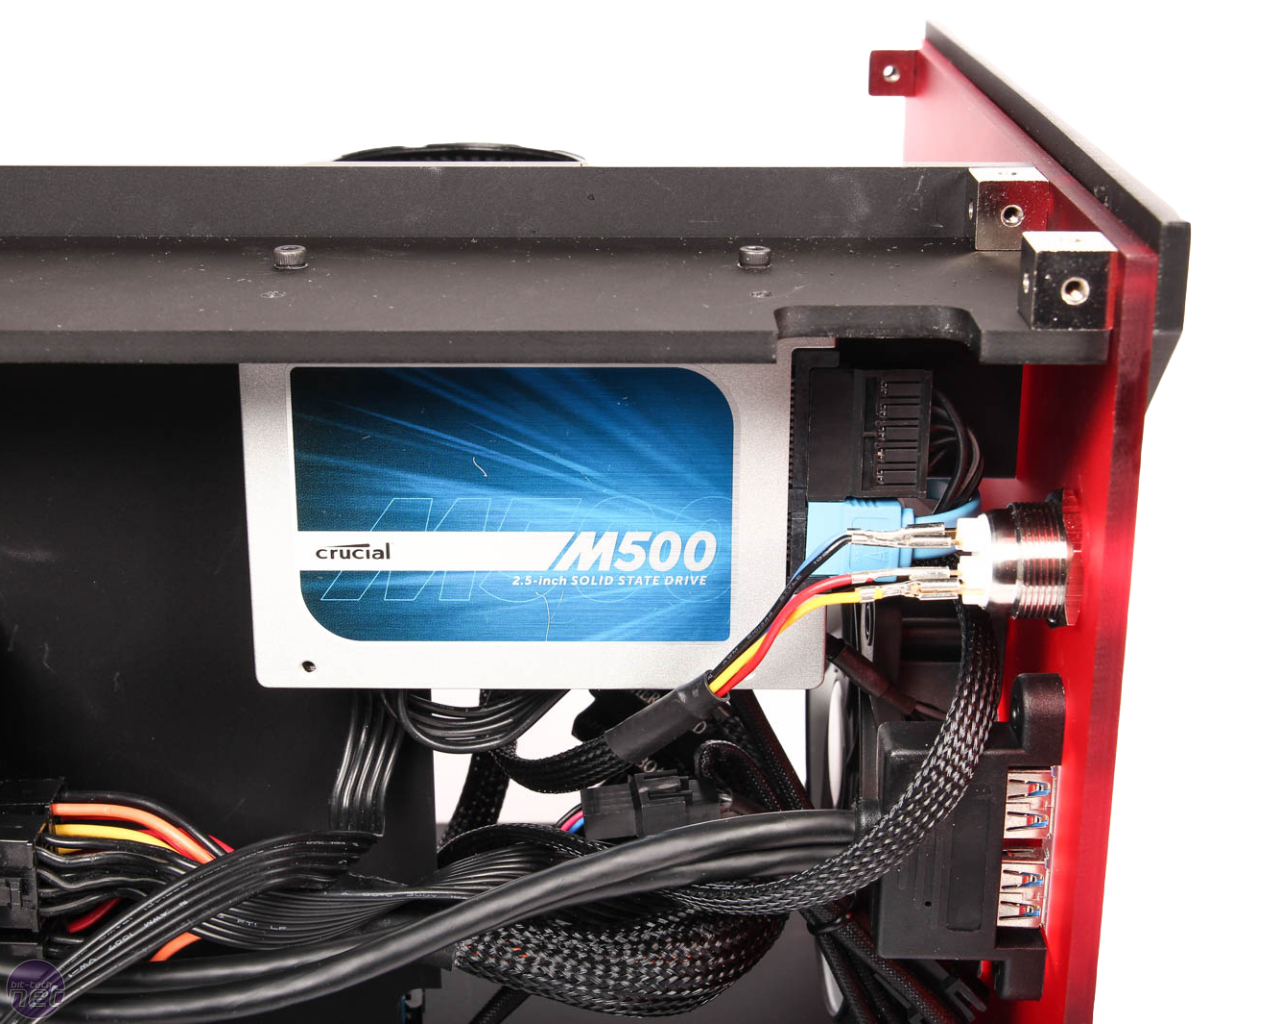
The SSDs or hard disks that you install are simply held by two M3 screws from the roof. Not the most elegant of mounts but it works, although to get at them, you'll also need to remove the roof section.
Click to enlarge
The windowed side panel, like the rest, is made up of the clear acrylic window part and a black piece of acrylic that sits on top. As with any object that uses numerous screws, you'd be well-advised to finger-tighten all the external screws while you build the case, before giving them a bit more torque to tighten things up later; there were a couple of instances where we had to loosen one part to allow a cube to line up properly with another section for instance.


MSI MPG Velox 100R Chassis Review
October 14 2021 | 15:04


Want to comment? Please log in.