The Build
Building the X1.0 isn't too difficult and ultimately very rewarding, in much the same way as building your own PC in general is. Unfortunately, Parvum hadn't uploaded the assembly video for the X1.0 when we were building it and with no paper instructions in the box, we had to use our experience of its sibling, the S2.0 as a guide. The two do have differences so we'd recommend using Parvum's YouTube video once its available and only referring to the build here for reference.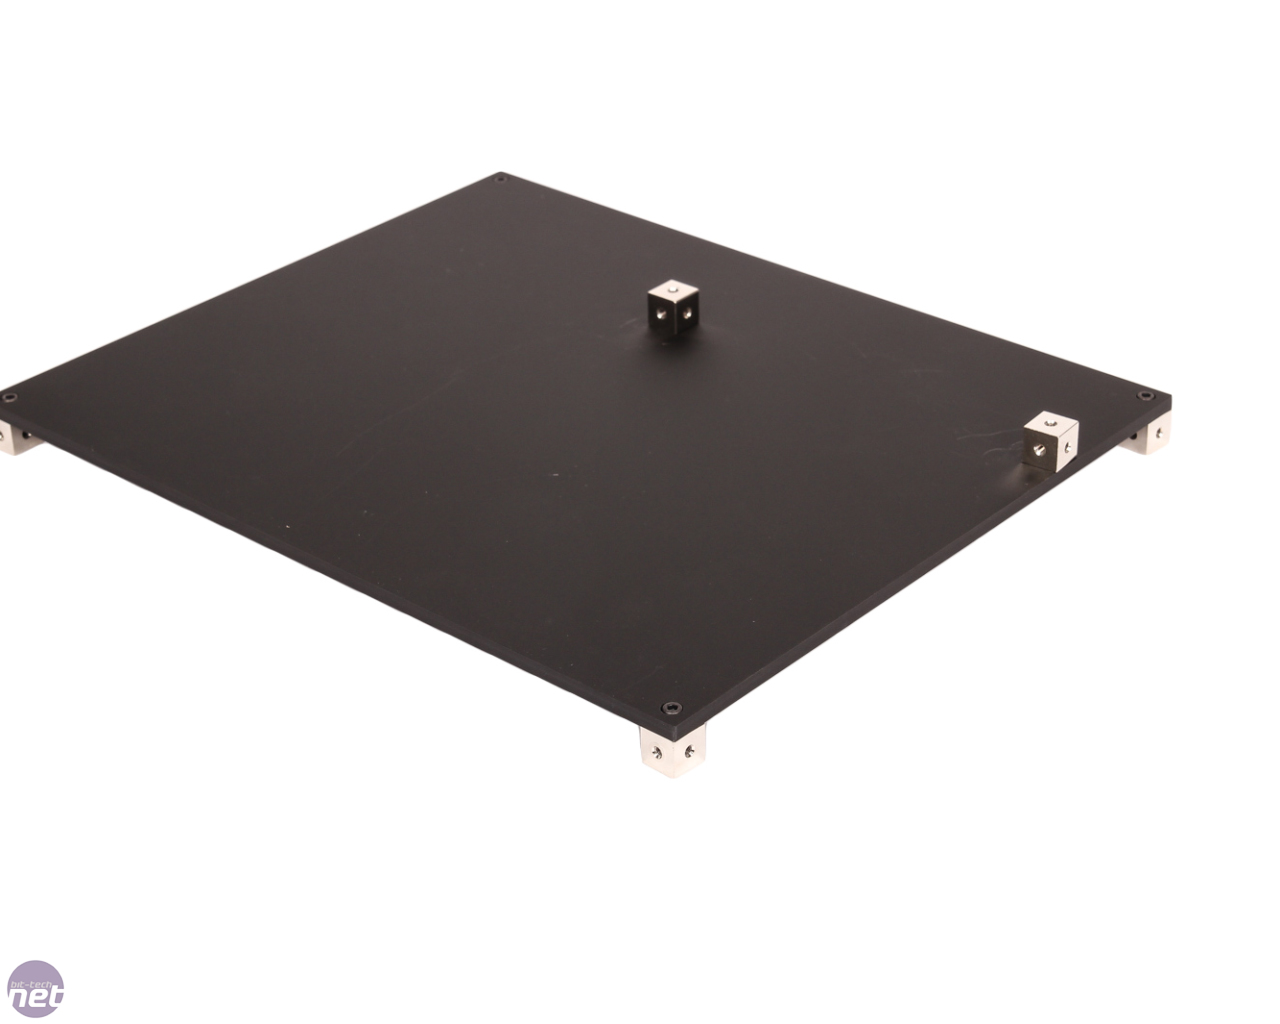
Click to enlarge
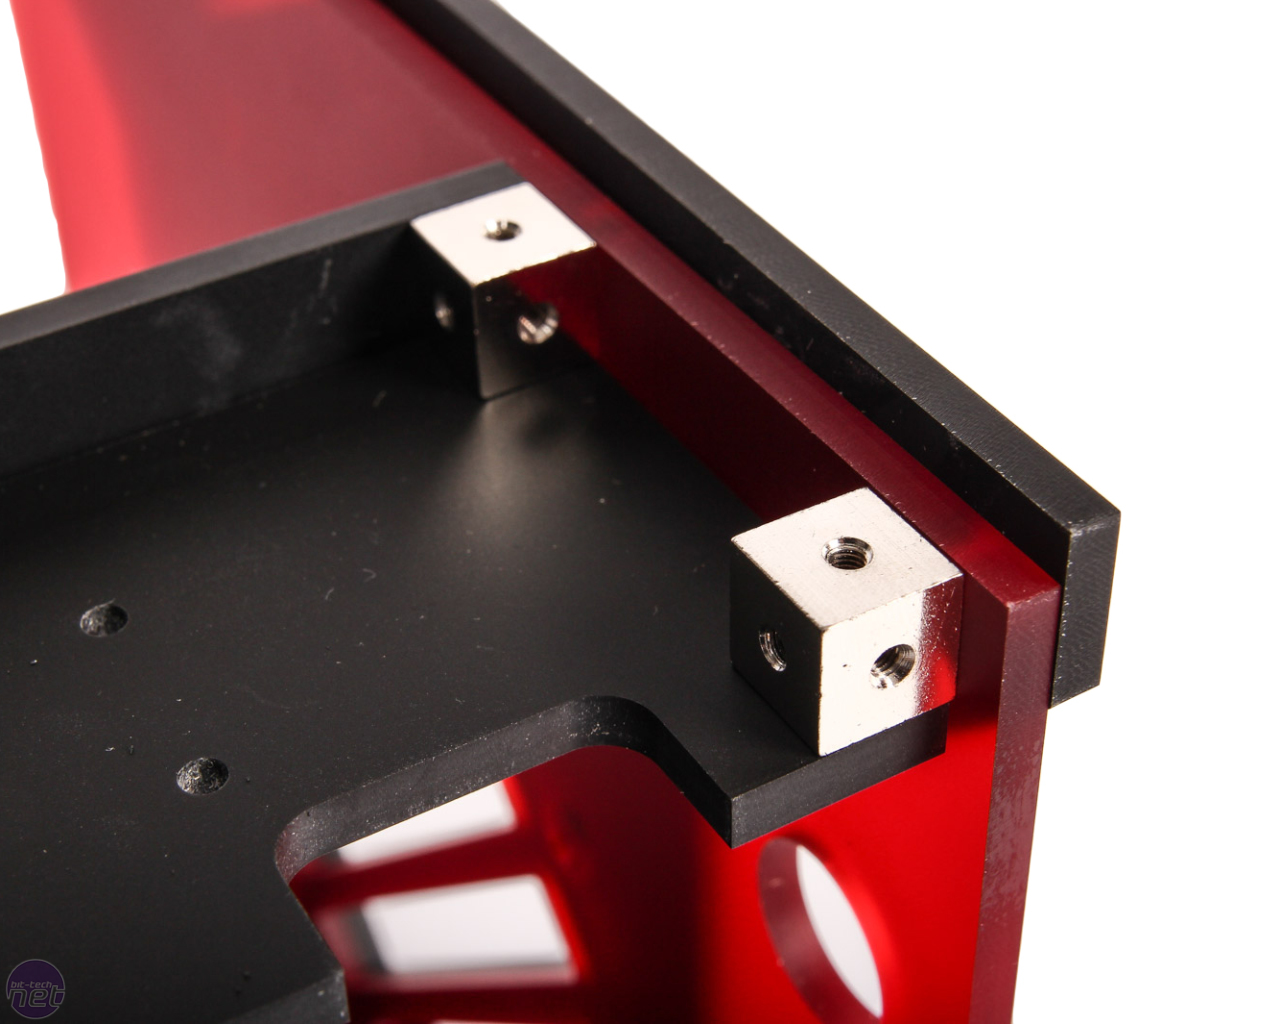
All of Parvum's retail cases use what it calls Modding Cubes - M3-threaded corner supports that allow you to bolt the various sections together. The case has been designed to hide these wherever possible so it doesn't look like a Meccano set.
In fact, with the side panels on, you'd hardly know they were there, even when peering through the side Window. There are also several different lengths of screws provided and many of these sit recessed into cutouts in the acrylic so it's important to use the right ones for every joint.
Click to enlarge
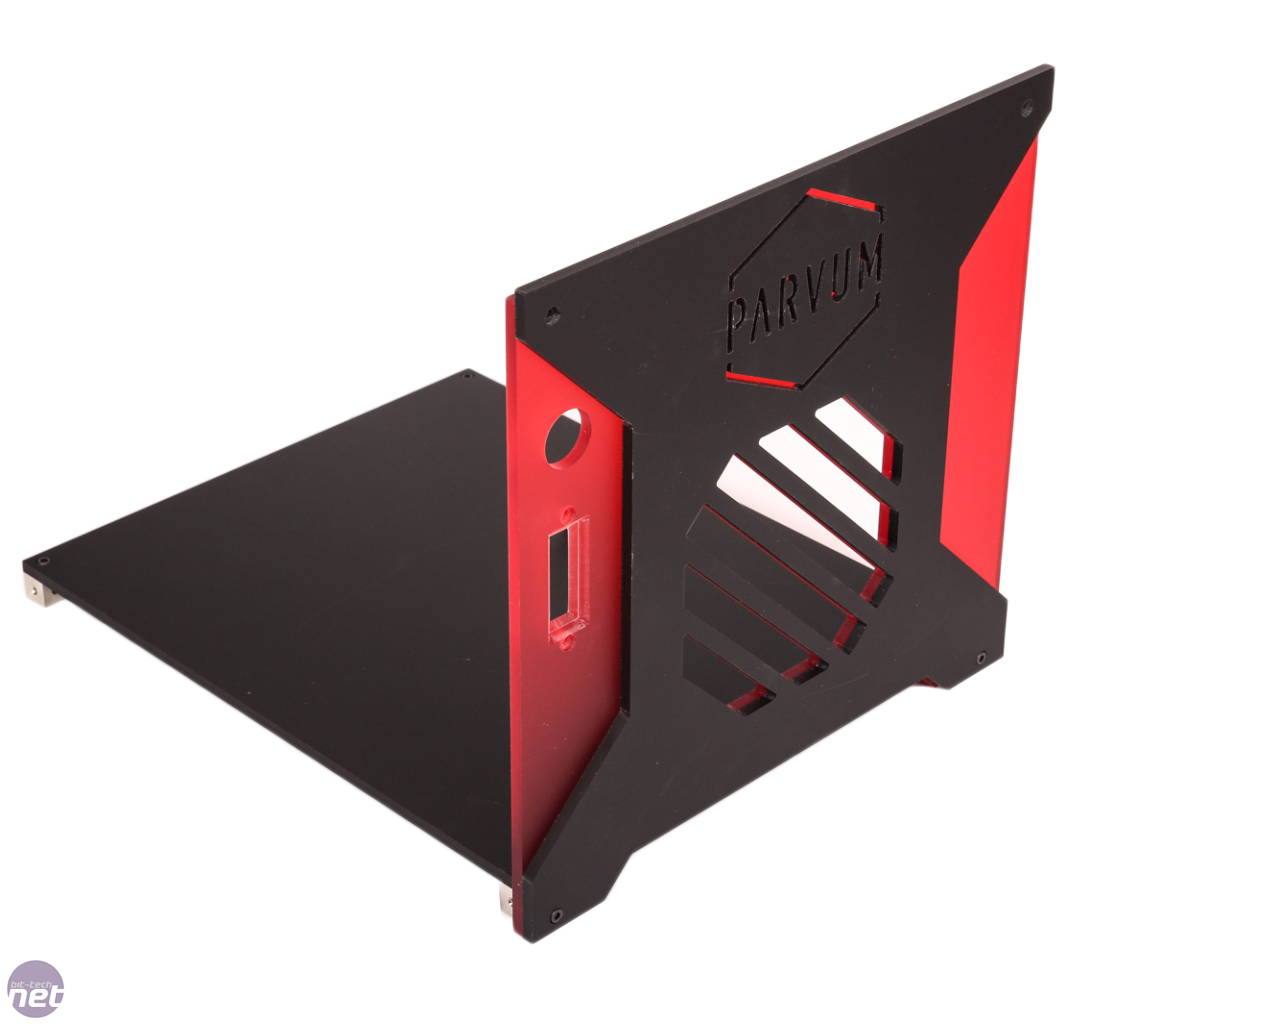
To start with, you need to attach any fans you'll be using to the front and rear fan mounts. This is because the screws will be hidden by the overlaid fascias. For example, at the front, the fan attaches to the red portion of acrylic with the black fascia then sitting on top of this. These sections mount to the base section first, with four of the cubes acting as case feet.

Click to enlarge
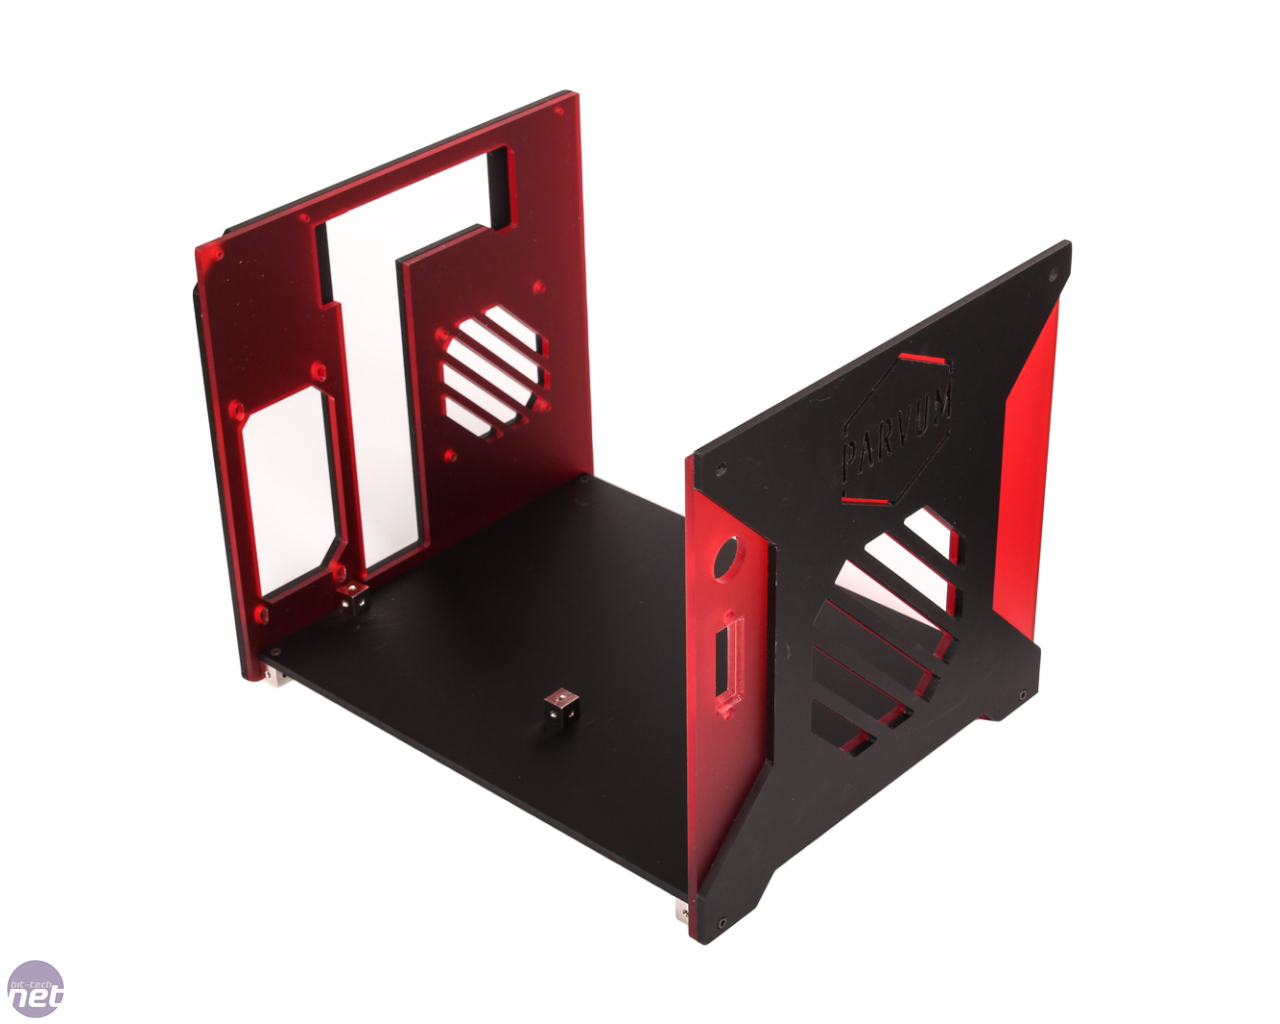
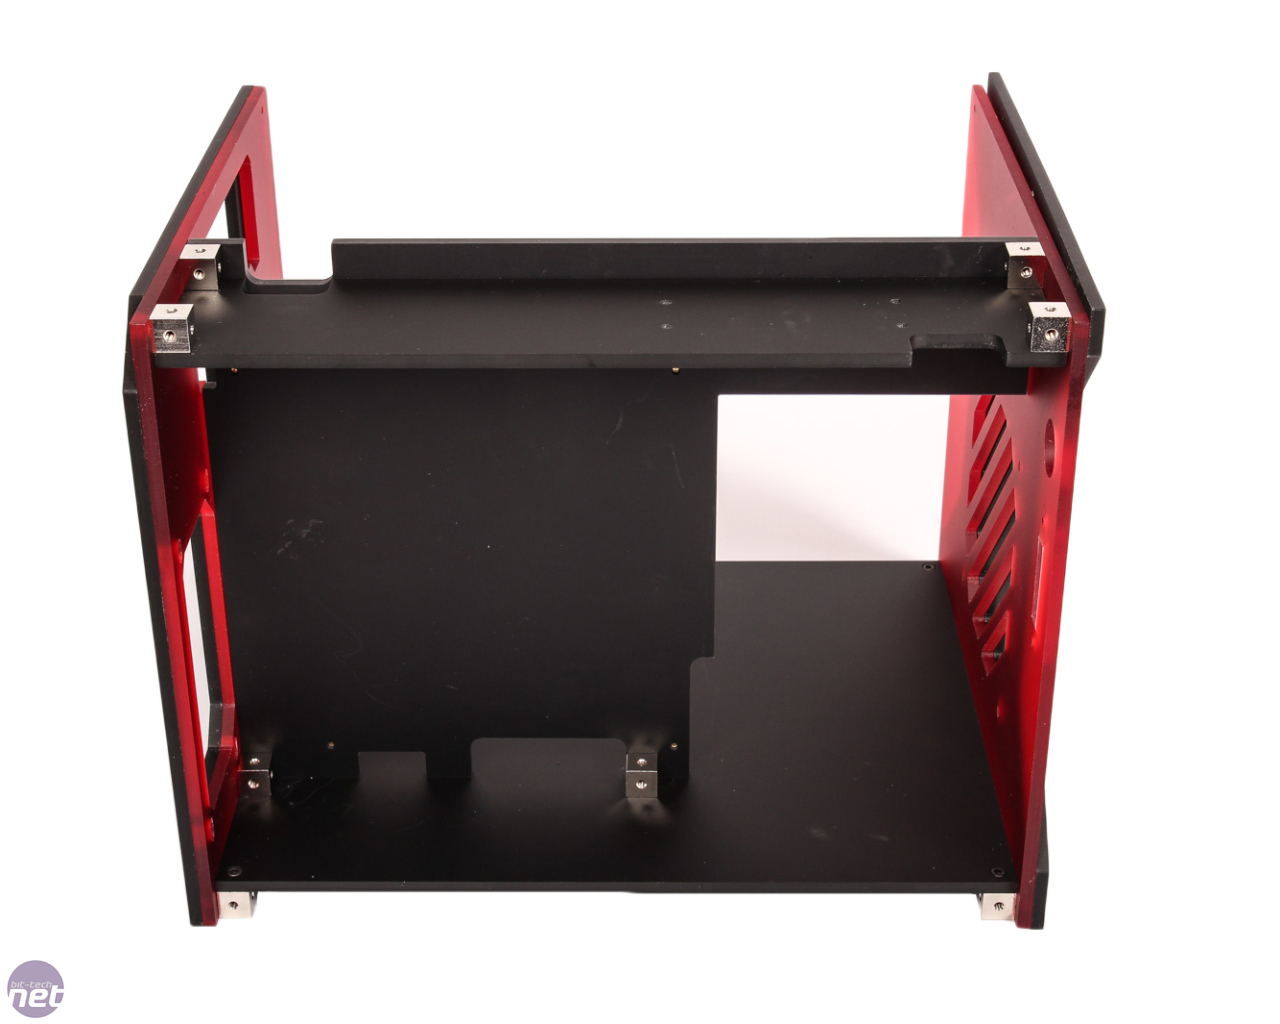
Two additional cubes sit on the top of the base section and hold the motherboard tray in place, with further cubes at the top supporting it and corner cubes also securing the longitudinal 2.5in drive mount to the rear and side sections.
Click to enlarge
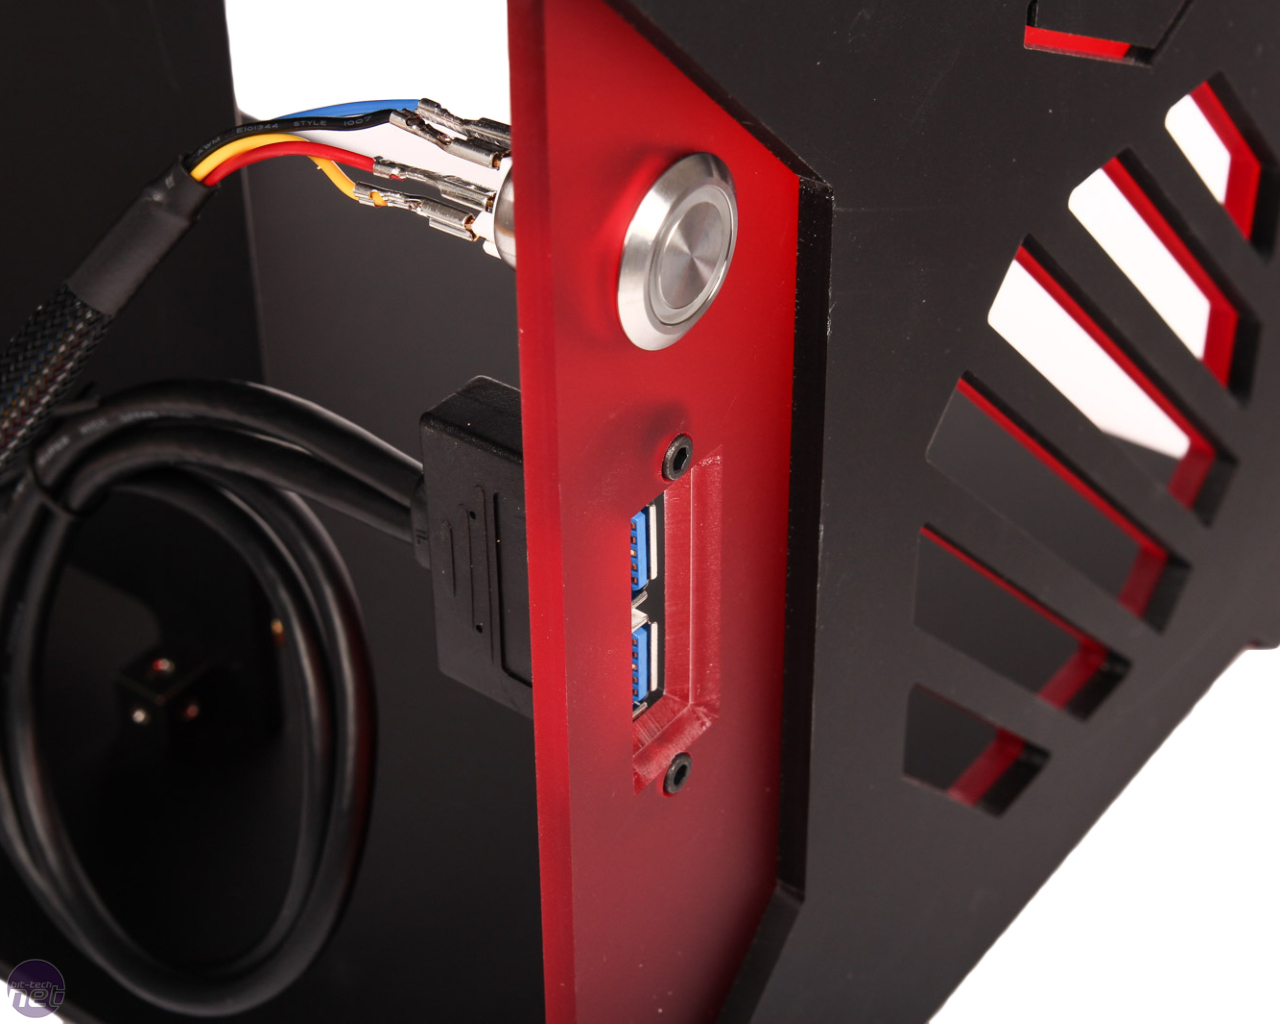
There are no audio ports but the two USB 3 ports and illuminated power button you'll need to mount yourself. The former just screws into place but the power button you'll need to hook up to the respective power button and power LED cables first, then secure it into place with the locking ring from the rear.
Click to enlarge
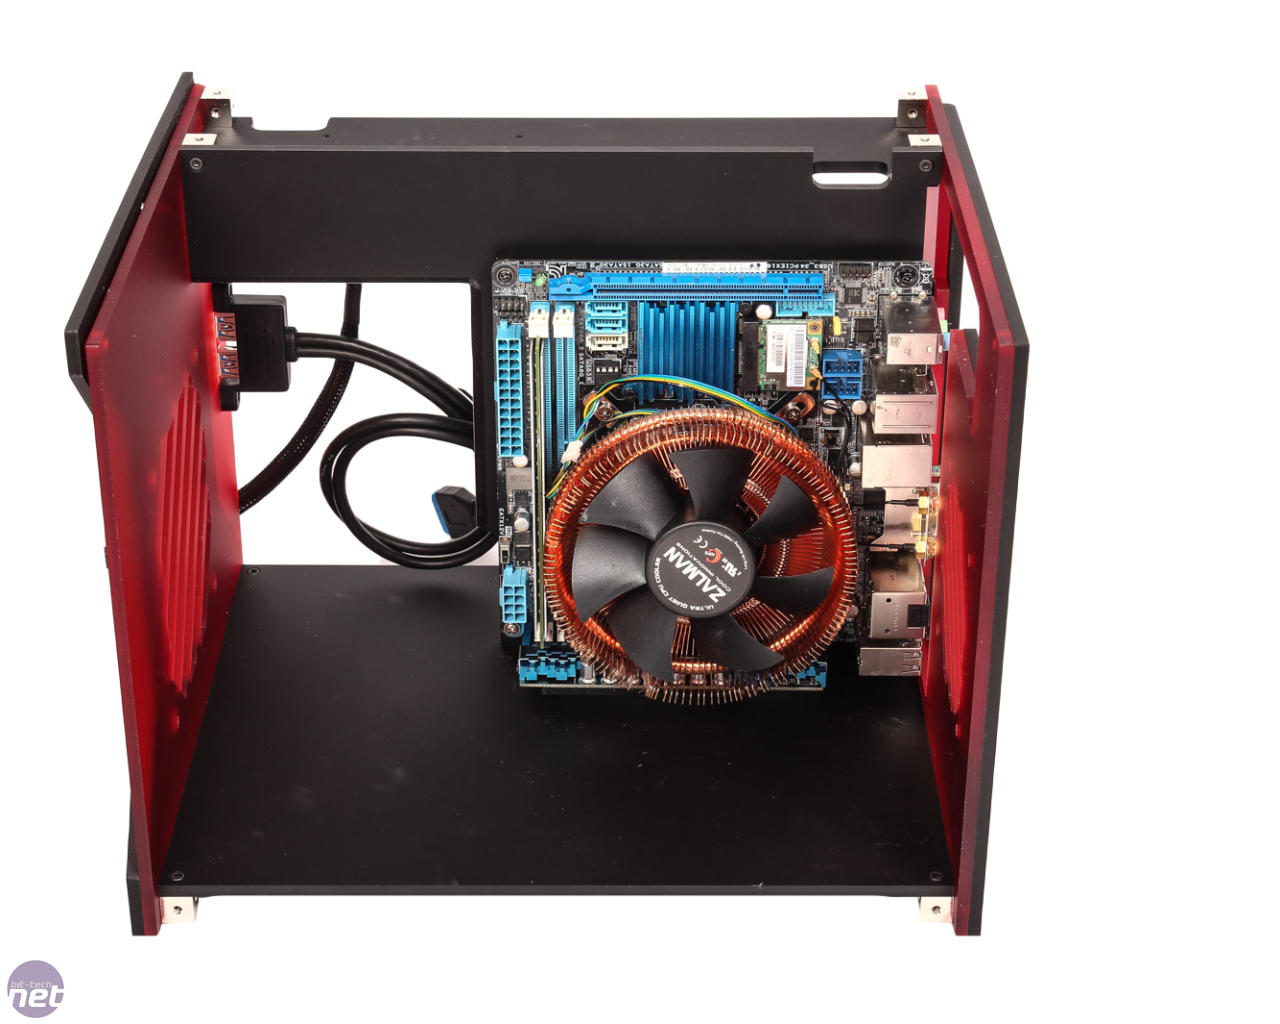
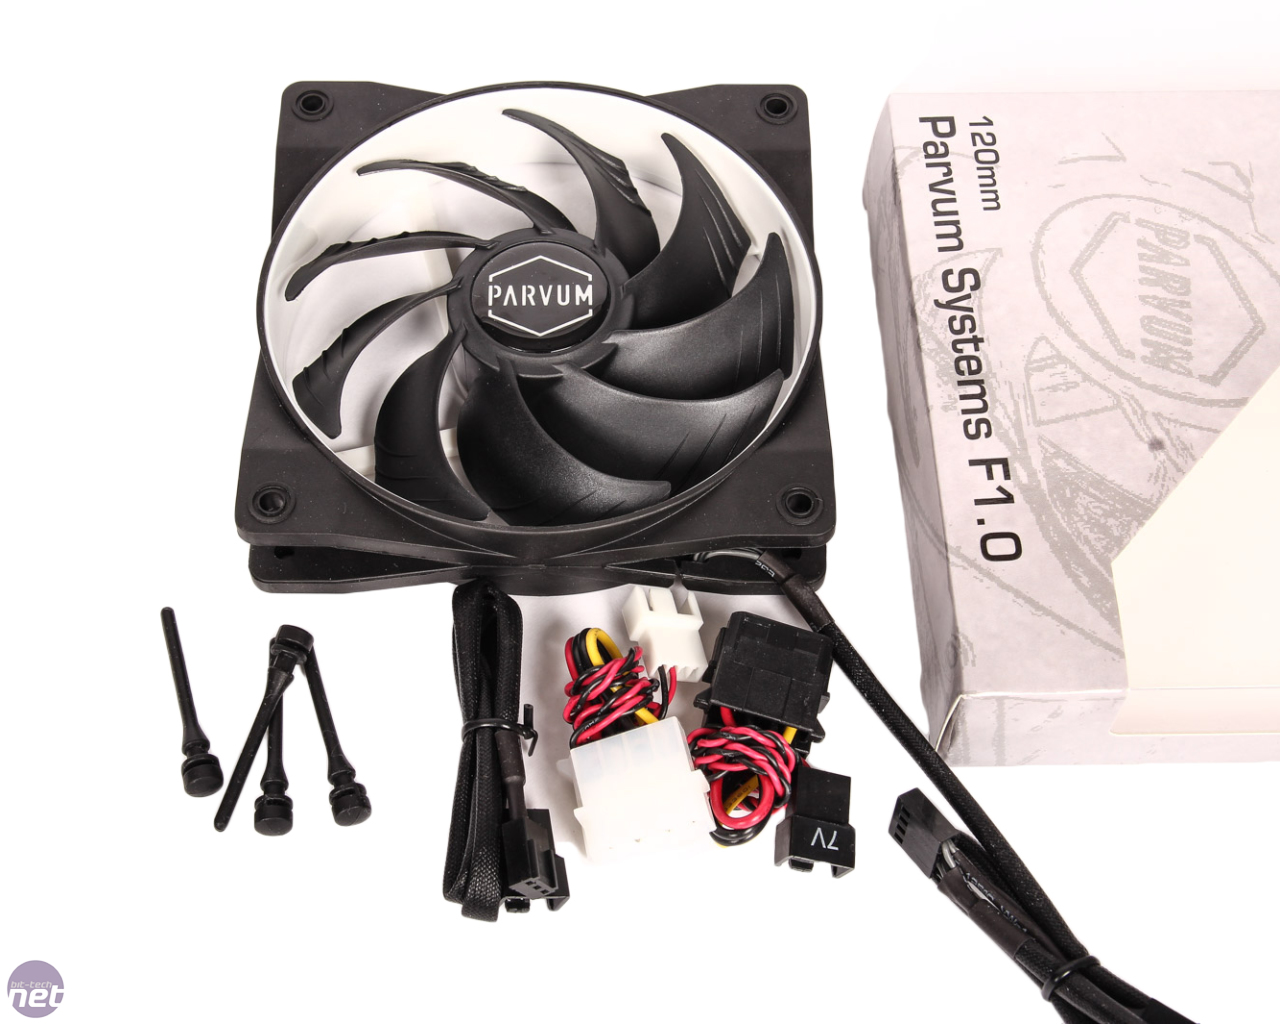
The included front fan was the only item to give us issues. It includes anti-vibration rubber pins but these were slightly too large to pass through the front section easily. As a result, most of these snapped before we got the nack, which is to aid them with a small screwdriver and use little force. However, you can just use standard fan screws too.


MSI MPG Velox 100R Chassis Review
October 14 2021 | 15:04

Want to comment? Please log in.