
Rear I/O
Ram-packed still feels like an understatement for the number of different options on the Gigabyte rear I/O. We've got:- Eight USB 2.0
- PS2 keyboard or mouse
- S/PDIF digital audio out - optical and RCA
- Firewire out - 6-pin and 4-pin
- Two powered eSATA ports (double up as two USB ports)
- Two RJ45 Gigabit Ethernet sockets
- Six 3.5mm stereo analogue audio outputs for 7.1 channel HD audio, with separate line-in and microphone

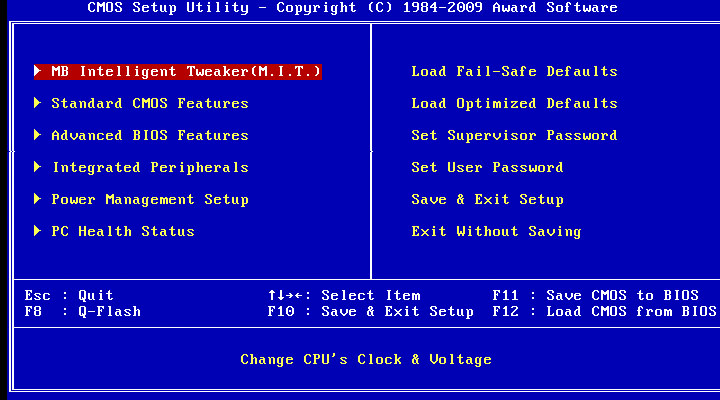
BIOS

Click to enlarge
Just like its P55M-UD4, the P55-UD5's BIOS is really very good. It's highly informative, easy to use, and we understand why the different parts are put into clear subdirectories. However, jumping in and out of the BIOS submenus can get a little tiresome if you're trying to change just one thing such as the Base Clock.
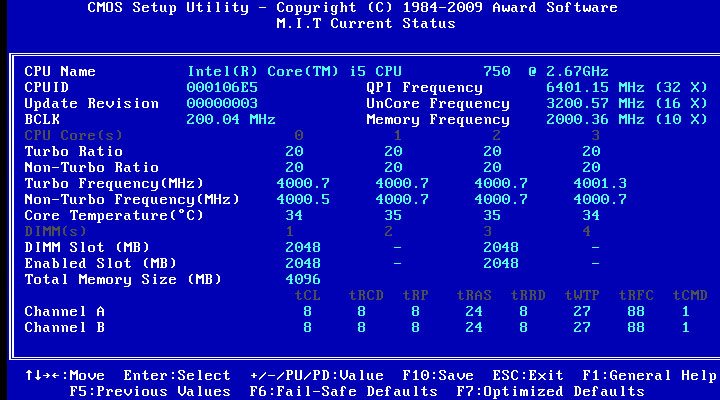
The "M.I.T Current Status" is really very good, as it houses all the necessary information for the whole PC on a single page. Here problems and further tweaks can easily be seen to apply elsewhere, and because the clocks of a P55 system are all related, it's far, far easier to see how everything affects each other via the M.I.T screen. However, the M.I.T screen only shows the current settings of your system, and doesn't live-update with any new settings you've input. The M.I.T screen will only update when you save and restart the PC - however, this means that despite messing with all the changes you want in the BIOS, there's always a reference from where you came from if you forget. What a great idea!
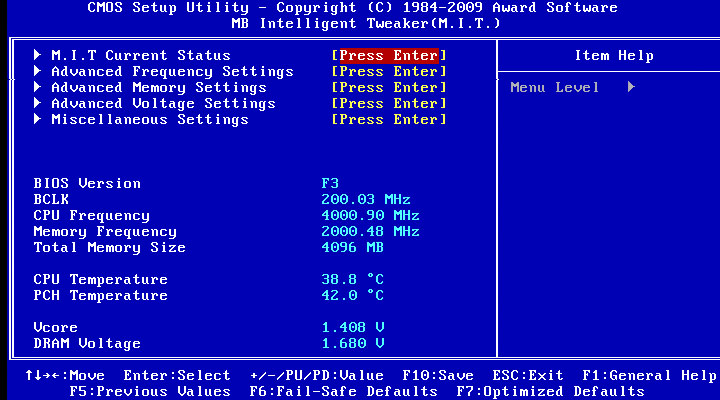
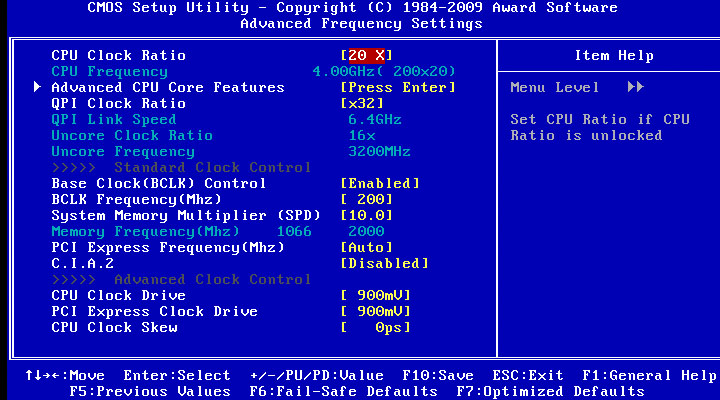
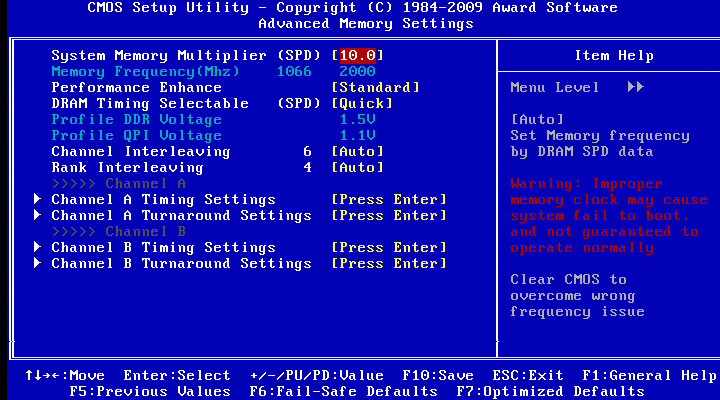
Even more useful is the way that changing the frequencies in the frequency settings page of the BIOS does show what the new values of your adjustment will be when you re-start.This means that it's easy to see what will happen as you overclock further, and that you won't need a calculator or notepad nearby when pushing up the frequencies.
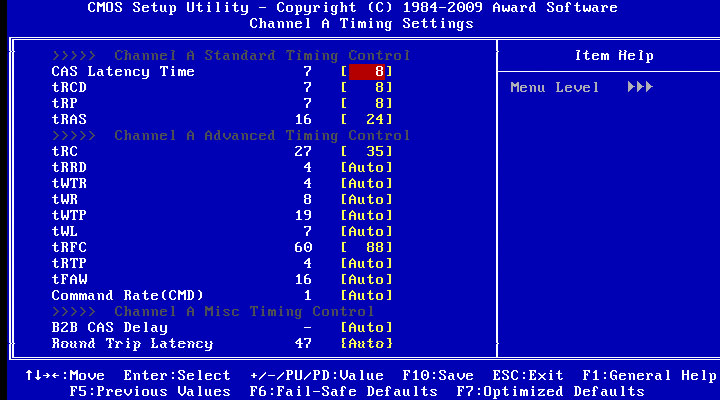
Memory timings can be changed either by the 'Quick' method, where setting the timings for one memory channel changes both channels (rather than setting timings for the channels independently), or via the 'Expert' setting which allows separate adjustments of each memory channel. The Quick method is the better way to do things - most of us are too lazy to set the same settings twice.
Gigabyte's voltage controls mirror those of other P55 boards in what's offered: core voltage, VTT, PCH, PLL, Memory and reference/termination voltages that don't really need to be used by most. The voltage options can be changed by directly typing in the number, and the menus have sufficiently fine increments. The clock drive voltages are on the frequency settings page though, because these are more closely linked with the clock skew option.
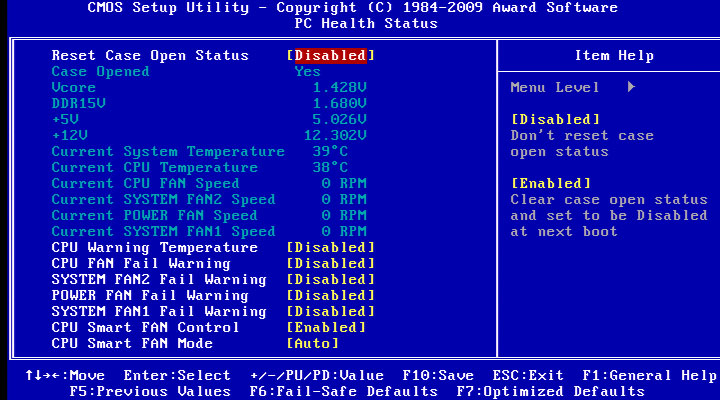
Gigabyte features fan speed control with some user calibration on the CPU fan only - it can be controlled by PWM, Voltage or automatically. It can also be separately addressed by the EasyTune 6 software too.
RELATED ARTICLES


MSI MPG Velox 100R Chassis Review
October 14 2021 | 15:04

Want to comment? Please log in.