G1.Sniper Layout and Overclocking
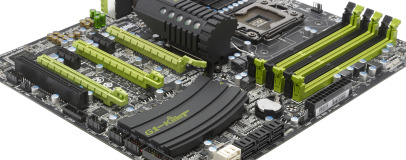
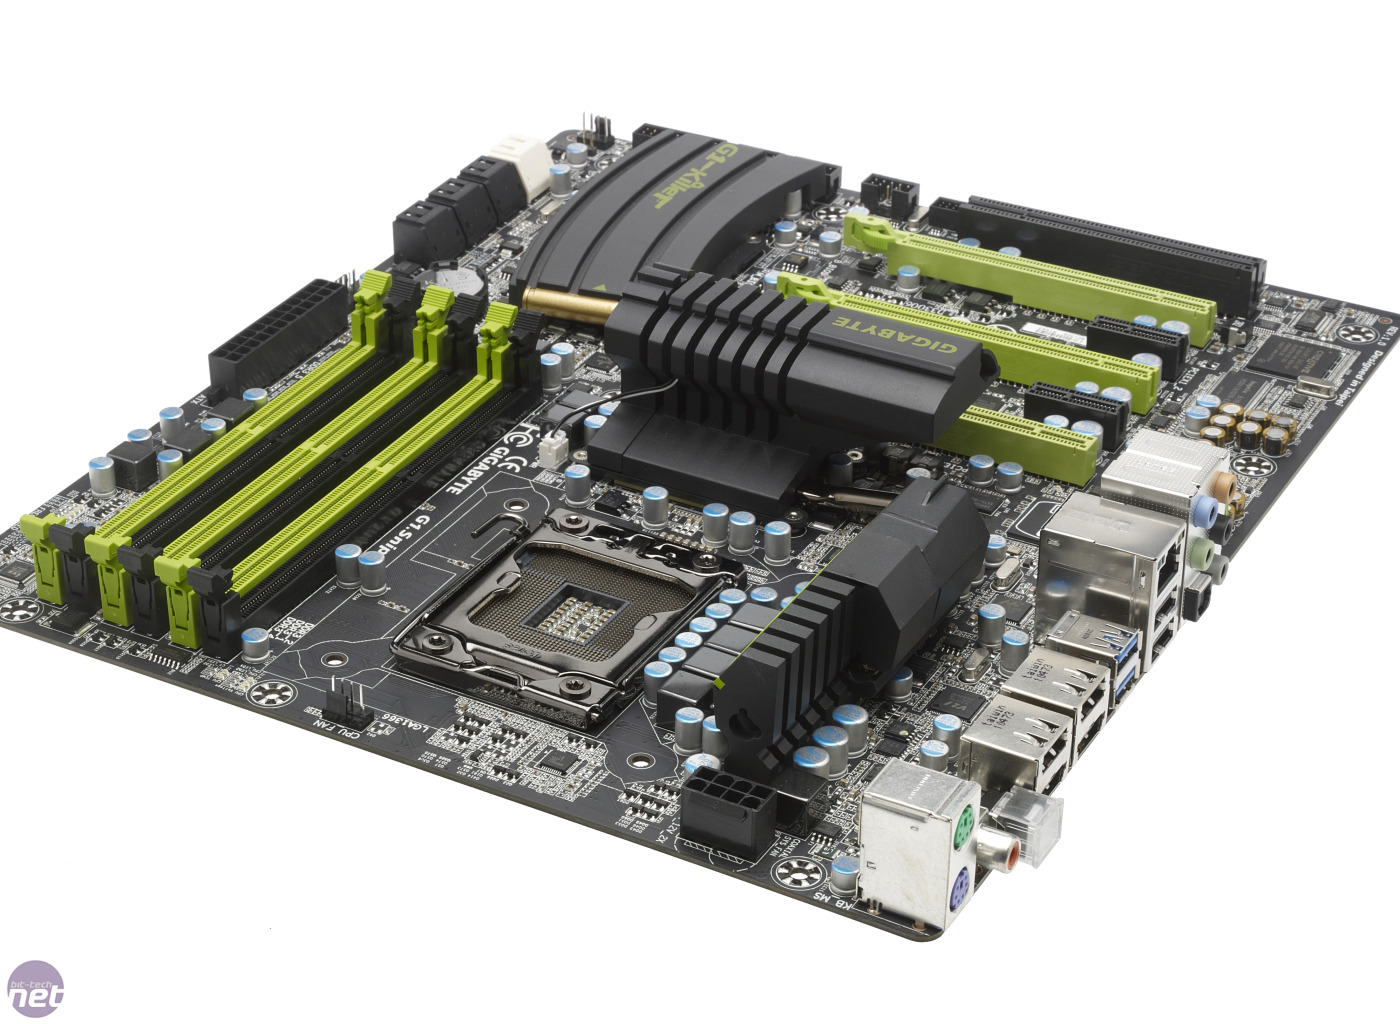
The layout of the G1.Sniper is a fairly standard affair for an LGA1366 motherboard. The six DDR3 slots and VRM heatsinks are located a fair distance from the CPU socket, providing plenty of clearance for large coolers, and the 24-pin and 8-pin ATX power connectors are both located near the edge of the board for easy cabling.Meanwhile, the eight SATA ports are located parallel to the board, again to aid tidy cabling, with the two 6Gbps ports highlighted in white. Pleasingly, the G1.Sniper also includes an internal USB 3 header, as well as rear panel ports, meaning you shouldn’t have to use a pass-through cable to link up the front panel USB 3 ports on your case. If you don’t have any such ports available on your case, then Gigabyte kindly bundles a USB 3 breakout box that fits into a vacant 3.5in drive bay.
Three bright green PCI-E 16x slots sit in the lower left hand corner of the board, which are ready for either 3-way CrossFire or SLI. There are only 32 PCI-E lanes to share between these three slots, though, so if you decide to fit three graphics cards, the bottom two slots will only provide 8x PCI-E lanes each. In and around the three green slots are two 1x PCI-E slots and a single PCI slot.
Click to enlarge
CPU power delivery is handled by eight chunky looking power phases, which use Gigabyte's clever Dual CPU Power technology. This seeks to extend the working life of the VRM circuitry by only using half of the phases when the board is doing low-stress tasks, and only booting up the full eight phases when the CPU is being taxed. The phases it uses when idle also alternate each time the PC is booted, in order to level the wear across all the VRM modules.
Overclocking
Overclocking the G1.Sniper proved to be a rewarding and pain free experience. The BIOS is similar to Gigabyte’s past offerings and is both well laid-out and intuitive to use.We started, as ever, by locating the maximum stable QPI with which the board could run, and we were unsurprised to find that the board maxed out at 220MHz. This has been the maximum hit by all of the decent X58 boards we’ve seen, is likely to be a limitation of the chipset rather than the board.

Click to enlarge
The G1.Sniper may be aimed at gamers, but it’s got lots of overclocking features too, so we were hoping to get some good performance out of the board. Our overclocking procedure kicked off well, as the board was happy to take our test CPU right up to the 4.4GHz limit reached by our current favourite X58 board, the Asus Sabertooth.
Buoyed by this success, we inched the QPI up still higher and were intrigued when we found the board would boot at 4.5GHz. Unfortunately, though, the board wouldn’t make it through our intensive multi-tasking test at this speed, so we dropped back down to 4.4GHz. To keep this overclock steady we had to set the QPI to 200MHz, the CPU multiplier to 22x and the Vcore to 1.381. We also pumped 1.375V through the QPI/VTT and 1.9V through the CPU PLL and raised the Northbridge and Southbridge voltages to 1.3V.


MSI MPG Velox 100R Chassis Review
October 14 2021 | 15:04

Want to comment? Please log in.