
Click to enlarge
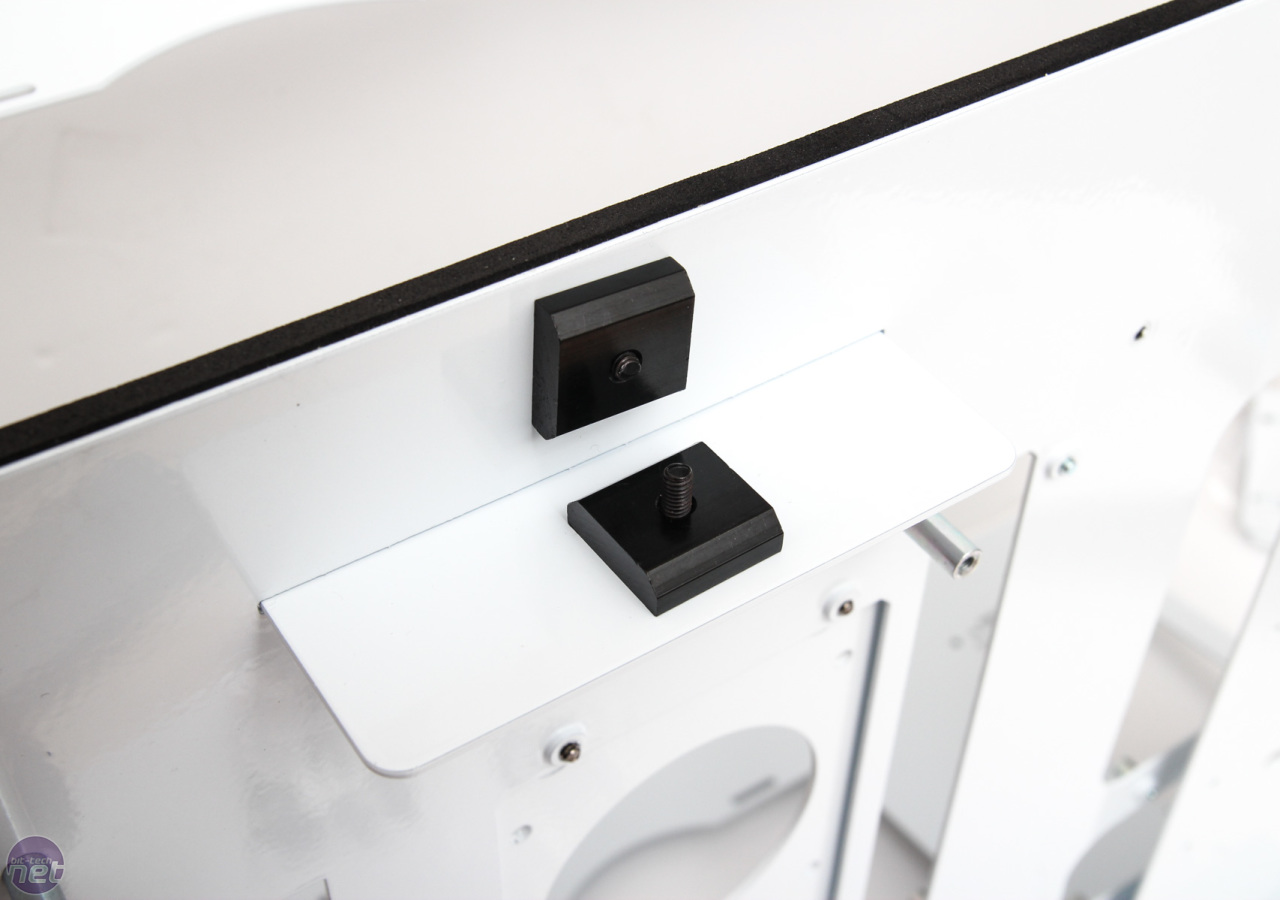
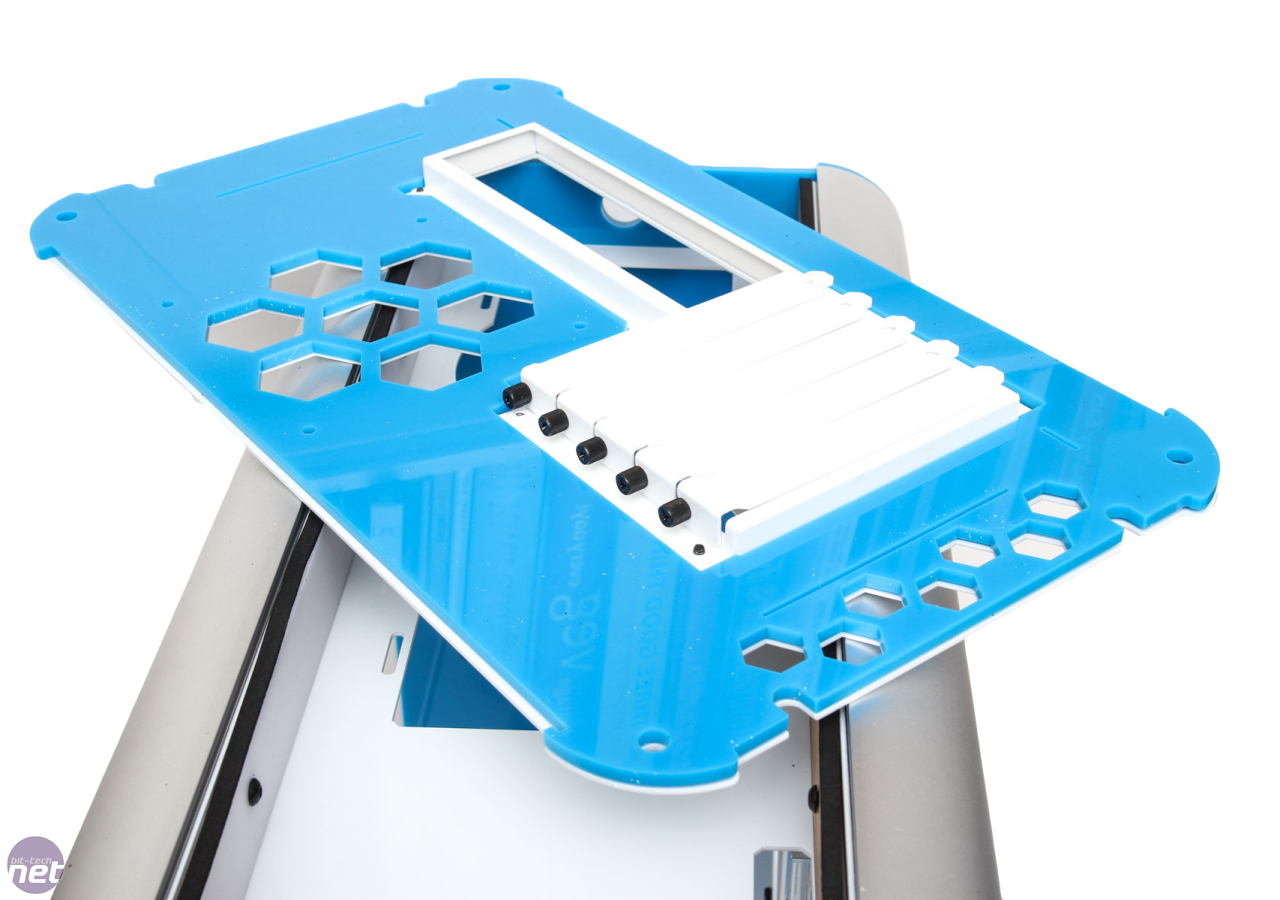
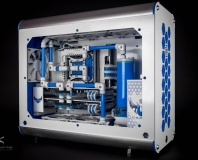
This is the D5 section, which fixes to the case using four anti-vibration mounts - you'll need them with any kind of water-cooling pump so it's good to see they're included.

Click to enlarge
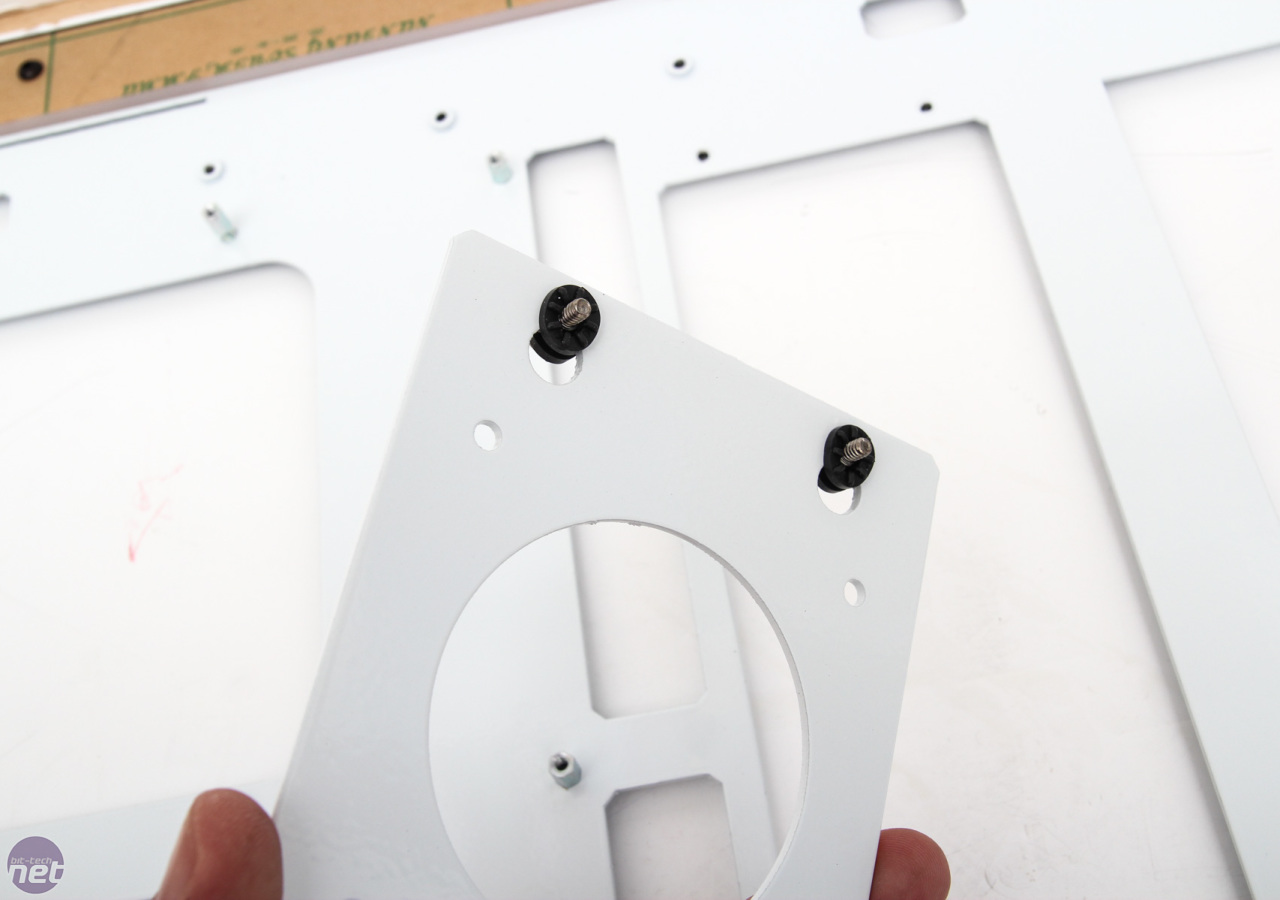
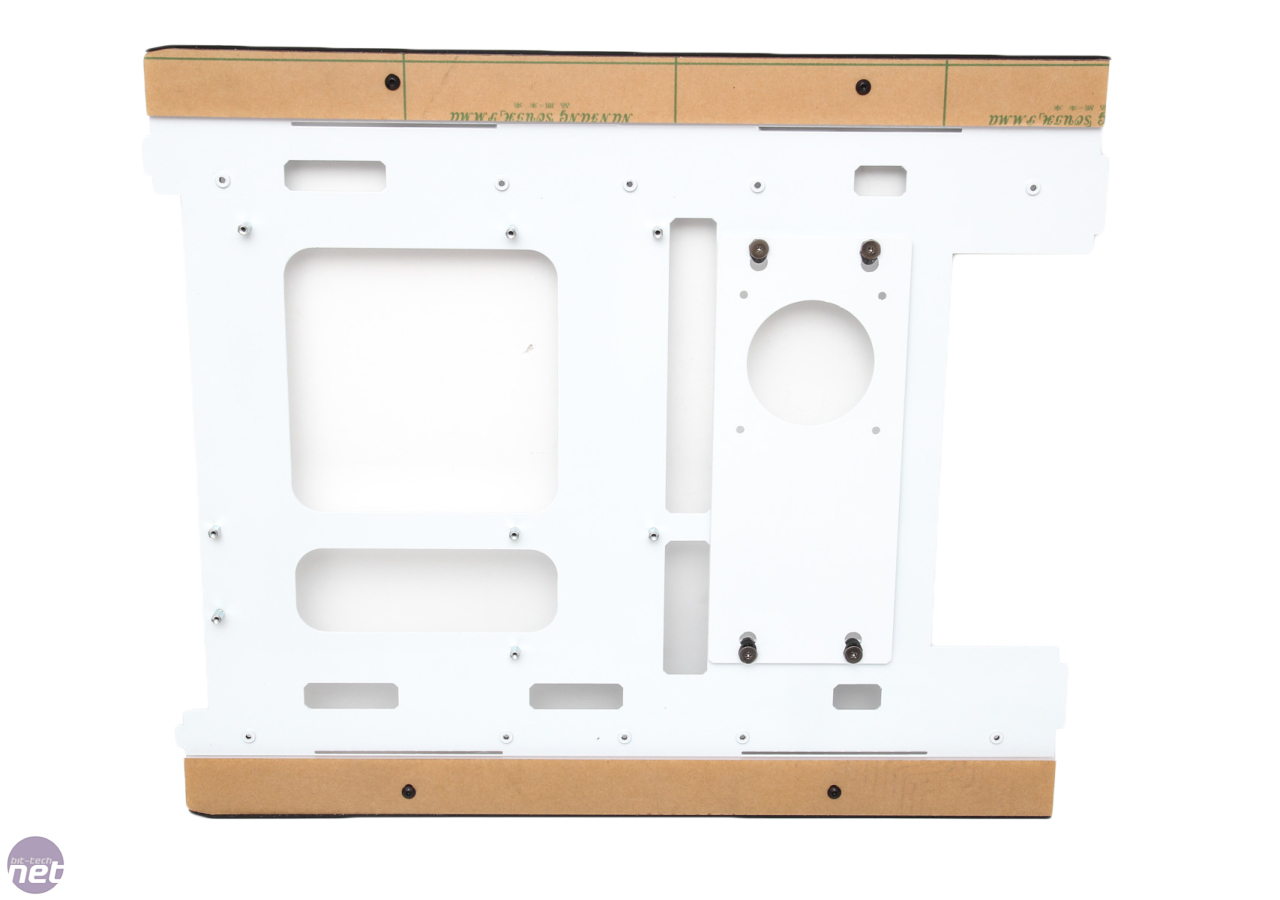
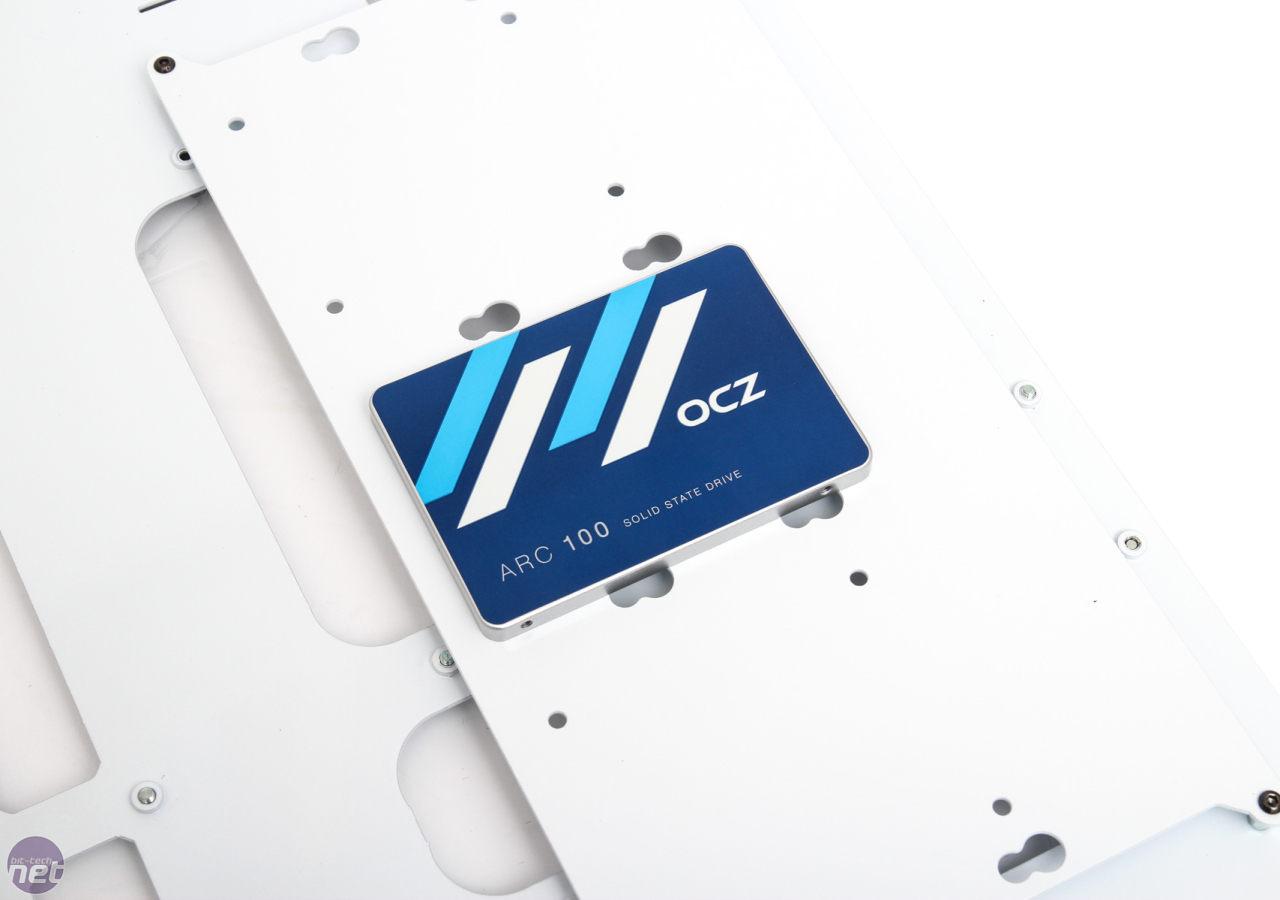
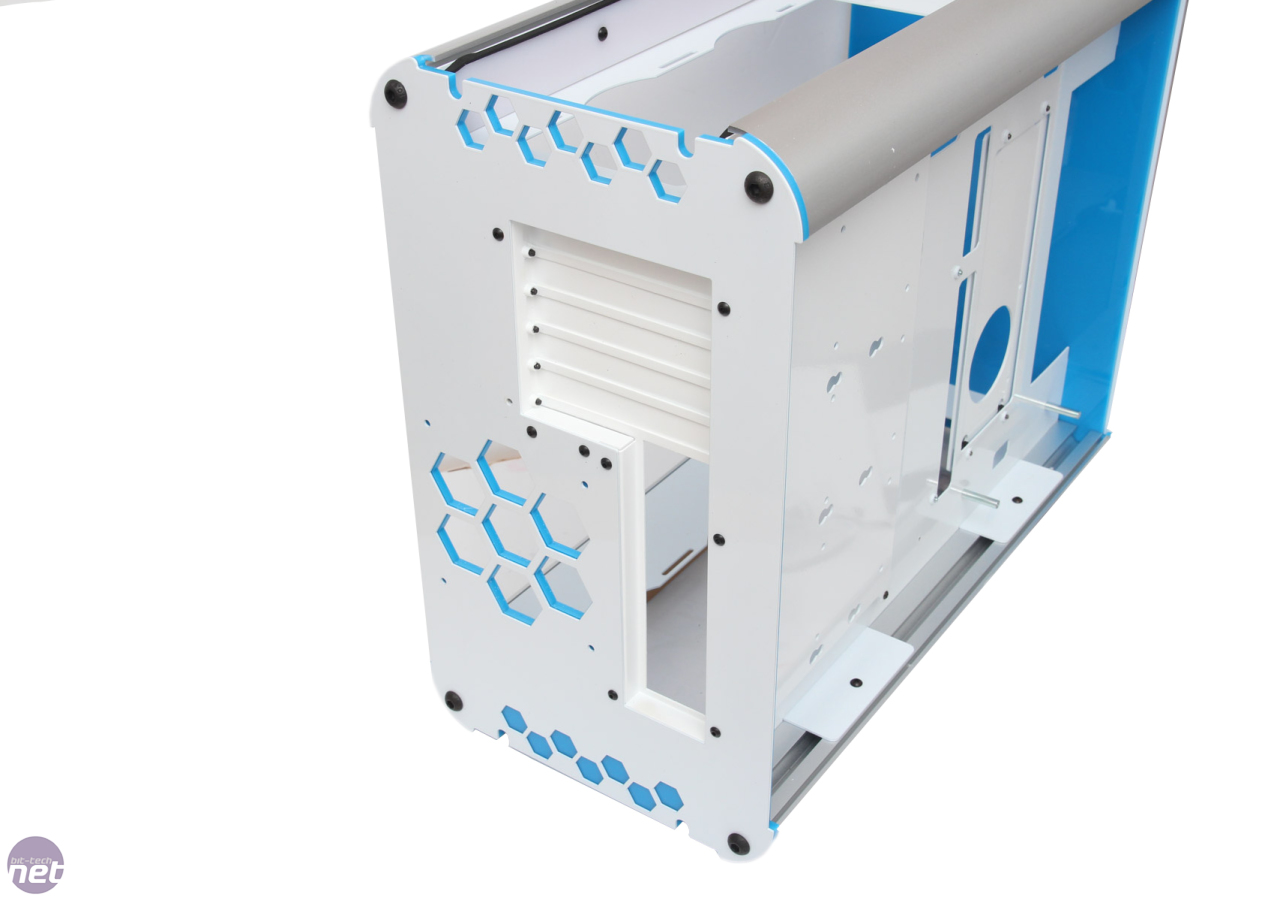
We'll talk more about cooling and storage options in the review but there are a couple of SSD mounts located on a plate that attached to the rear of the motherboard tray. The inner shell of the case also comprises two large fan mounts - a triple 120mm on one side and a double plus the PSU mount on the other.
Click to enlarge
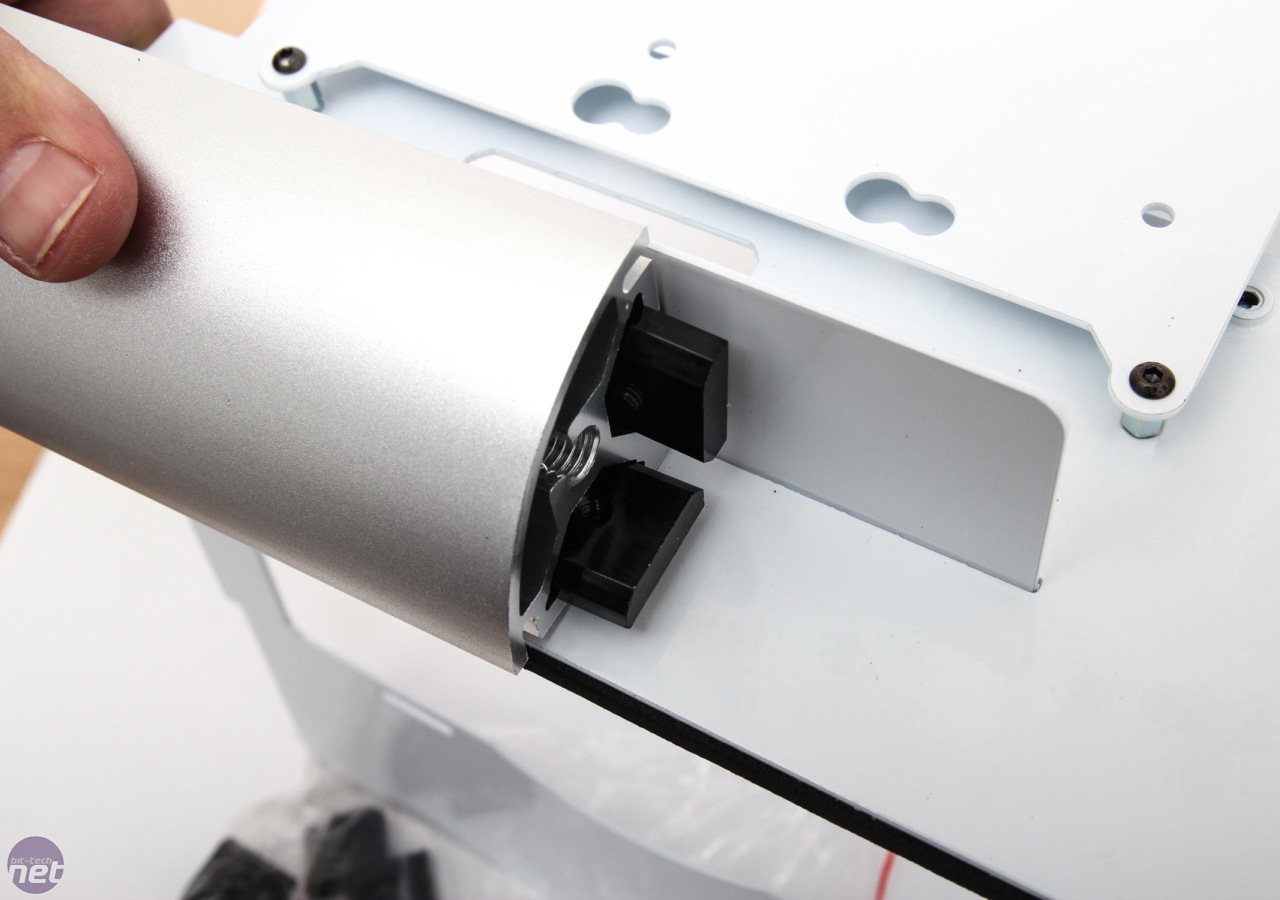
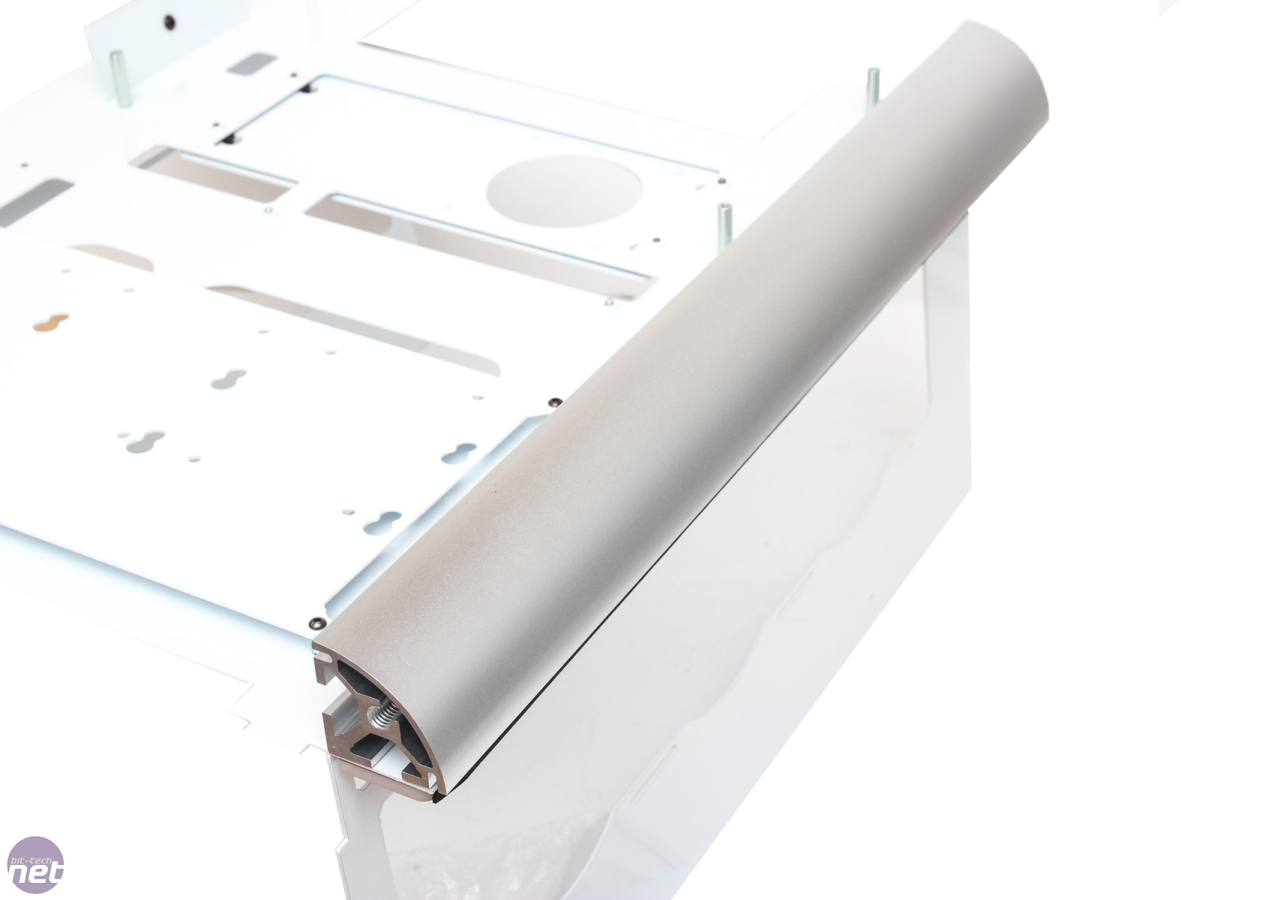
The profiles attach to the case using these T-nuts, with the profiles sliding over them when the nuts are loosened off. Once the case is nearly complete you then tighten these off from the inside.

Click to enlarge
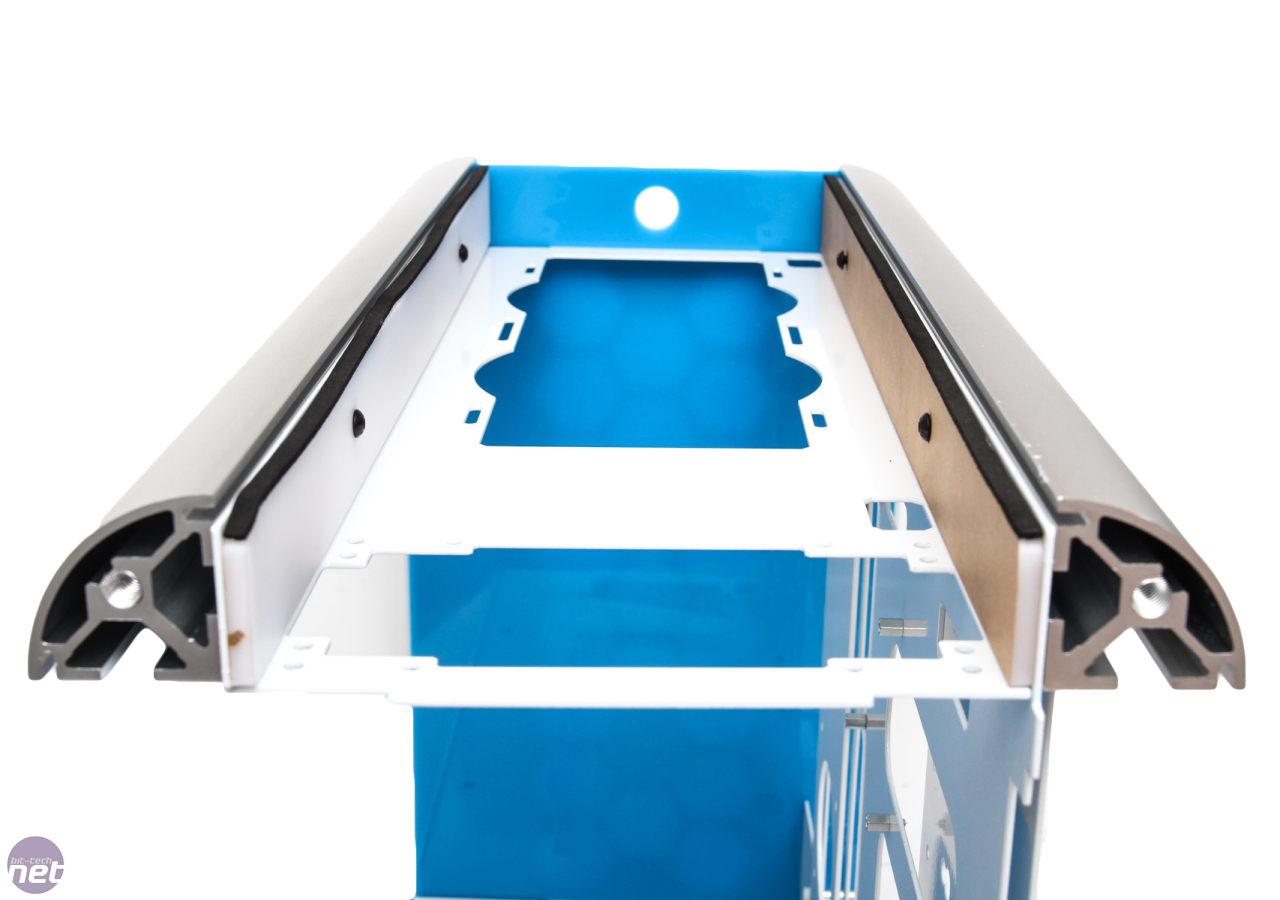
They add a rather striking look to the case but do add a fair bit of weight. The front and rear panels attach using extra large screws. Despite so many screws being used, the case is intuitive enough to make swapping out radiators or even inverting the motherboard a simple task - you certainly don't have to completely dismantle it to achieve this.

Click to enlarge
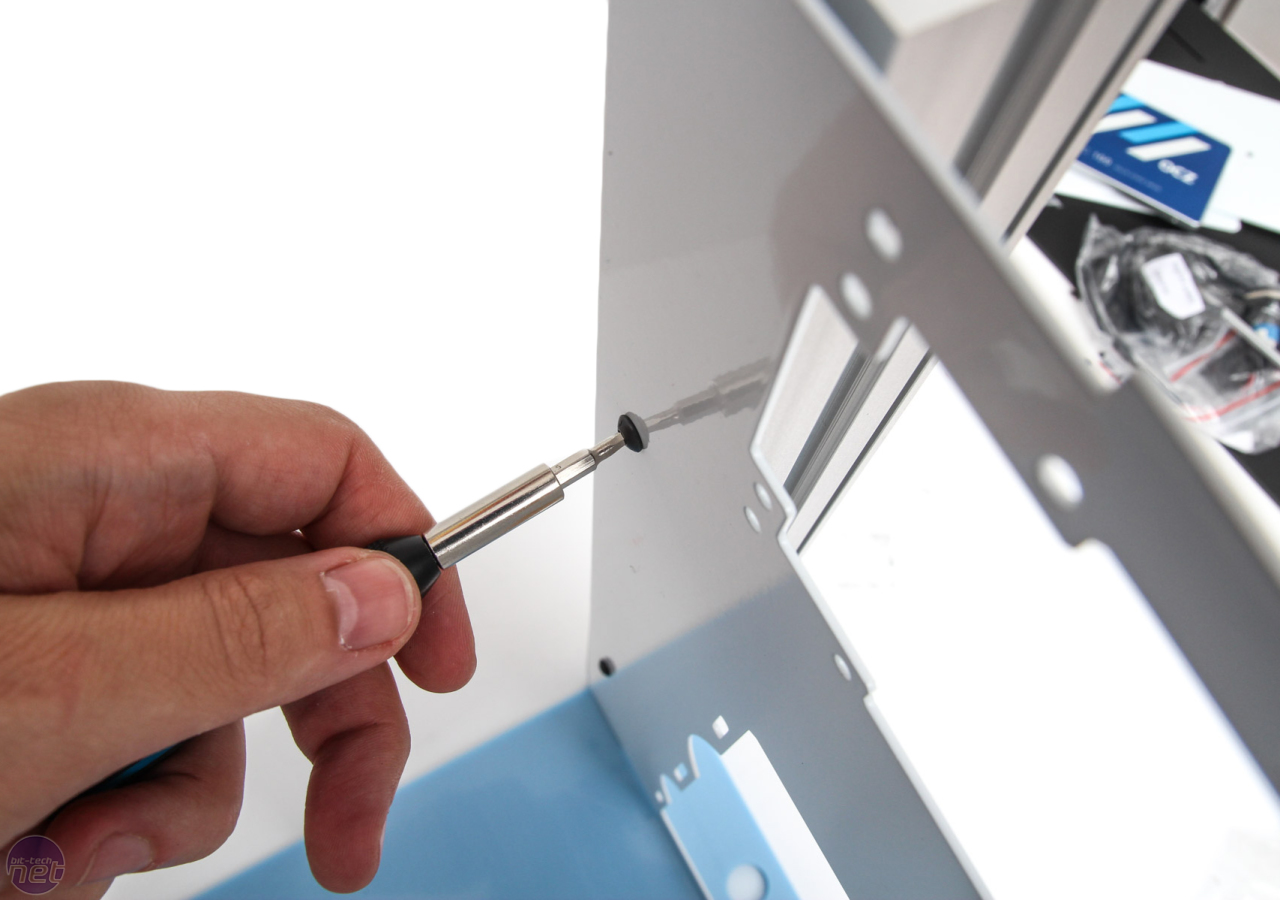
You essentially build one half of the case first, then bolt everything onto the other side before tightening the screws. Above are the other half of the dampeners, which slot in using more T-nuts.

Click to enlarge
The top and bottom sections are reversible so you can have the PSU at the top or the bottom - it's a fairly modular design so it's easy to work with like this.
Click to enlarge
There's a separate PCI expansion slot and I/O panel section that secures with a few screws before mounting the panel in place. We don't think it would take too much redesigning to create a mini-ITX or ATX version of the R40 - we've spoken to Hex Gear and they're already thinking about it - lets hope one or both materialise.

Click to enlarge
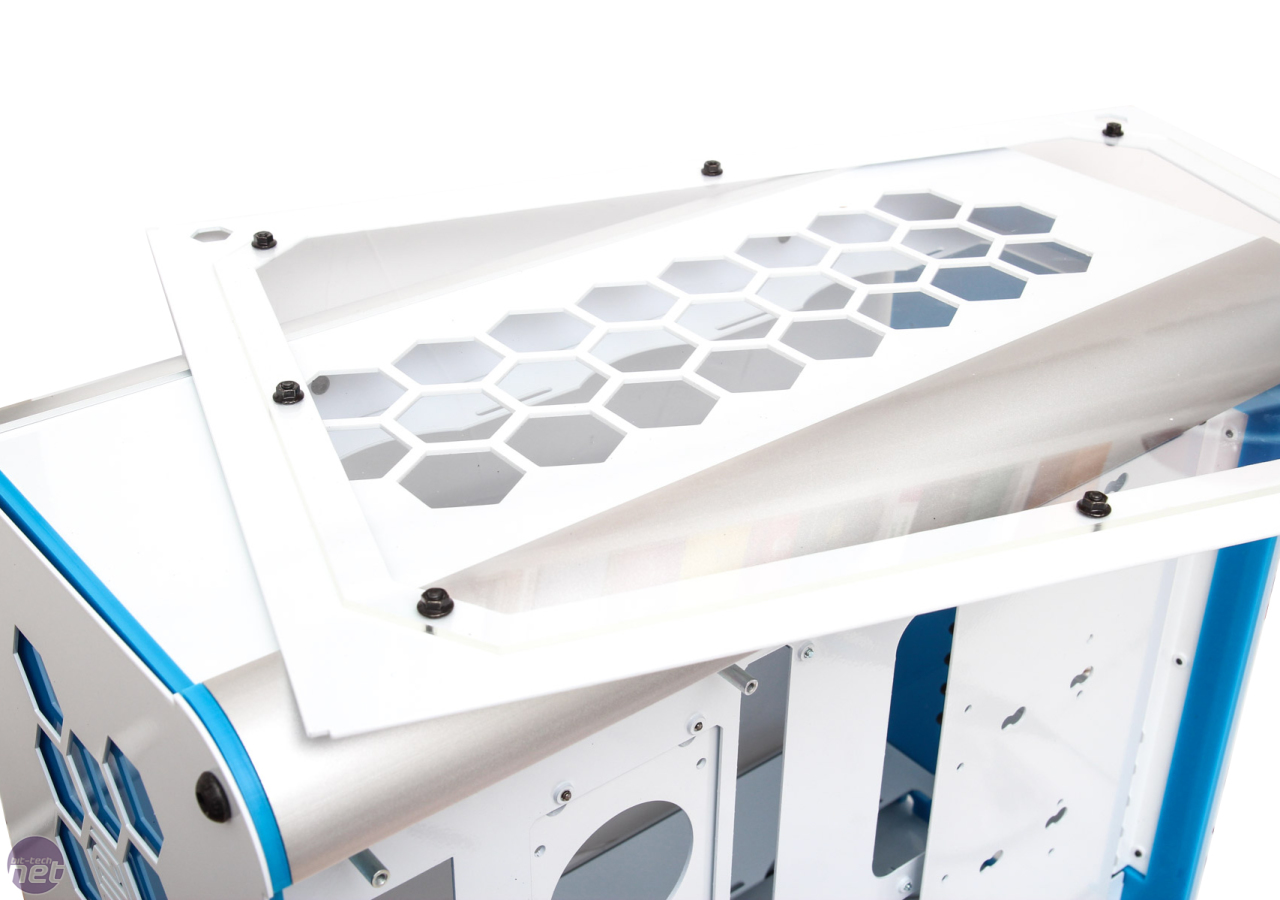
The roof sections proved to be pretty tight-fitting but loosening a few the internal screws helped them slide easily into place - just as well as you'll need to do this to get at the PSU and radiators. The side panel comes in two parts - a metal surround and clear acrylic back, that secure together using screws.
RELATED ARTICLES


MSI MPG Velox 100R Chassis Review
October 14 2021 | 15:04

Want to comment? Please log in.