
Installation
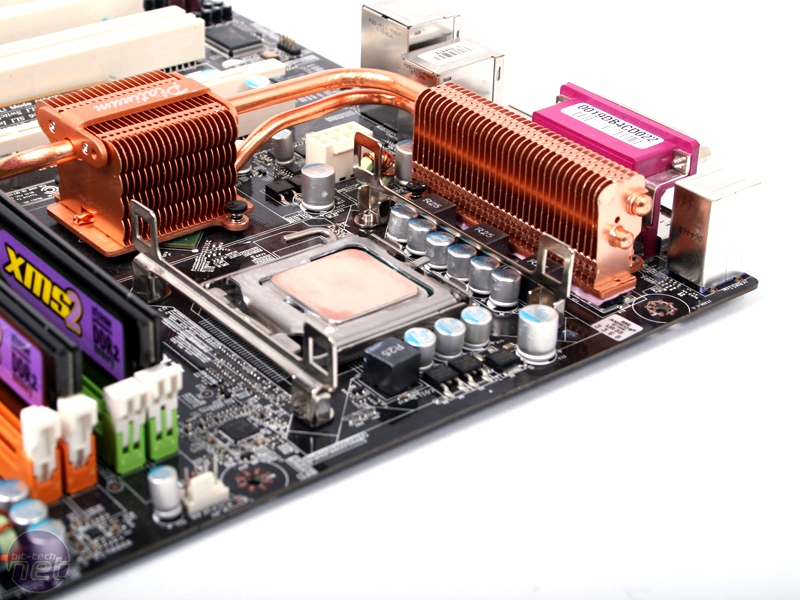
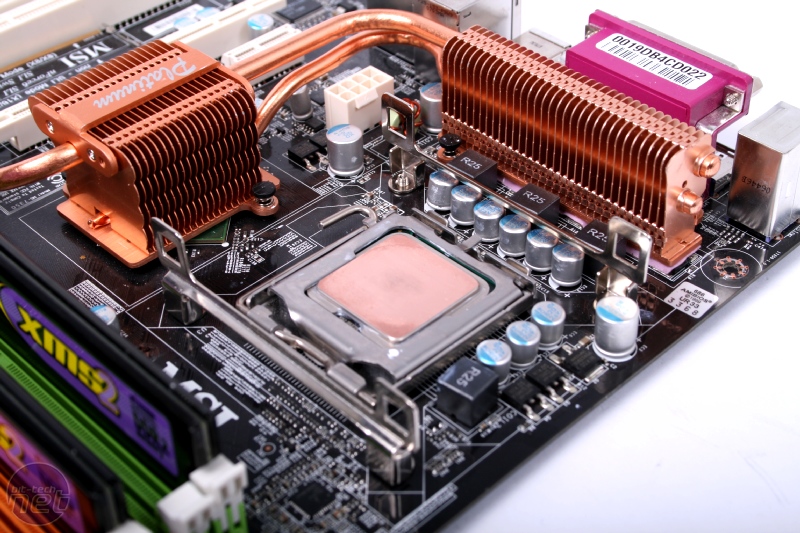
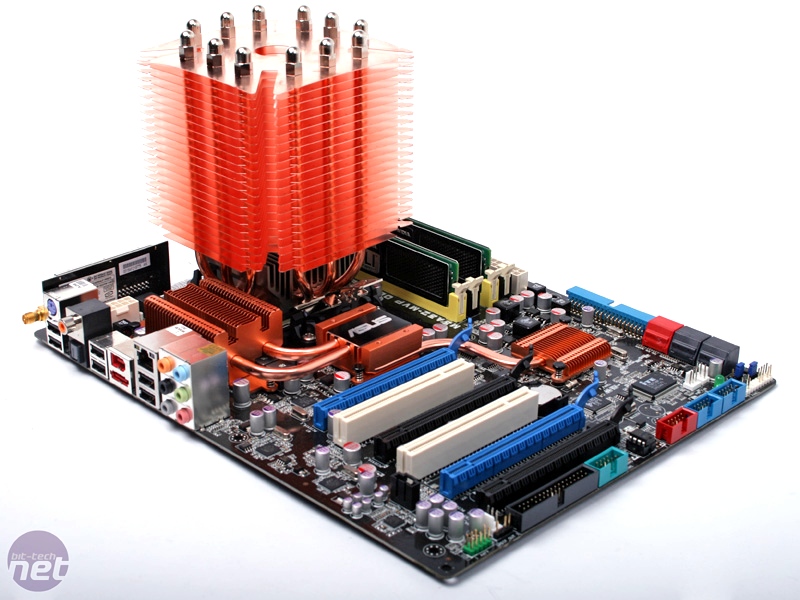
Installing the Scythe Ninja Copper was, quite frankly, a horribly frustrating experience. For Intel LGA775 setups, the cooler uses its own retention bracket rather than the default push pin configuration, and so requires its own heavy duty custom motherboard backplate to cope with the weight of the cooler – remember, this heat sink weighs over a kilo!This means that you’ll need to fully remove your motherboard in order to fit the cooler’s mount – never a fun experience, but it greatly benefits the security of holding heavier coolers in place, especially during system transportation.
However, with the board out, we realised that you need to screw upwards, from the underside of the board to attach the upward facing mount, which you need to simultaneously hold in place. Remember this is all whilst holding the motherboard vertical, with your third arm, or in my case, chin.
This is a pretty unforgivable design oversight and I simply cannot understand why the mounting bracket hasn’t simply been built to allow you to screw downwards, like every other after market cooler I have ever used. Thankfully, once the mounting bracket was fitted to the board, attaching the cooler was mercifully straight forward, and the Ninja Copper attached very firmly.
Click to enlarge
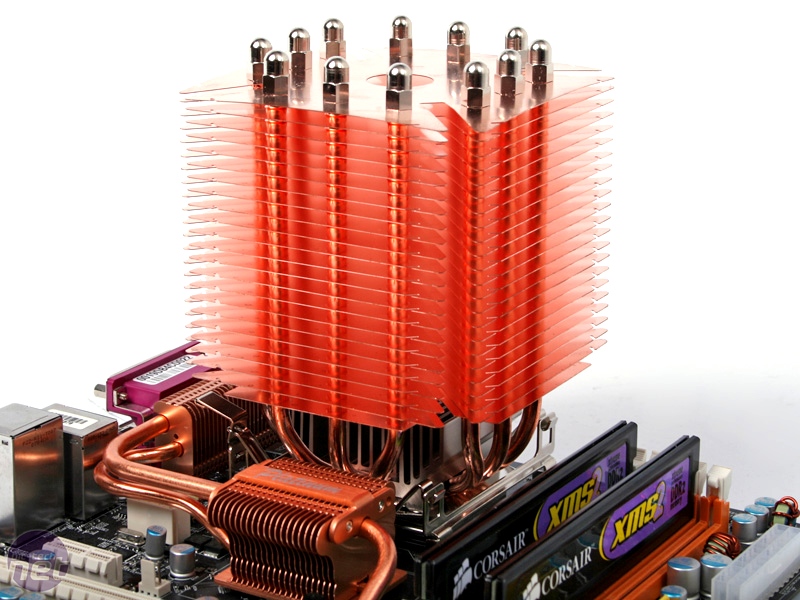
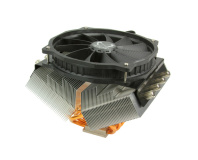
Once the cooler was in place, we came to mounting the fan, which, as with all wire based mounts, was a pretty testing exercise in itself. The manual advises that you hook the wires onto the fan and then stretch the long section over into the pre-cut clips on the heat sink.
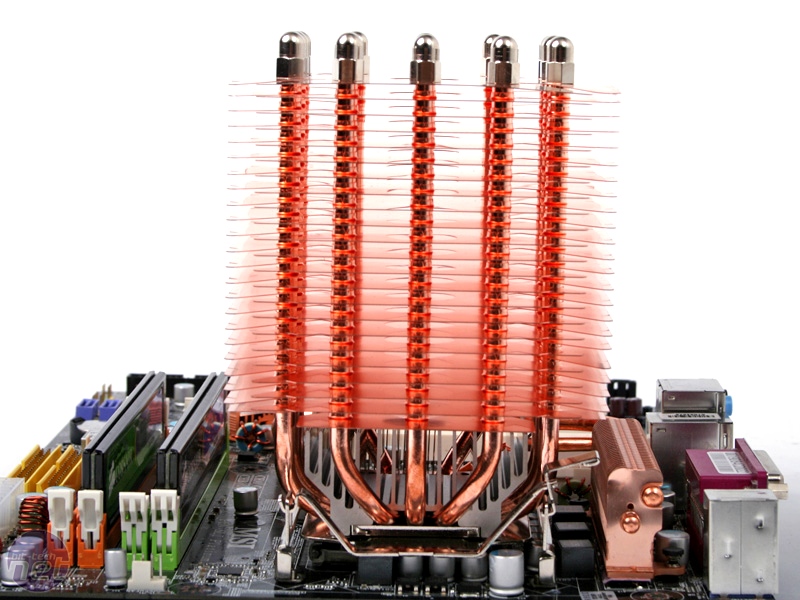
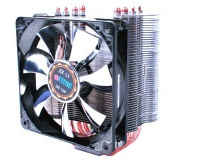
That's obviously the optimistic methods because after the wires fell off the fan for the third time, I fitted them to the heatsink first before prying them into the fan’s screw holes to attach it, a process that worked a lot better. The Scythe Ninja copper has slits cut for wire fan mounts on every side, so theoretically you could mount four 120mm fans around its circumference, although Scythe only provide enough clips to fit one fan.
Click to enlarge
One notable feature that appeared whilst fitting the Ninja was that the heatsink was completely symmetrical, so it didn’t matter which way around we mounted it. While this isn’t enough for me to forgive the S775 mounting system, it does make the whole fitting process simpler.
Sadly, removing the cooler for our repetition tests was no easier – the mounting clip was simply impossible to release without exerting motherboard to breaking point, making us once again remove the motherboard from it's tray and undo the screws holding the bracket in place from the underside.

Click to enlarge
In a completely opposite experience to the S775 mounting, fitting and removing the Ninja Copper to an AM2 socket was very simple indeed. The bracket fitted to the default motherboard fitting easily, and the whole thing felt very securely attached, even if it was 1kg held in by just two plastic lugs. Removing the cooler was just as easy, requiring equal pressure on both retention clips for the heatsink to pop free.
RELATED ARTICLES


MSI MPG Velox 100R Chassis Review
October 14 2021 | 15:04


Want to comment? Please log in.