
Fans
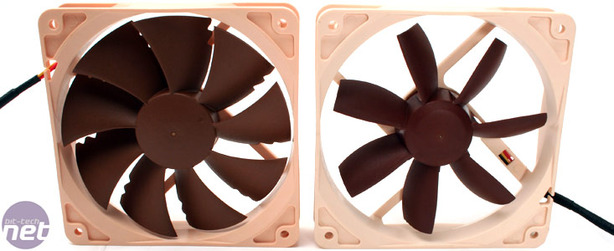
Comparatively both the old and new fans feature high quality SSO (self-stabilising oil pressure) bearings but the seven bladed NF-S12s are sound-optimised unlike the pressure-optimised nine bladed NF-P12 featured here.All have a massive six year warranty which makes the significant £15 price (where you to buy one separately) something of an investment. You may say, “It’s only a fan for crying out loud”, but having invested in my personal favourite – the 120mm Panaflo LA1 Fluid Bearing – several years ago, I can relate to the fact that a good fan will survive many heatsinks and many cases.
The only downside of the Panaflo is its 38mm depth meaning it's too deep to fit some spaces – the Noctua's 25mm depth on the other hand is completely standard and should go anywhere there's space for a 120mm.
Finally the last inclusion is the Ultra-Low-Noise-Adaptor or U.L.N.A. – it’s basically a fancy name for an inline adapter with a permanent rheostat. It’s exceptionally cheap to do yourself if need be, but there are two thrown in the box anyway – one with a blue plug and one with a black. While there's no explanation as to which is which (we had to ask Noctua directly), they are different and the black plug drops the fan speed down to 1,100RPM (16.9 dB) and the blue one lowers it to 900RPM (12.6 dB).
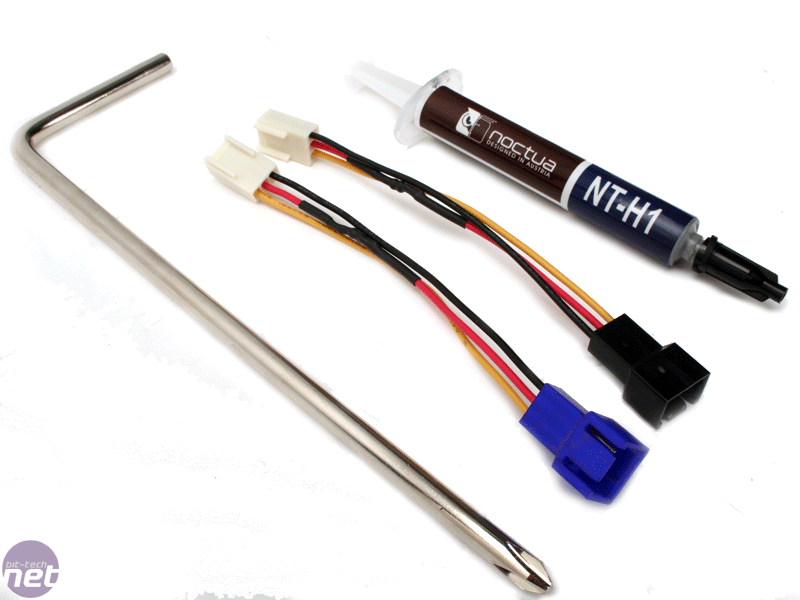
They are small, inline adapters that take up very little extra space in a case and the addition of two gives three levels of cooling to noise level choice. It’s a simple and well implemented idea; given the fact the included fan is a virtually silent 19dB at 1,300RPM to start with – dropping the fan down further makes it entirely inaudible.
Installation
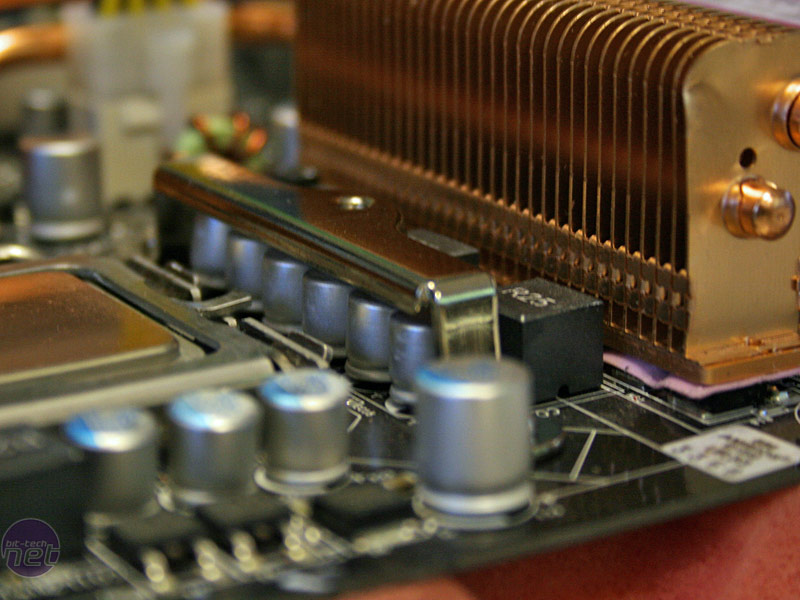
The clearance of these mounts is also potentially problematic should you own a motherboard with larger capacitors around the CPU socket – while there shouldn’t be, because these caps are limited to the height of the CPU socket, there's no accounting for every board out there.
Both Intel and AMD can be installed in either orientation – this is particularly useful on the AMD front where tall memory sticks can be installed exceptionally close to the heatsink. We’ve recently found that our previous favourite, the Thermalright Ultra 120 eXtreme, doesn’t fit a few AMD boards we’ve tested recently with it because it can only be fitted in one way.
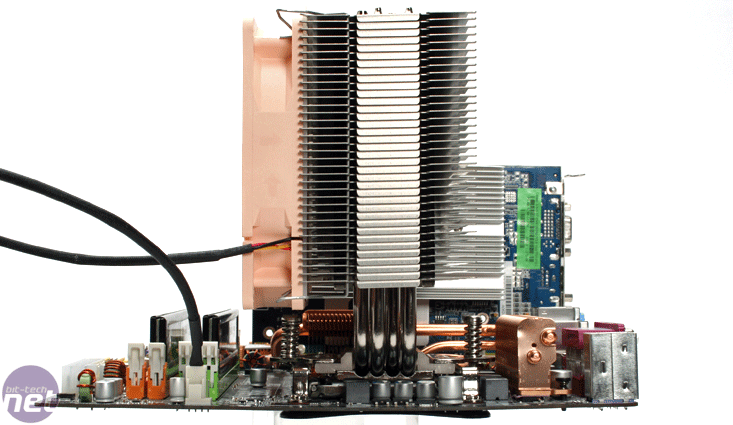
It has to be installed with the motherboard flat on the desk, rather than in the case, because it requires the retention plate behind the CPU socket. After some fiddling and the basic parts are screwed to the board the CPU just needs the mounting bracket screwed in and the whole thing is bolted down with a couple of sprung-screws.
As I said, a specific screwdriver is included to do this because these screws are sat quite close to the heatsink, however we found we didn't really need it – our usual not-so-special screwdriver worked just as well. Even so, we can't fault Noctua on the attention to detail to ensure the end user has everything they need.
Once screwed down, the entire thing is secured solidly – like many heatsinks of the same type, it would take some considerable force to remove it. However, because of its extended height it’s particularly tall; several centimetres over that of a graphics cards’ width, potentially creating problems when it comes to fitting it in some cases – especially if there’s a fan on the side. For example, it won't fit in my Antec P190 with the additional fan on the side unfortunately.
RELATED ARTICLES


MSI MPG Velox 100R Chassis Review
October 14 2021 | 15:04

Want to comment? Please log in.