
Installation
A word of warning: you can't just use any random collection of hardware and expect it to work first time with Media Center. The situation is far better than it used to be, but do some research before you start to make sure the components you want to use are suitable. A good place to start is our Guide to Picking Hardware for Media Center.To avoid any headaches, we stripped down our existing HTPC and transferred the hardware across.
- Intel i955 motherboard
- Intel Celeron 2.53GHz processor
- 1GB Crucial Ballastix DDR2 memory
- NVIDIA GeForce 6200 TC passive graphics card
- 160GB Samsung Spinpoint hard drive
- NEC 16x DVD writer
- 2 x Tuner Avermedia A61a TV tuners
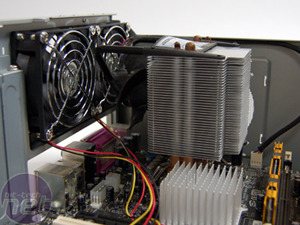
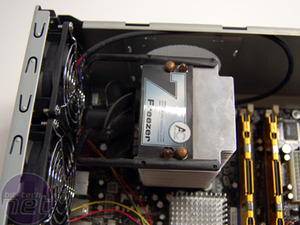
The potential solutions are many, and anyone seeking the ultimate in low-noise cooling could have a field day. There wasn't sufficient space to mount the fan on the other side of the Arctic Cooling Freezer heatsink, and its unique design doesn't allow you to switch from "blow" to "suck" like more conventional heatsink / fans do. There are many similar heatpipe coolers from other manufacturers that would allow you to do this. Alternatively, you could flip the case fans to draw air in, creating positive static pressure to keep the dust out.
Another idea would be to construct a custom shroud that would draw cool, external air through the side grill, pass through the heatsink and vent out the rear. This might require an 80mm fan at either end. The fans supplied are rebadged as Silverstone. They are far from dead silent, but strike a reasonable balance between noise and airflow. However, any silent-computing fanatic will want swap them out for some Panaflo or Ecoustifans.
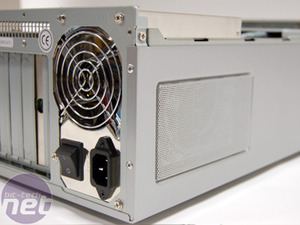
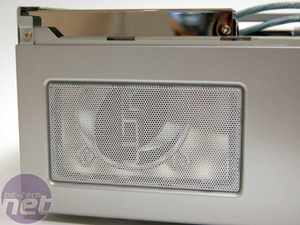
This is where the second side grill comes into play. Silverstone's logic is that cool air is drawn into the PSU from the side, and vented out the rear. If you have a modern PSU with thermal fan-speed control, then the upside is that by keeping your power supply cool, the fan should remain very quiet. The downside is that you forfeit any venting of air from the rest of the case, unless your PSU has a forward-facing grill.
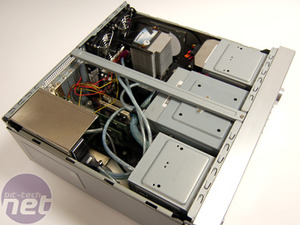
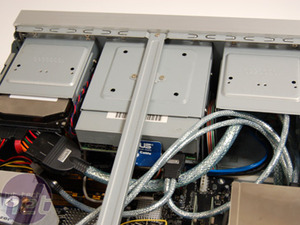
One small word of warning: with the additional media buttons this case has, as well as the VFD and multiple front USB, wiring up this case is not the work of a single minute. Even when you are well practiced at system installations, correctly connecting everything to the appropriate motherboard header will require a few minutes combing through the generally excellent manual. Yes, a case that requires you to actually read the manual!
With everything in place, it's time to power this puppy up.

MSI MPG Velox 100R Chassis Review
October 14 2021 | 15:04


Want to comment? Please log in.