Interior
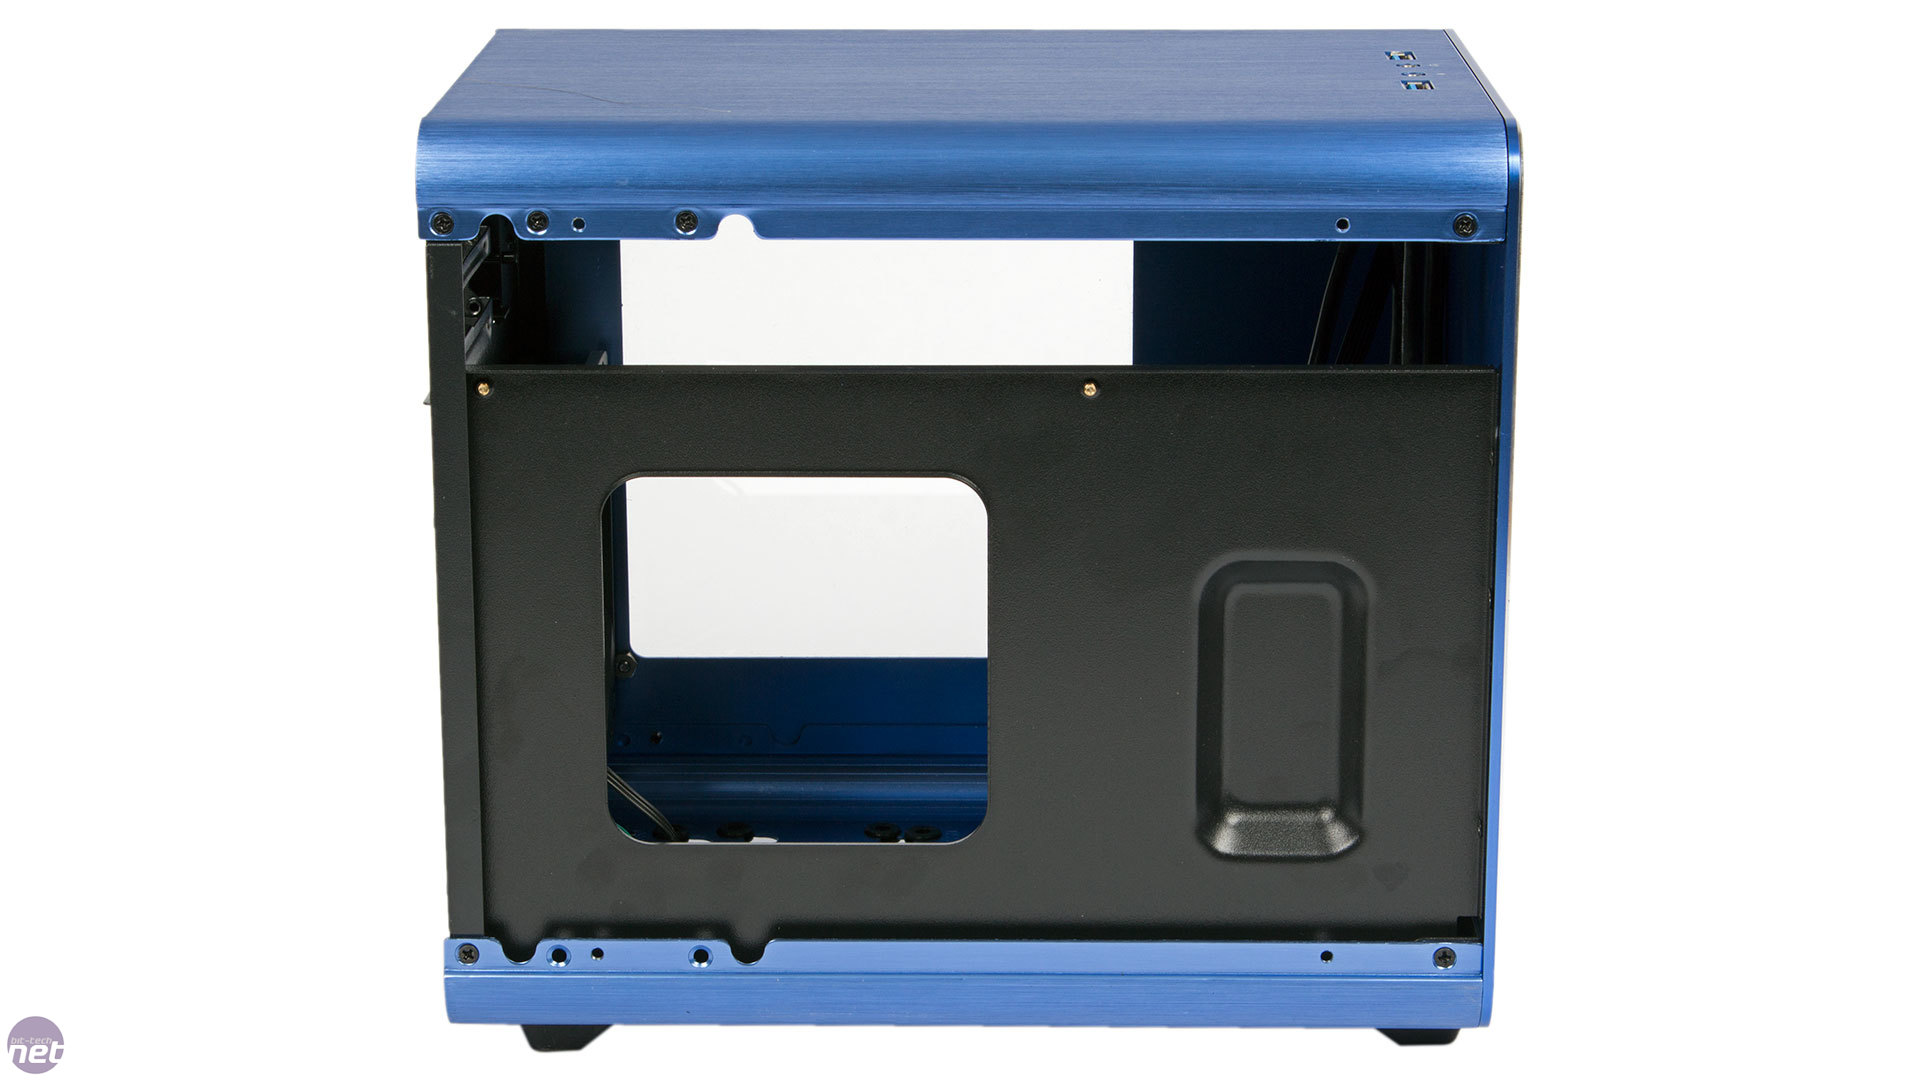
With the small dimensions of the Metis you'd expect a relatively cramped interior and that's indeed what you have. The two side panels are held in place with four regular screws each – there are no thumbscrews spoiling the clean lines. These are the only panels you actually need to remove for installation, but the chassis is very mod-friendly as every other part of it is held in with screws - another rarity for so inexpensive a case.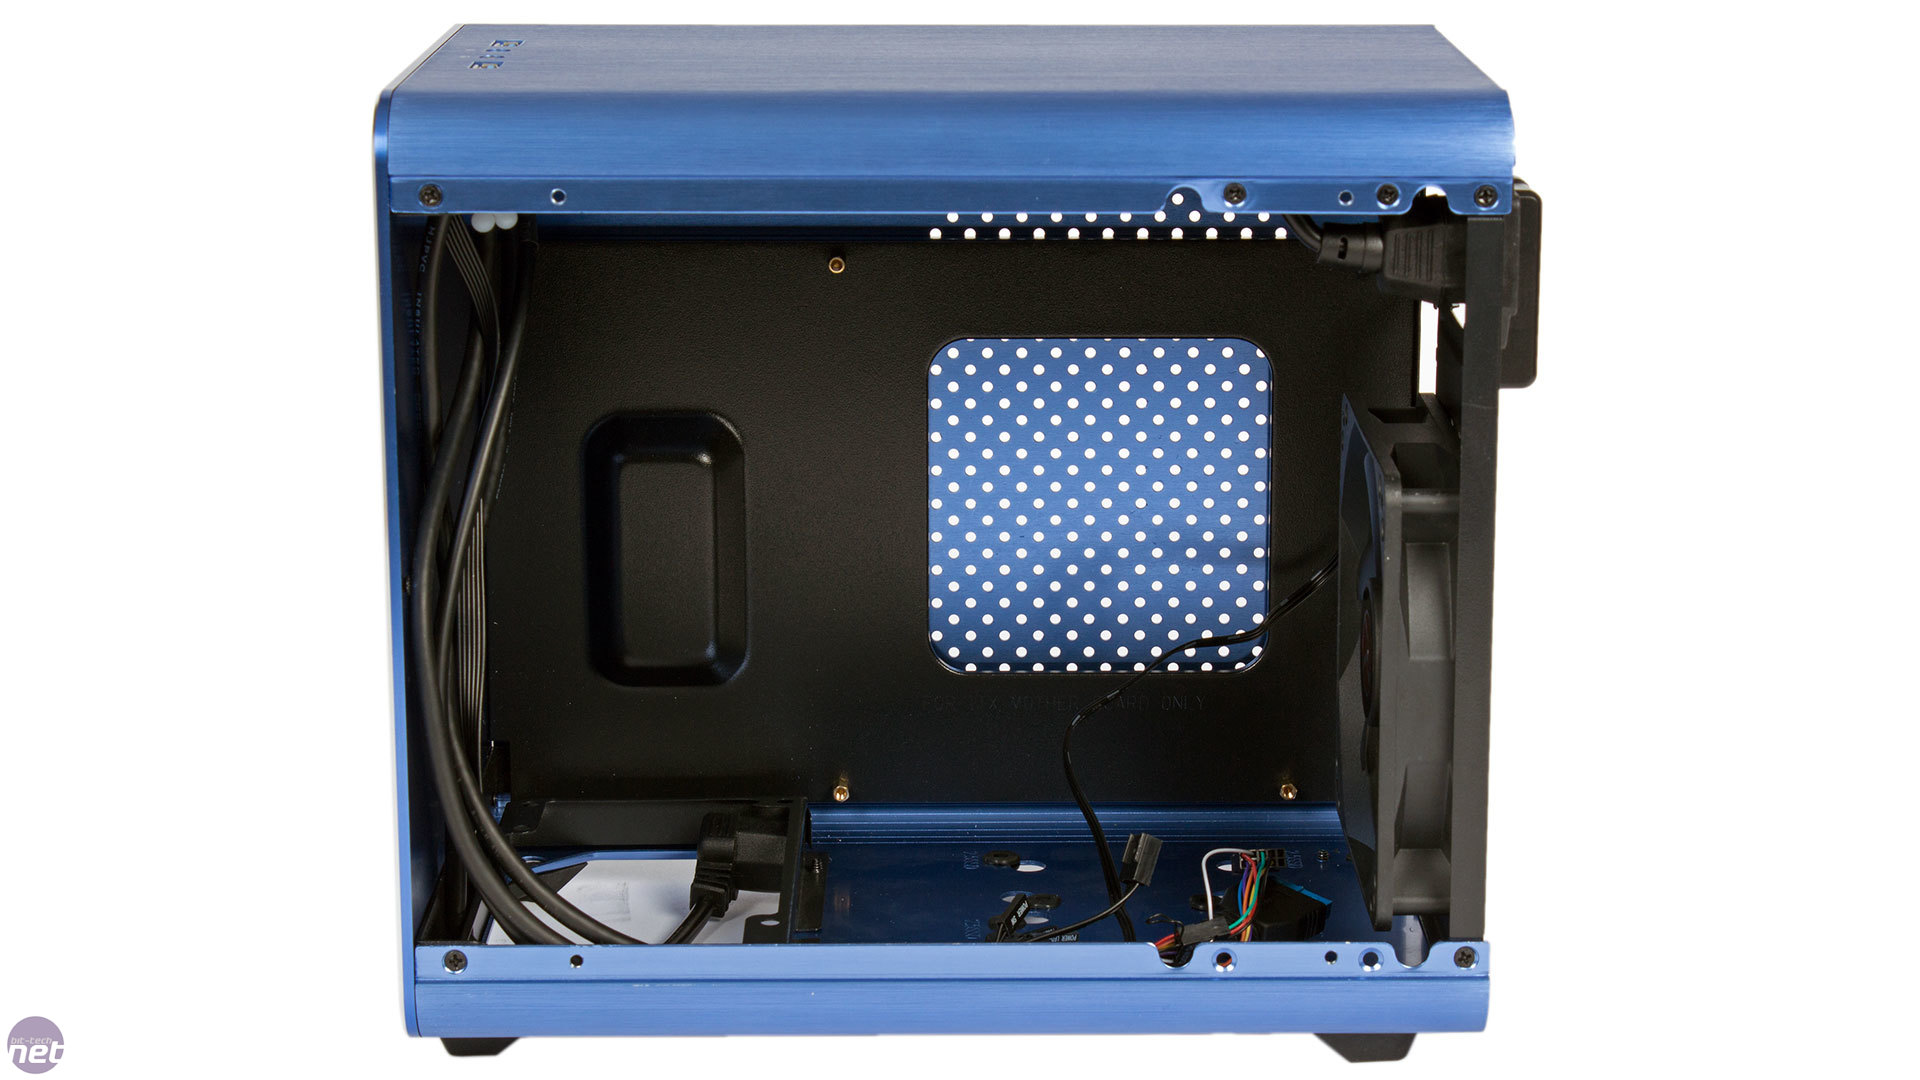
Click to enlarge
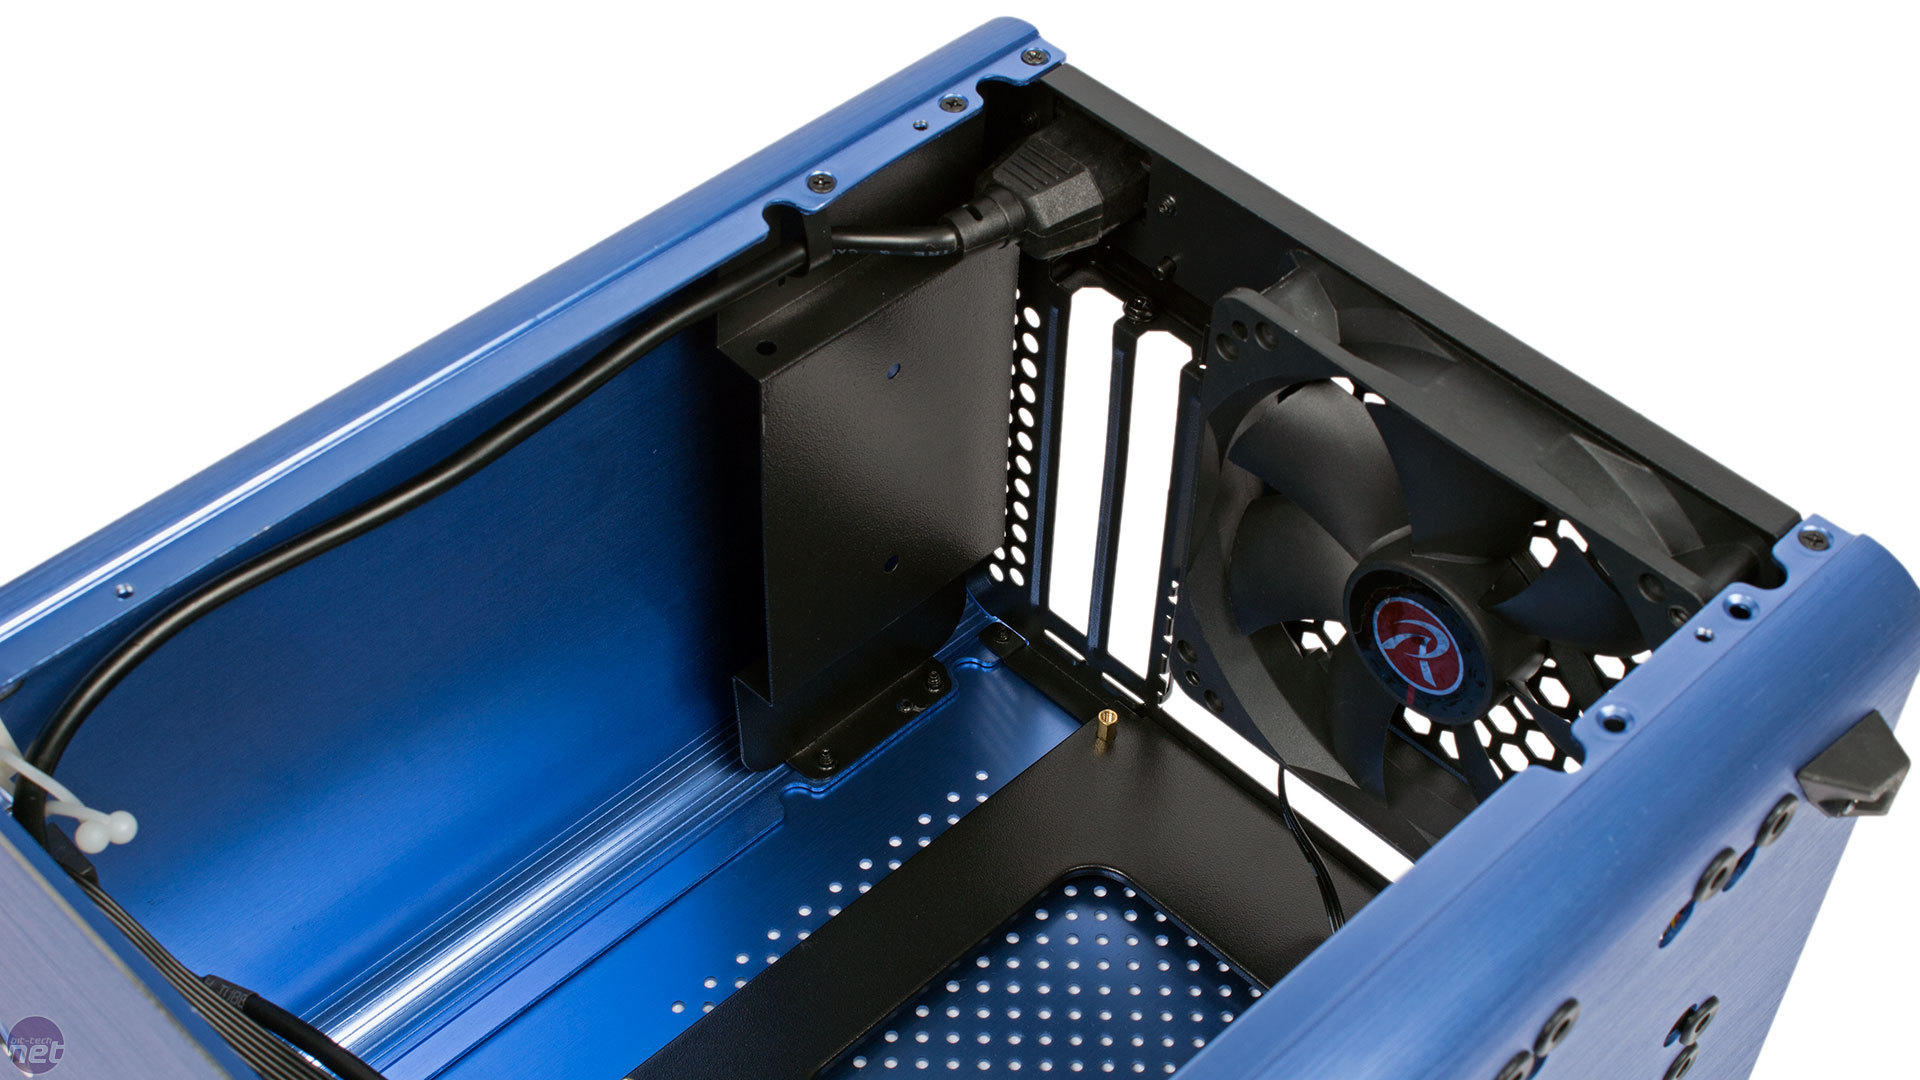
There are four pre-installed motherboard mounts on the tray, but that's about as far as Raijintek goes to help you out with installation, as it quickly becomes a rather fiddly process. As you've probably worked out by now, motherboards are installed upside down in the Metis.
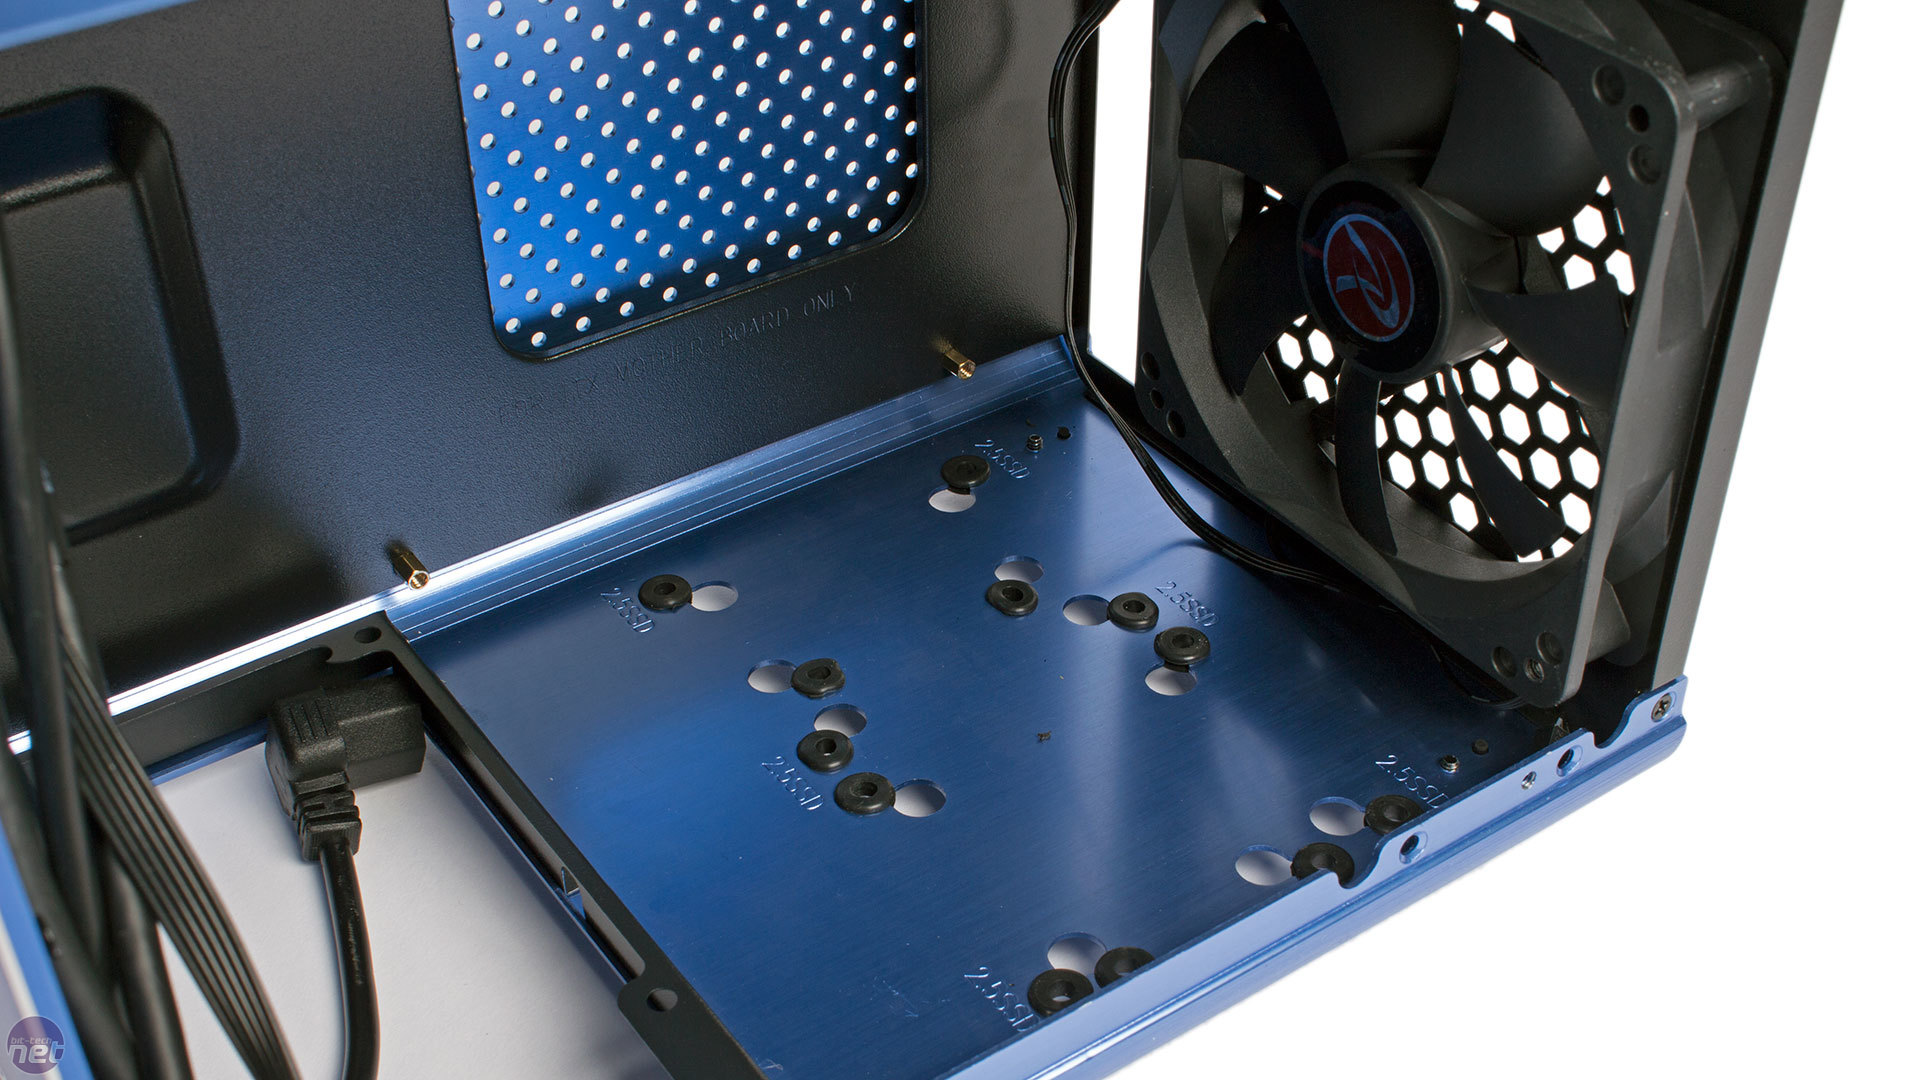
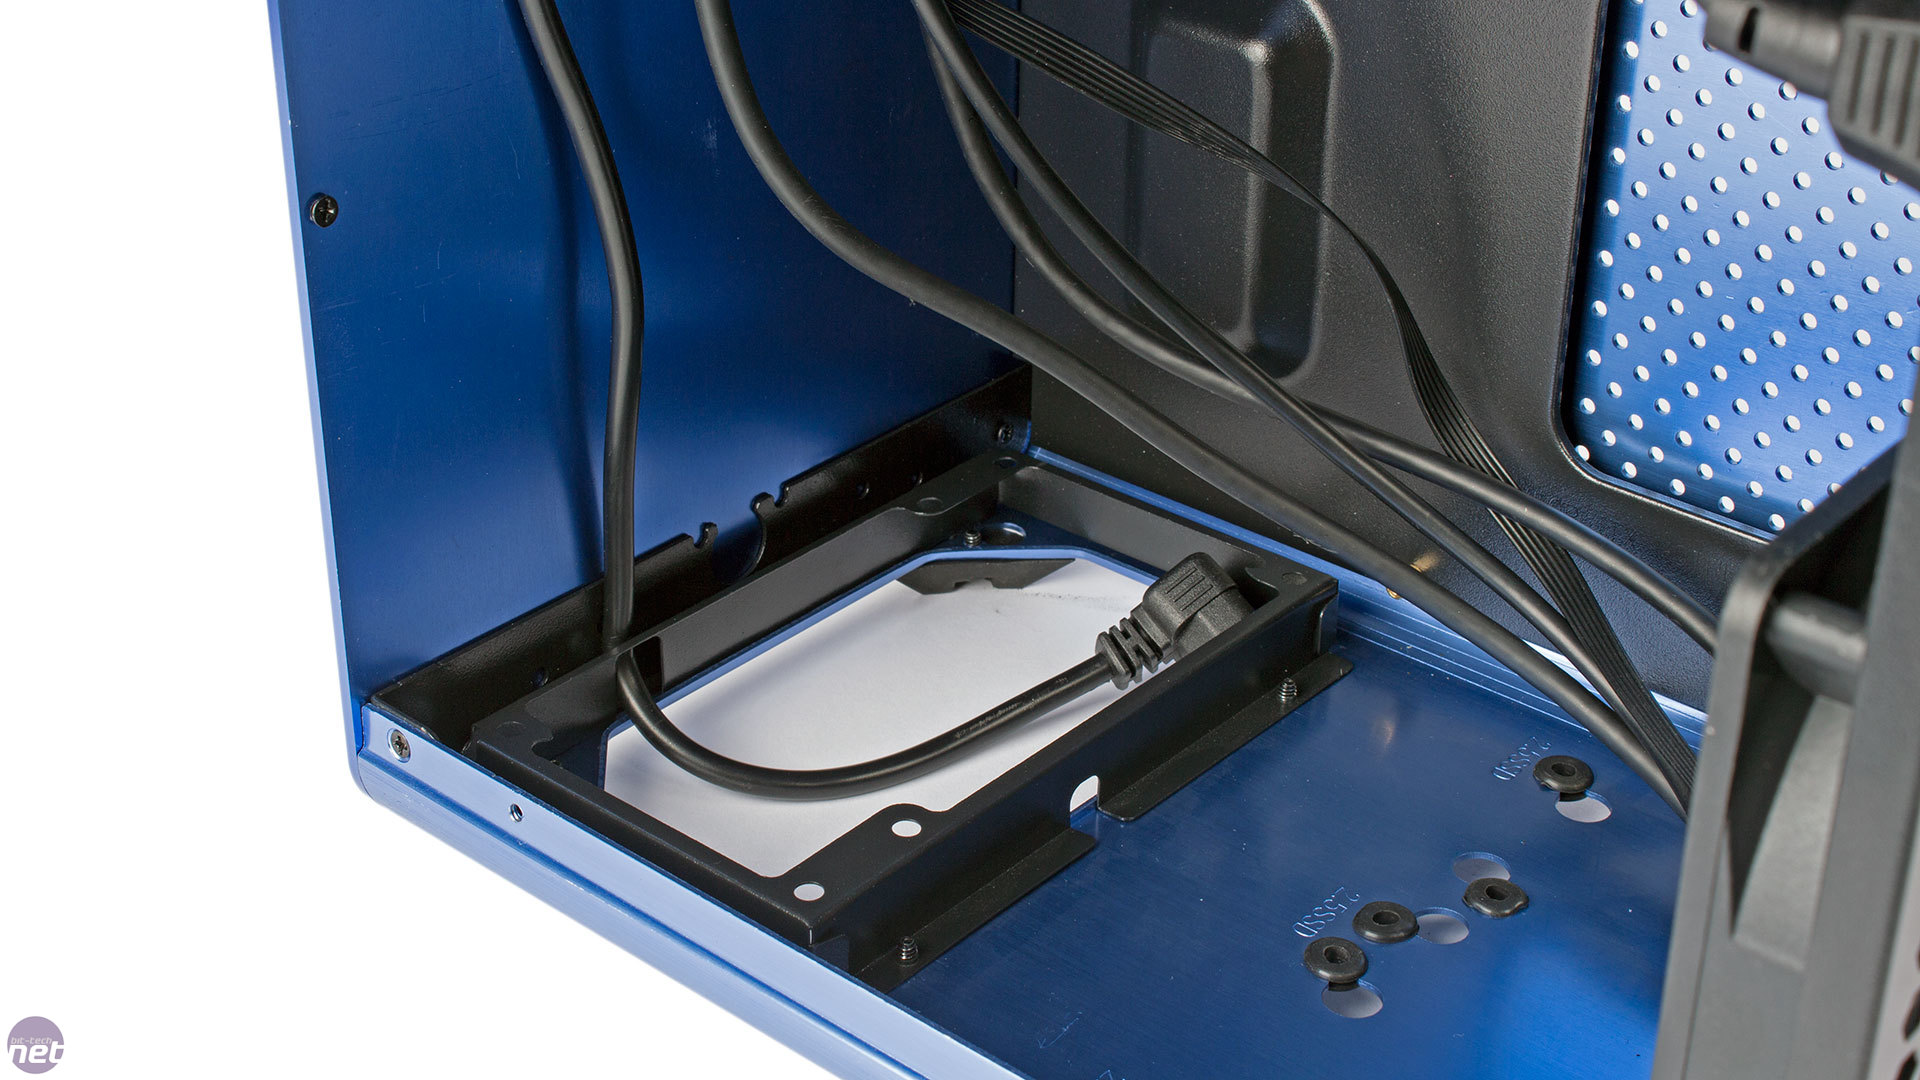
Two 2.5-inch drives can be installed on the floor, and it's good to see rubber grommets included on the mounting holes in case you're using mechanical hard drives instead of SSDs. We should note, however, that the motherboard sits so close to the bottom of the chassis that with our one, the VRM daughterboard prevented the 2.5-inch mount closest to it from being used. However, this isn't a common feature of mini-ITX motherboards so we're willing to overlook it. We also found that our Zalman cooler ran very close to the rear exhaust fan. Even so, with 160mm of CPU cooler clearance and most of the area in front of the motherboard clear, you could feasibly fit some pretty hefty coolers to your CPU if desired.
Click to enlarge
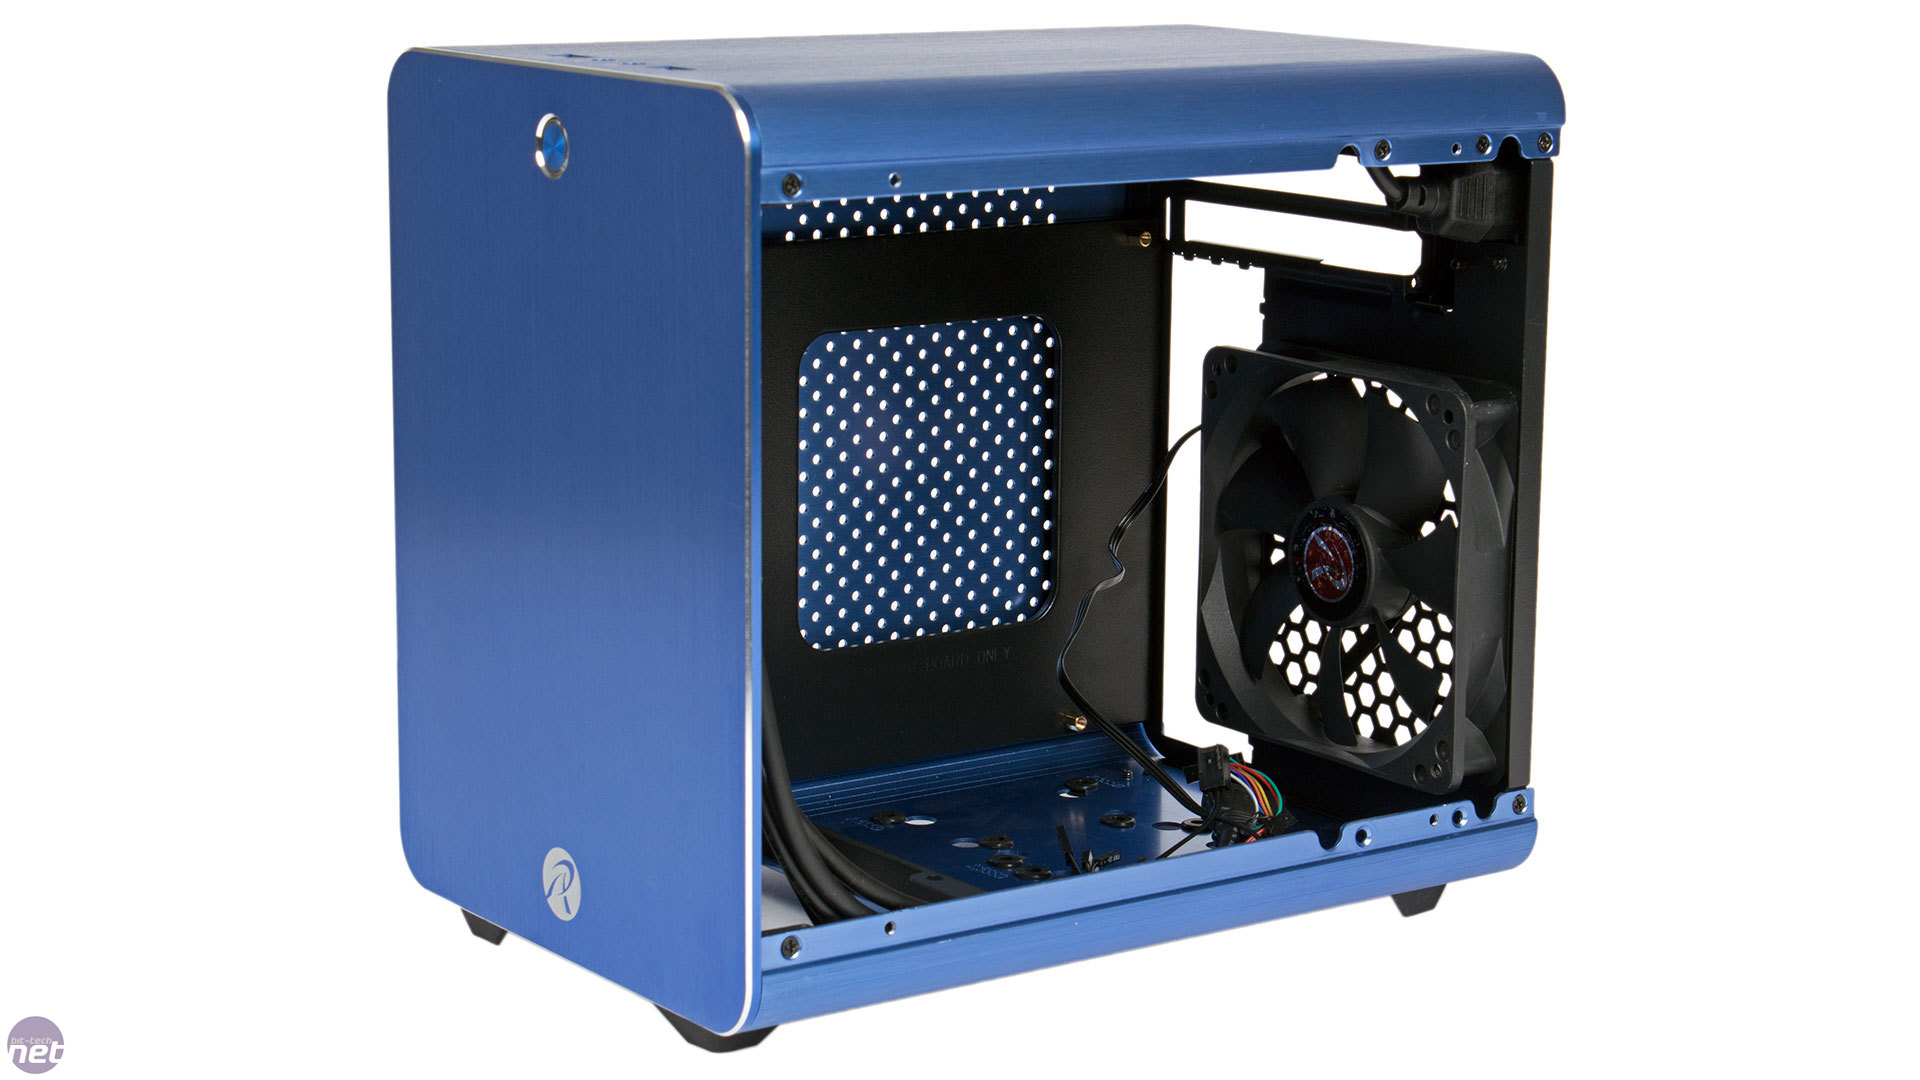
It's also possible to install a 3.5-inch hard drive in the supplied roof bracket, and it's this that explains the ventilation above the PCI brackets on the rear of the chassis. Access to this bracket is essentially blocked once you occupy your motherboard's expansion slot, so be sure to install your 3.5-inch drive first.
Installing your PSU first necessitates the removal of the internal bracket, but doing this also means you have to remove the two front feet to expose a pair of the screws holding it in – this is annoying and there was surely a way around this. With the bracket released and fixed to your PSU, you then slot it back into place so that the rear of the PSU faces downwards. Even with our 140mm PSU, it was quite a struggle to get it in, and connecting power cables afterwards was also very fiddly. Support for SFX PSU would have made a lot more sense, although there aren't too much such PSUs on the market so Raijintek would be limiting its users even more by doing this.
As for cables, the only real place to store them is above the PSU, so the longer your PSU the less space you have. Nevertheless, we managed to stash everything fairly neatly in a way that didn't impede on what little airflow the Metis has, but it's important to plan ahead to make sure you install hardware and route cables in a sensible order to avoid frustration. That just leaves the graphics card, which, due to the PSU, is limited to 170mm. This means our regular mini-ITX test card, a GTX 570, is out of the question. Thankfully, however, we'd just had the dinky Asus GeForce GTX 970 DirectCU Mini delivered, which was the perfect candidate (expect a review of this mini monster very soon!).
Click to enlarge
By this point, we had become concerned about the Metis's thermal design. For starters, it has only one fan, and no real ventilation except the areas behind the motherboard tray and above the PCI brackets, which aren't likely to be of much use to your core hardware. What's worse, however, is that this fan is mounted as an exhaust. Usually, if you can only have one fan, a rear exhaust should be it, but in this case it means that if you're using a low-profile CPU cooler it will actually be working against it, drawing air away rather than feeding it cool air. If you're using a tower cooler, then the upside down motherboard means you'd have to reorientate your fan so that it's pushing air towards the rear fan. However, even if you do this, you also have to contend with the fact that your PSU will be competing with your cooler by pulling air out from the same area.
Having that rear 120mm fan as an intake would make much more sense, as then cool air would be coming in, blowing across or through your CPU cooler and then out through your PSU – still not ideal, but better than the current situation unless the Metis is capable of bending the laws of physics. Instead, you have zero intake fans and not even any real places for air to be drawn in through negative pressure, and two exhausts working against each other – the PSU and rear fan. Topping it off, your graphics card intake fans are positioned mere millimetres from the roof, which has no ventilation (and these fans will also be exhausting air). It may not be designed to house powerful gaming rigs, but the thermal design of the Metis still could've been given a lot more thought.
Anyway, with that in mind, we took a deep breath, hit the power button and started our thermal testing...


MSI MPG Velox 100R Chassis Review
October 14 2021 | 15:04


Want to comment? Please log in.