ITX Upgrade Kit and Water-Cooling Options
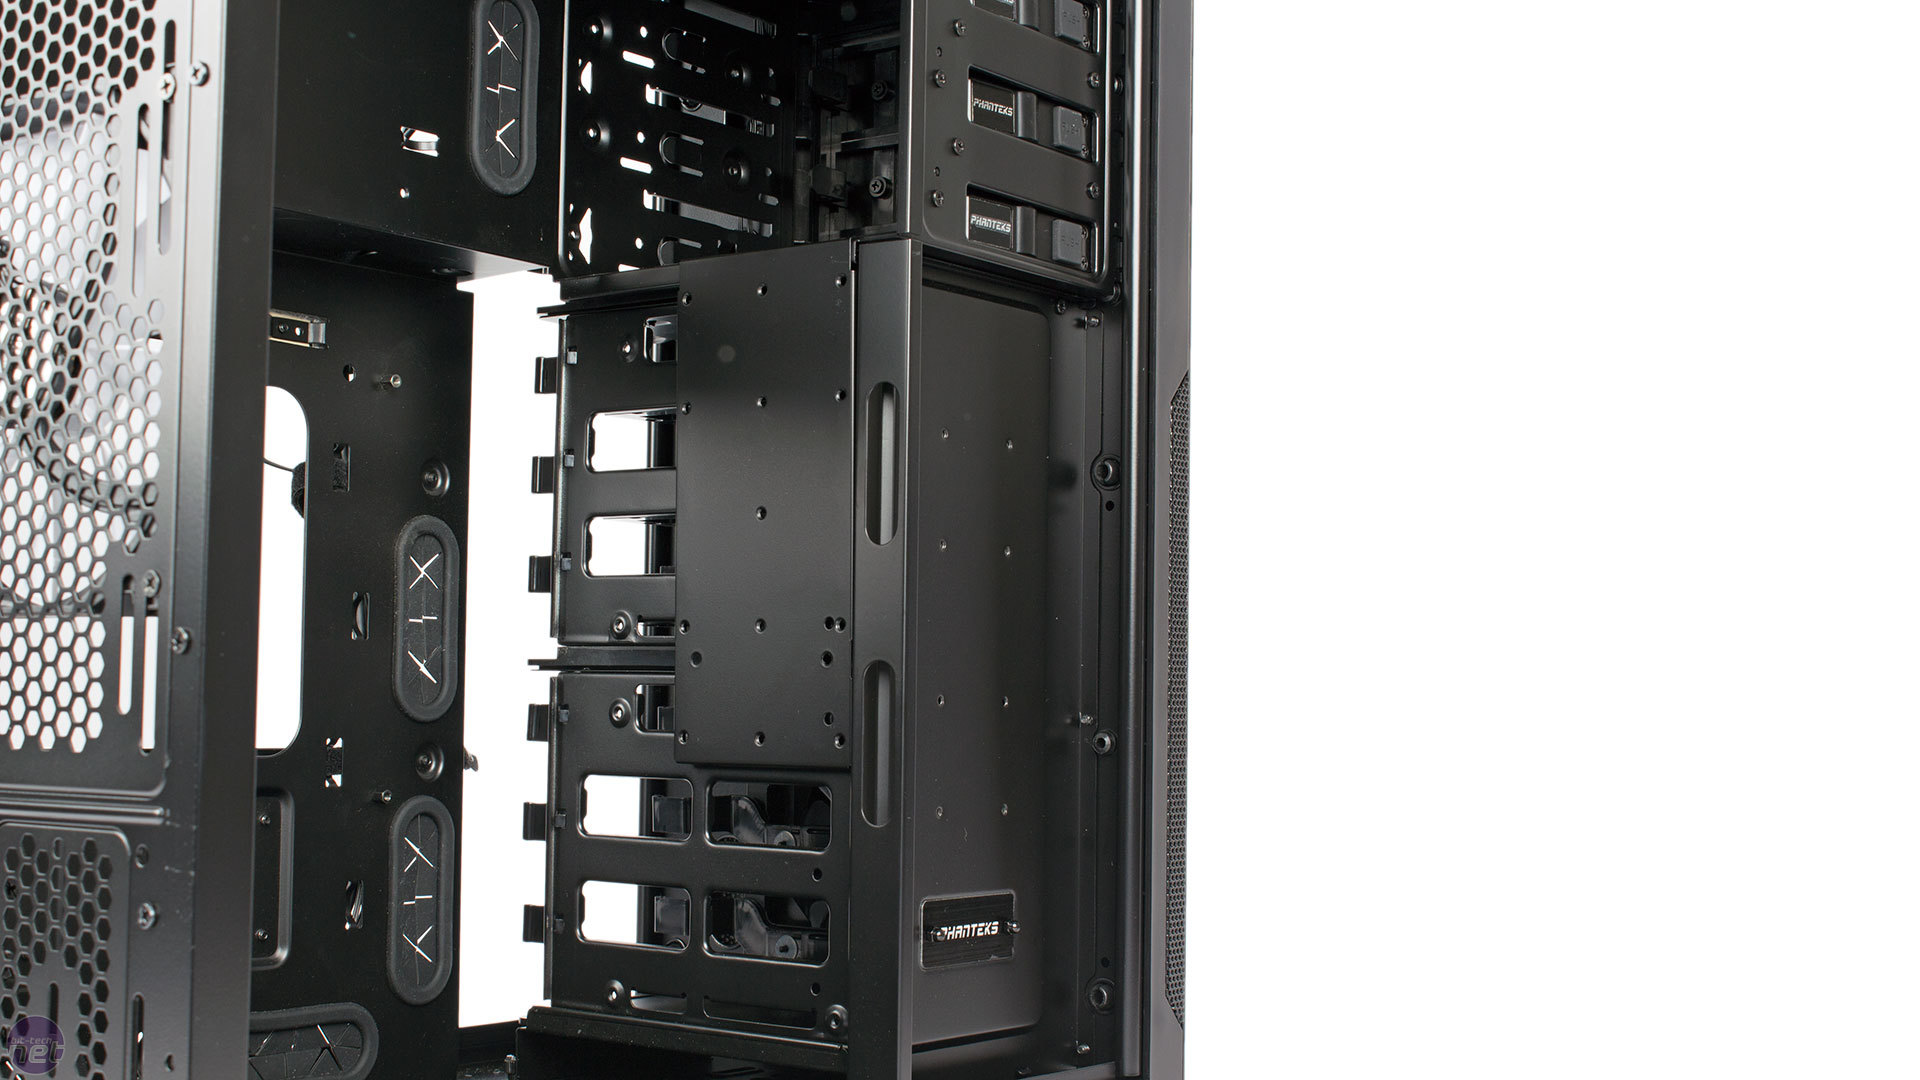
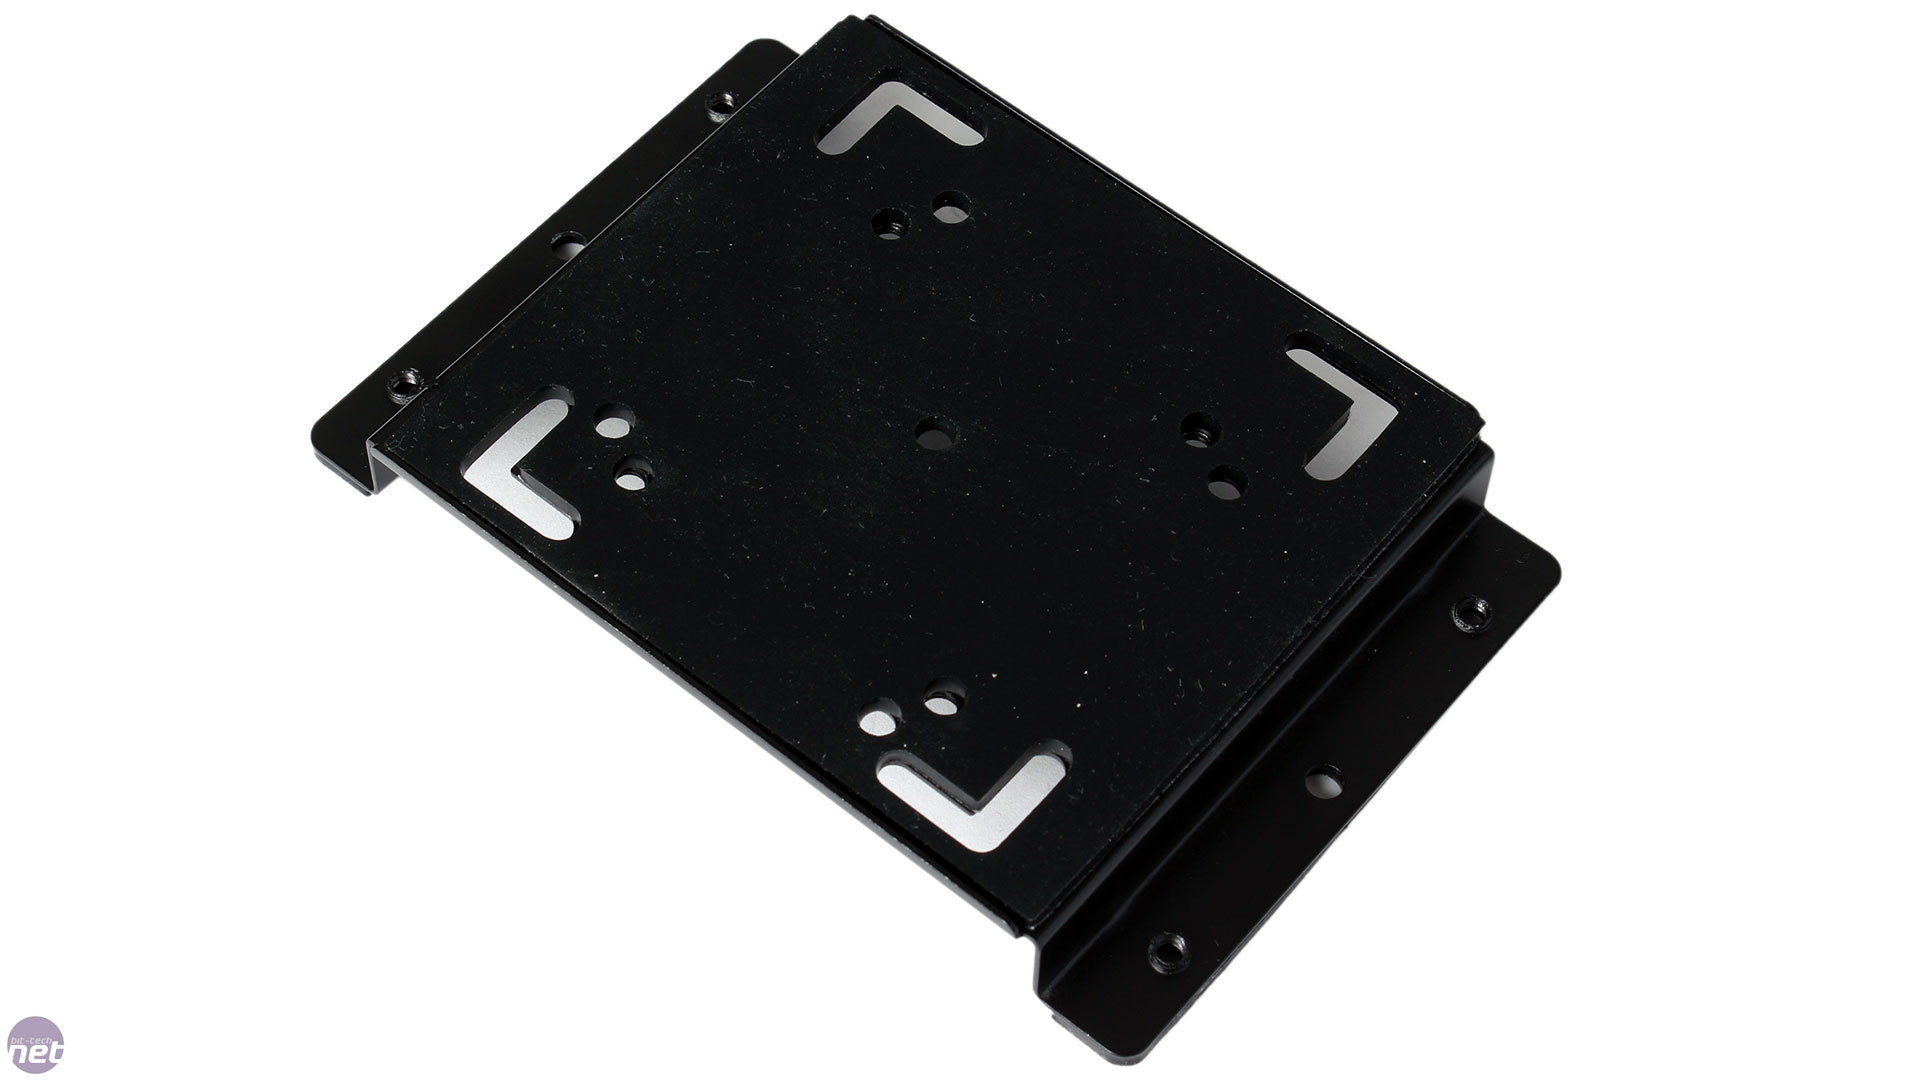
As we mentioned, the Mini XL is no ordinary micro-ATX case. By purchasing the Phanteks ITX Upgrade Kit for £23, you can turn it into dual-system chassis. The kit includes a replacement rear panel, a secondary, ITX motherboard tray (with pre-installed mounts of course), a 5.25in module with front-accessible power/reset buttons, USB 3 ports and audio jacks and all the necessary extra screws. With 11 screws required to swap out the rear panel and four more for the motherboard tray, it takes less than 5 minutes to transform the case.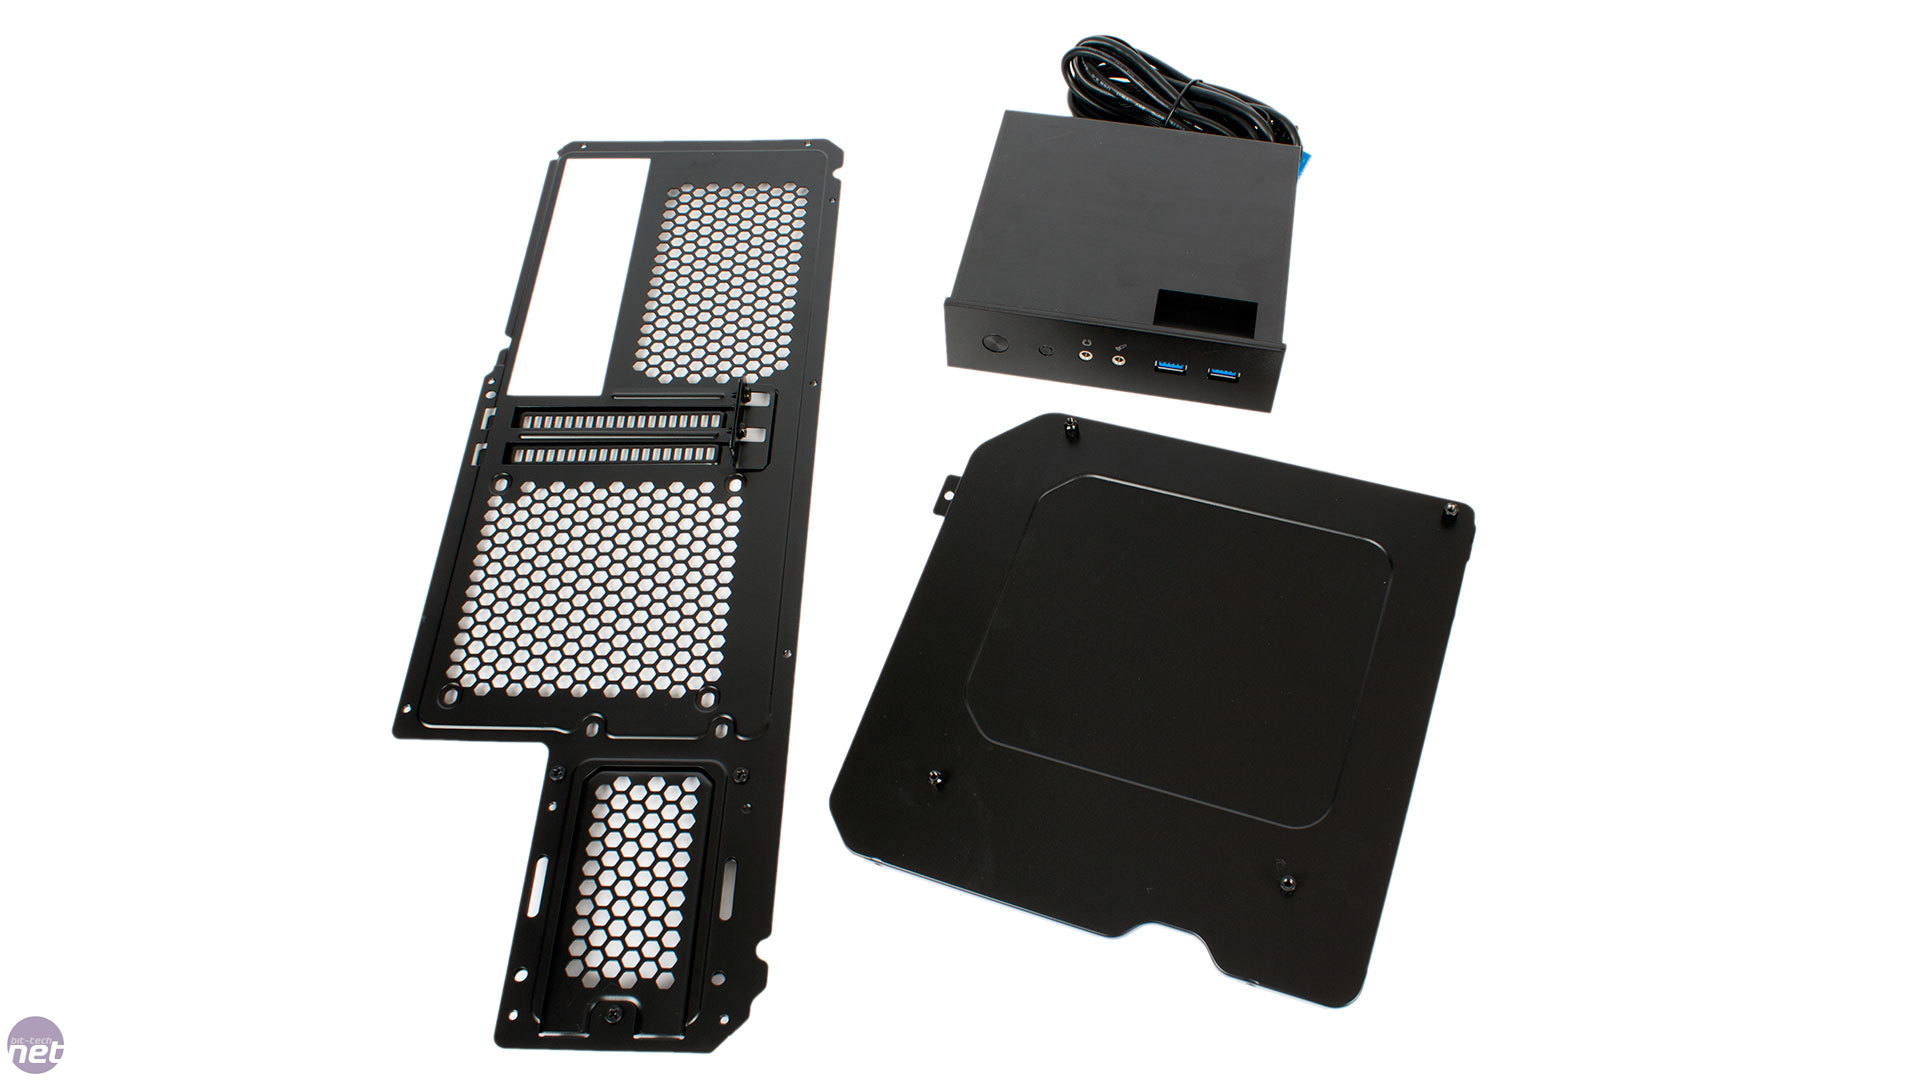
Click to enlarge
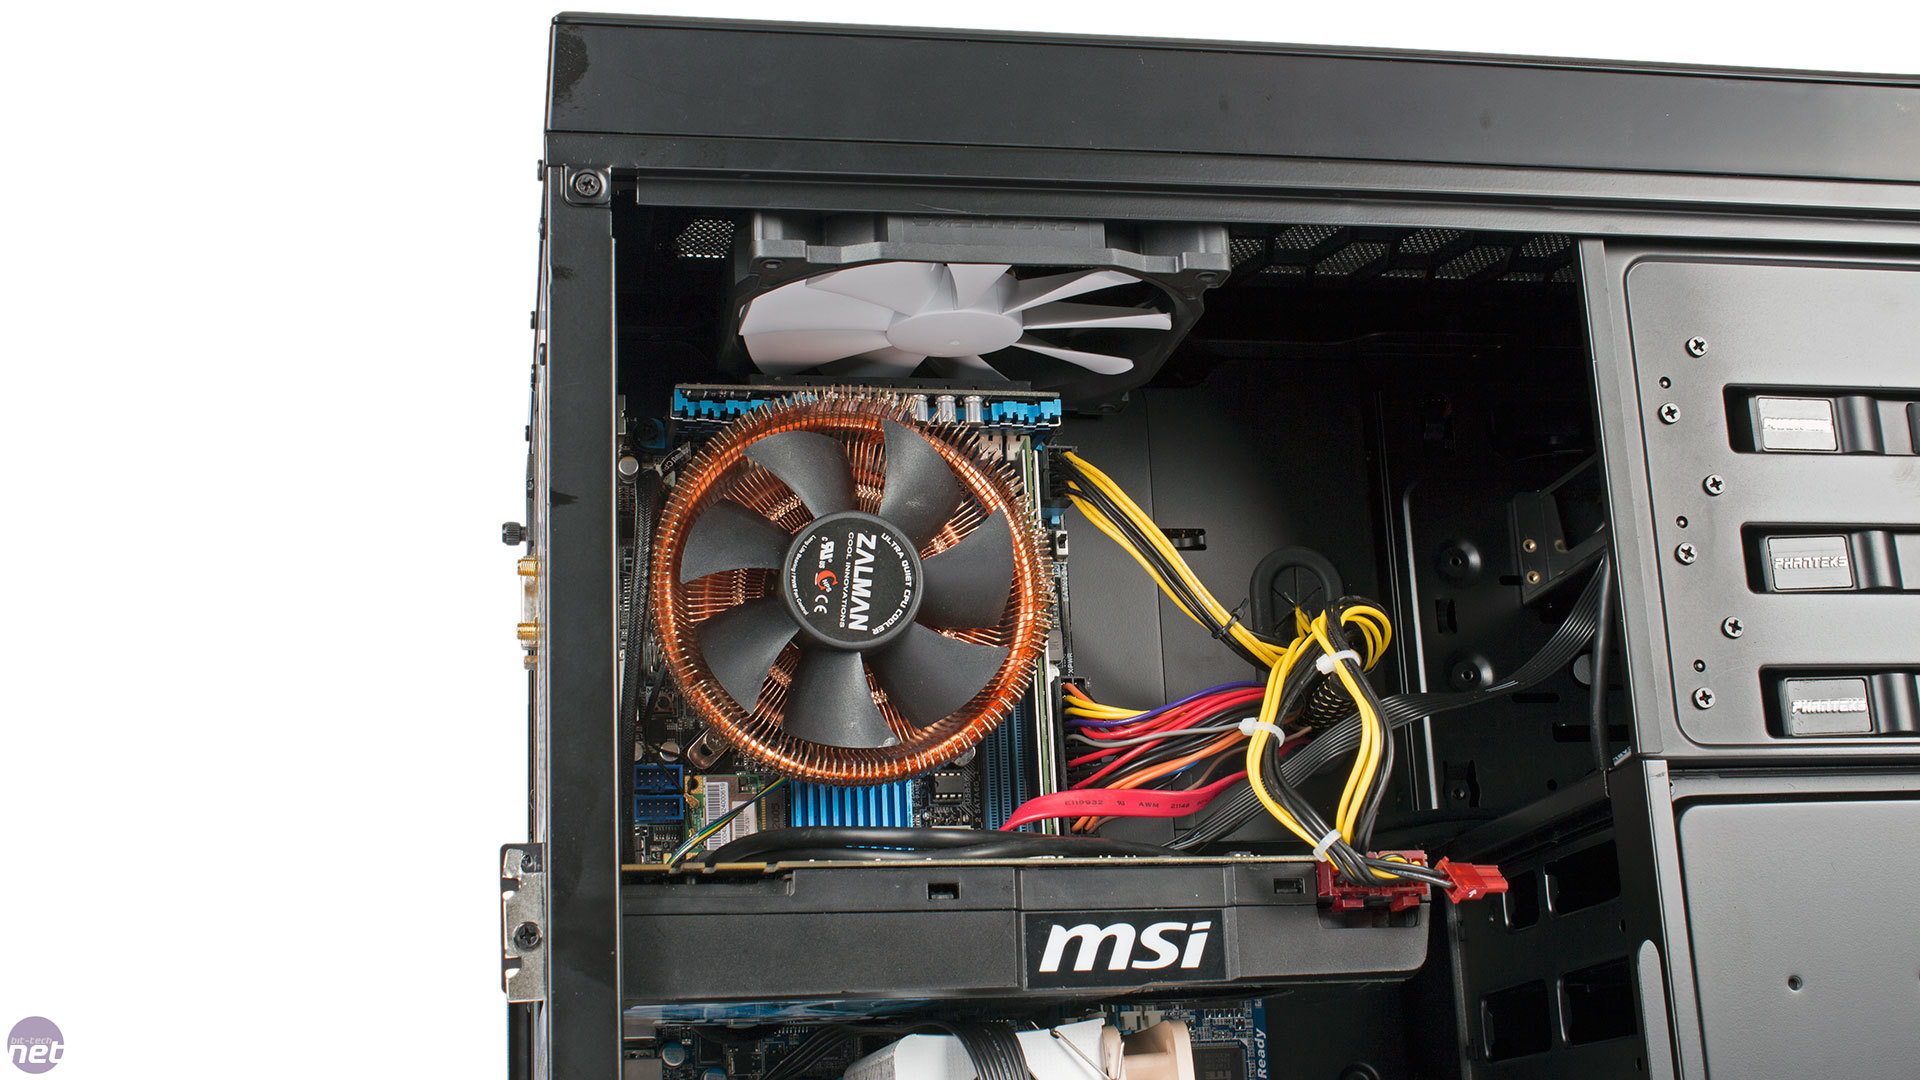
Changing the rear panel means you lose 140mm fan support in the rear. In its place is a single 120mm mount where you can fit an exhaust fan for the micro-ATX system. When thermal testing in dual system mode, we left this mount empty, and moved the now spare 140mm fan to act as a roof exhaust just above the mini-ITX system's CPU cooler - we test cases only with the fans they are supplied with, and this seemed like the most sensible position to move it to. We should note, however, that the mini-ITX motherboard tray prevented the 140mm fan mount in this part of the roof being fully accessible, so we could only attach the fan on one side using the 120mm mounting struts.
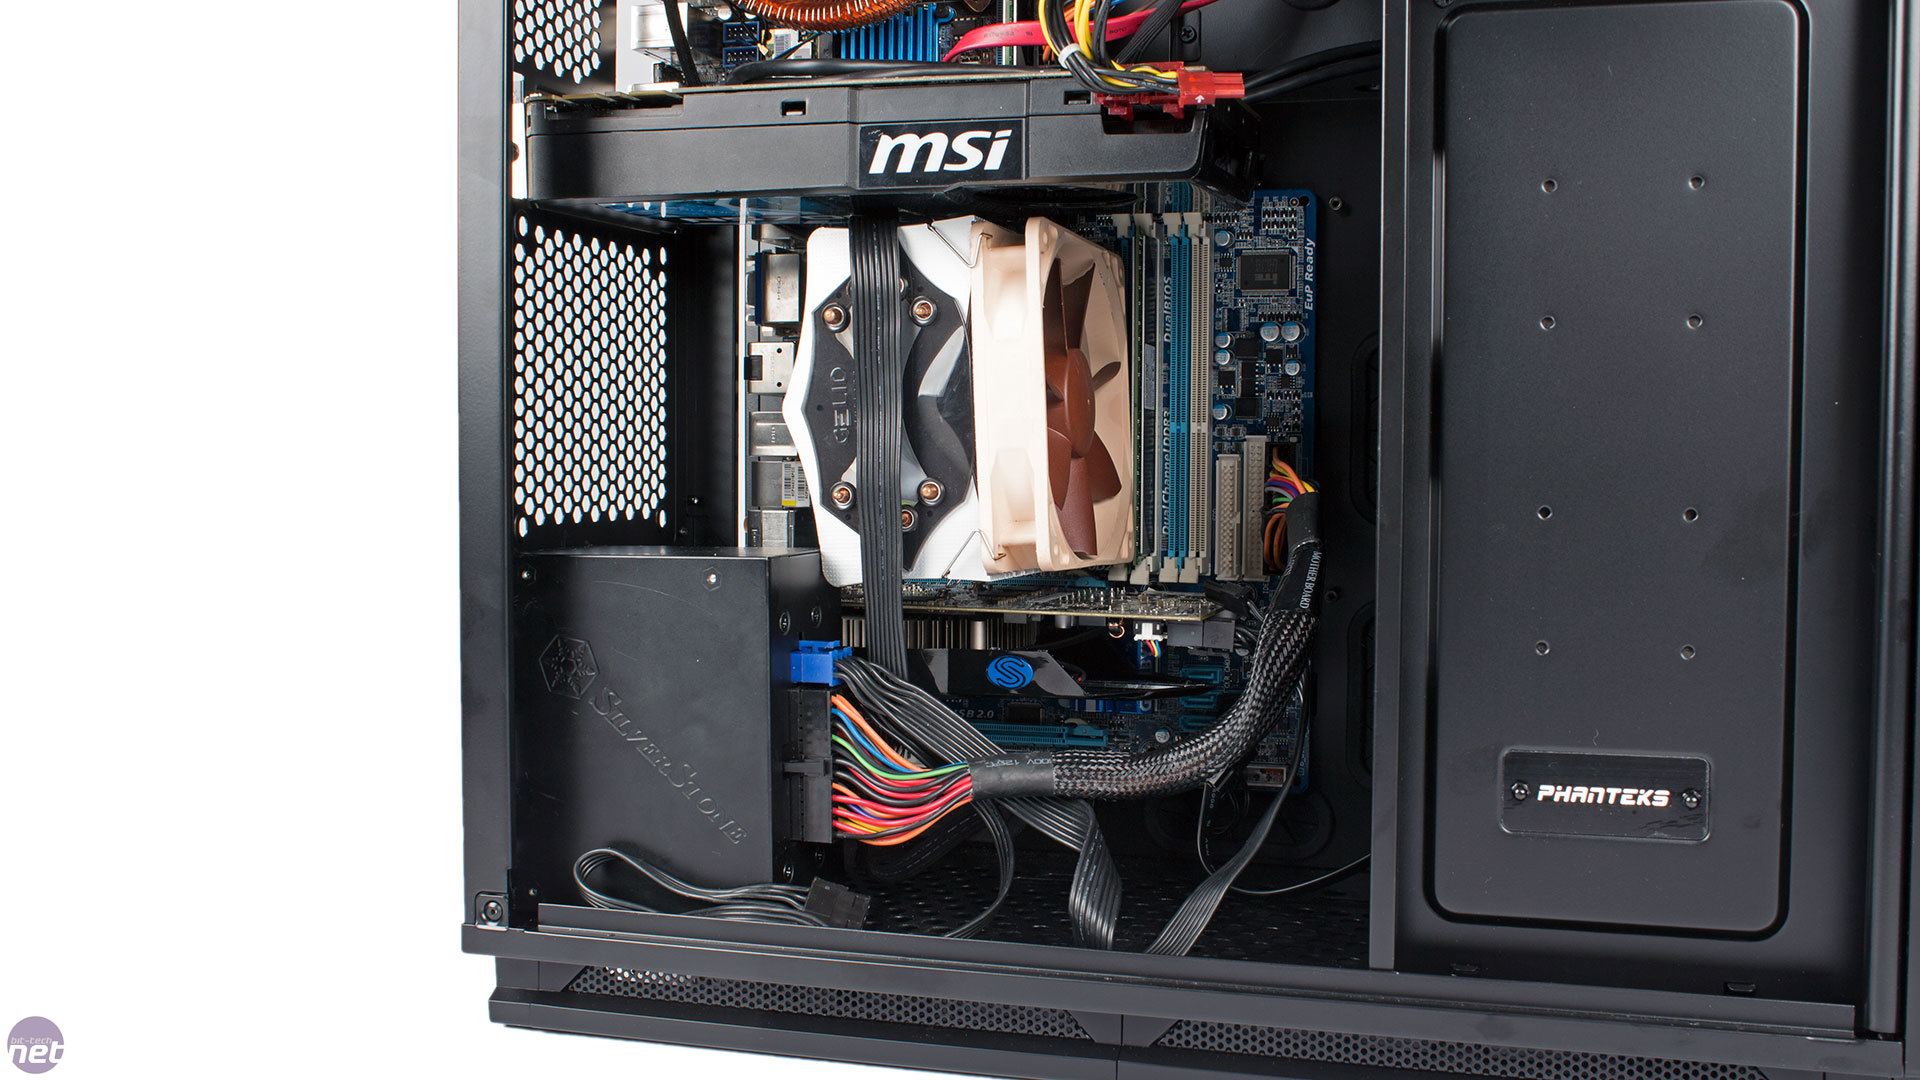
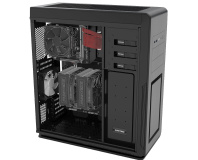
Installing the mini-ITX motherboard and graphics card is simple, though we ran into issues with the PSU. You are limited to an SFX model, and it goes on the floor of the chassis next to the expansion slot area of the micro-ATX system. This has a number of consequences. Firstly, your expansion cards (especially GPUs) cannot be too wide, or they'll clash with the PSU. We also clashed when it came to our micro-ATX system's cooler – we could barely fit the PSU in (they were actually touching) and the Gelid Tranquillo is on the small side for a tower cooler, so many coolers in this style will likely have this issue.
Click to enlarge
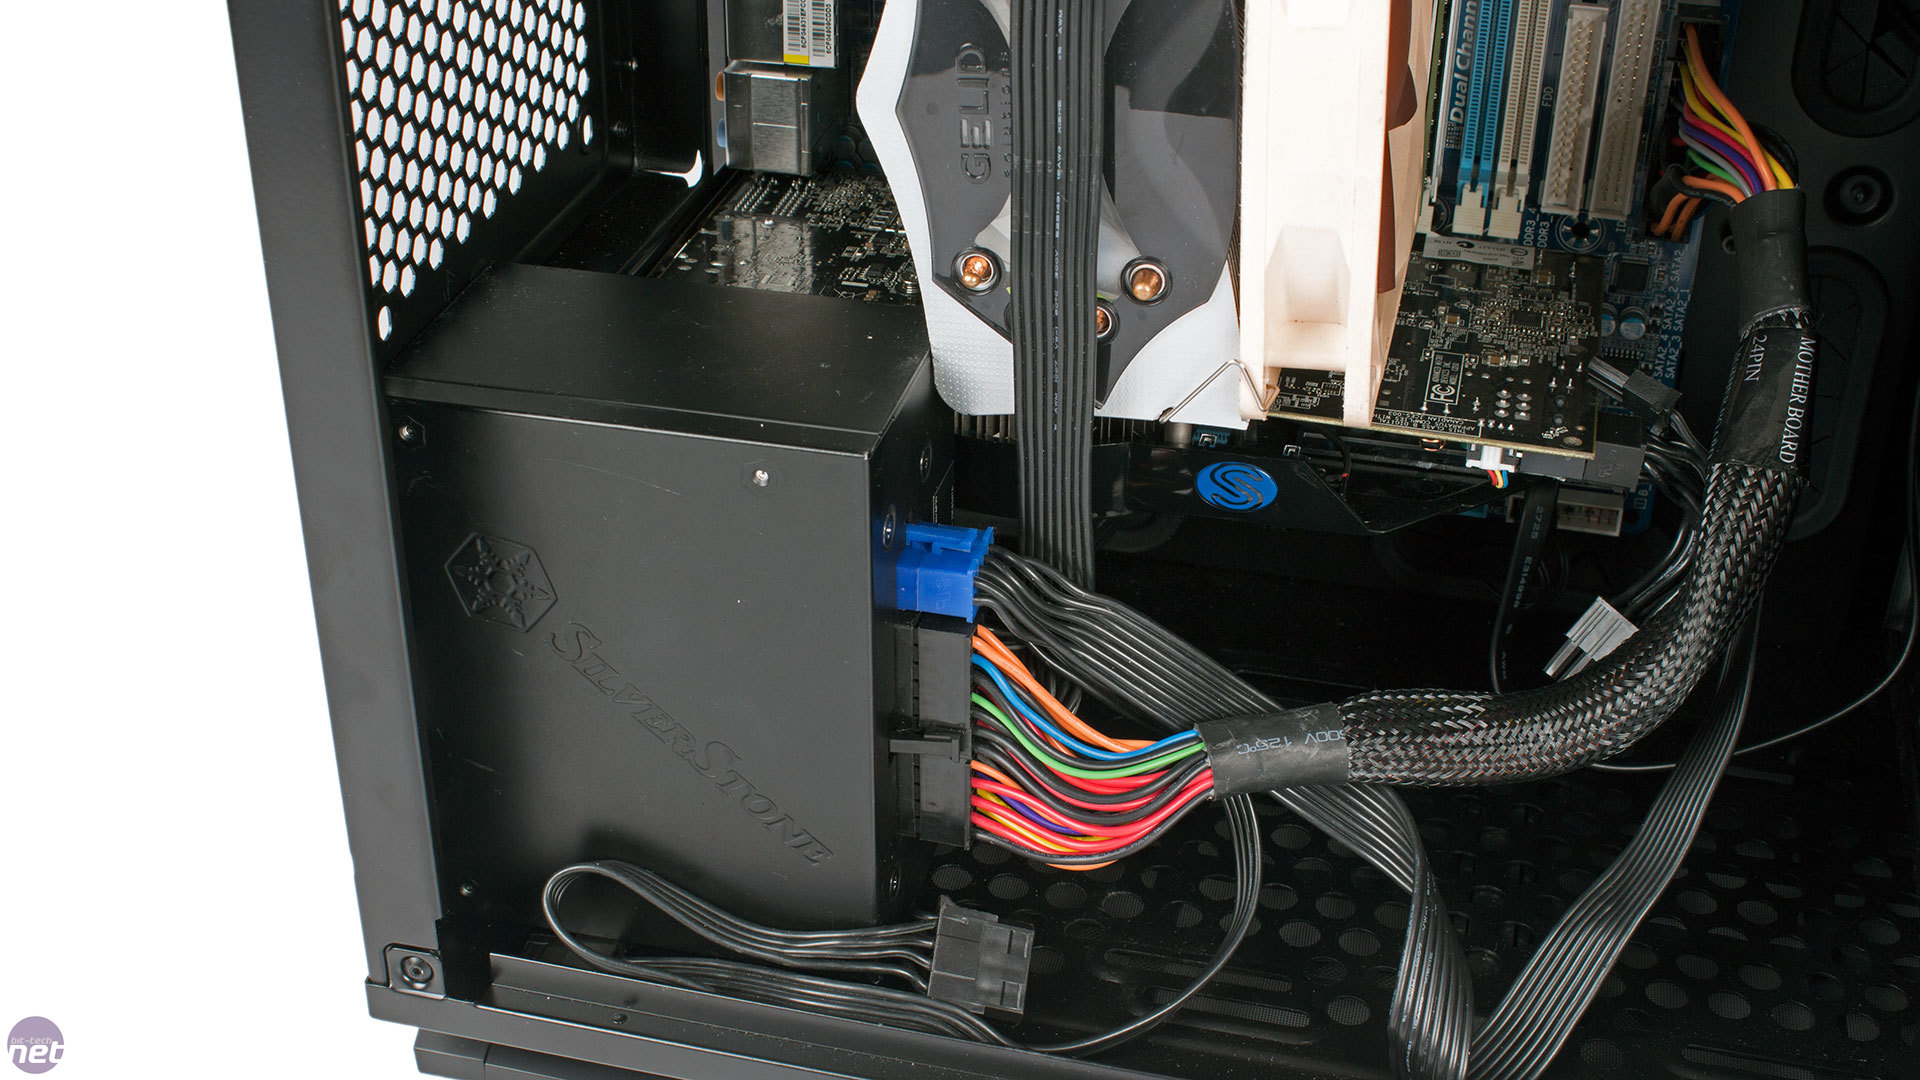
There are also a few issue related to airflow, at least with our hardware. Our SilverStone PSU would only fit in one orientation, with its fan facing the micro-ATX graphics card, thus leaving these two components fighting for air. Likewise, the mini-ITX graphics card is positioned such that its intake fan is directly above the CPU cooler fan on the micro-ATX system, again leaving these two competing for air, at least if you were to use both systems at once.
Finally, we also swapped which PSU we used with which system, as the cables on the SFX PSU were too short to reach the mini-ITX one. That said, given that the Overclockers UK system we recently used (overclocked Core i7-4790K and two GTX 980s) drew just 551W in total when under combined CPU and GPU load, and SFX PSUs now reach 600W, this may not be a huge issue. Finally, only one PSU can be used to power the fan hub, and the same applies to the LED lighting, so you'd need to think about what system you want to be connected to what.
When it comes to custom water-cooling, the Mini XL is awash with options. Rather than explain every possible combination, it's worth taking a look at this video produced by Phanteks, which also highlights a number of the features we've mentioned thus far, to get a feel for just how flexible the Mini XL is as a case. Oh, and enjoy the epic background music too...
When water-cooling just a micro-ATX system, you have heaps of room in the roof (up to 206mm) for 360mm and 280mm radiators – the tool-free ODD locks can be removed for extra clearance if needs be. The same size radiators can be fitted in the bottom, but obviously there's a lot less clearance, and you'll need the lower HDD cage removed to use the largest radiators here. With both cages removed, the side and front mounts become available for double radiators of considerable thickness as well. You can even fit a 240mm or 280mm radiator to the rear panel, just as OcUK did in its system using this chassis.
Click to enlarge - Here you can see the reservoir mount (left) and the pump mount (right), both of which are supplied with the Mini XL
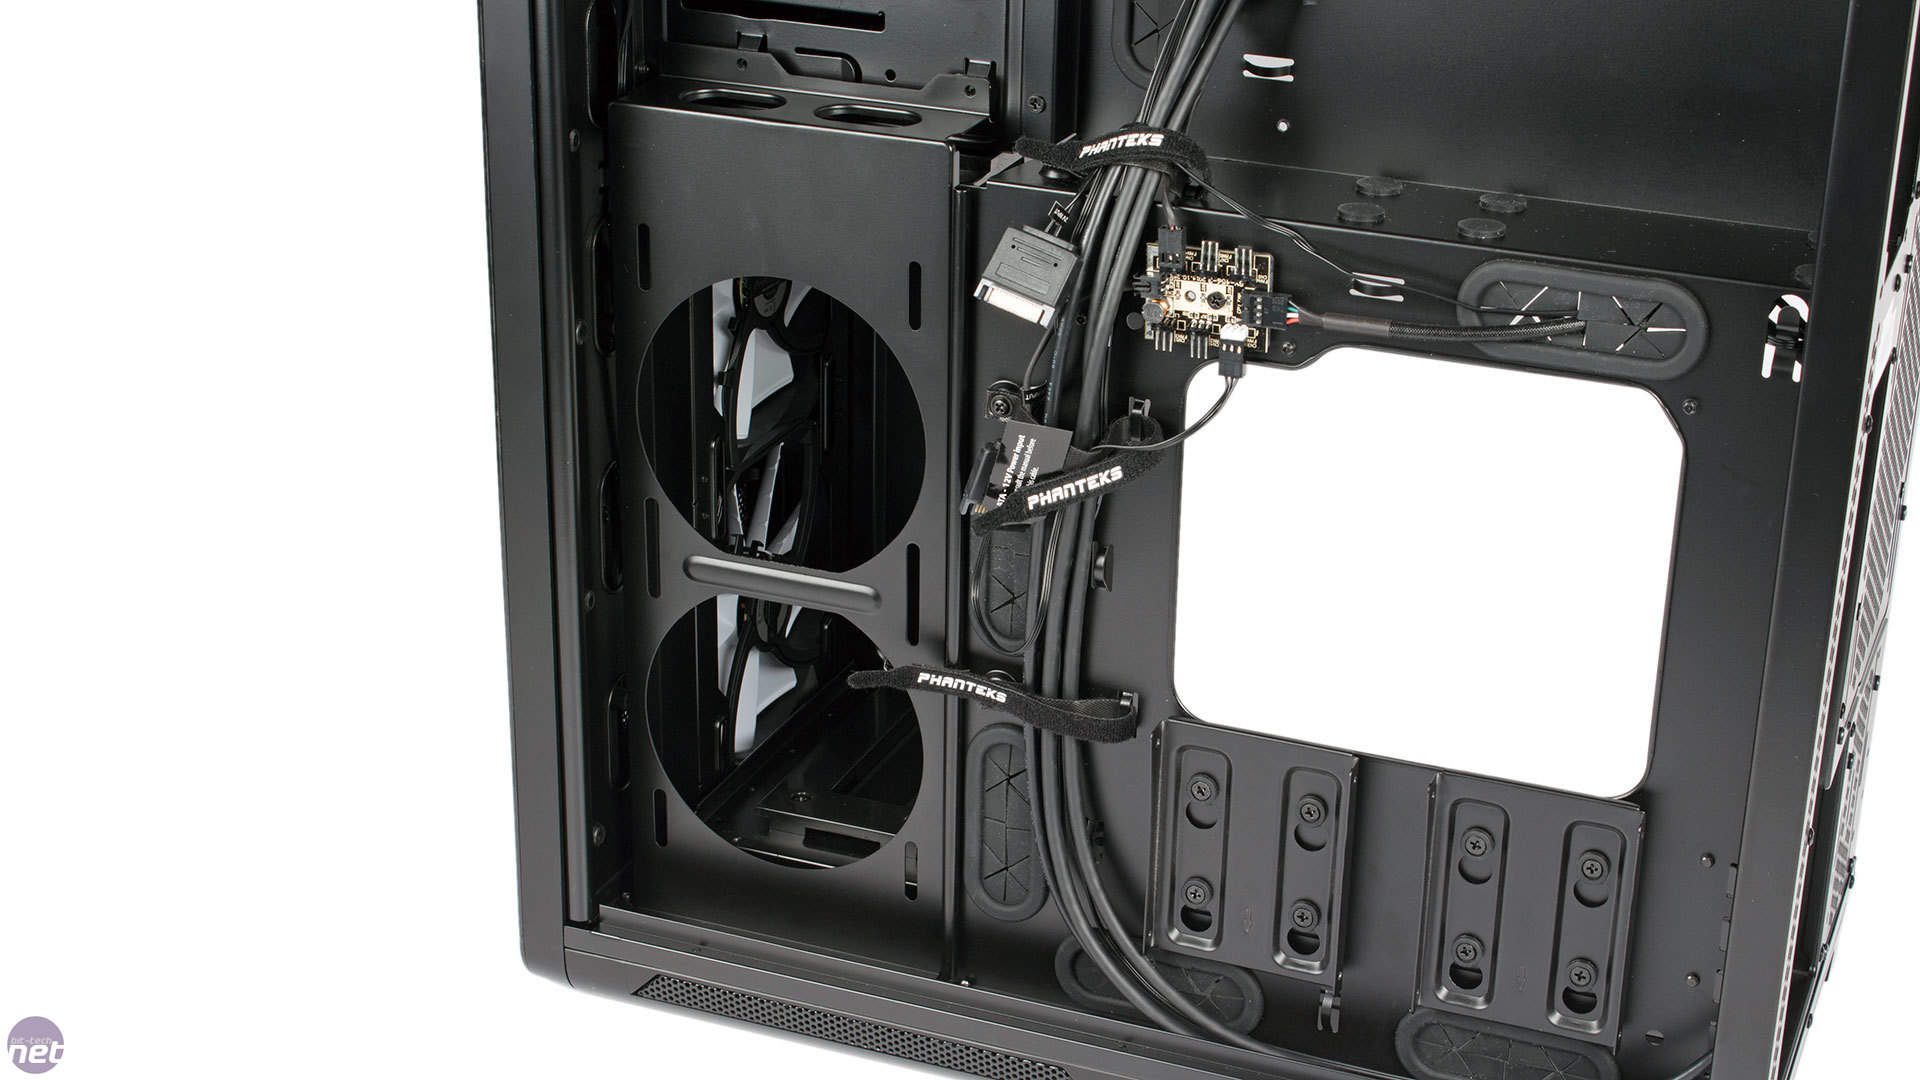
It's not just radiators that Phanteks has given thought to. As well as a 240mm radiator bracket (needed if you use the side mounts for water-cooling), a pump bracket and reservoir bracket are also supplied, with the former fitted with thick, anti-vibration rubber for good measure. The pump bracket is designed to be fitted to the bottom HDD cage rail (or just to the bottom of the case), while the reservoir bracket can be hung from the bottom of the ODD cage.
Click to enlarge - A 240mm radiator bracket is also supplied for the side mounts
With an ITX system installed as well you do reduce your options, with the rear no longer available. The roof should still be able to house 240mm radiators of any thickness until you reach the 5.25in front panel bay adaptor. The front and side areas are also still available, although this does mean losing all of the default HDD mounting positions.


MSI MPG Velox 100R Chassis Review
October 14 2021 | 15:04


Want to comment? Please log in.