Interior
It's a shame not to see a hinged design on the side panels instead of the regular notches and rails method, but there's at least no stiffness when removing them. The front panel, meanwhile, comes off with a tug from below but sadly doesn't leave the I/O cables behind, which could prove problematic if you've already routed them neatly but then need to access the front fan area.
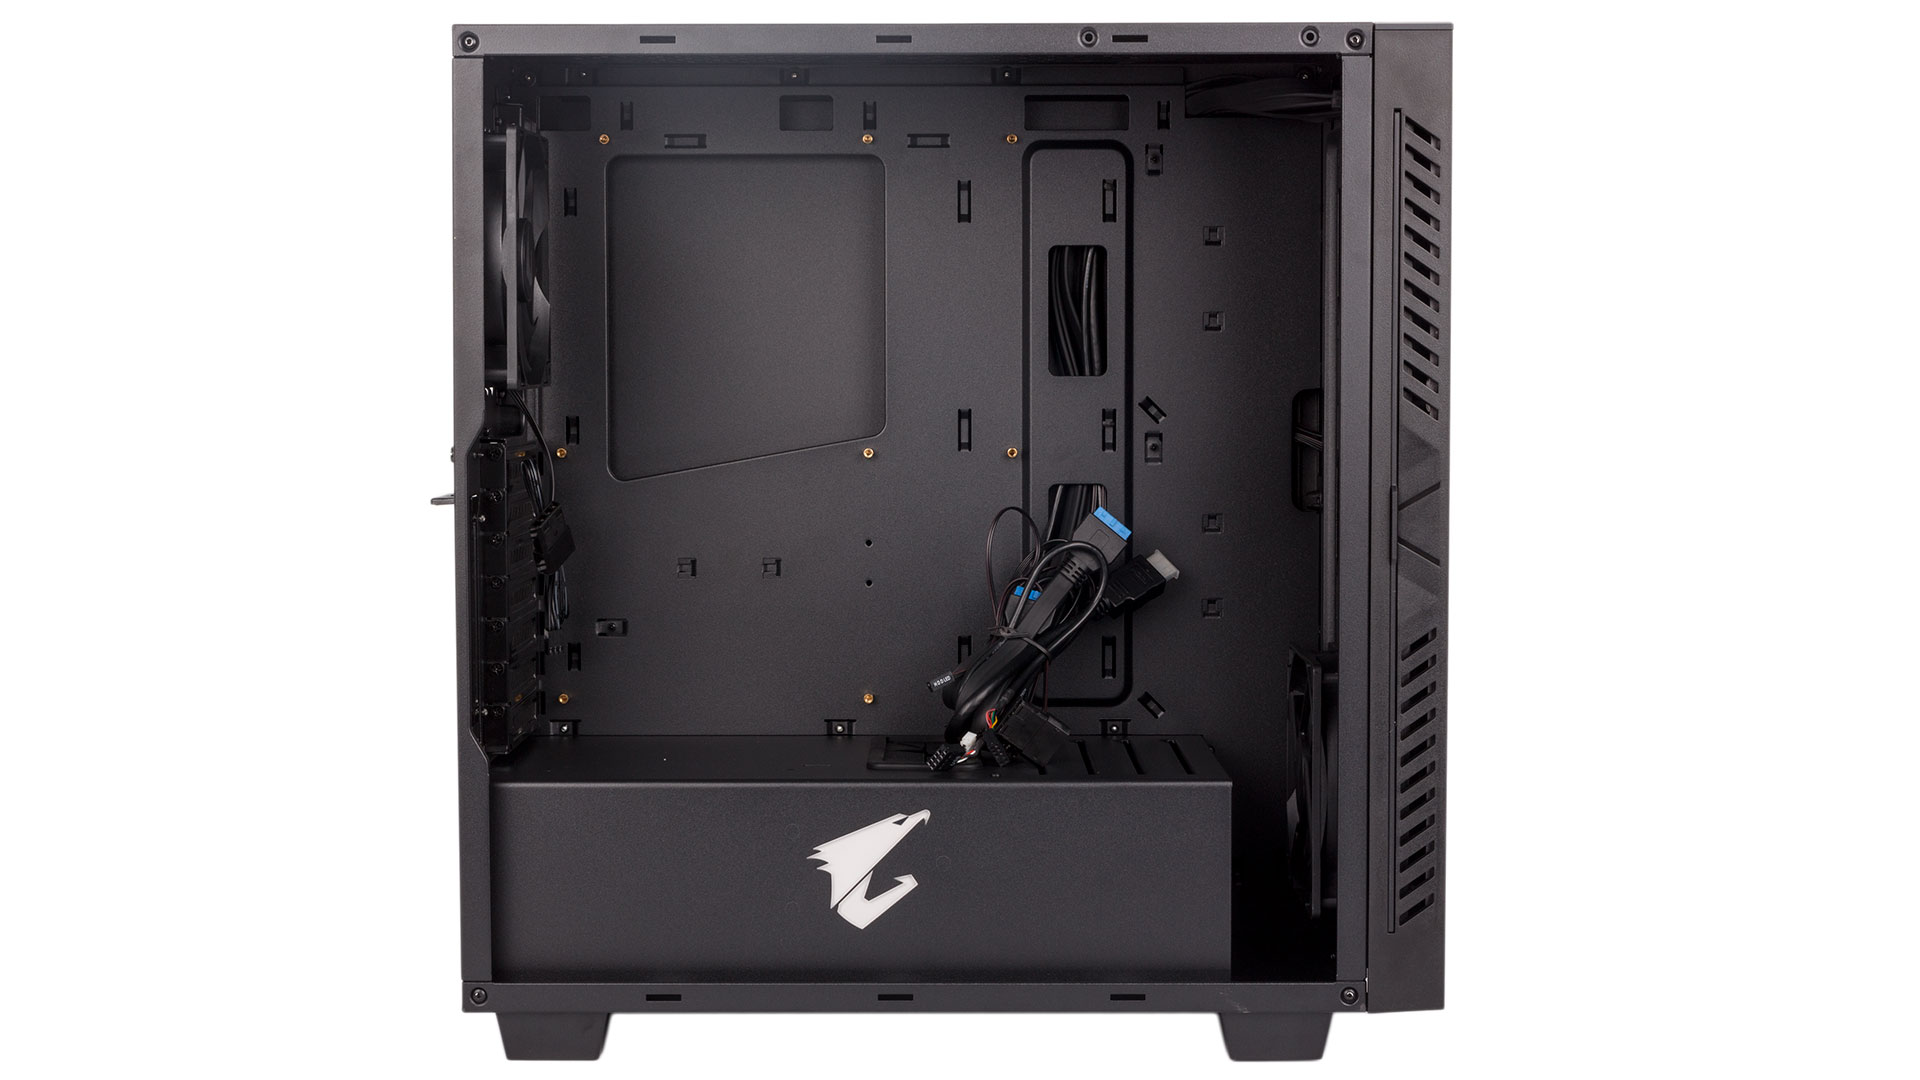
Thankfully, once you do have access inside, usability is a plus on all fronts for your main hardware thanks to a spacious main section, and the PSU slides in easily from the other side. Motherboard standoffs are also pre-installed for your convenience.
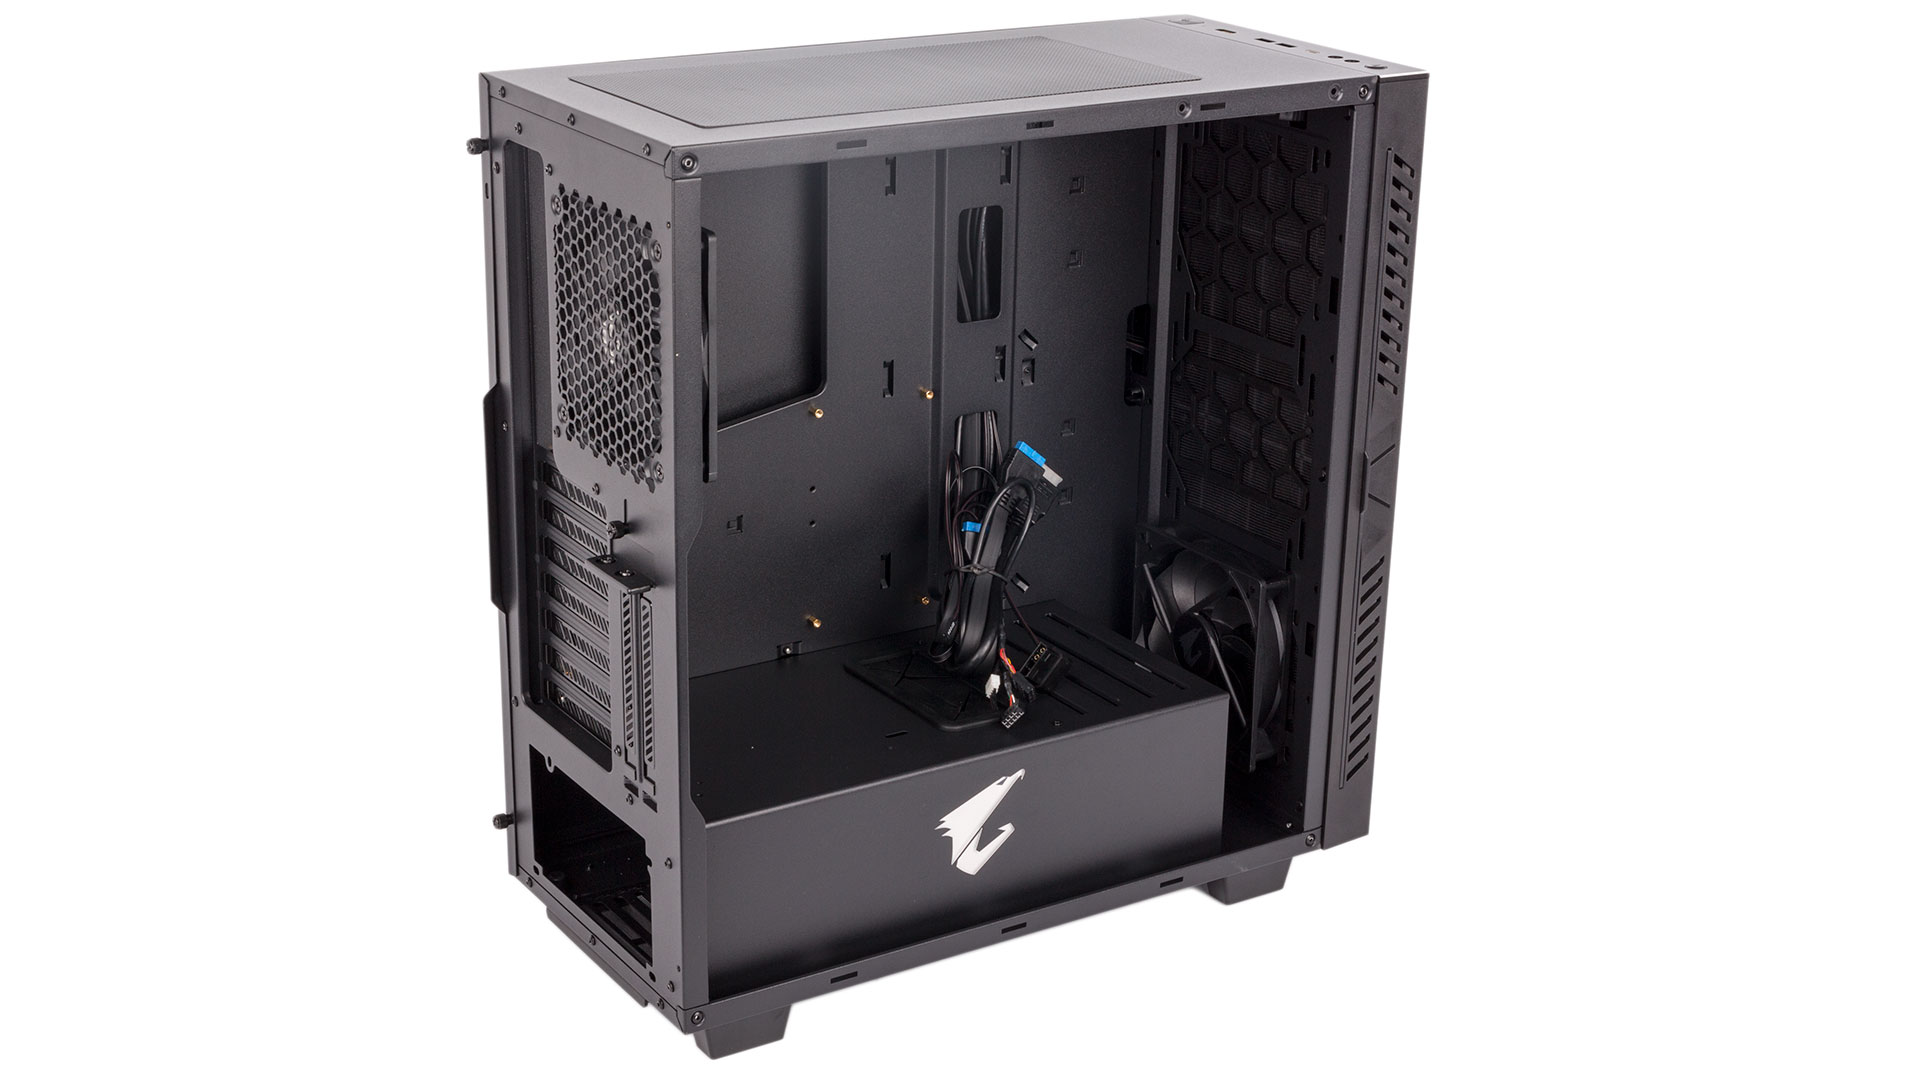
One of the more interesting aspects is the ability to install a graphics or expansion card vertically using the supplied bracket along with the dedicated slots at the back. That said, there is no PCIe riser cable included. This is understandable, since these can be rather costly, especially for good ones, but it does give you an option of showing off your GPU a bit more than the tower layout traditionally allows and is a less common feature among cases.
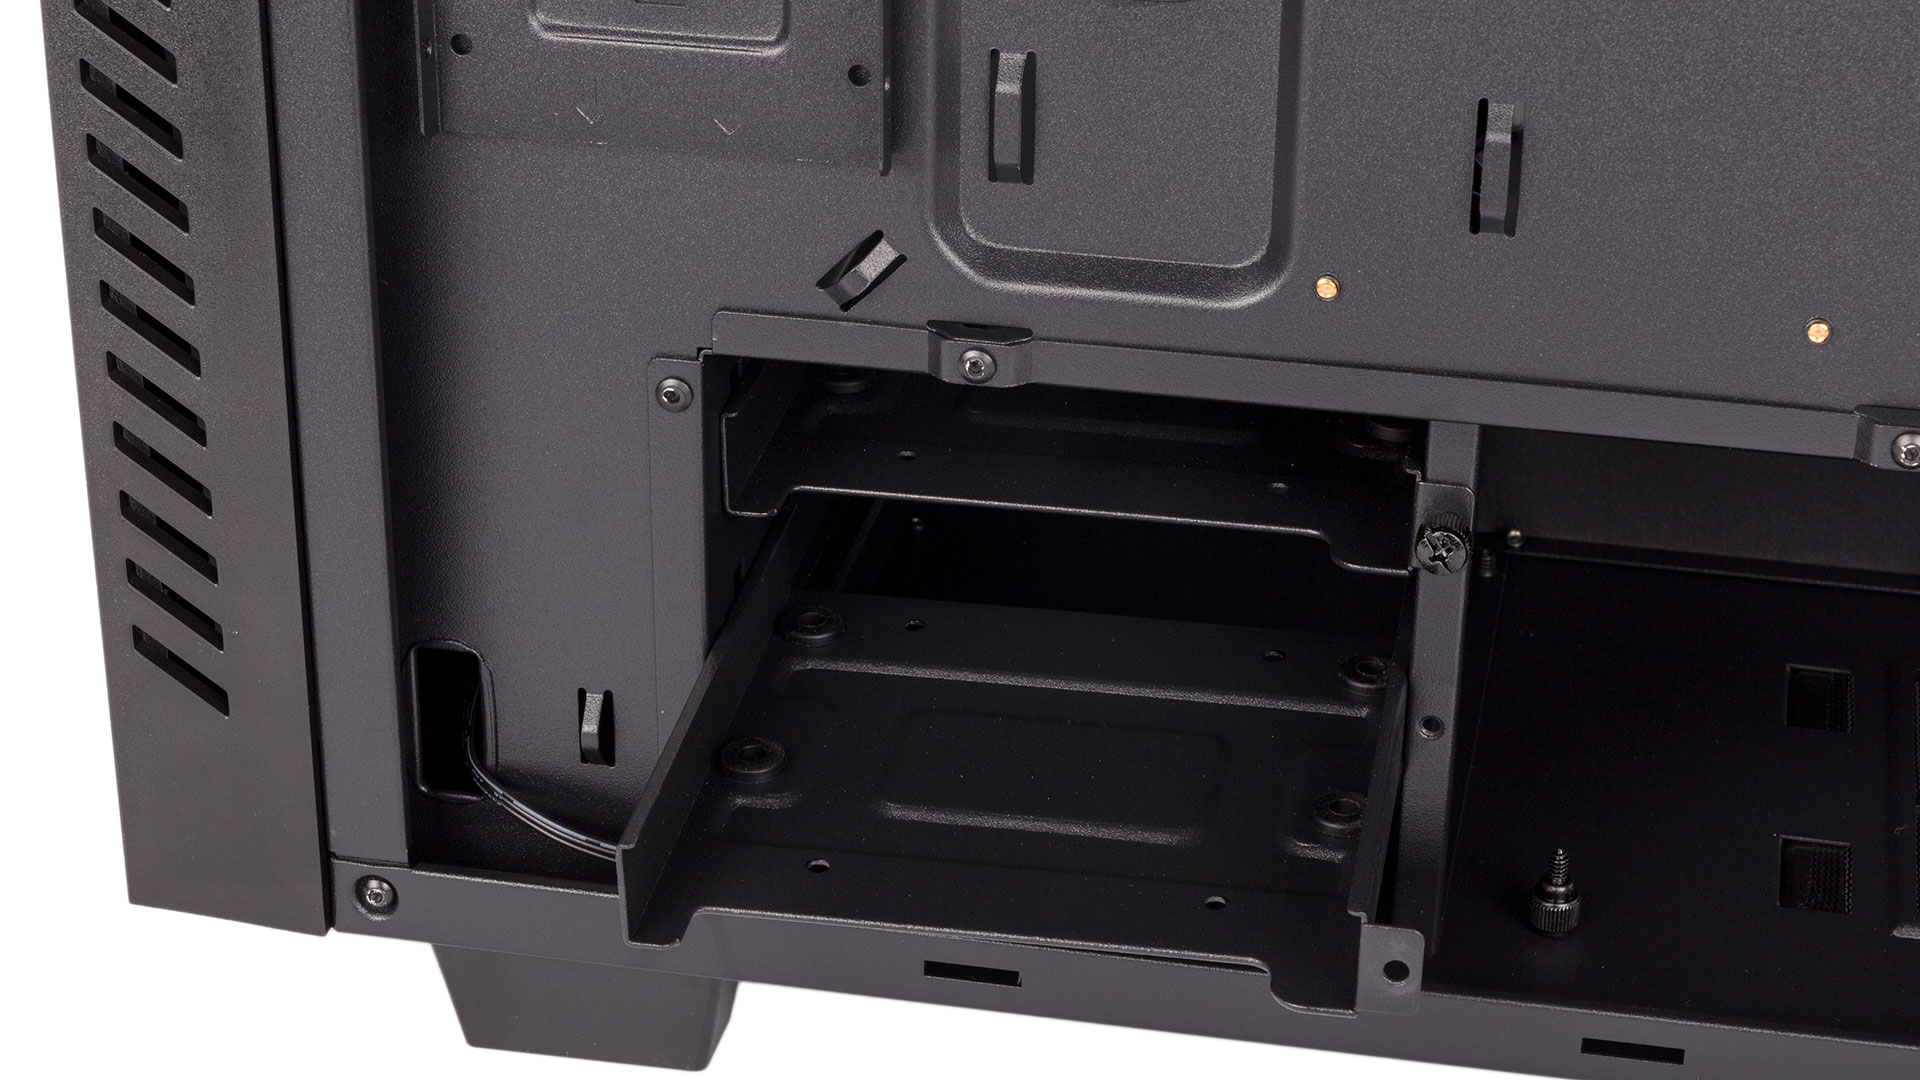
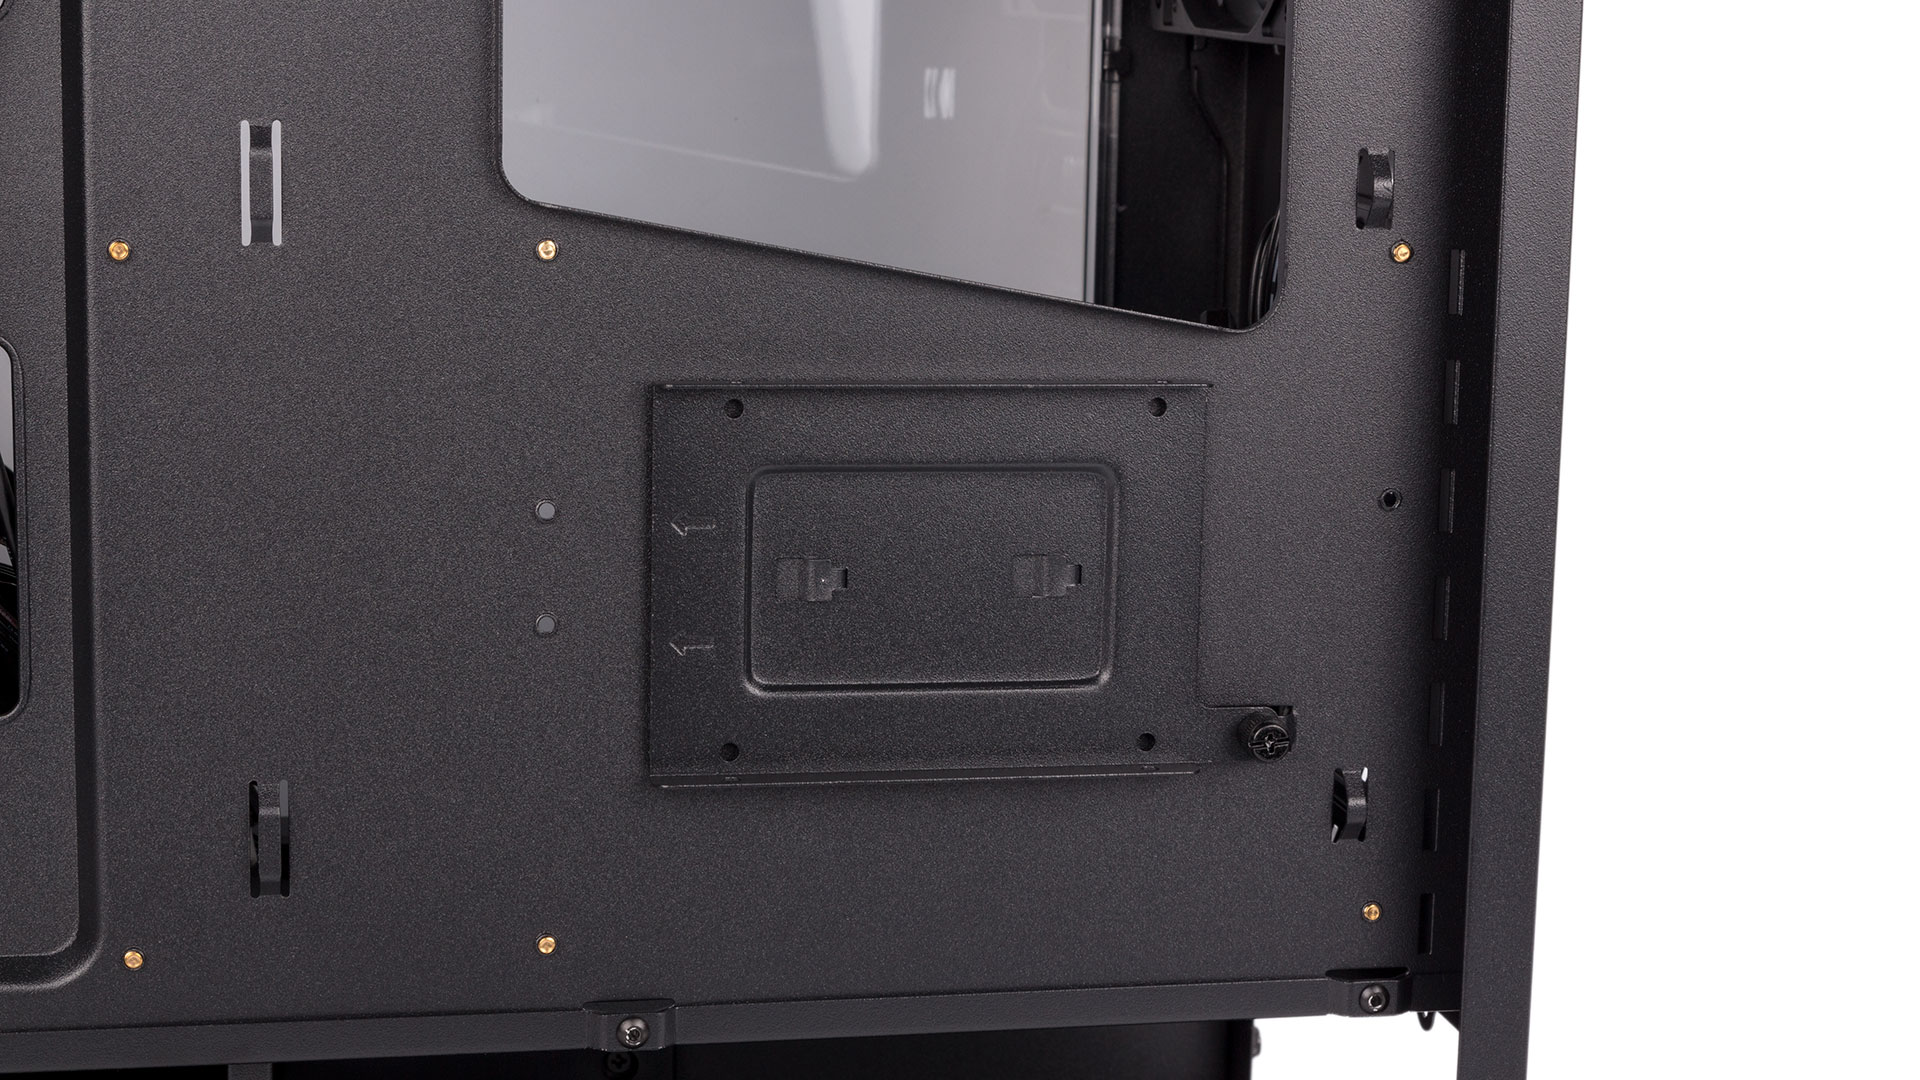
All drives are relegated to installation either behind the motherboard tray or beneath the PSU shroud. There are three metal trays fixed to the back of the tray (two near the front of the case, one behind the motherboard itself), each using a single thumbscrew for easy access. Our only gripe is that aligning the notches once a drive is in place can be fussy, as you can no longer see them.
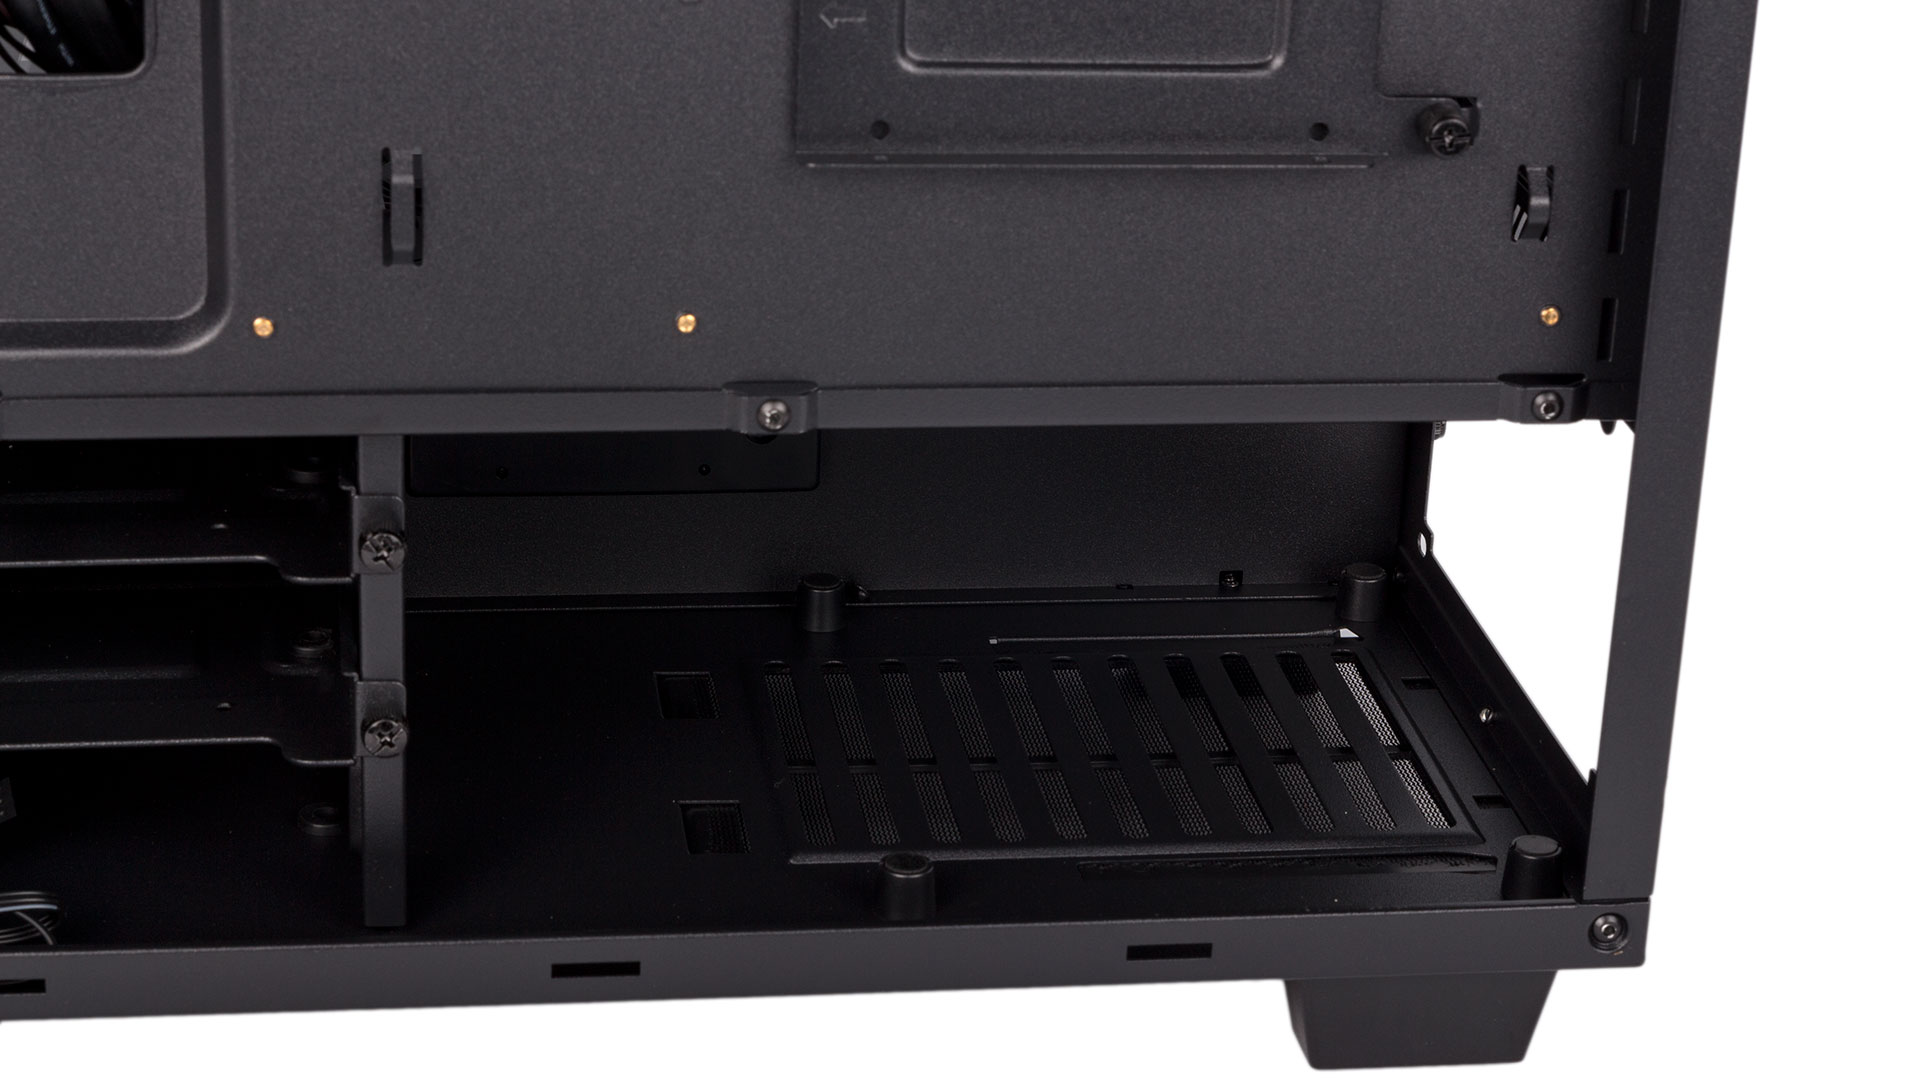
There's also a two-bay HDD cage with trays that are again made of metal and this time have grubber grommets on the mounting holes for 3.5” drives (2.5” drives are supported in each tray too). There's also a set of grommet-covered 3.5" mounting holes embedded directly in the case floor, and the inner wall of the HDD cage (that closest to the PSU) is removable as well.
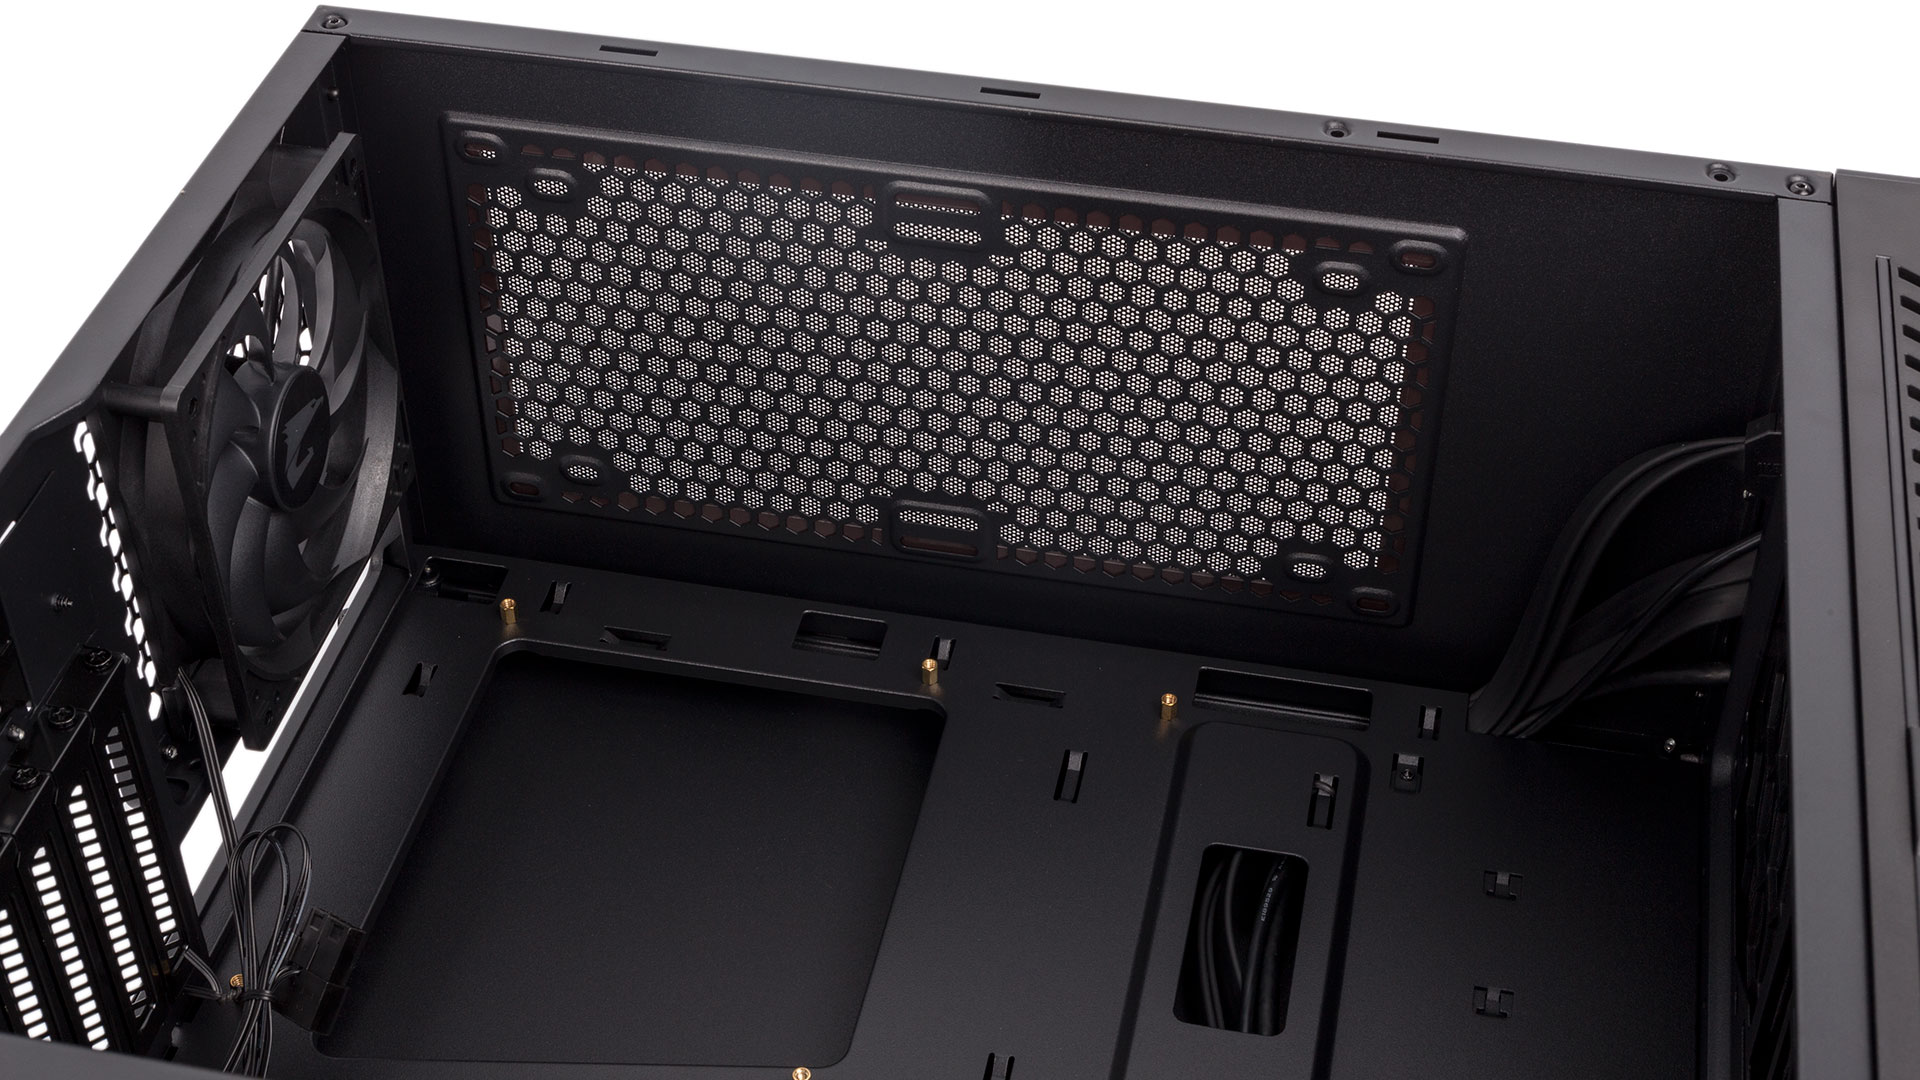
The PSU shroud nearly extends the full depth of the case, but Aorus has opted to leave a gap of just under 40mm between its inner wall and the front fan. This means there's at least 60mm of room for radiators and fans if you choose to utilise this area for water-cooling, and in turn this means that practically every all-in-one cooler is supported, as both 360mm and 280mm radiators can go here. The offset roof mounts also support 240mm and 280mm models, but clearance with the motherboard is tight.
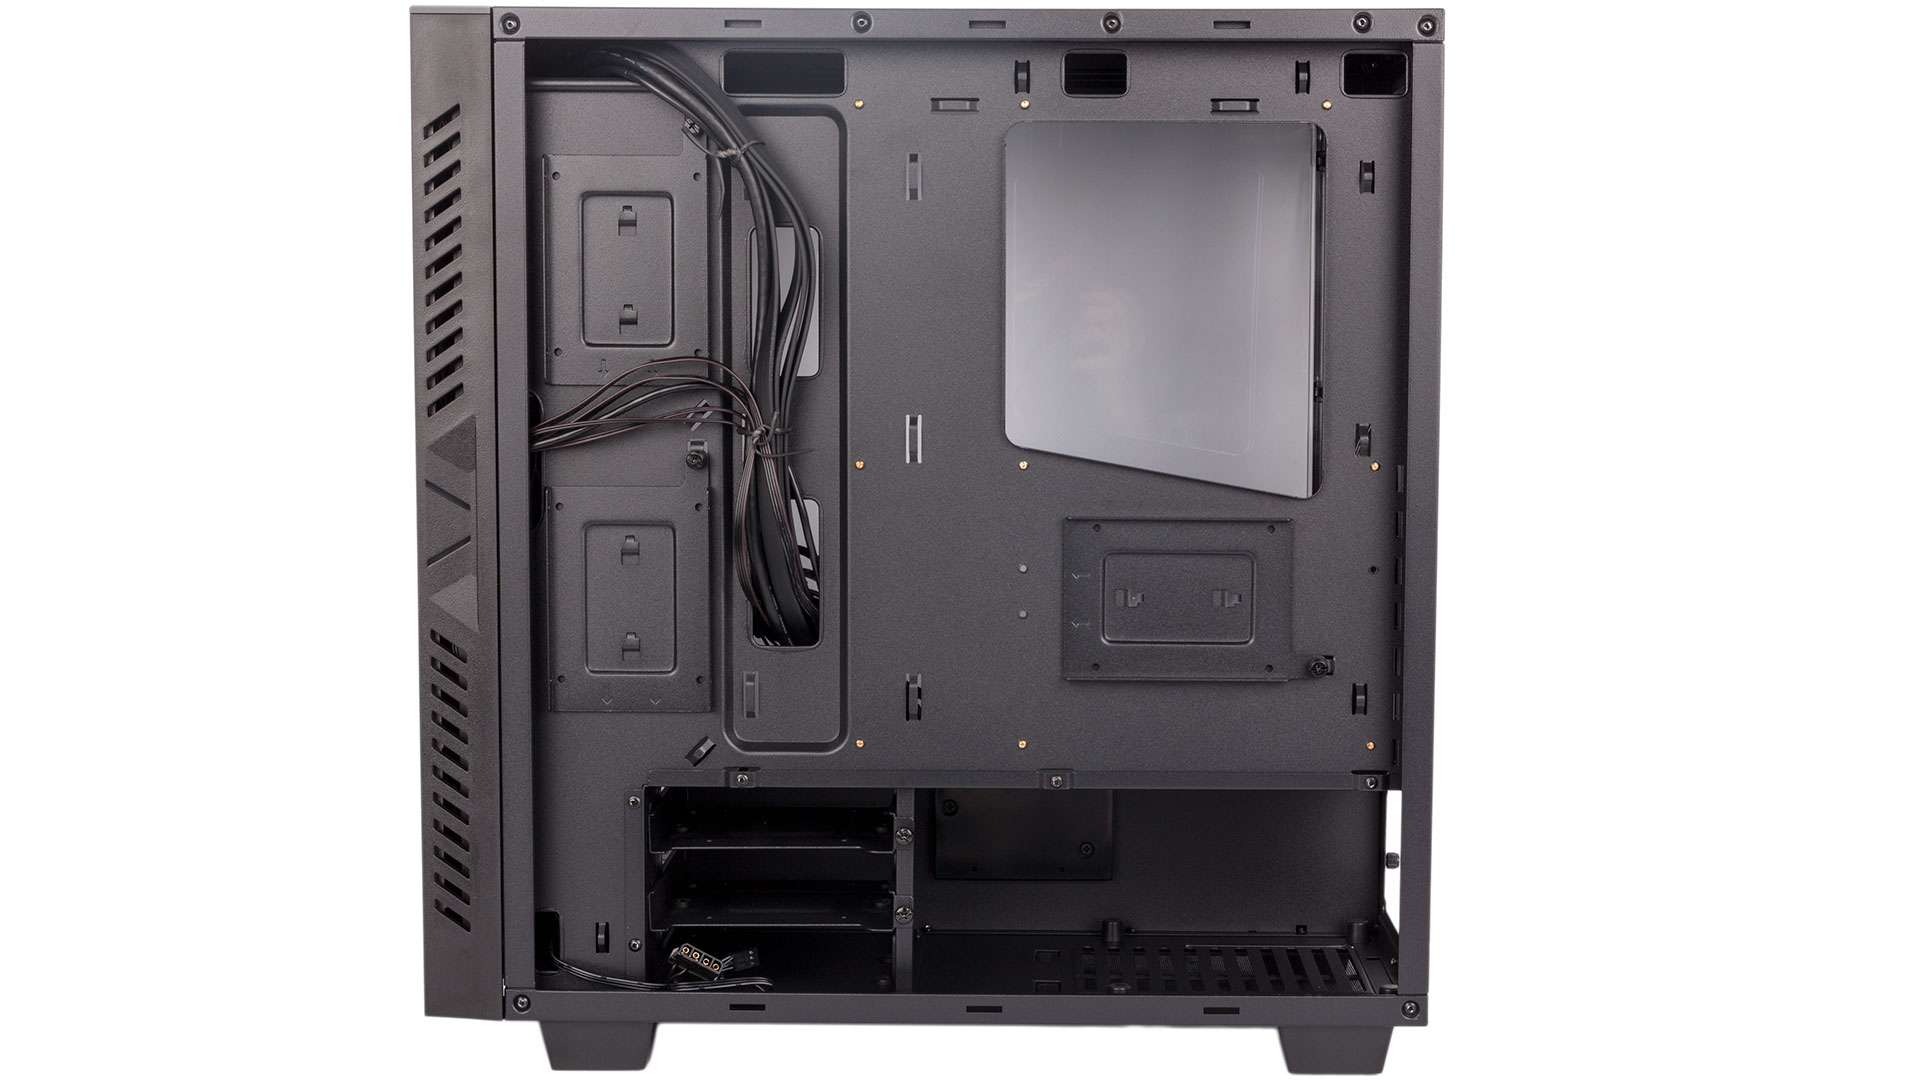
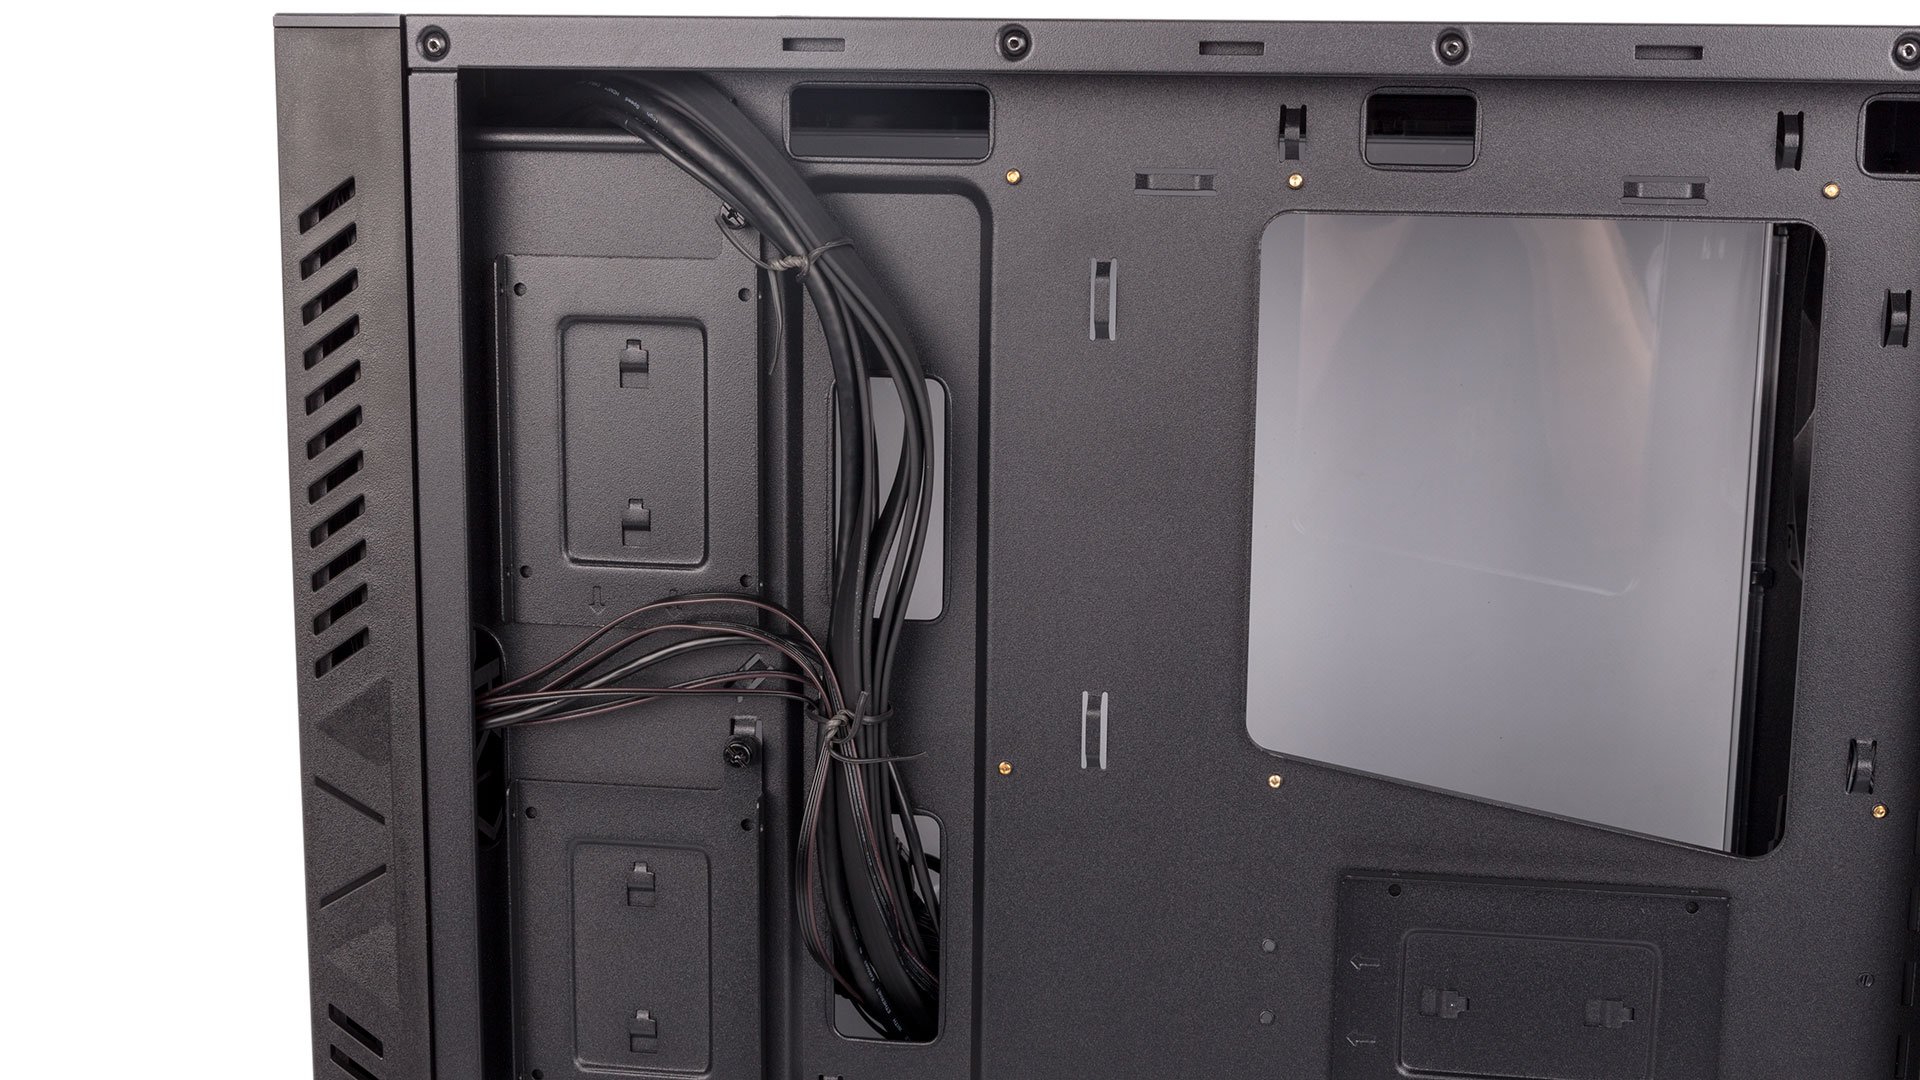
The routing holes around the motherboard look small but they do easily allow the main PSU connectors through. That said, there are none directly below the motherboard, but you can use the large hole cut into the PSU shroud instead, and thankfully this one does have a grommet. This hole is also perfect for routing PCIe connectors through. The space behind the motherboard tray is a little slim, and there are no Velcro cable ties, just a lot of regular zip ones. You'll need a Molex connector to power the set of LEDs (not SATA, sadly), and the two fans also have Molex adaptors pre-fitted as well.
One final thing to note regarding cables is that the HDMI pass-through connector seems designed mainly for internal HDMI ports, which are a rarity even on cards capable of VR performance, as it isn't really long enough to reach the back I/O area and there's no obvious route out for it. Conveniently, Aorus offers this feature on a few of its own graphics cards, but making it longer and giving it a clear path out of the back would give the case broader appeal.


MSI MPG Velox 100R Chassis Review
October 14 2021 | 15:04

Want to comment? Please log in.