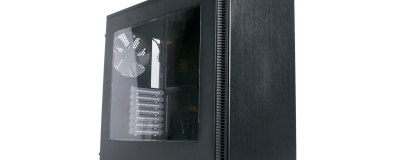
Interior
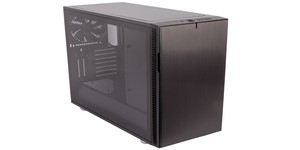
Gaining access to the Define S is easy – the sides are held in place with captive thumbscrews and have handles too. However, the panels have lost their hinged design in favour of a more standard but harder to align notches and rails system. The right panel is of course lined with dense Bitumen to dampen noise. This isn't true of the windowed left panel, but if you opt for the windowless version this panel will be given the same treatment. The ModuVent roof covers are all backed by noise dampening foam, and use a slightly fiddly push pin system for removal. Surprisingly, there's no anti-noise material lining the inside of the front panel – this is usually a staple of Define cases.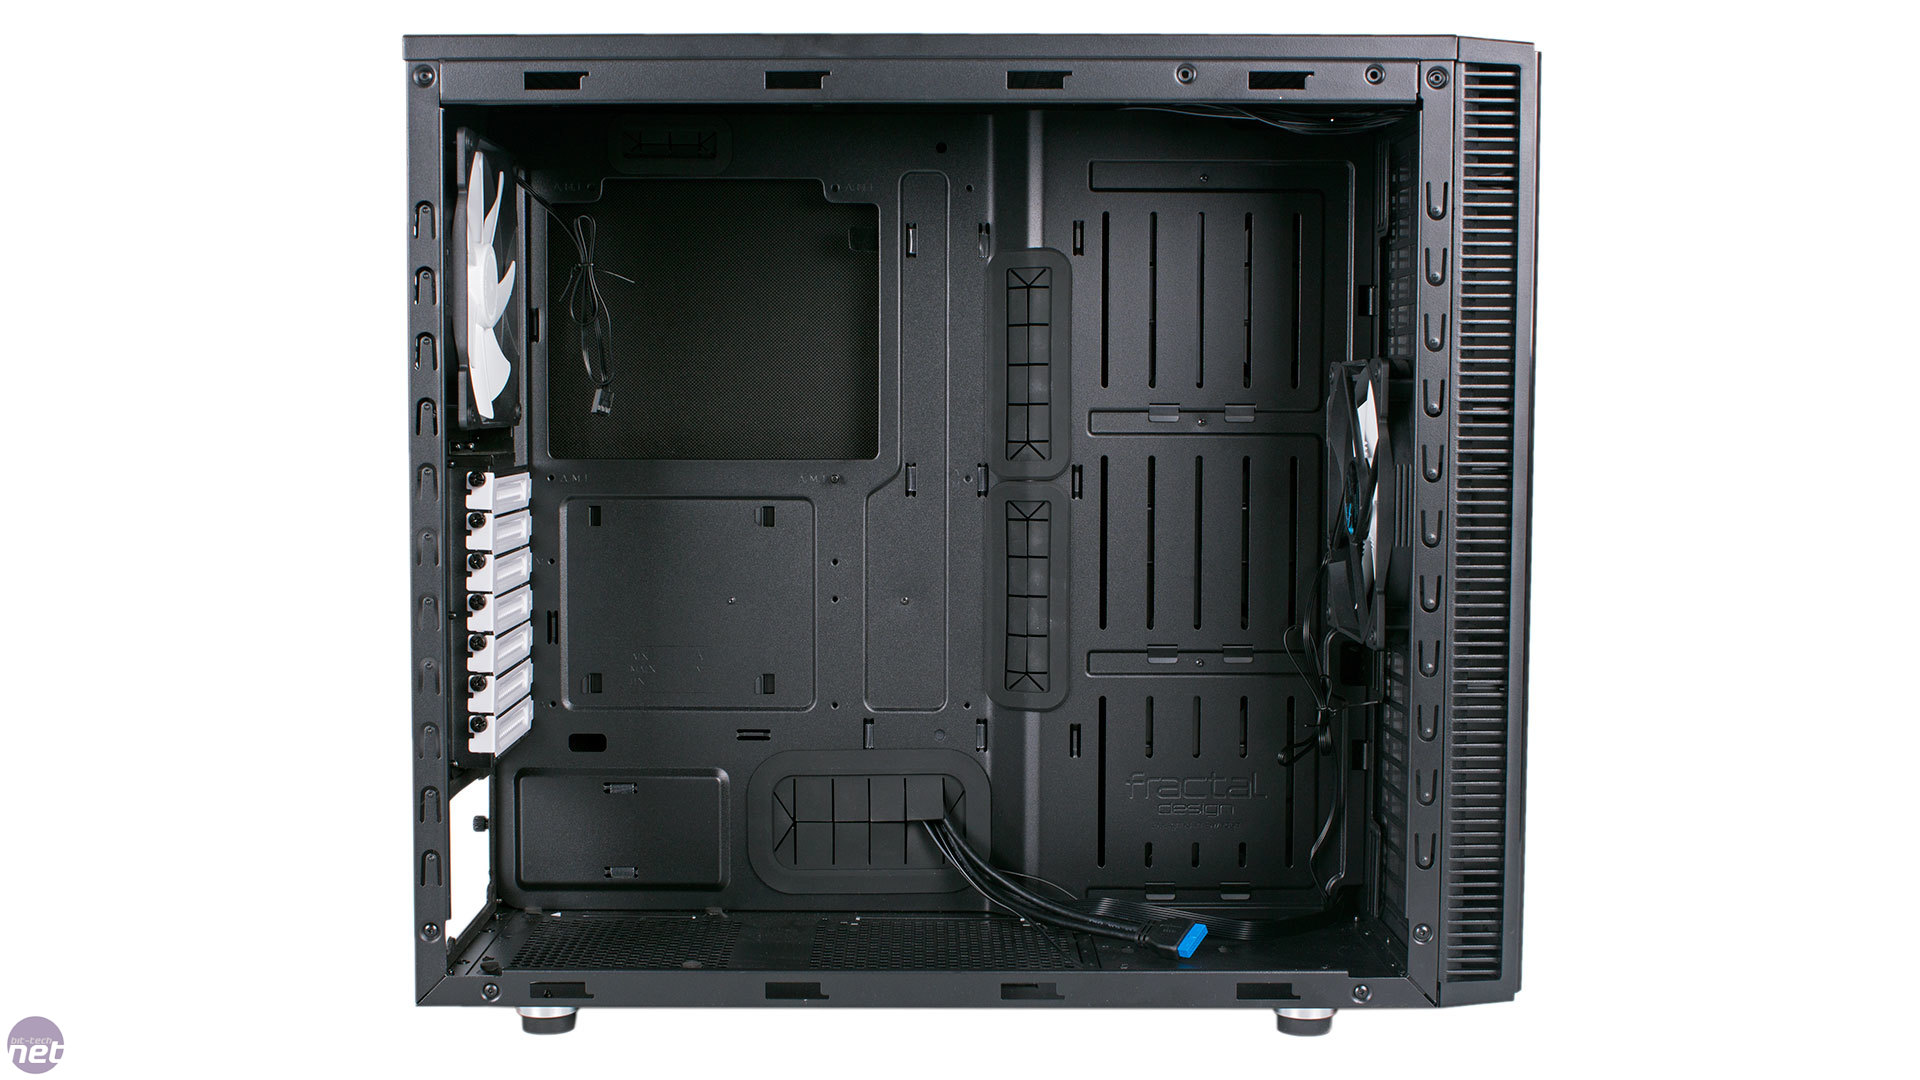

Click to enlarge
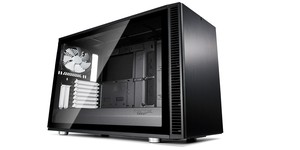
The cavernous, fully open interior is quite a sight to behold, and is indeed the whole point of the Define S. With both the optical drive and hard drive cages completely removed from the main front section, the chassis enjoys uninterrupted front-to-back airflow (ignoring the largely solid front panel, of course) and a water-cooling friendly design right out of the box. It paves the way for some very tidy builds, although there's no PSU cover, so at least some of your power cables will be visible.
What the PSU does benefit from is a set of foam feet to rest on, as well as foam lining between it and the rear edge of the case, both of which help to isolate it from the steel and thus quell vibration induced noise.

Click to enlarge
Motherboard mounts do not come pre-installed in the Define S, other than the middle one which has a protruding pin to keep your vertical motherboard in place while you reach for the first screw. The motherboard tray also has a fairly well-sized CPU area cutout, while the metal PCI brackets are attached with thumbscrews for quick removal.
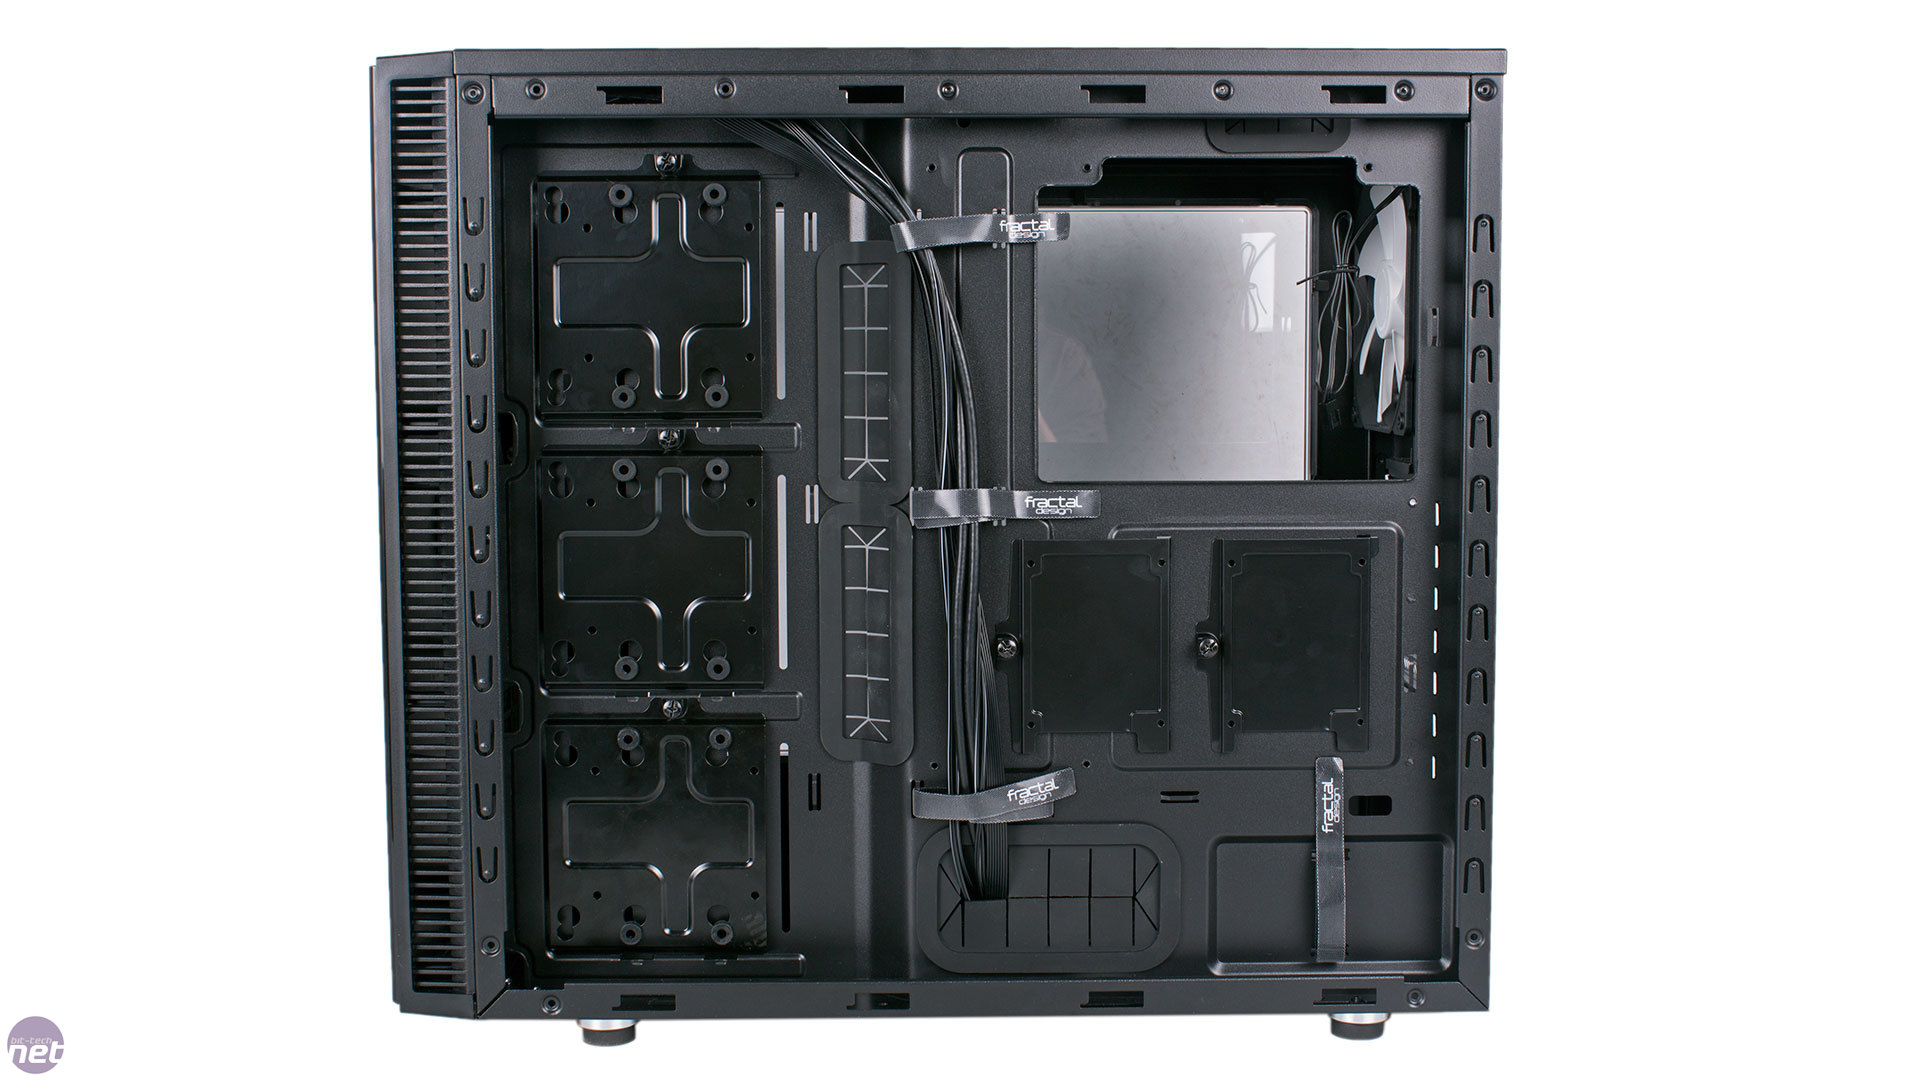
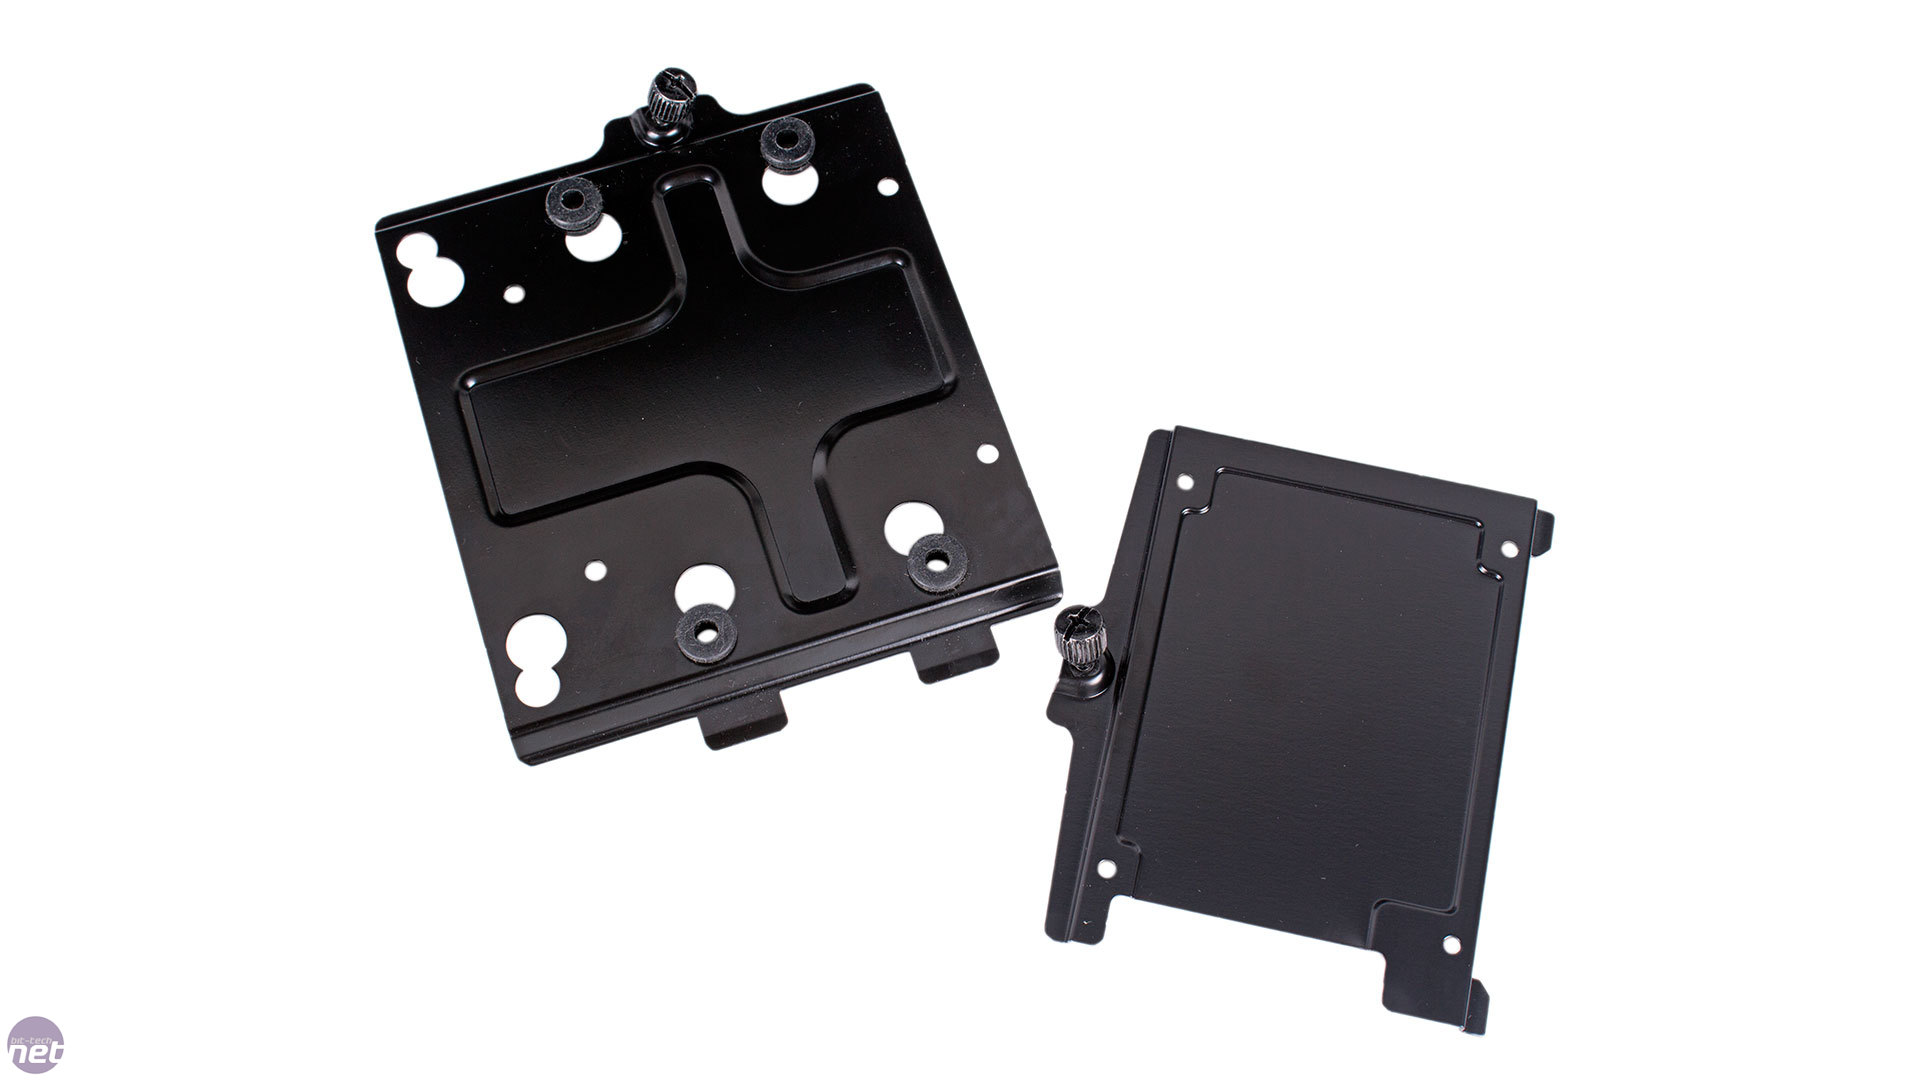
All of the drive mounts have been moved to the area behind the motherboard tray, making them invisible when peering through the window. At the front is a stack of three 3.5in/2.5in metal trays that include anti-vibration HDD mounts and are individually removable via thumbscrews. There is also a pair of dedicated 2.5in drive mounts directly behind the motherboard, again made of metal and attached with thumbscrews. Five drive bays may not seem like a lot, but with 1TB SSDs and 6TB HDDs readily available, it still gives you plenty of options. Also, many cases that have more drive mounts require you to remove all or nearly all of them in order to achieve the same level of water-cooling support as the Define S – the use of space is certainly still efficient.
Click to enlarge
The space for cable routing directly behind the motherboard is a little narrow, but you shouldn't need too many wires here, and to the side of the motherboard there's an indented channel where you can bundle multiple power cables together fairly easily. The internal cables are all sleeved in black, and it's good to see the Velcro cable ties make a return as well – they're very easy to use and make future upgrades a lot less daunting if you've spent a lot of time making everything neat. The rubber grommets, which feature on the holes above, below and to the side of the motherboard, are great too, although the positioning of the holes is really only suitable for ATX motherboards.


Click to enlarge
Naturally, the front and roof panels will be the big focus for water-coolers. Up front, 280mm and 360mm radiators can be used, with long mounting struts ensuring that you can use radiators with different spacings and have some flexibility as to their position. In the roof, 360mm and even 420mm radiators can be accommodated, although any 140mm based models are limited to slimline with a single row of fans – the offset 120mm mounting holes allow thicker set-ups for these types of radiators. Sadly, the mounting holes up here are not elongated – they're just standard, fixed position fan mounts. In terms of combinations, Fractal says you can use 360mm radiators in both positions together, provided you stick to a slimline in the roof with a single bank of fans. Alternatively, a slim 420mm could be installed up top and you'd still have room for a thick 280mm set-up at the front.

Click to enlarge
Pleasingly, Fractal has also given thought to pump and reservoir placement. The series of vertical, elongated mounting struts at the front of the extended motherboard tray can be used to mount tube reservoirs, with Fractal also supplying some metal brackets to help further. Meanwhile, just in front of the bottom fan mount, there are pre-drilled holes that cater for a variety of pump sizes. For a case with mid-tower dimensions, the Define S has outstanding water-cooling support.


MSI MPG Velox 100R Chassis Review
October 14 2021 | 15:04

Want to comment? Please log in.