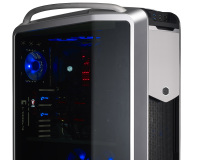
Interior
Both panels are held in with captive thumbscrews, the loosening of which allows you to slide them backwards a little and then lift them out. Along with the roof and front panel this ensures all-round easy access.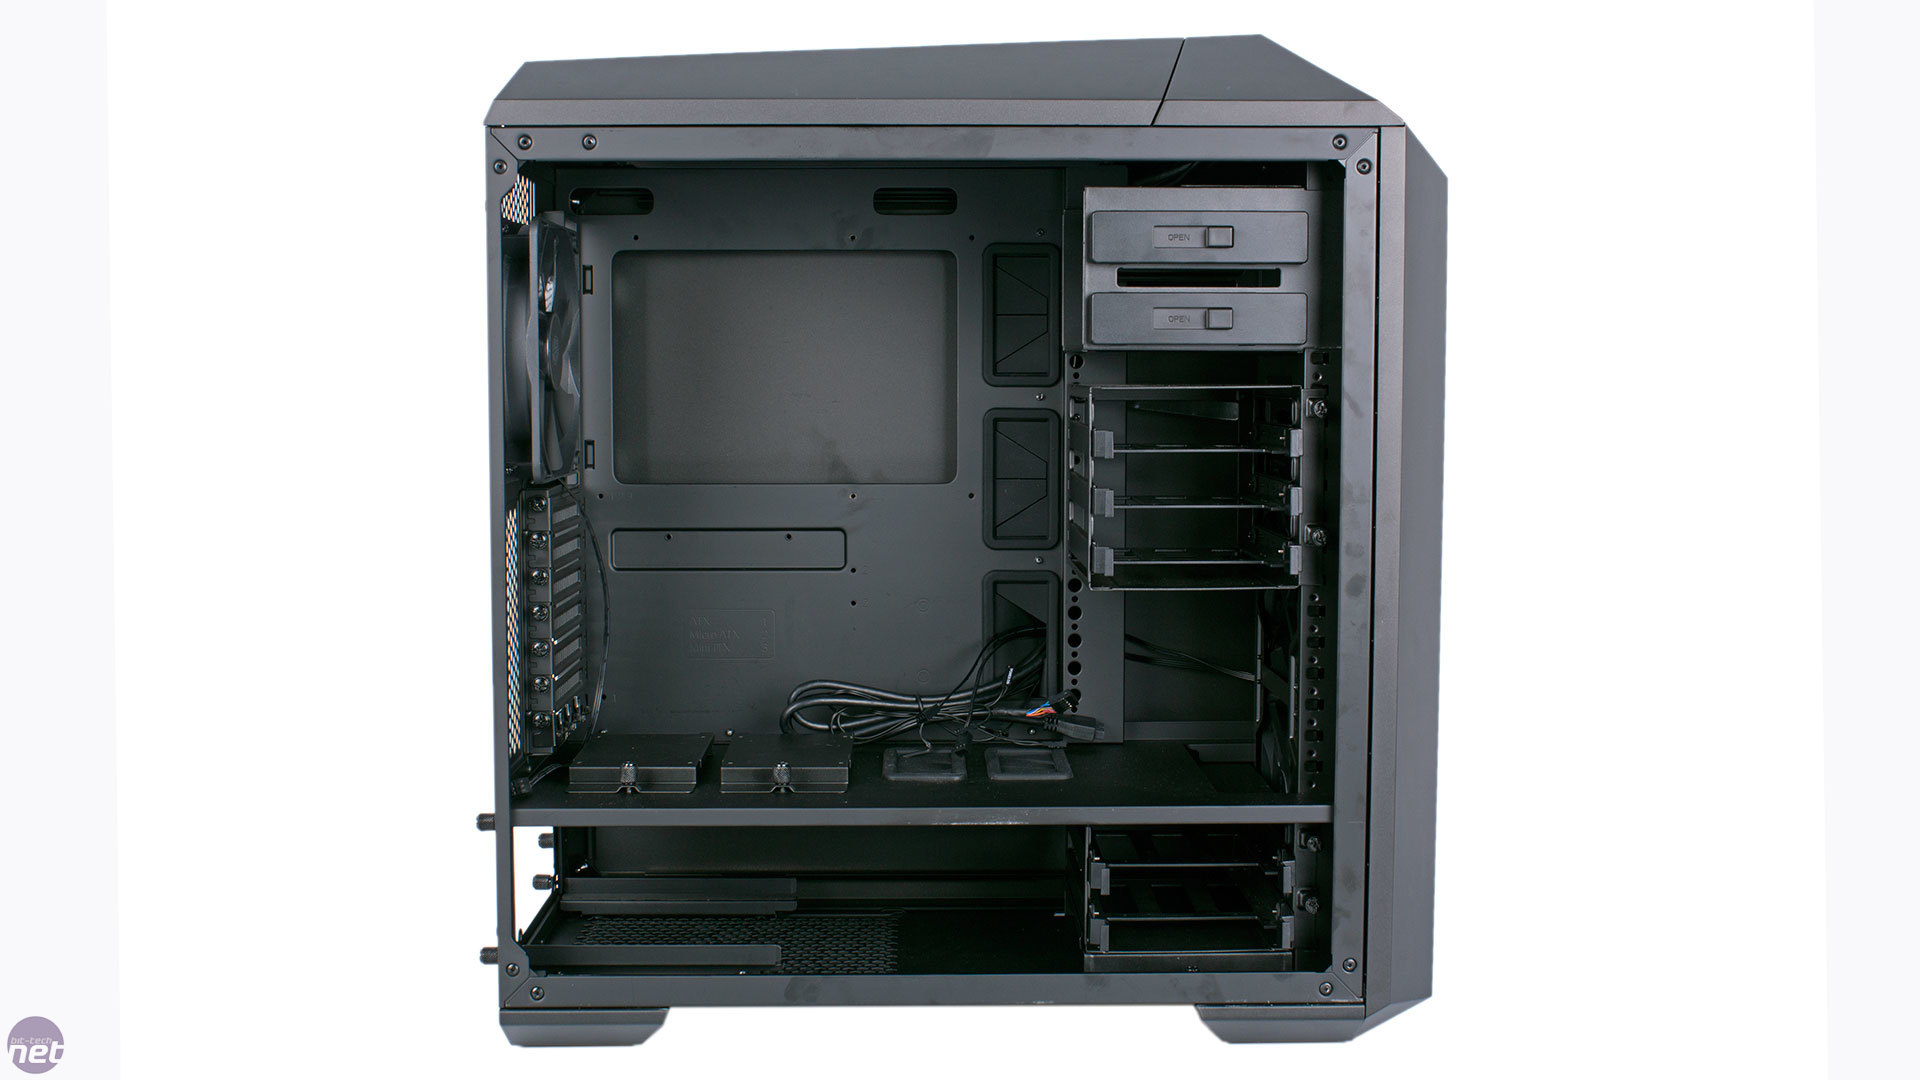
Click to enlarge
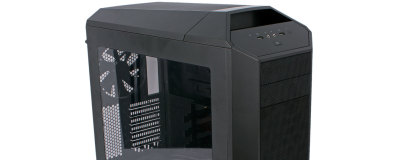
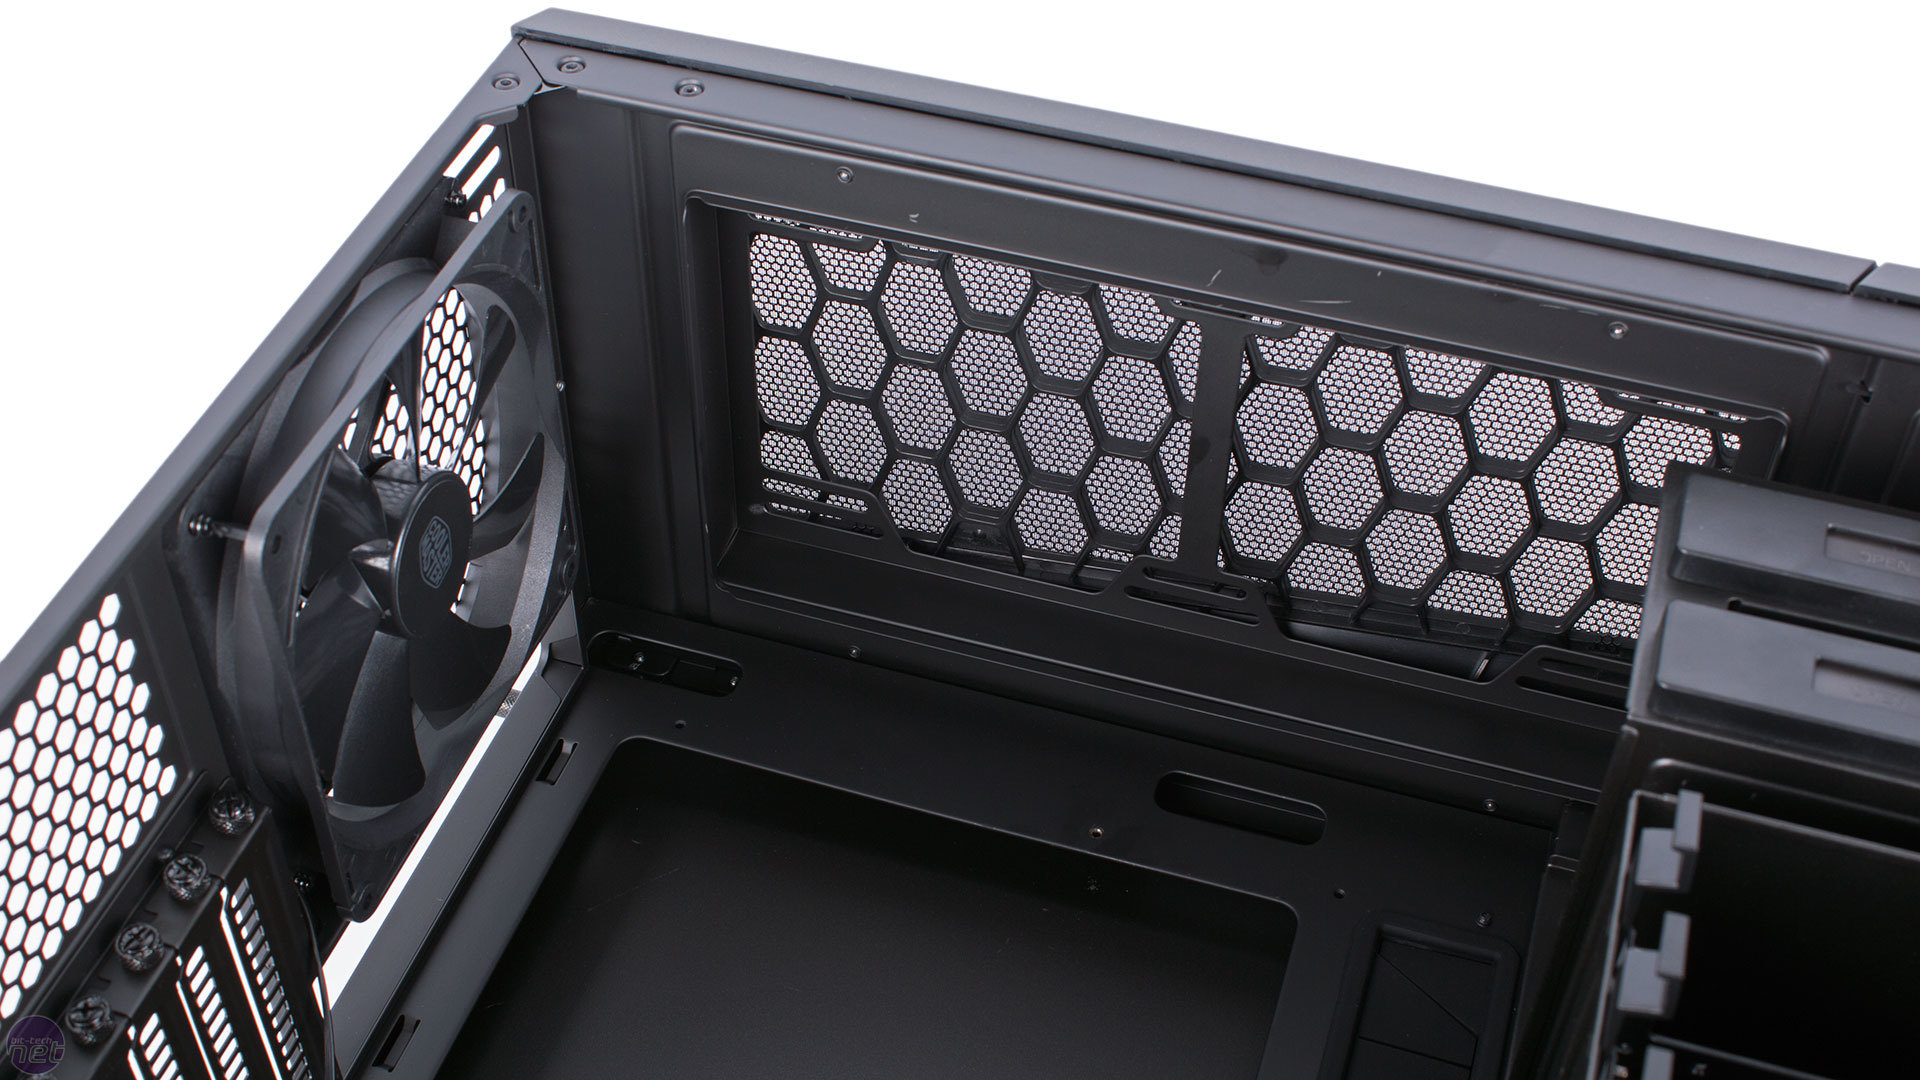
We're seeing more and more dual chamber cases nowadays and the MasterCase series joins that list. Note that the partitioning sheet is riveted in place – this part of the design is non-negotiable. Inside the main section we find the expansion slot covers held in with thumbscrews, a good paint job, a massive cutout for CPU coolers and all internal cables sleeved in discrete black. Note that there are no pre-installed motherboard standoffs.
The key element in the FreeForm modular system is the set of vertical, heavily hole-punched rails at the front. These form what Cooler Master calls the Clip-And-Click system, whereby accessories like fan brackets, water-cooling reservoirs, drive cages and GPU support brackets can be secured in many different places.

Click to enlarge
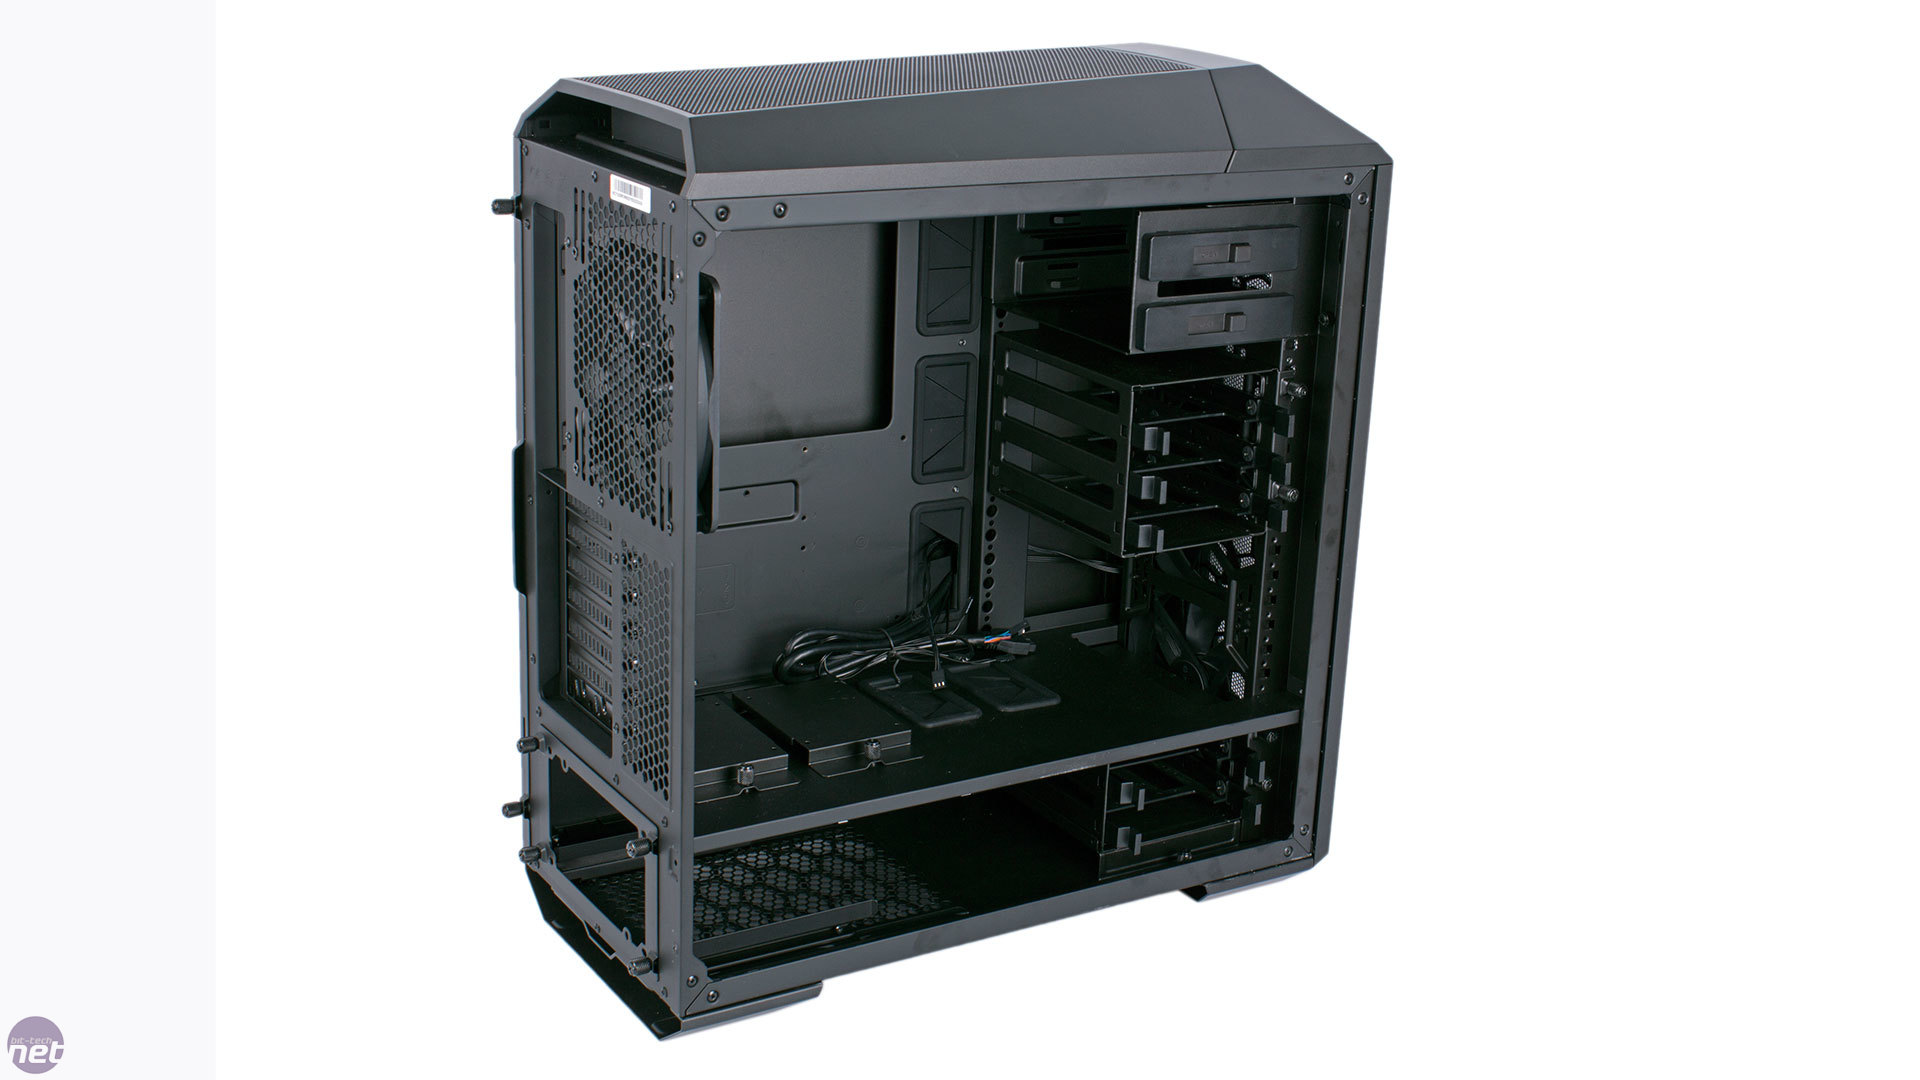
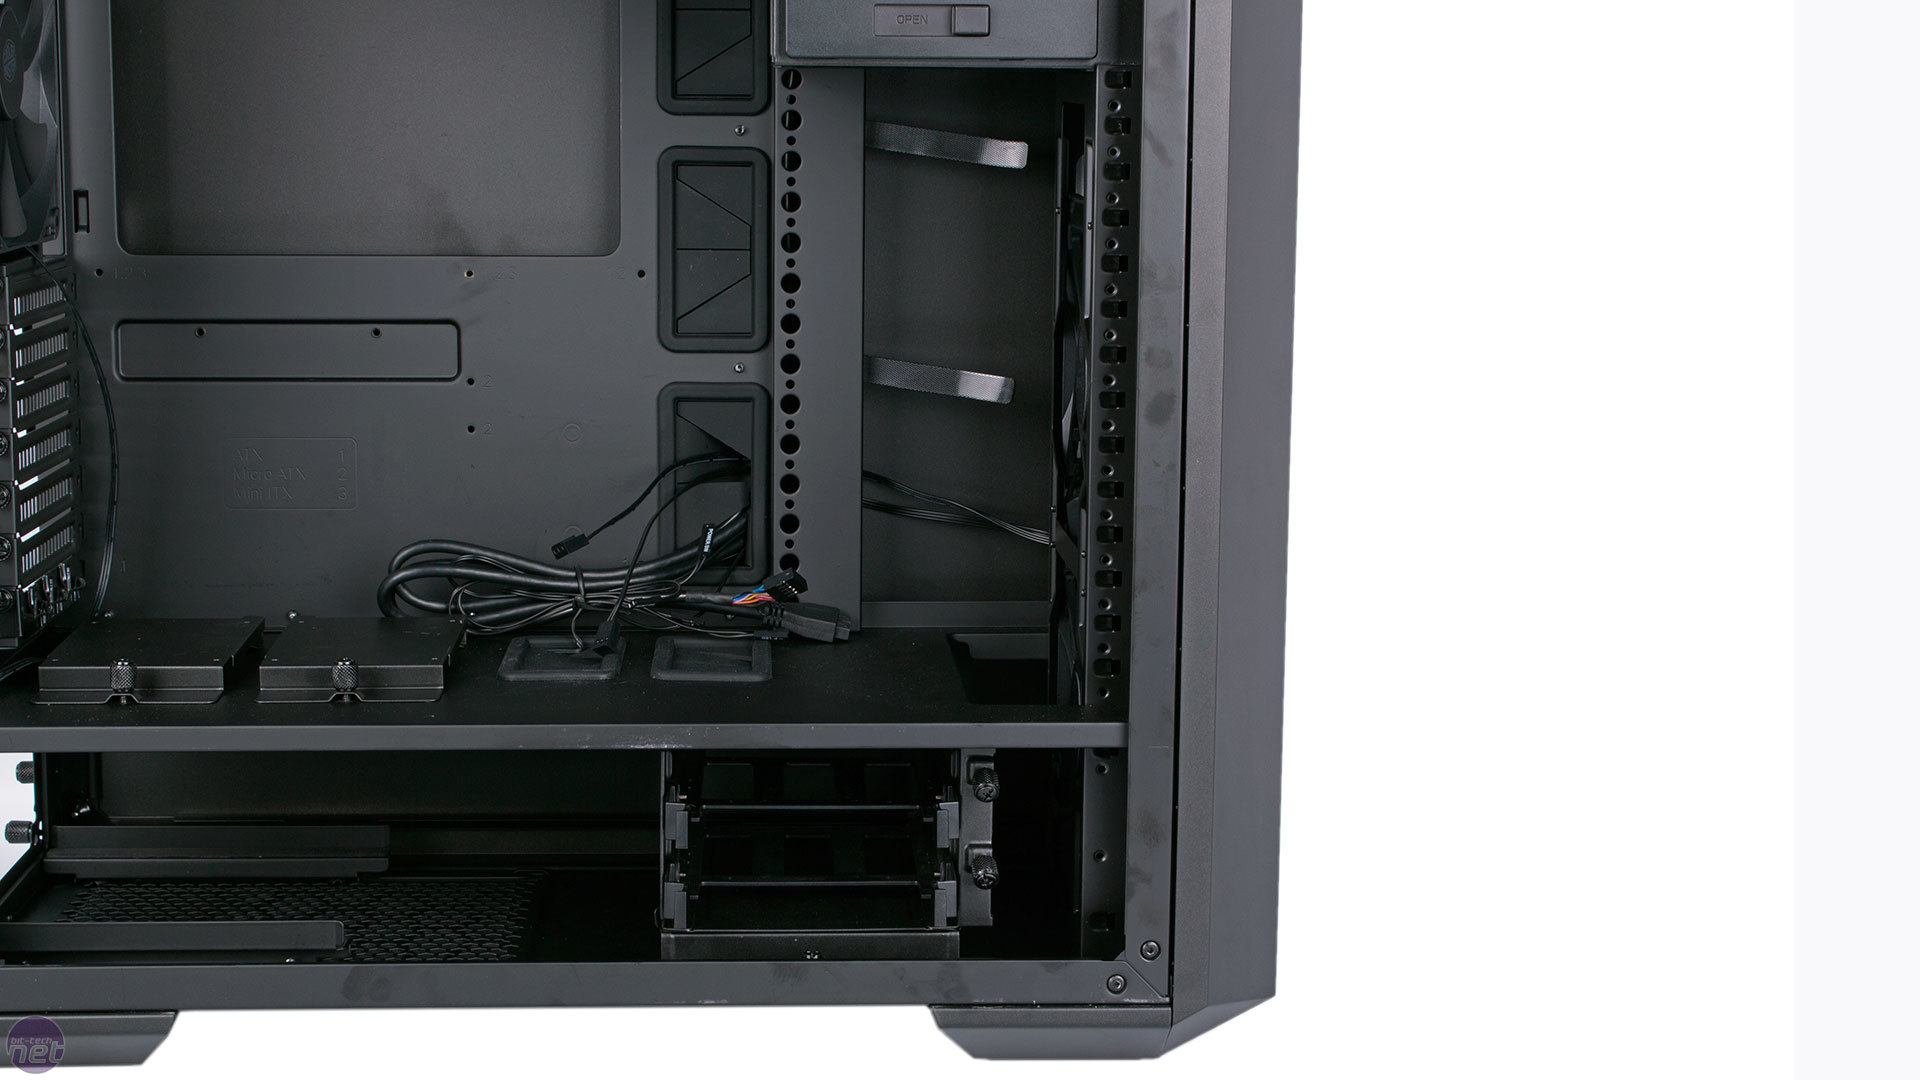
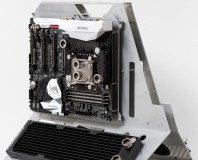
The MasterCase Pro 5 comes with the dual bay, tool-free ODD cage installed up top, which is the only position for it as it uses slightly different mounting holes and also relies on the two ODD covers on the outside, which cannot be moved. Below it, we find a 3-bay 3.5in/2.5in HDD cage, which makes full use of Clip-And-Click, as well as another 2-bay one in the lower section. Both cages will be sold separately, and the basic MasterCase 5 is only supplied with the lower 2-bay model. Removing or relocating the cages is very easy; they're locked in with a pair of captive thumbscrews, and to get them back in you simply align and push them into place at the desired height and rescure them with said thumbscrews. The plastic trays that actually hold the drives are a bit flimsy but are tool-free for 3.5in HDDs and include some anti-vibration material around the locking pins.
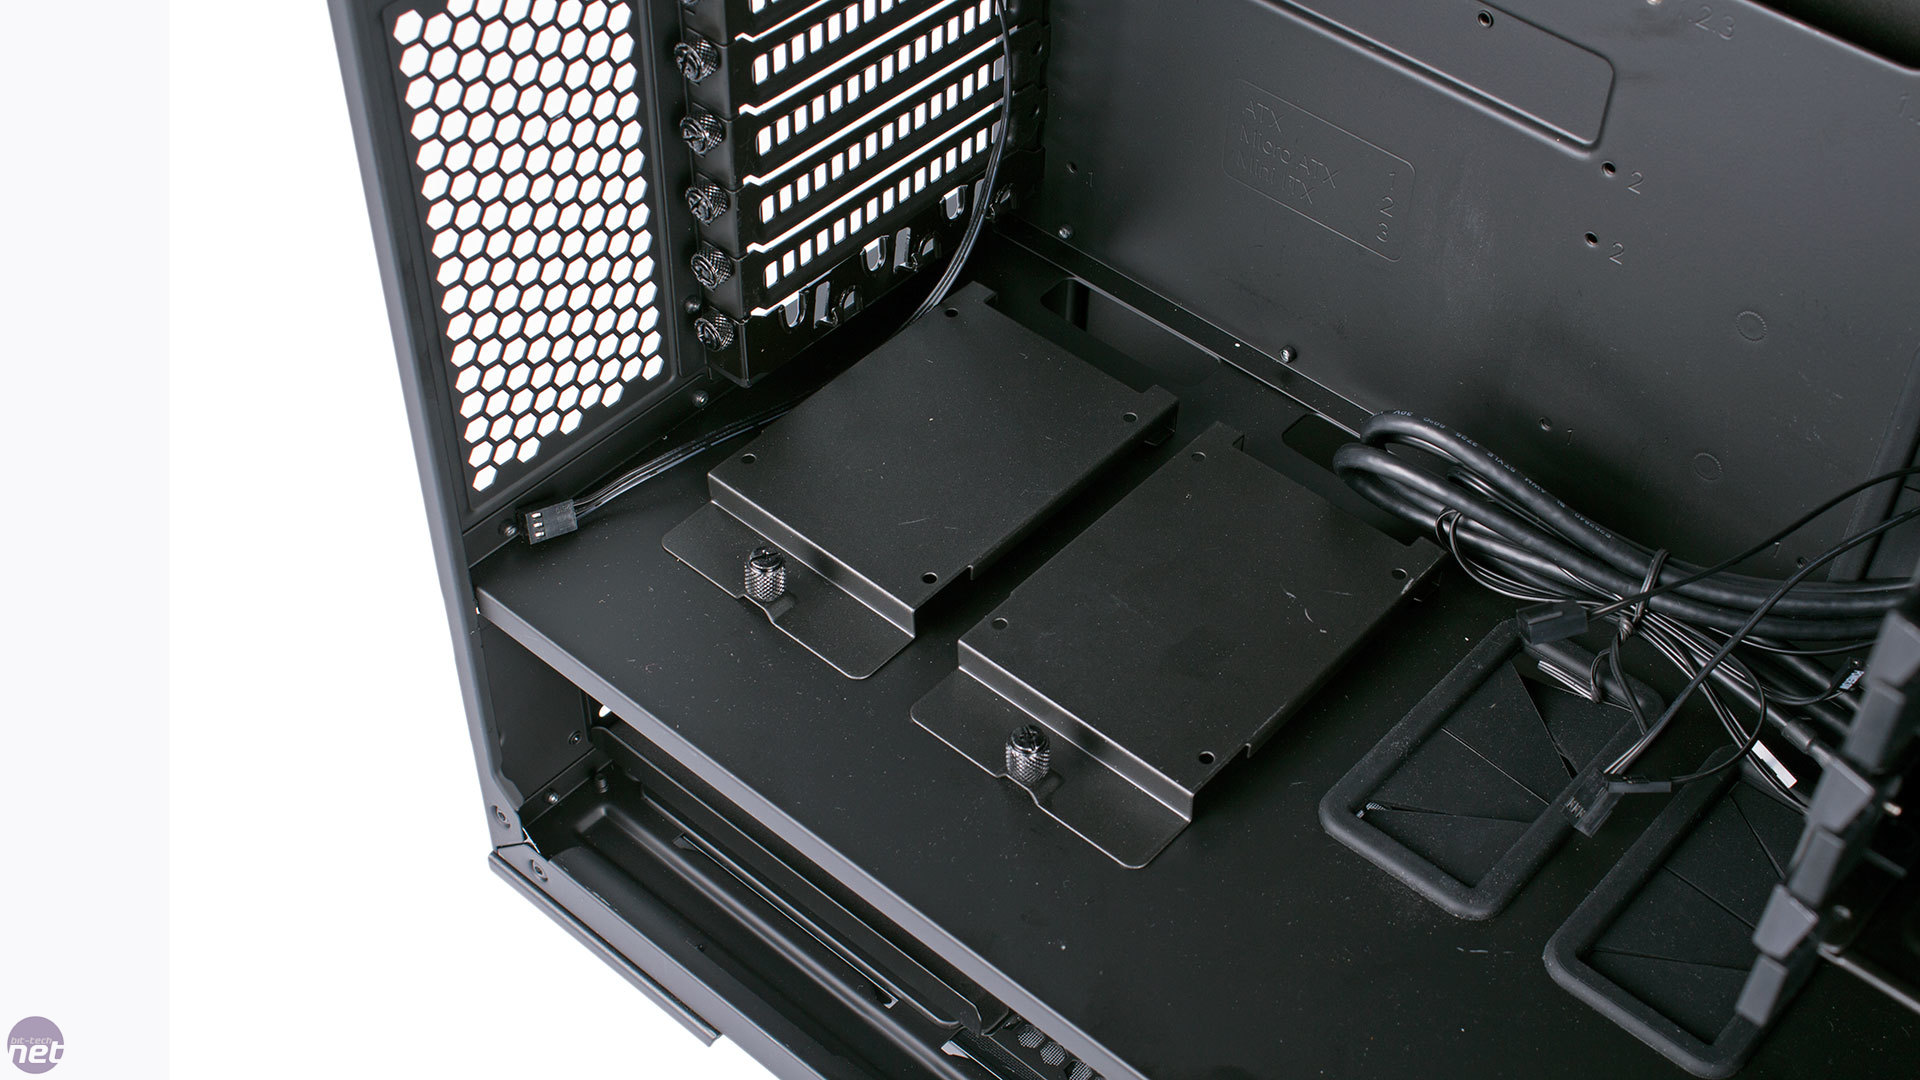

Click to enlarge - The Slip-And-Clip SSD trays can be relocated to behind the motherboard tray
You may also have already noticed the two dedicated SSD mounting brackets positioned on top of the dividing plate. These are named Slip-And-Click brackets, and once again they have a very user-friendly design, easily released via the single captive thumbscrew. These will be the fifth and final part in the first batch of accessories to be sold separately. They're designed to have the SSD secured within them, although in their default position it's technically possible to mount your drive on top of them if you want to show it off through the window, for example. Note, however, that this will interfere with the bottom expansion slot. Cooler Master also allows you to move them entirely out of sight, providing two further mounting points for the Slip-And-Click brackets behind the motherboard tray.
The PSU simply slots in from the rear using the installation bracket, which again relies on captive thumbscrews. Your power supply will rest comfortably on foam rails, and there's plenty of room for long models and/or for excessive cabling.

Click to enlarge
There are small cable routing holes above and below the motherboard, as well as three main ones to the side of it and finally two within the partitioning bracket. The grommets that are used on the bigger holes are nice and secure. It's great to see Cooler Master follow in the footsteps of Phanteks cases (and Fractal Design, more recently) with Velcro cable ties, and the company also supplies numerous zip ties and two reusable ties that have sticky-back pads for installation practically anywhere. Combined with an indented cable channel and decent space between the motherbord tray and side panel, this all makes for a case that's very easy to keep neat and tidy.
Click to enlarge - Moving the lower HDD cage back makes way for a front radiator
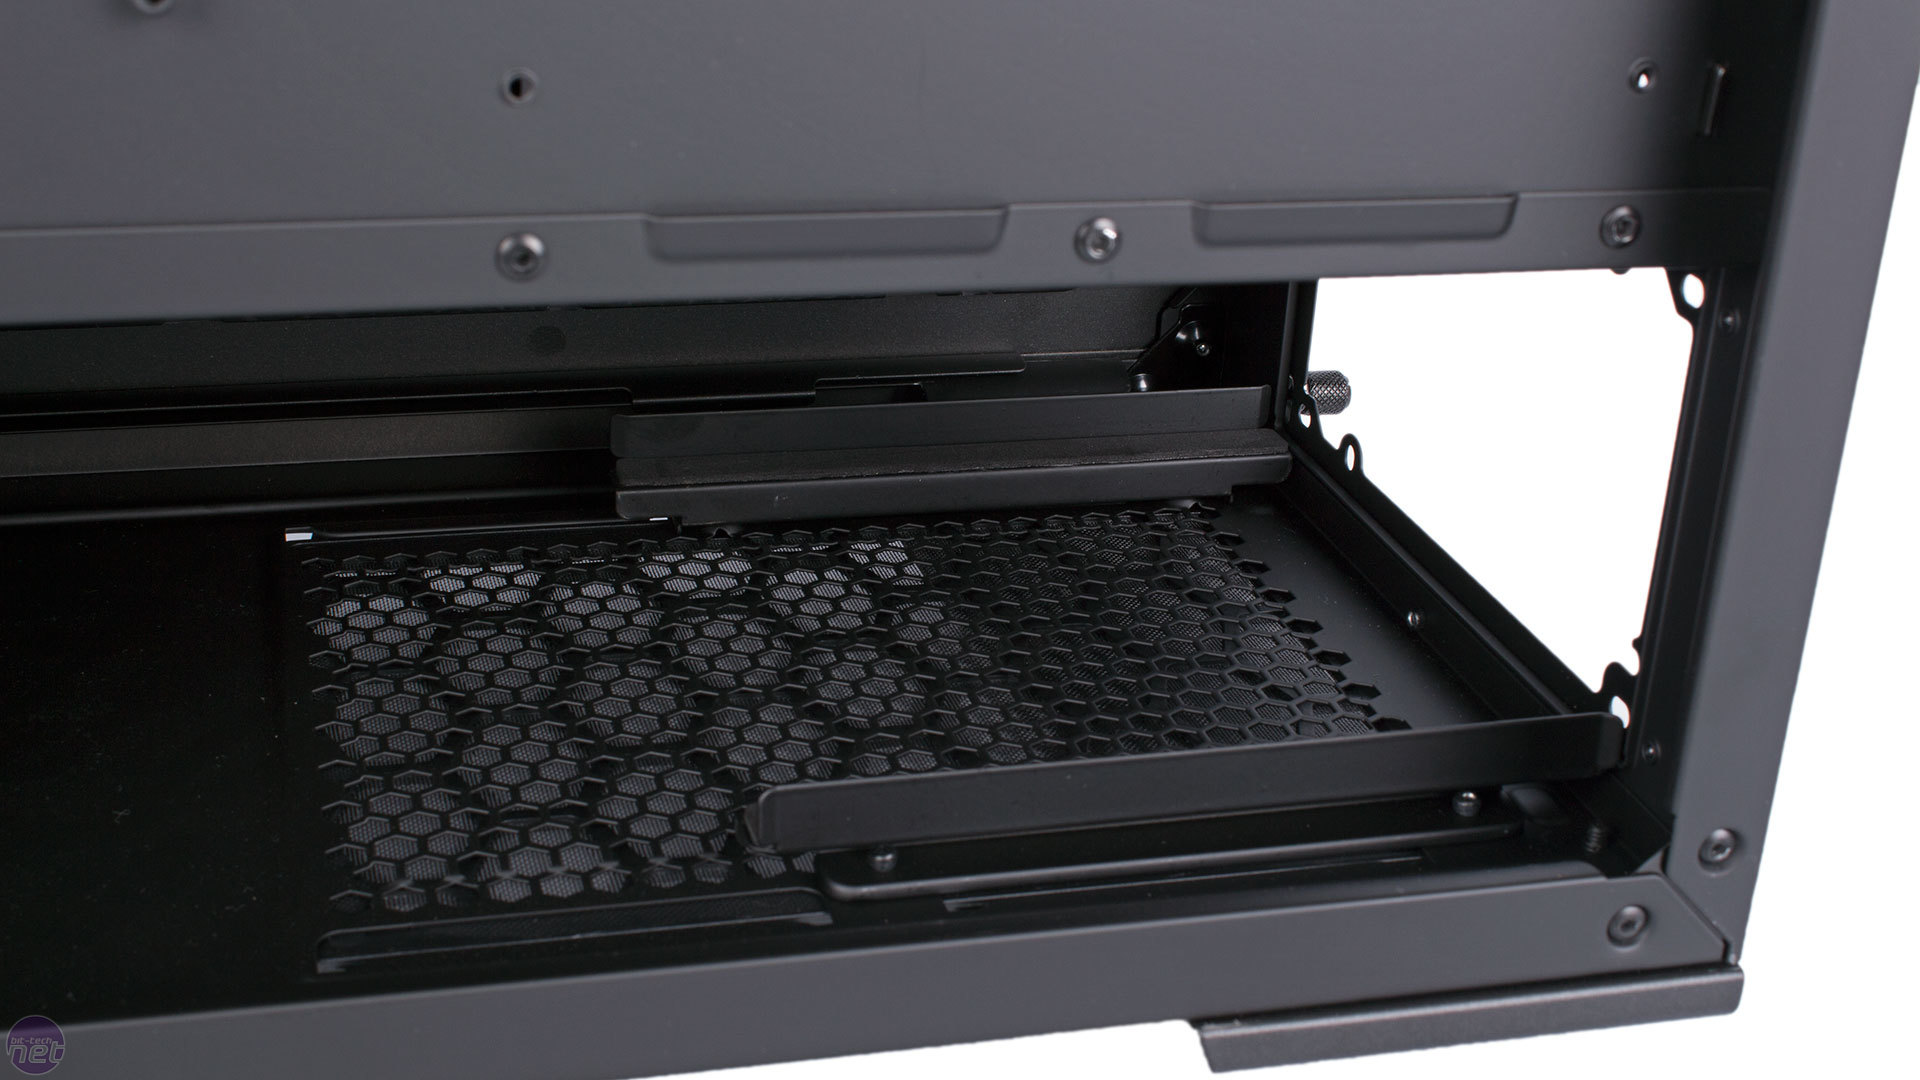
With its top radiator bracket, the MasterCase Pro 5 can house 280mm/240mm radiators in the roof, with 64mm of clearance in total; only really enough for a slimline model with one row of fans. At the front, 280mm and 240mm radiators are both supported, though 280mm models make removing the ODD cage necessary, and you also need to move the lower HDD cage for either size. Thankfully, you don't have to remove it entirely. Instead, you can just move the rails that it's installed on backwards. This leaves you with 40mm of depth to play with before the partitioning bracket blocks you off, so again you're limited to a slimline radiator with a single row of fans fixed on the front side of the mounting bracket.
360mm radiators are not supported officially, but with the ODD cage removed it might be possible to fit one in at the front, possibly without securing every mounting hole and provided the tubing area isn't too big.
RELATED ARTICLES


MSI MPG Velox 100R Chassis Review
October 14 2021 | 15:04

Want to comment? Please log in.