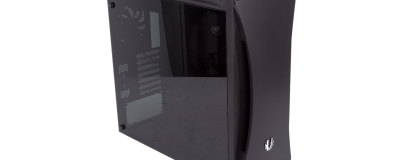
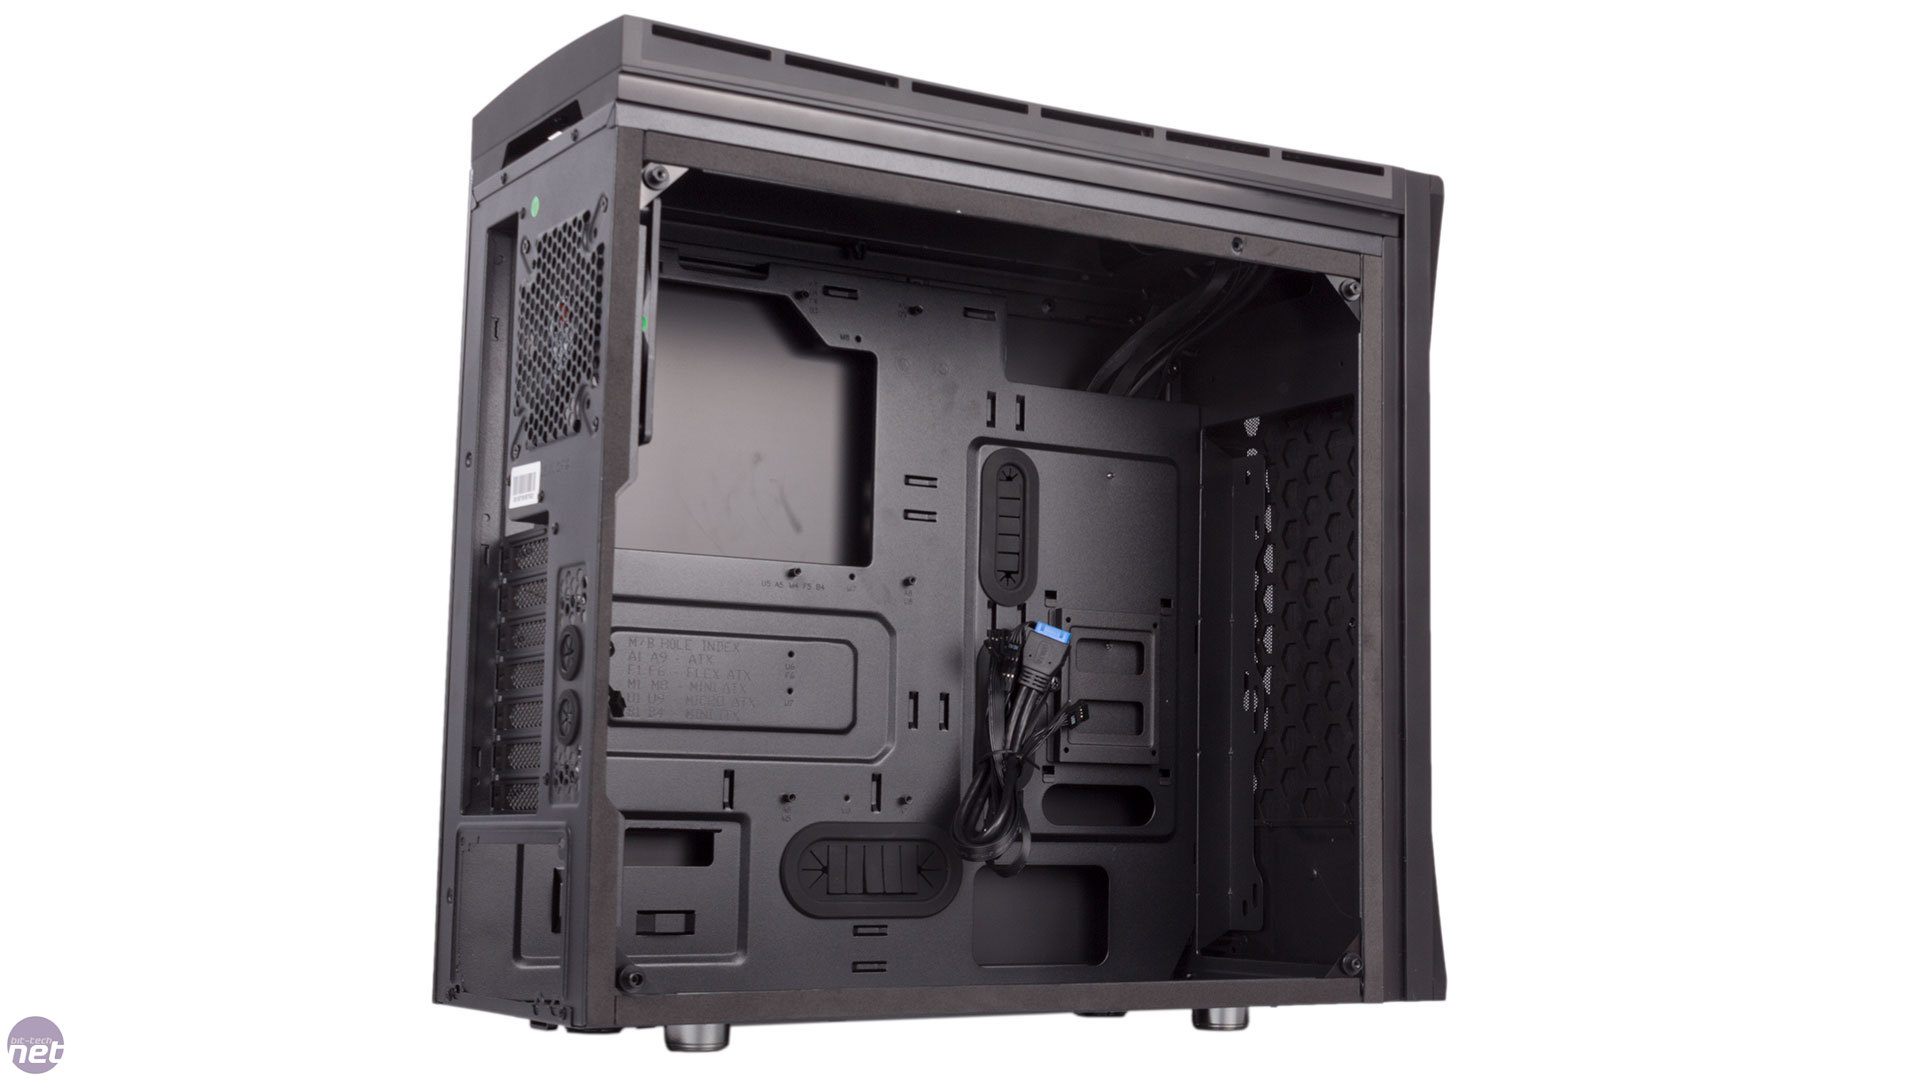
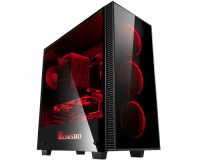
Interior
Removing each side panel involves undoing four nuts. With the panels off, the case's weight is reduced considerably and again we couldn't help but feel that without them it looks and feels lacklustre for a £90 chassis. The two panels themselves also seemed prone to picking up not only fingerprints – which is common to all tempered glass – but small scratches and marks as well. Even after some basic general use i.e. putting the panels on and off a few times and resting them on a desk, they seemed to have acquired a number of scuffs that could not be easily wiped away.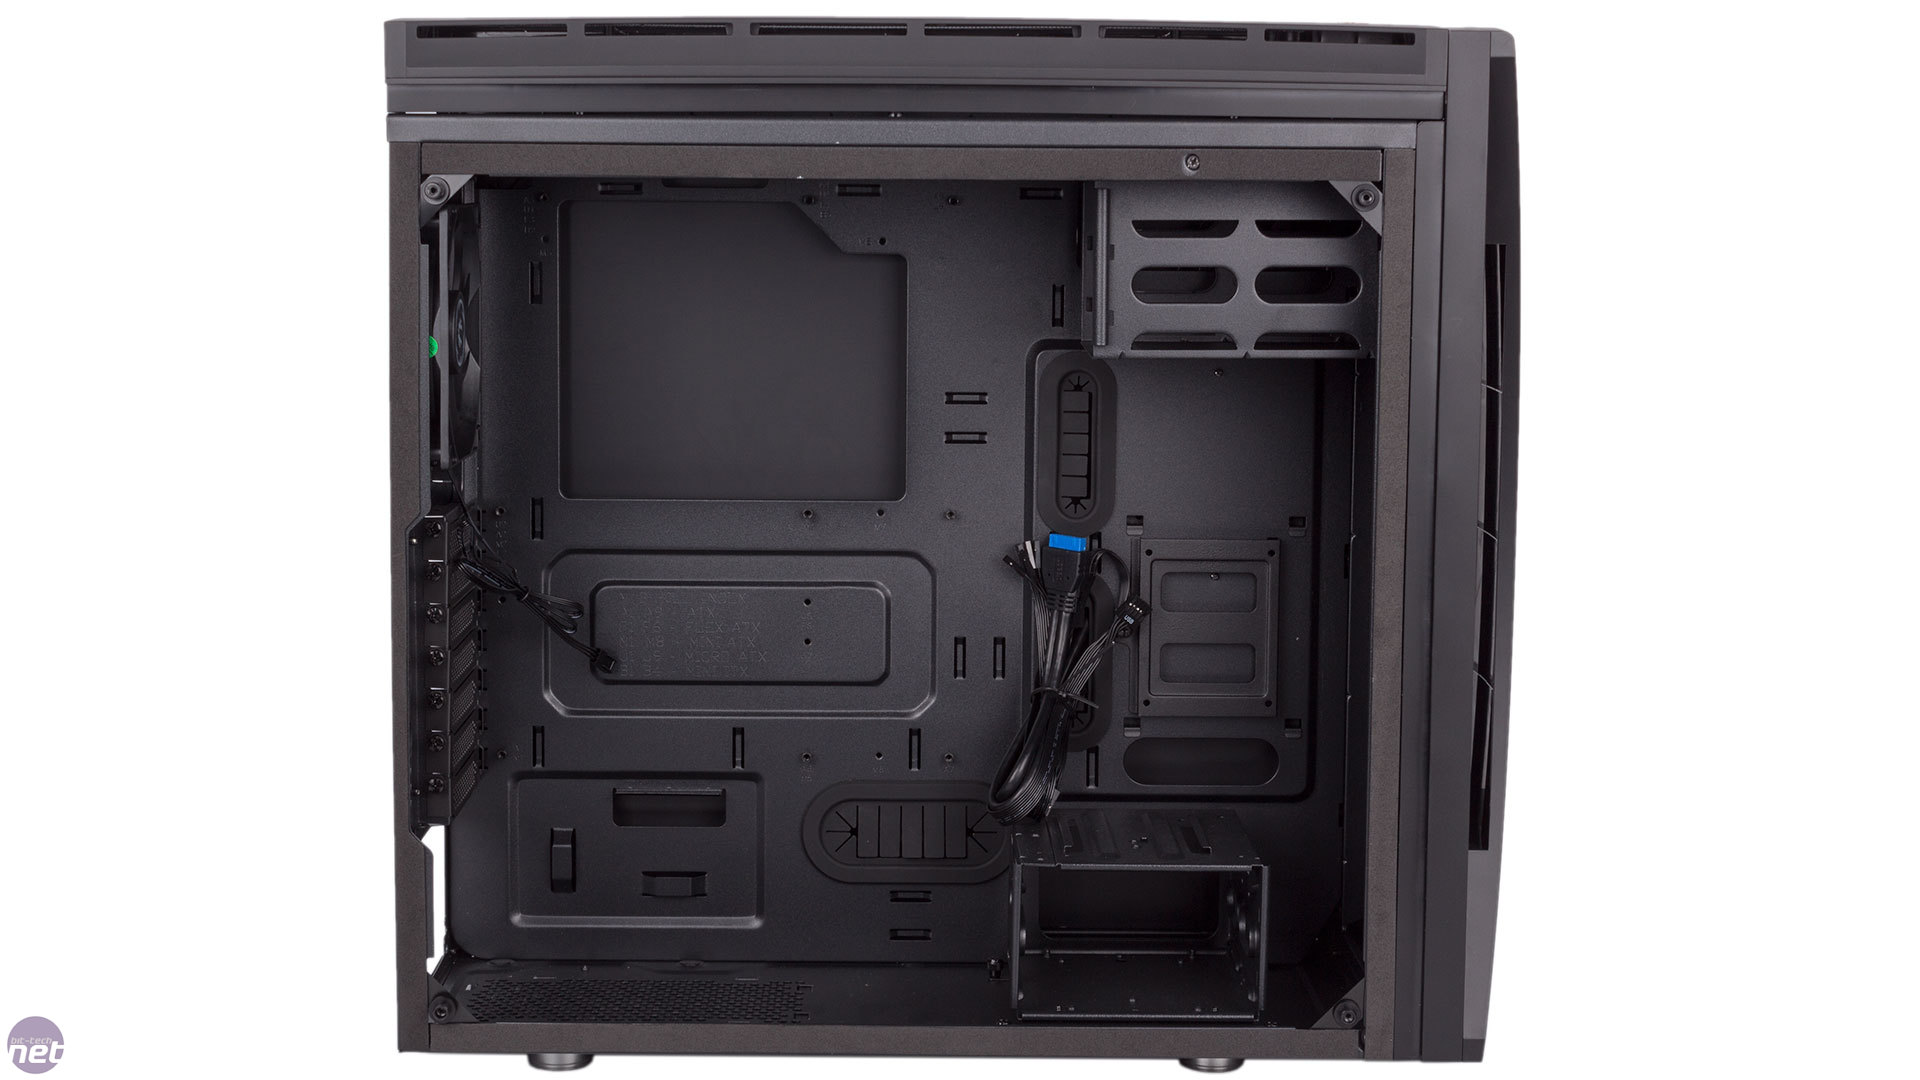
Click to enlarge
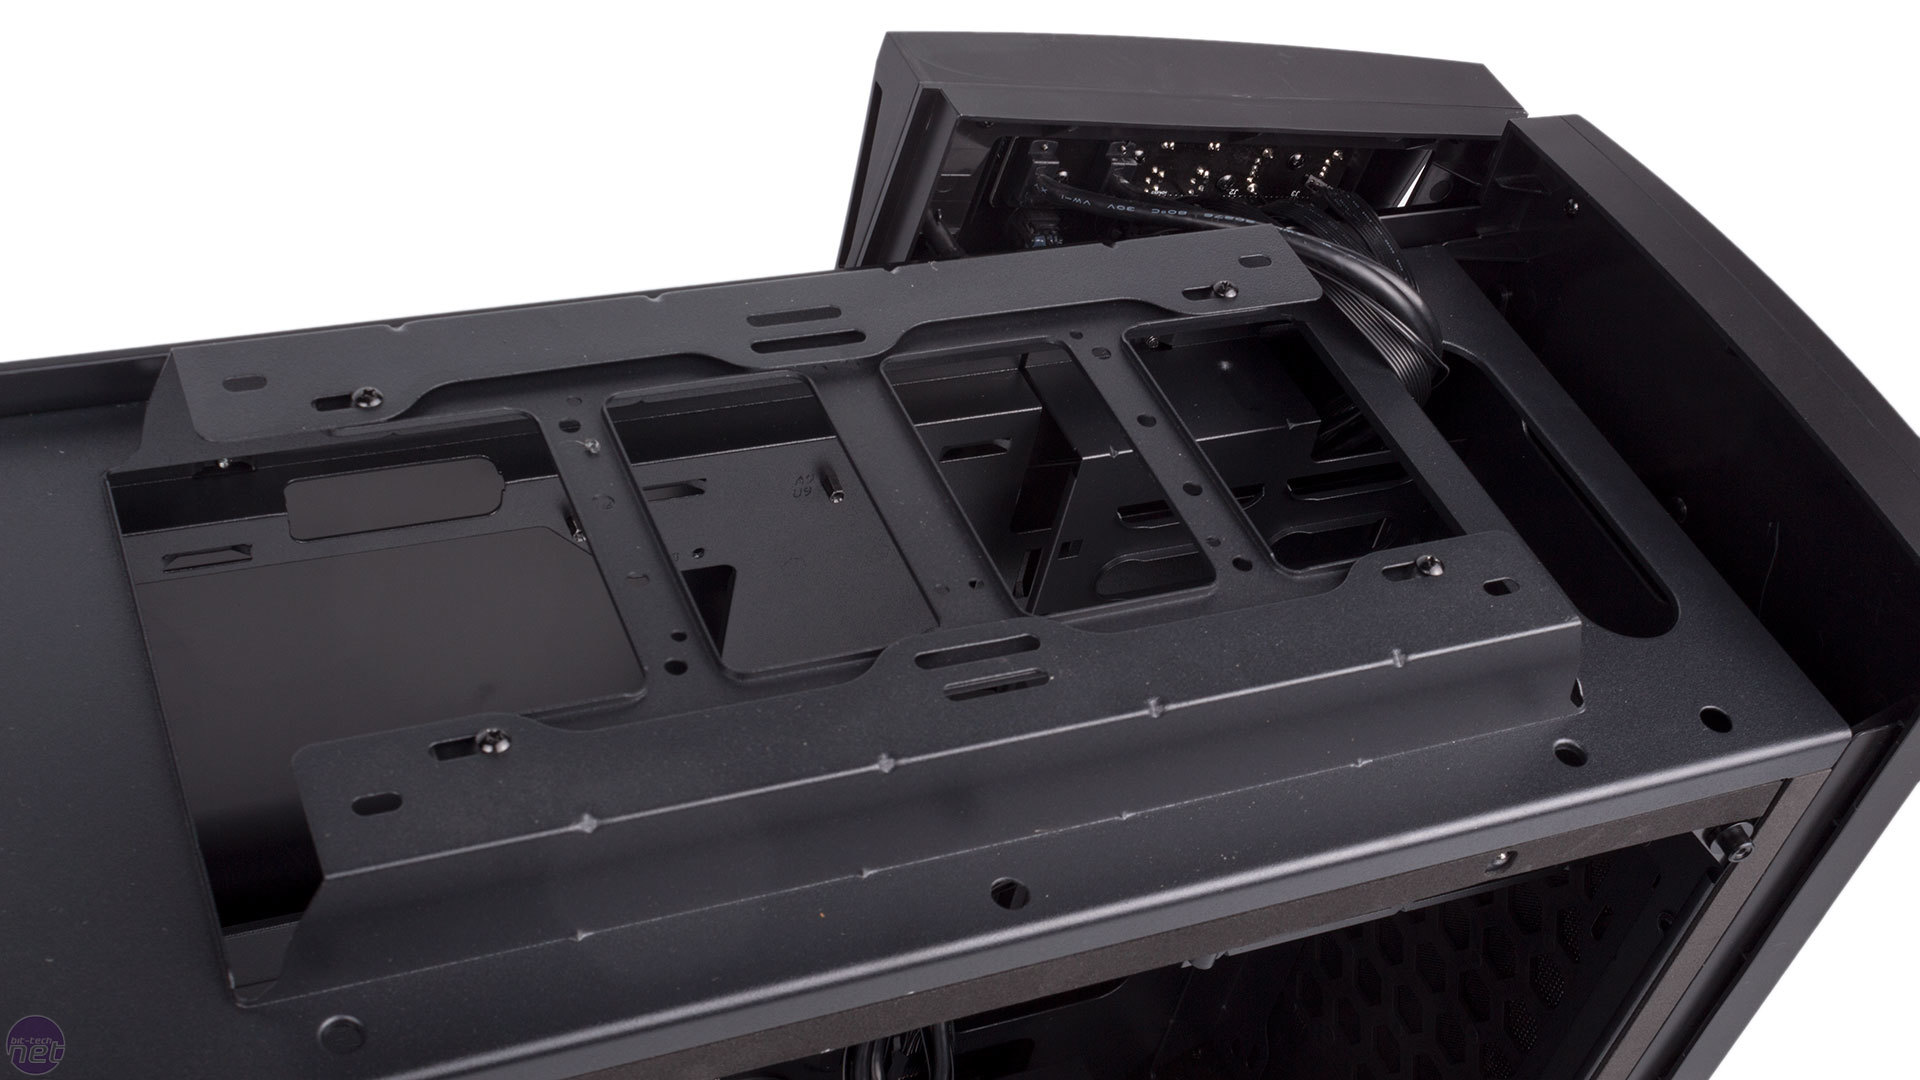
The front and roof panels are both removable too, each requiring a firm tug. The front comes away cleanly, but the I/O ports' integration in the roof means that this panel brings the associated cabling with it, which isn't ideal.
Inside, BitFenix is at least up to date with the modern touches we expect from cases these days: pre-installed motherboard standoffs, thumbscrews for the expansion brackets, rubber pads for the PSU to rest on and an all-black I/O cable set are all present and correct.
Click to enlarge
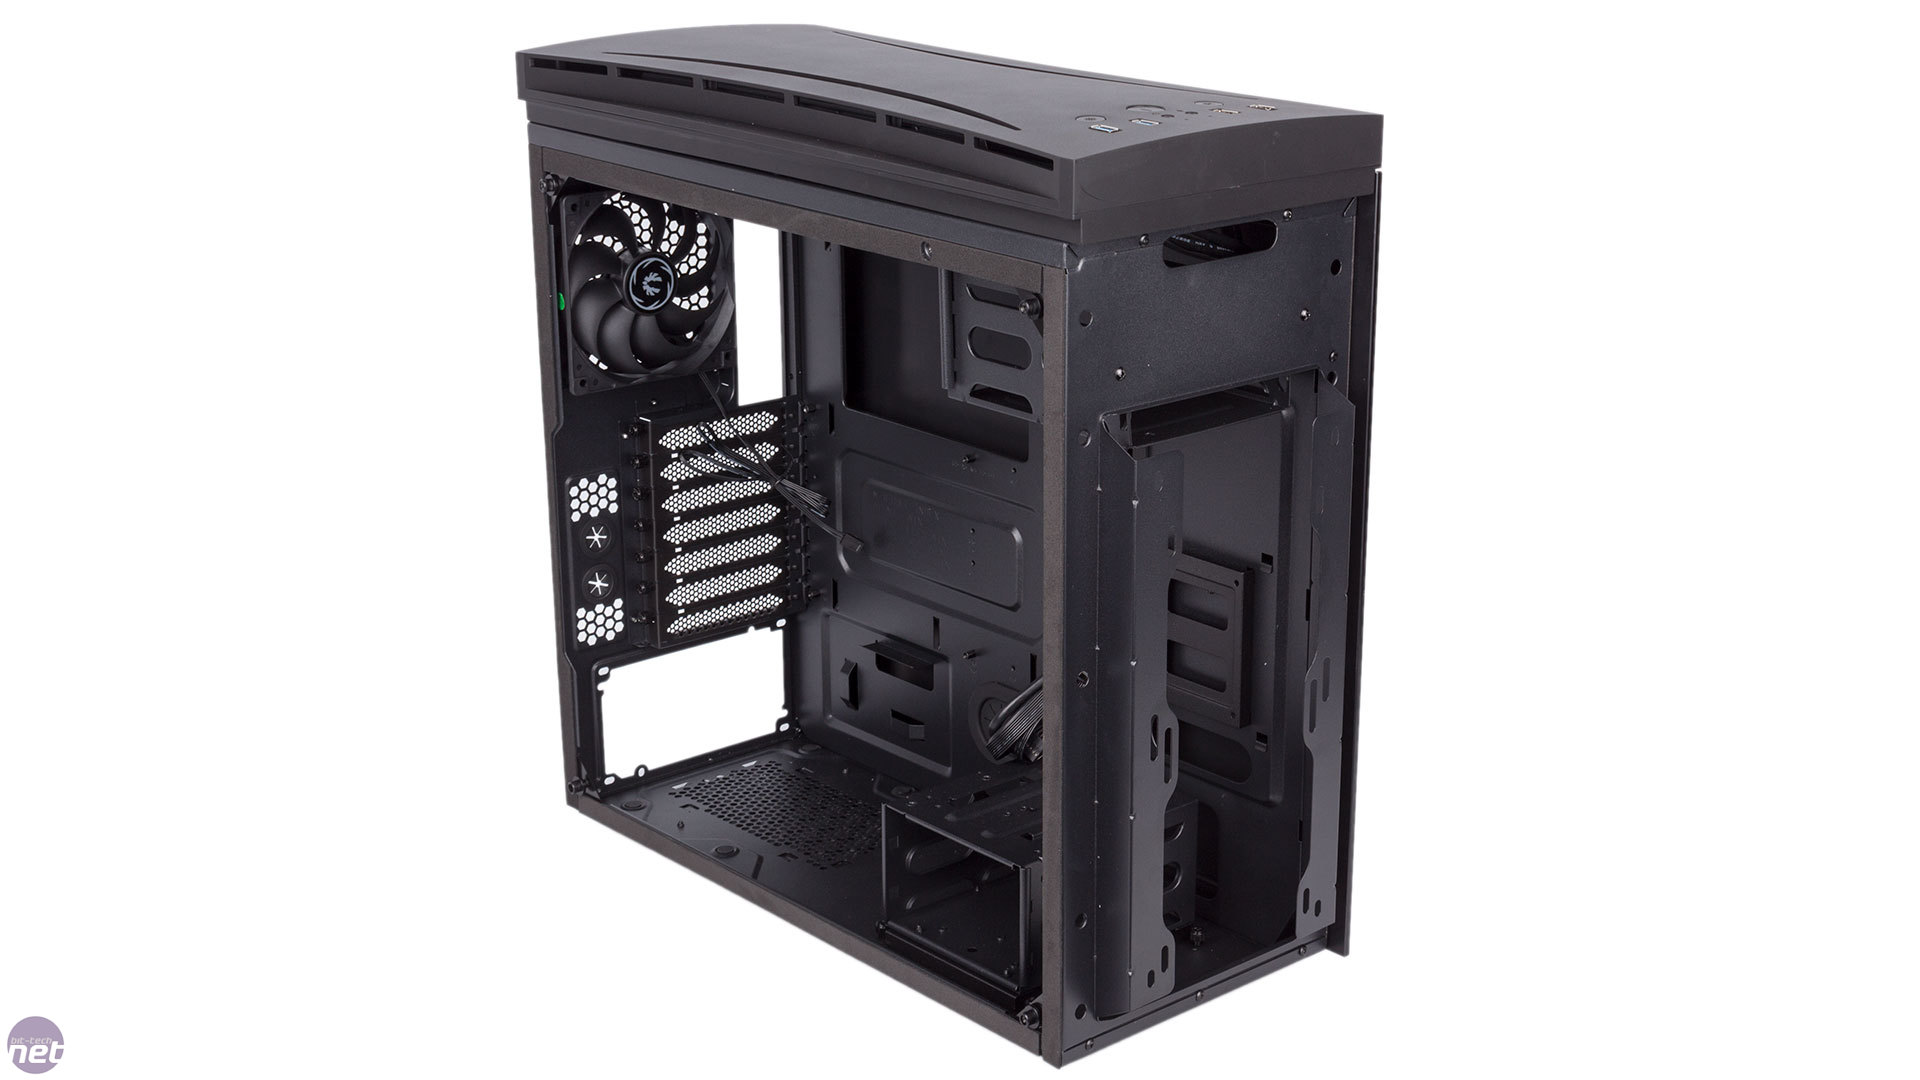
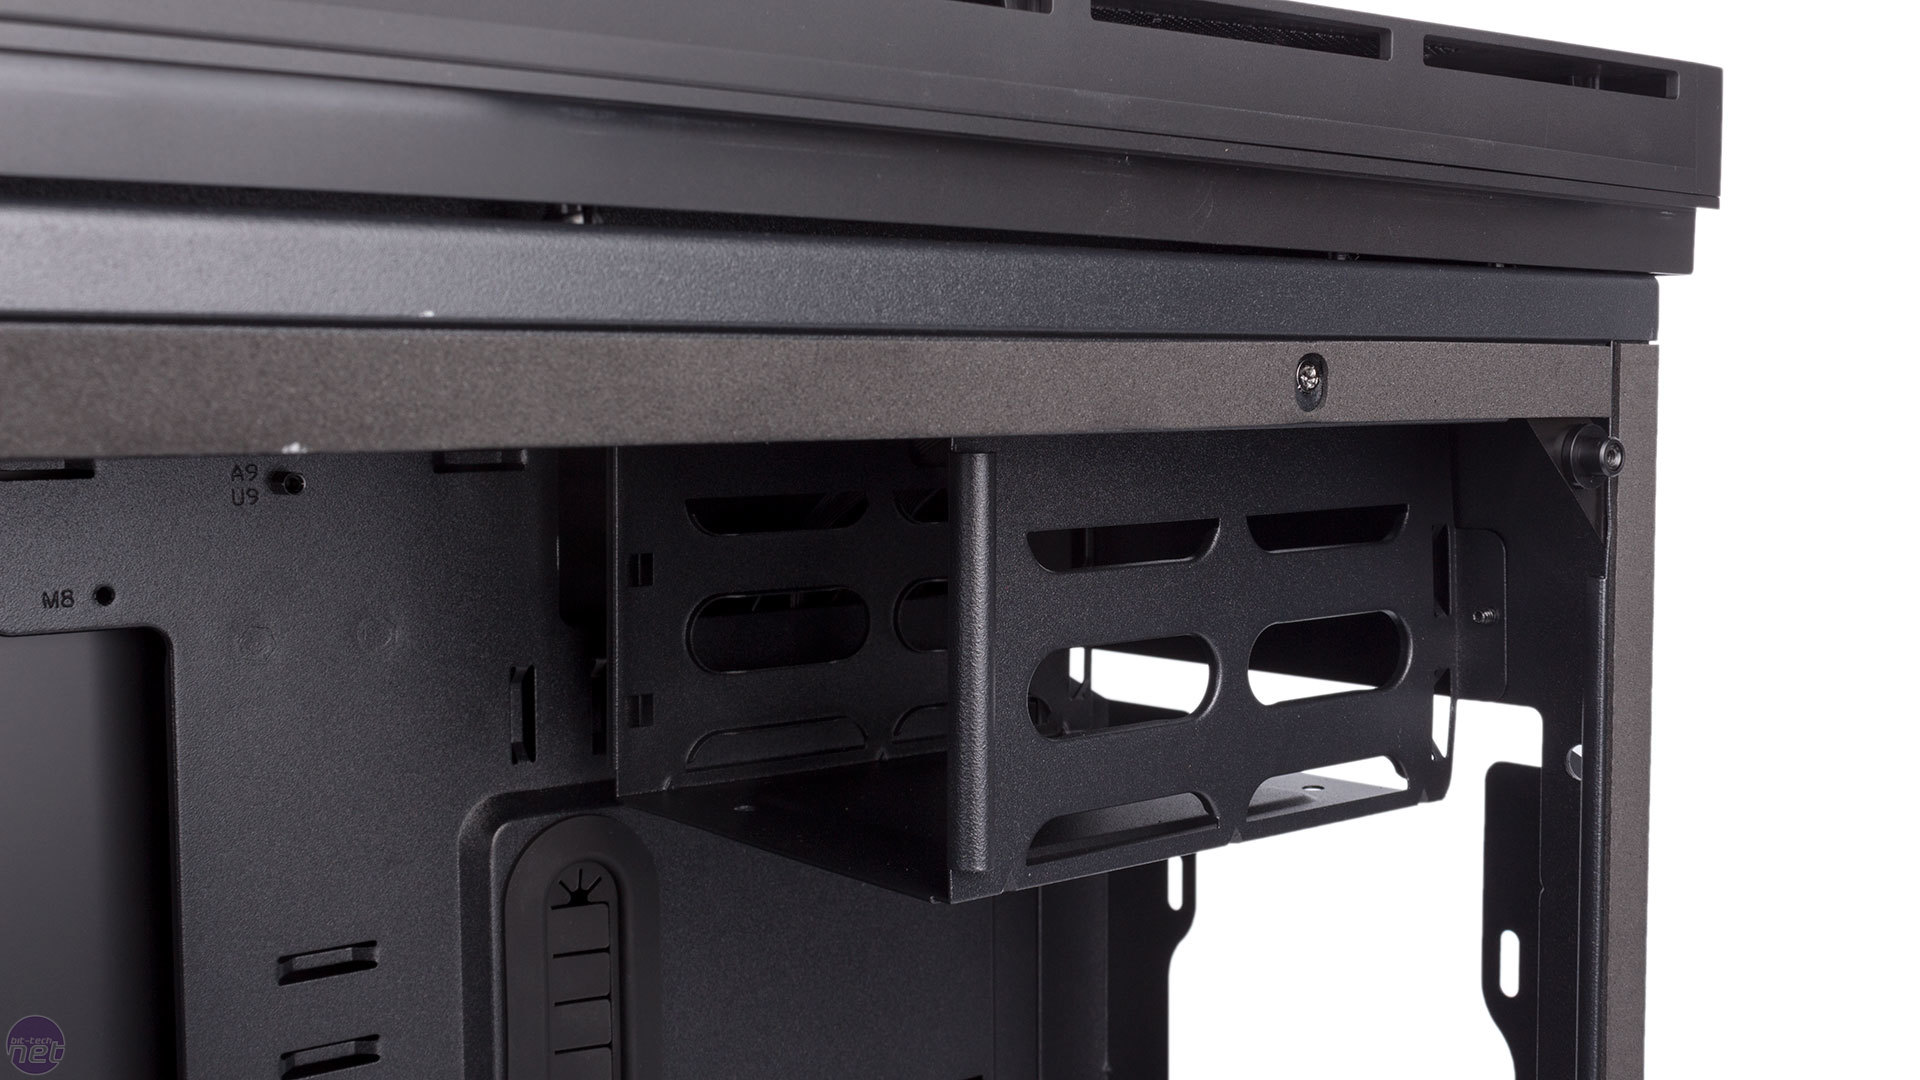
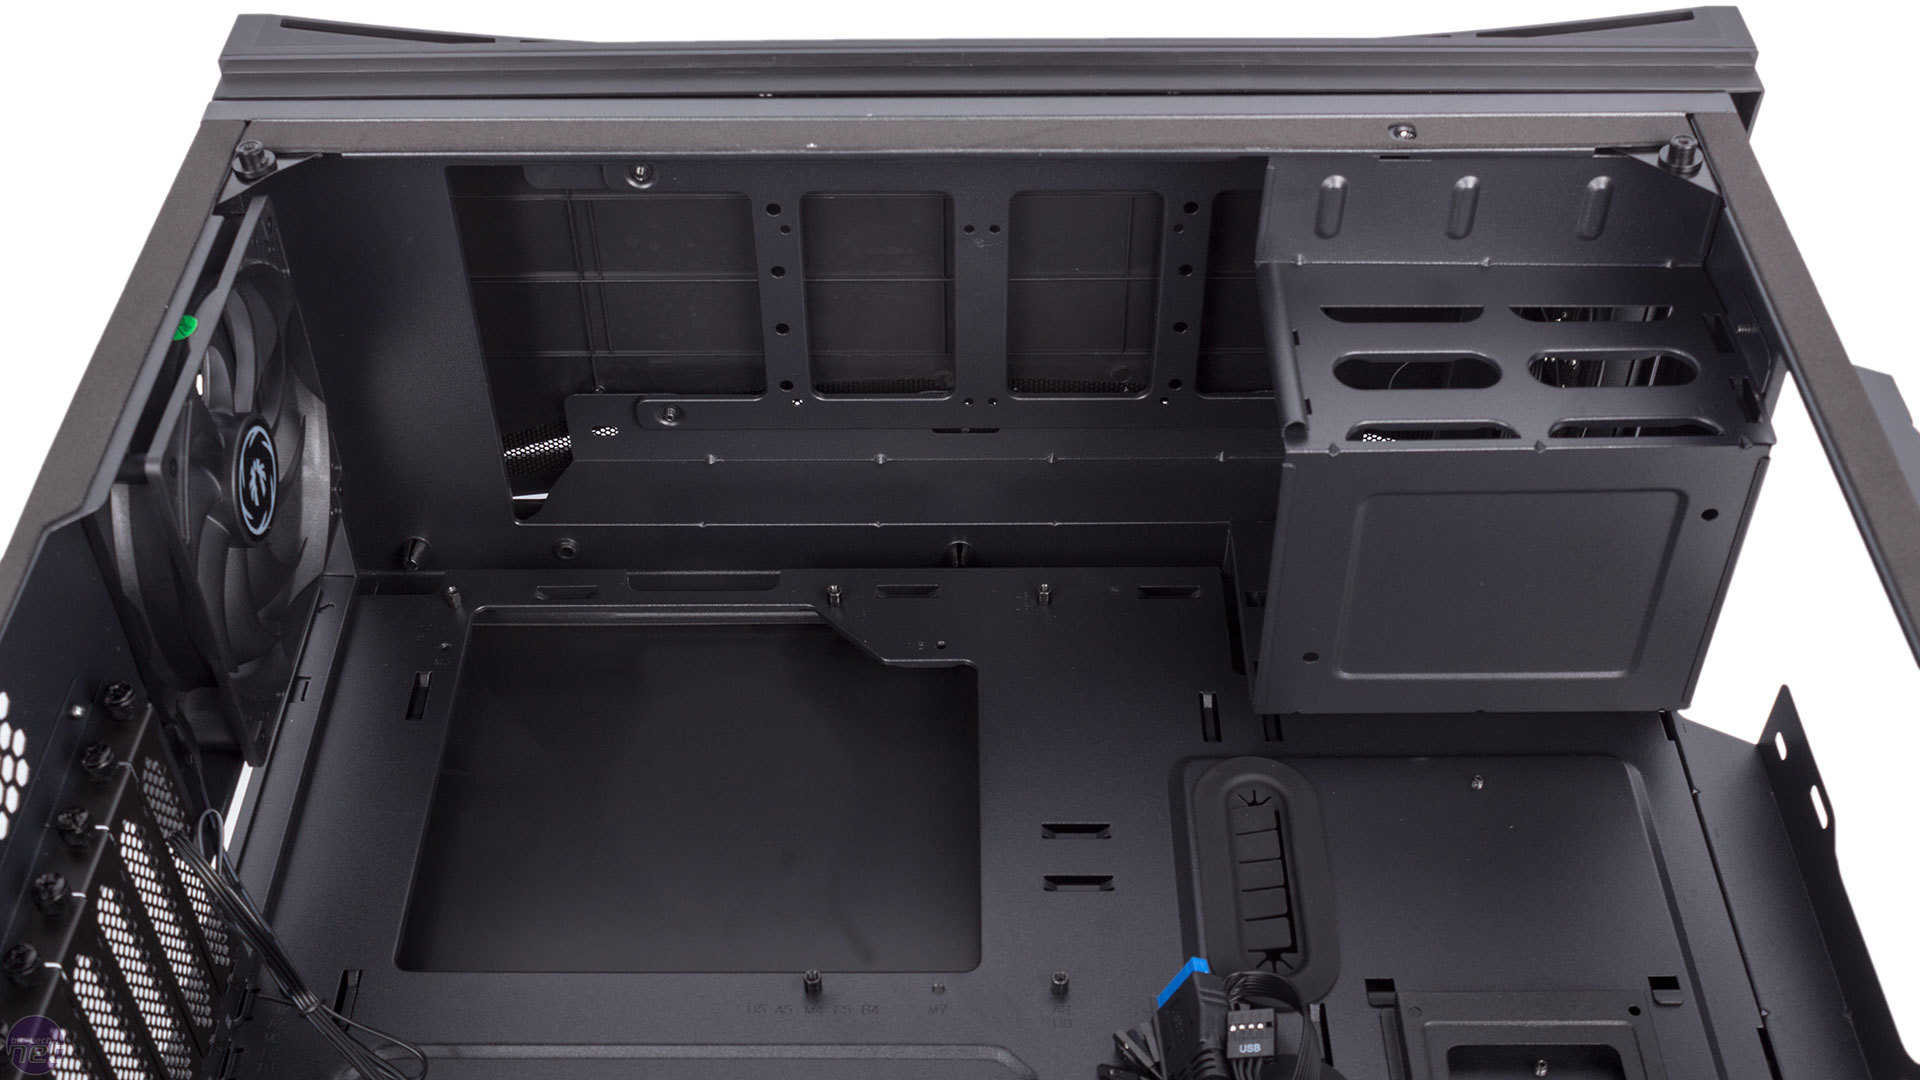
The internals are kept very spacious by omitting optical drive support and pushing dedicated SSD mounting spots to the motherboard tray, which runs the entire depth of the case. That top cage that looks like a traditional optical drive cage is actually for 3.5in devices. It supports two of them, and they're installed using plastic, tool-free arms with small bits of rubber around the mounting pins.
Click to enlarge
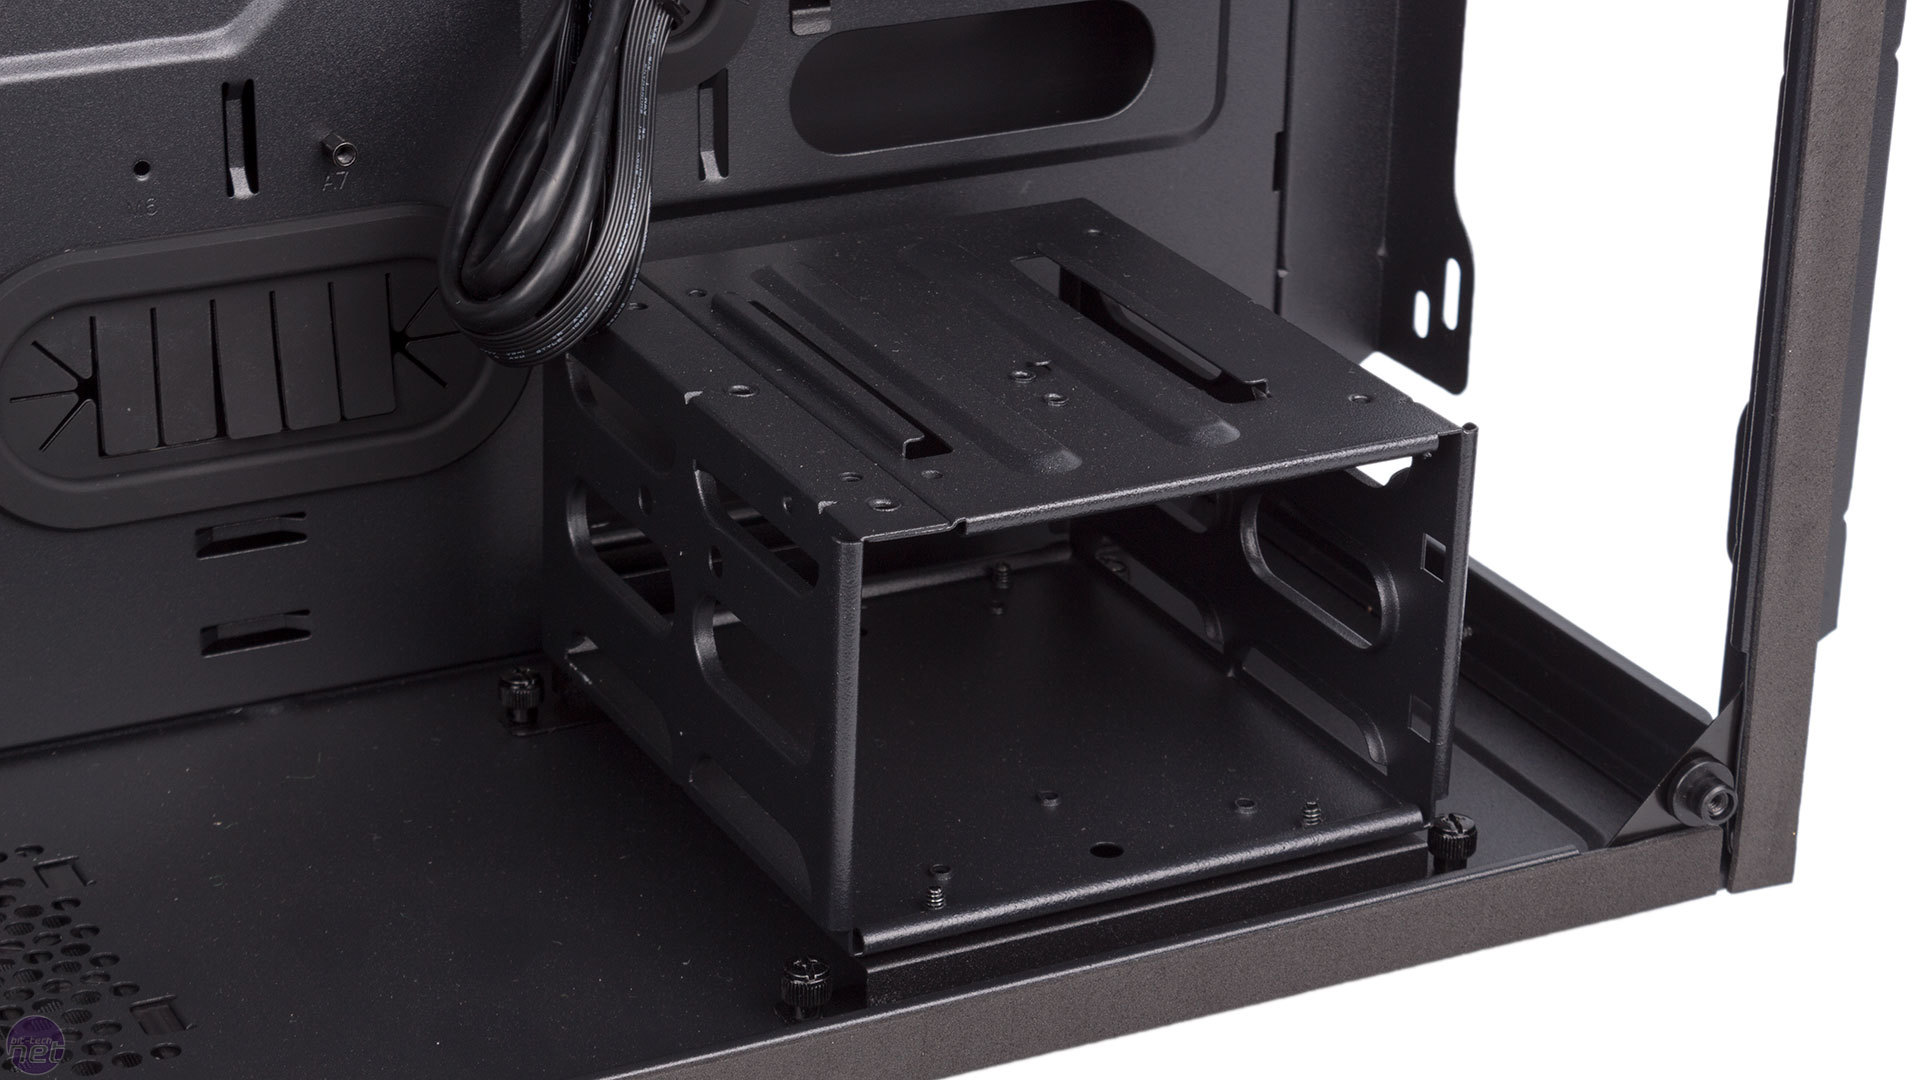
The same system is used for the bottom cage, which again supports two 3.5in hard disks. This system leaves plenty of space in the middle for excessively long graphics cards and keeps airflow restrictions to a minimum. Both 3.5in drive cages can be removed entirely too, if desired, which can open up the case further for water-cooling, for example.

Click to enlarge
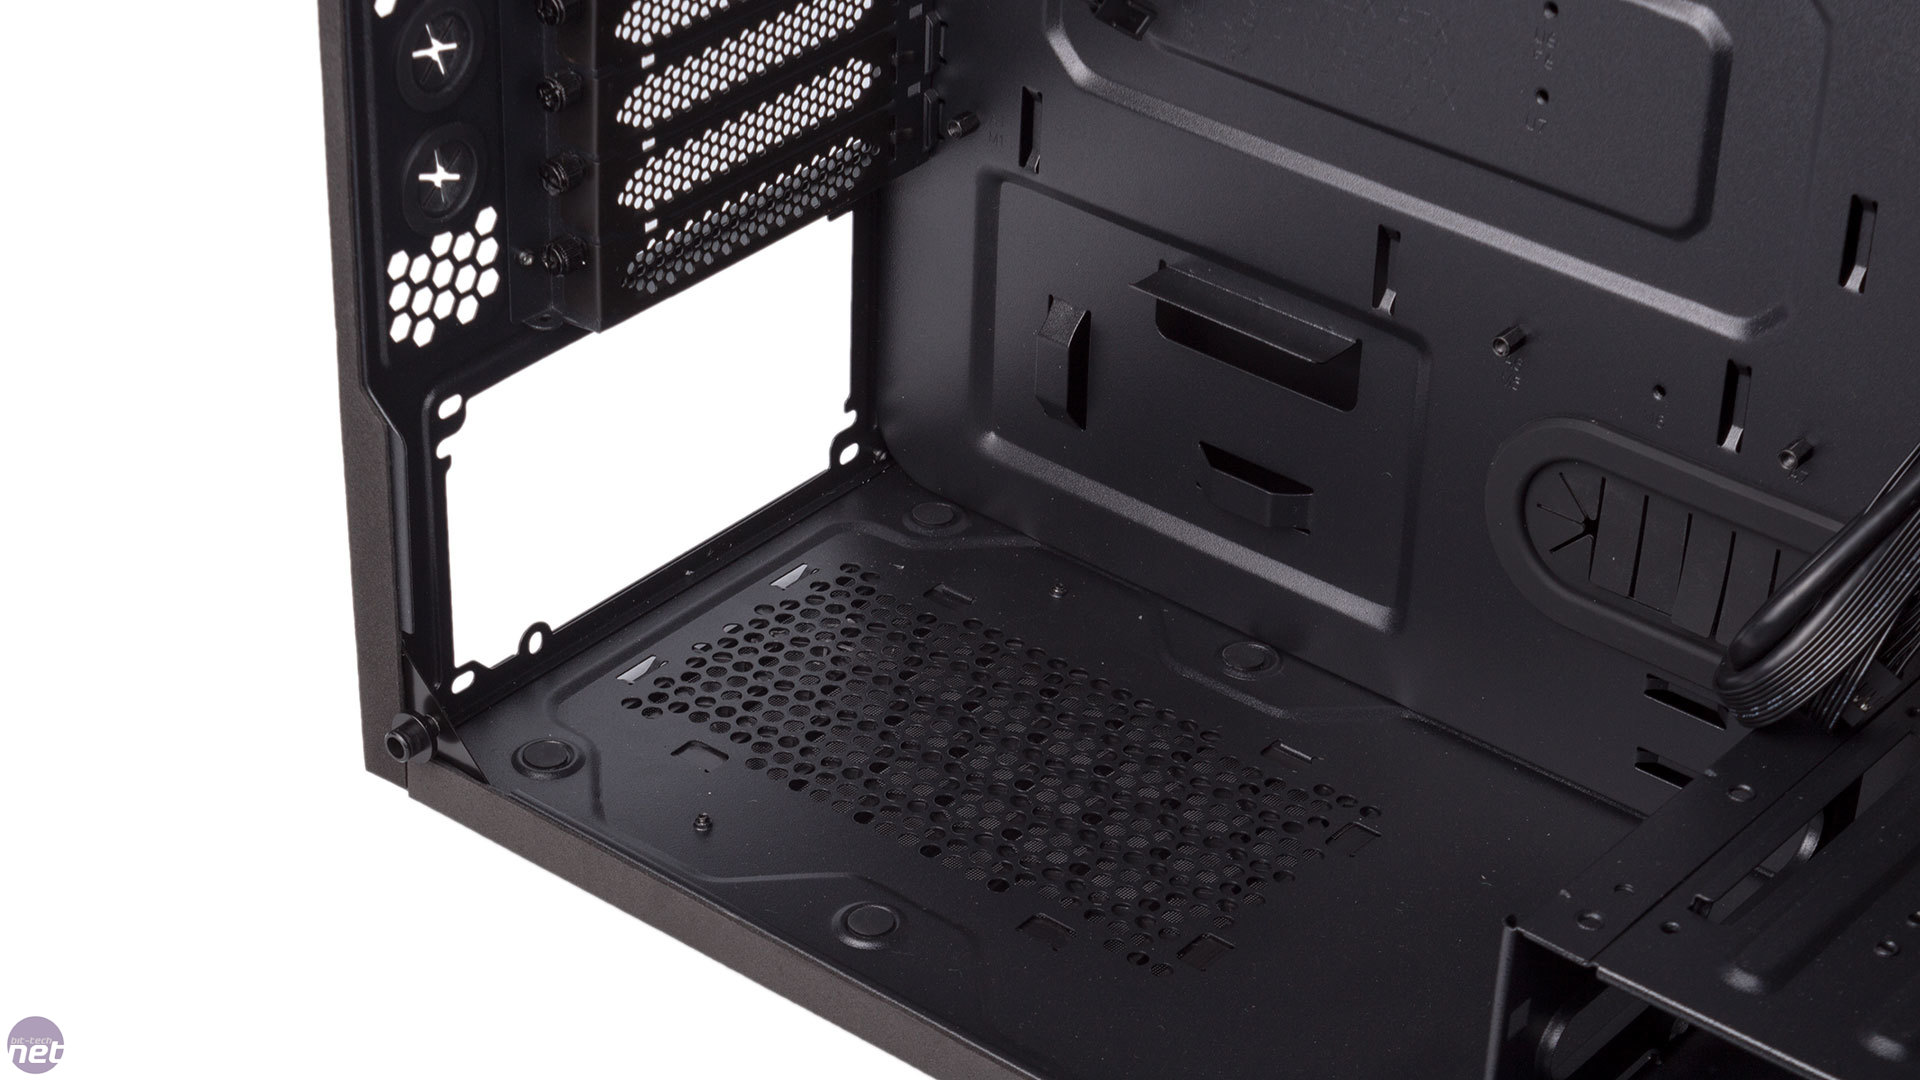
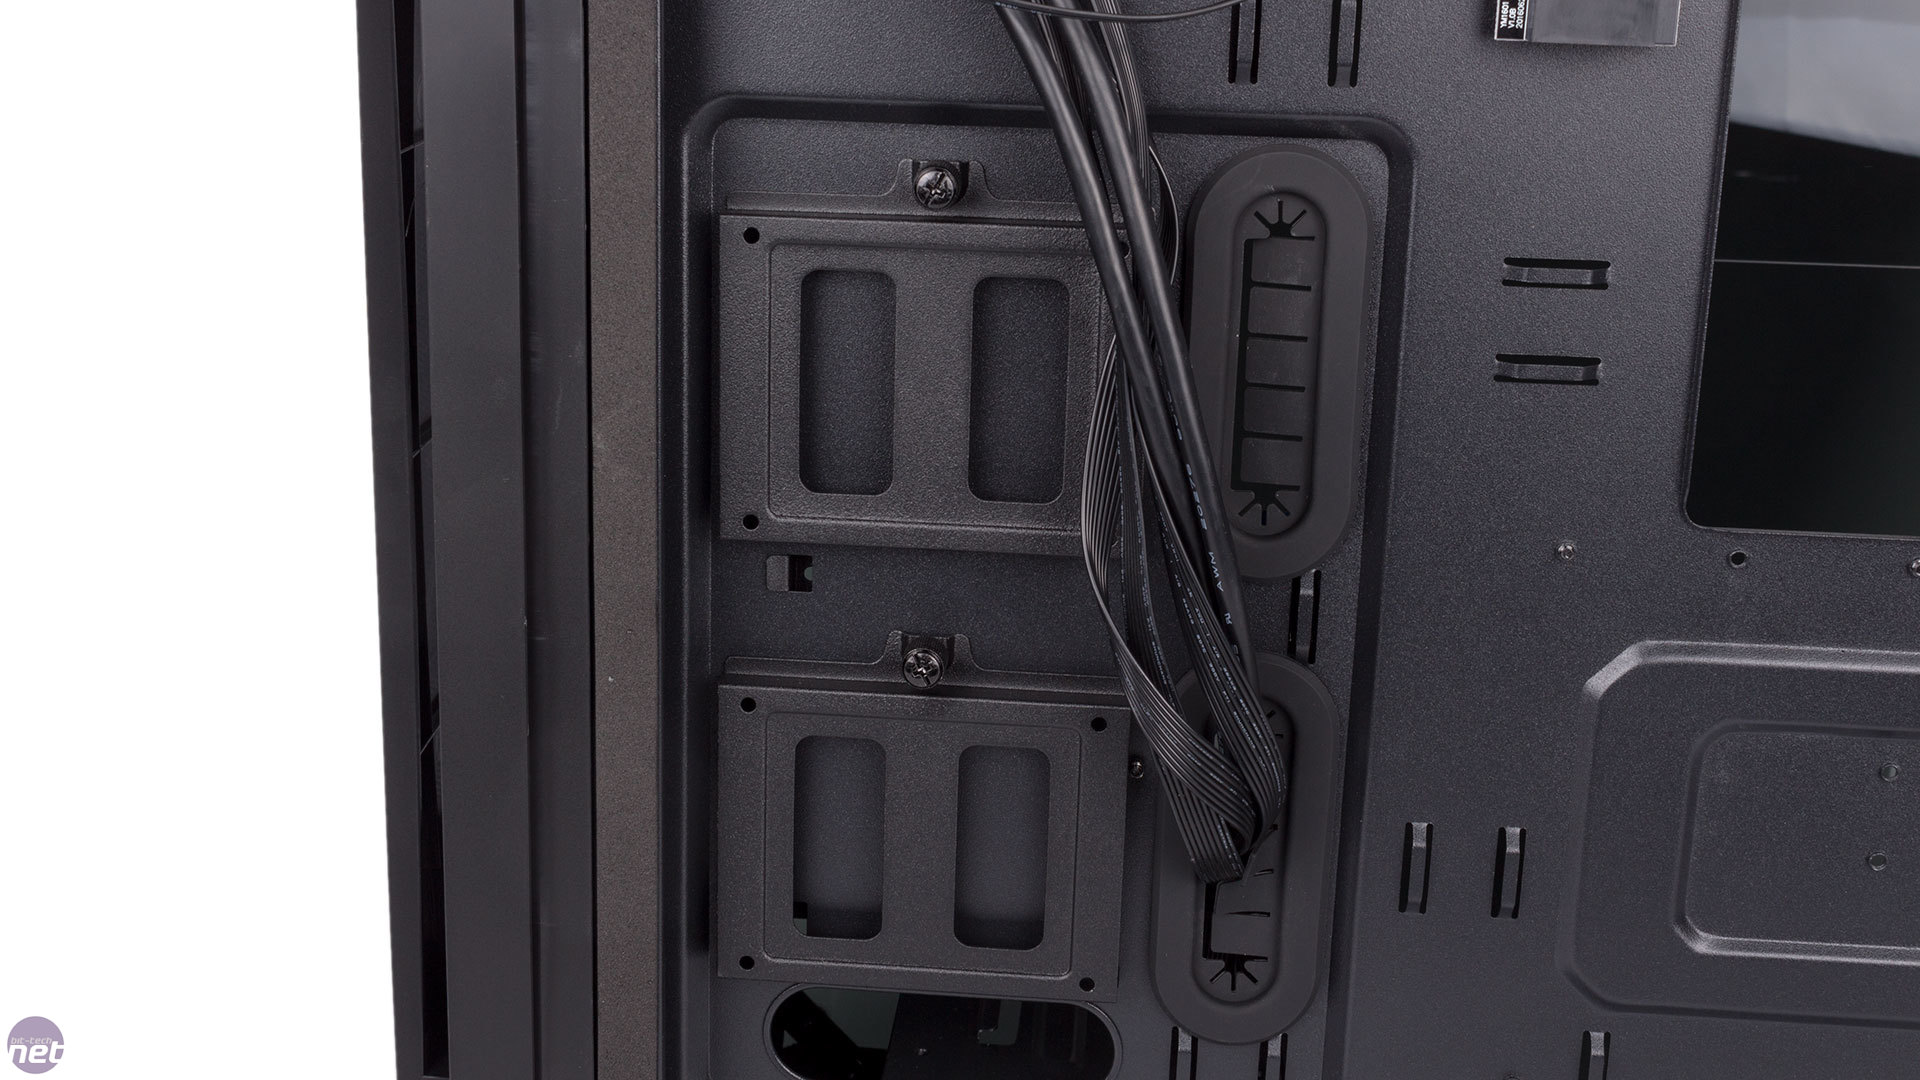
There are three dedicated 2.5in mounting trays: one on the front side of the motherboard tray to the right of the cable routing holes, and two directly behind this position. Each tray is released with a single thumbscrew – nice and easy.
Click to enlarge
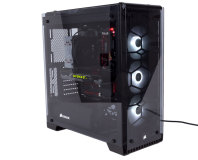
We mentioned previously the presence of an LED control button. Given this, as well as the case's name and its support for Asus Aura RGB lighting, we were expecting something of a light show. However, the only lighting you get by default is a tiny module that screws onto the your SSD, shining a light onto it so it can be seen through the tinted window. The LED control button changes the colour of this light via the simple controller fixed to the rear of the motherboard tray. The system can be synchronised with the Aura lighting system that now comes with selected Asus motherboards, and you can add extra RGB LED strips into the mix with BitFenix naturally pushing its own Alchemy 2.0 strips to consumers. The default lighting configuration is disappointing, however, especially as the left panel is so heavily tinted (too heavily, in our opinion) that seeing inside really does require some illumination.
Thankfully, Overclockers UK, at least, has seen sense and is currently offering all customers who buy the Aurora through its website a free BitFenix Alchemy 2.0 magnetic 30cm RGB LED strip worth £17.99, which adds considerably to the case's value for money. Unfortunately, this offer went live after our sample landed, so we haven't been able to put it into action ourselves, but the case will definitely look far better with an RGB strip installed. The colour will be synchronised with the SSD bracket too, with further colour options available if you use an Aura-enabled motherboard. Naturally you can also daisy chain further strips if you want to turn the inside of your PC into a rave.

Click to enlarge
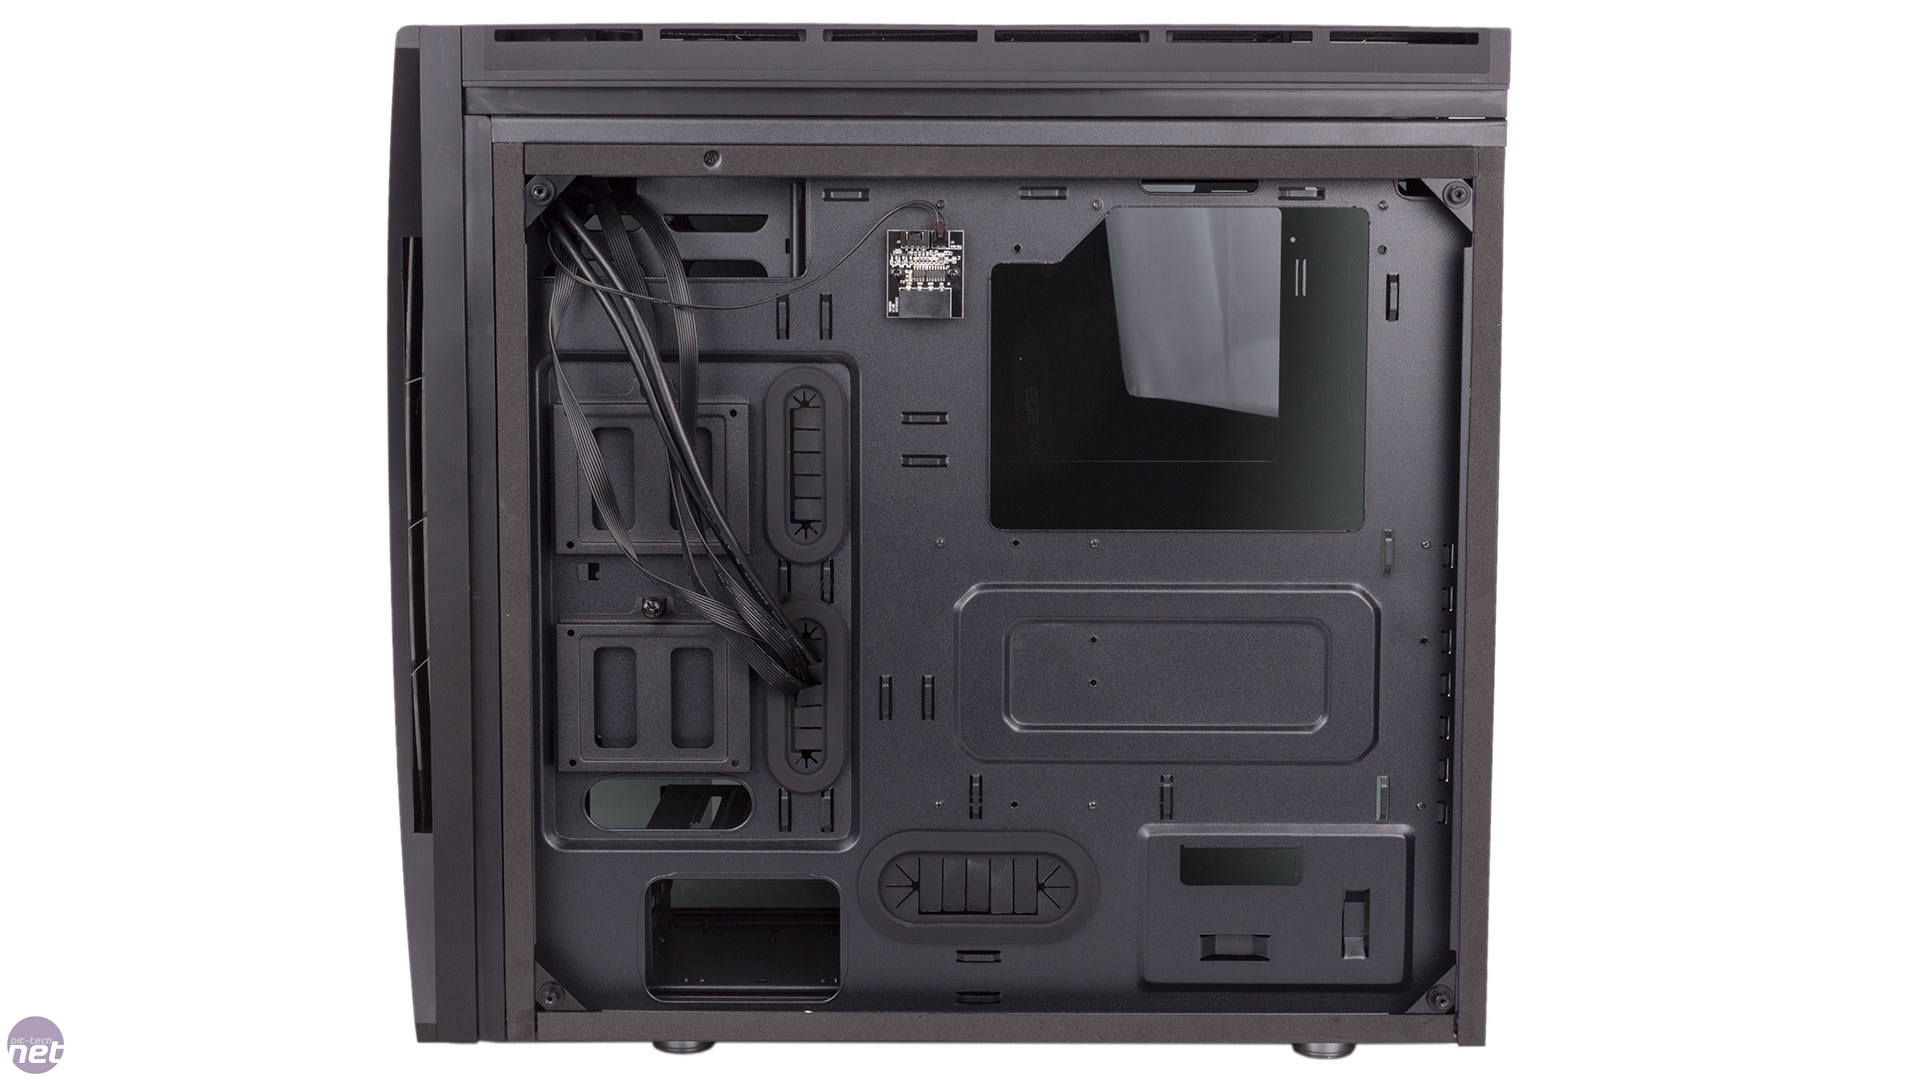
The Aurora is pretty solid from a cable routing perspective. There are three sensibly sized routing holes around the motherboard tray covered with rubber grommets, and room above to poke the 8-pin EPS connector through. There are no fancy Velcro or clip-shut cable ties but you do get some normal zip ties and there are plenty of anchors, and we didn't struggle to get the side panel back on.
Click to enlarge
280mm or 240mm radiators can be installed in both the front and roof sections, although there are limitations. There's about 60mm of clearance in the roof before you hit the motherboard and also 60mm in the front before you get to the SSD mount. If you can live without this, we measured 83mm between the front and the lower HDD cage but remember that that too is also removable. One thing we do respect BitFenix for is the inclusion of a reservoir mounting bracket which sits in the roof by default but can be secured to the front instead. However, we were disappointed that there isn't any pump mounting position – we think it would have made sense to have pump mounting options in the floor underneath the HDD cage.


MSI MPG Velox 100R Chassis Review
October 14 2021 | 15:04


Want to comment? Please log in.