
Getting on with it
When it finally came time to test the Apevia, I didn’t want to mess around. Last time I reviewed a mATX sized case it took me a while and I spent an inordinate amount of time trying different heatsinks and hardware configurations until I found one that fitted.There was going to be no kerfuffle or bother this time, I told myself. I solved this primarily by using the same hardware as I used before, creating a new standard for our mATX sized cases. You can check out the specs below:
- CPU: Intel Pentium XE 955 (dual-core, 3.46GHz)
- Graphics Card: Radeon X1650 Pro
- Motherboard: MSI G965 MDH
- RAM: 2x 512MB Corsair XMS2-667
- Hard Drive: 1x 250GB Western Digital WD2500 7,200 RPM
- Heatsink: Intel Stock Heatsink
Now, before we go any further, you may want question why we’re using an Intel Stock Heatsink and not something bigger and beefier. The reason is simple: while you might be able to shoehorn an aftermarket heatsink inside certain mATX cases, others just don't have space (as I discovered last time, remember?). In order to compare results long-term we need to keep the specification the same.

Click to enlarge
So, what exactly are we wanting to test here? Well, the three things we look for primarily are easy system installation, good thermal performance and an overall quietness. First up obviously is system installation.
Honestly, I didn’t have much hope for the Apevia in this category. mATX cases are often incredibly hard to install systems in because of the limited space inside. The removeable motherboard tray helps, but getting the cables all connected is still a pain. I assumed it would be even more of a hassle because the PSU is packaged inside and non-modular.
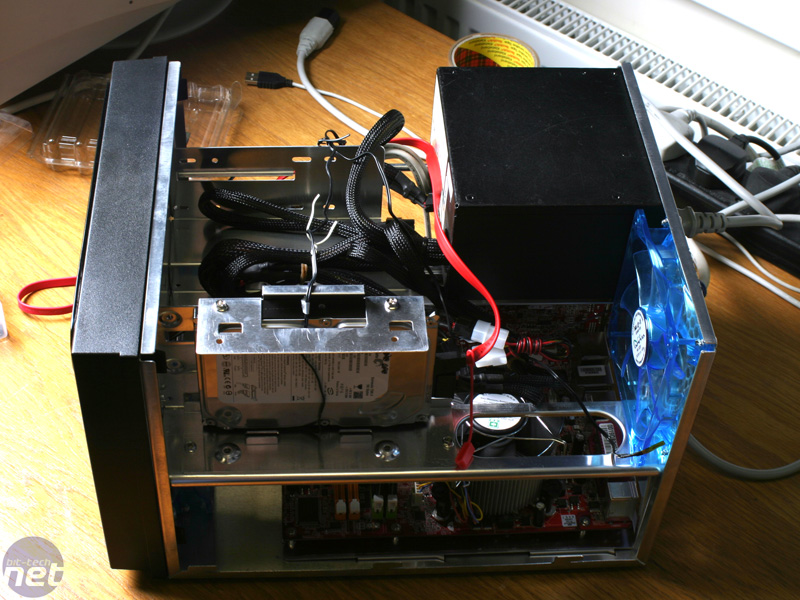
Click to enlarge
In fact though, getting everything plugged in was fairly easy and the problems didn’t really start until we had to screw everything in place permanently. It was then that we noticed the very act of pulling out the motherboard tray had in actual fact bent it a bit. It no longer fitted in place exactly and it took a fair amount of "encouragement" shall we say, to get it right.
The all-in-one sidepanels were a bit of a pain too and also seemed to have sprung outwards a little bit. Screwing them into place again was a so much of a headache that I had to turn around more than once and check that I wasn’t being stabbed in the cranium by a disgruntled reader.
The cable management options weren’t fantastic either I had to use all the cable ties in my drawer to stop the loose wires splaying out and getting caught in the fans. The hard drive cage is also the the most low-tech solution I’ve ever seen as there’s no anti-noise rubber grommets and no anti-vibration rails. There’s just an anti-common-sense piece of metal for you to screw the drive directly onto, but which sits close to another metal plate so that the three pieces of metal clatter noisily at the slightest touch.
RELATED ARTICLES


MSI MPG Velox 100R Chassis Review
October 14 2021 | 15:04

Want to comment? Please log in.