Aerocool X-Predator X1 - Interior
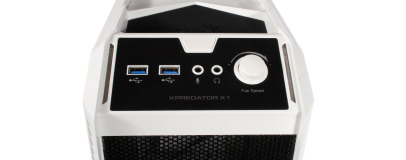
Getting into the X1 is a relatively easy affair thanks to the thumb screws on the side panels, although the front panel requires a fair degree of force to remove at first, to the point where it feels like it could break. Nonetheless, once inside the absence of any drive cage makes the case feel spacious for its size. The interior quality is fine for the most part, although it wasn't long before one of the front LEDs fell out of its place in the front panel.
Click to enlarge
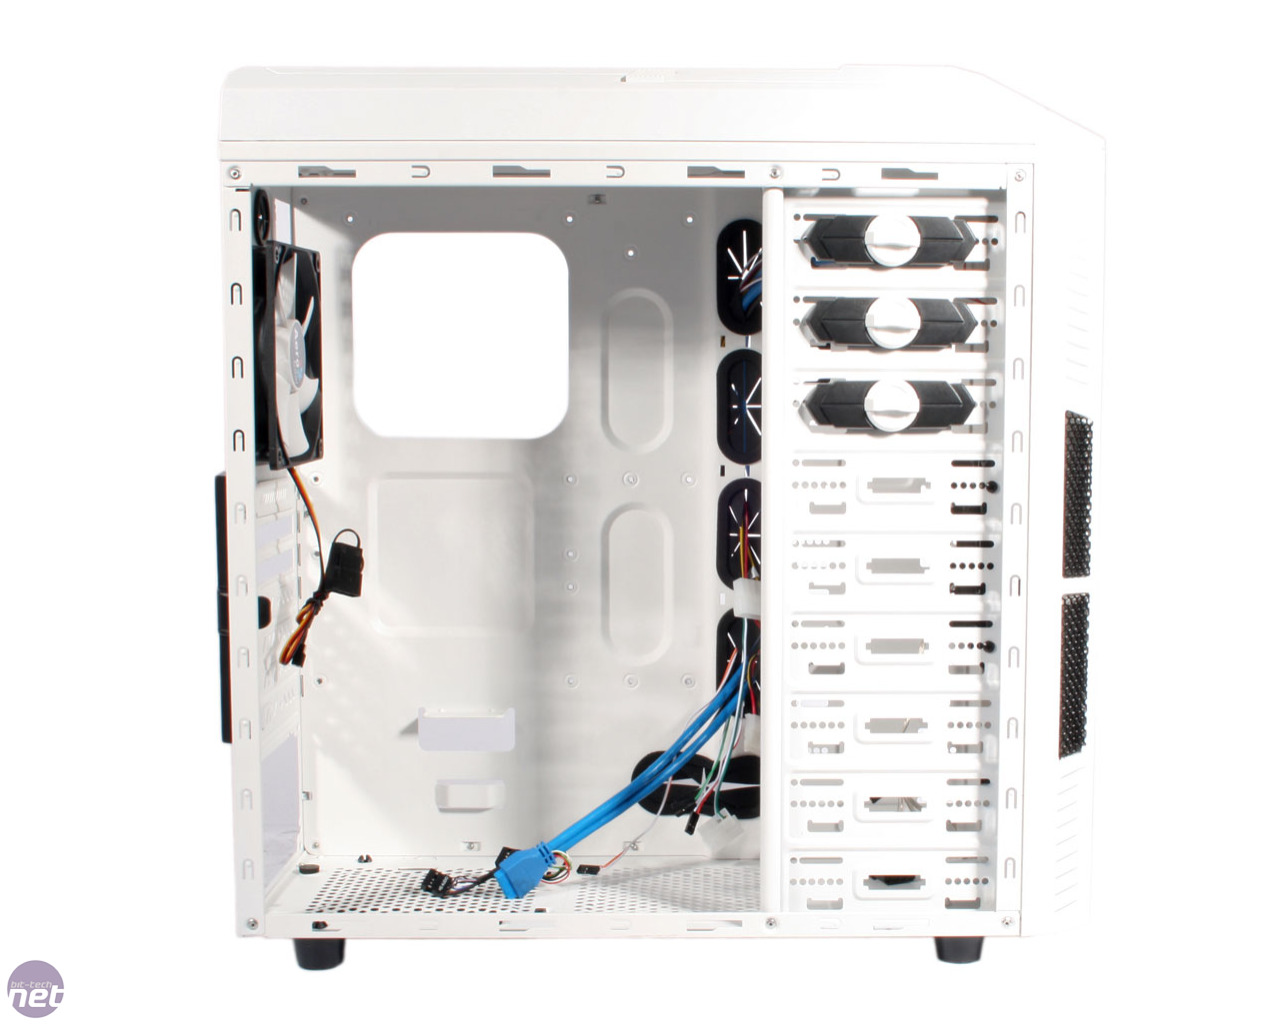
Sadly, the mounts for the motherboard are not pre-installed as we have seen in other cases, although this is a minor irritation. The large, well-placed CPU cutout on the motherboard backplate and the raised rubber sections on which the PSU can rest are far more useful than pre-installed mounts and are nice touches for a case in this price range.
When it comes to building your system inside the X1, it's a stress-free process for the most part, although a few design choices did leave us a bit puzzled. For example, installing an optical drive dislodges the rubber grommets that cover the cable routing holes due to how little space there is between them and the right side of the drive. Also, the PCI brackets can't be reattached – once you've bent and twisted them off the case there's no way to re-cover the open hole should you need to.

Click to enlarge
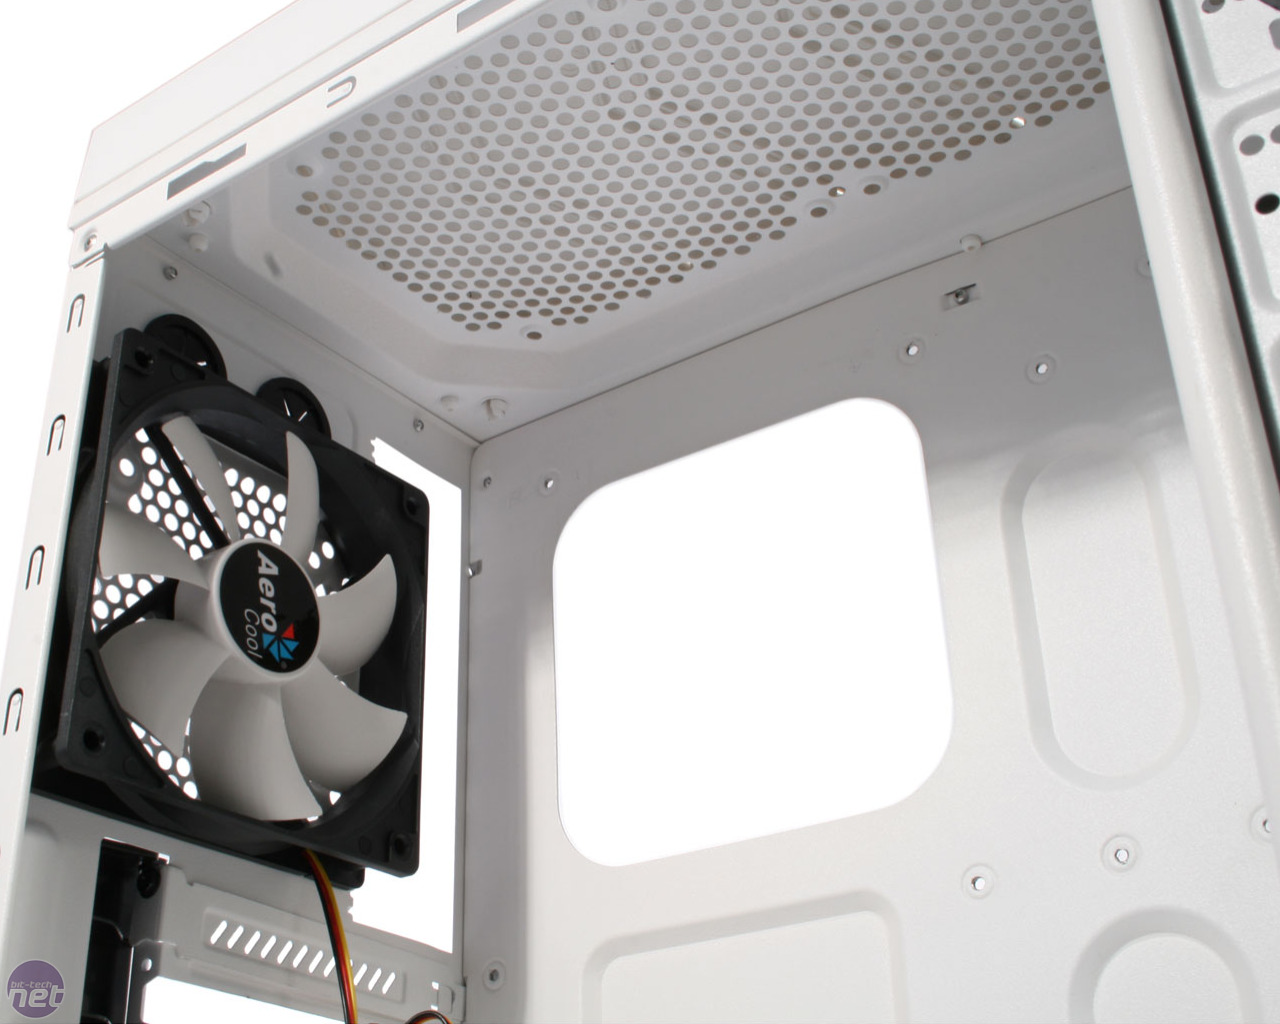
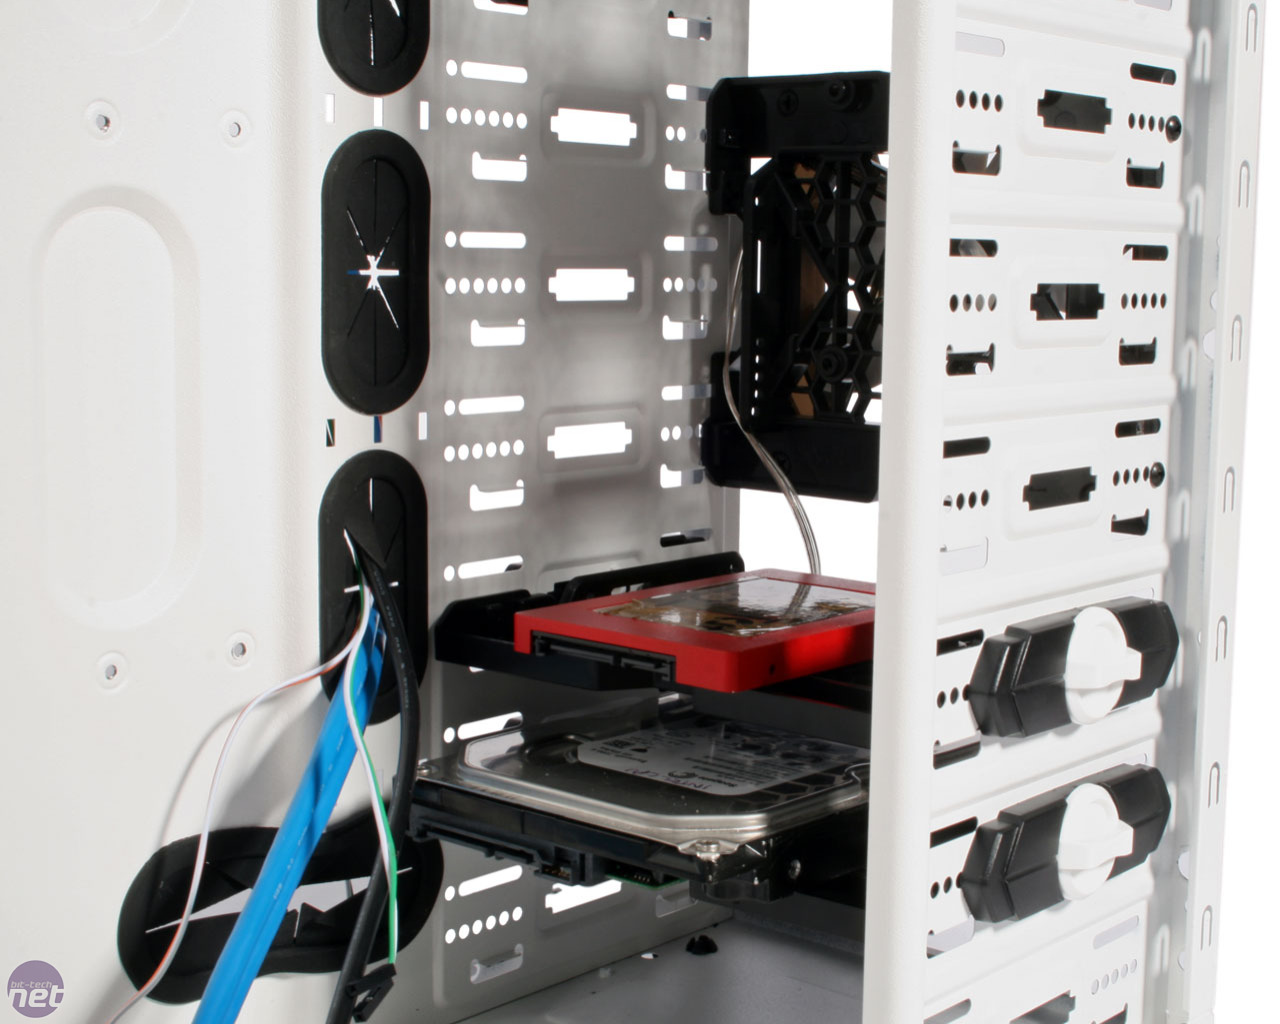
We mentioned previously that the X1 doesn't include a drive cage. Instead, Aerocool have opted for an interesting all-in-one plastic mounting device that can be used to install internal and external 3.5-inch drives, 2.5-inch drives and even front-mounted 120mm fans. Five of these are provided and one comes pre-installed with the front 120mm fan. Each one can hold one device of your choice, so though the X1 technically supports six disk drives (either 2.5-inch or 3.5-inch), actually installing six would sacrifice the front intake fan, which is obviously not recommended.
Screwing the mounting devices into the X1 vertically allows you to attach a 120mm fan to them, and there is room for three fans installed in this fashion. Otherwise they can be mounted horizontally with a hard drive or SSD attached, which involves sliding them into place and using some rather flimsy plastic clips to lock them in place. We didn't find the locking mechanism to be particularly secure however, so we recommend that users screw them into place instead, to ensure vibrations are kept to a minimum.
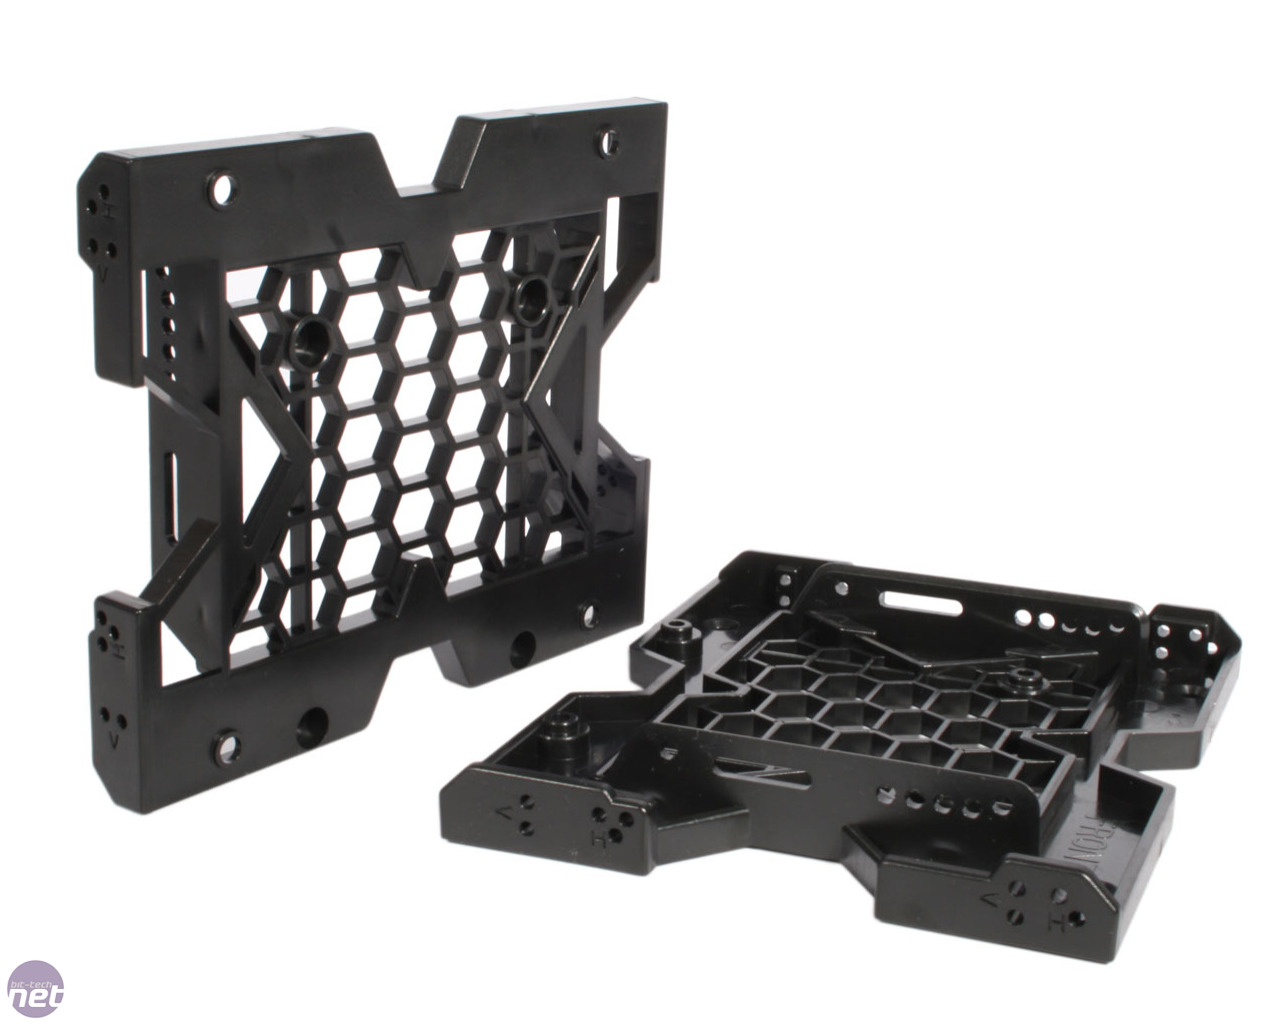
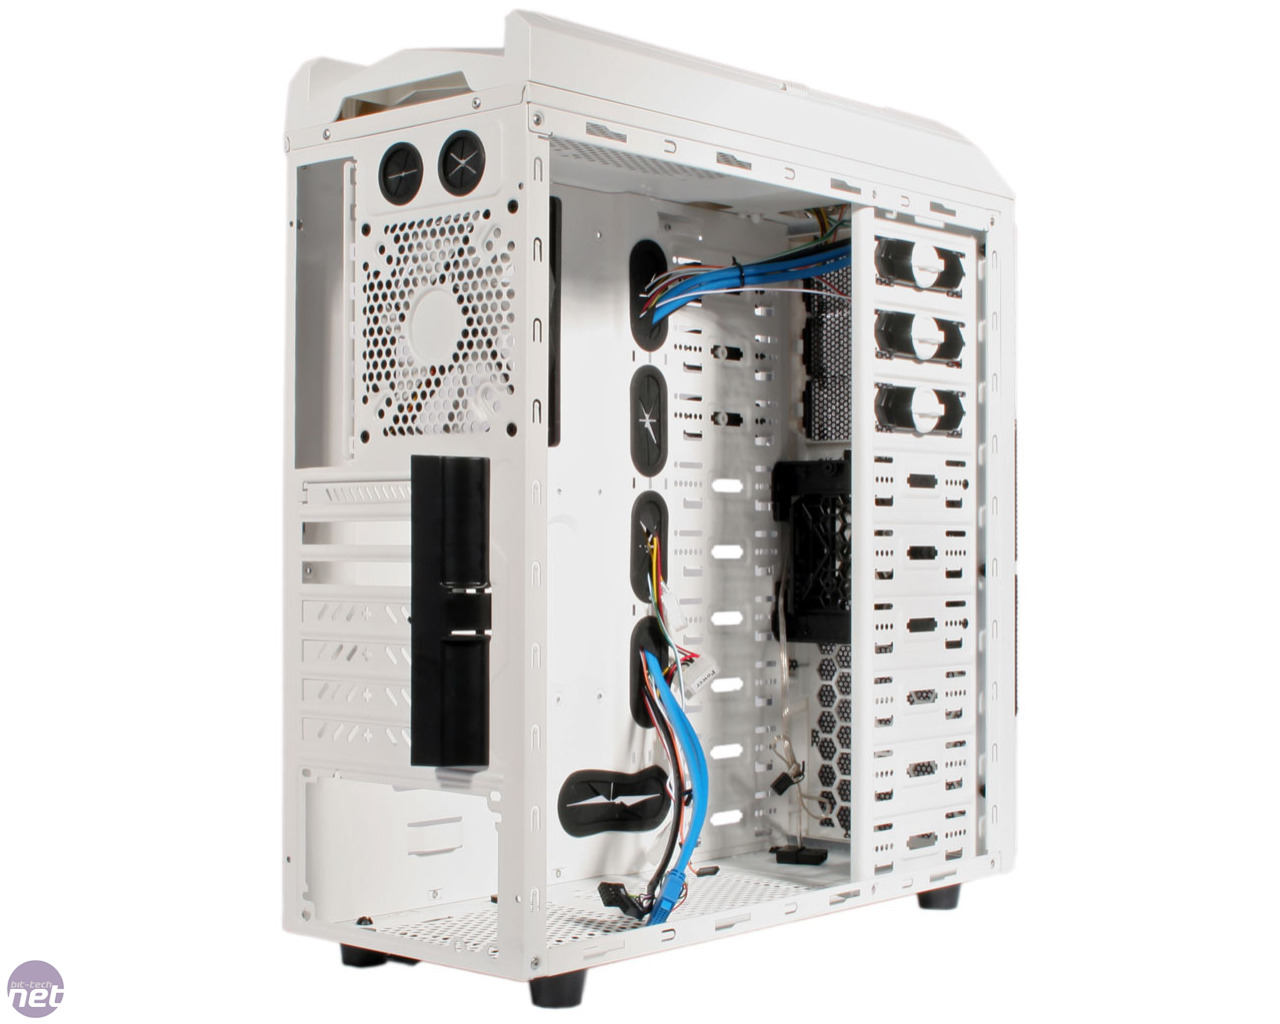
Click to enlarge - the mounting devices (left) can be installed vertically with a fan or horizontally with a HDD/SSD (right)
Aerocool have given cable management some thought with the X1 too. Next to the motherboard you'll find five holes covered by rubber grommets that enable you to route your cables around the right side of the case. The right side panel is mostly flat, however, so this can prove to be a bit of a squeeze. The grommets are secure, able to withstand a 24-pin ATX cable poking through them. We also found room at the front of the cage for our unwanted PSU cables and five black zip ties let you put the finishing touches on a mostly tidy build.


MSI MPG Velox 100R Chassis Review
October 14 2021 | 15:04

Want to comment? Please log in.