
Build Part I
This kit is aimed at newcomers to watercooling, that much crystal clear from the second you set eyes on the box as it is complete with everything but distilled water. A beginner really doesn't have the know-how to go selecting the various components of a watercooling setup and once purchased he would probably give up after a day of doubt, nerves and time consumed trying to get the bits to fit each other.The Nautilus is supposed to be simple and quick to build: Corsair claim a build time of 8 minutes and 14 seconds. Realistically that is an unobtainable time for a beginner, who will check, check and recheck everything. To be fair to Corsair though, their engineers probably could install it in just over 8 minutes, just like a soldier could strip a rifle down to its major components in less than a minute when he handled it every day for eight weeks in his basic training. The point they are making though is that it should be simple and straightforward in its installation, so that anyone with the ability to read the comprehensive instructions should be able to get it up and running.

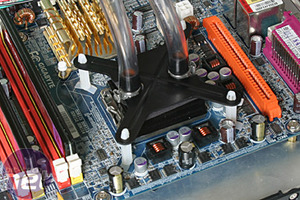
First thing to do is to get the waterblock on the CPU, in this case we selected the LGA775 socket fittings. The mounting bay is assembled by pressing the white plastic push fit pins through the motherboard holes. Of note is that they will not be easily removed once fitted without taking your motherboard out. I doubt this will really concern you unless you change your cooling solutions often, having said that, during testing it was a bit of a pain for us.
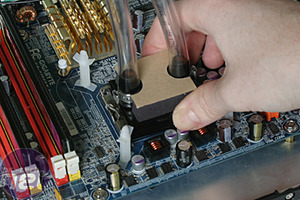
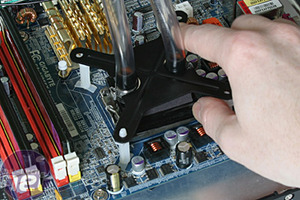
After ensuring you place a thin layer of TIM on your CPU's integrated heat spreader place the block, together with the spongy foam pad used to keep it in position, onto the CPU. Then take the X-shaped mounting plate and starting at one corner push it into position, alternating corners for the first two pins for ease of installation.
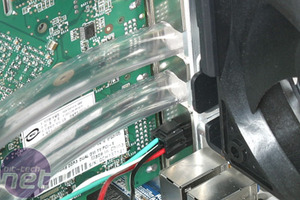
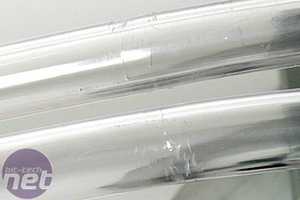
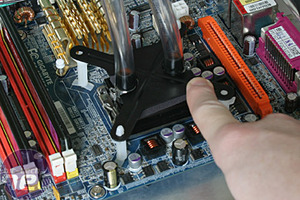
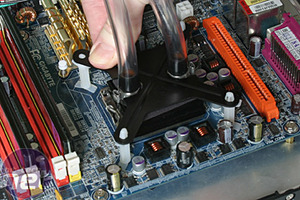
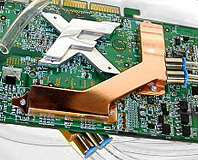
Next thing to do is to fit the PCI pass-through backplate and pass the tubing through - this is where we met the only real issue we had with the system. The supplied 3/8" tubing is the exact size for the holes provided. In most cases this would be a good thing, but because of the sharp-edged metal construction of the backing plate and the rubber construction of the tubing there could really be only one victor. The second image shows the result of pulling the tube through the pass-through just once. All we can say is be careful and ensure that if there is any damage to the tubing it's only superficial and doesn't compromise the structural integrity of the waterloop.

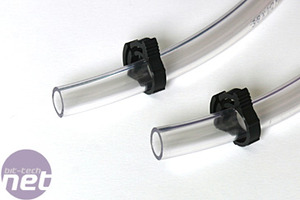
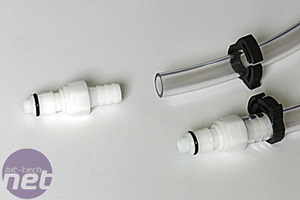
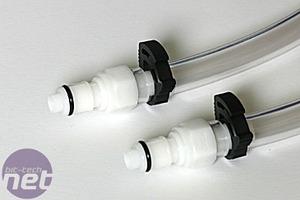
A picture speaks a thousand words, in this case four pictures will be enough to show you the assembly steps for the quick-fit self sealing connectors. As you can see the tubing assembly is easy and should take no more than a few seconds. The black clips ensure a proper seal and simply squeeze tight.
RELATED ARTICLES


MSI MPG Velox 100R Chassis Review
October 14 2021 | 15:04


Want to comment? Please log in.