
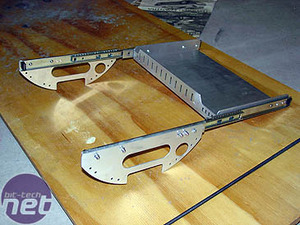
Motherboard Tray II
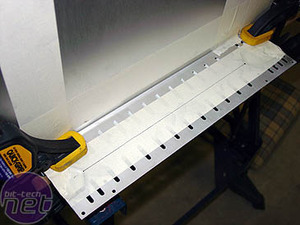
I marked the piece for cutting, wishing I had thought of this before I had bent the tray! All that hacksaw practice paid off, however, and only a tiny amount of filing was needed to clean up the edges.
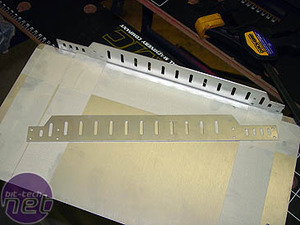
The two pieces fitted together perfectly, with all the holes aligned.
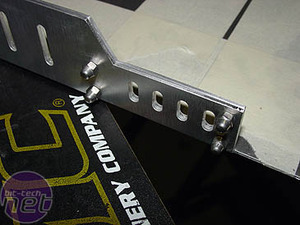
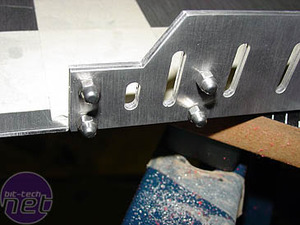
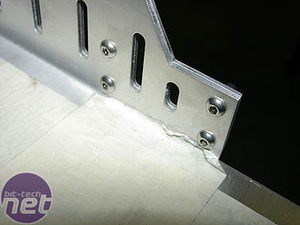
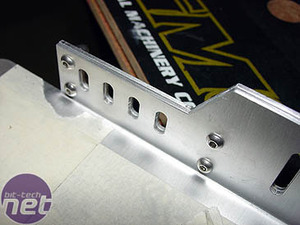
M4 screws and acorn nuts held them in place. The turned-up sides and front add rigidity to the tray, and will stop it flexing when it is loaded with components.
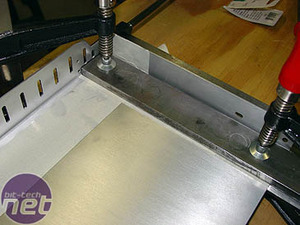
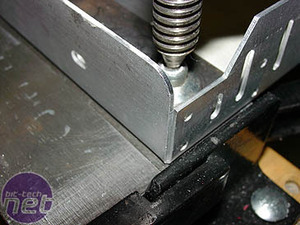
The sides were folded in my bending brake. I used strips of tape to protect the metal from scratches. I had to take it slow, to ensure the folds were accurate enough so the corners would butt together neatly.

Once the tray was folded and attached to the slides, I fitted the brackets I had designed to mount it into the case. The bottom curve of the brackets matches the curve of the case, and there are holes to pass through both wires and water hoses.

I love it when a plan comes together! At this point, I fitted the back cover to measure where I needed to drill holes for attaching it to the tray. I also levelled the case and tray.
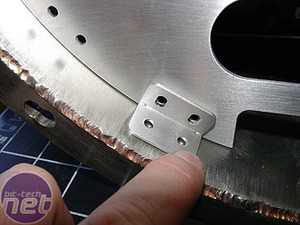
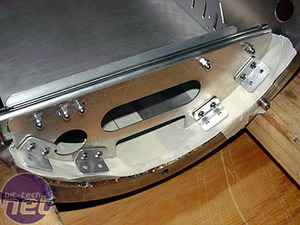
The brackets are attached to the case by small clips. Notice the oblong holes in the bracket-end of the clip? These allow some adjustment, to get the clips sitting flat against the sides of the case. Some tape down....
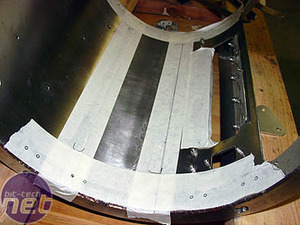
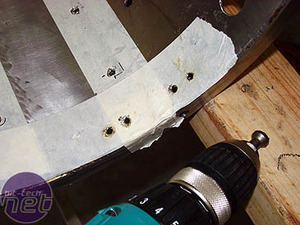
...and holes marked, drilled and deburred. I mentioned in WMD Part 2, how every time I looked there were more holes in the case! I guess those many hundreds of screws have to go somewhere!
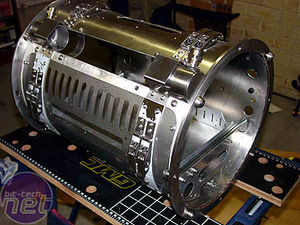
With the motherboard tray mostly done, I got a chance to wreck a perfectly good Shuttle case....
RELATED ARTICLES


MSI MPG Velox 100R Chassis Review
October 14 2021 | 15:04

Want to comment? Please log in.