
Pumps
To circulate all that coolant around the system I decided on a 12 volt version of Eheim's famous 1046. Eheim pumps have been used for years by computer enthusiasts to water cool their rigs, and the beauty of a 12v pump is you can power it directly from your computer PSU - less wires and no dangerous mains current inside your case. I also thought "why have just one pump, when you can have two?!" If one goes down, at least you've still got something circulating, plus I had to give the VFD something to monitor besides fans, flow and temperature.The two pumps I chose were the HPPS 12v, kindly donated by the lads at Innovatek. These came straight from the Innovatek factory and ended up being modded a bit....
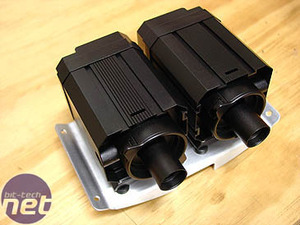
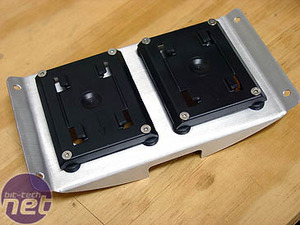
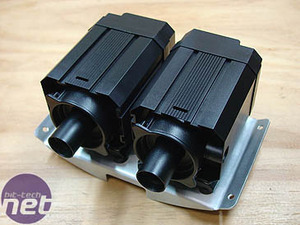
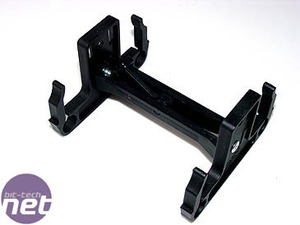
Twin pumps and mounting bracket, after some plastic surgery.
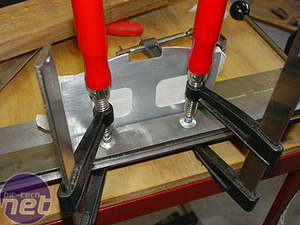
The bracket was cut out of aluminium. I used aluminium throughout the inside of the case as it is light, strong and easy to work with. After working with steel for months, despite having worked aluminium before, I was amazed all over again at what a terrific material it is for modding. I bent the ends in my bending brake, and the side tabs I bent by clamping the piece between angle-iron, in a vice, and bending with my hands; unlike the steel, no hammer, hearing-protection or blisters required!
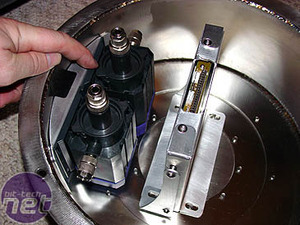
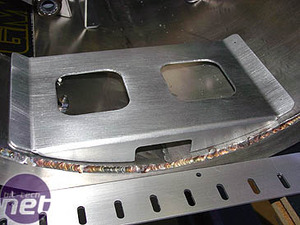
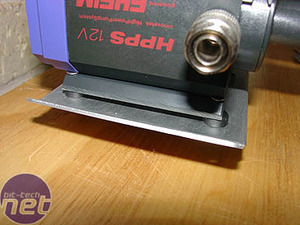
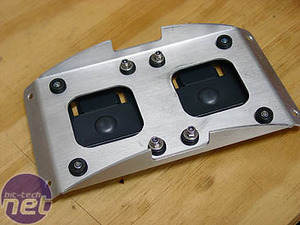
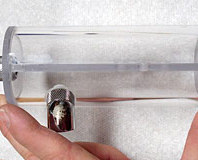
I designed the bracket to sit in the bottom of one end of the case, underneath where the DVD drive sits (shown here while checking the fit). Everything in the project was planned and measured and drawn up in detail, but nothing eases the mind like finally seeing the pieces sitting, and actually fitting, in place!
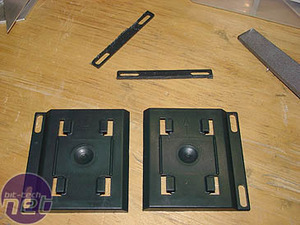
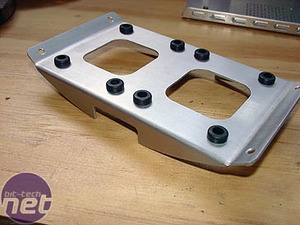
As I hadn't any right-angled fittings for the outlets of the pumps, I planned to mount them on their sides, with the outlet hose curving up and following the inside of the case. Both the pumps came with removable bases which could be slotted into either side of the pump. I found that the tabs on the sides of the bases made them too wide for my purposes, so I cut them off and cleaned up with a file.
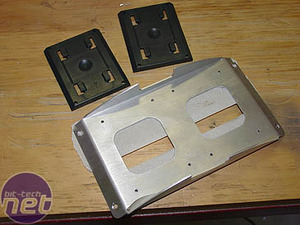
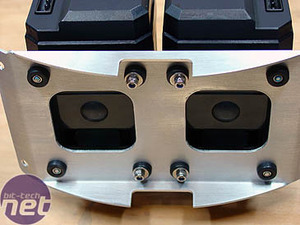
Holes were marked and drilled in the, now narrower, bases and the bracket. The holes in the base were counter-sunk and appropriate M3 screws were inserted to still allow the base to slide onto the pump.

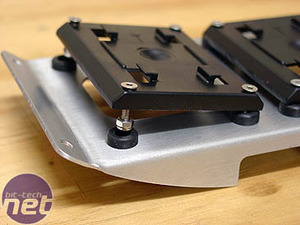
Once all four screws were inserted I inserted rubber grommets into the bracket holes and the screws fitted through these.
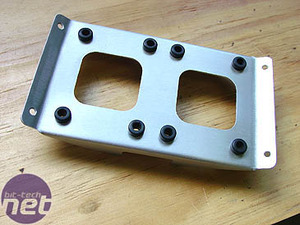
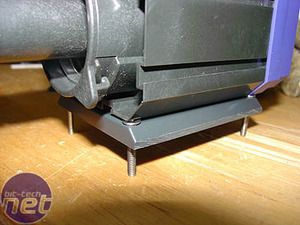
The use of rubber grommets is to absorb the vibration from the pumps. The only problem I ran into was that the narrow gap between the grommets and the case, near the screw holes, wouldn't allow me to attach a nut and washer underneath.
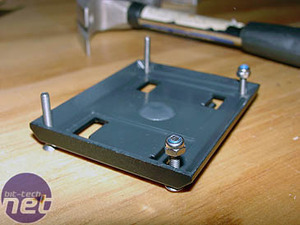
I solved this problem by cutting the screws shorter and adding a 'nyloc' nut - a nut with a nylon insert that stops it from working loose. Once the inside screws of the base are inserted through the grommets, the outside screws simply press down. The nuts act, using friction, to hold the screws into the grommets.
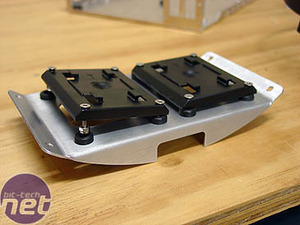
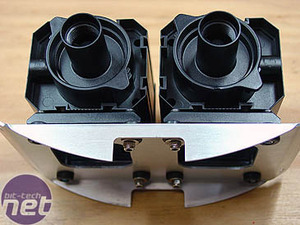
Once in place, the bases are very secure.
You can see how the outside screws don't come below the bottom of the grommets. The pumps end up with a 5mm gap between them.
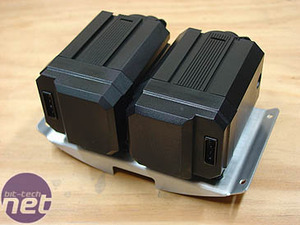
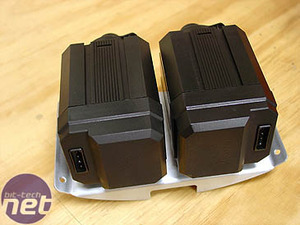
Both the pumps were vinyl dyed black, including the molex sockets, the bases and the blue ends.
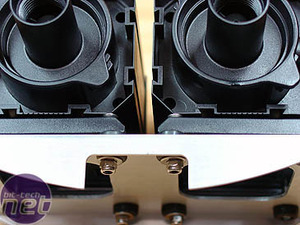
More detail of the pumps. You get a better idea of how the grommets work. There is enough of a gap between them so they don't vibrate against one another. What am I going to run off the pumps?
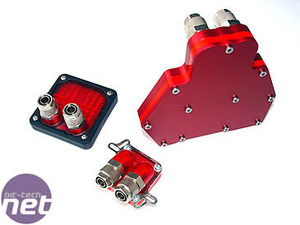
A set of Innovatek water blocks. The CPU block is an Innovatek XX-Flow Rev 2.0, and the chipset block is the Graph-O-Matic Rev 3.0. Both of these are as standard, in the optional red colour scheme. The Graphics Card block, however, was customised for me by the factory: Normally a sort of pale, silvery colour, with a large 'Cool-Matic' logo, I requested it to be anodised red, sans logo, and for the plexi insert to be red also. I'll illuminate this insert later. The block is the Cool-Matic X800, for the Sapphire X800XT Platinum Edition graphics card I used - the top card available back when I started this project.
The hold-down mechanism is for Socket-939 as I'm using an Athlon64 FX-55 processor. The Shuttle motherboard has a plastic retention frame, similar to Socket-478, and the clip just snaps in, enabling easy installation and removal of the waterblock and CPU.
All of the cooling system, with the exception of the radiator, uses Innovatek components: the reservoir and PSU water blocks were supplied by Coolercases UK; the pumps, tube, VFD, fittings, springs, flow-meters, temp indicators and remaining water blocks were supplied directly by Innovatek, Germany. There is something great about the quality and precision of German engineering; oddly enough, in the army we used to comment on it when stripping H&K MP5's and USP's, and quality has been evident in their car industry for decades. It's pretty cool to see this also extends to water-cooling components. Can you tell I'm a fan? Deutschland über alles indeed.
RELATED ARTICLES


MSI MPG Velox 100R Chassis Review
October 14 2021 | 15:04


Want to comment? Please log in.